Pick your zone and the dates re-calibrate.
The Guide Fruit trees Vol. 004

Apple

in Zone 5, this week

Apple is a fruit tree that lives for decades. Here is the one thing to know before you buy: most apple trees cannot make fruit from their own flowers. You need a second, different apple variety planted nearby (within about 50 ft) that blooms at the same time, so bees can carry pollen from one to the other. A single apple tree by itself usually sets little or no fruit. The kind of apple you pick also decides whether it will fruit where you live, and the rootstock (the roots the variety is grafted onto) decides how tall the tree gets. The varieties run from familiar cold-climate apples like Honeycrisp, Gala, and Empire to low-chill types like Anna, Dorsett Golden, and Ein Shemer that fruit in mild-winter areas where standard apples never get enough cold. A long-lived deciduous fruit tree (Malus domestica) grown for fresh-eating, cooking, and storage fruit. Apple is the classic cross-pollination crop: nearly all cultivars are self-unfruitful, so you plant two different varieties whose bloom periods overlap, within about 50 ft, and rely on bees to move pollen between them. Chill-hour requirement is variety-set and spans a wide range, so cultivar choice, not the species, decides whether a tree fruits in your zone. Rootstock choice sets mature size and how soon the tree bears. The recommended set spans that range, from low-chill Anna, Dorsett Golden, and Ein Shemer for mild-winter zones to high-chill Honeycrisp, McIntosh, and Empire for the North, plus triploids like Jonagold and Mutsu that need two pollen partners instead of one.

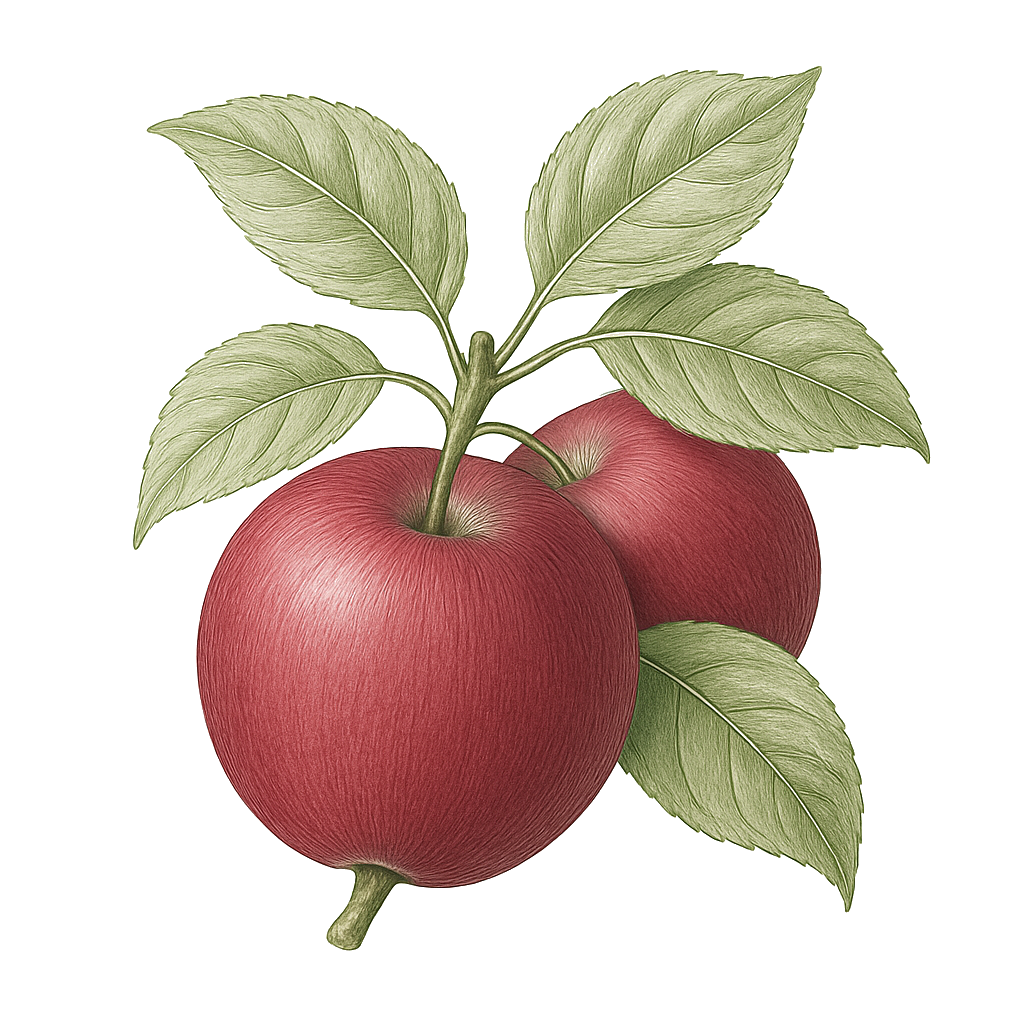
Apple mature plant
Fig. 01 · Apple, mature Zone 5
Container
20 gal
min 15 gal pot
Sunlight
Full sun
6-8 hrs daily
Water
Moderate
1 inch / week
Spacing
5-25 ft
between trees
Soil pH
6-6.5
slightly acidic
Hardiness & fruiting range

Will it actually fruit here?

Hardiness tells you the tree will survive your winters. It does not tell you whether you will get fruit. Each zone carries its own verdict. Yours is marked.

3
survives,
rarely fruits
4
survives,
rarely fruits
Your zone
5
reliable
6
reliable
7
reliable
8
reliable
9
reliable
10
reliable
11
survives,
low chill
Fruits reliably
Fruits reliably Survives only Too warm
← colder winterswarmer, less chill →
Zone 5: Apples grow well here. Most varieties will give you a good crop.Dependable apple country. The full hardy roster fruits well, with ample chill and a long enough season for mid and late varieties.
The growing year

Your apple year, month by month

Northern Tier, Zone 5. Winters bank about 900 to 1400 chill hours; these varieties need about 100 to 1000 chill hours. Apples grow well here. Most varieties will give you a good crop.Dependable apple country. The full hardy roster fruits well, with ample chill and a long enough season for mid and late varieties.

A fruit tree runs on the same rhythm every year: rest, prune, bloom, grow, harvest, then settle in again.

Jan
Feb
Mar
Apr
May
Jun
Jul
Aug
Sep
Oct
Nov
Dec
▲ We are here
Tree’s year
rest
prune
bloom
growing
harvest
care
rest
Plant new tree
plant
plant
Dormant rest Prune Bloom Growing fruit Harvest Post-harvest care
Plant bare-root
Mar - Apr
Bloom
Apr 25 - May 15
Harvest
Sep - Oct
Chill hours

Will your winter be cold enough?

Apple trees need a stretch of cold winter weather before they will flower well in spring. That cold is measured in "chill hours," meaning hours between 32 and 45 °F. Different apple varieties need different amounts: some low-chill kinds need only about 100 hours, while others need close to 1,000. The trick is to pick a variety whose chill need matches your winters. In a warm-winter area, choose a low-chill variety, or the tree may bloom poorly and set little fruit.Chill hours are the accumulated hours between 32 and 45 °F during winter dormancy that a tree must bank before it will break bud and flower normally in spring. Apple's requirement is set by the cultivar, not the species: this guide's roster runs from about 100 hours (low-chill Dorsett Golden, Ein Shemer) to roughly 900 to 1,000 hours (high-chill McIntosh, Honeycrisp). Match the variety's chill need to what your winters reliably deliver: too little chill in a warm zone gives delayed, straggly bloom and poor fruit set.

Your winter ~900 – 1400 hrs
0 250 500 750 1000
Dependable here
Dorsett Golden100Anna200Ein Shemer100Zestar!800McIntosh900Liberty800Empire700Honeycrisp800Gala600Golden Delicious700Jonagold700Mutsu600Fuji600Granny Smith600Pink Lady550Dolgo500
!Borderline in a warm winter
None. Every variety in this roster gets enough chill here.
Bloom timing & cross-pollination

Apples need a partner

A lone apple tree sets little or no fruit. Apple flowers need pollen from a different variety, carried by bees, and the two trees have to bloom at the same time to trade it. Plant a second variety whose bloom window overlaps, within about 50 feet.

Empire blooms mid season. 11 varieties overlap and can pollinate it: McIntosh, Liberty, Honeycrisp, Gala, Golden Delicious, Jonagold, Mutsu, Fuji, Granny Smith, Pink Lady, Dolgo.Best pick: Honeycrisp, the strongest bloom overlap of the group.

Bar length shows how long each variety blooms, roughly 8 to 14 days. Bars that overlap can cross-pollinate.

▲ Tap a variety to see its pollination partners

Very early Early Mid Late Very late
Dorsett Golden✓ partner
Anna✓ partner
Ein Shemer✓ partner
Zestar!✓ partner
McIntosh✓ partner
Liberty✓ partner
Empire✓ partner
Honeycrisp✓ partner
Gala✓ partner
Golden Delicious✓ partner
Jonagold✓ partner
Mutsu✓ partner
Fuji✓ partner
Granny Smith✓ partner
Pink Lady✓ partner
Dolgo✓ partner
The pollination rule

This is the most important thing about growing apples: one apple tree on its own usually will not make fruit. Apple flowers need pollen from a different apple variety, carried over by bees. So plan to plant two different kinds of apple, not two of the same, within about 50 ft of each other, and make sure they bloom at the same time (an early bloomer cannot help a late bloomer). If you only have room for the idea of one tree, a flowering crabapple planted nearby can do the pollinating job instead. Golden Delicious is a reliable all-around partner that pollinates almost any apple. A few special varieties (Mutsu, Jonagold, Shizuka) cannot pollinate anything and actually need two other partners themselves, so ask the nursery if a variety is "triploid" before you rely on it as your second tree.Apple is self-unfruitful: a lone tree, or two trees of the same cultivar, will set little or no fruit. You need a second, genetically different apple variety whose bloom overlaps, planted within about 50 ft, with bees to carry pollen between them (the pollen-supplying tree is the pollinizer). Bloom groups must overlap to cross: an early variety will not pollinate a very-late one. This roster is sequenced very early to very late for exactly this reason, so pair within or adjacent to a bloom group, for example Gala with Honeycrisp (both mid). Golden Delicious is a near-universal pollinizer (heavy, long bloom; viable pollen) and a good default partner; a flowering crabapple whose bloom overlaps also works well and is the standard fix when yard space is tight. One caution: triploid cultivars (for example Mutsu, Jonagold, Shizuka) produce sterile pollen, cannot serve as a pollinizer, and themselves need two other compatible varieties nearby; none of this guide's roster is triploid, but a tree you add from a nursery might be.

Pick your variety

Recommended varieties

Plant at least two different varieties that bloom around the same time so they can pollinate each other. Where winters are mild, choose low-chill kinds like Dorsett Golden, Anna, or Ein Shemer. If summers are humid and you want to spray less, Liberty resists apple scab. Golden Delicious pollinates almost anything and makes a reliable partner, and a Dolgo crabapple blooms early and long enough to pollinate a whole row. Two varieties here, Jonagold and Mutsu, cannot pollinate anything and need two other partners themselves. One honest note on the numbers: bloom times, ripening, and pollination come from university extension guides and are solid, but chill hours (the winter cold a tree needs to fruit) are well documented only for warm-climate apples, so several cold-climate varieties here carry nursery estimates and a few newer ones like Zestar! have no firm figure yet. Treat the chill numbers as a guide, and check each variety's confidence tier to see how sure we are.Sixteen cultivars, thirteen dessert and cooking apples plus two triploids (Jonagold, Mutsu) and the Dolgo crabapple pollinizer, with bloom group kept distinct from ripening season. Pair overlapping bloom groups for cross-pollination; the triploids carry sterile pollen and need two non-triploid partners. Bloom group, ripening, and pollination are anchored to extension sources (Utah State, Missouri G6001, Texas A&M, UF/IFAS, NC State, Maine). Chill-hour data is thinner: extension figures exist mainly for warm-climate varieties where chill is limiting, so several cold-climate cultivars carry nursery estimates and Zestar! has none established. Chill requirement is model-dependent and shifts with local climate; read the per-variety confidence tier as the honest measure of each figure.

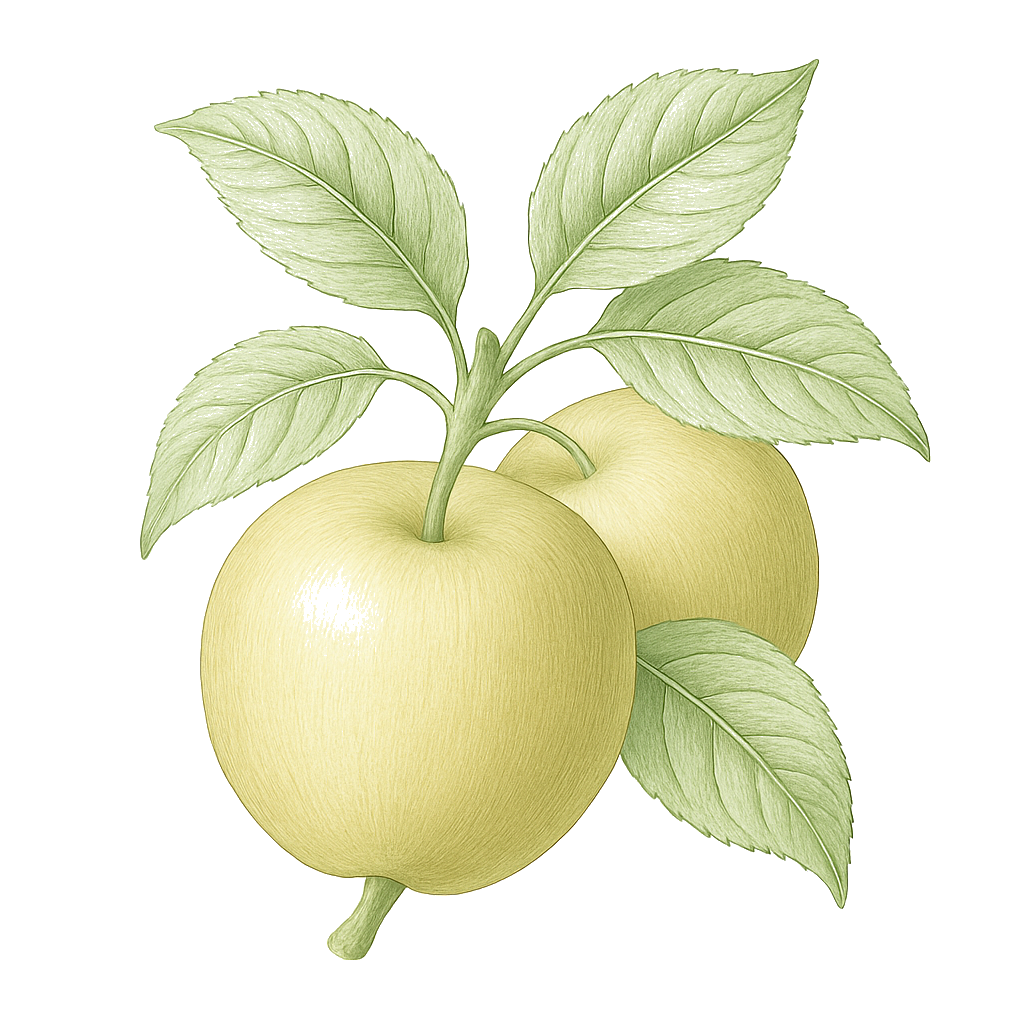
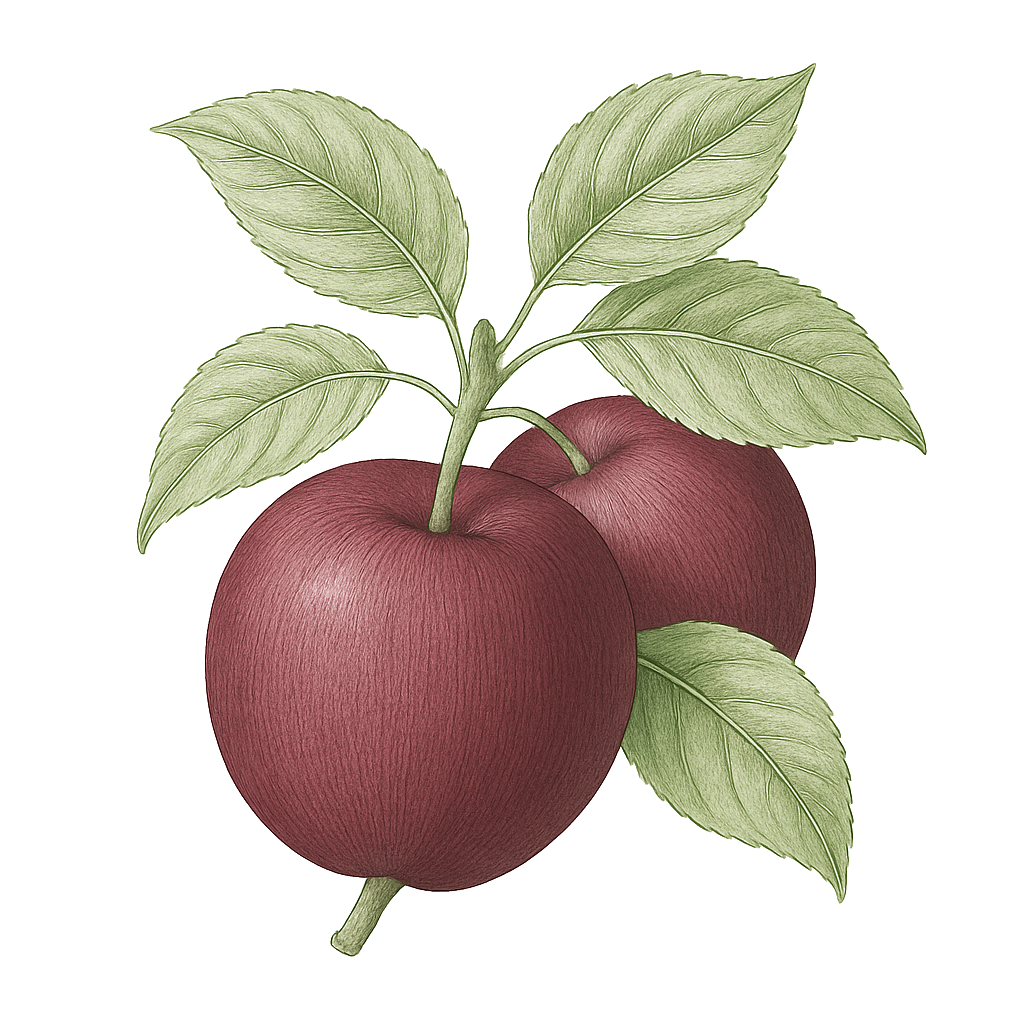
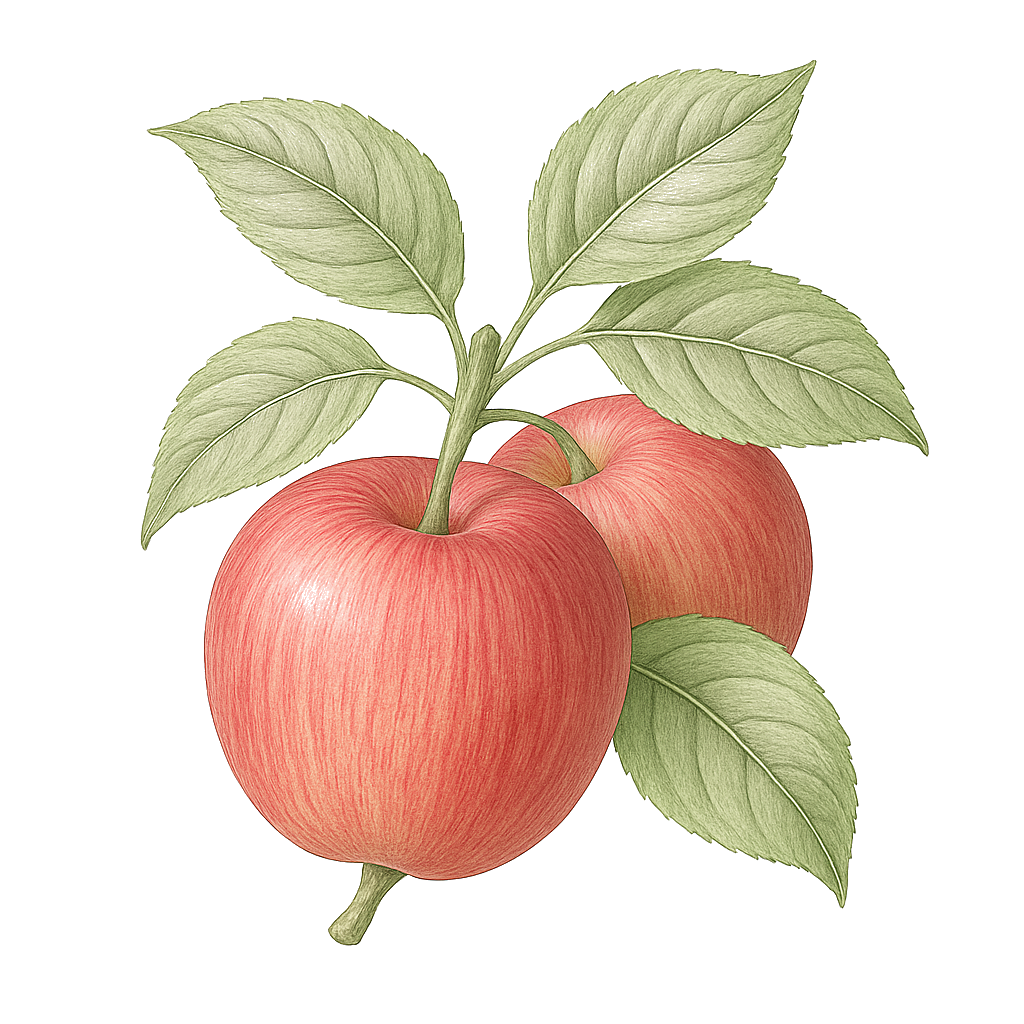
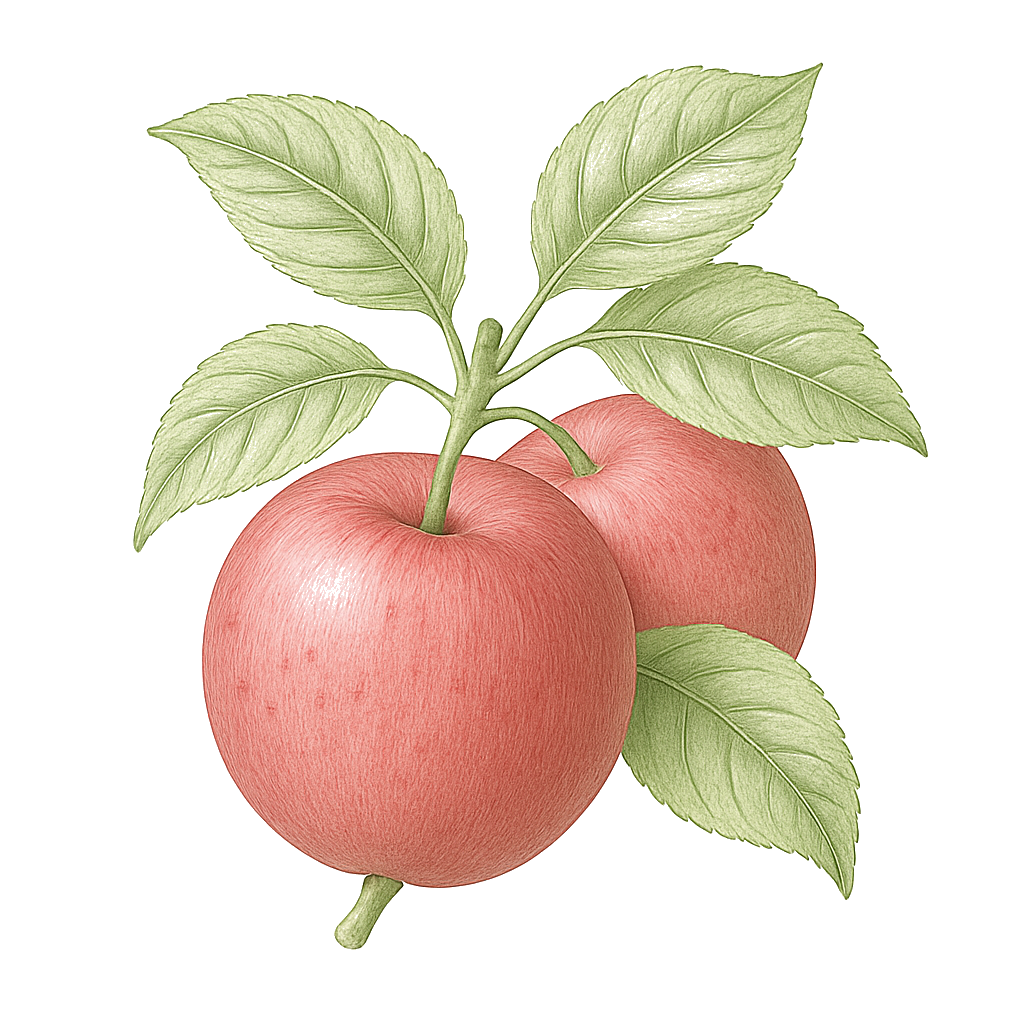
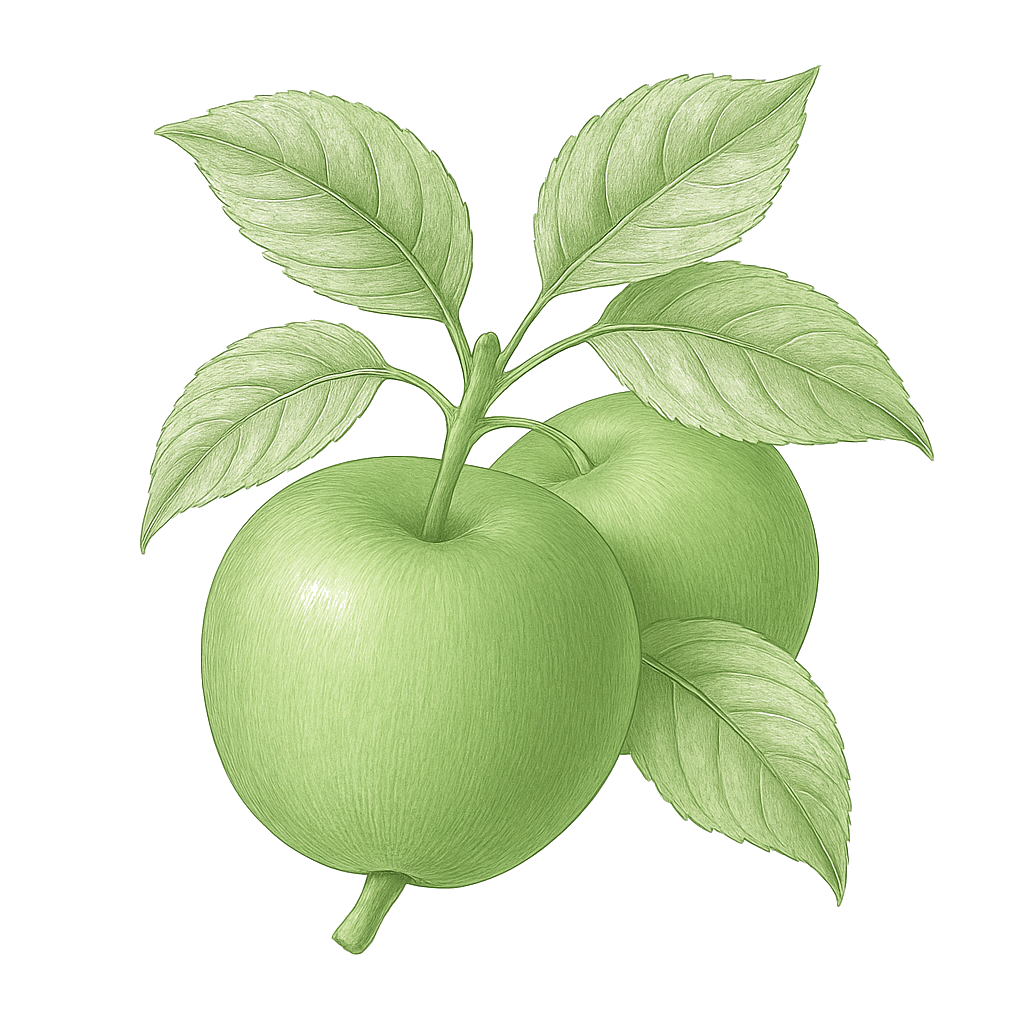
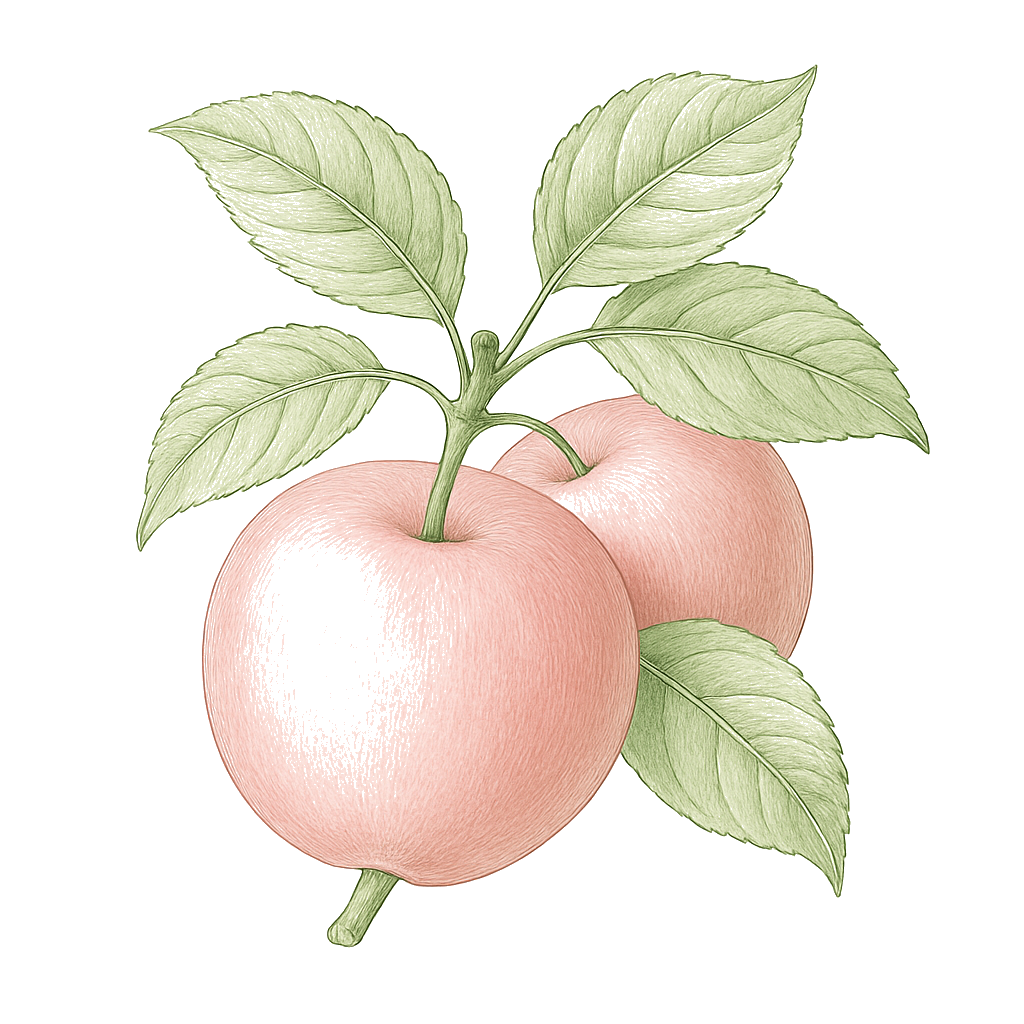
Dorsett Golden illustration
Dorsett Golden
fresh eating
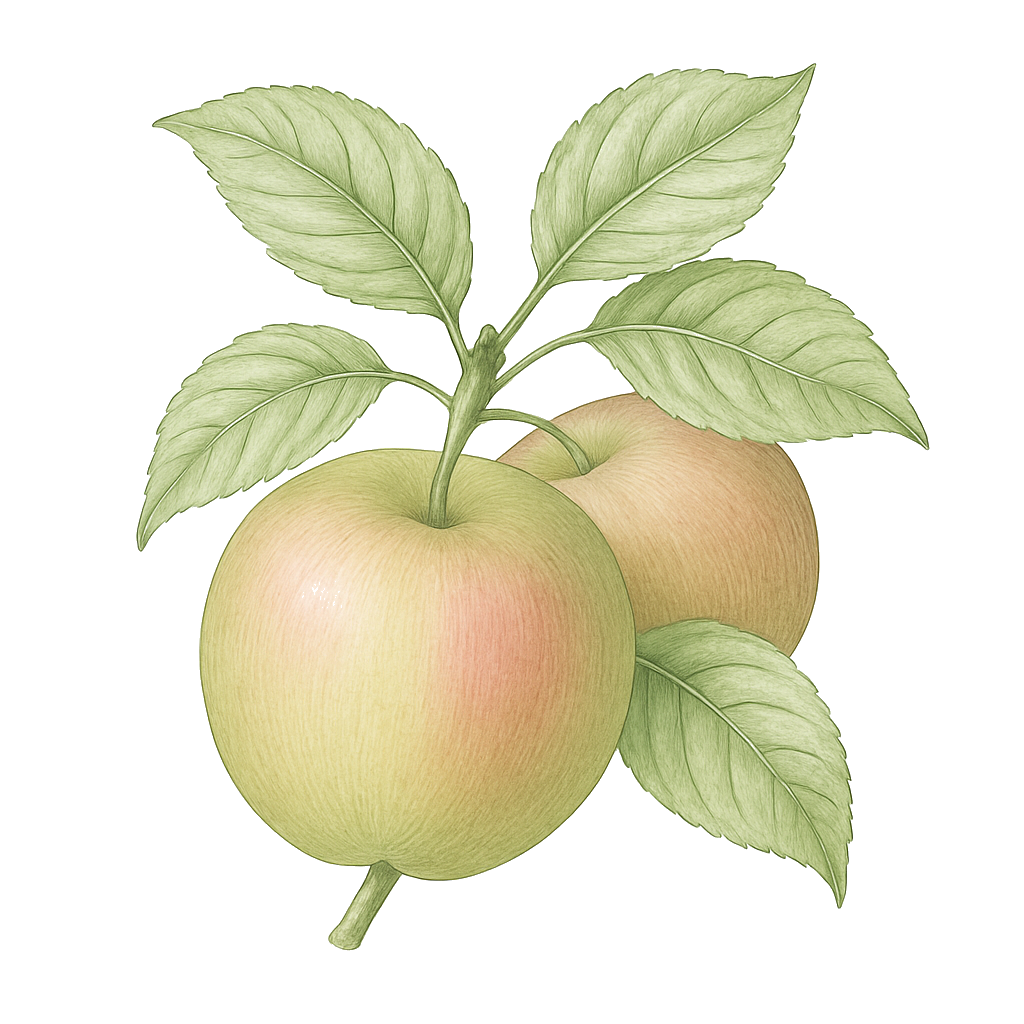
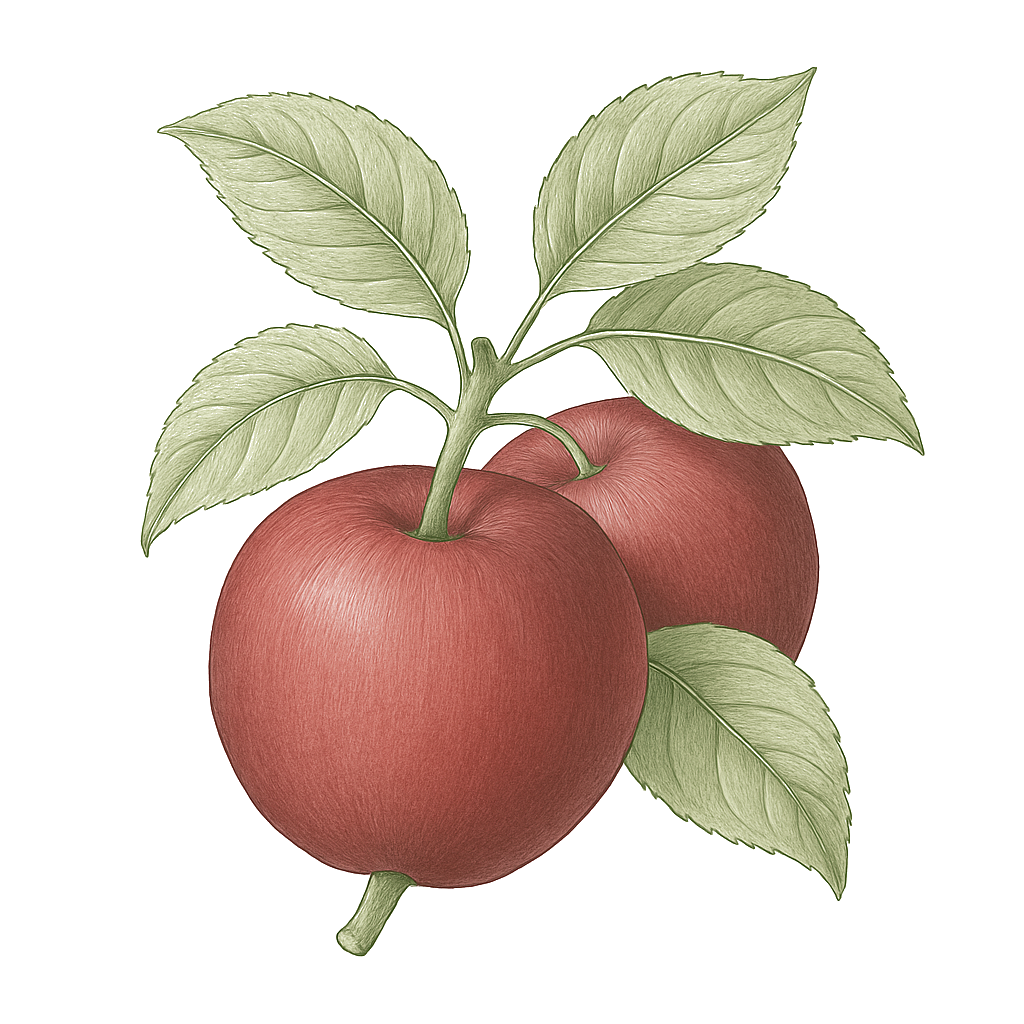
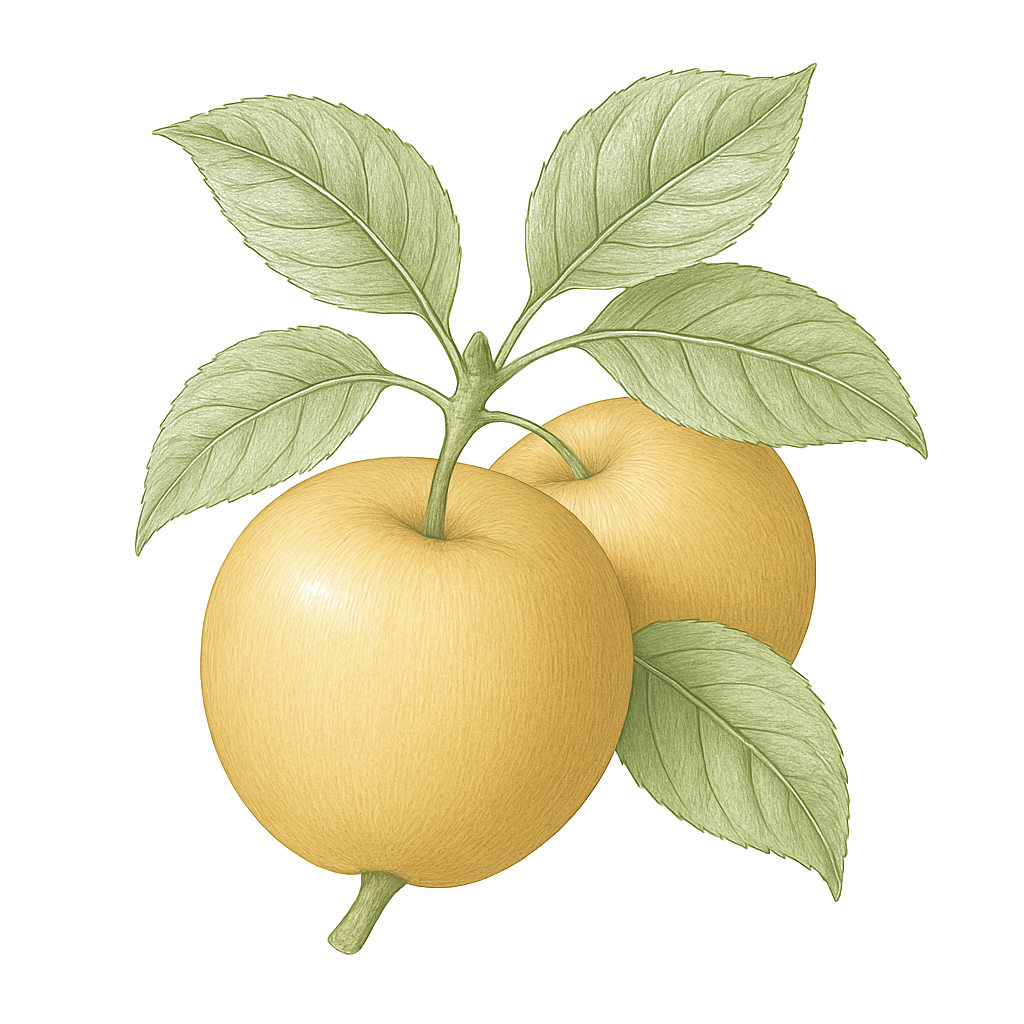
Anna illustration
Anna
fresh eating
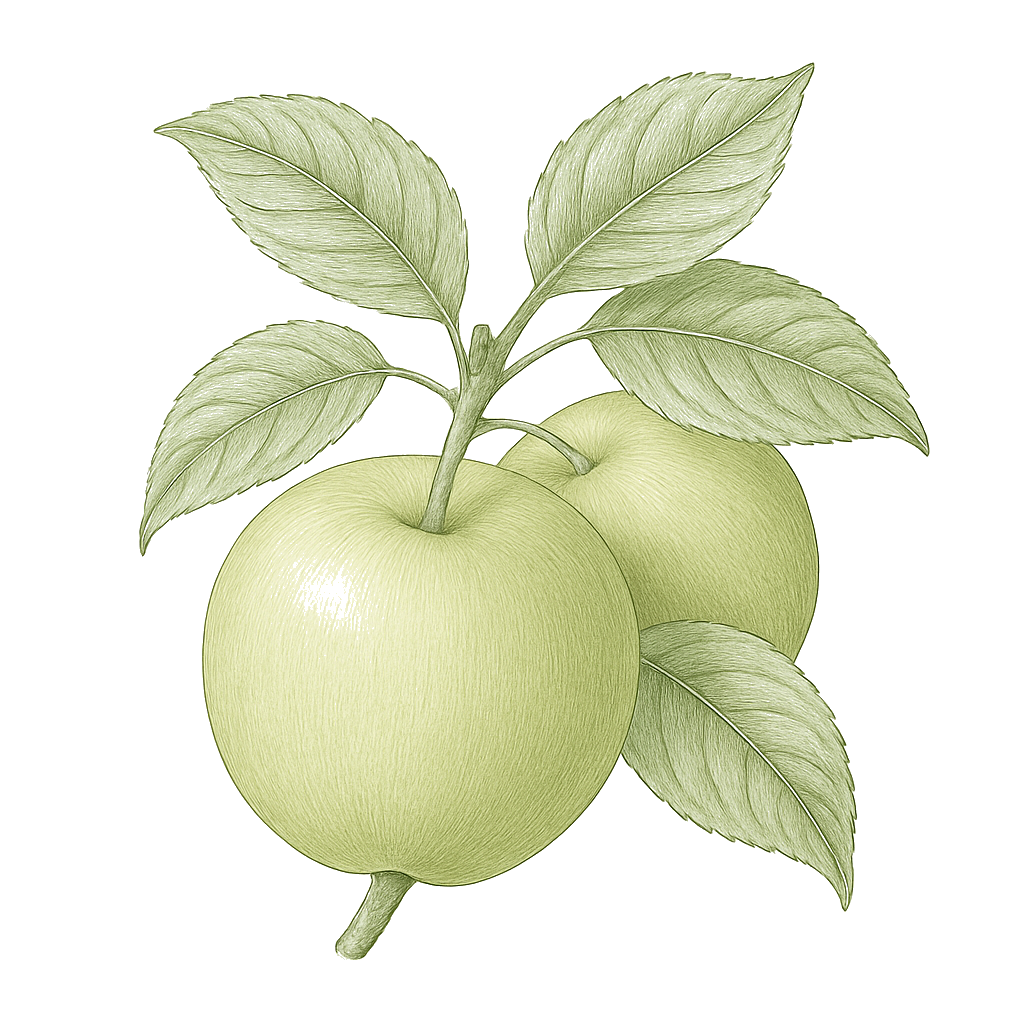
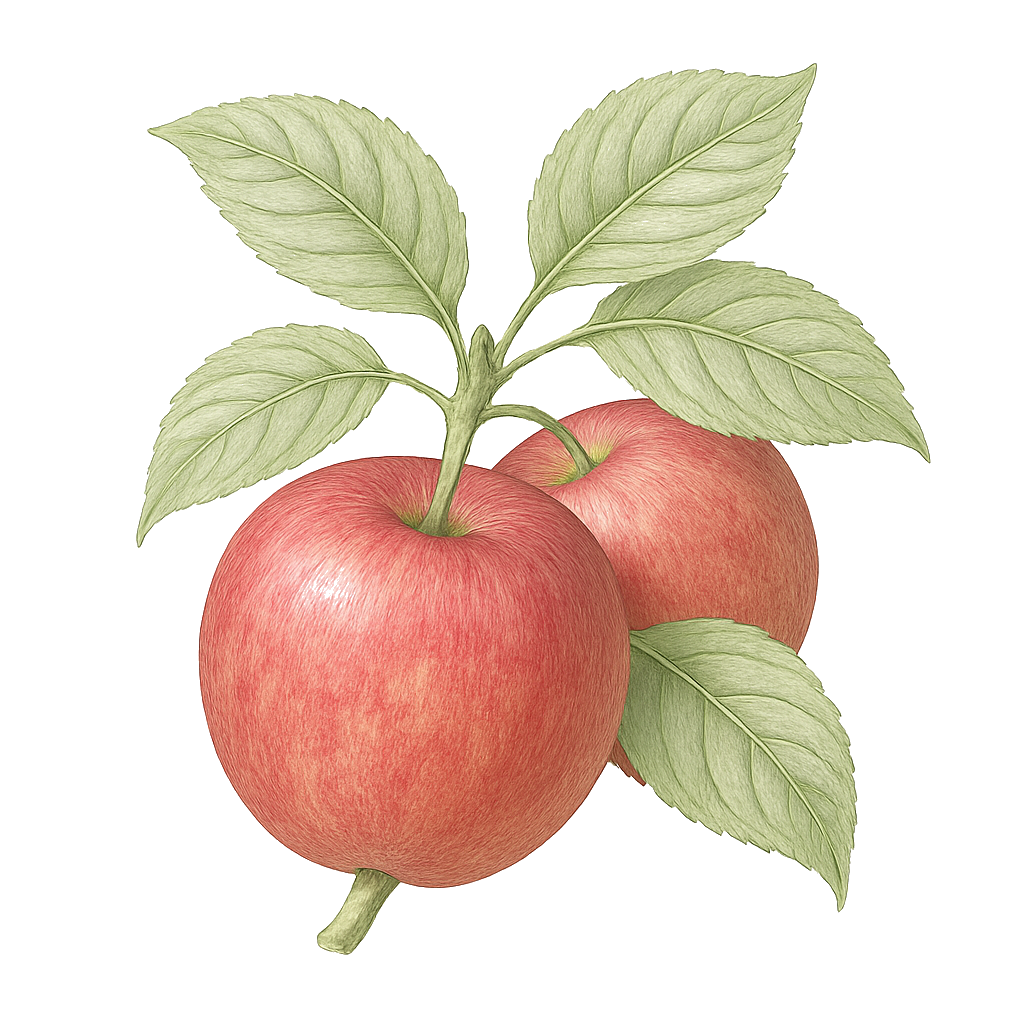
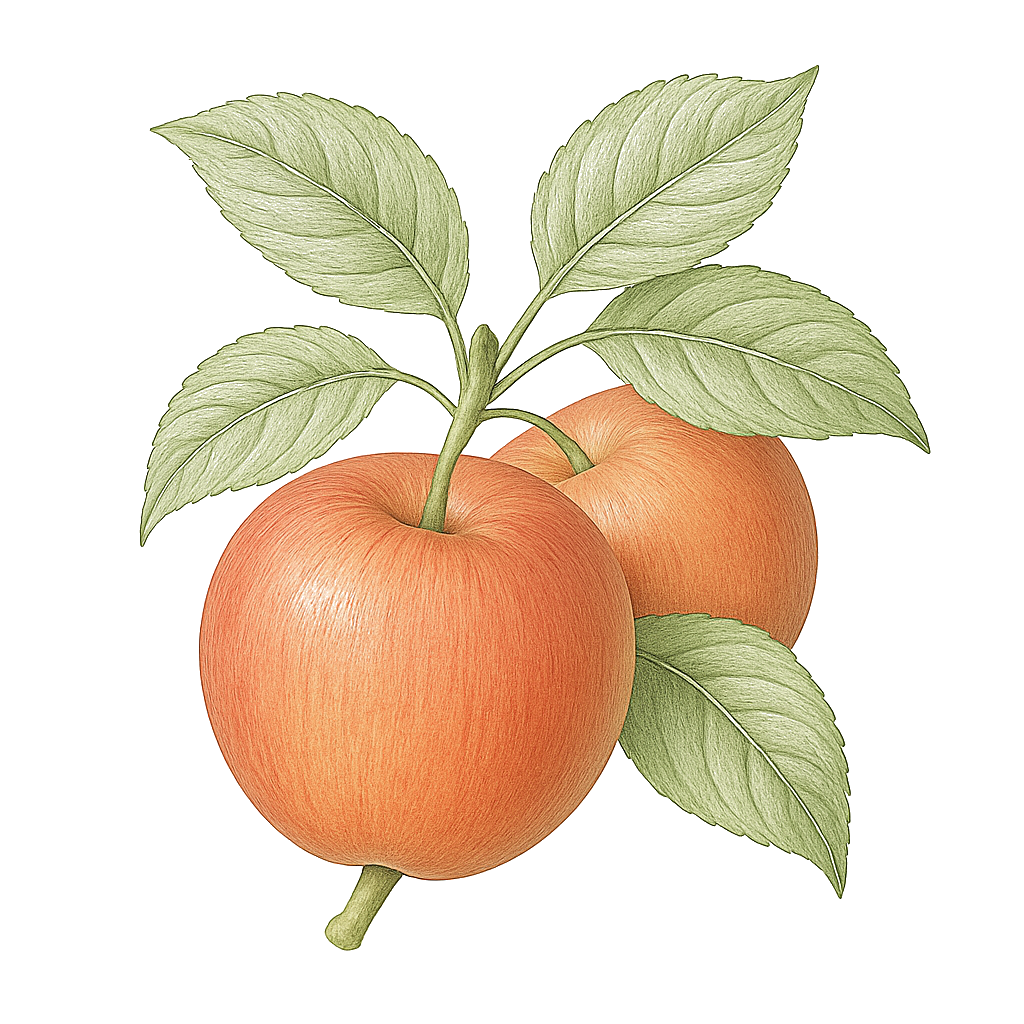
Ein Shemer illustration
Ein Shemer
fresh eating, cooking
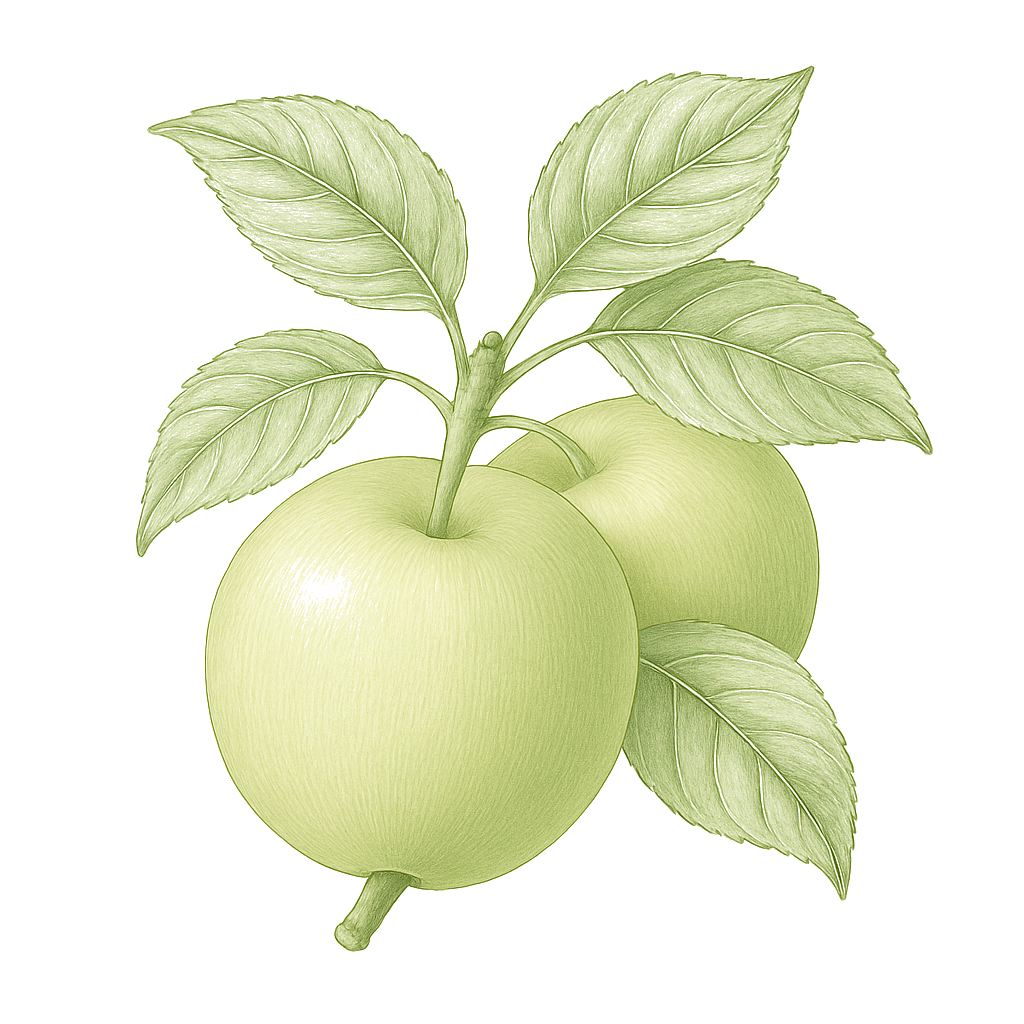
Zestar! illustration
Zestar!
fresh eating
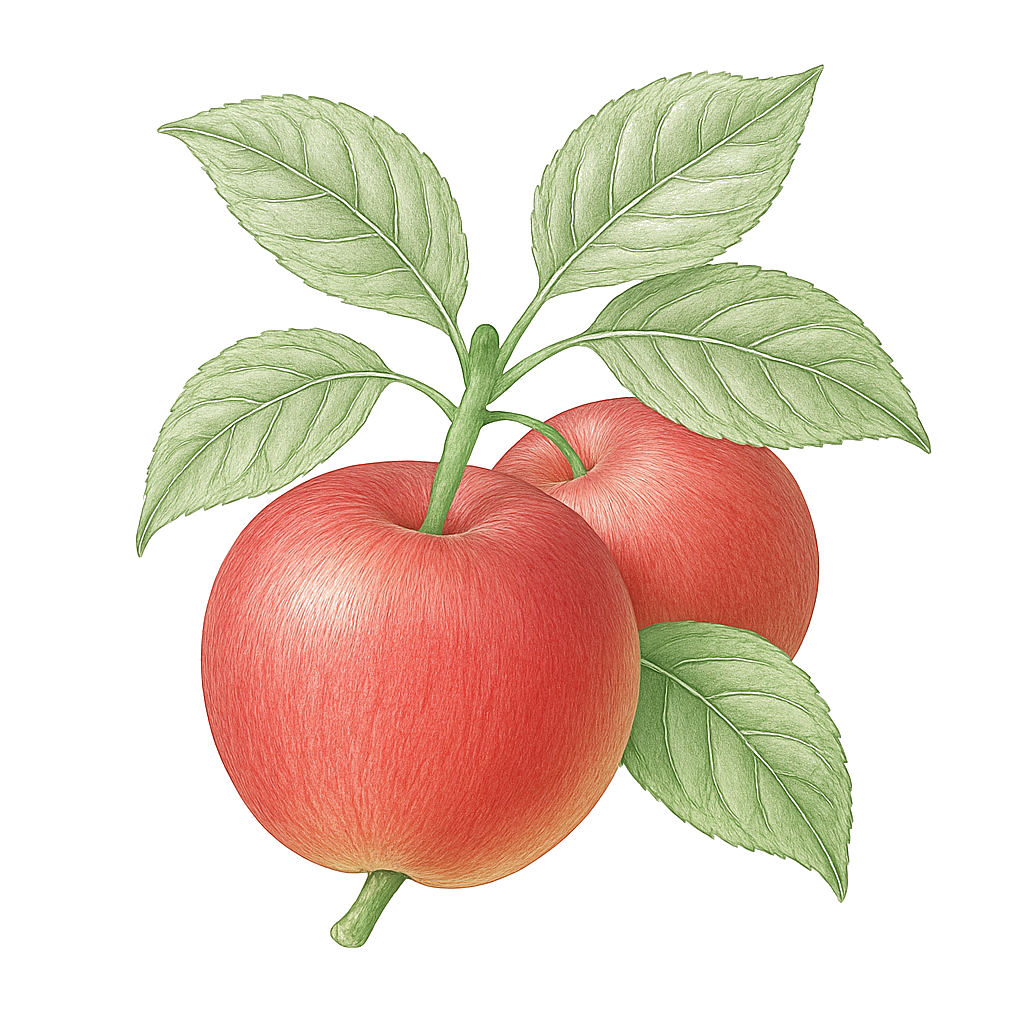
McIntosh illustration
McIntosh
fresh eating, sauce
Liberty illustration
Liberty
fresh eating
Empire illustration
Empire
fresh eating
Honeycrisp illustration
Honeycrisp
fresh eating
Gala illustration
Gala
fresh eating
Golden Delicious illustration
Golden Delicious
fresh eating, cooking
Jonagold illustration
Jonagold
fresh eating
Mutsu illustration
Mutsu
cooking, fresh eating
Fuji illustration
Fuji
fresh eating, storage
Granny Smith illustration
Granny Smith
cooking, fresh eating
Pink Lady illustration
Pink Lady
fresh eating, storage
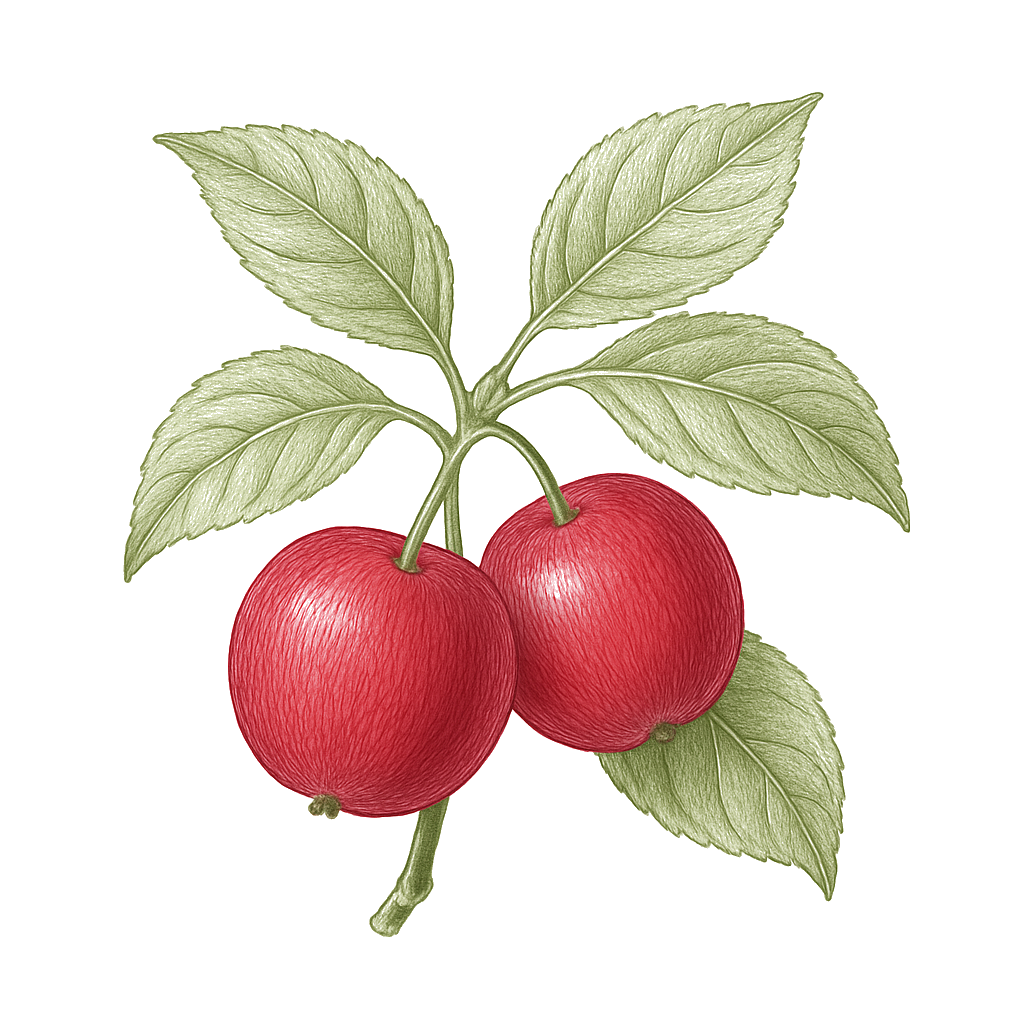
Dolgo illustration
Dolgo
pollinizer, jelly
Rootstock & size

How big will it get?

M26 (semi-dwarf) is the default backyard pick: it makes a manageable 10 to 14 ft tree that bears young (around year 2 to 4) and fits most yards. It needs staking and prefers well-drained ground (it is susceptible to collar rot on wet sites and to fire blight). For a smaller patio or container tree choose M9 (dwarf, permanent stake); for a large, low-maintenance standard with no staking, choose MM111 or seedling, accepting a longer wait to bear.

M9 dwarf
Mature height
8–12 ft
Bears
year 2–3
Container
pot OK, 20+ gal
Recommended
M26 semi-dwarf
Mature height
10–14 ft
Bears
year 2–4
Container
pot OK, 20+ gal
MM106 semi-dwarf
Mature height
14–18 ft
Bears
year 3–5
Container
in-ground
MM111 semi-dwarf
Mature height
18–22 ft
Bears
year 4–6
Container
in-ground
seedling standard
Mature height
25–35 ft
Bears
year 5–8
Container
in-ground
Ask the nursery

Ask which rootstock the tree is grafted on (it sets mature size and how soon it bears) and whether it needs permanent staking.

From seed to fruit

The growing journey

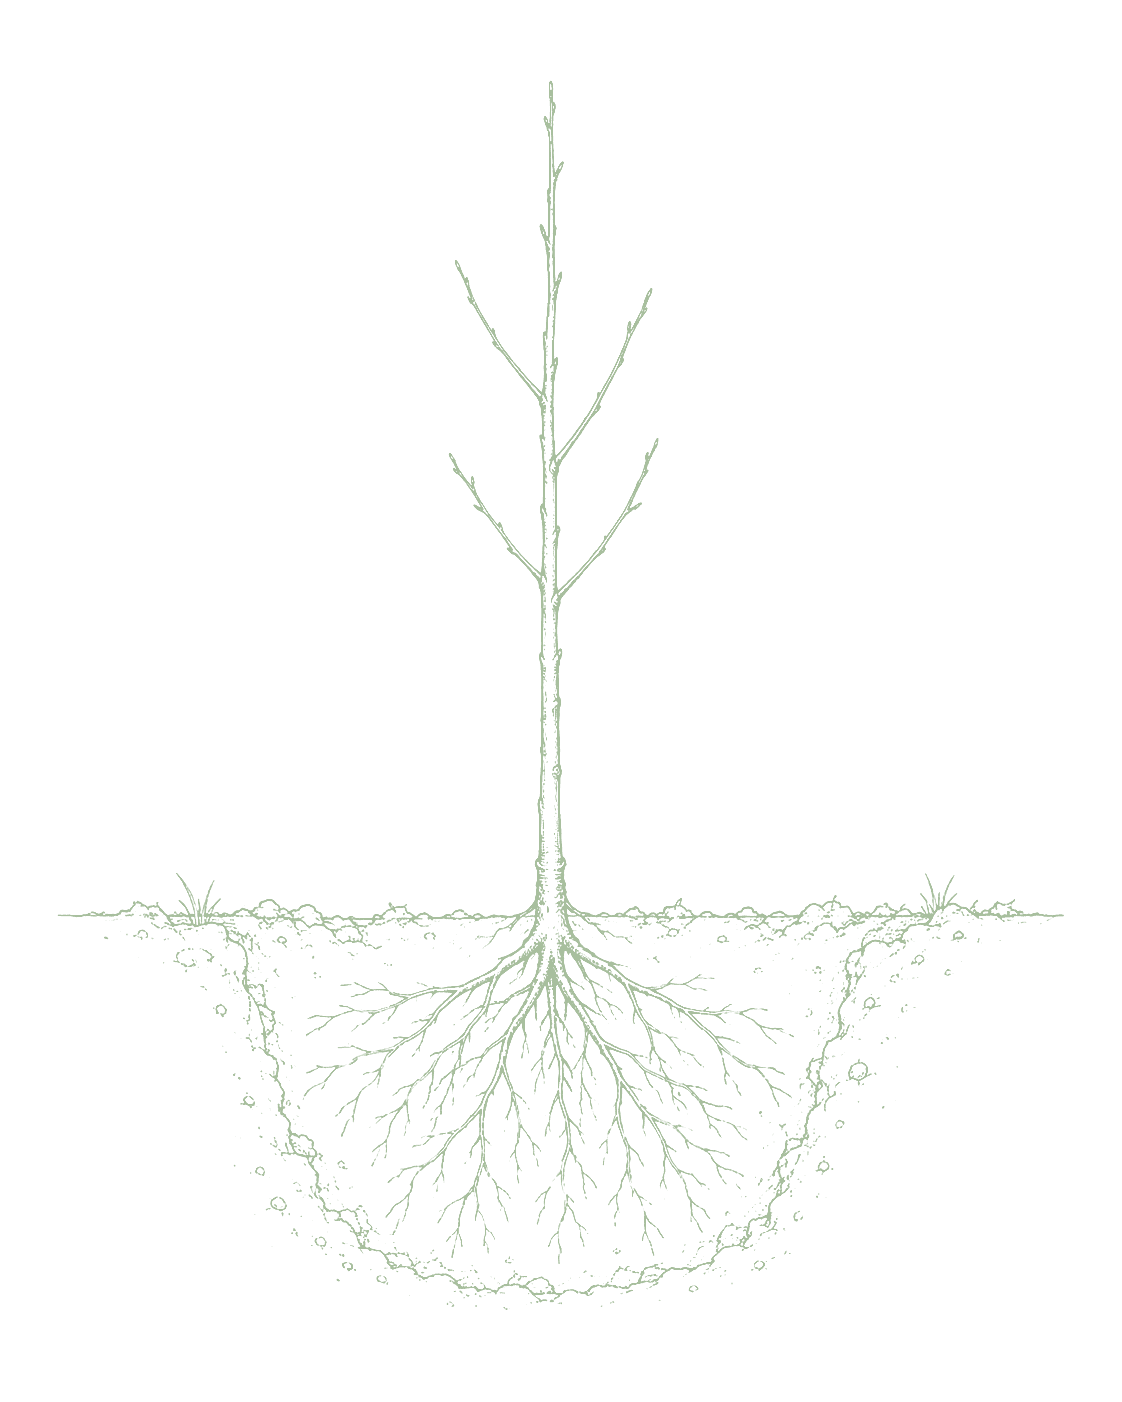
Stage 01 · Planting (bare-root, dormant)
01
Planting (bare-root, dormant)
You are planting a small, leafless tree, often sold bare-root (no pot, roots wrapped). Look for a bump low on the trunk, that is the graft where your apple variety joins the rootstock, and keep it above the soil line.A dormant, leafless bare-root or potted young tree with a visible graft union; buds tight and not yet swelling. Roots should be moist and pliable, not dried out.
Plant it in early spring in a sunny, well-drained spot, before the buds open. Keep that graft bump above the ground, water it in well, and stake it if it is a small (dwarf) tree. Hold off on fertilizer for now.Plant while dormant in well-drained full sun; keep the graft union 2 to 3 inches above the soil line; water in deeply; stake if on a dwarfing rootstock. Do not fertilize at planting.
FROM PLANT · Keep the graft union (the bumpy spot low on the trunk where the variety was joined to the roots) 2 to 3 in above the soil. If you bury it, the top variety grows its own roots and the tree loses the small size the rootstock gives it.Keep the graft union 2 to 3 inches above the soil line, burying it lets the variety root and lose the rootstock's size control.
FROM PLANT · Plant a second, different apple variety at the same time so they can pollinate each other. A single apple planted alone usually makes no fruit, so you waste a whole year.Plant a compatible pollinizer at the same time, a lone apple set without a partner wastes a year.
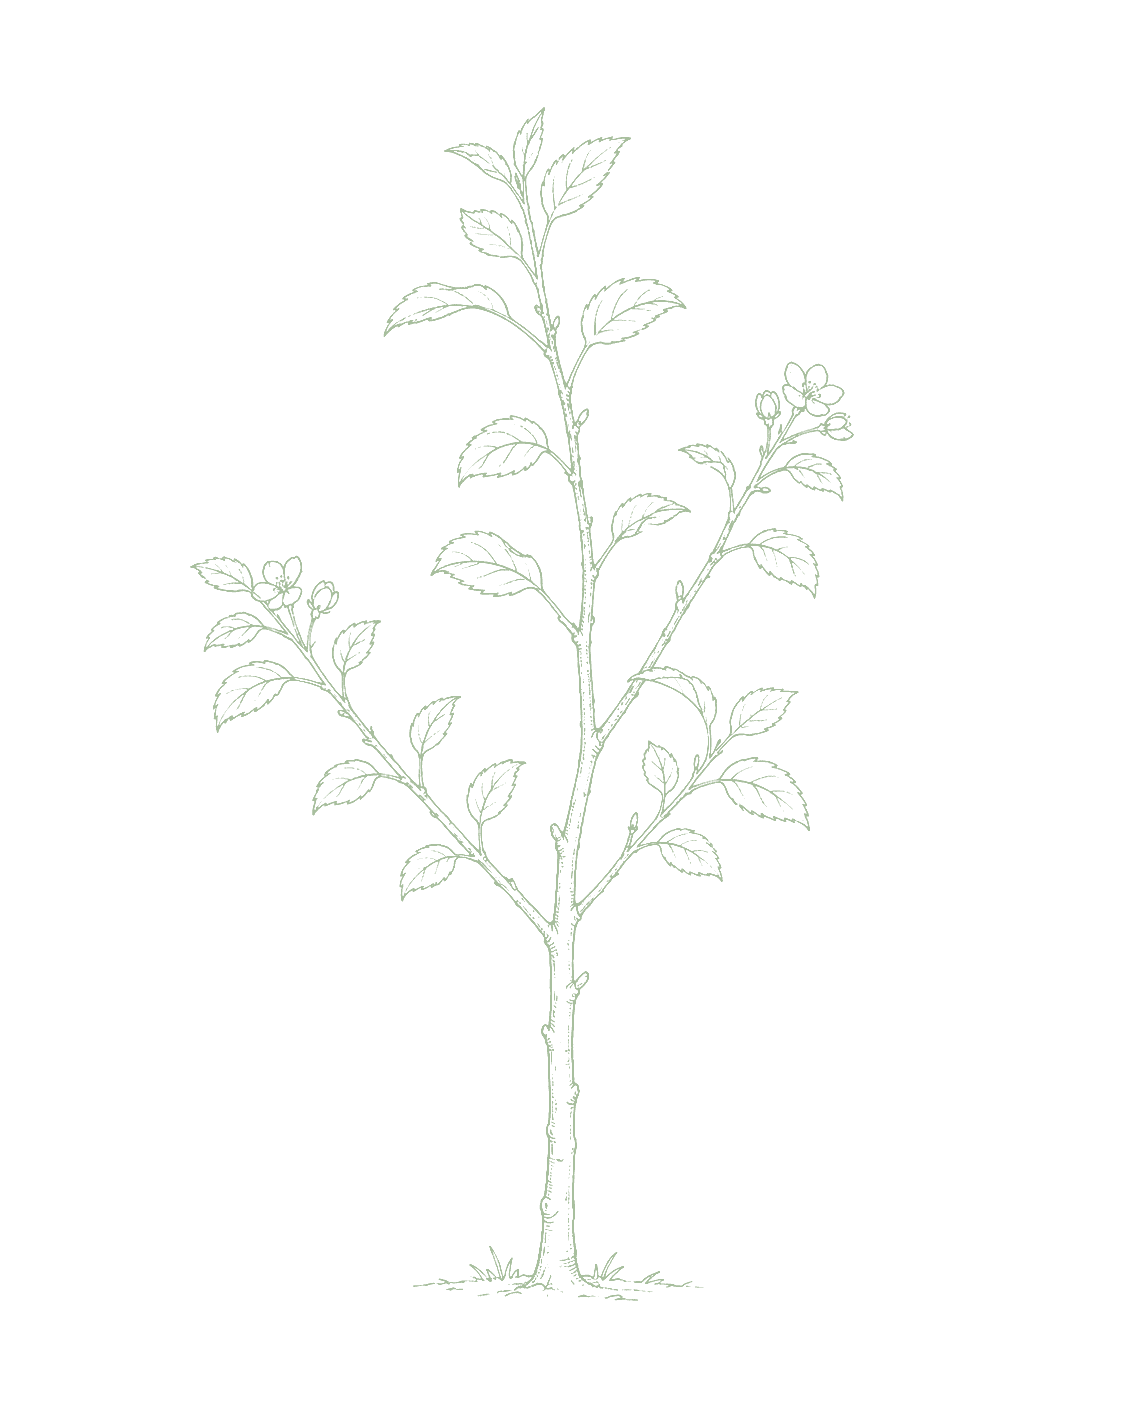
02
Year-1 establishment (remove blossoms)
The tree leafs out and grows its first new shoots. It may even try to flower, do not let it.First leaves and shoots emerge; the tree may attempt to flower. Watch for steady new shoot growth (the sign roots are taking).
If flowers open this first year, pinch them off, the tree is too young to fruit. Water deeply once or twice a week, mulch around it (not touching the trunk), and let it build roots. No apples this year is exactly right.Remove any blossoms that open this first year so energy goes to roots and scaffold, not fruit. Keep soil evenly moist (deep-soak 1 to 2 times per week), mulch, and protect the trunk from rodents and sunscald.
FROM PLANT · Pinch off all the flowers the first spring, before they can become apples. Going without fruit in year 1 lets the tree put its energy into roots and branches, which makes it stronger for the decades ahead.Pinch off every blossom the first spring, a fruitless year 1 builds a stronger tree for decades.
FROM PLANT · Spread mulch in a wide circle around the tree, but keep it a few inches away from the trunk itself. Mulch piled against the trunk holds moisture that causes rot and gives mice and voles a place to hide and chew the bark.Mulch a wide ring but keep it a few inches off the trunk to avoid rot and rodent cover.
FROM PLANT · A young apple should grow about 12 to 18 in of new branch each year. A lot more growth than that usually means too much nitrogen (the nutrient in fertilizer that pushes leafy growth), so ease off feeding.Aim for about 12 to 18 inches of new shoot growth a year, much more usually means too much nitrogen.
FROM PLANT · Protect the young trunk through its first few winters with a light-colored tree guard. This prevents sunscald (bark damage from winter sun) and stops voles (small mouse-like rodents) from chewing the bark.Protect the young trunk from sunscald and voles with a light-colored guard over the first winters.
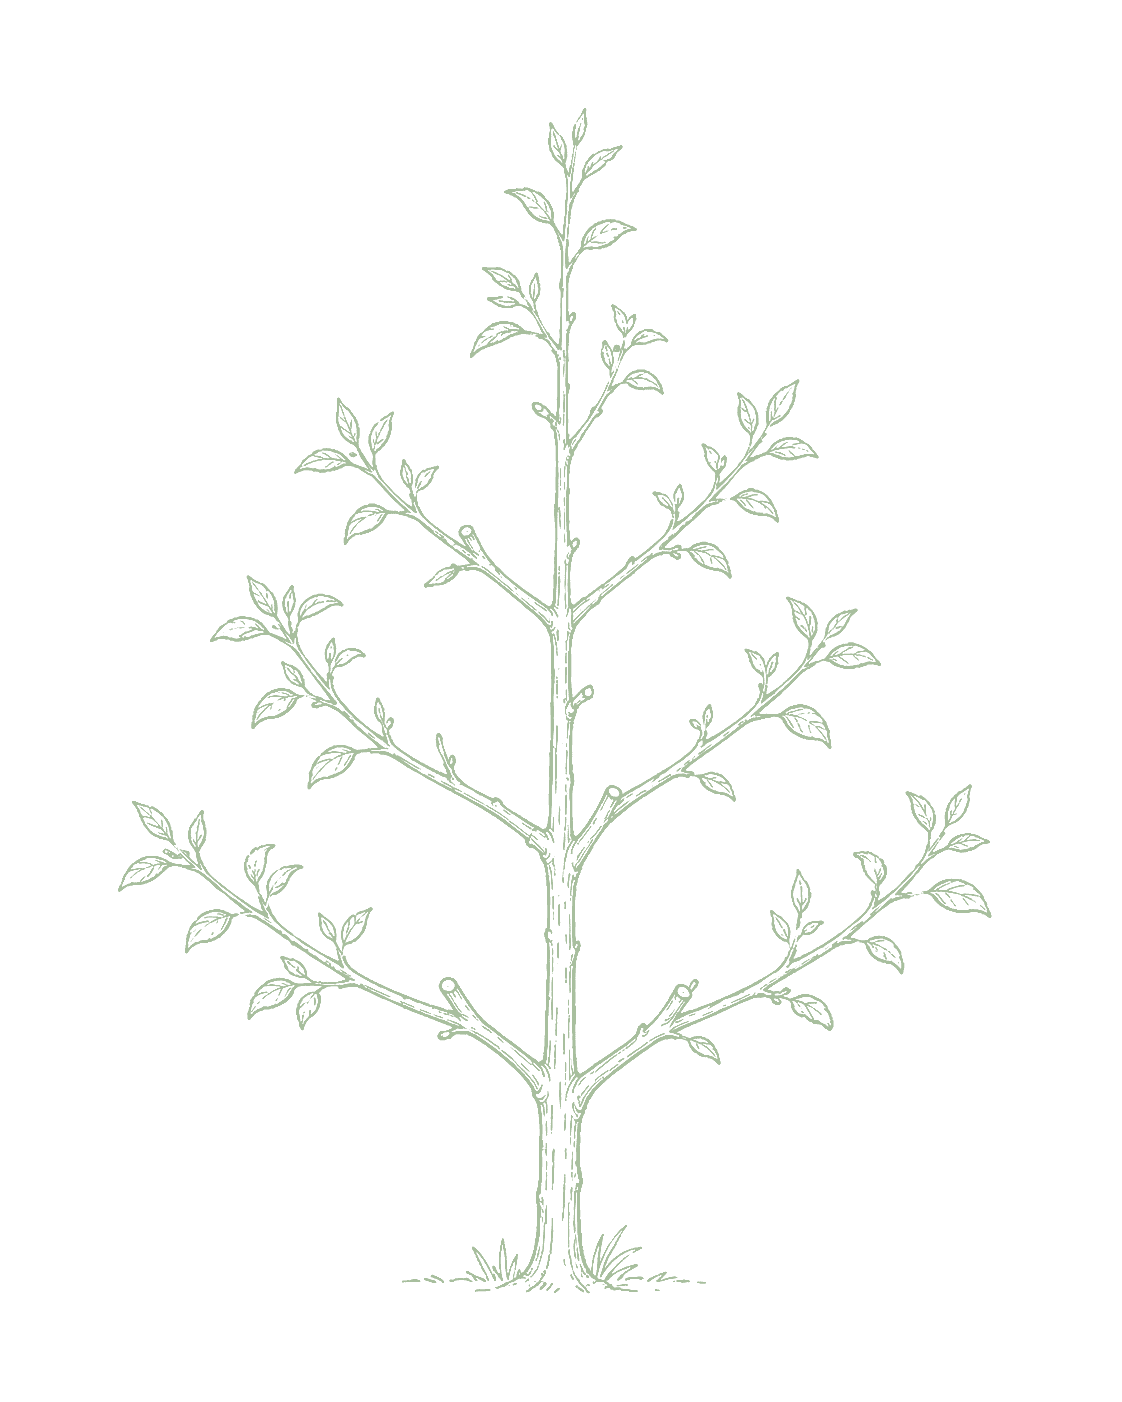
03
Scaffold formation (years 1 to 3)
Over the first few years the tree builds its main branches, the permanent shape it will keep. You want a few strong, evenly spaced branches.The permanent branch framework develops. Look for well-spaced, wide-angled main (scaffold) branches around the central leader.
Each winter while the tree is bare, do some light shaping: keep one main upright stem and a handful of evenly spaced side branches, and cut out branches that cross or point straight up or down. This sets the tree up for life.Each winter, prune to train structure: keep a central leader, select 4 to 6 well-spaced scaffolds with wide crotch angles, and remove crossing, downward, or competing shoots.
FROM PLANT · These first few winters are when you build the tree's main branches, the shape it keeps for life. Keep one main upright stem and a handful of evenly spaced side branches that come off at a wide angle, and cut away branches that cross, point straight down, or crowd each other. A little shaping now saves a lot of correction later.Train the permanent framework now, while the wood is young and flexible: keep one central leader and select 4 to 6 well-spaced scaffolds with wide crotch angles, removing crossing, downward, and competing shoots each dormant season. The shape you set in the first few years is the shape the tree keeps for decades.
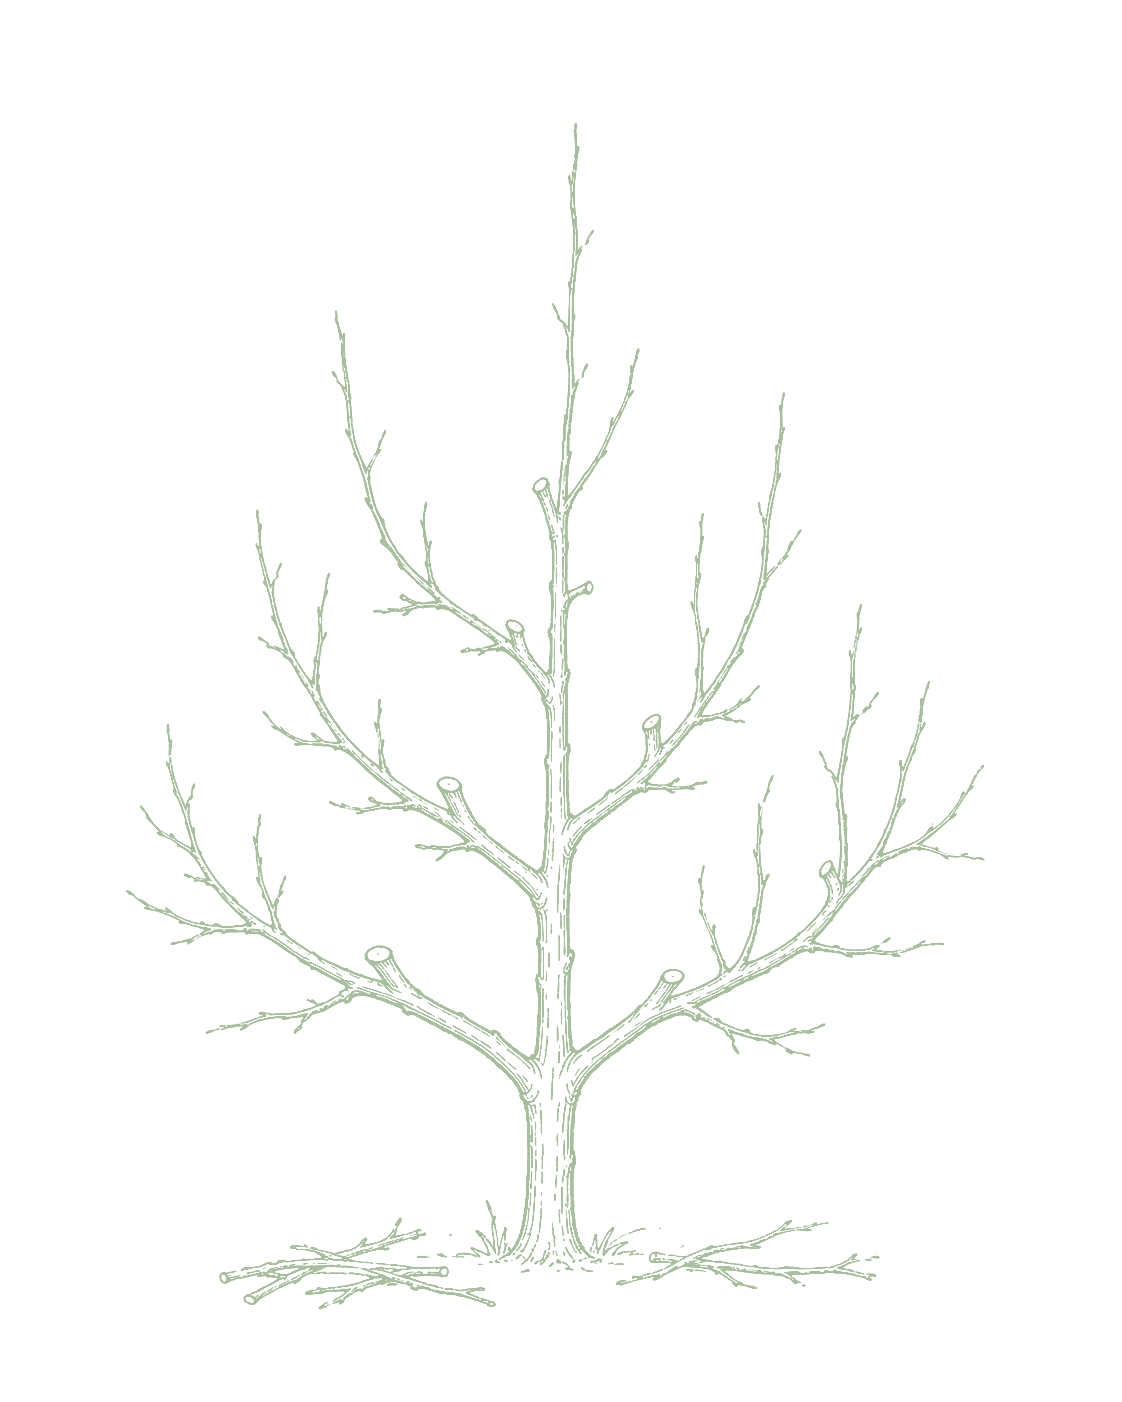
04
Annual winter dormant prune
In late winter the tree is bare, which is the perfect time to prune because you can see all the branches clearly.A leafless, dormant canopy, the time to see and shape branch structure. Note water sprouts, crossing limbs, and any blackened fire-blight wood.
Once a year, in late winter, thin out the branches so sunlight and air reach inside the tree, and remove dead or crossing wood. If you cut any branch that looks fire-blight-burned, wipe your tools with disinfectant between cuts.Prune annually in late winter: thin for light and air, remove water sprouts and crossing or dead wood, and head back as needed. Disinfect tools if cutting any fire-blight-affected wood.
FROM PLANT · Do your pruning in late winter, before the buds open. Pruning in warm, humid summer weather opens fresh cuts that let in fire blight, a serious bacterial disease that blackens and kills branches.Prune in late winter before bud break; pruning in humid summer invites fire blight.
FROM PLANT · If fire blight (a disease that makes branch tips look burnt) might be around, wipe your pruners with disinfectant between each cut so you do not spread it from branch to branch.Disinfect pruners between cuts whenever fire blight may be present.
FROM PLANT · In winter the leafless tree is resting and collecting its chill hours (the hours of cold it needs in order to flower and fruit later). The cold is helping the tree, not hurting it.Dormancy is when the tree banks its chill hours, the cold is doing necessary work, not harm.
FROM PLANT · Winter is the best time to plan your pruning, because the branches are bare and you can clearly see the shape of the tree.Plan your pruning now while branches are bare and easy to read.
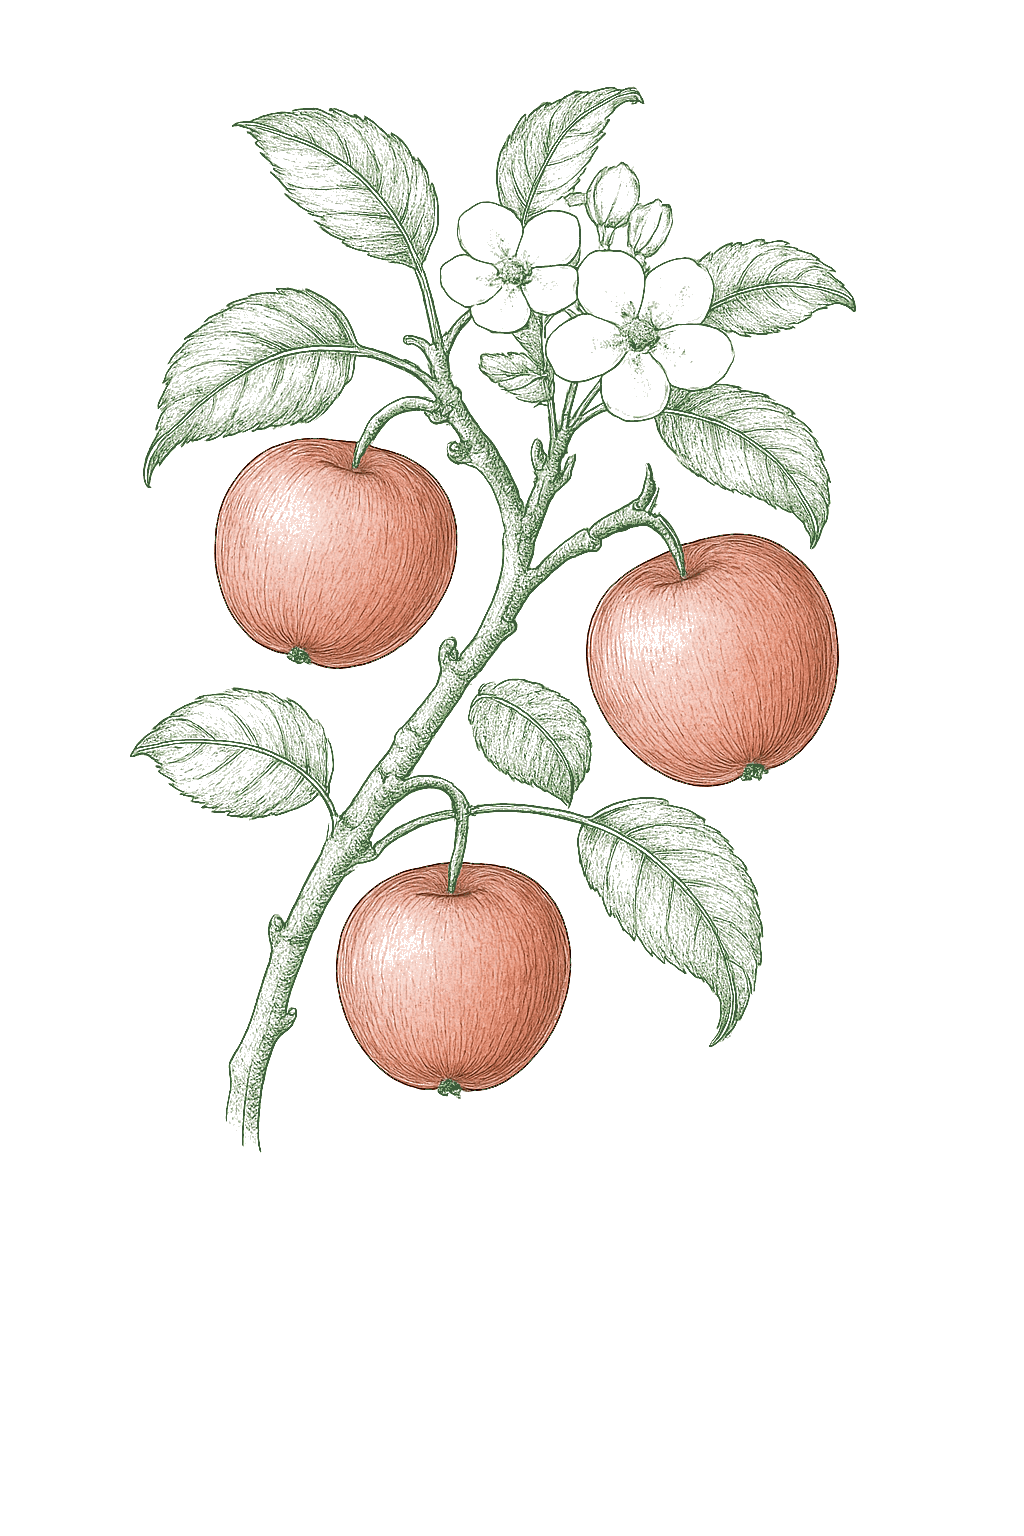
05
Bloom and pollination
The tree covers itself in white-to-pink flowers, and bees should be visiting. Check that your second apple variety is flowering too, they need to overlap.Buds move through pink, then open white-to-pink blossoms. Watch for bee activity and check that a compatible pollinizer is blooming at the same time.
Never spray bug killer while the tree is in bloom, you would kill the bees you need. Keep an eye on the forecast: cover small trees or run sprinklers if a hard frost is coming, because frost on open flowers means no apples.Do not apply insecticide during bloom (it kills pollinators). Watch the frost forecast: protect open bloom from hard late frost. Ensure a pollinizer is in bloom within about 50 ft.
FROM PLANT · Never spray bug killer while the tree is in bloom. The flowers need bees to visit and move pollen, and insecticide kills the bees you are depending on.Never spray insecticide during bloom, you need the bees that are visiting.
FROM PLANT · Keep an eye on the frost forecast while the tree is flowering. A hard frost on open blossoms can destroy the entire crop for the year, so cover the tree if a freeze is coming.Watch the frost forecast: a hard frost on open blossoms can cost the whole crop.
06
Fruit set and thinning
After the flowers fall, little marble-sized apples appear in clusters. The tree drops some on its own, but usually leaves too many close together.Tiny fruitlets form in clusters after petals drop. A natural "June drop" sheds some; remaining clusters are often too crowded for good size.
Thin the young apples: snap off extras so you leave about one apple per cluster, spaced roughly a hand-width apart. Fewer apples means bigger, better apples and less chance of a branch breaking. Petal fall is also the time to deal with the "worm in the apple" (codling moth).Thin to about one fruit per cluster (roughly 6 inches apart) within 4 to 6 weeks of bloom to size up fruit, reduce limb breakage, and curb biennial bearing. Target codling moth and plum curculio at petal fall.
FROM PLANT · About a month after the tree blooms, thin the tiny apples down to one per cluster by pinching off the extras. Fewer apples per cluster means bigger fruit and a more even crop year to year.Thin to one fruit per cluster within about a month of bloom for bigger apples and steadier yearly crops.
FROM PLANT · The time right after the petals fall is the key window to control codling moth and plum curculio, the two insects whose larvae tunnel into and ruin the apples. Time any treatment to petal fall.Petal fall is the key timing window for codling moth and plum curculio control.
07
Harvest (around year 3+)
Apples reach full ripe color and come off easily when you cup and twist them upward. Cut one open, brown seeds mean ready, and taste to be sure.Full varietal ground color, easy detachment with an upward twist, brown seeds, and ripe flavor. Different varieties ripen weeks apart.
Pick apples as they ripen, handling them gently so they do not bruise. Your first real harvest is usually around the third year. Put the good keeper varieties somewhere cold like the fridge.Pick by cultivar as fruit ripens (the first real crop is usually around year 3, rootstock-dependent). Handle gently to avoid bruising, store keepers cold and humid.
FROM PLANT · A ripe apple comes off with a gentle upward twist of the wrist. If you have to pull hard, it is not ready yet, so give it more time.Ripe apples lift off with a gentle upward twist; if you have to tug hard, wait.
FROM PLANT · Good keeping varieties (Fuji, Granny Smith, Pink Lady) store for months if you keep them cold and humid, so you can eat your own apples well into winter.Pick and store keepers (Fuji, Granny Smith, Pink Lady) cold and humid for months of fruit.
08
Post-harvest and fall sanitation
After harvest the leaves turn and fall, and the tree goes to sleep for winter. Look at what is left on the ground.Leaves yellow and drop as the tree re-enters dormancy. Note any dropped fruit and fallen leaves (disease and pest carryover sources).
Rake up and remove the fallen leaves and any apples on the ground, this one chore prevents a lot of next-year disease and pests. Do not prune yet, save that for late winter.Rake and remove fallen leaves (breaks the apple-scab cycle) and clear all dropped fruit (breaks codling moth and apple maggot cycles). Do not prune now, wait for late-winter dormancy.
FROM PLANT · Rake up and remove the fallen leaves in autumn. This one chore breaks the cycle of apple scab (a common fungal disease that spots leaves and fruit) for next year, because the fungus overwinters in old leaves.Rake and remove fallen leaves, this single chore breaks the apple-scab cycle for next year.
FROM PLANT · Pick up every dropped apple from the ground. This breaks the life cycle of codling moth and apple maggot, two pests whose larvae live in fallen fruit and return to attack next year's crop.Clear all dropped fruit to break codling moth and apple maggot cycles.
The specs

Care guide

The numbers that matter, at a glance.

Sunlight
Full sun · 6-8 hrs/day
Water
moderate
Spacing
60-300 inches
Soil
loam
Soil pH
6 to 6.5
Container OK?
Yes · 15+ gal pot
Soil chemistry

Soil pH for apple

Preferred
6 to 6.5
Tolerated
5.5 to 7

Apple trees like soil that is slightly acidic, a pH around 6.0 to 6.5 (pH is just a measure of how acidic or alkaline soil is, where 7.0 is neutral). Test your soil before you plant, since it is much easier to fix the pH now than after the tree is in the ground. If the test says your soil is too acidic, garden lime raises the pH; if it is too alkaline, garden sulfur lowers it. Your local extension office can test a soil sample for you.Apple does best at a slightly acidic pH of about 6.0 to 6.5, and tolerates roughly 5.5 to 7.0. Test the soil before planting and adjust the whole root zone, not just the hole, because correcting pH around an established tree is slow. Lime raises a low pH; elemental sulfur lowers a high one. Outside this band, iron and manganese become less available and you see interveinal yellowing on new growth even when those nutrients are present.

Verified · 2 sources View
Steady hand on the hose

Watering

When & how much
Frequency
Water deeply but not too often, aim for about 1 inch of water a week while the tree is growing and making fruit. Water more in hot, dry spells and less once the leaves drop in fall.Deep, infrequent irrigation: about 1 inch of water per week through the growing season, more in heat and during fruit sizing, tapering off as the tree goes dormant.
Amount
About 1 inch a week. The easiest way is one long, slow soak that gets the water down deep to the roots, rather than a quick daily sprinkle.Roughly 1 inch per week as a baseline (a deep soak that wets the full root zone), increasing during fruit sizing in mid to late summer.
Method
Use a soaker hose or drip line, or just let a hose trickle slowly at the edge of the branches. Keep water off the trunk itself, and spread mulch around the tree (but not touching the trunk) to hold moisture in.Drip or a slow soak at the dripline; keep water off the trunk and crown to avoid collar rot, and mulch to hold moisture (pulled back a few inches from the trunk).
Signs of trouble
Too much water
If the leaves yellow and the ground stays soggy, the tree is getting too much water or the soil drains poorly. Rot at the base of the trunk is a warning sign.Yellowing leaves, waterlogged or persistently soggy soil, and root or collar rot at the trunk base signal too much water or poor drainage.
Too little water
Wilting or dry, brown leaf edges, and small fruit that drops early, mean the tree is too dry, especially in mid to late summer when the apples are sizing up.Wilting or scorched leaf margins, premature fruit drop, and small fruit in summer indicate drought stress, especially during fruit sizing.
Feeding rhythm

Feeding

Frequency
annual
Type
balanced
When to start
early spring before bud break

Feed apple trees once a year, in early spring before the buds open, with a balanced fertilizer. Go easy: too much feeding makes lots of soft leaves instead of fruit and invites a serious disease called fire blight. If the tree is growing well and putting out healthy new branches each year, it may not need much at all.Fertilize lightly in early spring before bud break, guided by shoot growth: a healthy young apple makes about 12 to 18 inches of new shoot growth per year, so feed to reach that, not beyond. Excess nitrogen drives soft, leafy growth that is highly susceptible to fire blight and delays fruiting. Mature trees on fertile soil often need little or no nitrogen.

N · P · K = 10-10-10

The three numbers on a fertilizer bag are nitrogen, phosphorus, and potassium. A balanced one like 10-10-10 is fine for apples. The first number (nitrogen) is the one to keep modest, too much makes the tree grow leaves instead of apples.A balanced N-P-K ratio (the three numbers on the bag, nitrogen, phosphorus, potassium), such as 10-10-10, applied at a modest rate; lean toward lower nitrogen on vigorous trees to limit fire-blight-prone growth.

Who grows well together

Companion planting

Apples do not pair with other plants the way vegetables do. For an apple, the neighbor that counts is a second, different apple variety planted within about 50 ft that blooms at the same time, because most apple trees need another apple nearby to make fruit. Right around the trunk, do the opposite of planting companions: keep grass and other plants away from the base, out to the edge of the branches, because they steal water and food from the young tree. Use mulch there instead, and never plant an apple near a black walnut tree, which poisons the soil for apples. Apple does not companion-plant in the vegetable sense; the interactions that actually matter are pollination and root competition. The single most important neighbor is a second, bloom-overlapping apple variety (the pollinizer) within about 50 ft, because nearly all apples are self-unfruitful. At the trunk, the rule is the reverse of companionship: keep turf and aggressive perennials out of the root zone, since grass competes hard with a young tree for water and nitrogen. Maintain a mulched, vegetation-free circle out to the dripline, and avoid siting near black walnut, whose juglone is toxic to apple.

Pest deterrent
spring bulbs (daffodil)
Plant a ring of daffodils around your apple tree, out where the branches reach. They come up early in spring with cheerful flowers, help keep grass from creeping in toward the trunk, and because they are poisonous to nibble, they discourage mice and deer. They die back in summer, so they stay out of the tree's way.A ring of daffodils at the drip line is a traditional apple-guild move with two intended jobs: the early foliage and bulbs form a band that helps hold back creeping grass, the tree's main competitor, and daffodils are toxic enough that voles and deer tend to avoid grazing through them to the trunk. They emerge and feed before the canopy leafs out, then go dormant, so they do not compete with the tree in summer. Treat this as a useful cultural barrier rather than a measured yield booster. Traditional
Nutrient
comfrey
Comfrey is a leafy plant that grows well around apple trees. Its roots reach deep down, so it does not steal water from the tree, and it crowds out grass. A few times each summer you can cut the big leaves and lay them on the soil under the tree, where they rot down into natural food for it. Its flowers also bring in helpful bees.Comfrey is a workhorse of the apple guild. Its deep taproot pulls from well below the tree's surface feeder roots, so it does not compete for the same water and nutrients, and it shades out grass along the row. Chopped two or three times a season and dropped under the tree, its lush leaves break down into a mineral-rich mulch, and the flowers feed pollinators and beneficials. The dynamic-accumulator framing is more tradition than proven chemistry, but the practical value as non-competing mulch and grass suppression is real. Traditional
Ground cover
clover (living mulch)
White clover is a low, soft plant you can grow as a living carpet under your apple tree. It pulls nitrogen from the air and feeds it into the soil for the tree, while covering the ground to keep weeds down and hold in moisture. It is tough enough to walk on at picking time. Just keep it from growing right against the trunk.Dutch white clover makes a strong living mulch under apples. As a legume it fixes atmospheric nitrogen through its root symbiosis, feeding the tree slowly while staying low and tolerating the foot traffic of harvest. It covers the ground to suppress weeds and hold moisture without the aggressive grass competition that bare turf brings. Keep it back from the immediate trunk zone, and note it does draw some moisture, so on dry sites manage it accordingly. Well-grounded
Keep apart from
black walnut Keep apple trees far away from black walnut trees. Black walnuts release a natural chemical called juglone from their roots and leaves that is poisonous to apple trees and can make them sicken and die. The chemical spreads through the soil well past the walnut's branches, so give them a very wide berth, at least 50 feet from a big walnut.Black walnut is a definitive bad neighbor for apple. Its roots, hulls, and leaf litter release juglone, an allelopathic compound that is toxic to a wide range of sensitive plants, and apple is among those affected, showing decline and dieback within the walnut's root zone. The effect extends well beyond the visible canopy, roughly to the full root spread (commonly cited at fifty-plus feet from a mature tree), so siting matters more than spacing tweaks: keep apples entirely out of a black walnut's root zone. Well-grounded
turfgrass to the trunk Do not let lawn grass grow right up against your apple tree's trunk. The grass competes with the young tree for water and food, and trees with grass to the trunk grow slower and start fruiting later. Grass at the trunk also hides mice that can chew the bark in winter. Keep a clear or mulched circle about two feet around the trunk, with the mulch pulled back slightly so it does not touch the bark.Letting turfgrass grow right up to an apple trunk is a quiet but real drag on the tree, especially when young. Grass competes directly for water and nitrogen in the surface zone where the tree's feeder roots sit, and a documented extension experiment showed grass against apple trunks delayed the onset of fruiting and reduced vegetative growth versus a kept-clear area. There is a second hazard: dense grass and mulch against the trunk harbor voles that girdle bark over winter. Maintain a vegetation-free or mulched strip about two feet out from the trunk (mulch pulled back a few inches off the bark itself). Research-backed
Provenance tagged inline · see methodology for the labeling system Key
Harvest signals

When to pick

An apple is ready when it has turned its full ripe color and comes off easily if you cup it and twist upward, with no hard tug. Cut one open: brown seeds mean it is ripening. Taste is the best test. Do not expect a real crop until about the third year after planting.Ripe apples reach full ground color and varietal flavor and detach with a gentle upward twist; seeds turn brown and starch converts to sugar. First meaningful crop typically comes around year 3, rootstock-dependent.

Verified · 2 sources View
Yield

What to expect

How many apples you get depends mostly on tree size. A small (dwarf) tree gives roughly 1 to 2 bushels a year (a bushel is about 40 lb of apples), while a full-size tree can give many times that once it is mature.Mature yield is rootstock-driven: a dwarf (M9/M26) tree carries roughly 1 to 2 bushels (about 40 to 80 lb) per year, a semi-vigorous tree (MM106/MM111) more, and a standard tree can exceed 6 to 10 bushels at full maturity.

A tree does not hit full production right away, it builds up over several years after its first crop. Some apple varieties naturally swing between a big year and a small year; thinning the young fruit (removing some) helps keep crops steadier.Trees reach full bearing several years after first crop: roughly years 5 to 8 on dwarfing rootstocks, later on standards. Many cultivars tend toward biennial bearing (a heavy year followed by a light one); thinning fruit evens it out. Expect zero apples the first year, that is normal and intended. Your first real handful of fruit usually comes around year 3.No crop in the planting year (blossoms are removed). First meaningful fruit around year 3 on dwarfing rootstocks.

What changes yield
rootstock (sets tree size and capacity)cross-pollination success (overlapping pollinizer within ~50 ft)fruit thinning (size and biennial-bearing control)late-frost damage to bloompest and disease pressure (codling moth, scab)
Verified · 2 sources View
Off the vine

Storing your harvest

Room temp
On the counter, apples stay good for about 1 to 3 weeks. Crisp late-season apples last longer than soft early ones.Ripe apples hold about 1 to 3 weeks at room temperature; softer early varieties keep at the short end, firm late keepers longer.
Fridge
In the fridge, apples last much longer, from about a month up to several months for good keeper varieties like Fuji, Granny Smith, and Pink Lady. Store them in the crisper drawer, away from leafy greens, because apples give off a gas that makes nearby vegetables go bad faster.Refrigerated near 32 to 36 °F at high humidity, storage cultivars (Fuji, Granny Smith, Pink Lady, Honeycrisp) keep 1 to 6 months; keep apples away from leafy greens, as the ethylene they give off speeds spoilage.
Freezer
Whole apples turn mushy if frozen. Instead, peel and slice them (a squeeze of lemon juice keeps them from browning) or cook them into applesauce first, then freeze. Frozen this way they keep about a year and are great for baking.Apples do not freeze well whole (texture turns mealy); freeze as slices tossed with a little lemon juice, or as sauce, for cooking use up to about a year.
Verified · 1 source View
When something goes wrong

Common problems

Lots of flowers, but no applesTree flowered but set no fruit
01 of 06
What happened Your tree had plenty of flowers but they fell off without making apples. The usual reason: there was no second, different apple variety blooming nearby to pollinate it. One apple tree alone usually cannot fruit.Without a compatible pollinizer in overlapping bloom within about 50 ft, blossoms are not fertilized and drop without setting fruit. This is the most common apple failure. Next season Add a second apple variety nearby that blooms at the same time, a flowering crabapple works too. Then bees can do their job and you will get fruit.Plant a second, genetically different apple (or a crabapple) whose bloom overlaps, within about 50 ft, or graft a pollinizer limb onto the existing tree.
Few flowers, or flowers very lateSparse, delayed, or straggly bloom
02 of 06
What happened The tree barely flowered, or flowered oddly late and patchy. This usually means the variety needs more winter cold than your area gives it.A high-chill variety grown in a warm-winter zone did not accumulate enough chill hours to break dormancy normally, giving delayed, uneven, weak bloom and poor set. Next season Pick a "low-chill" apple variety suited to mild winters, like Dorsett Golden, Anna, or Ein Shemer. The right variety for your climate flowers normally.Match variety chill requirement to your winters: in warm zones choose low-chill cultivars (Dorsett Golden, Anna, Ein Shemer).
A late frost killed the flowersBloom blackened by late frost
03 of 06
What happened A late spring frost hit while the tree was flowering and killed the blooms, so no apples that year. It is heartbreaking but common, and not your fault.A hard frost during open bloom killed the blossoms (and any tiny fruitlets), eliminating that year's crop. Early-blooming varieties are most exposed. Next season During bloom, watch for frost warnings and cover a small tree, or run a sprinkler through the cold night. In frosty spots, choose later-blooming varieties.Watch the frost forecast at bloom and protect small trees (covers, sprinklers running through the frost); favor later-blooming varieties in frost-prone sites.
Worms or holes in the applesApples tunneled and wormy inside
04 of 06
What happened You cut open the apples and found tunnels or little worms. That is the codling moth (the classic apple worm) or apple maggot, and leaving fallen apples on the ground makes it worse each year.Codling moth or apple maggot larvae fed inside the fruit. Untreated, most of the crop can be affected, and dropped infested fruit reseeds next year's population. Next season Pick up every fallen apple right away, bag the young apples or hang traps, and treat at the right time (just after petals fall). Sanitation alone makes a big dent.Clean up all dropped fruit promptly, bag developing fruit or use traps and well-timed spinosad at petal fall and on a codling-moth schedule.
Rough spots on apples, leaves falling earlyScabby fruit and spotted, dropping leaves
05 of 06
What happened Dark fuzzy spots covered the leaves and the apples turned scabby and cracked, and the tree dropped leaves early. This is apple scab, a fungus that hides in old fallen leaves over winter.Apple scab infected leaves and fruit during wet spring weather; fungus overwintered in last year's fallen leaves and reinfected the new growth. Next season Rake up and remove fallen leaves every fall, that breaks the cycle. For a near-spray-free tree, plant a scab-resistant variety like Liberty.Rake and remove fallen leaves each autumn, prune for airflow, apply sulfur on a protective spring schedule, or switch to a scab-resistant variety such as Liberty.
A huge year, then a bare yearHeavy crop one year, almost none the next
06 of 06
What happened One year the tree was loaded with apples, the next it had almost none. Apple trees can get into this on-and-off rhythm when they over-crop.The tree fell into biennial bearing: a heavy crop suppressed next year's flower buds, giving an off year. Some varieties are naturally prone to it. Next season Thin the young apples every single year, even in a big year. Leaving fewer apples helps the tree make flower buds for next year and evens out the crops.Thin fruit consistently every year (about one per cluster) so the tree sets flower buds for the following season and crops more evenly.
Verified · 5 sources View
The usual suspects

Pests & diseases

Pests
Codling moth
P · 01
Symptoms This is the classic "worm in the apple." You find a small hole in the apple with brown crumbly stuff (frass) around it, and a tunnel into the core when you cut it open. Bad apples drop early.Larvae tunnel into the fruit core, leaving a frass-filled entry hole (often at the calyx end) and brown trails; infested apples drop early or are inedible. Cause A small moth lays eggs on the tiny apples in spring; the eggs hatch into caterpillars that crawl into the fruit. There can be two batches a summer, so the problem repeats.Cydia pomonella; female moths lay eggs on developing fruit and young leaves near bloom, and hatching larvae bore into the apple. Two or more generations per season in most regions. Prevention Keep the ground under the tree clean of fallen apples, and wrap a band of cardboard around the trunk to trap crawling caterpillars. Nearby neglected apple trees make it worse.Orchard sanitation (clear dropped fruit and debris), keep nearby abandoned apple trees pruned or removed, and band trunks to catch larvae seeking pupation sites.
The control ladder

The ladder troubleshoots from the gentlest solution to the strongest. Start with the gentlest option and only move on when and if it doesn't work.

  1. Garden sanitation

    Start here: pick up and destroy every apple that drops, do not leave them under the tree, since the caterpillars ride out in the fallen fruit. This step alone lowers next year's moths.Removing and destroying dropped and infested fruit through the season strips out larvae before they exit to pupate; the backbone every other step builds on.

  2. Codling moth pheromone trap

    Hang a scented (pheromone) trap to tell you when the moths are flying, so you know the right moment to bag fruit or spray. The trap is a timing tool, not a cure on its own.Wing traps baited with sex pheromone time the other steps to egg hatch; UC IPM notes trapping alone is not a reliable way to reduce damage on an isolated tree.

  3. Fruit bagging

    Slip a paper bag or nylon footie over each young apple about a month after bloom and staple it shut. It is the most effective spray-free option, worth the effort on a small tree.Bagging at 1/2 to 1 inch fruit excludes egg-laying moths; UC IPM calls it the only nonchemical method effective enough to use alone, even under heavy pressure.

  4. Kaolin clay

    A white clay film sprayed on the tree makes it an unpleasant place for moths to lay eggs. It only partly controls codling moth, so reapply through the season and expect to pair it with the steps above.Kaolin gives only fair to moderate codling moth control and washes off, so keep new growth covered; heavy use can flare European red mites or scale.

  5. Spinosad

    If the steps above are not holding, spinosad is a strong organic spray, but it only works if timed to when the eggs hatch, which is what the trap tells you. It is hard on bees while wet, so spray at dusk and never on open blossoms.Spinosad, timed to egg hatch on a petal-fall or degree-day schedule, controls the boring larvae; toxic to bees while wet, so apply at dusk away from bloom.

  6. Pyrethroid

    Only for a heavy infestation nothing else has held. A synthetic that kills fast but hits bees, fish, and the good bugs too, so it is a last resort, not a routine spray.A broad-spectrum contact pyrethroid is rescue-only; it sets back natural enemies and can trigger mite or aphid resurgence. Observe the label pre-harvest interval.

No spray for this one. Prevention is the control.

Apple maggot
P · 02
Symptoms The apple skin gets little dimples and the inside has brown squiggly trails. Unlike the codling moth's single tunnel to the core, this is a maze of trails through the flesh.Adult flies lay eggs under the skin; larvae tunnel through the flesh leaving dimpled, pitted fruit with brown winding trails inside. Cause A fly pokes the apple skin in summer and lays eggs just underneath, and the maggots eat through the apple.Rhagoletis pomonella; flies emerge in summer and sting the fruit surface to lay eggs just under the skin. Prevention Picking up fallen apples quickly stops the next generation. Bagging the fruit also keeps the flies out.Sanitation (remove drops within a few days, before larvae exit into the soil) breaks the cycle; bagging fruit excludes the flies.
The control ladder

The ladder troubleshoots from the gentlest solution to the strongest. Start with the gentlest option and only move on when and if it doesn't work.

  1. Garden sanitation

    Start here: pick up fallen apples every few days, before the maggots crawl out into the soil to overwinter. Clearing the drops promptly breaks the cycle.Removing drops within a few days, before larvae exit into the soil, is the foundational step against apple maggot.

  2. Red sphere trap

    Hang sticky red ball traps that look like ripe apples; the flies land to lay eggs and get stuck. Use about one trap per 100 to 150 apples on the tree, and get them up by mid-June before egg-laying starts.Baited red spheres at roughly one per 100 to 150 fruit trap out egg-laying females and can control apple maggot in a small planting, not just monitor it; keep them sticky and serviced.

  3. Fruit bagging

    Bagging young apples keeps the flies off the fruit entirely, the surest spray-free option where you have the patience to bag each one.Paper bags applied at 1/2 to 1 inch fruit exclude apple maggot as well as codling moth for the rest of the season.

  4. Kaolin clay

    A white clay film repels apple maggot flies and gives strong control of this pest, though it must be reapplied and washed off the fruit at harvest.Kaolin gives strong control of apple maggot specifically; keep the film renewed on new growth through the egg-laying period.

  5. Spinosad

    If traps and clay are not enough, a spinosad spray helps, but it is hard on bees while wet, so spray at dusk and not on open flowers.Spinosad, applied when flies are active, backs up trapping; toxic to bees while wet, so time it to dusk.

  6. Pyrethroid

    A last resort for heavy pressure only. It works fast but kills bees, fish, and beneficial insects, so keep it off flowers and out of water.Rescue-only; broad-spectrum and disruptive to natural enemies, with a label pre-harvest interval to observe.

No spray for this one. Prevention is the control.

Plum curculio
P · 03
Symptoms Look for little crescent or D-shaped scars on the small green apples in spring. Damaged fruit often drops while still small.Crescent-shaped (D-shaped) scars on young fruit from egg-laying; larvae feed inside, causing misshapen fruit and early drop. Cause A tiny beetle (weevil) that scars the baby apples right after the flowers drop their petals.Conotrachelus nenuphar; a small weevil that attacks young fruit shortly after petal fall. Prevention Clean up dropped apples promptly, they carry the next generation.Prompt removal of dropped fruit (which carries larvae) and good sanitation reduce next-year pressure.
The control ladder

The ladder troubleshoots from the gentlest solution to the strongest. Start with the gentlest option and only move on when and if it doesn't work.

  1. Garden sanitation

    Start here: clean up dropped apples promptly, since they carry the grubs, and on cool early mornings you can spread a sheet under the tree and tap the branches to jar the beetles down and collect them.Prompt removal of dropped fruit lowers next year's weevils; jarring adults onto a sheet at first light, when they are sluggish, physically removes them.

  2. Kaolin clay

    A white clay film applied right after the petals fall, when the weevils attack the young fruit, deters them from feeding and laying eggs. Reapply through the season to keep new fruit covered.Kaolin gives fair to moderate plum curculio control; start at petal fall, the critical window, and reapply as fruit expands and the film washes off.

  3. Pyrethroid

    Only if clay is not holding and the weevils are ruining the crop. If you spray, the timing that matters is just after the blossoms drop their petals, and again about two weeks later. This is a synthetic that hits bees and beneficials, so keep it off open flowers and treat it as a last resort.A rescue-only conventional; time it to petal fall and a follow-up about two weeks later, after bloom so bees are off the flowers. Broad-spectrum and disruptive to natural enemies, with a label pre-harvest interval.

No spray for this one. Prevention is the control.

Woolly apple aphid
P · 04
Symptoms Fluffy white cottony patches show up on branches and around pruning cuts, it looks like bits of cotton wool stuck to the bark.White, cottony tufts on shoots, pruning wounds, and roots; heavy colonies cause galls and weaken young trees. Cause A small aphid that covers itself in white waxy fluff while it feeds on the bark and roots.Eriosoma lanigerum; colonies feed on bark and roots, secreting the protective waxy wool. Prevention Some rootstocks (MM106, MM111) naturally resist this pest, a good reason to ask which rootstock your tree is on.Choosing a resistant rootstock (MM106, MM111 resist woolly apple aphid) avoids the worst root colonies.
The control ladder

The ladder troubleshoots from the gentlest solution to the strongest. Start with the gentlest option and only move on when and if it doesn't work.

  1. Resistant varieties

    The best defense is the rootstock your tree is grafted on: MM106 and MM111 rootstocks resist woolly apple aphid, so ask which one your tree is on when you buy.Woolly apple aphid resistant rootstocks (MM106, MM111) avoid the worst root colonies; the highest-leverage, plant-once choice.

  2. Water spray

    A strong jet of water knocks the cottony colonies off shoots and pruning wounds, and cutting off badly infested twigs removes the worst of them. Both are cheap first steps before any spray.A forceful spray dislodges the woolly colonies on sturdy wood; prune out heavily infested wood to remove established galls, and repeat as colonies rebuild.

  3. Beneficial predators

    Ladybugs, lacewings, and parasitic wasps feed on woolly apple aphid and often keep it in check on their own, so protect them by avoiding broad sprays.Conserving resident natural enemies usually keeps woolly apple aphid down; broad-spectrum sprays that wipe them out are what let it flare, so the softer this ladder stays, the better.

  4. Insecticidal soap

    For stubborn colonies, spray them directly with insecticidal soap. It only kills what it wets, so hit the cottony patches thoroughly, and it spares beneficials once dry.Contact soap smothers the exposed colonies but does not reach the wax-protected or root-feeding aphids, so it gives only partial control; coverage and repeat sprays matter.

  5. Horticultural oil

    Horticultural oil smothers the aphids and has a bit more staying power than soap. Do not spray it in heat above 90°F or on a drought-stressed tree, and keep it away from a recent sulfur spray.Narrow-range oil gives partial control by smothering; the waxy wool shields some aphids, so thorough coverage is key. Avoid oil on stressed trees, above 90°F, or within 2 weeks of sulfur. There is no conventional rung here, since pyrethroids destroy this aphid's natural enemies and make outbreaks worse.

No spray for this one. Prevention is the control.

Diseases
Apple scab
D · 01
Symptoms Dark, fuzzy olive-green spots appear on the leaves, and the apples get rough, scabby, cracked patches. In a bad year the tree drops its leaves early.Olive-green to brown, velvety spots on leaves that later turn dark and corky; scabby, cracked lesions on fruit. Severe infection causes leaf yellowing and early defoliation. Cause A fungus that survives winter in last year's fallen leaves and spreads in cool, wet spring weather onto the new leaves and fruit.Venturia inaequalis; spores overwinter in fallen leaves and infect during wet spring weather, with infection periods driven by leaf wetness and temperature. Prevention The single best move is to rake up and remove fallen leaves every autumn, that is where the fungus hides over winter. Better yet, plant a scab-resistant variety like Liberty so you rarely have to spray.Rake and remove fallen leaves in autumn (destroys the overwintering source), prune for airflow, and plant scab-resistant varieties such as Liberty.
The control ladder

The ladder troubleshoots from the gentlest solution to the strongest. Start with the gentlest option and only move on when and if it doesn't work.

  1. Resistant varieties

    The surest fix is to plant a scab-resistant apple like Liberty, so you rarely have to spray at all.Scab-resistant cultivars such as Liberty remove most of the spray schedule; the highest-leverage control for a disease that is hard to cure once it is going.

  2. Garden sanitation

    Rake up and remove every fallen leaf in autumn. The fungus overwinters in last year's leaves, so clearing them is the single best thing you can do after variety choice.Removing and destroying fallen leaves in autumn strips out the overwintering source, lowering next spring's spore load.

  3. Airflow spacing

    Prune the tree so air moves through it and the leaves dry fast after rain. Scab needs long wet periods to infect, so a drier canopy gets less disease.Opening the canopy shortens leaf-wetness periods, denying the fungus the sustained moisture it needs to infect.

  4. Sulfur

    If you grow a susceptible variety, sulfur is the organic spray, but it must go on in spring before infection, on a protective schedule. Once the spots are everywhere it is too late for that year, so prevention is the game. Do not spray sulfur in heat above 90°F, since it burns leaves.Sulfur is a protectant only, so time it to spring infection periods and reapply; it will not cure established scab. Avoid it above 90°F and within 2 weeks of an oil spray, and note it can harm predatory mites.

No spray for this one. Prevention is the control.

Fire blight
D · 02
Symptoms Branch tips and flower clusters suddenly turn black and look burned, as if scorched by fire, and the tip bends over into a hook shape. It can kill whole branches or the tree.Blossoms and shoot tips suddenly wilt, blacken, and die, bending into a characteristic "shepherd's crook"; affected branches look scorched. Sunken, oozing cankers form on wood. Cause Bacteria that infect through the flowers in warm, wet spring weather. Fast, soft growth from too much fertilizer makes it much worse.Erwinia amylovora; bacteria infect through blossoms and wounds in warm, wet spring weather and spread fastest on lush, nitrogen-pushed growth. Prevention Go easy on fertilizer, soft sappy growth is what fire blight loves. Prune only in dry weather, and choose varieties known to resist it where this disease is common.Avoid excess nitrogen (soft growth is most susceptible), plant less-susceptible varieties and rootstocks, and prune in dry conditions. Forecast models guide bloom-time management.
The control ladder

The ladder troubleshoots from the gentlest solution to the strongest. Start with the gentlest option and only move on when and if it doesn't work.

  1. Resistant varieties

    Where fire blight is common, the most important choice is a less-susceptible variety and rootstock. There is no spray that cures this disease, so start by not planting the ones that get it worst.Variety and rootstock susceptibility varies widely; choosing resistant stock is the highest-leverage control for a bacterial disease with no cure.

  2. Garden sanitation

    Go easy on fertilizer: soft, sappy new growth from too much nitrogen is exactly what fire blight races through, so feed sparingly. Clean up and destroy any blighted prunings rather than leaving them near the tree.Avoid excess nitrogen, which pushes the succulent growth fire blight colonizes fastest, and destroy infected prunings; there is no cure once the bacteria are in the wood.

  3. Prune out infection

    This is the main control: cut off each blackened, hooked shoot about a hand's length (6 to 8 inches) below the damage, into healthy wood, and destroy it. Do it in dry weather, and dip your pruners in a bleach solution between cuts so you do not spread it.Cut 6 to 8 inches beyond the visible margin into healthy wood, ideally in dry or dormant weather; placing the cut far enough below the strike matters more than tool sterilizing, though dipping shears in 10% bleach is still wise.

  4. Copper fungicide

    A copper spray at bloom can slow new blossom infections, but it is a limited, preventive help, not a cure, and it cannot save wood that is already infected. Copper is toxic to fish and builds up in the soil, so use it sparingly and follow the label.Fixed copper at early bloom reduces new blossom infection but does not cure existing strikes; a limited protectant, not a fix. Copper accumulates in soil and is toxic to aquatic life, so limit repeat use over the years.

No spray for this one. Prevention is the control.

Cedar-apple rust
D · 03
Symptoms Vivid yellow-orange spots appear on the tops of the leaves a few weeks after the tree blooms, and sometimes on the fruit. They are hard to miss because the color is so bright.Bright yellow-orange spots on upper leaf surfaces (sometimes with small black dots) appearing shortly after bloom, and orange lesions on fruit; heavy infection causes early leaf drop. Cause An unusual fungus that lives part of its life on apple and part on nearby cedar or juniper trees. It bounces between the two, so apples near cedars get it.Gymnosporangium juniperi-virginianae; the fungus needs two hosts, alternating between apple and nearby red cedar or juniper, releasing spores from cedar galls in spring rains. Prevention This disease needs a cedar or juniper tree nearby to survive. Removing those within a few hundred feet, or planting a rust-resistant apple variety, breaks the cycle.Remove red cedar or juniper within a few hundred feet if practical, or choose rust-resistant apple varieties; the disease cannot complete its cycle without the cedar host.
The control ladder

The ladder troubleshoots from the gentlest solution to the strongest. Start with the gentlest option and only move on when and if it doesn't work.

  1. Resistant varieties

    Rust needs a nearby cedar or juniper to survive, so two things break its cycle: plant a rust-resistant apple variety, or remove cedars and junipers within a few hundred feet if you can.Rust-resistant cultivars, or eliminating the alternate juniper host within a few hundred feet, break the two-host cycle; on light infections the damage is mostly cosmetic.

  2. Garden sanitation

    Rake up fallen infected leaves and pick off the bright orange-spotted ones. On most trees rust is more unsightly than harmful, so this and variety choice are usually enough.Removing infected leaves lowers local inoculum; on a healthy tree light rust is largely cosmetic and rarely warrants spraying.

  3. Sulfur

    Only if your tree gets heavy rust every year. A protectant like sulfur must go on in spring, starting around when the buds show pink, before the spots appear; it cannot clear rust that is already there. Do not spray sulfur in heat above 90°F.Sulfur is a preventive protectant applied from pink-bud through early fruit set where rust has a history; it is weaker on rust than synthetic options and will not cure existing lesions, so most gardeners never need it. Avoid it above 90°F and near an oil spray.

No spray for this one. Prevention is the control.

Powdery mildew
D · 04
Symptoms A white powdery coating, like flour dusted on the leaves and new shoots. Affected tips grow poorly and the leaves curl.White, felt-like fungal growth on leaves, shoots, and buds; infected shoots are stunted and leaves curl. Fruit may develop a russeted netting. Cause A fungus that hides in the buds over winter and spreads in warm, humid spring weather onto the new growth.Podosphaera leucotricha; overwinters in buds and spreads in spring, favored by warm days and humid nights (it does not need leaf wetness). Prevention Prune the tree so air moves through it, mildew hates dry, breezy conditions, and cut out any white-coated twigs in winter.Prune for good air circulation, choose less-susceptible varieties, and remove infected wood during dormant pruning.
The control ladder

The ladder troubleshoots from the gentlest solution to the strongest. Start with the gentlest option and only move on when and if it doesn't work.

  1. Resistant varieties

    If mildew is a yearly problem, choose a less-susceptible variety; it is the easiest long-term fix.Cultivar susceptibility varies; choosing a less-susceptible variety is the lowest-effort durable control.

  2. Airflow spacing

    Prune the tree open so air moves through it. Powdery mildew hates dry, breezy conditions, so good airflow makes a big difference.Opening the canopy for air movement suppresses mildew, which favors humid, still air; unlike scab it does not need leaf wetness to infect.

  3. Garden sanitation

    Snip off the white-coated shoots as you see them, and cut out any infected twigs during winter pruning. Go easy on nitrogen, since soft new growth is what mildew colonizes.Prune out white-coated shoots and infected wood at dormant pruning, and avoid nitrogen-pushed flushes of the tender growth mildew prefers.

  4. Sulfur

    If mildew keeps coming back, sulfur is the classic organic spray, applied before it takes hold. Do not use it in heat above 90°F, since it burns leaves.Sulfur is a reliable protectant fungicide and miticide for powdery mildew; apply preventively where it recurs, avoid above 90°F and within 2 weeks of oil, and note it can set back predatory mites.

No spray for this one. Prevention is the control.

Verified · 4 sources View
Seasoned
Where to plant next year

Crop rotation

Instead of rotating, just choose a good permanent spot: full sun, soil that drains well, and open air around the tree to keep disease down.Site selection, not rotation, is the lever: full sun, well-drained soil, good air movement to limit disease, and fresh ground free of replant issues.

Family
Rosaceae
Avoid following
Crop rotation is for annual vegetables, not apple trees, an apple tree stays in one spot for many years. The one thing to know: do not plant a new apple tree exactly where an old apple (or pear) tree used to be, because leftover soil problems can stunt the new tree. Pick a fresh spot, or dig out and replace the old soil.Not applicable as annual rotation: apple is a permanent tree that holds its site for decades. The real concern is apple replant disease, avoid planting a new apple where an old apple or pear stood, or replace the soil in the planting hole and choose a tolerant rootstock.
Verified · 1 source View
Ask the gardener

Common questions

Got a question we missed?

We're building this guide with real growers. Got a question we missed? Ask here. We read every one and add the best answers right to this page.

Grown this before?

Share a tip

Learned something the hard way? Pass it on. Real growers' tips make this guide better for the next person, and we credit you by name when yours goes live.

Seasoned
Spot something wrong?

Report a problem

If you've grown this crop and you see a date, a temperature, a companion claim, or a recommendation that doesn't match your experience, tell us. Real growers' corrections make this guide better for the next person.

How we built this guide

Methodology & sources

Every date, temperature, spacing, and recommendation on this page is sourced from university cooperative extension publications, peer-reviewed agricultural research, NOAA climate data, and direct extension calendars. Where claims are softer (traditional gardening wisdom not formally documented), we say so.

Research-backed Documented in cooperative extension publications or peer-reviewed research
Well-grounded A known agronomic principle, but not formally tested for this specific pair
Traditional Time-tested gardening wisdom, limited formal research support
Last reviewed
June 11, 2026
Data version
crops_data_final · v1.0 · schema 2.9
Sources cited on this page
16 publications
Verified entries
Companion-planting claims tagged inline · zone dates verified against 5+ extensions
See all sources cited on this page
  • University of Minnesota Extension umn_ext
  • University of Maryland Extension umd_ext
  • Cornell Cooperative Extension cornell_ext
  • Iowa State University Extension iastate_ext
  • Michigan State University Extension msu_ext
  • NC State Extension ncsu_ext
  • Penn State Extension psu_ext
  • U. of Illinois Urbana-Champaign Extension uiuc_ext
  • UC Davis Postharvest Center ucd_postharvest
  • Texas A&M AgriLife Extension tamu_agrilife
  • Virginia Cooperative Extension 426-331 vce_426_331
  • Piedmont Master Gardeners piedmont_mg
  • UGA Vegetable Garden Calendar uga_calendar
  • Clemson Home & Garden Information Center clemson_hgic
  • UC IPM Statewide IPM Program uc_ipm
  • NOAA 1991-2020 Climate Normals noaa_normals

Growing notes, weekly.

Zone-aware seasonal nudges, what's worth planting now, and the occasional recipe from the harvest. No spam, ever.

Vol. 004 · Apple · plant.lifestyle