Tap to switch. plant calibrates to where you are in the journey.
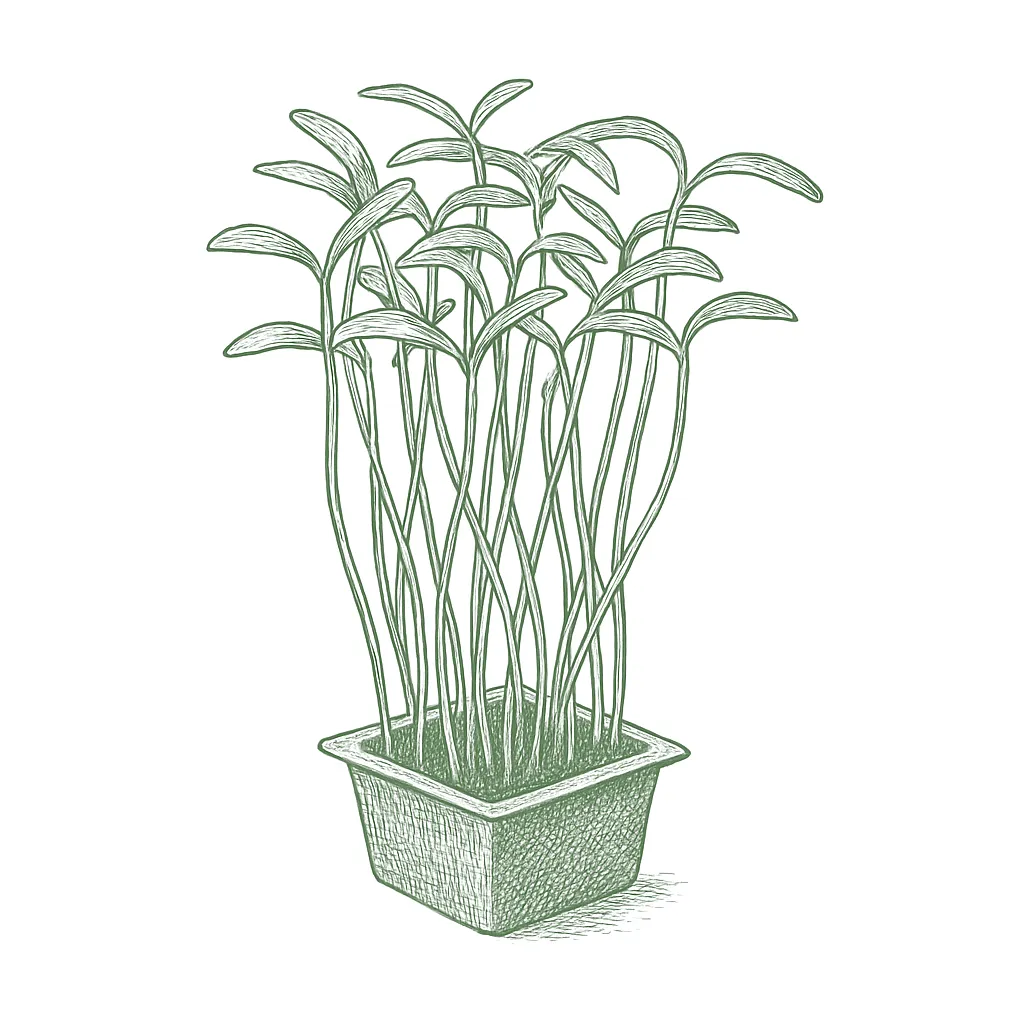
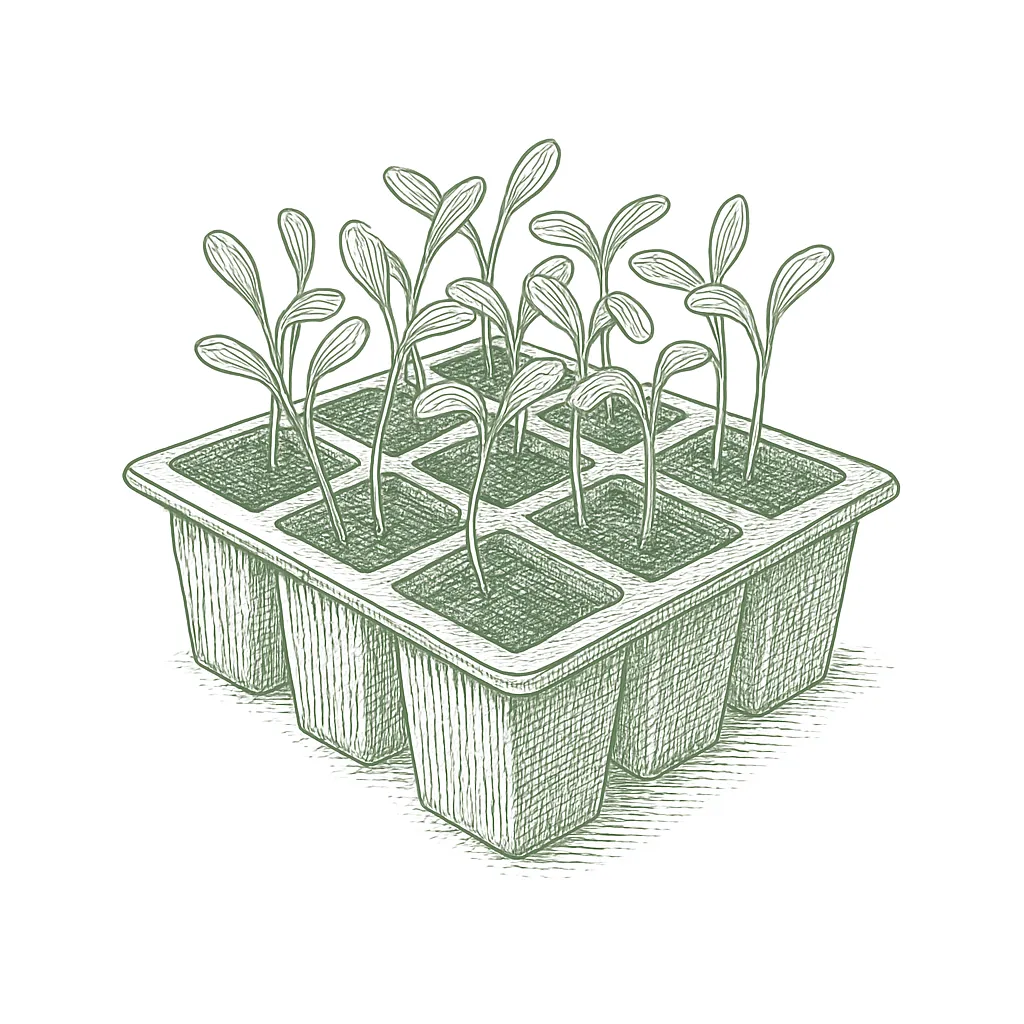
When lots of seeds come up close together, they crowd each other and all stay small. Thinning means removing some so the ones you keep have room to grow big and strong.Thinning feels brutal, but crowded seedlings compete for light, water, and root room and all lose. Removing the extras is what gives the keepers the space to size up.
Step by step
Step 1
Plants that are too close together fight for light and water, and none of them do well. Thinning gives each keeper the space it needs.Crowded stands compete for light, moisture, and nutrients, producing weak, leggy plants and poor roots or heads; thinning is not optional for root crops and leafy greens.
Step 2
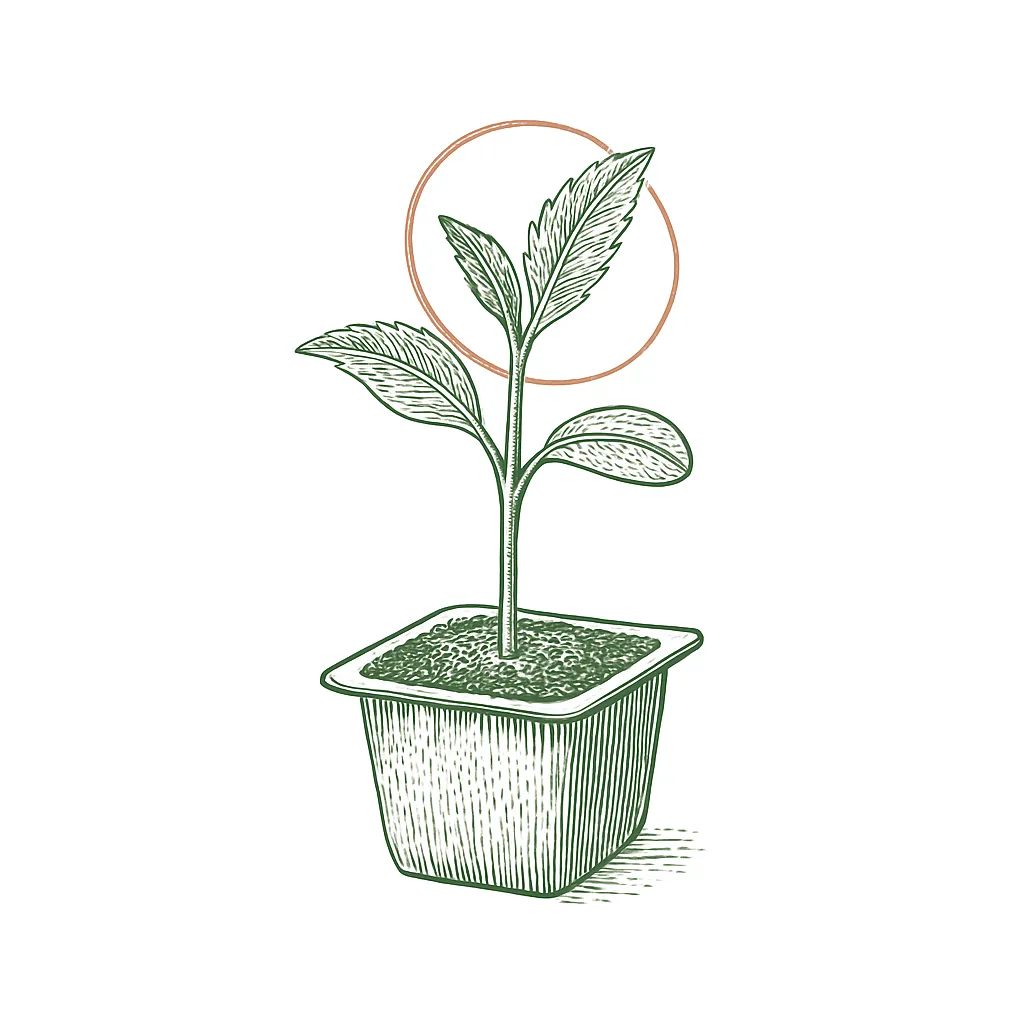
Thin once the seedlings have their first real leaves (the second set, after the little starter leaves). That is early enough that they are not tangled yet.Thin at the first true-leaf stage, once seedlings are established enough to tell the strong from the weak but before roots knit together.
Step 3
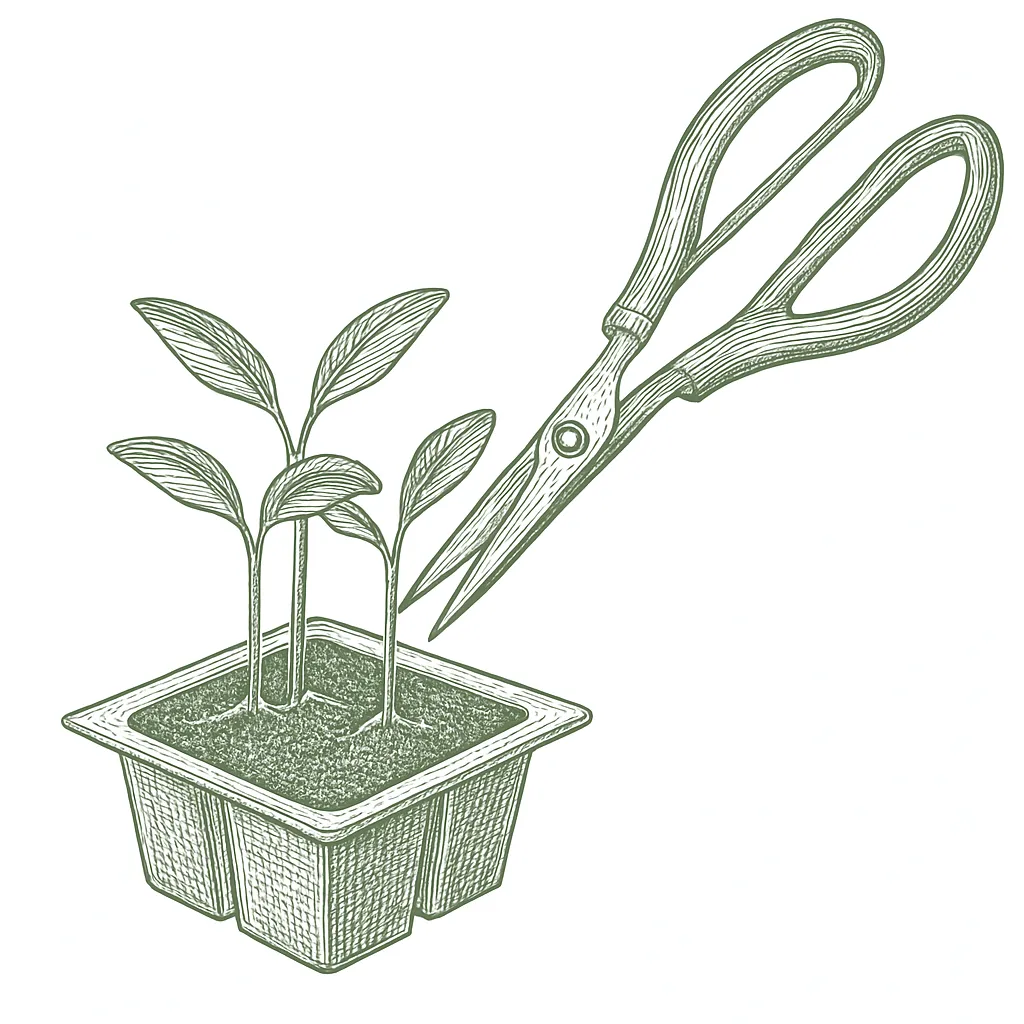
Use scissors to snip the extra seedlings off right at the soil, instead of pulling them. Pulling can tear the roots of the plant you want to keep. Keep the strongest ones.Snip the culls off at the soil line with scissors rather than pulling; pulling disturbs the roots of the neighbor you are keeping. Keep the sturdiest, best-spaced seedlings.
Step 4
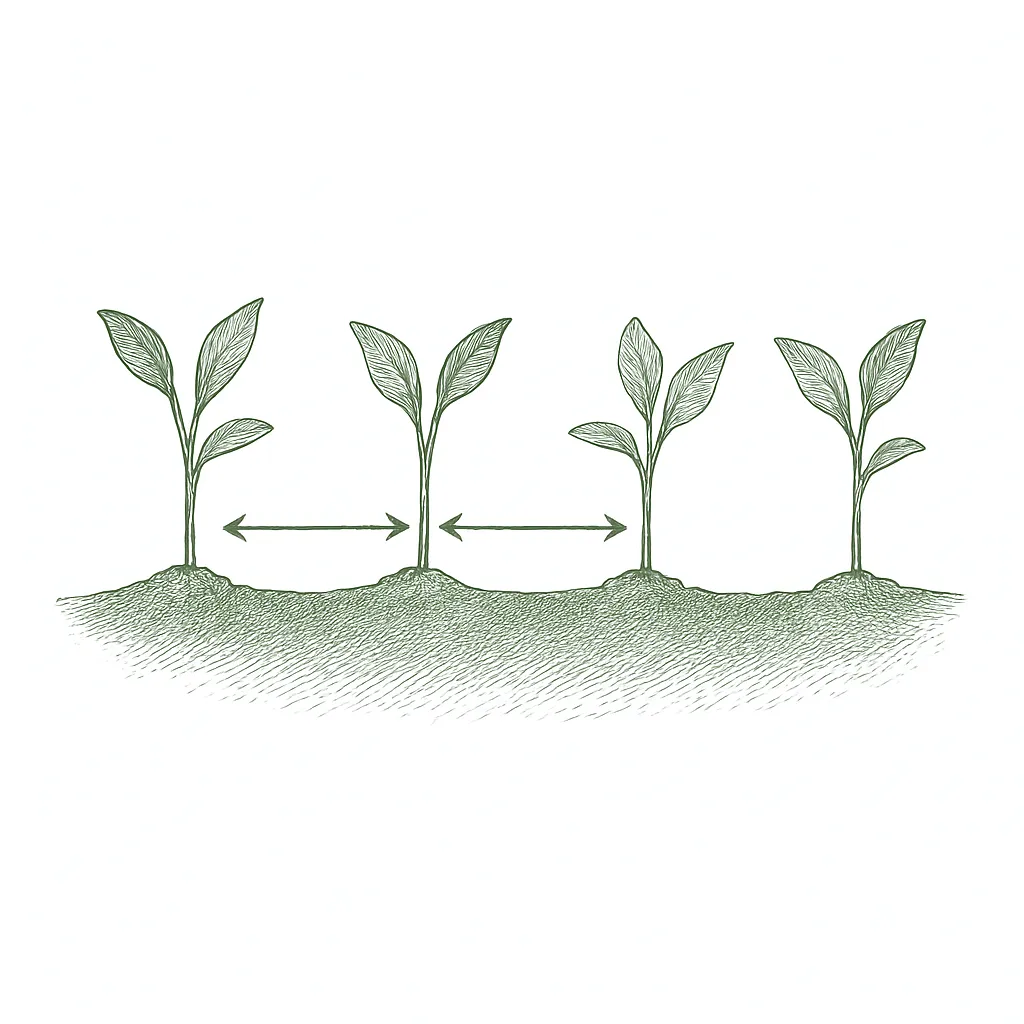
Space the plants you keep to the distance the crop guide lists, so each one has enough room.Thin to the crop's final in-row spacing so each plant has its full allotment; the crop guides list the thin-to distance.
Sometimes. Leafy greens and lettuce often move fine if you lift them gently with soil. Root crops like carrots and beets usually fork or stall if disturbed, so those are better snipped and eaten as microgreens than replanted.
Every step on this page is drawn from land-grant university Cooperative Extension guidance. Last verified 2026.
Zone-aware seasonal nudges, what's worth planting now, and the occasional recipe from the harvest. No spam, ever.