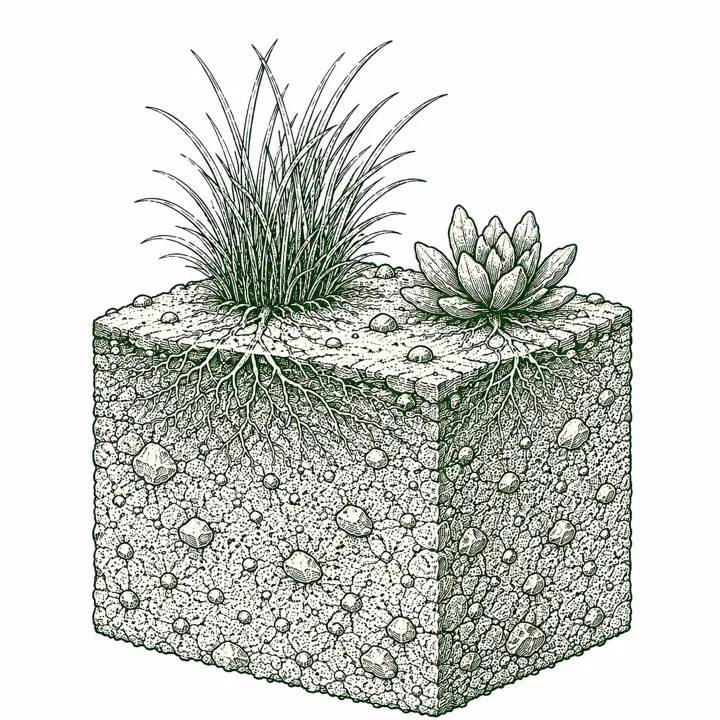
Sandy
Drains fast, dries out
Every garden starts here. Squeeze a damp handful and see what it does, then pick your type below to learn how to work with it. The same seven show up in every crop guide.
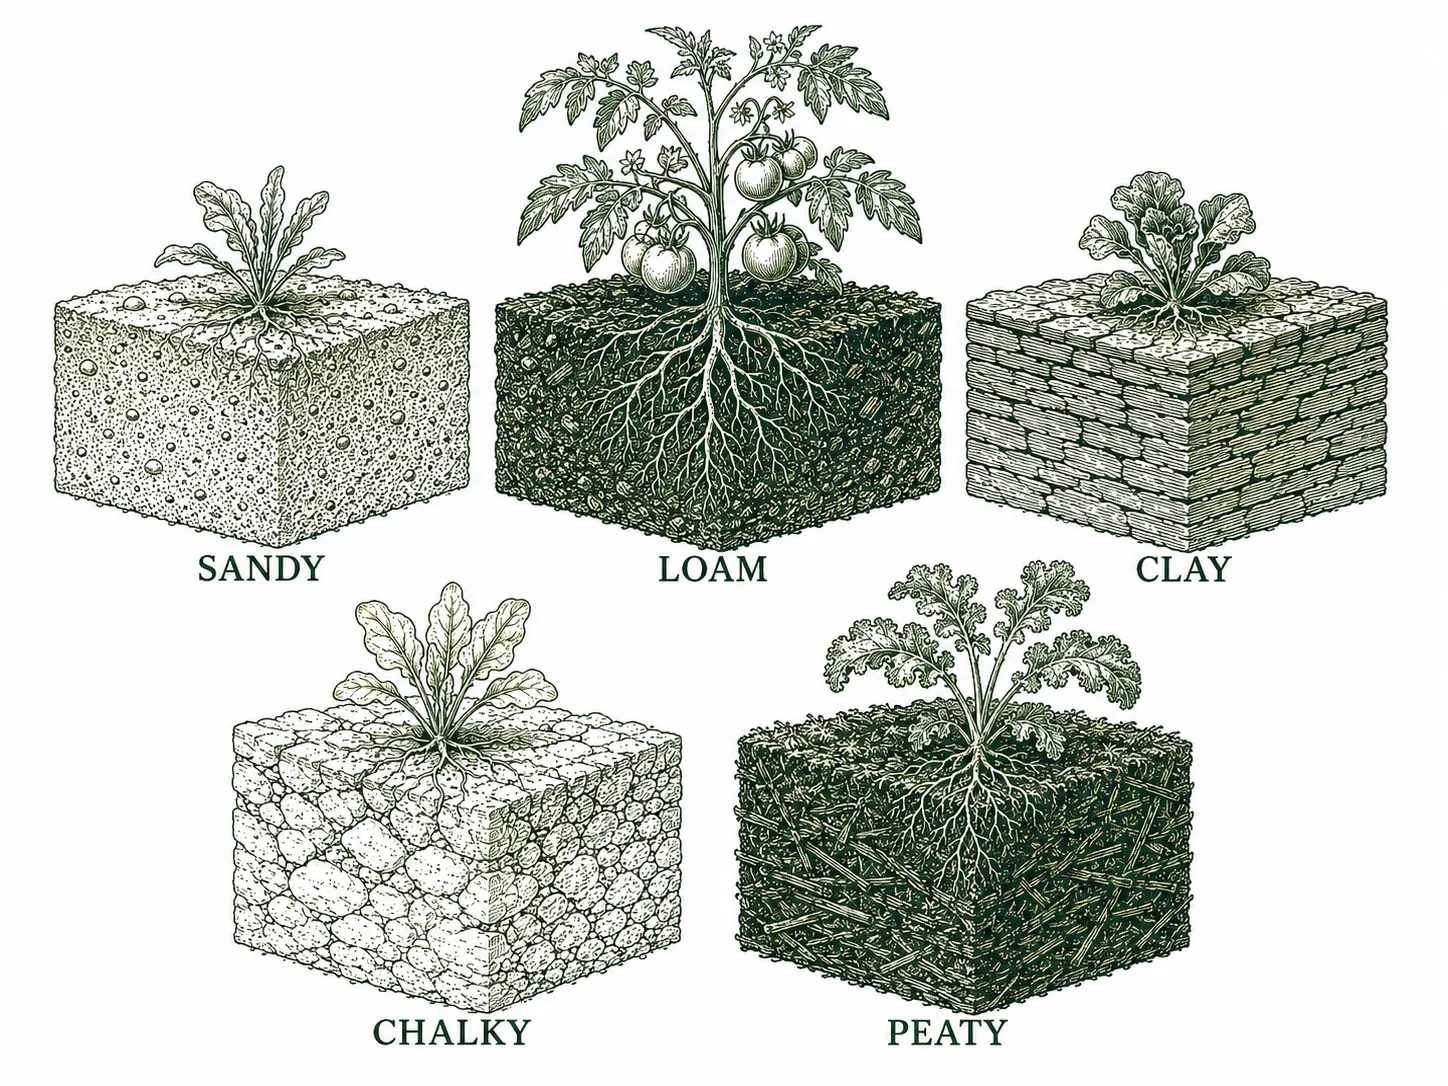
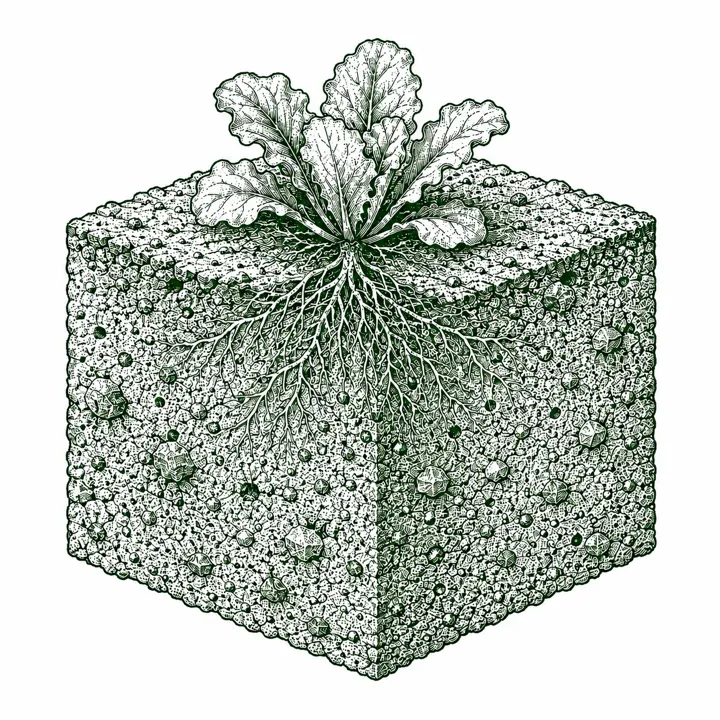
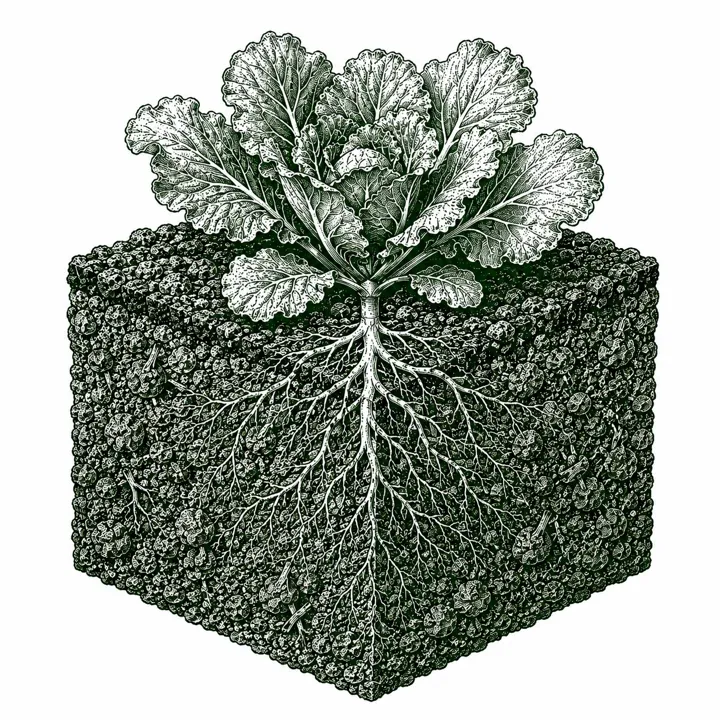
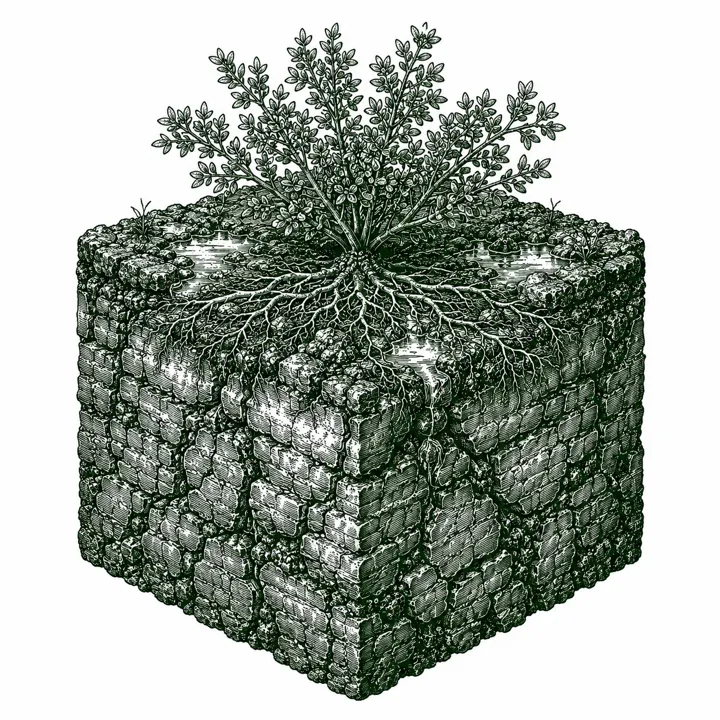
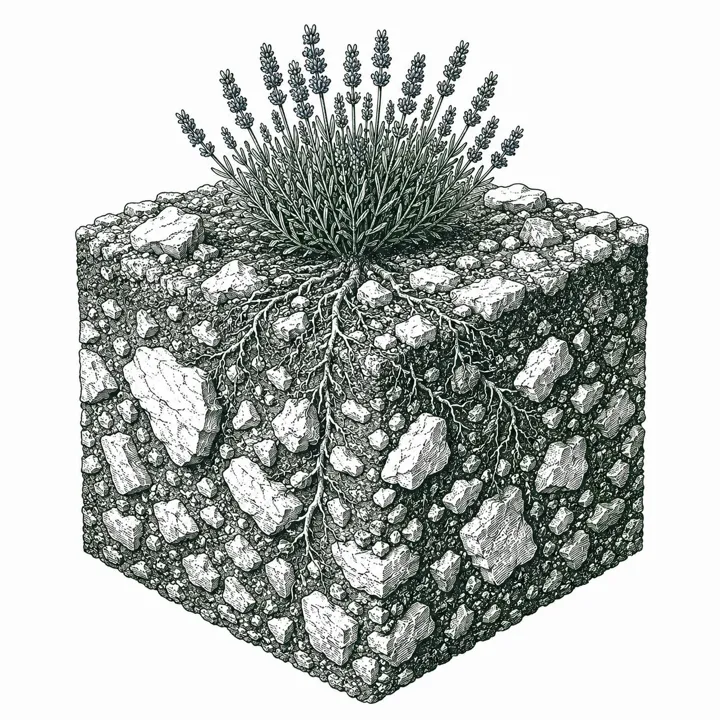
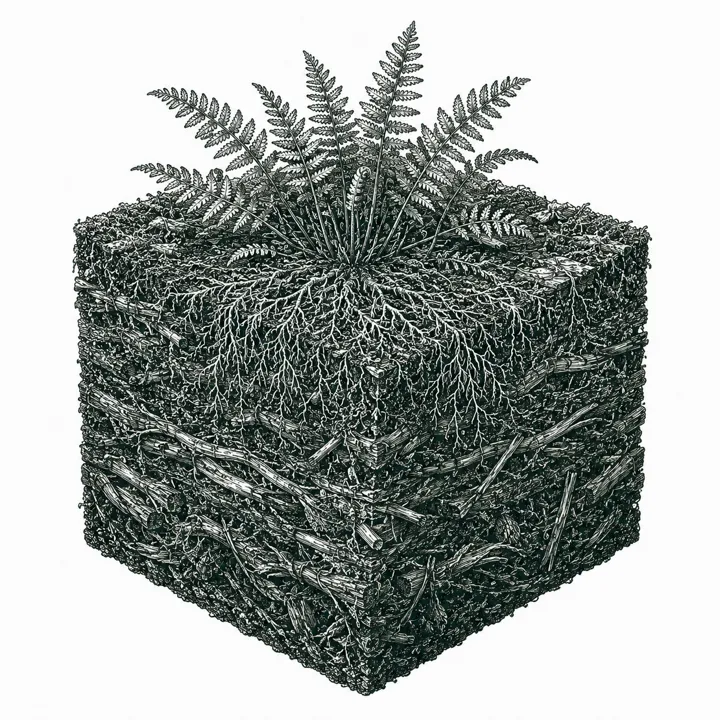
Sandy soil is made up of coarse, gritty particles, think beach sand mixed into garden beds. The big particle size means water and nutrients drain through quickly, sometimes too quickly for plants to use. Sandy soil feels rough and gritty when you rub a damp handful, and it falls apart rather than clumping. The upside: it warms up fast in spring and never gets waterlogged. The challenge: plants can get thirsty and hungry quickly because water and fertilizer move through before roots can fully absorb them.Sandy soil is dominated by large mineral particles (0.05-2mm diameter by USDA classification) with relatively little silt or clay. The coarse particle size creates large pore spaces between grains, producing a soil that drains rapidly, warms quickly in spring, and remains loose and workable even when wet. Sandy soils typically have low cation exchange capacity (CEC), meaning they hold fewer nutrients against leaching; they also have low water-holding capacity. Organic matter content is usually low because decomposition is fast and material leaches out readily. Sandy soils are common across the Atlantic Coastal Plain, Great Lakes sandhills, and many Pacific Coast areas.
Try the squeeze test: grab a handful of moist soil from your garden and squeeze it tightly. When you open your hand, sandy soil falls apart immediately instead of holding its shape: it will not form a ball or ribbon. Run the soil between your fingers; if it feels gritty or scratchy, like fine sand, that is a strong sign. Another quick test: pour a small cup of water onto bare soil in your garden. Sandy soil absorbs it almost instantly. If a puddle forms and drains in seconds with nothing left behind, your soil is on the sandy side.Perform the ribbon test: take a moist handful of soil and attempt to squeeze it into a ribbon by pressing it between thumb and forefinger. Sandy soil will not form a ribbon; it crumbles apart immediately. The texture feels distinctly gritty on the skin. In a jar test (soil shaken with water and allowed to settle), sandy soil settles within 1-2 minutes and produces a thick bottom layer with minimal suspended fines. Drainage observation: water applied to the surface disappears within seconds to a few minutes, leaving no standing water. Surface crusting after rain is uncommon because the large particles resist compaction.
The fix for sandy soil is adding organic matter, the dark spongy material that acts like a sponge to hold both water and nutrients. Work 3-4 inches of compost (finished, dark, crumbly material) into the top 8-12 inches of your bed every season before planting. It takes a few years of consistent additions before sandy soil changes noticeably, so stick with it. In the meantime, water more often than you think you need to, and fertilize plants in smaller doses spread out over the season rather than one big feeding: nutrients wash out of sandy soil fast. A 2-3 inch layer of wood chip or straw mulch on top of the soil dramatically slows down how fast moisture evaporates.The primary strategy for improving sandy soil is increasing organic matter content, which simultaneously improves water retention, nutrient-holding capacity, and microbial activity. Apply 3-4 inches of compost worked to 8-12 inch depth annually for several seasons; this is a multi-year commitment as organic matter decomposes relatively quickly in sandy soils. Cover crops (buckwheat, winter rye, legumes) add biomass and protect surface structure between seasons. Biochar at 5-10% by volume can increase water retention and CEC durably over the long term. For high-value beds, aged wood chip mulch maintained at 2-3 inches suppresses evaporation significantly. Fertilize in split applications rather than one heavy dose; frequent light feeding matches the rapid leaching rate. For moisture-sensitive crops, drip irrigation outperforms overhead watering by delivering water slowly at the root zone.
Sandy loam is a step up from pure sand: it still has plenty of grit but now holds together a little. Think of it as sand with enough fine particles mixed in to give it some structure. Sandy loam soil is easy to dig, warms up quickly in spring, and drains well without drying out immediately. It is one of the best soils for growing vegetables because most plants find the balance of air, water, and nutrients just right. If you have sandy loam, you are in good shape; modest additions of compost each season keep it performing well.Sandy loam sits at the lighter end of the loam family, containing roughly 60-70% sand with meaningful silt and clay fractions that modify its behavior. It retains more moisture and nutrients than pure sandy soil while remaining far better draining than heavier loams or clay loams. The clay and silt fraction provides sufficient cohesion to form a weak ribbon in the hand and supports a moderately active microbial community. Sandy loam warms quickly in spring, is easy to work, and tolerates repeated tillage better than heavier soils. It is considered one of the most productive garden soils for vegetable growing because the drainage-to-retention balance favors most annual crops. Common in river terraces, ancient alluvial fans, and many market-garden regions of the Midwest and Southeast.
Try the squeeze test: grab a handful of moist soil and squeeze it. Sandy loam will form a loose ball in your fist that holds its shape for a moment, then starts to crumble when you poke it and will not hold a firm shape for long. When you rub it between your fingers, it feels mostly gritty but not quite as rough as pure sand. Sandy loam also drains readily after rain, drying out to a workable, crumbly texture within a day or two without becoming rock-hard.Sandy loam forms a very weak, fragile ribbon of about 1-2cm before breaking; it feels gritty with a slight smoothness from the silt-clay fraction. Moist soil squeezed into a ball holds its shape briefly but crumbles with light pressure. In a jar test, the sand fraction settles within 1-2 minutes, silt settles over 1-2 hours, and a thin clay layer may remain in suspension. Drainage is fast but not instantaneous; water applied to the surface soaks in over several minutes rather than seconds. After rain, the soil does not puddle and dries to a crumbly workable state quickly.
Sandy loam soil is already good for vegetables, so you do not need dramatic fixes; just keep it healthy. Add 1-2 inches of compost each season before planting and work it into the top 6 inches of soil. This keeps the soil feeding your plants well. Avoid digging and turning the soil more than necessary; sandy loam can lose its good structure if worked excessively. Lay a layer of straw or wood chip mulch around plants to keep moisture in during dry summer weeks.Sandy loam is already a productive starting point; amendments focus on maintaining and enhancing its favorable structure rather than correcting severe deficiencies. Apply 1-2 inches of compost annually worked into the top 6 inches, which maintains organic matter levels without over-amending. Avoid over-tilling: the moderate cohesion of sandy loam is vulnerable to structural breakdown from repeated mechanical disturbance. Mulching (2-3 inches of straw or wood chips) conserves moisture during dry periods. Where nutrient leaching is observed (yellowing of fast-growing crops despite fertilization), a moderate biochar addition or switch to slow-release organic fertilizers addresses the root cause.
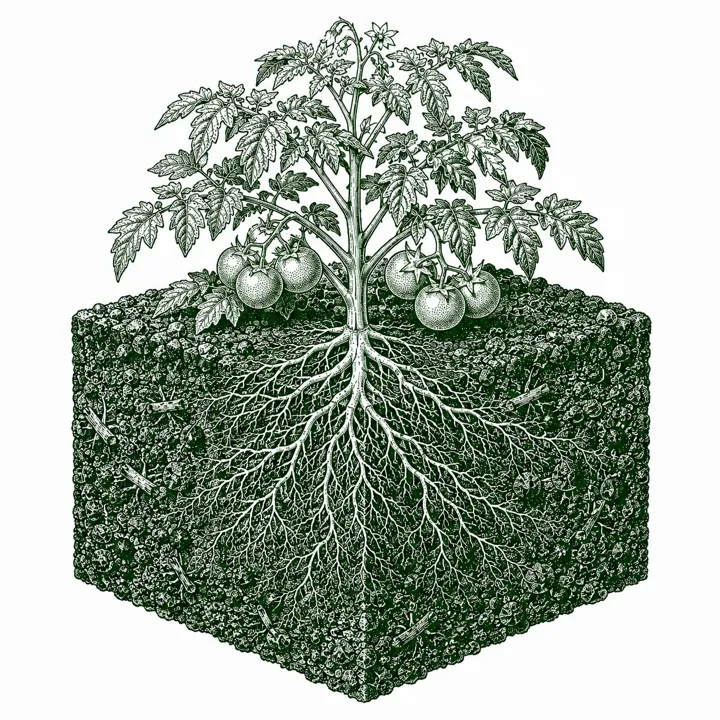
Loam is what most gardeners are trying to achieve: a balanced mix of coarse sand particles, fine silty particles, and tiny clay particles. Loam holds moisture but also drains well, so plants rarely dry out or drown. It is dark and crumbly when healthy, easy to dig, and rich in the tiny organisms that make nutrients available to plant roots. Most vegetable crops were developed to grow best in loam, which is why extension guides often simply say 'well-prepared garden soil,' meaning loam. If you have loam, protect it with compost and mulch and it will serve you well for years.Loam is the soil type most commonly cited as ideal for vegetable gardening, containing roughly 25-50% sand, 25-50% silt, and 10-25% clay in a balanced mixture. This balance gives loam its characteristic properties: adequate drainage without excessive drying, good nutrient and water retention, a crumbly friable texture, moderate warmup rate, and strong support for diverse soil microbial communities. Loam soils generally have moderate to high CEC, good aggregate stability, and respond well to organic matter additions. The equilibrium between particle sizes means loam is workable across a wide moisture range: not as sticky as clay when wet or as powdery as sand when dry. Loam is the reference texture in extension recommendations; when extension sources specify soil requirements without qualification, they typically assume loam.
Try the squeeze test with moist soil: loam forms a firm ball in your fist when squeezed, holds its shape when you open your hand, and then crumbles apart when you poke it firmly. When you rub it between your fingers, it feels slightly gritty and slightly smooth at the same time: not rough like sand, not slippery like clay. Loam smells earthy and rich. It also drains at a moderate pace: pour water on bare loam soil and it soaks in steadily within a few minutes without puddling or vanishing instantly.Loam forms a ribbon of 2-3cm before breaking, feels slightly gritty with a silky smoothness, and a moist ball holds its shape but deforms under moderate pressure without being sticky. In a jar test, sand settles in 1-2 minutes, silt in 1-2 hours, and a visible clay layer remains in suspension for 24+ hours, but the clay fraction is not dominant. Drainage is moderate: water soaks in steadily rather than instantly or slowly. After working the soil, it crumbles into small aggregates rather than clumping into sticky masses or falling into loose grains.
Loam is already the gold standard, so your main job is protecting what you have. Add 1-2 inches of compost each season and work it gently into the top 6 inches before planting. Try not to walk on your planting beds, especially when the soil is wet: footsteps compact loam and break down its structure. Rotate what you grow in each spot from year to year to keep the soil biology diverse and healthy. A layer of mulch between plants slows down water evaporation and keeps the soil surface from crusting after heavy rain.Loam requires maintenance rather than correction. Annual additions of 1-2 inches of compost worked into the top 6 inches sustain organic matter levels and microbial diversity. Avoid compaction: foot traffic on wet loam destroys aggregate structure; use permanent bed layouts or stepping stones. Crop rotation maintains the biological diversity that keeps loam productive. Over-tilling, especially rototilling more than once per season, breaks down aggregates and accelerates organic matter loss. If the soil has been tilled extensively, a multi-year cover crop cycle with deep-rooted species (daikon radish, crimson clover) rebuilds aggregate structure and biological activity.
Clay loam is a heavier soil: it has enough clay to make it stick together firmly but also enough sand and silt to keep it from being pure clay. Clay loam holds water and nutrients very well, which is actually good for plant feeding, but it can also stay wet too long and can get compacted easily. If your soil cracks and shrinks into hard chunks in a dry summer, and gets sticky and heavy in wet spring weather, you likely have clay loam. With some seasons of compost additions, clay loam can become a productive garden soil, but it takes patience.Clay loam contains enough clay (27-40%) to exhibit pronounced clay behavior: slow drainage, high water and nutrient retention, tendency toward compaction and surface crusting, while the sand and silt fractions moderate these tendencies compared to pure clay. Clay loam has high CEC, meaning it holds nutrients well, but also shrinks and cracks when dry and swells when wet. It takes longer to warm in spring because the high water content must heat along with the soil mass. Tillage on wet clay loam destroys structure; tillage on dry clay loam creates hard clods that are difficult to break down. The window for tillage is narrow. Clay loam can be highly productive once organic matter is built up, but initial conditioning requires multiple seasons of amendment.
Take a handful of moist soil and squeeze it into a ball, then try to roll it into a short ribbon between your thumb and forefinger. Clay loam forms a definite ribbon of an inch or two before breaking, and it holds together more firmly than regular loam. The soil feels smooth and slightly slippery when wet. After rain, your garden may have standing water or puddles that take a while to soak in. In summer, look for cracks forming in bare soil; clay soils crack as they dry out. When you try to dig dry clay loam, it comes up in hard, blocky chunks that are tough to break apart.Clay loam forms a ribbon of 2.5-5cm before breaking, feels smooth and slightly sticky when wet, and a moist ball holds its shape firmly and resists crumbling. There is a faint shiny smear left on the palm from the clay fraction when kneading moist soil. The soil sticks slightly to tools and boots when wet. After rain, puddles may stand for 30 minutes or more before draining. In summer dry periods, surface cracks (1-2cm wide) develop as the clay fraction shrinks. When dry, the soil breaks into hard clods rather than crumbling. The digging window, moist but not wet, is noticeably narrower than for sandy or loamy soils.
Improving clay loam is a multi-year project, but it is worth it. The best thing you can do is add compost, lots of it, every single season. Work 3-4 inches of compost into your beds in the first year, then add 2-3 inches every year after that. It takes 2-5 years before you will notice the soil draining and crumbling the way you want. Never dig or work clay loam when it is soggy wet: you will ruin its structure. Wait until the soil is just moist enough to crumble. A tip many gardeners skip: do not add sand to clay soil unless you are adding an enormous amount (which is rarely practical). Small amounts of sand mixed into clay can actually make things worse by filling air spaces. Stick with compost.Building clay loam requires sustained organic matter additions over multiple seasons: 3-4 inches of compost worked to 8-12 inch depth initially, then 2-3 inches annually thereafter. Compost does not immediately change drainage; rather, it feeds the microbial and fungal communities that produce the glomalin and other binding agents that create stable macroaggregates, improving drainage over 2-5 years. Gypsum (calcium sulfate) at 20-40 lbs per 1,000 sq ft is a widely recommended amendment for sodium-affected or heavy clay soils: it provides calcium to displace sodium from clay particles, improving aggregation without changing pH. Do not add sand directly to clay loam without very large volumes; small sand additions can worsen structure by filling pore spaces. Avoid tilling when wet: the smearing action destroys aggregate structure and creates a compacted layer (tillage pan) at the bottom of the tillage depth. Raised beds are a practical solution for clay loam areas with poor drainage.
Clay soil is made of extremely fine, flat particles that pack tightly together. Think of wet clay as similar to modeling clay: it sticks together, holds its shape, and feels smooth or slippery. Clay soil holds nutrients very well (which is good for feeding plants), but it also holds water so tightly that it can stay soggy for days after rain, choking plant roots. In summer, clay dries into rock-hard, cracked chunks that are extremely difficult to dig. Clay soil is one of the most challenging types for home vegetable gardeners, but with sustained effort over several years, adding lots of compost, building raised beds, avoiding compaction, it can be made productive.Clay soil contains more than 40% clay particles, the finest mineral fraction, with particles smaller than 0.002mm that carry a permanent negative charge, giving clay its high CEC and nutrient-holding power. Clay soils drain slowly due to the dense packing of fine particles and small pore spaces; they can remain waterlogged for days after rain, creating anaerobic conditions that damage roots. They warm slowly in spring, can be unworkable when wet (sticky, plastic, smearing) and when dry (hard, block-forming, resistant to breaking), and are prone to compaction under foot and equipment traffic. Heavy clay soils are found throughout much of the Midwest (glacial till-derived), the Southeast (Piedmont red clays), Pacific Northwest (alluvial clay flats), and central valley agricultural regions. Despite their challenges, well-amended clay soils are highly fertile because of their exceptional nutrient retention.
Two easy checks: First, grab a handful of moist soil and roll it into a snake shape between your palms. If it rolls into a long, thin snake without cracking and feels smooth and plastic, you have clay. Second, look at your garden after rain: if puddles sit for hours and the soil stays muddy for a day or more, that is clay behavior. In summer, bare clay soil cracks into a hard, dry surface that is difficult to push a shovel into. Wet clay sticks to your boots and garden tools.Clay soil forms a ribbon longer than 5cm without breaking; a moist ball holds its shape firmly and does not crumble. Wet clay smears and feels slippery or plastic; it sticks noticeably to tools and boots. After rain, puddles stand for hours. During dry periods, the surface develops a hard crust and wide cracks (2-5cm or wider). In a jar test, the sand settles quickly, silt over several hours, but a visible cloudy clay suspension persists for 24-48 hours. The digging window, neither too wet nor too dry, is very narrow; outside of it the soil is either unworkable muck or concrete-hard clods.
Improving clay soil takes real commitment; plan for a 3 to 5 year project. Every single season, add 3-4 inches of compost and work it in as deep as you can. Over time, the organic matter and the soil life it feeds will slowly open up the clay and improve drainage. Two practical short-cuts while you wait: First, build a raised bed on top of your clay area, filled with good soil or compost. Your plants will grow happily in the raised bed while the clay underneath gradually improves. Second, avoid walking on clay soil, especially when it is wet: every footstep compacts clay much more than it would compact sandy or loamy soil. Never add sand to clay soil without adding huge amounts; small sand additions make clay worse, not better.Improving pure clay is the most demanding soil remediation challenge in home gardening and requires a multi-year commitment. The foundational approach is sustained organic matter addition: 4-6 inches of compost at 12-inch depth in the first year, 3-4 inches annually thereafter. Over 3-7 years, improved microbial and fungal activity (especially arbuscular mycorrhizal fungi) produces aggregating compounds that open up clay pore structure. Gypsum (calcium sulfate) at 40-50 lbs per 1,000 sq ft can accelerate aggregation in sodic or compacted clay; its benefit is clay-chemistry specific and does not apply to all clay types. Do not add sand: sand-in-clay creates a poorly drained concrete-like mixture at low volumes. Deep-rooted cover crops (tillage radish, turnip, winter rye) physically break up compacted clay layers and add biomass at root zone depth. Raised beds built over clay with imported loam or compost-based media are often the most pragmatic short-term solution for vegetable production; the raised bed material gradually improves the clay beneath over seasons.
Chalky soil is recognized by the whitish chunks or powder you find when digging; these are calcium carbonate, the same material in chalk and limestone. Chalky soils tend to be quite alkaline (high pH), which causes problems even when the soil otherwise seems rich: plants cannot absorb iron and other minerals properly, causing leaves to turn yellow even in otherwise good-looking soil. Chalky soil can occur in different textures: some are light and drain fast, others are heavier, but the high pH is the defining challenge. Chalky soils are common in parts of the South, Southwest, and mountainous limestone areas.Chalky soil (also called alkaline or limestone-derived soil) is distinguished not primarily by particle size but by the presence of calcium carbonate (CaCO3) in quantities sufficient to raise soil pH to 7.5-8.5 or higher, and to cause visual white chalky fragments when dug. Chalky soils are common over limestone bedrock, chalk formations (Appalachian Ridge and Valley, English Downs, Texas Hill Country), and in arid western regions where caliche (hardened calcium carbonate) accumulates near the surface. The high calcium carbonate content locks up iron, manganese, boron, and zinc through chemical precipitation, causing micronutrient deficiencies in crops even when those nutrients are present in the soil. Chalky soils can have varying particle-size texture (sandy chalk, clay chalk, silty chalk) but the alkalinity and carbonate chemistry dominate growing conditions. Drainage can be fast over fractured chalk or slow in clay-chalk mixes.
Two tests: First, dig a small hole in your garden and look for white, pale, or chalky-looking fragments or layers in the soil. These are not rocks; they are calcium carbonate, which gives chalky soil its name. Second, apply a few drops of white vinegar to a handful of your soil. If it fizzes or bubbles, calcium carbonate is present and your soil is likely alkaline. Chalky soils also tend to show up through plant problems: leaves that turn yellow between the green veins (while the veins stay green) often signal that your plants cannot absorb iron in alkaline conditions.Visual identification is the primary method: white or pale-grey chalky fragments in the soil that do not dissolve in water but fizz noticeably when a few drops of white vinegar are applied (the CO2 release from the carbonate reaction). pH testing confirms alkalinity (7.5+). Plant symptoms in established beds, such as interveinal chlorosis (yellow between green veins) in iron-sensitive crops like blueberries, raspberries, or brassicas, are a secondary signal. A blue-gray or whitish layer at 8-24 inch depth indicates caliche formation common in arid western soils.
Chalky soil is one of the harder soil types to fix permanently, because the chalk itself constantly works against you. For most home gardeners, the best strategy is to grow in raised beds filled with good neutral or slightly acidic soil, placed on top of the chalky ground. If you want to improve the ground soil itself, adding large amounts of compost every season helps gradually, and iron chelate supplements (available at garden centers) can be watered in to help plants absorb iron even in alkaline conditions. For a more direct pH fix, elemental sulfur is the recommended amendment: it acidifies soil slowly over months, but you will need a pH test kit to know how much to use and you may need to reapply seasonally.Managing chalky soil requires addressing both the pH challenge and any co-occurring texture issues. To lower pH in calcium-carbonate-dominated soils, elemental sulfur is the standard amendment: sulfur oxidizes to sulfuric acid in the presence of soil bacteria, reacting with and dissolving calcium carbonate. Application rates depend on current pH, target pH, and buffering capacity; typical rates are 1-2 lbs per 100 sq ft per pH unit of desired reduction, applied in fall for spring effect. However, in soils with high carbonate reserves, pH reduction through sulfur is temporary; carbonate buffers the system back toward alkalinity. Iron chelate (EDTA-Fe or DTPA-Fe) applied as a drench or foliar spray addresses deficiency symptoms directly and is more practical than pH reduction for established beds. Organic matter additions remain important for improving biological activity and nutrient cycling, though decomposing organic matter also releases CO2 and weak acids that contribute modestly to pH reduction over time. Raised beds with imported neutral-pH compost-based media are the most reliable solution where chalky soils are deeply rooted.
Peaty soil is very rich in organic matter, specifically decomposed plant material that built up over many years in wet conditions. Natural peaty soil is dark brown or black, feels spongy and light, and can hold enormous amounts of water. The challenge: peaty soil is usually quite acidic (low pH), which limits what can grow, and it can stay too wet in spring. Most gardeners encounter peat in bagged form (sphagnum peat moss from garden centers) as an amendment rather than as a native garden soil. If your native soil is naturally peaty, it is found near wetlands, bogs, or low-lying areas with a history of standing water.Peaty soil is characterized by a high content of partially decomposed organic material (peat) that has accumulated under waterlogged, anaerobic conditions over long periods. Peat has very high water-holding capacity: dry peat can absorb 10-20 times its weight in water, but in naturally peaty soils, the organic material can remain excessively wet and oxygen-poor. Peaty soils are typically acidic (pH 4.0-5.5) because anaerobic decomposition produces organic acids and because peat formation inhibits the bacterial processes that neutralize acidity. They can be very nutrient-poor in their natural state, despite the large organic matter reserve, because the organic matter is not fully decomposed into plant-available forms. Naturally peaty soils occur in bogs, fens, and low-lying wetland areas in Maine, Michigan, Minnesota, the Pacific Northwest, and high-altitude meadows. Garden-context peat most commonly refers to imported Canadian sphagnum peat moss used as a soil amendment.
Natural peaty soil is recognizable by its dark color (deep brown to black), its light and spongy feel, and by where it is found, typically in low, wet areas of a property. Squeeze a handful: peaty soil compresses easily and feels almost like a wet sponge. Unlike sandy or clay soils, it has no gritty or slippery mineral texture; it is mostly soft and fibrous. It smells earthy and rich. A pH test on native peaty soil almost always comes back quite acidic (around 4-5), which is a useful confirming signal.Peaty soil is dark brown to black, lightweight when dry, and noticeably spongy when moist. It does not show gritty mineral texture; rubbing it between fingers produces a fibrous or spongy feel with visible organic strands rather than mineral grit. It has a distinctive earthy-swampy smell. pH testing will typically read 4.0-5.5 in native peaty soils. The soil compresses when squeezed and springs back partially. In context, peaty soils are found in low areas that historically held water; adjacent mineral soils will look dramatically different (lighter, grittier, less dark).
If you have naturally peaty soil in your garden, two things need attention: drainage and pH. Peaty soil tends to stay wet and acidic, both of which make vegetable growing difficult. If the area stays soggy, raised beds are the most reliable solution; fill them with balanced garden soil or compost-based mix. For the pH, add garden lime (available at any garden or hardware store) following the label directions. It will take a season or two of liming before pH comes up to where most vegetables grow well. Once drainage and pH are sorted, peaty soil is actually very fertile because it is rich in organic matter. If you are adding bagged peat moss to improve another soil type, use it sparingly, as it acidifies slightly and mostly helps with water retention.For naturally peaty garden soils, the primary management challenges are drainage and pH. Install drainage or raise beds to address waterlogging; adequate oxygen is essential for converting the organic matter reserve into plant-available nutrients and for preventing root disease. Liming is the standard pH correction: ground limestone (calcitic or dolomitic) at 5-10 lbs per 100 sq ft raises pH by approximately 0.5-1 unit in peaty soils, though high organic-matter content buffers strongly against pH change, and repeated applications over 2-3 years are typically needed. Target pH for most vegetables is 6.0-6.8, which may require substantial lime application on native peat. Once pH is corrected and drainage improved, nutrient additions (balanced organic fertilizer; nitrogen, phosphorus, potassium) address the initially low mineral nutrient availability. For peat moss as an amendment in mineral soils, be aware it acidifies slightly and contributes primarily to water retention and texture; add lime to offset the acidifying effect if pH-sensitive crops are planned.
Use the squeeze test: take a damp handful, squeeze it, and try to press out a ribbon. Soil that falls apart and feels gritty is sandy; soil that forms a ball and a short ribbon and feels slightly gritty and smooth is loam; soil that holds a long ribbon and feels slippery is clay. Whitish fragments that fizz with vinegar mean chalky; a dark spongy texture in a low wet spot means peaty.
Loam is the gold standard: a balanced mix of sand, silt, and clay that drains well while holding moisture and nutrients. Most vegetable crops were developed to grow best in loam, which is what extension guides mean by well-prepared garden soil. Sandy loam runs a close second.
Add compost every season, 3 to 4 inches worked in deep, and expect a 3 to 5 year project as soil life gradually opens the clay and improves drainage. Build raised beds on top so you can grow well while the clay improves underneath, and avoid walking on clay when wet. Do not add sand in small amounts; it makes clay worse, not better.
Yellowing between green leaf veins is iron chlorosis. In chalky, high-pH soil the iron is present but chemically locked up so roots cannot absorb it. Chelated iron applied as a drench or foliar spray fixes the symptom directly, while raised beds with neutral imported mix are the most reliable long-term solution.
Every soil type on this page is described from land-grant university Cooperative Extension services, the public agricultural research arm of US state universities. Last verified 2026.
Sources are graded by reliability. Tier 1 is primary research from a land-grant university Cooperative Extension.
Zone-aware seasonal nudges, what's worth planting now, and the occasional recipe from the harvest. No spam, ever.