Tap to switch. plant calibrates to where you are in the journey.
Starting seeds indoors is easier than it looks, and the setup takes just a few parts. Here is how to use each one, step by step.Starting from seed indoors buys weeks on the season and opens up varieties no nursery carries. A simple tray setup is all you need; here is how each piece earns its place.
Step by step
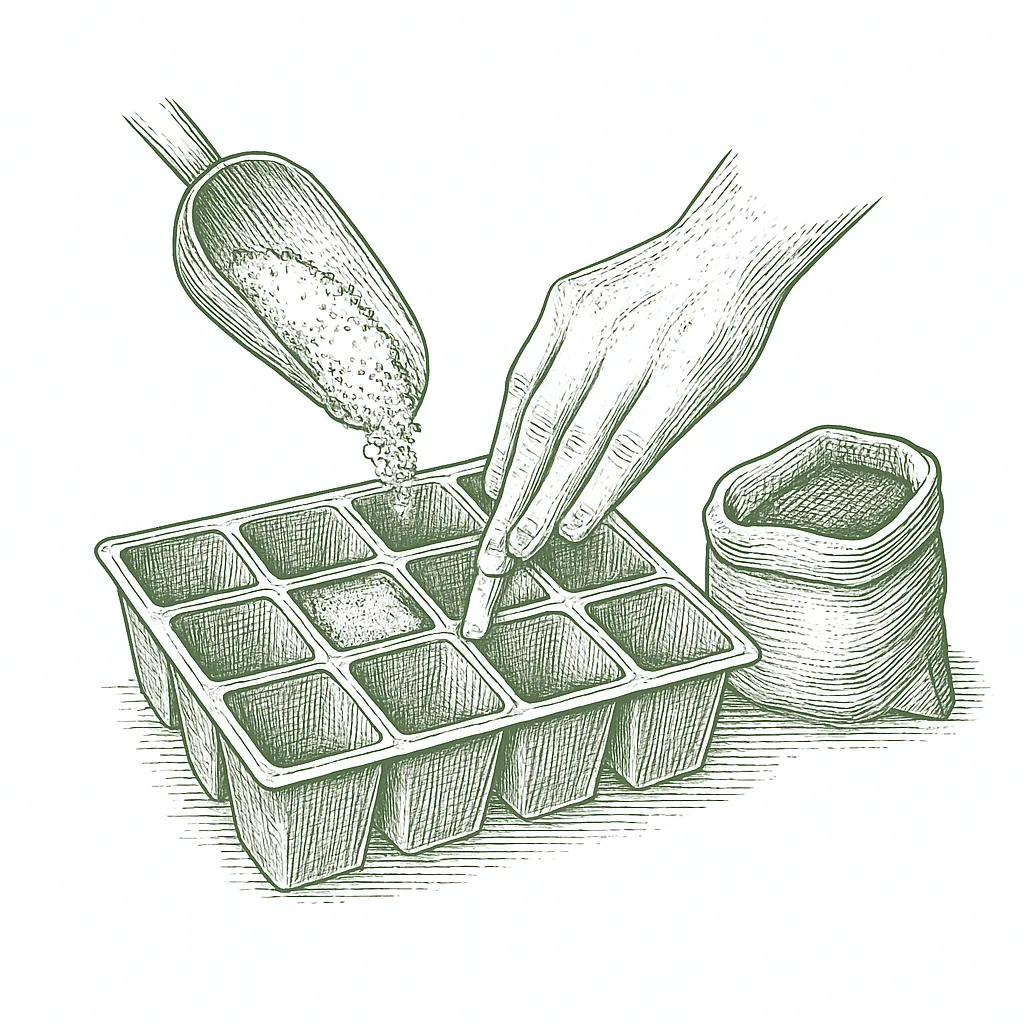
Step 1
Fill the little cells with seed-starting mix, not garden dirt. Press it down lightly and water it so it is damp like a wrung-out sponge.Fill cells with a light, sterile seed-starting mix (not garden soil), tamp gently, and pre-moisten until it holds together but does not drip.
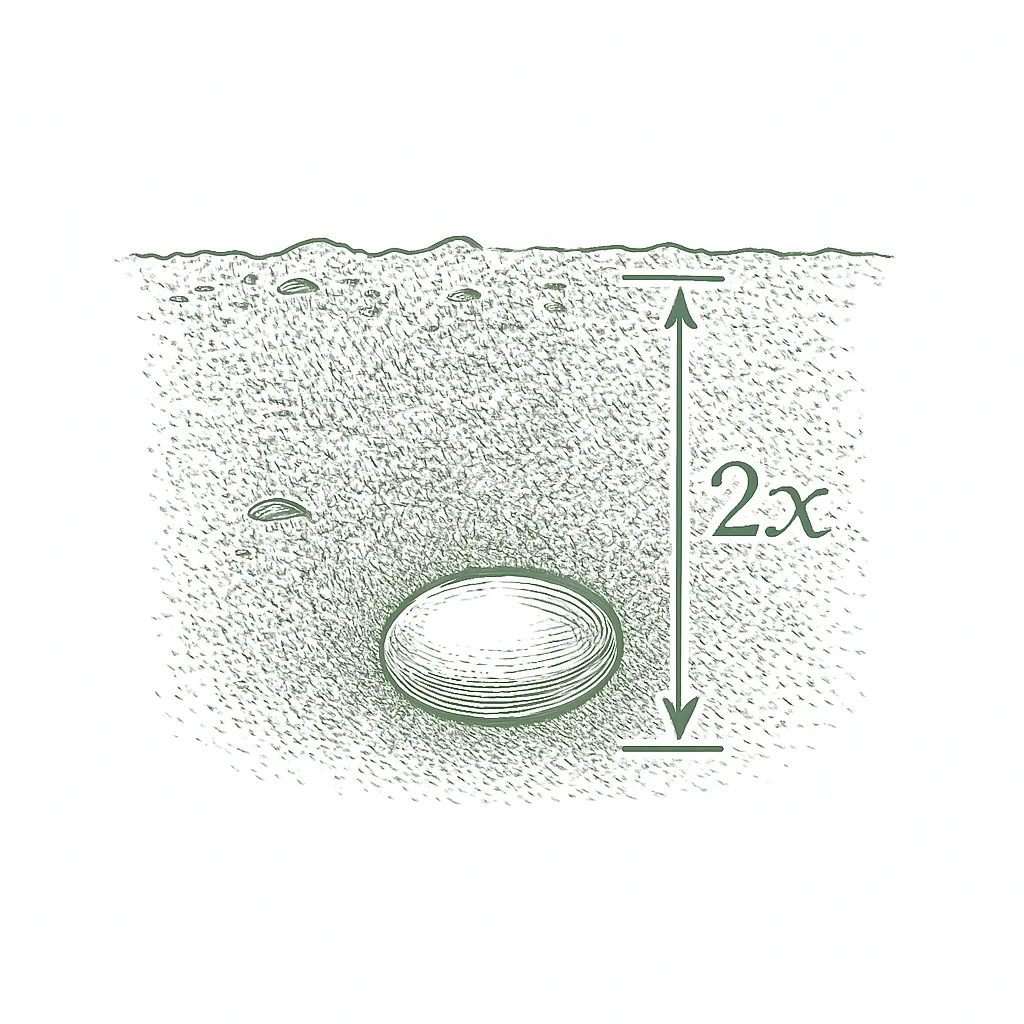
Step 2
Plant each seed at the depth its seed packet lists. A simple rule: cover a seed about twice as deep as it is wide. Tiny seeds barely get covered.Sow to the crop's depth (a good rule is about twice the seed's width); press fine seed onto the surface and barely cover, since some need light to germinate.
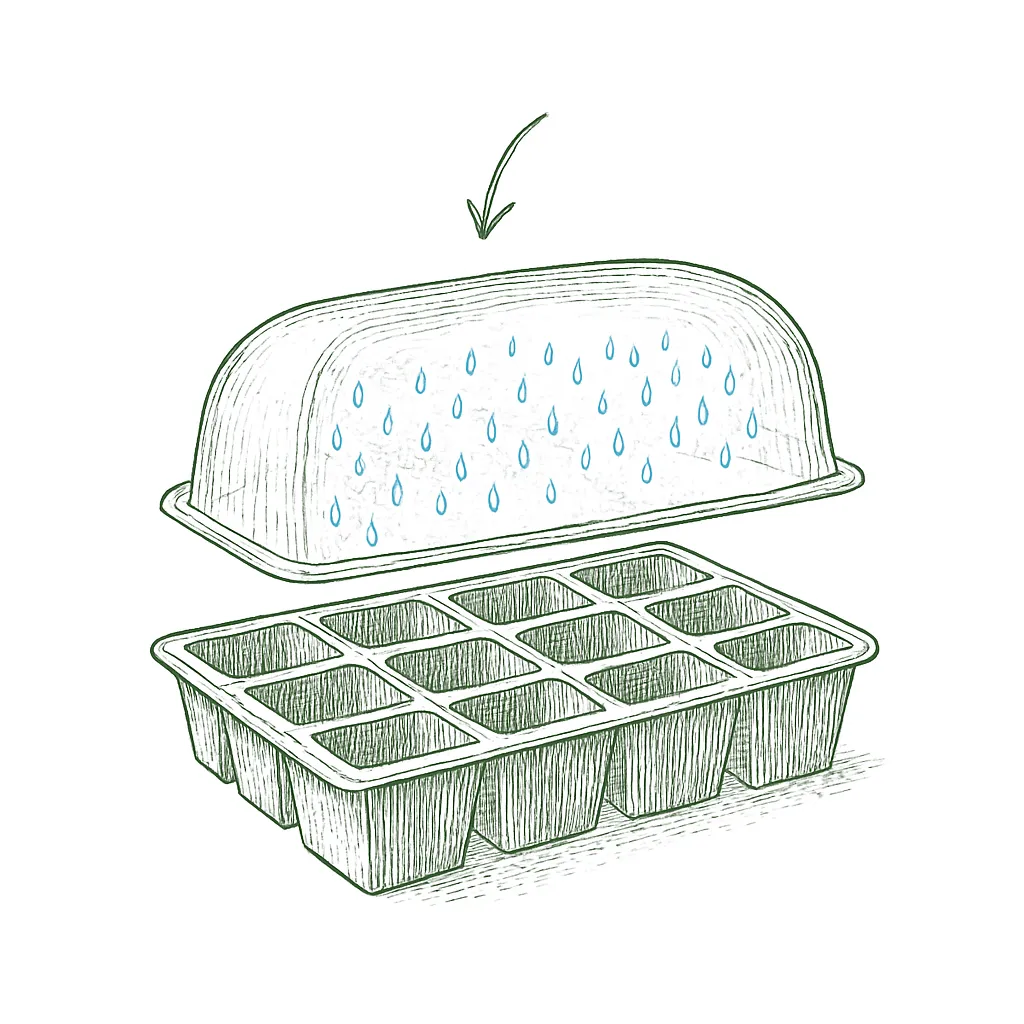
Step 3
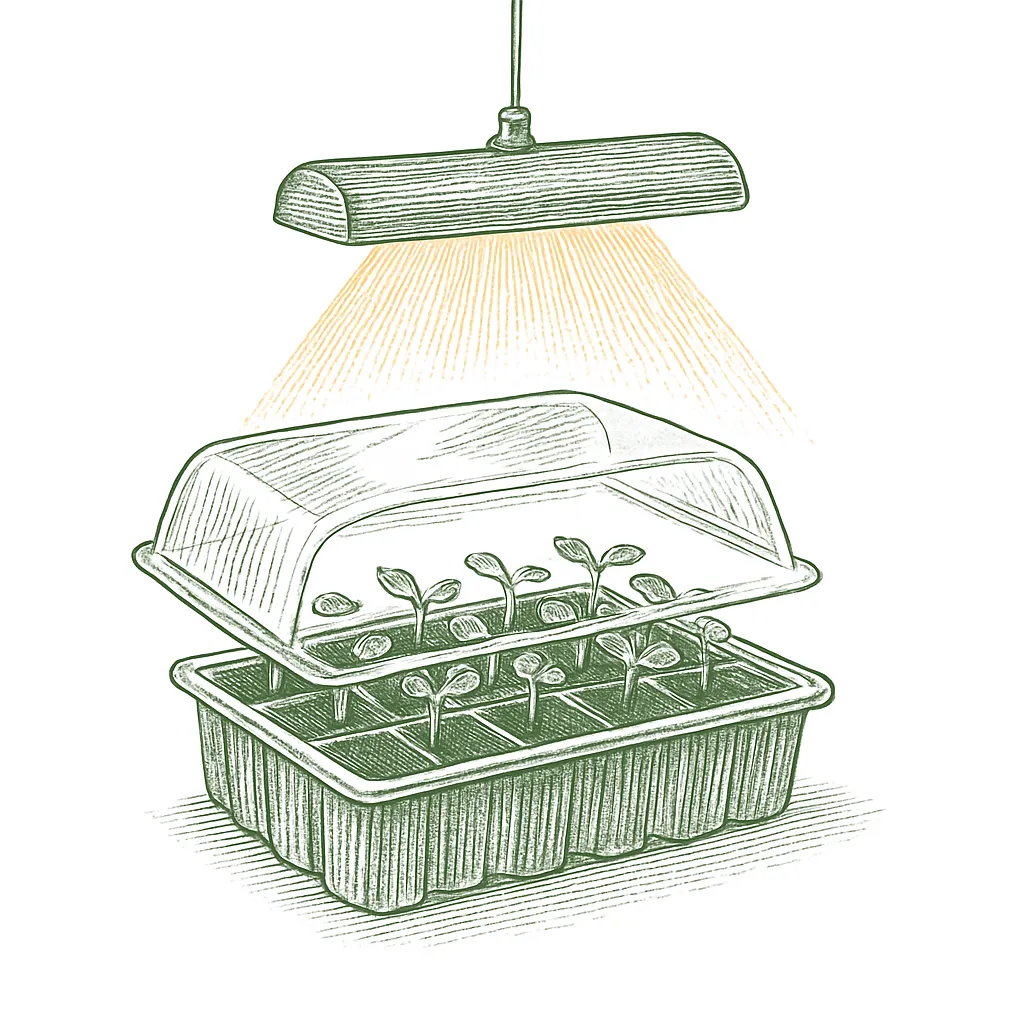
Put the clear plastic dome on top. It keeps the soil damp while the seeds wake up. Take it off as soon as you see the first sprouts, so the air can move.Cover with the humidity dome to hold moisture through germination; keep it on only until the first sprouts break the surface, then remove it to keep air moving and prevent damping-off.
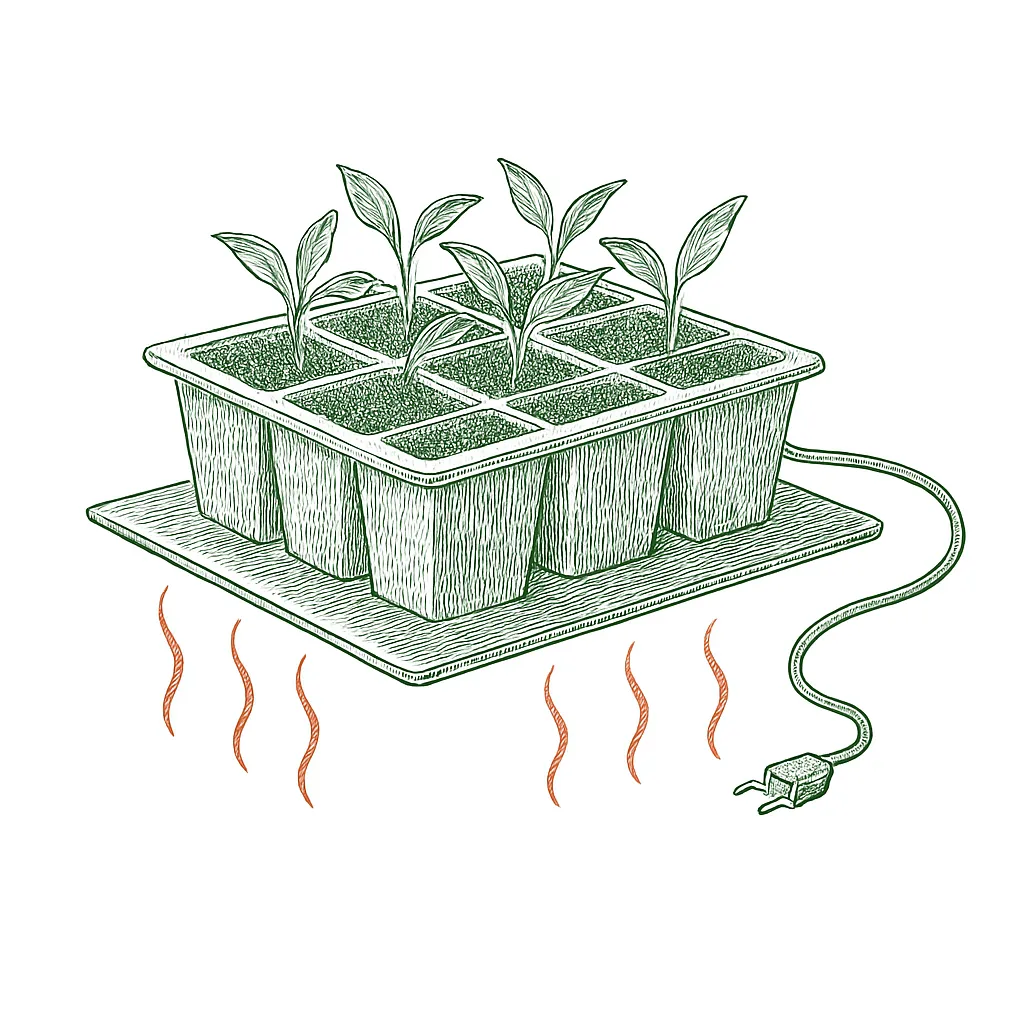
Step 4
Set the tray on the heat mat. Gentle warmth from underneath helps the seeds sprout faster and more evenly. Once they are up, you can take the mat away.Set the tray on the heat mat to hold the mix at the crop's germination temperature; warmth from below is what drives fast, even emergence. Remove the mat once seedlings are up.
Step 5
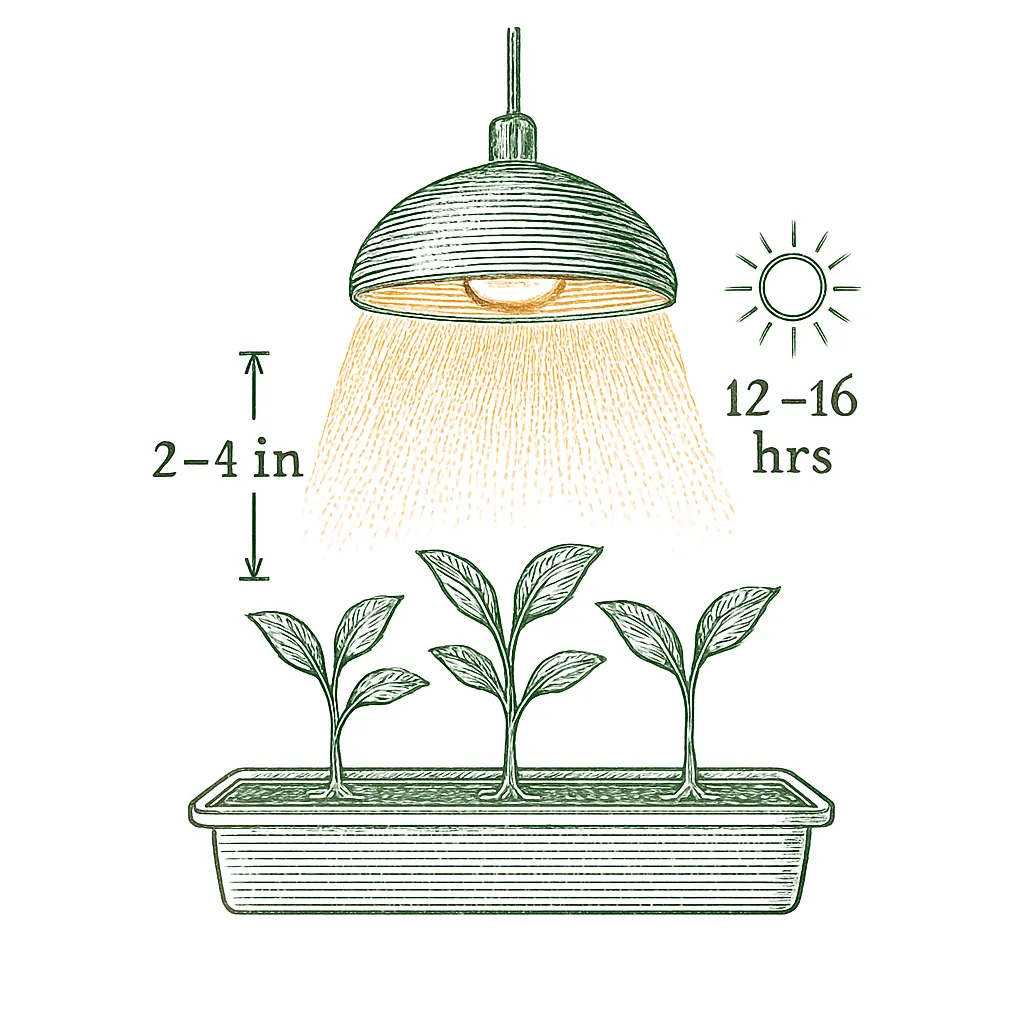
As soon as they sprout, they need lots of light: 12 to 16 hours a day. Keep the light just 2 to 4 inches above the little plants and move it up as they grow. A windowsill by itself is usually not enough and they get tall and floppy.Seedlings need 12 to 16 hours of bright light a day the instant they emerge; keep the lamp 2 to 4 inches above the tops and raise it as they grow. A sunny windowsill alone usually yields leggy, stretched seedlings.
Step 6
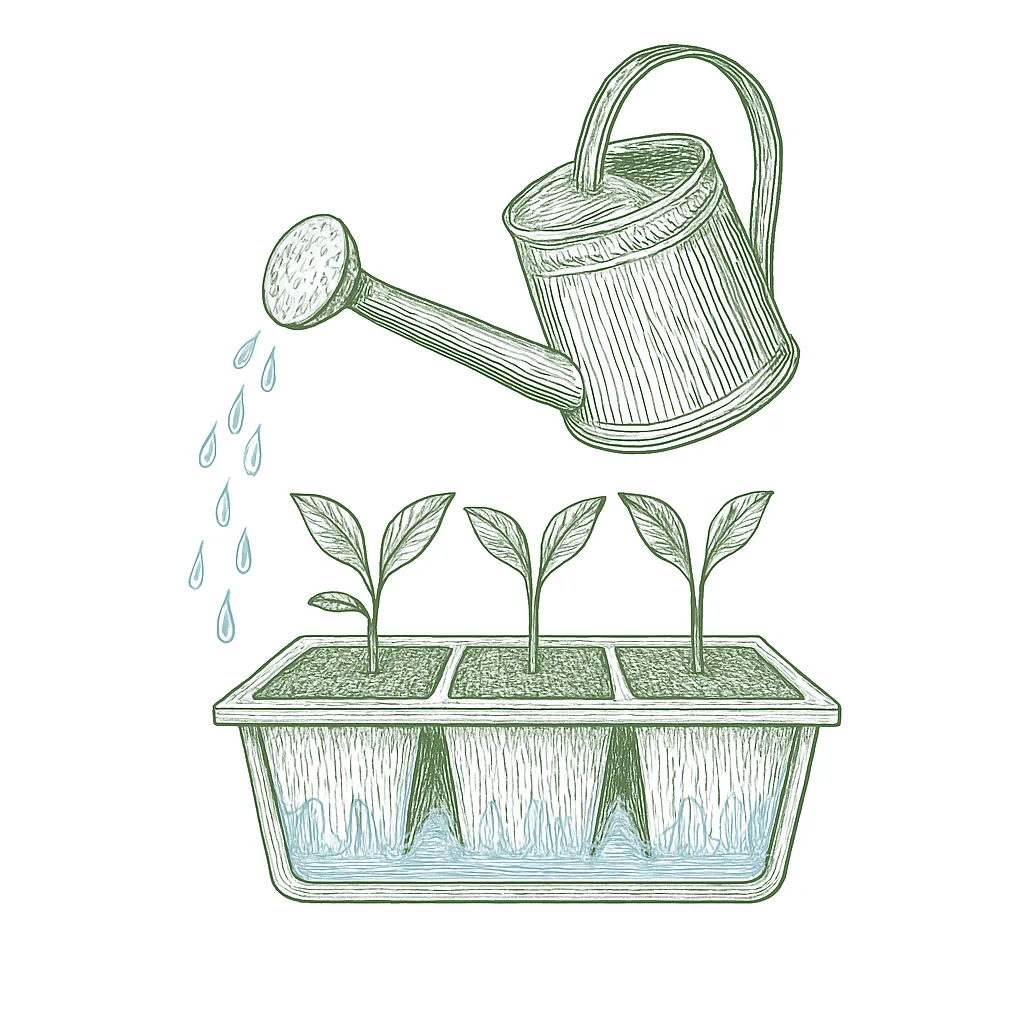
Pour water into the bottom tray, not over the tops, and let the soil soak it up. Let the surface dry out a little between waterings so it does not stay soggy.Water into the tray beneath the cells and let the mix wick moisture up; this keeps the surface from crusting and the stems dry. Let the top just begin to dry between waterings.
Step 7
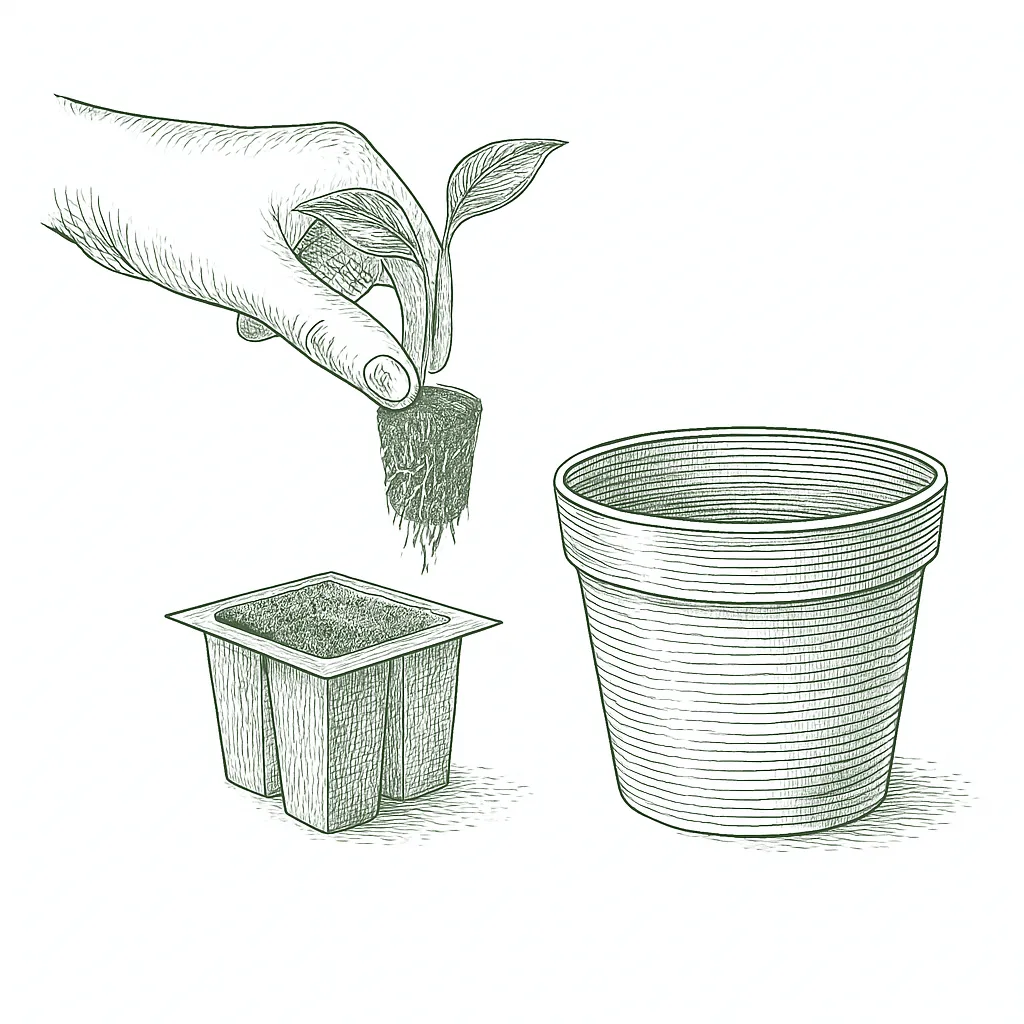
When the plants make their real leaves and outgrow the little cells, move them into bigger pots so they keep growing. Pick them up by a leaf, never by the stem.Once true leaves appear and roots fill the cell, move seedlings to larger pots to keep them growing on without checking; handle by the leaves, never the stem.
A sunny window is fine for the warmth of germination in many cases, but once seeds sprout, a window alone almost always makes weak, stretched seedlings. A light held a few inches above the plants for 12 to 16 hours a day is what keeps them stocky and strong. The heat mat mainly speeds up germination.
As soon as the first seeds sprout. The dome holds the moisture seeds need to germinate, but once they are up it traps too much humidity and invites a fungus that topples seedlings ("damping off"). Off it comes.
Every step on this page is drawn from land-grant university Cooperative Extension guidance. Last verified 2026.
Zone-aware seasonal nudges, what's worth planting now, and the occasional recipe from the harvest. No spam, ever.