Tied to today WATERING
Water deep, not often
Why one long soak beats a daily sprinkle, especially in a heat wave.
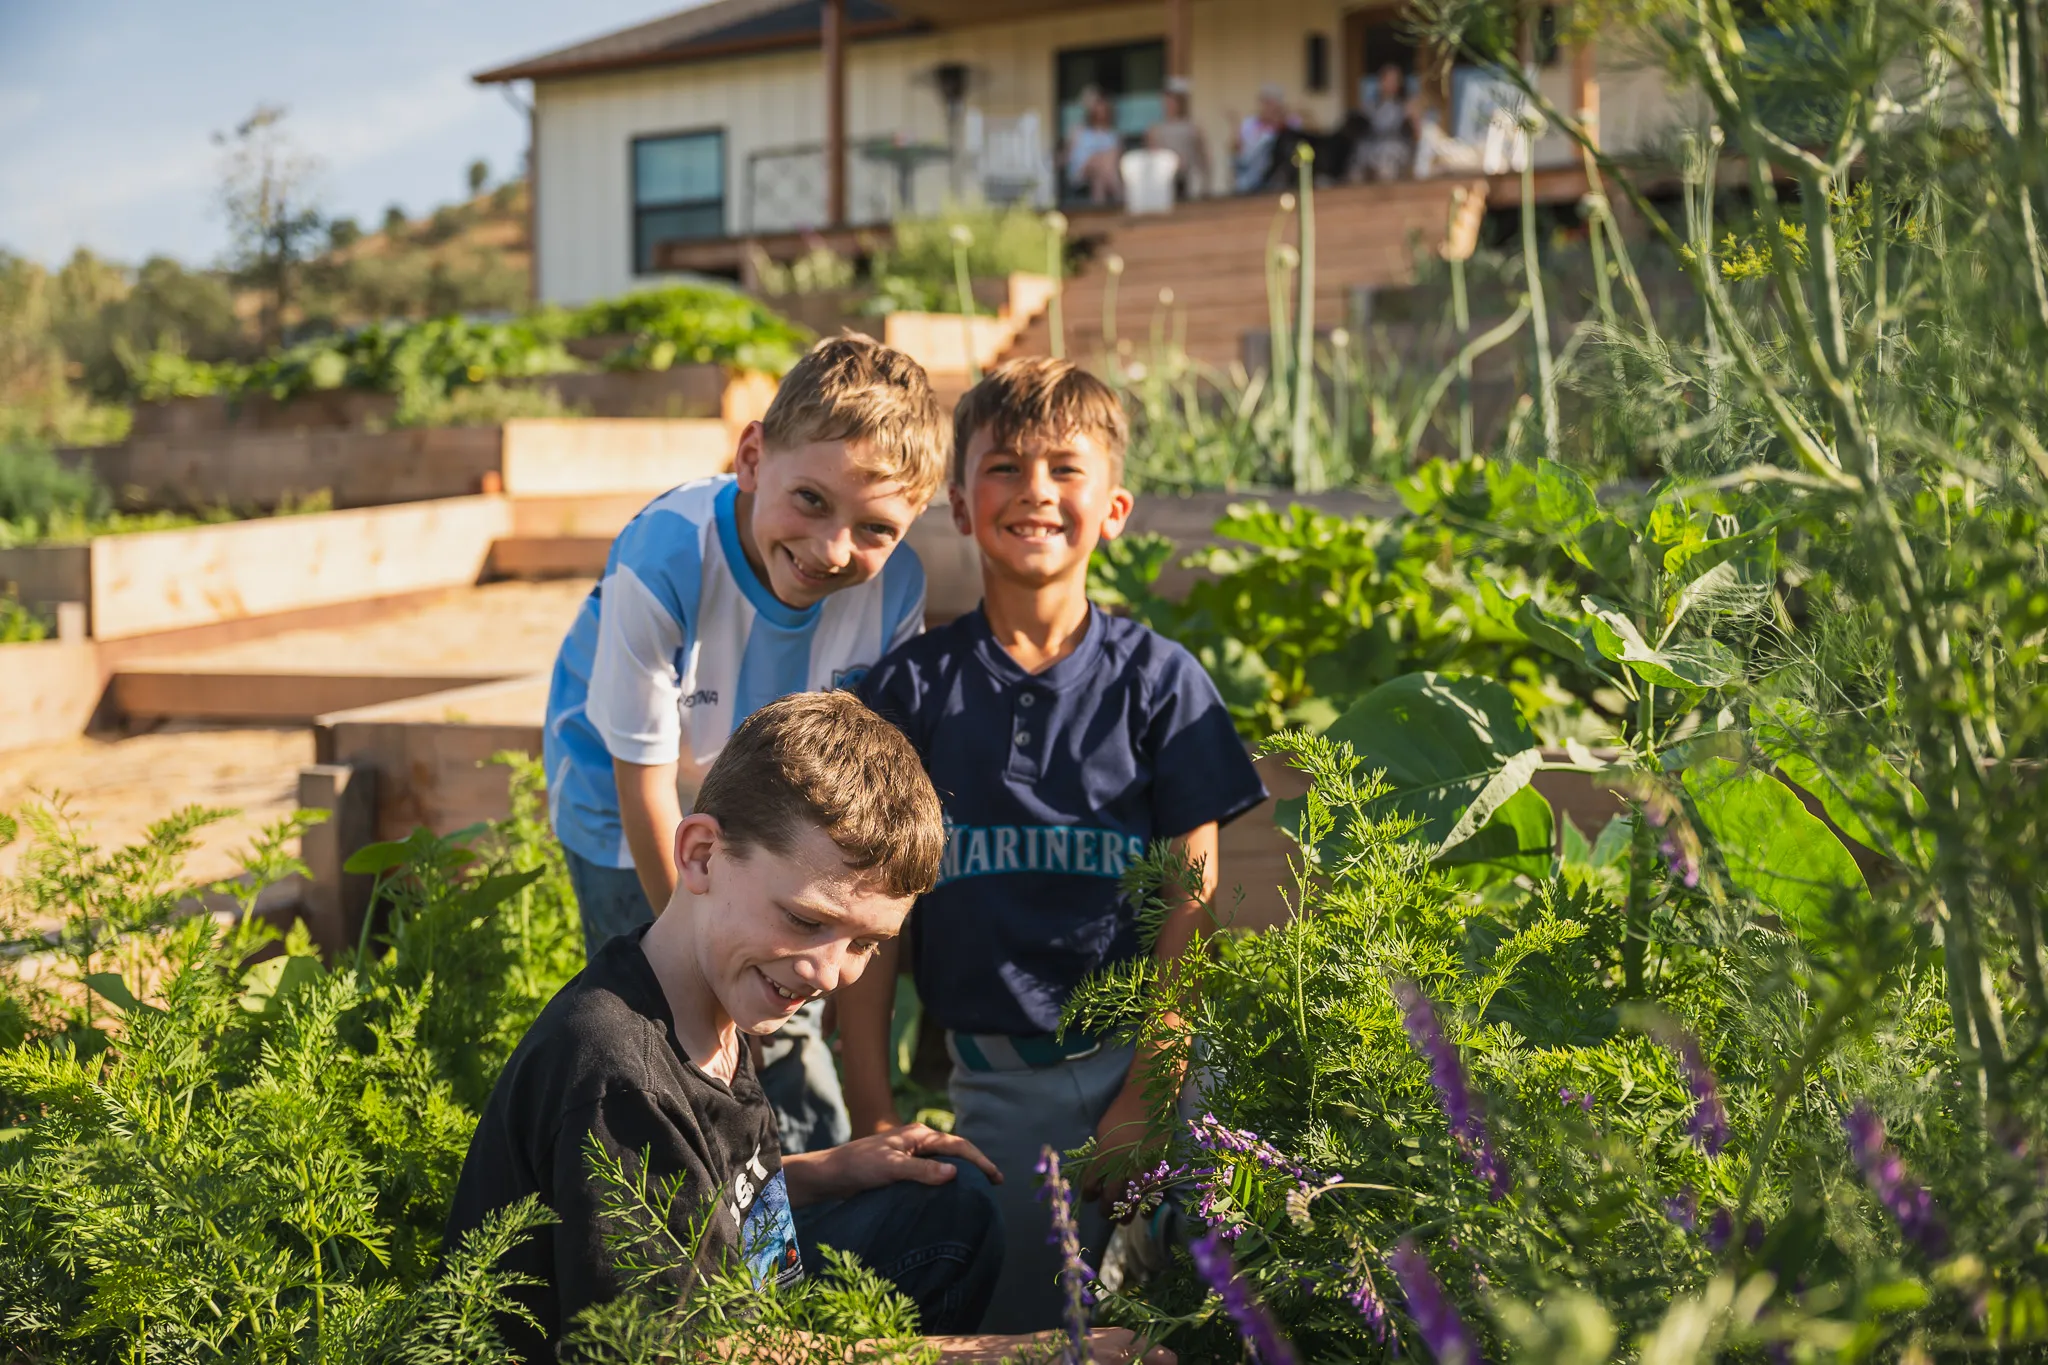
At its simplest, plant helps you get a garden growing.
Start with seeds or transplants, keep track of what you planted and follow along as your garden grows. plant helps you know what needs your attention now, what's coming next and when it might finally be time to harvest.
If that's all you want, great.
But when you're ready for more, there's more.
Plan out a season. Track your seeds. Build a shopping list. Design your garden. Keep notes from year to year. Look back at what worked, what didn't and what you want to try differently next time.
Choose Beginner when you want things simple. Switch to Seasoned when you want to dive deeper.
You don't have to learn everything about gardening before you start growing.
plant meets you where you are, then grows with you.
Tap through it yourself:

Grow what matters.
Together.
Let's set up your garden in about a minute.
Where do you grow?
Popular first crops · Zone 9b
You're set
We'll line up what to do for cherry tomatoes, carrots, and basil, timed to your zone.
Thursday · July 23 · Zone 9b
Good morning, Sarah
A real scorcher today. Tomatoes are ready to pick, the carrot bed wants prepping for fall, and lettuce stays on pause. Four things to check across your beds. Heat day, 97 high. Tomato picking is daily now, carrot bed preps for the fall sowing, lettuce holds. Four tasks across four beds.
Heat watch
Climbing to 97°F this afternoon
Water deeply this evening after the sun drops, and give leafy crops some afternoon shade if you can. Deep-soak at dusk; moist soil buffers overnight heat. Shade cloth on the leafy beds through the weekend.
Pick ripe cherry tomatoes
The vines are in full swing. Pick anything fully colored; more ripen every day. Peak set. Pick at full color daily to keep the trusses producing. Cherry Tomato
Prep the carrot bed for fall
Spring carrots are done. Loosen the soil now; fall sowing opens in August. Bed is resting. Work in compost; fall sowing opens Aug. Carrot
Lettuce is on heat pause
Too hot to sow lettuce now. Sowing opens again in August. Heat pause. Resume sowing in Aug. Lettuce (Leaf)
Peach harvest is open
Your window runs May 20 - Jul 25. Pick fruit that gives slightly when pressed. Window May 20 - Jul 25. Pick at first give; the top of the tree ripens first. Peach
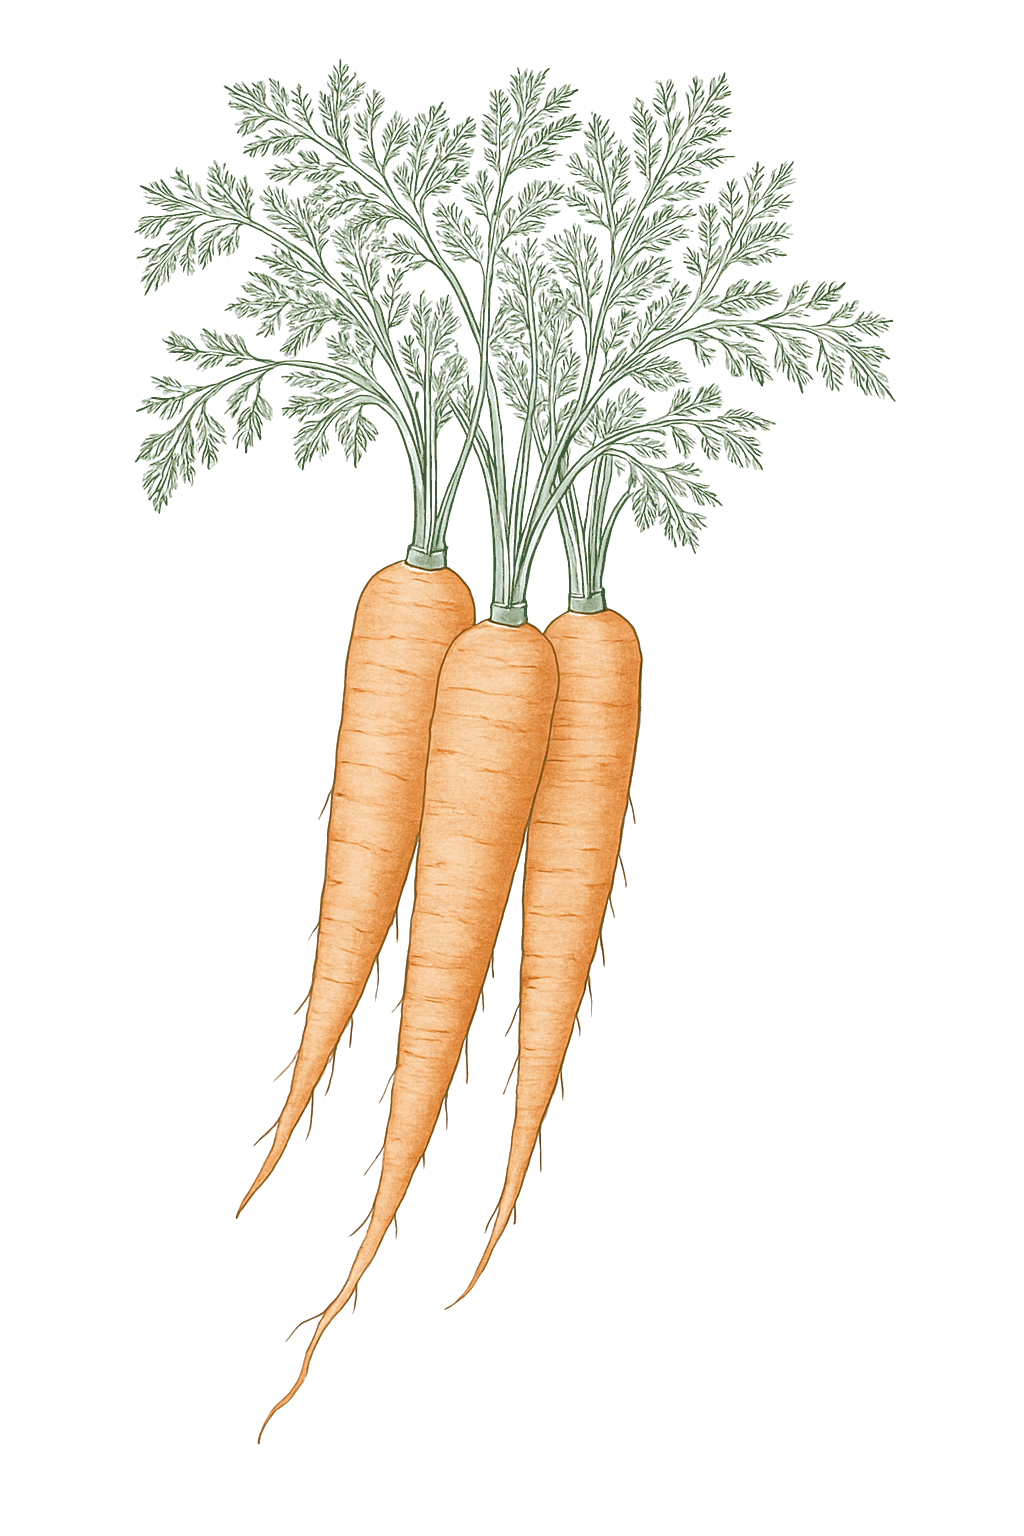 Carrot Sow in August
 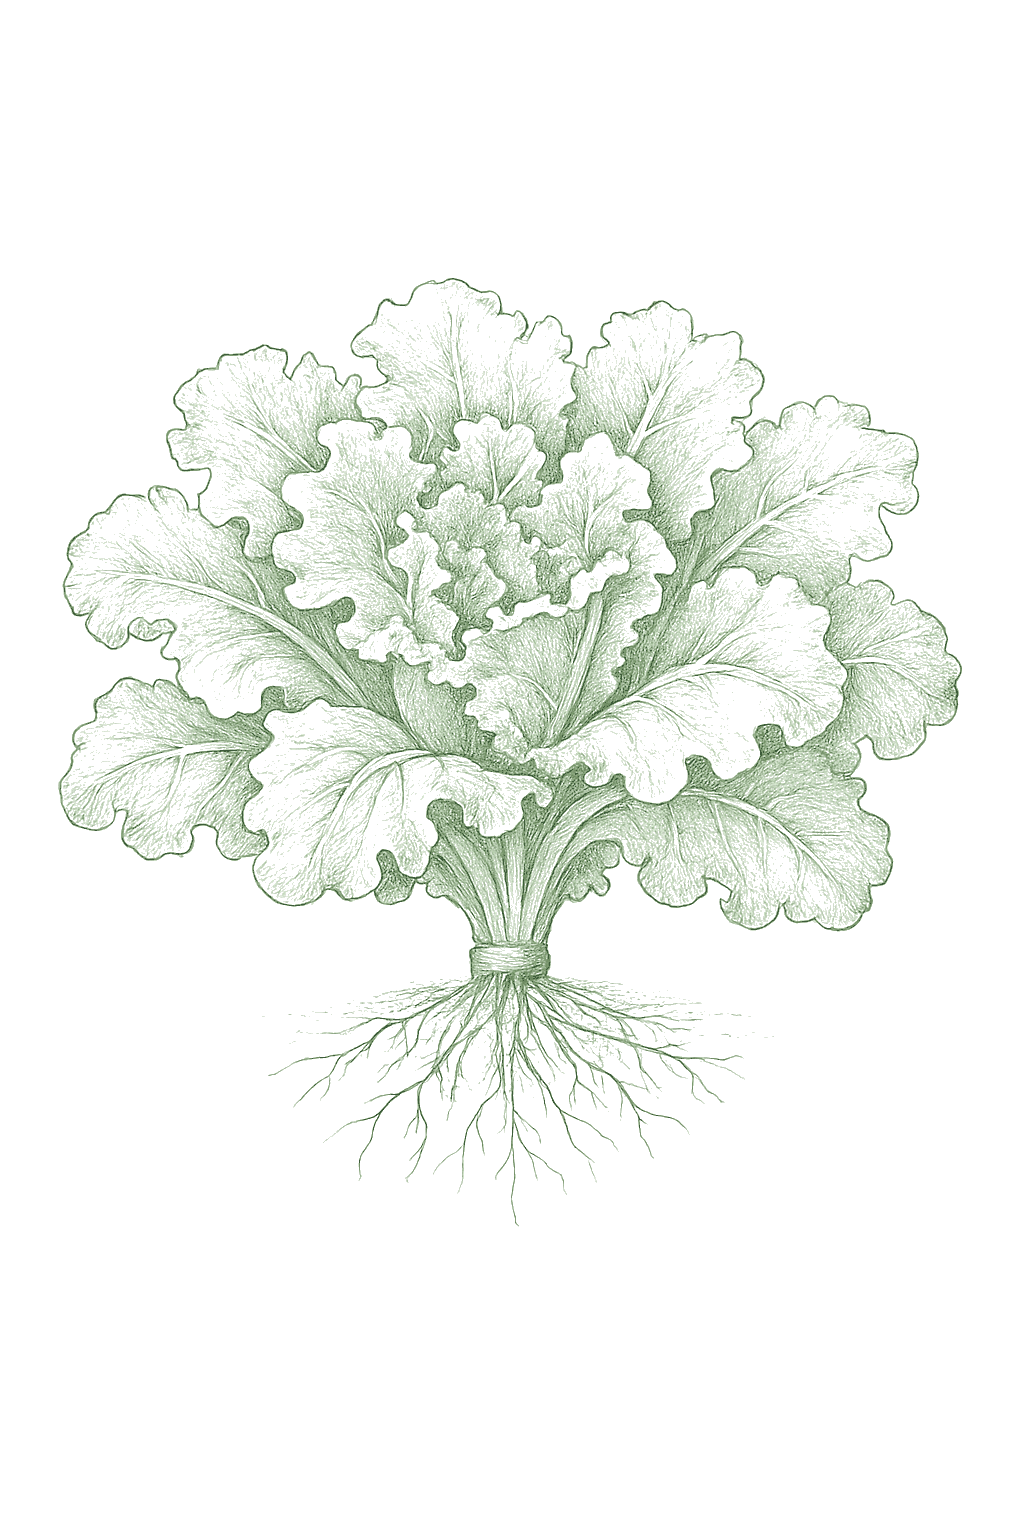 Lettuce (Leaf) Resume in August
 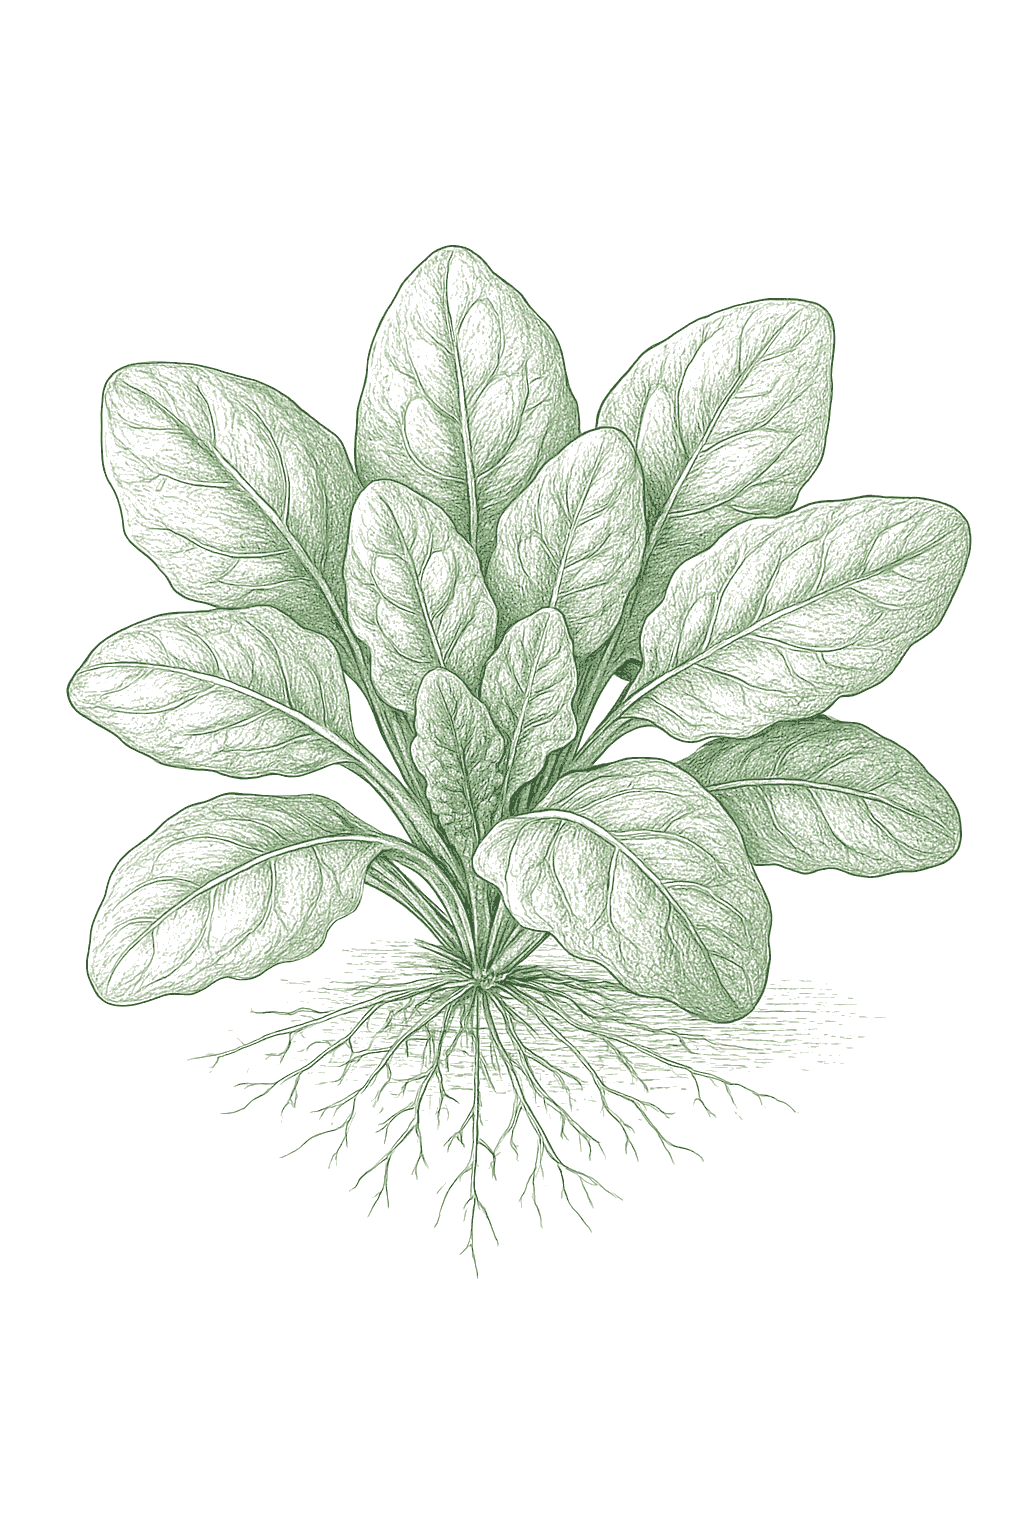 Spinach Sow in September
 Reading room
Chosen for your garden and Zone 9b
Water deep, not often
Why one long soak beats a daily sprinkle, especially in a heat wave.
Know your soil
The seven soil types, and how to work with yours.
The Encyclopedia · Zone 9b
Learn
Every crop, from whether it suits your garden to when to plant and how to harvest.
In season now
in Zone 9b, this week
 Shown: Sungold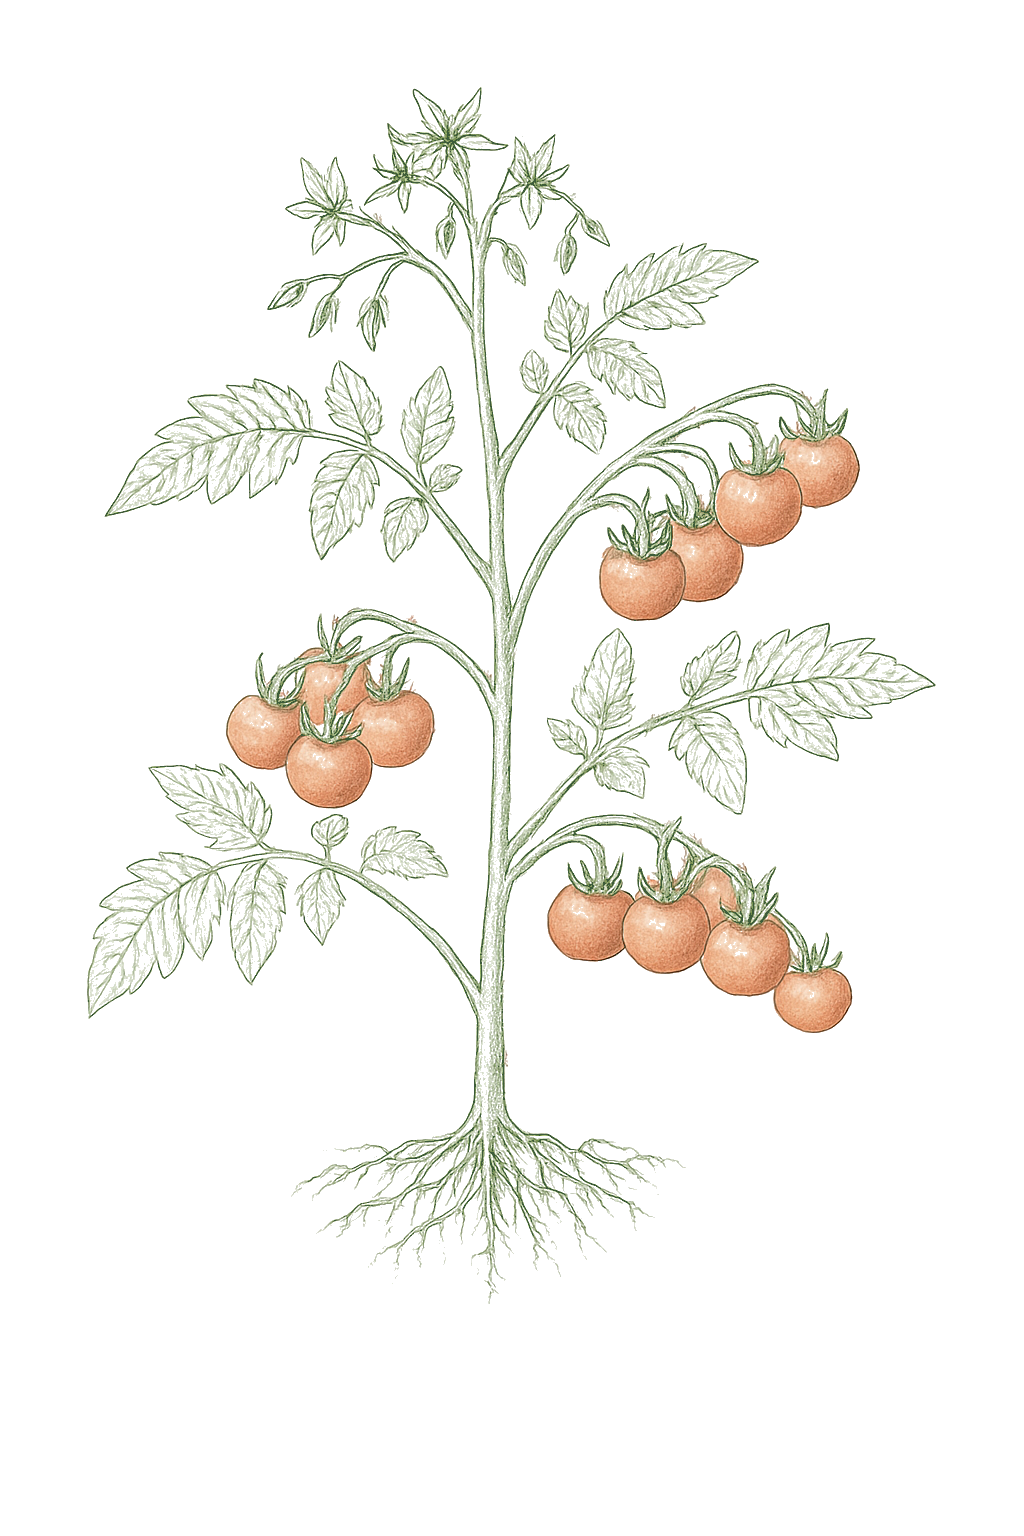
The easiest tomato to start with, and there's a specific reason why. Most cherry tomatoes are indeterminate, meaning the plant keeps producing new flower clusters and fruit continuously from early summer until frost, instead of ripening everything at once and stopping. One plant can give you handfuls of tomatoes over 10-14 weeks. That same continuous growth habit also means the plant recovers better from uneven watering or a missed feeding than a tomato that puts everything into one big harvest. Modern hybrid varieties like Sun Gold and Sweet 100 also have built-in disease resistance, which lowers the chances of losing a plant to blight. If you're in a cold zone (3-5), look for short-season varieties labeled under 60 days to maturity. If you're in a warm zone (9-11), you can get a second round of tomatoes by planting again in late summer. For containers or small spaces, compact varieties like Patio Choice or Tumbling Tom are the right pick. Cherry tomatoes are the most forgiving class in the tomato family for first-season growers, for a specific biological reason: most are indeterminate, meaning they continue producing new flower clusters and fruit continuously from first flowering until frost kills the plant. A single healthy plant can yield fruit over 10-14 weeks rather than all at once. The category spans a wide range: round cherries, pear-shaped types, elongated Romas, and cocktail-sized varieties, with fruit sizes from under half an inch to golf-ball. Most modern hybrid cherries (Sun Gold, Sweet 100, Supersweet 100) are also bred for disease tolerance, which further lowers the failure risk. Compact determinate cultivars such as Patio Choice and Tumbling Tom are suited to containers and small-space gardens. In warm climates (zones 9-11), second plantings in late summer can extend harvest into winter. In the coldest growing zones (3-5), short-season varieties (under 60 days to maturity) are the practical choice.
Growing journey swipe →
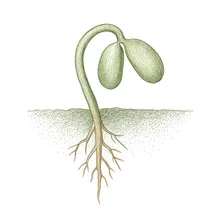
Germination
Days 5 to 10
Tomato seeds need warm soil to sprout, about as warm as a sunny windowsill, or 75°F if you have a soil thermometer. A heating mat under your seed tray is the easiest way to get there. Cover the tray with a clear plastic lid until the first green shoots appear, then take it off. Keep soil temperature in the 70-85°F range. A heat mat makes a real difference for staying in the optimal zone. Cover with a humidity dome until sprouts appear.
Look for: Tiny white root emerging from the seed, then a pale curved shoot pushing up through the soil. The shoot will straighten and the first two small leaves will unfold at the top. Tiny white root emerging from the seed, then a pale shoot pushing upward through the soil.
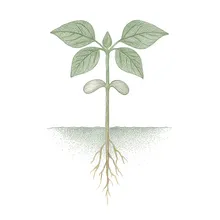
Seedling
Days 7 to 28
The moment you see the first green sprouts, take off the plastic lid covering your seed tray, as leaving it on causes a fungal problem called damping off that kills seedlings. Move the tray as close to your brightest light as you can get it. If seedlings grow tall and floppy instead of short and stocky, they need more light, not more water; that stretched-out look is called etiolation (reaching for the light), and a weak stem won't fully recover. Remove the humidity dome the moment the first sprouts appear, as waiting causes damping off. Move seedlings as close to your brightest light source as possible. Tomato seedlings require 14-16 hours of light equivalent to bright natural light to grow compact and stocky; at less than that, they etiolate (stretch toward the light) producing a weak, thin stem that never fully recovers. Leggy seedlings are almost always a light deficiency, not a watering problem.
Look for: Two small flat leaves (the seed leaves) open first, then the first true leaves emerge between them, which will have the distinctive serrated edges and smell of tomato leaves. Two seed leaves open flat, then the first true leaves emerging between them, which will look distinctly tomato-shaped.
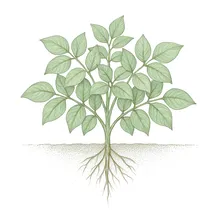
Established
Days 28 to 56
Before you move seedlings outside, you need to harden them off, meaning giving them short outdoor stints first (start with an hour or two in a sheltered spot), adding more time and sun each day over 7-10 days. Indoor-grown seedlings aren't used to wind, direct sun, or temperature swings; skipping this step shocks the plant and sets it back. When you plant, go deep: bury the stem all the way up to the lowest set of leaves. Tomatoes grow roots from buried stem, so a deeper planting gives you a bigger, more drought-tolerant root system. Begin hardening off 7-10 days before transplant: start with 1-2 hours outdoors in a sheltered spot, extending time and sun exposure each day. Indoor seedlings have thinner cuticles and underdeveloped stomatal regulation, so gradual exposure allows the plant to upregulate protective responses before full outdoor conditions. Plant deep: bury the stem up to the lowest set of leaves. Tomatoes develop adventitious roots from buried stem tissue, so a deeper planting produces a larger, more drought-resistant root system than a shallow one.
Look for: The stem is thicker, the plant has 3 or 4 sets of true leaves, and the color is deep green throughout. If you squeeze the stem gently it holds its shape rather than feeling floppy. Strong stem, 3-4 sets of true leaves, deep green color. Ready to pot up or transplant.
Flowering
Days 45 to 75
When the first yellow flowers appear, change to a tomato fertilizer (those usually have more potassium, which the plant needs for fruit). Each morning, give the flowering stems a gentle shake or tap. This helps the flowers make fruit, and it really does work, especially indoors or in places without much wind. Switch from a balanced fertilizer to a high-potassium, low-nitrogen formulation. Nitrogen drives vegetative growth, which is counterproductive once flowering begins. Potassium governs sugar transport into fruit and is the limiting nutrient for fruit quality and weight at this stage. Gently tap or shake the flowering stems each morning, as tomatoes are self-fertile but require vibration to release pollen efficiently from the anther cone. In still, sheltered environments, this manual step measurably improves fruit set.
Look for: Small bright yellow flowers appearing in clusters, each one star-shaped with petals swept back. Each flower is a potential tomato. Small yellow flowers in clusters. Each flower is a potential fruit.
Harvest
Days 55 to 80
Pick ripe tomatoes every day or two during peak summer. Ripe fruit left on the vine releases a ripening gas (ethylene) that hurries along the fruit around it, which sounds useful, but in an indeterminate plant that keeps flowering all season, leaving ripe tomatoes hanging too long also pulls the plant's energy away from new flowers and young fruit. Regular picking keeps production moving. Pick regularly, every 1-2 days at peak production. Ripe tomatoes on the vine produce ethylene gas, which accelerates ripening of neighboring fruit and, in indeterminate varieties, can slow the initiation of new flower clusters. Leaving ripe fruit on the vine also creates a physical energy sink: the plant continues investing carbohydrates in already-ripe fruit rather than channeling resources to new flowers and developing fruit.
Look for: Fruit is fully colored (red, orange, or yellow depending on variety) and gives slightly when you press it gently. Very ripe fruit may start to look a little less shiny than it did. Fully colored fruit that gives slightly to a gentle squeeze. The skin may start to lose its sheen when perfectly ripe.
Your year in Zone 9b swipe →
Care guide
Pick when the tomato is fully colored all the way through, red, yellow, orange, or black depending on what you planted, and gives just slightly to a gentle squeeze. The skin shifting from shiny to slightly matte is a reliable visual cue that it's ready. A ripe tomato should twist off easily; if you have to pull hard, give it one more day. Try to harvest in the morning when it's cooler, as tomatoes held in hot sun deteriorate faster. Pick when fully colored, red, yellow, orange, or black depending on variety, and slightly soft to a gentle squeeze. Full color indicates that lycopene synthesis (in red types) or anthocyanin and carotenoid accumulation (in other types) is complete, which correlates with peak sugar content and flavor volatiles. The fruit should detach with a slight twist rather than requiring pulling; resistance to easy separation means the abscission zone has not yet fully formed. The skin losing its sheen is a reliable visual cue: the epidermis transitions from a taut, reflective surface to a slightly matte finish as cell turgor shifts during final ripening. Harvest in the morning when temperatures are cooler, as fruit held at 90°F+ deteriorates faster than fruit harvested and moved to shade.
Every 2 to 3 days in hot weather, and about once a week when it is cool. Plants drink and lose much more water when it is hot, so the soil dries out faster. Plants in containers dry out even quicker and may need checking every day in peak summer heat. Every 2-3 days during hot weather, once a week when temperatures are cool. The difference is driven by evapotranspiration rate: at air temperatures above 80-85°F, plants lose water through leaves several times faster than at 60°F, so the soil dries proportionally faster. Container-grown plants dry out faster still and may need daily checking in peak summer heat.
Cherry tomatoes want soil that drains well and is rich in organic matter. If water sits on top of your bed after rain or stays soggy for more than a day, drainage is a problem, soggy roots will rot even if the soil is otherwise good. The easiest fix for most soils is to work in 2 to 3 inches of compost before planting, which improves both drainage and fertility at once. Tomatoes are heavy feeders, so starting with rich soil means less fertilizing mid-season. Cherry tomatoes perform best in well-drained loam or sandy loam with high organic matter content. Adequate drainage is non-negotiable, waterlogged roots invite both Pythium root rot and nutrient lockout even in otherwise fertile soil. Working in 2 to 3 inches of compost before planting addresses both texture and fertility in one amendment. Tomatoes are heavy feeders, and organically rich soil reduces the mid-season fertilizer burden considerably.
Soil pH is a measure of acidity on a scale from 1 to 14, where 7 is neutral. Tomatoes need it between about 6.0 and 6.8, the slightly acidic range where the nutrients they need are most available. Soils in the interior West (Arizona, Nevada, Utah, Colorado) often run alkaline (above 7), which can cause nutrient problems even when fertilizer is applied; growers in those regions often need to add sulfur before planting. Eastern and Midwestern soils are often naturally in the right range, but a $10 soil test from your local extension office tells you for certain. Tomatoes are particularly sensitive to pH because it governs the solubility of phosphorus, calcium, and magnesium, three nutrients they consume in large quantities. At pH below 5.5, manganese and aluminum become increasingly available at phytotoxic levels; blossom-end rot risk rises as calcium uptake is impaired. Above 7.0, iron and manganese deficiencies drive interveinal chlorosis on younger leaves. In the alkaline soils common across the interior West and alkaline-irrigation regions, growers routinely need to acidify before planting. Eastern soils often run naturally in the preferred range; Pacific Northwest soils vary widely by parent material.
When you see the first flowers opening, switch fertilizers. Use a balanced or all-purpose fertilizer early in the season, then switch to a tomato-specific or high-potassium fertilizer once flowers appear. Too much nitrogen (the first number on the package) after flowering pushes the plant to grow more leaves instead of fruit. Switch from balanced to high-potassium feed at flowering. Too much nitrogen produces leafy plants with little fruit.
Most tomato companion advice is garden tradition rather than tested fact. The clearest exception is marigolds, which can cut down on root pests, but only when planted thickly as a cover crop a couple of months ahead, not scattered among the tomatoes. In practice: keep fennel away, keep tomatoes away from their relatives like potatoes and eggplant if disease has been a problem for you, and try nasturtiums as a trap for aphids if aphids gave you trouble in past seasons. Cherry tomato companions are dominated by traditional lore with selective extension backing. The marigold/nematode connection is the best-documented pairing in this crop's companion set, effective as a dense pre-season cover crop, not as scattered concurrent interplanting. For most growers, the practical guidance is straightforward: avoid fennel, keep tomatoes away from other Solanaceae family members (potatoes, eggplant) if disease pressure is a concern in your region, and consider nasturtiums as an aphid trap crop if aphid pressure was a problem in past seasons.
Clusters of tiny soft green or black insects on the growing tips and the undersides of leaves, often so small they look like dots. The leaves may start to curl or feel sticky. You might see ants walking up the stems, as they farm aphids for the sweet liquid the aphids produce.Clusters of tiny soft insects on new growth and leaf undersides. Leaves curl, yellow, or become sticky with honeydew. Sooty black mold may follow.
Tiny soft-bodied insects that cluster on stems and the undersides of leaves. Their numbers can build up very fast in warm weather.Multiple aphid species. Populations explode rapidly in warm weather.
Spray the colonies directly with a strong jet of water from a hose. For persistent infestations, apply insecticidal soap or neem oil spray, making sure to coat the leaf undersides where the aphids cluster.Blast off with strong water jet. Apply insecticidal soap or neem oil directly to colonies. Introduce ladybugs or lacewings.
Plant marigolds or nasturtiums near your tomatoes, as both attract beneficial insects that eat aphids. Avoid over-fertilizing with high-nitrogen fertilizer, which produces the soft new growth aphids prefer.Plant marigolds and nasturtiums nearby. Avoid excess nitrogen fertilizer which creates soft, aphid-attractive growth. Encourage beneficial insects.
Verified · 2 extension sources
Large sections of leaves or whole stems stripped overnight. Look for fat green caterpillars (up to 4 inches long) that blend almost perfectly into the stems, but they are easier to spot by looking for the black droppings on the leaves below.Large green caterpillars (up to 4 inches) stripping foliage. Leaves disappear rapidly. Black droppings on leaves.
Large green caterpillars, the larvae of a moth, that feed on leaves and stems. They show up mostly in mid to late summer.Manduca quinquemaculata moth larvae. Mid to late summer pest.
Hand-pick and drop in soapy water, it sounds simple but it works well. If you spot any with small white oval capsules stuck to their backs, leave those ones; parasitic wasps have laid eggs on them and the wasps will do the work for you.Hand-pick, they are well camouflaged but easy to remove. Apply Bt (Bacillus thuringiensis) spray. If white cocoons visible on back, leave them, as parasitic wasps are doing the work.
Till or turn your soil in autumn to destroy overwintering pupae. Planting dill or fennel nearby attracts the predatory wasps that prey on hornworms.Till soil in autumn to kill overwintering pupae. Plant dill and basil nearby to attract predatory wasps.
Verified · 2 extension sources
Tiny round holes scattered across the leaves, especially on young plants and seedlings. If you approach the plant quickly you'll see tiny shiny black beetles jumping off the leaves: that's the flea beetle.Tiny round shot-holes in leaves, especially on seedlings and young plants. Small shiny black beetles jump when disturbed.
Small dark beetles that jump like fleas when disturbed and chew tiny holes in leaves. They are most active in spring on young plants.Multiple flea beetle species. Most active in spring on young plants.
Cover seedlings with floating row cover until plants are a few inches tall and growing strongly. Diatomaceous earth dusted on and around the leaves can help; reapply after rain.Use row covers on seedlings. Apply diatomaceous earth. Neem oil spray.
Transplanting larger, more established plants rather than direct-sowing reduces flea beetle damage, since seedlings are most vulnerable.Delay transplanting until plants are large. Use transplants rather than seeds.
Verified · 2 extension sources
Leaves look dusty or stippled, with tiny yellow or tan dots covering the surface. In bad infestations you'll see fine webbing on the undersides of leaves. Leaves may look bronzed or dry at the edges. Mites thrive in hot, dry weather.Fine stippling or yellow dots on leaves. Fine webbing on leaf undersides. Leaves may bronze, dry out, and drop. Worst in hot dry weather.
Tiny mites, almost too small to see, that feed on leaves and leave fine specks or webbing. They thrive in hot, dry conditions.Tetranychus urticae and related species. Thrives in heat and drought.
Spray the undersides of leaves with a strong jet of water every day for a week, which disrupts mite populations significantly. Follow up with neem oil or insecticidal soap applied to leaf undersides if the problem persists.Blast with water repeatedly. Apply neem oil or insecticidal soap to leaf undersides. Increase humidity around plants.
Keep plants well-watered in hot weather; water-stressed plants are more vulnerable. Misting the leaves in the morning raises local humidity, which mites dislike.Keep plants well-watered in hot weather. Avoid dusty conditions. Introduce predatory mites.
Verified · 2 extension sources
Dark brown spots on the lower leaves, often with rings inside them like a target pattern. The leaves around the spots turn yellow, then the whole leaf dies and drops. The pattern starts at the bottom of the plant and moves upward.Dark brown spots with concentric rings on lower leaves first. Affected leaves yellow and drop. Spreads upward through plant.
A fungus that causes dark spots on the lower, older leaves first. It spreads in warm, wet weather, so keep the leaves as dry as you can.Alternaria fungus. Favored by warm wet conditions.
Remove and throw away (do not compost) any affected leaves as soon as you spot them. Mulch the soil around the base of the plant to stop rain from splashing soil and fungal spores up onto the lower leaves.Remove affected leaves immediately. Apply copper-based fungicide preventively. Mulch soil to prevent splash-up.
Rotate your tomatoes, avoiding the same spot for at least 3 years. Water at the base of the plant rather than from overhead, and stake the plant to keep the foliage off the ground.Rotate tomatoes every 3-4 years. Water at soil level. Space plants for airflow. Stake to keep foliage off ground.
Verified · 2 extension sources
Dark, sunken, leathery patches on the bottom of the fruit, the end where the flower was attached. It usually appears on the first fruits of the season. It is not contagious and doesn't spread between plants.Dark, sunken, leathery patch at the bottom (blossom end) of fruit. Affects first fruits most. Not contagious.
A dark, sunken patch on the bottom of the fruit. It is not a pest or a disease: the fruit cannot get enough calcium, usually because watering has been uneven. Water steadily to prevent it.Calcium deficiency in developing fruit, caused by irregular watering or root damage, not a pest or disease.
The fix is consistent watering, not calcium supplements. Mulch around the base to help the soil hold moisture evenly, and water on a regular schedule rather than in big irregular bursts. Remove affected fruit; they won't recover.Mulch to maintain even soil moisture. Water consistently. Foliar calcium spray provides some relief. Remove affected fruit.
Water consistently and deeply, as the most common trigger is irregular watering during fruit development. Avoid disturbing the roots by cultivating too close to the plant, and don't over-fertilize with nitrogen, which pushes the plant to grow faster than it can absorb calcium.Consistent watering is the key prevention. Avoid root disturbance. Do not over-fertilize with nitrogen.
Verified · 2 extension sources
Small circular spots on the leaves, with tan or pale gray centers with dark brown borders, often with a faint yellow halo around the outside. They start on the lower leaves and move upward. Not as aggressive as early blight but disfiguring.Small circular spots with dark borders and pale gray centers, starting on lower leaves. Spots may have yellow halos.
A common fungus that makes many small, round spots on the leaves. It spreads in wet conditions, so water at the soil and keep the leaves dry.Septoria lycopersici fungus. One of the most common tomato diseases.
Remove affected leaves immediately. Apply copper-based fungicide if the problem is spreading. Improve airflow by staking or caging so leaves aren't touching each other.Remove affected leaves. Apply copper fungicide. Ensure good air circulation.
Water at the soil level rather than overhead. Mulch to prevent soil splash. Rotate tomatoes to a different bed each year.Rotate crops. Water at soil level. Mulch around plants.
Verified · 2 extension sources
Large, irregularly shaped brown patches that look water-soaked and spread fast, days not weeks. In humid weather you may see white fuzzy growth on the undersides of affected leaves. This one is serious; it can kill a healthy plant in a week.Water-soaked, rapidly expanding brown patches on leaves and stems. White fuzzy growth on undersides in humid conditions. Can destroy plants in days.
A fast-moving disease that can collapse a plant within days in cool, wet weather. Remove and throw away affected plants right away so it does not spread.Phytophthora infestans oomycete. The same pathogen that caused the Irish potato famine. Spreads rapidly in cool wet weather.
Remove and destroy all affected plant material immediately, bag it and throw it in the trash, do not compost it. Apply copper-based fungicide preventively if you see it starting in your area and conditions are wet.Remove and destroy all affected material immediately, do not compost. Apply copper fungicide preventively in wet conditions.
Choose disease-resistant varieties whenever possible. Stake for good airflow. Never leave tomato plant debris in the garden over winter, clear it all out at season's end.Plant resistant varieties. Ensure excellent airflow. Never leave tomato debris in the garden over winter.
Verified · 2 extension sources
About 4 to 8 pounds of fruit per plant over the season, and cherry types often land at the higher end when conditions are good. Vining (indeterminate) plants keep producing until frost; bushier (determinate) plants give one big flush and then taper off. 4-8 lbs over the season per plant, with cherry-type hybrids commonly producing at the upper end of that range under good conditions. Indeterminate varieties continue producing until frost; determinate cherry types produce a concentrated flush and then taper off.
About 1 to 2 weeks at room temperature, which is where tomatoes keep their best flavor. Set them stem-side down on the counter, out of direct sun, which helps them hold moisture longer.1-2 weeks at room temperature (65-70°F). Ripe tomatoes held at room temperature continue producing small amounts of ethylene, which sustains flavor development. Stem-side down reduces moisture loss through the stem scar, the most permeable point on the fruit surface.
Try not to refrigerate ripe tomatoes. The cold turns the texture mealy and dulls the flavor, and the damage cannot be undone. If a ripe tomato would otherwise go to waste, you can refrigerate it and use it within a day or two.Avoid refrigerating ripe tomatoes. Temperatures below 50-55°F cause chilling injury: cell membranes lose their selective permeability, releasing cell-wall-degrading enzymes that produce the mealy texture and muted flavor of cold-stored tomatoes. The damage is irreversible and occurs within hours at refrigerator temperatures. If a ripe tomato must be saved from immediate waste, refrigerate and use within 1-2 days.
You can freeze whole tomatoes to cook with later, but do not expect to eat them fresh after thawing: freezing makes the texture mushy. One handy upside is that the skins slip right off once thawed, which is great for sauces and cooked dishes.Freeze whole for cooking use, do not attempt to eat thawed tomatoes fresh. Freezing ruptures cell walls, making texture mushy when thawed. The practical benefit is that skins slip off easily after thawing, making frozen tomatoes convenient for sauces and cooked dishes. Blanching before freezing is optional but extends storage quality.
Keep them on the counter, out of direct sun, with the stem scar facing down, which slows moisture loss. Don't stack them in a pile; the weight bruises the ones on the bottom. A single layer in a wide bowl works well. Store at room temperature out of direct sun, stem-side down. Direct sun accelerates softening; stem-side down reduces moisture loss at the stem scar. Do not stack ripe tomatoes in a deep pile, as the weight bruises the bottom layers. A single layer on a countertop or in a wide, shallow bowl works best.
The Encyclopedia · Zone 9b
Learn
 Know your soil The seven soil types, and how to work with yours.
  Watering How much, how often, and how to tell.
  Starting seeds From packet to first true leaves.
  Frost and your zone The two dates that shape your whole year.
  What is pH? Why some crops sulk in perfect soil.
  Pest control Gentle first, and only what works.
 Reading now
Every watering schedule, feeding plan, and planting date sits on top of one thing: what your soil is made of.
Grab a handful of damp soil and squeeze. Sand falls apart, clay holds a shiny ribbon, and loam forms a loose ball that crumbles when poked. That one squeeze tells you most of what you need.
Sandy soil warms early and drains fast, so it plants earlier and waters more often. Clay holds cold and water, so it plants later and waters less. plant folds this into your schedule once you set your soil type.
You do not fix soil in a season; you feed it. A couple of inches of compost a year moves any soil toward loam, and raised beds let you start with the good stuff.
Your toolkit · Zone 9b
Plant
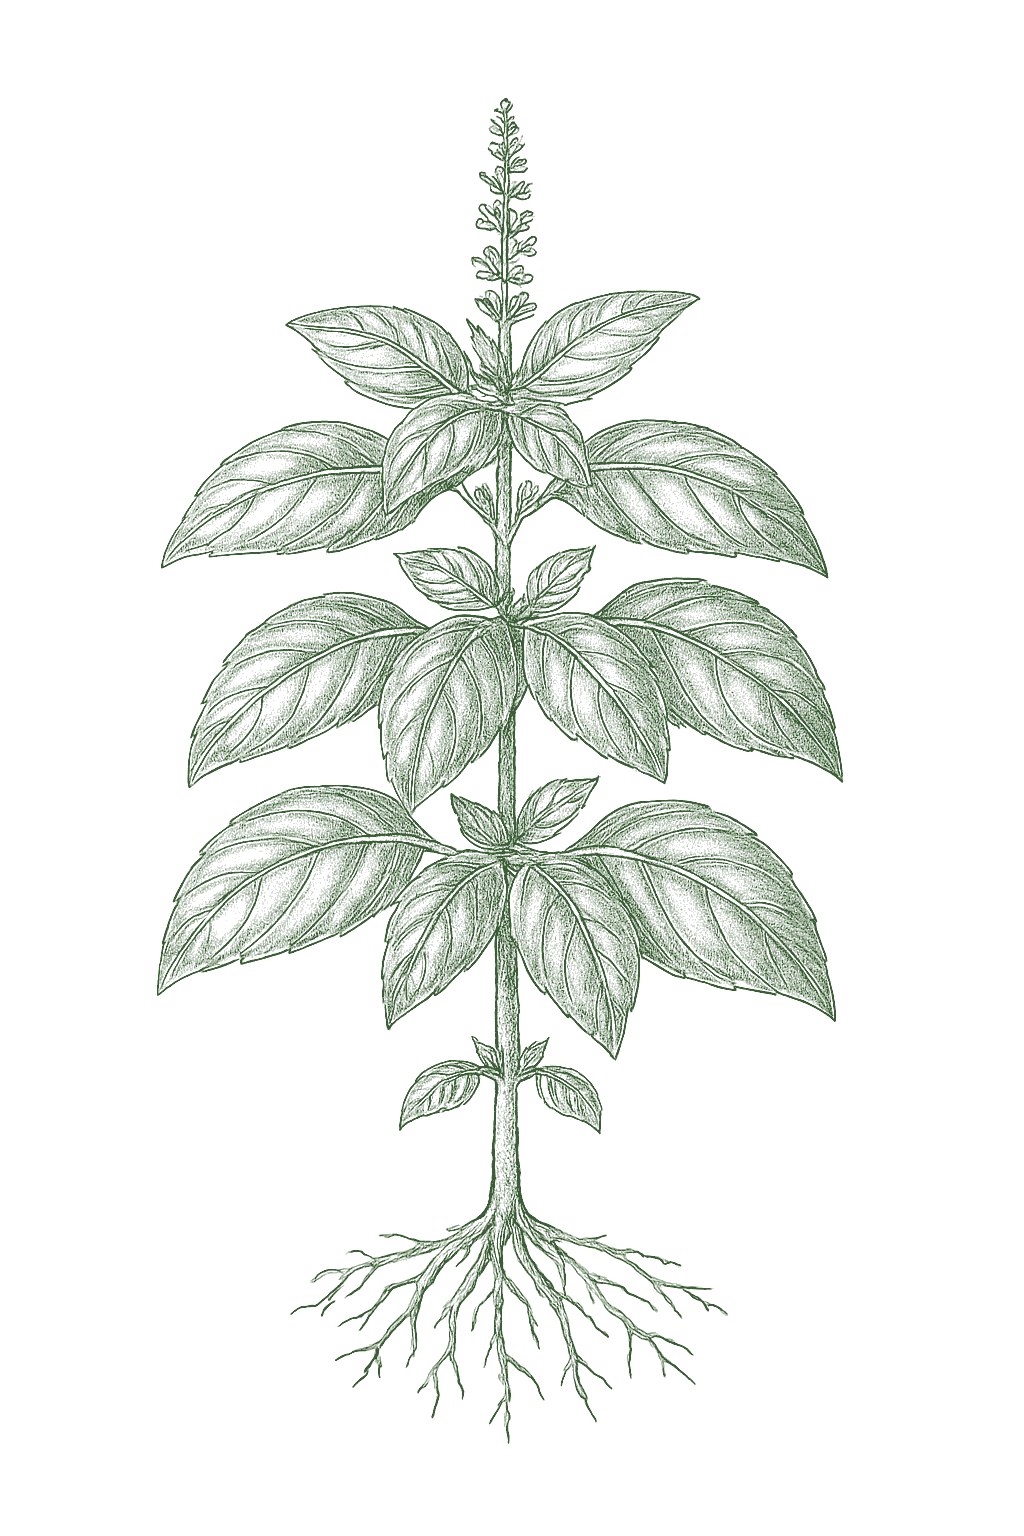
Tap a crop below to add it, then hold and drag plants to arrange them. Big plants can lean over the edges.
Your toolkit · Zone 9b
Plant
Flowers open yet? Flowers open yet?
First harvest ◉
Third bowl this week. The Sungolds are outpacing us.
1 lb 2 ozFirst ripe peach ◉
Ate it over the sink. No regrets.
First blossoms
Flowers opening right on schedule, about two weeks after transplant.
Thinned the row
Gave them two inches each. Tops are looking strong.
Sarah's garden · Zone 9b
Garden
9 crops growing
3 ready to pick
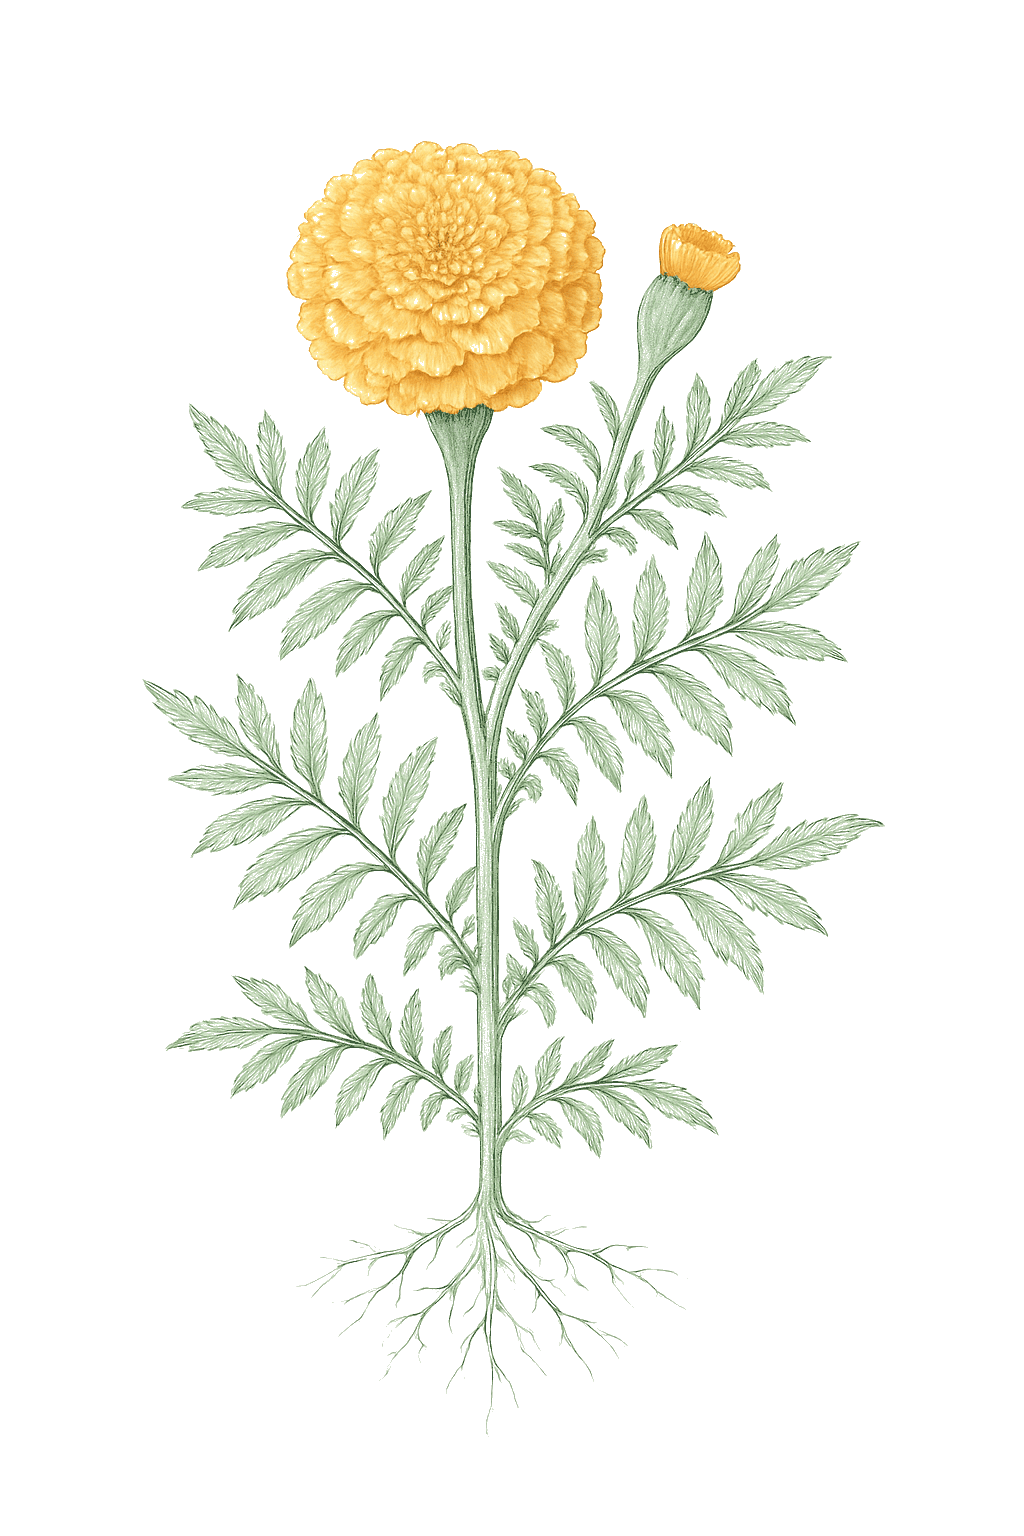
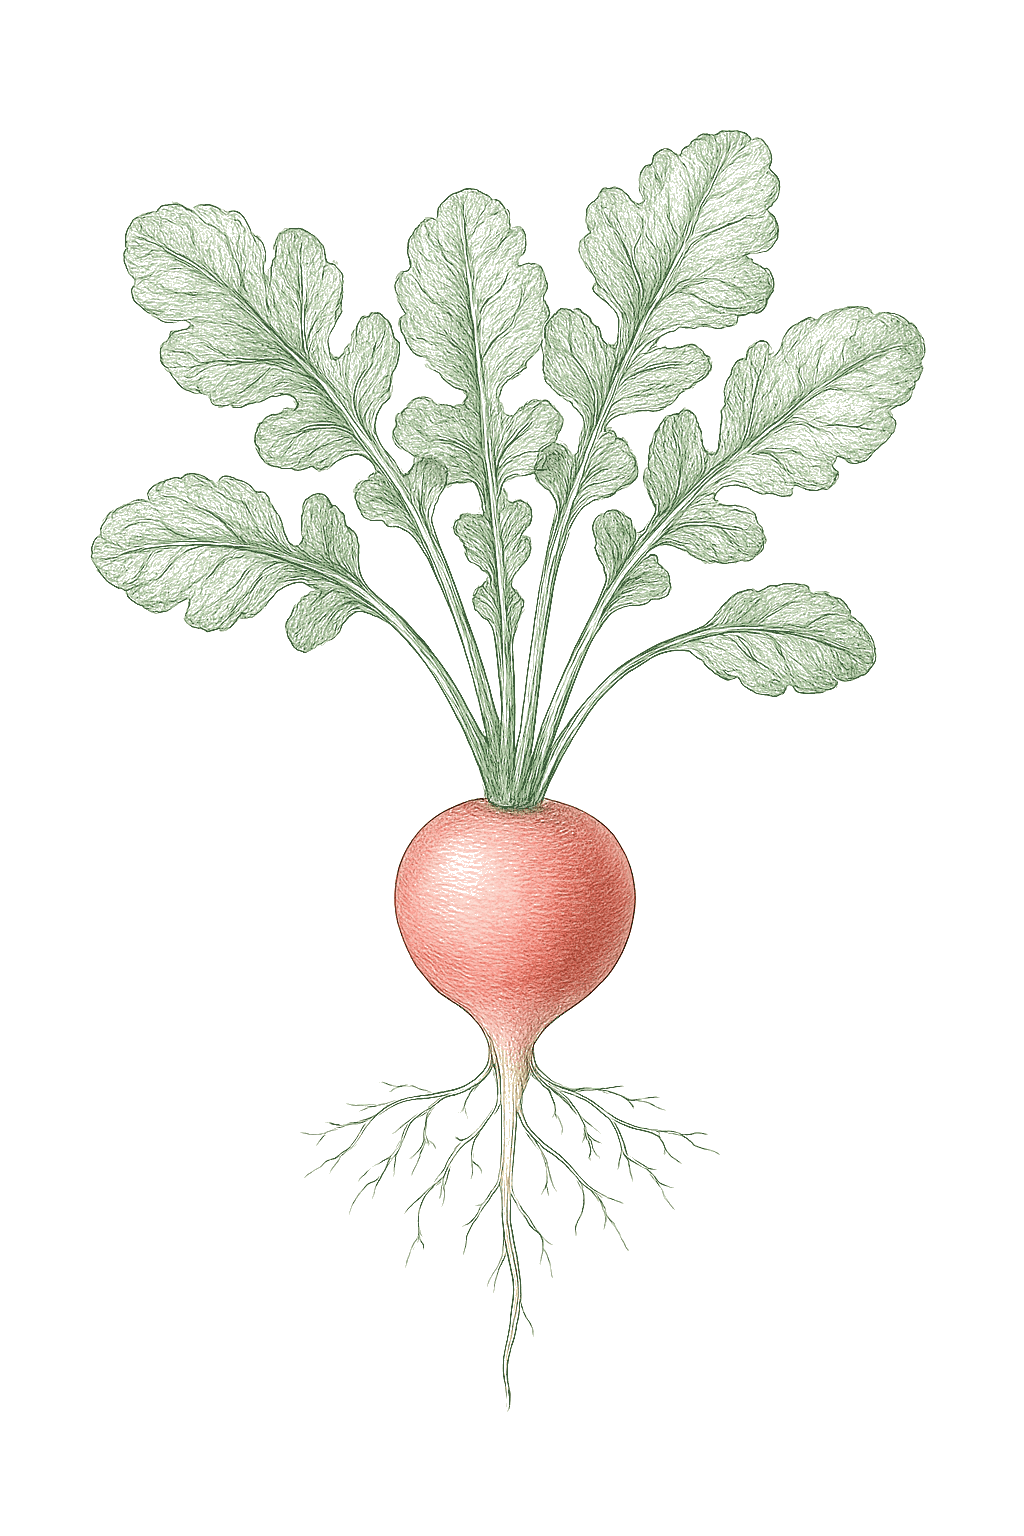
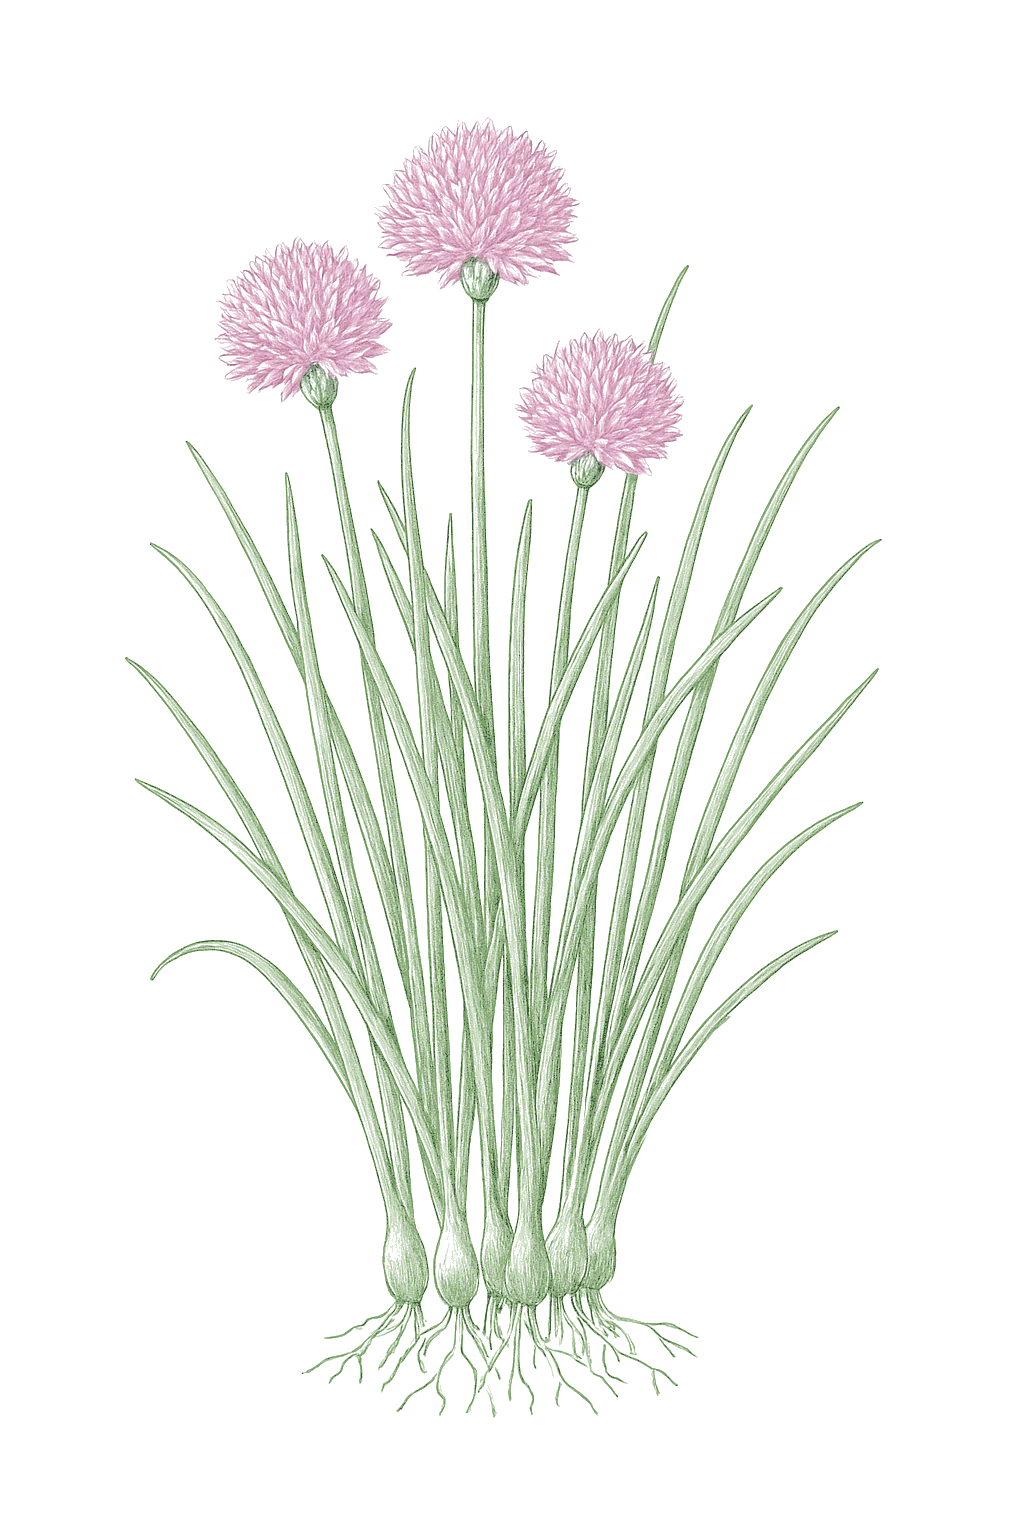
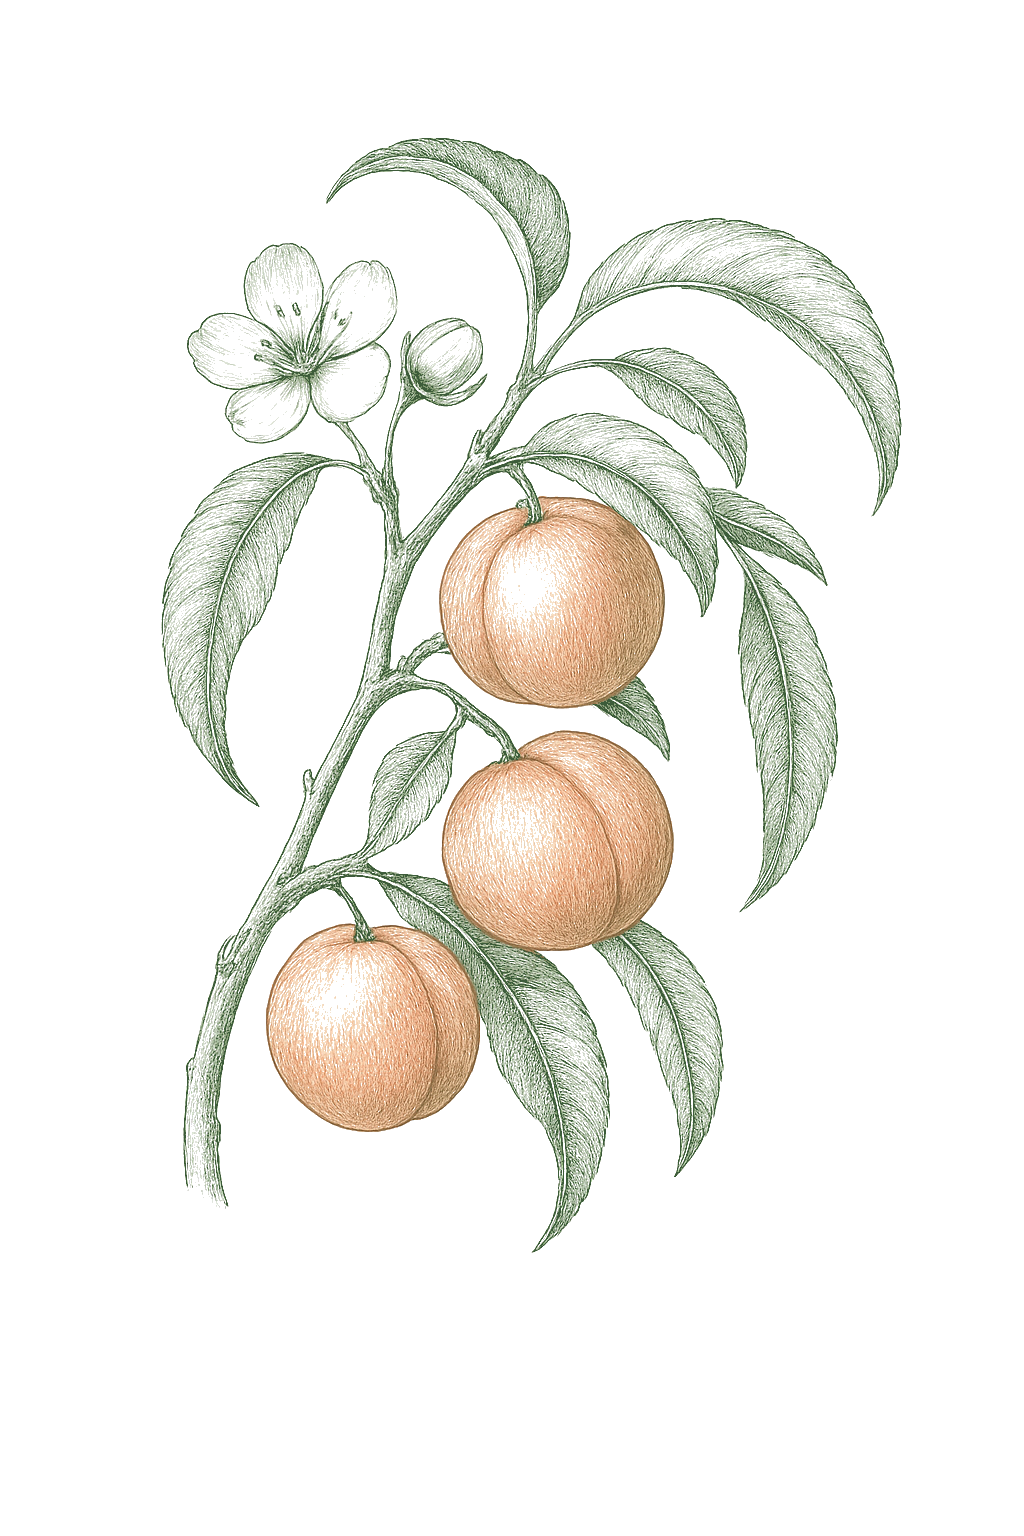
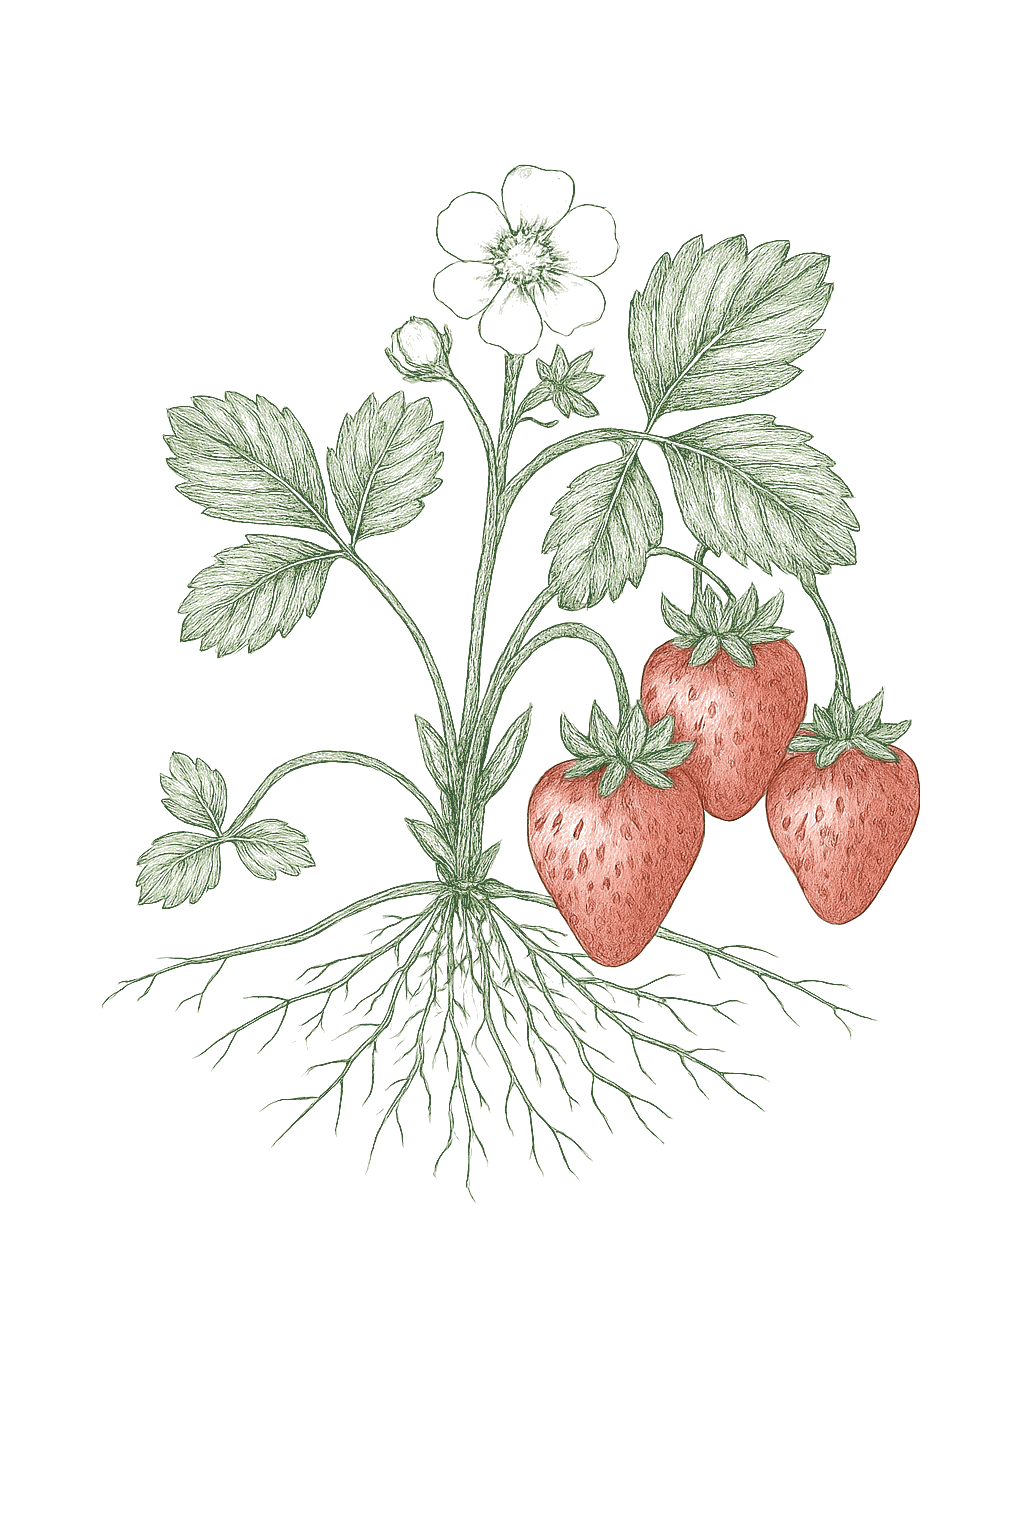
Sarah's garden · Zone 9b
Garden

First berries coloring up on the Sunshine Blue. Worth the extra work to get the soil acidic enough out here.
First bowl of Sungolds tonight. The kids ate half before dinner.

The summer squash has taken over the raised bed already. Going to be swimming in zucchini by July.
Tree two is loaded this year. Thinning the fruit early really paid off.
Pulled the spring row before the heat. Sweetest ones were the smallest.
Runners everywhere. Potting up a dozen to share at the swap this weekend.
You rang? I was reorganizing the mulch.
Why are my tomato leaves curling?
In a heat wave like this one, leaf curl is usually the plant protecting itself, not thirst. Check the soil first: if the top two inches are damp, let it be. Water deeply this evening if they are dry.
An early preview. Swipe, tap the tabs, flip beginner / seasoned.
This is one of our favorite parts of plant.
Create a Garden Circle with your friends, family or neighbors and suddenly your gardens are connected.
See what everyone is growing. Share updates from your garden. Ask the friend who always grows great tomatoes what you're doing wrong. And when your zucchini inevitably gets out of control, put the extras on the Trade Table and see who wants them.
Gardening has always been something people learned and shared together.
We want plant to make that easier again.
Your Circle
Message Board
First real pick of the year. These went in April 5 and they have not stopped.
Second season on these crowns and finally enough to actually cook with.
I planted four. I regret planting four. Trade Table incoming.
Your Circle
Trade Table
Community Farms are built for groups growing in the same space.
A school garden. A church. A neighborhood garden. A nonprofit. A group of volunteers turning an empty piece of ground into something useful.
Organizers can share announcements, create tasks and let members claim them, plan events and keep everyone connected to what is happening in the garden.
When harvest time comes, the Harvest Table helps organize what is available, how much there is and who is taking it home.
The goal is to make running a community garden a little less about keeping track of everything and a lot more about growing together.

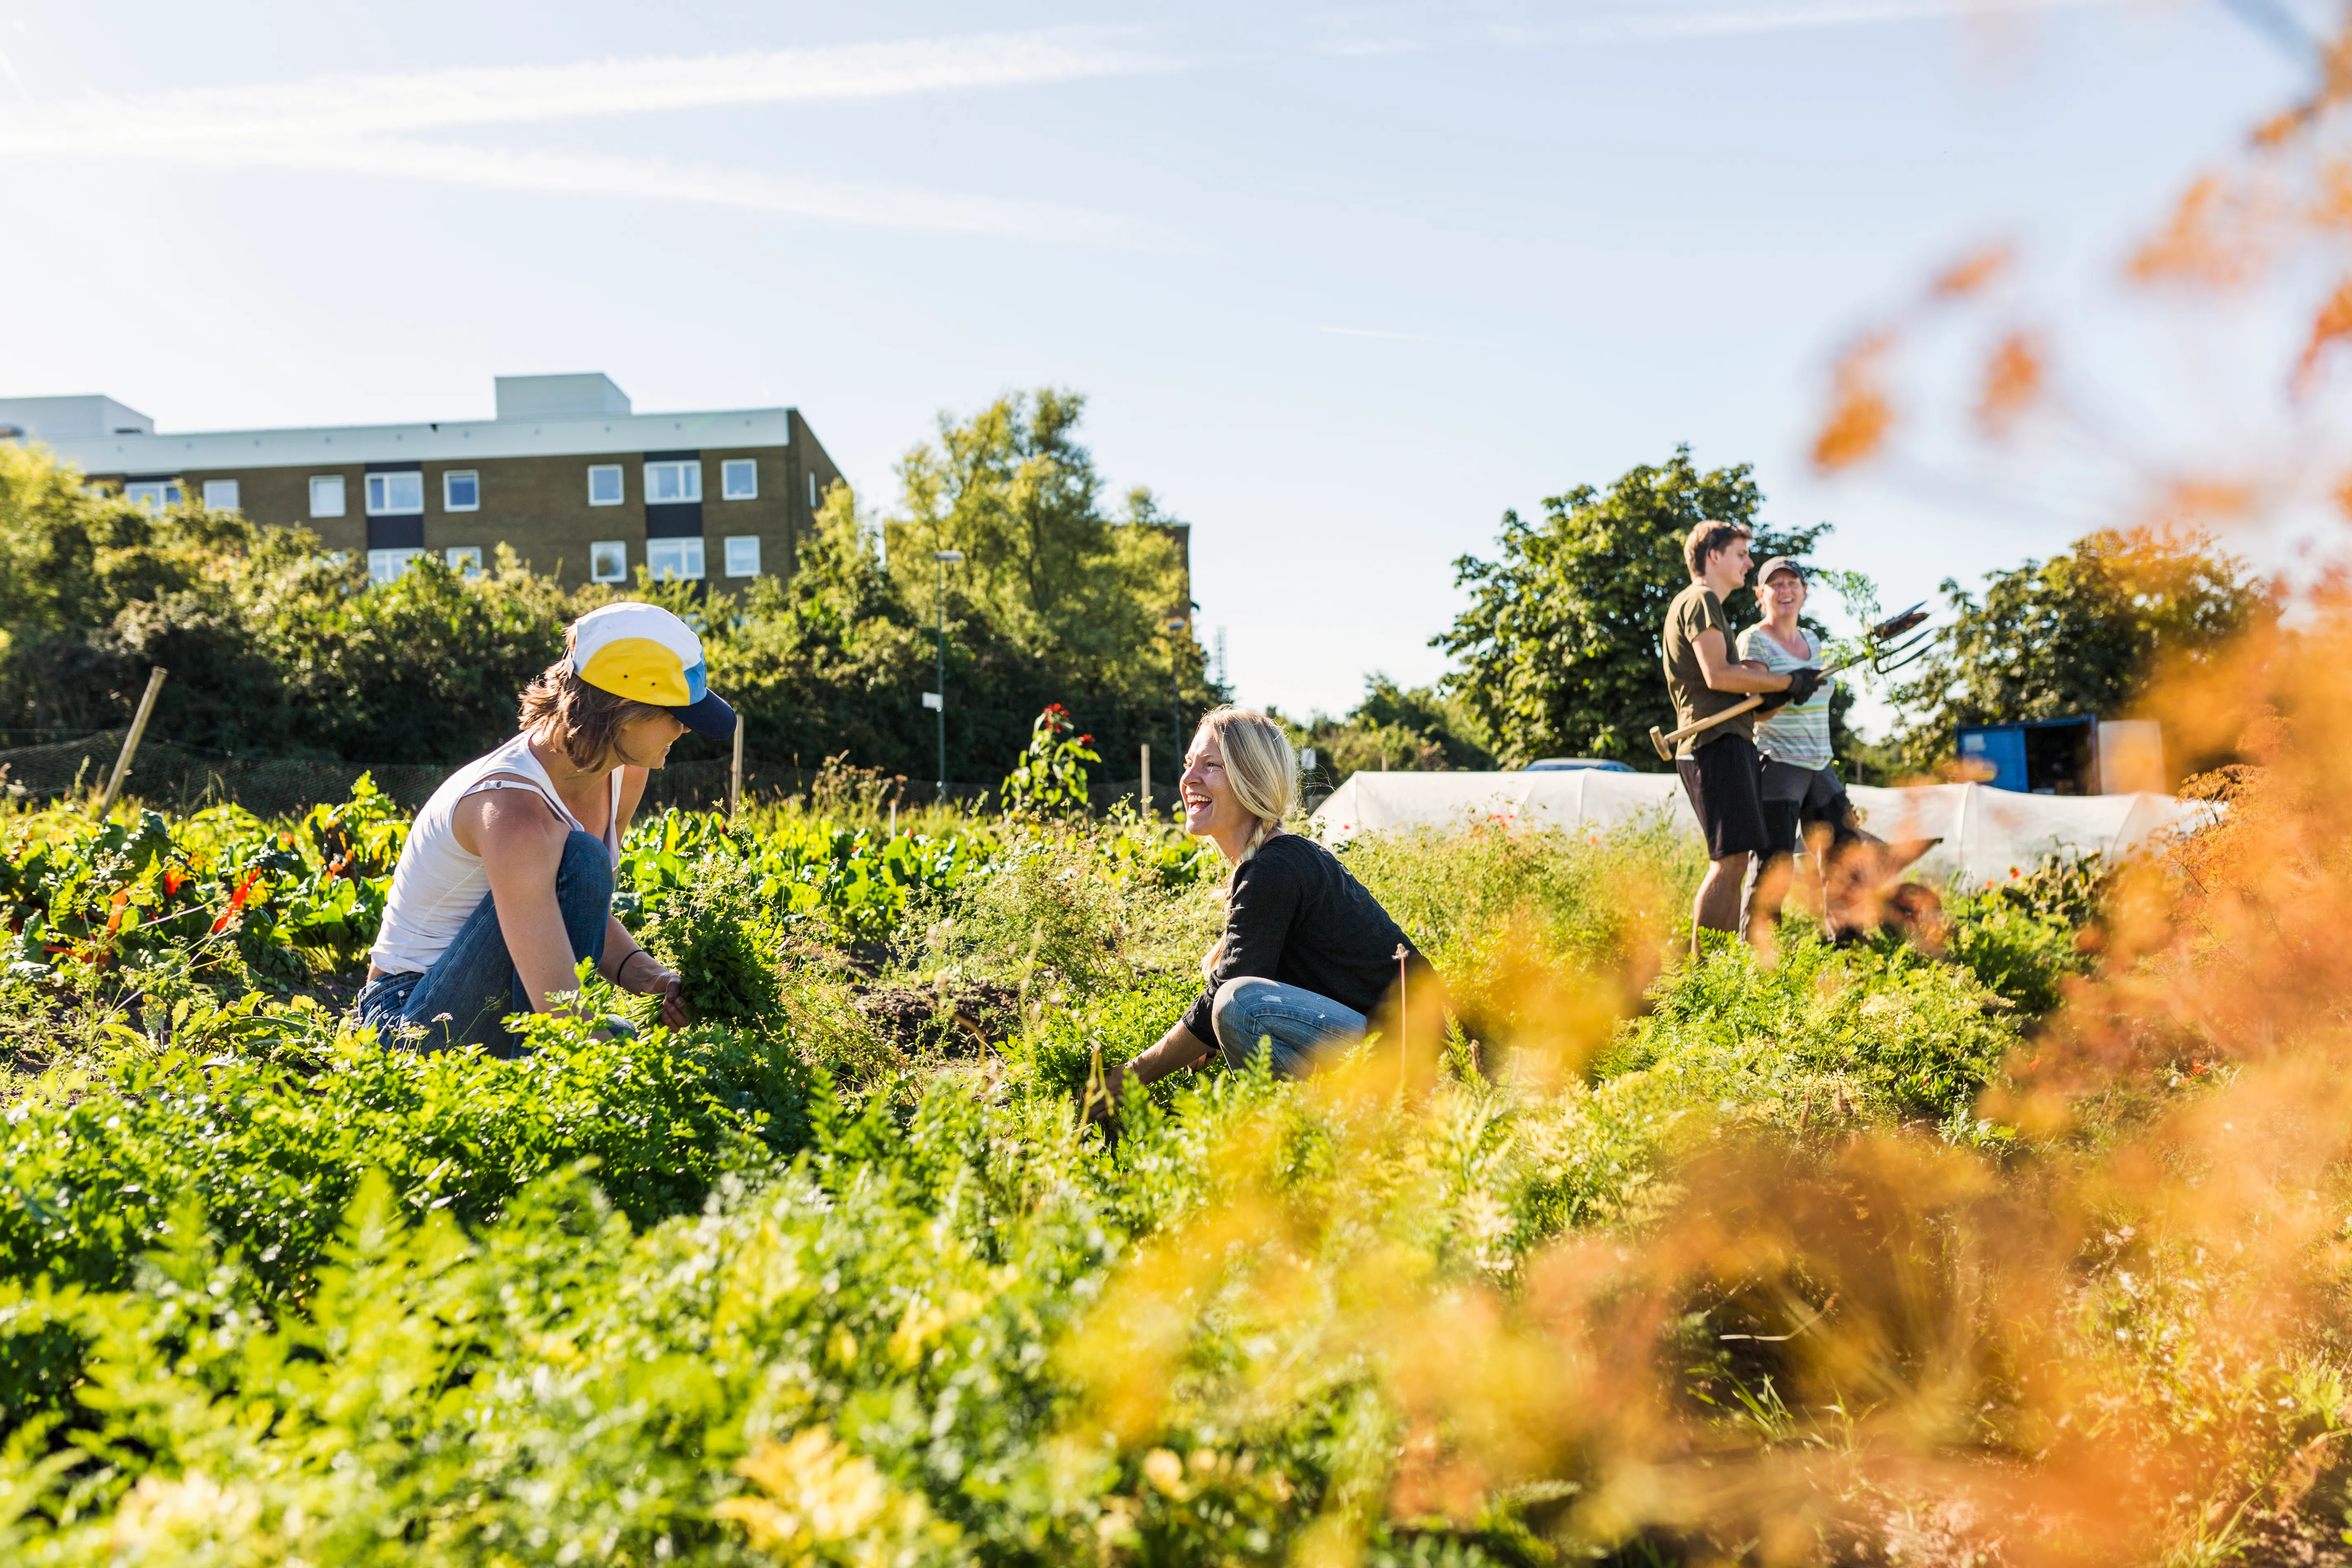
We're new. We're not going to pretend our growing information came from generations of plant experts sitting around the plant office.
So we did the research.
Our growing information is built from sourced and cited material, with University of California Cooperative Extension as our highest level of source. From there, we use reputable horticultural references and seed companies where appropriate, along with clearly separated traditional growing practices when there isn't a scientific answer for everything gardeners have learned over the years.
University of California Cooperative Extension.
Reputable horticultural references and seed companies.
Passed down by gardeners, not independently sourced.
Then we organize that information around the crop you're actually growing.
Because starting broccoli isn't the same as starting tomatoes. Growing in California isn't the same as growing in Maine. And a single generic paragraph about "starting seeds" isn't enough.
We also know we won't always get everything right.
If you see something that needs correcting, tell us. If you have a growing tip that has worked season after season, send it in. plant should get better because the people using it are willing to share what they know.
Every gardener has questions.
Herb is the AI built into plant to help you figure it out.
A photo starts the conversation.
Herb can look at what you're growing, when you planted it, your recent watering and what has been happening in your garden. Then he can ask questions.
The goal isn't a fast answer. It's a better one.
Herb
Ask Herb
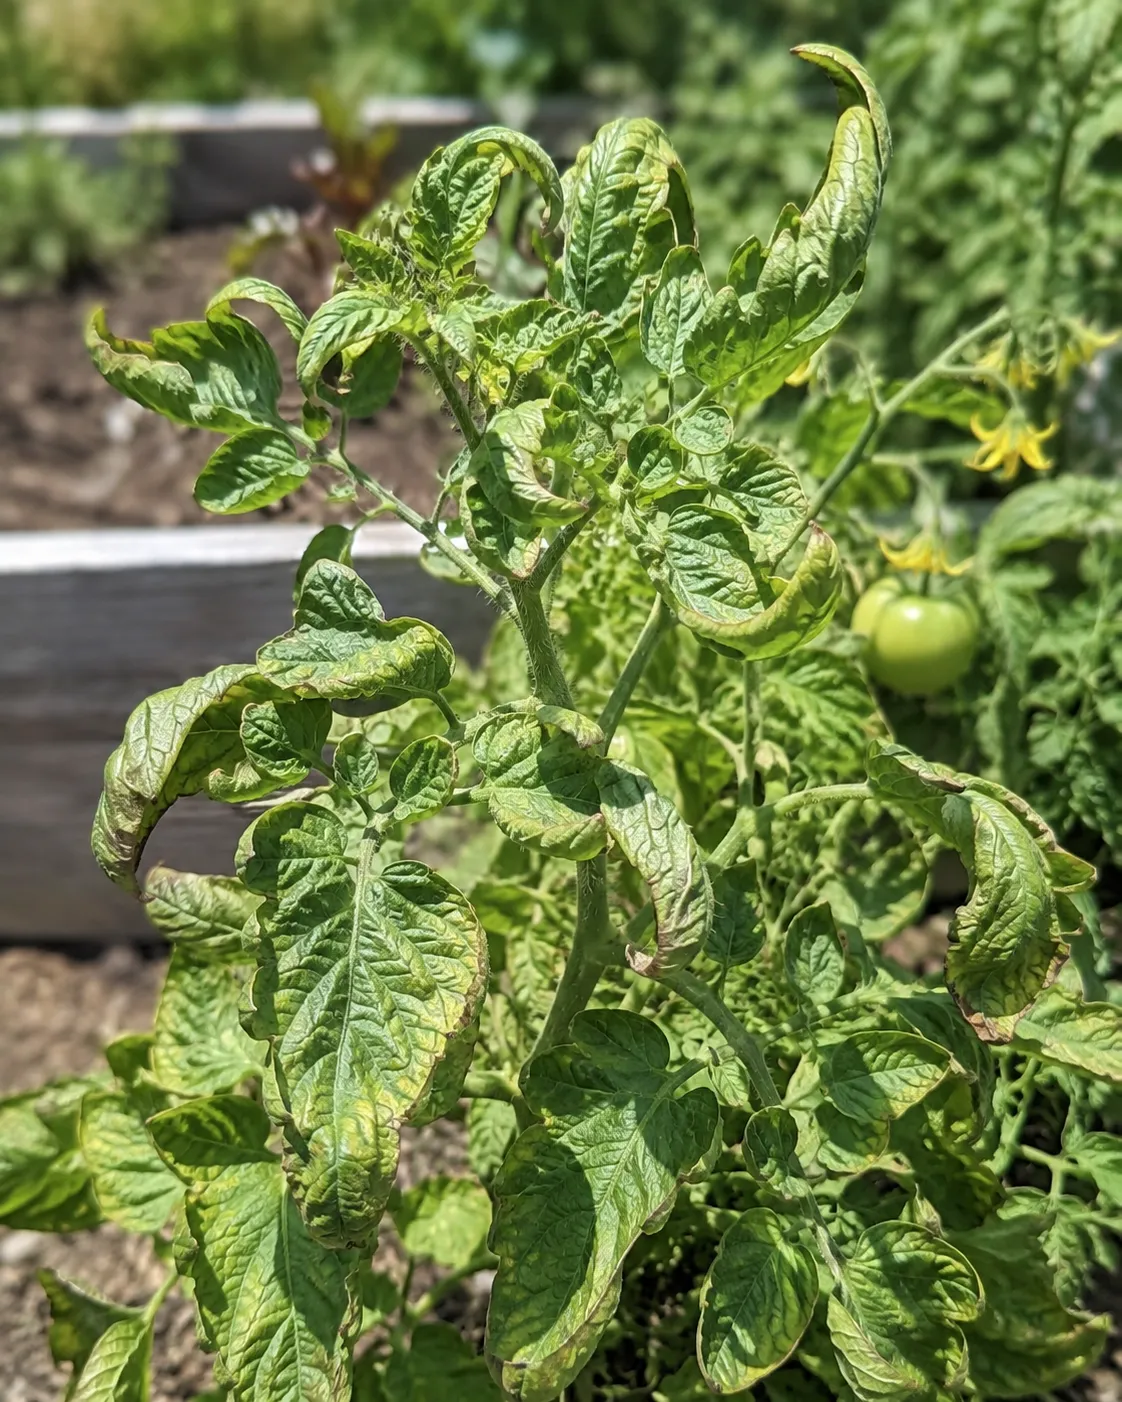
Are the leaves curling upward and inward, or drooping down and wilting?
Curling up. They look stiff, not limp.
That reads more like heat stress than disease. You planted these Sungolds April 5 and watered Tuesday, and it hit 99°F the last three afternoons. Upward curl is the plant closing itself off, not a sign of blight. I would water deeper rather than more often and check again once the heat breaks.
But we don't want Herb guessing. He starts with plant's researched growing data. If the answer isn't there, he can look to University of California Cooperative Extension resources. We intentionally limit where Herb gets his information.
There is a lot of gardening advice on the internet. Some of it is great. Some of it is outdated, copied from somewhere else or simply wrong. And AI can sound incredibly confident even when the information behind an answer isn't very good. We would rather Herb tell you he doesn't know than make something up.
And because Herb can understand your garden, he can help with more than problems. He can use your planting history, journal entries and past seasons to help you remember what worked and make better decisions the next time around.
Not just an answer. A conversation about your garden.
We don't just want people using plant. We want the people using it to help us make it better.
That means correcting us when something doesn't look right. Sharing the tip that finally worked. Telling us what you're seeing in your own garden.
And as more gardens become part of plant, something even more interesting becomes possible.
Over time, we can learn from what is actually happening in gardens across different regions.
Maybe gardeners in one county are consistently transplanting tomatoes earlier than expected.
Maybe a planting window that works across most of a zone needs to shift for a particular community.
Maybe gardeners start seeing changes that traditional planting calendars haven't caught up with yet.
Those are things we may be able to understand better when thousands of individual gardens start telling a bigger story.
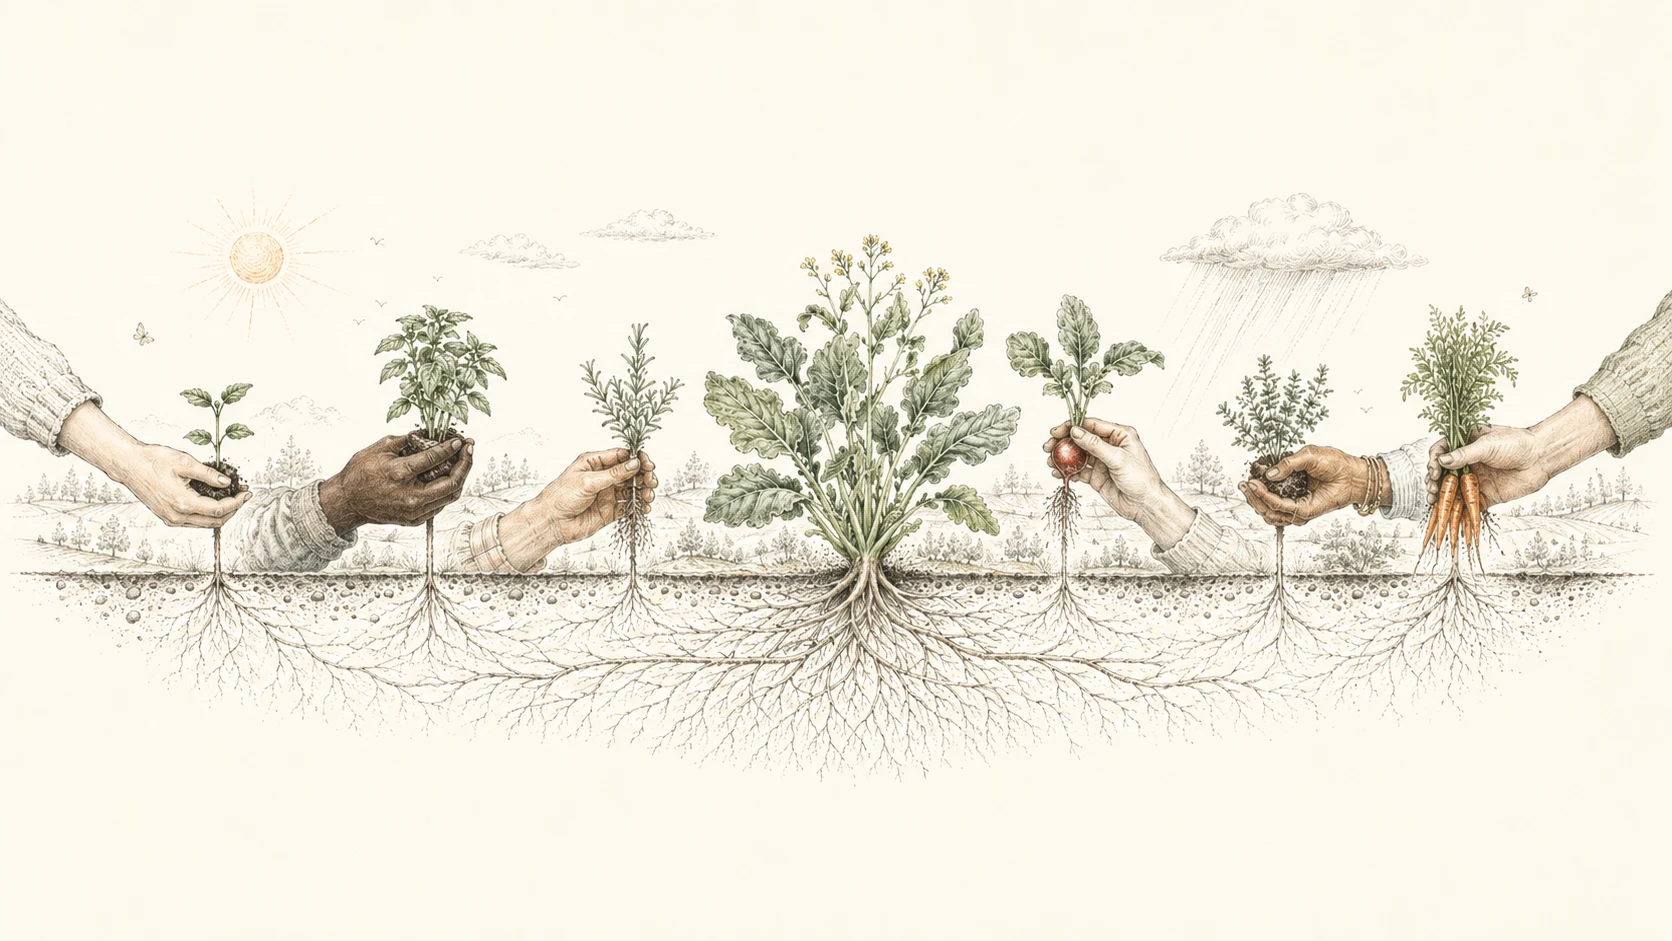
But your garden is still your garden.
Sharing information that helps plant learn is always opt in. If you choose to participate, the information used to identify broader growing patterns is anonymous. We're interested in what gardens can teach us together, not in who planted which tomato.
The more people who choose to grow with plant, share what they learn and contribute what they're seeing, the better plant can become for everyone.
Grow what matters. Learn from each other. Get better together.
plant started more than a decade ago with a conversation about a community garden.
A friend said he wished there were an app that could help him figure out how to grow one.
That idea stuck.
Over the years it got bigger. What if the app could help people share extra vegetables with their neighbors? What if community gardens could work together through it? What if schools could use gardens to teach kids how food actually gets from a seed to the table?
We planned it. We shelved it. We came back to it. More than once.
The technology finally caught up with the idea, and we realized we could actually build what we had been talking about all these years.
So that's what we're doing.
We want plant to make gardening easier for the person putting in their first raised bed, useful for the person who has been growing tomatoes for twenty years and powerful enough to help whole communities grow together.
There is a much bigger dream behind all of this.
But it starts pretty simply.
Grow something.

Trevor Lewis
Exeter, California
plant has been an idea for more than a decade. Now we finally have the chance to build it the way we always imagined it.
We're working toward a Kickstarter launch in 2027 and building the community around plant now.
Join the email list to follow along, see what we're building, get opportunities to help test it and be there when the Kickstarter goes live.
See new features, growing guides and ideas as plant takes shape.
We're building plant alongside real gardeners. Your feedback matters.
Email subscribers will be the first to know about beta opportunities and the Kickstarter campaign.
Get seasonal growing advice, new guides and a look behind the scenes as we build plant toward launch.