Today · in your zone
What's happening right now
Off-season for artichoke in zone 9.
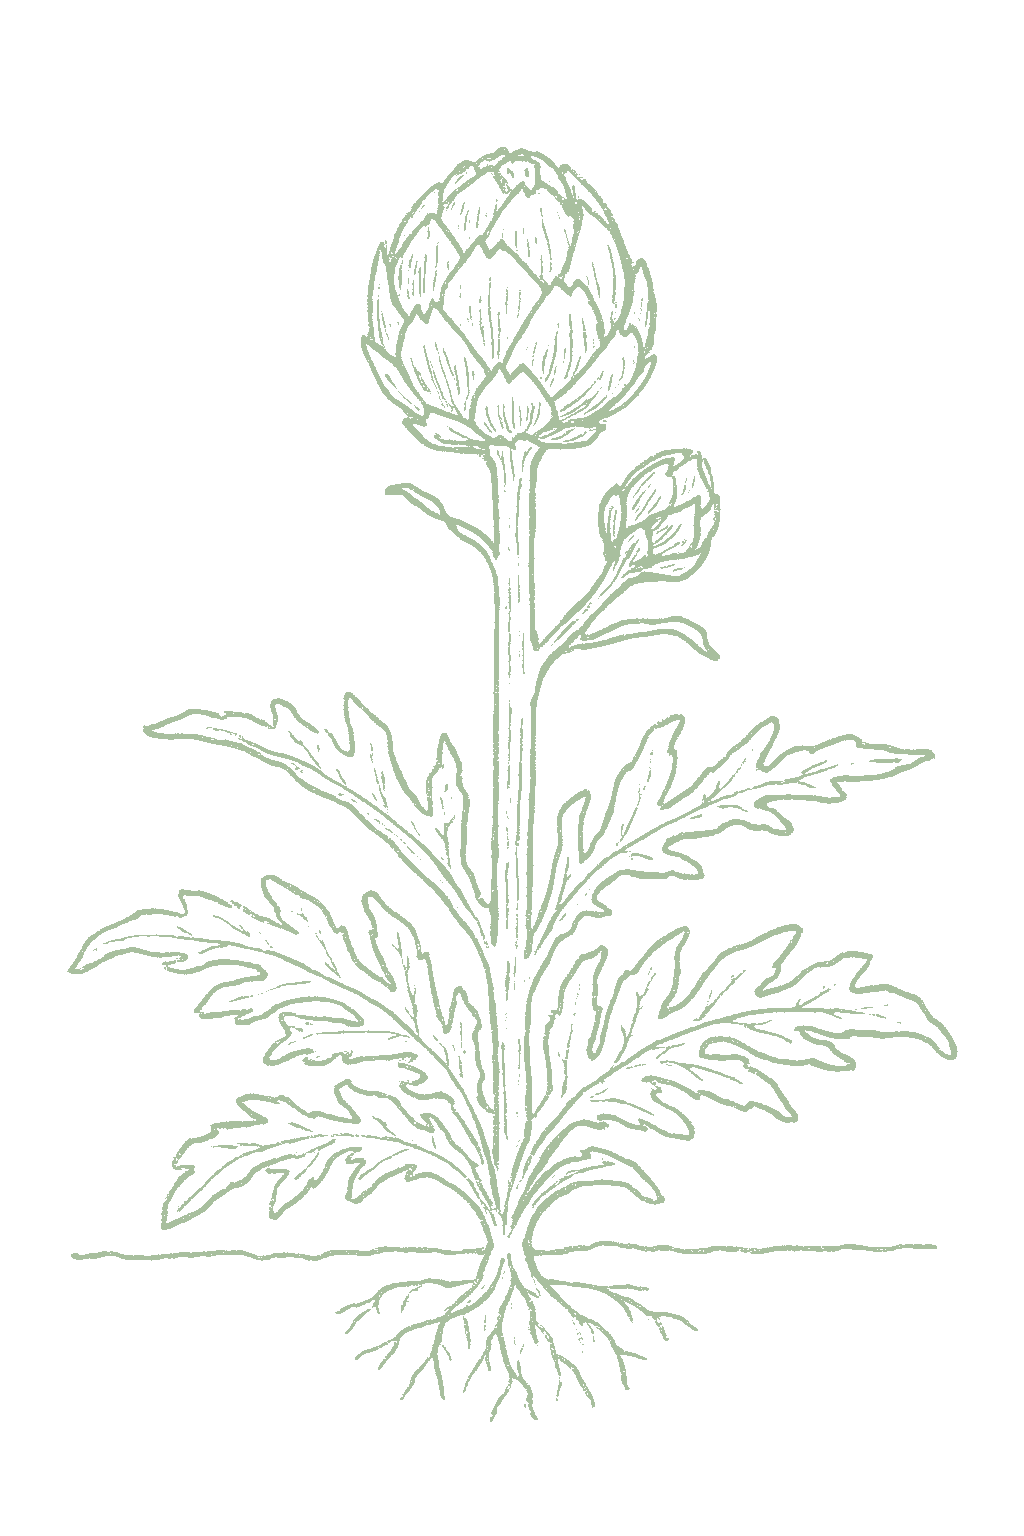
An artichoke is a flower bud you pick before it opens, growing on a plant that looks like a five-foot silver thistle. That one fact drives everything: to get artichokes, the plant first has to be convinced to make flowers, and it does that after a stretch of cool weather. In mild-winter places like coastal California you plant once and pick from the same plants for years. Anywhere with a real winter you grow it as a yearly crop instead: start seed indoors, give the young plants a few weeks in the cold on purpose, plant them out, pick in late summer, and start over next spring. Neither way is harder than the other, they are just different, and your winter decides which one you are doing. Globe artichoke is a big herbaceous perennial thistle grown for an immature flower bud, which is the single fact that explains everything else about it. Because the crop is a flower, the plant has to be persuaded to flower, and it does that after a run of cool weather: roughly 500 hours between 35°F and 50°F is the figure the peer-reviewed trial work converges on, though published requirements span 205 to 1356 hours and the spread is driven by cultivar rather than by measurement error. The requirement is quantitative, not absolute. Rutgers recorded 74 percent of Imperial Star and 57 percent of Green Globe Improved setting buds with no cold treatment at all, rising to 98 and 86 percent with it, so cold advances and synchronizes budding rather than permitting it. That is why artichoke runs two completely different careers. Where winters stay above roughly 15°F it is a permanent bed cropping for years from crown divisions, the Castroville model; everywhere colder it is an annual, started indoors, chilled deliberately as a seedling, set out, cropped in its first season and lost to winter. Both are real, both are extension documented, and which one applies to you is a question about your winter, not about your skill.
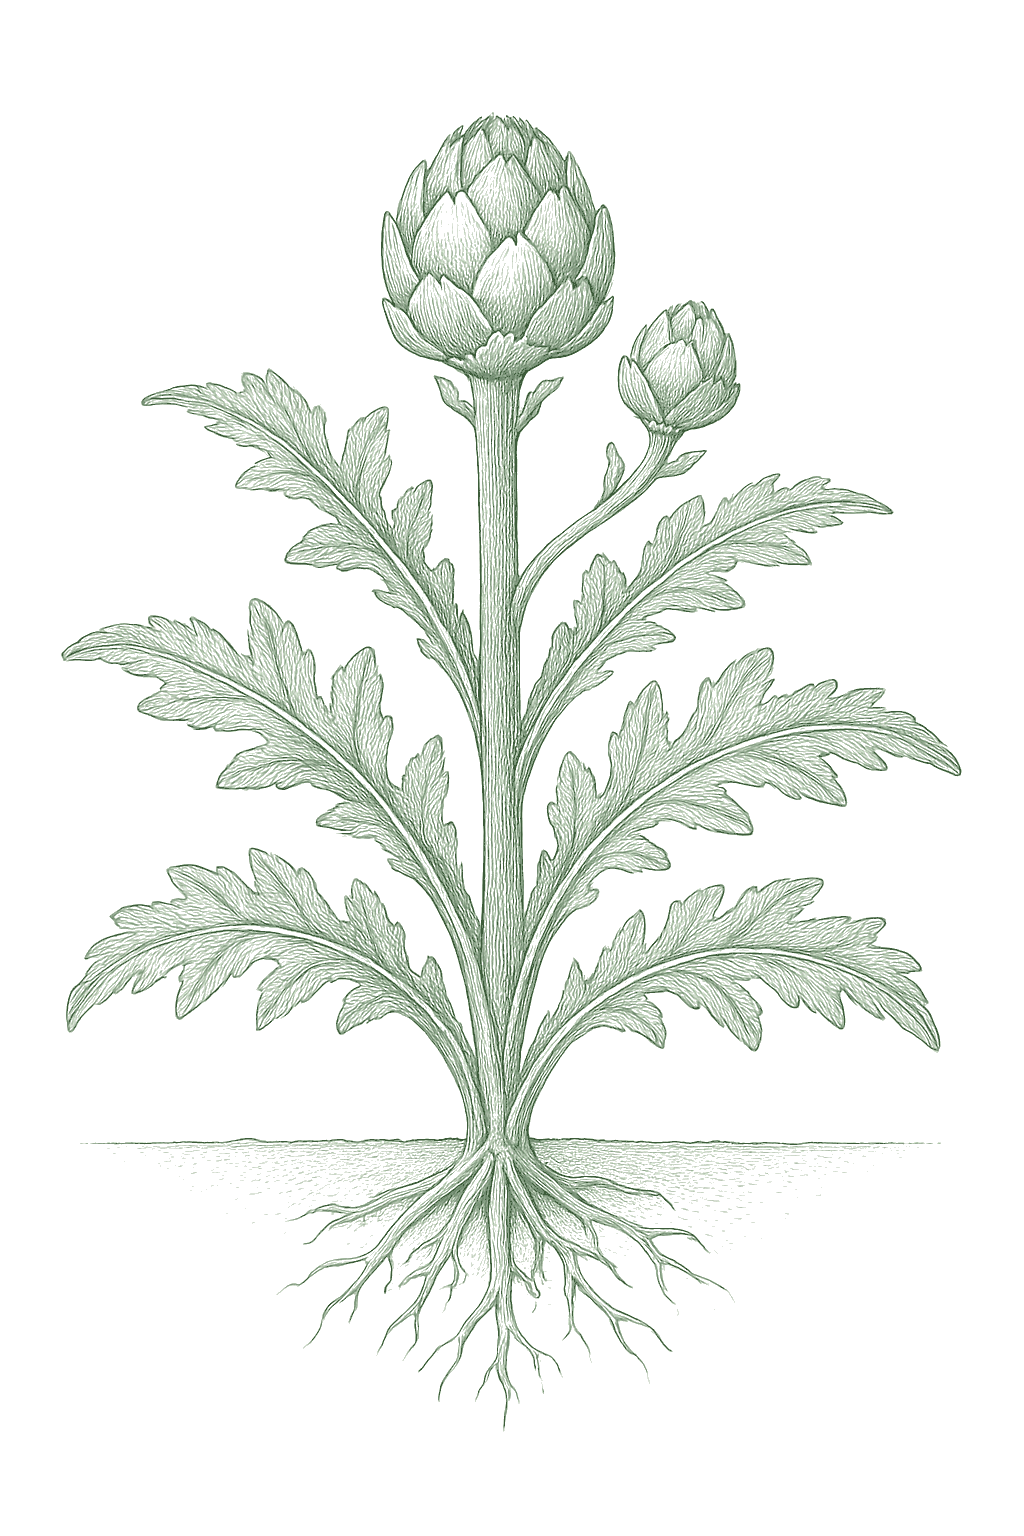
Off-season for artichoke in zone 9.
Zone 9 averages a last frost around March 1. Within Zone 9, the colder half (9a, winters down to 20°F) runs about a week later. The warmer half (9b, winters down to 25°F) runs about a week earlier. The plant app picks your subzone from your ZIP.
| Subzone | Last spring | First fall | Growing days | Winter min | Fruits reliably |
|---|---|---|---|---|---|
| 9a | Mar 8 | Nov 24 | ~261 | 20-25°F | Yes · two seasons |
| 9b | Feb 28 | Nov 30 | ~275 | 25-30°F | Yes · two seasons |
Averages from 8 weather stations per subzone, drawn from NOAA 1991-2020 Climate Normals. Your actual frost date can vary by up to two weeks based on elevation, proximity to water, and local topography.
In Zone 9, artichoke can be planted July. Start indoors May 1 - Jun 15.
In Zone 9, artichoke can be planted January through March. Start indoors Nov 1 - Dec 14.
In Zone 9, artichoke can be planted August through October.
In Zone 9, artichoke can be planted August through December.
In Zone 9, artichoke can be planted July through August.
In Zone 9, artichoke can be planted April through June.
In Zone 9, artichoke can be planted February through March. Start indoors Dec 1 - Jan 15.
In Zone 9, artichoke can be planted September through October. Start indoors Aug 1 - Aug 31.
In Zone 9, artichoke can be planted October through November. Start indoors Jul 15 - Aug 15.
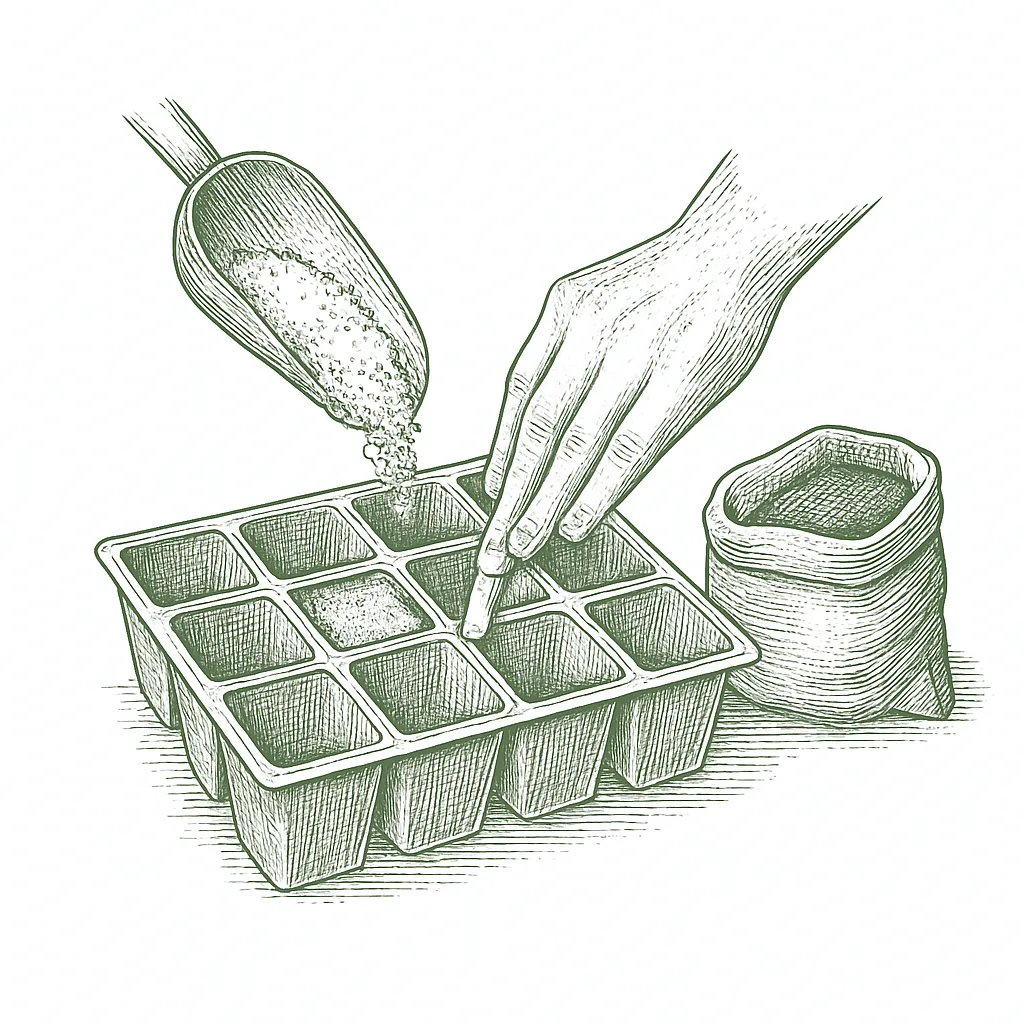
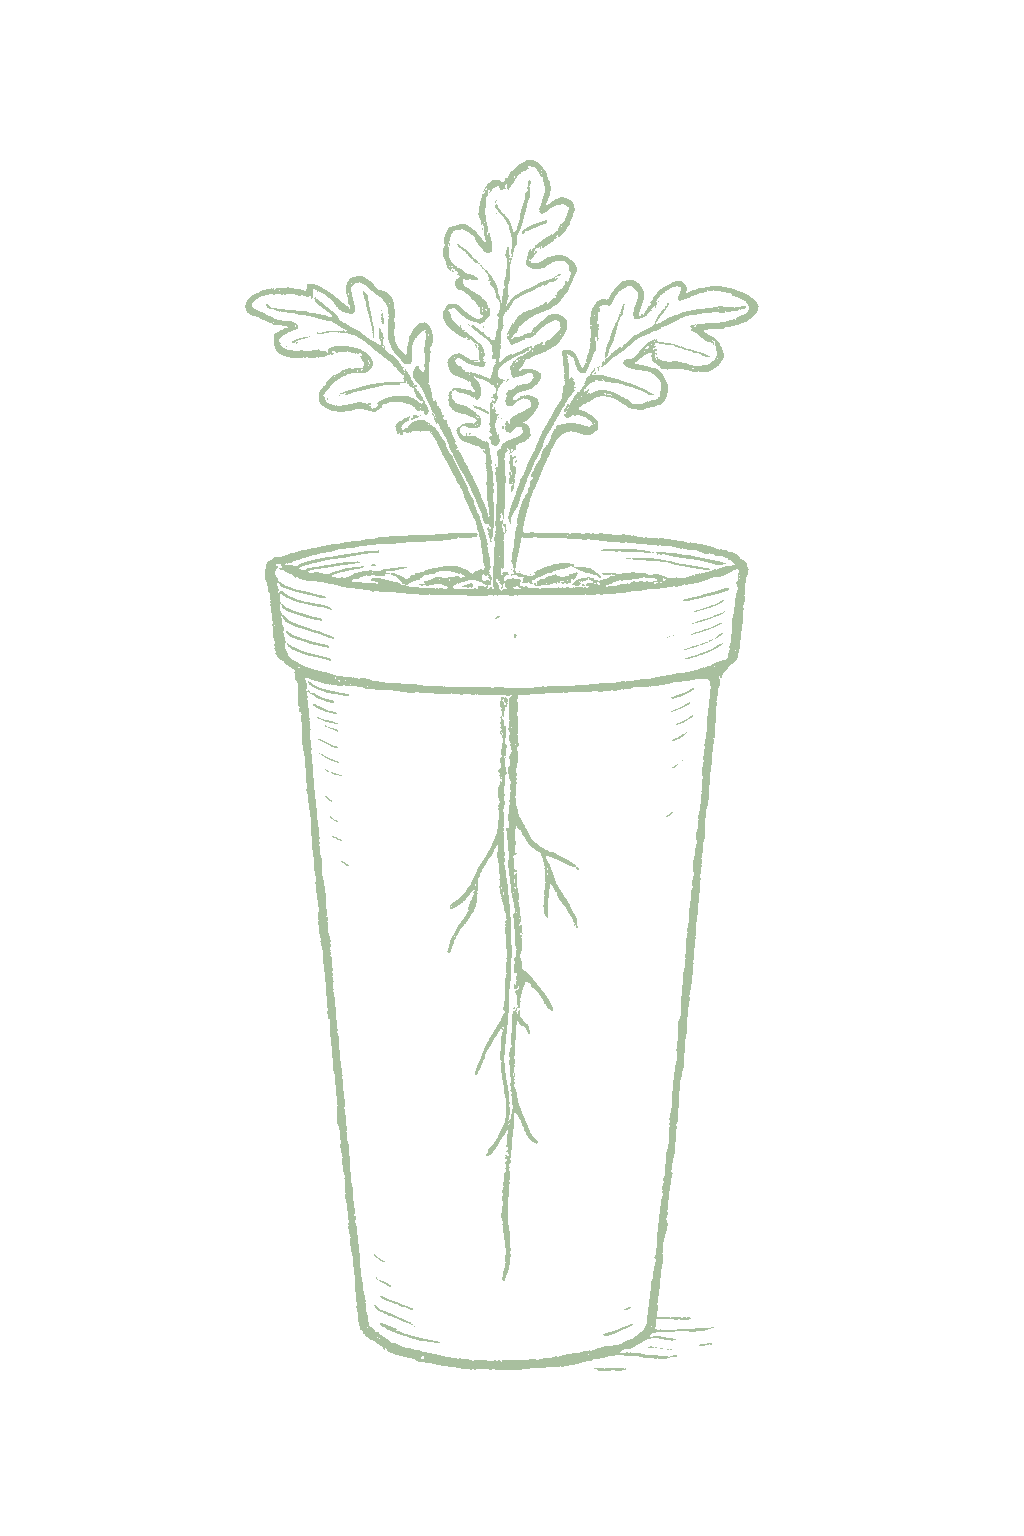
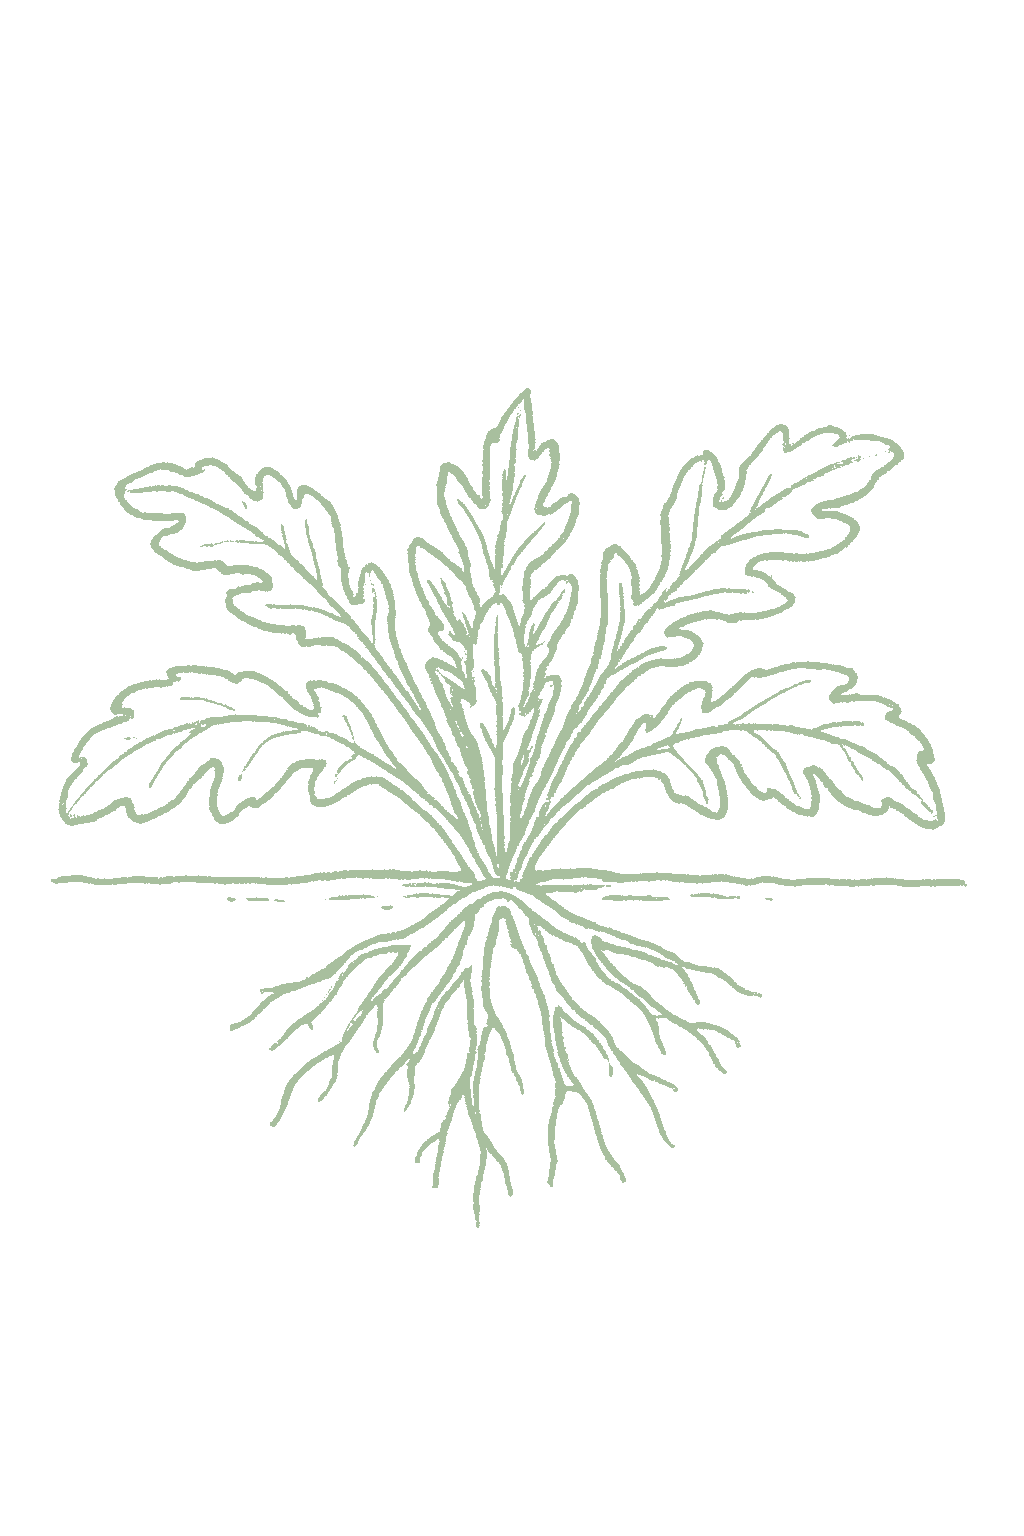
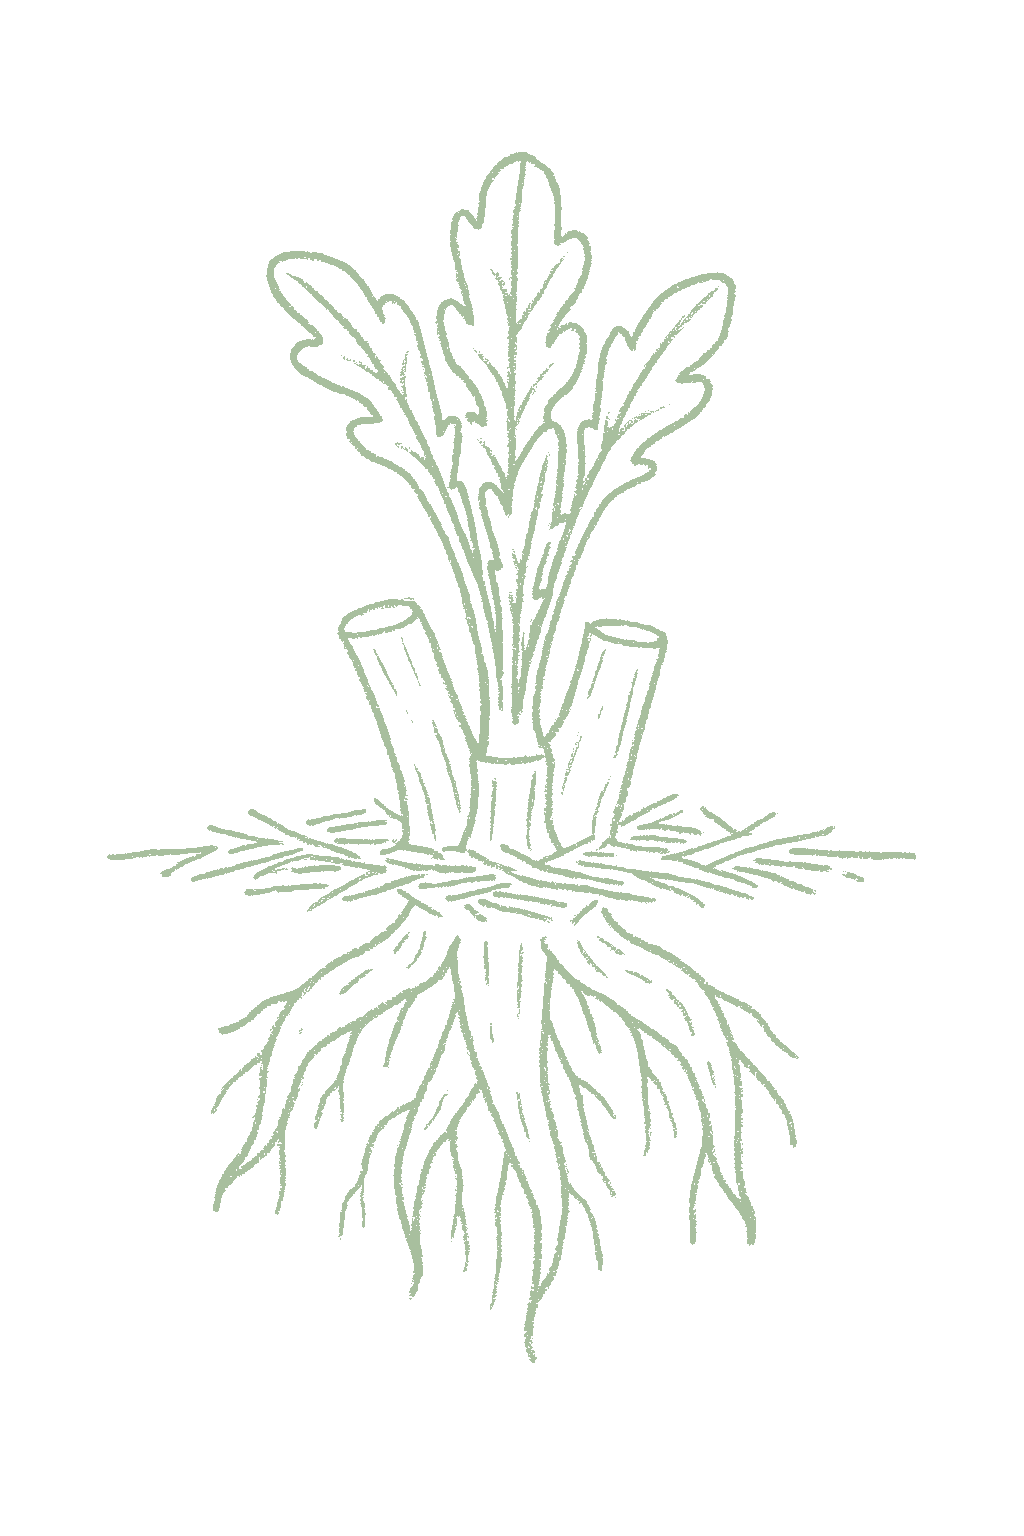
Grow your own transplants from seed rather than sowing straight into the garden, because the young plants need a controlled spell of cold and you cannot give them that outdoors in most places. Sow six to eight weeks before planting out, keep them warm to germinate, and use deep pots, since artichoke sends down a long root early. In mild-winter areas you can also plant divisions taken off an established clump, which produce plants identical to the parent. Just take them from a healthy plant, since dividing a sick one spreads a virus that seed-grown plants avoid.Raise your own transplants; Virginia Cooperative Extension recommends greenhouse-grown transplants over direct field seeding specifically so vernalization can be controlled. Sow six to eight weeks ahead of the intended set-out, germinating at 70°F to 80°F, and use deep cells of three to four inches because the taproot circles in a shallow one. Three other propagation routes are real and dominant in perennial regions, and each carries a caveat: crown divisions and rooted offshoots come true to type where seed does not, and are what California's permanent plantings are built from, but UC IPM warns that artichoke curly dwarf virus spreads by dividing infected plants and that there is no evidence it is seedborne, so seed-raised transplants are the clean route into new ground. Where a region's guidance names crown pieces rather than transplants, the cell for that region says so.



Not sure what soil you have? Grab a small handful of damp soil from your garden bed and squeeze it. If it crumbles apart easily, it's sandy. If it holds together but breaks when you poke it, it's loam (what most vegetables want). If it stays in a hard, slippery ball, it's clay.
Artichoke wants deep, rich soil that drains well, in full sun, with lots of compost worked in. Heavy clay or light sand are both fine once you have improved them. The one thing to avoid is a low spot where water sits after rain, because a waterlogged plant rots at the base and does not come back.
Mix 2-3 inches of compost into the top 6 inches of your bed before planting. Compost holds moisture (which sandy soil drains too fast) and adds the nutrients sandy soil tends to lack. Repeat each season. Compost breaks down over time.
Mix 2-3 inches of compost AND a few inches of coarse sand or perlite into the top 6 inches of your bed. The compost feeds the plants; the sand breaks up the clay so air and water can move through. Don't add sand without compost. It can compact like concrete.
If amending your soil sounds like too much work, or if your soil is heavy clay, full of rocks, or contaminated, build over it. A raised bed at least 12 inches deep filled with a 50/50 mix of compost and sandy loam gives you ideal growing soil with no battles. A 5-gallon container with quality potting mix does the same for one plant at a time. Both bypass your native soil entirely.
The numbers that matter, at a glance.
Artichoke does grow in a big pot, five gallons at the very least and bigger is better. Put it somewhere bright but out of the harshest afternoon sun, because a hot pot can warm the roots enough that the plant never makes buds. Be realistic about the work: daily watering in summer and feeding every week. The reward is that you can move it, which lets you overwinter it somewhere cold in a cold climate, or give it a cool spell in a warm one.Containers work for artichoke but are a considered choice rather than a default. University of Maine puts the floor at five-gallon pails or similar with a lightweight soilless mix, and adds a siting detail specific to this crop: place them in bright sun but with only moderate direct midday sun, since a pot in full afternoon sun can warm the root zone far enough to devernalize the plant and leave it barren. That is the same mechanism that makes black plastic mulch counterproductive in the ground. The cost of a container is daily watering and weekly feeding; the benefit is that you can move the plant, which is what makes both overwintering in a cold region and chilling in a warm one possible at all.
Imperial StarStart here if you are anywhere with a real winter. Imperial Star was bred specifically to produce artichokes in its first season, so it does not need a long cold spell to get going the way the old types do. Strong, vigorous plants and reliable yields. The bracts are a little spiny and the buds slightly cone-shaped.The first artichoke bred for annual production, and the cultivar the northeastern trial literature settles on: Rangarajan's two years of New York trials record it as producing the higher marketable yields and recommend it for the northeastern United States. The number that matters is its chill response, where Welbaum measured 83 percent of Imperial Star flowering after only 205 hours against 25 percent for Green Globe. Utah State calls it excellent as an annual crop. One conflict worth knowing: University of Maine describes the plants as strong and vigorous while Texas A&M calls it less vigorous than Green Globe, and no source reconciles them.
Colorado Star
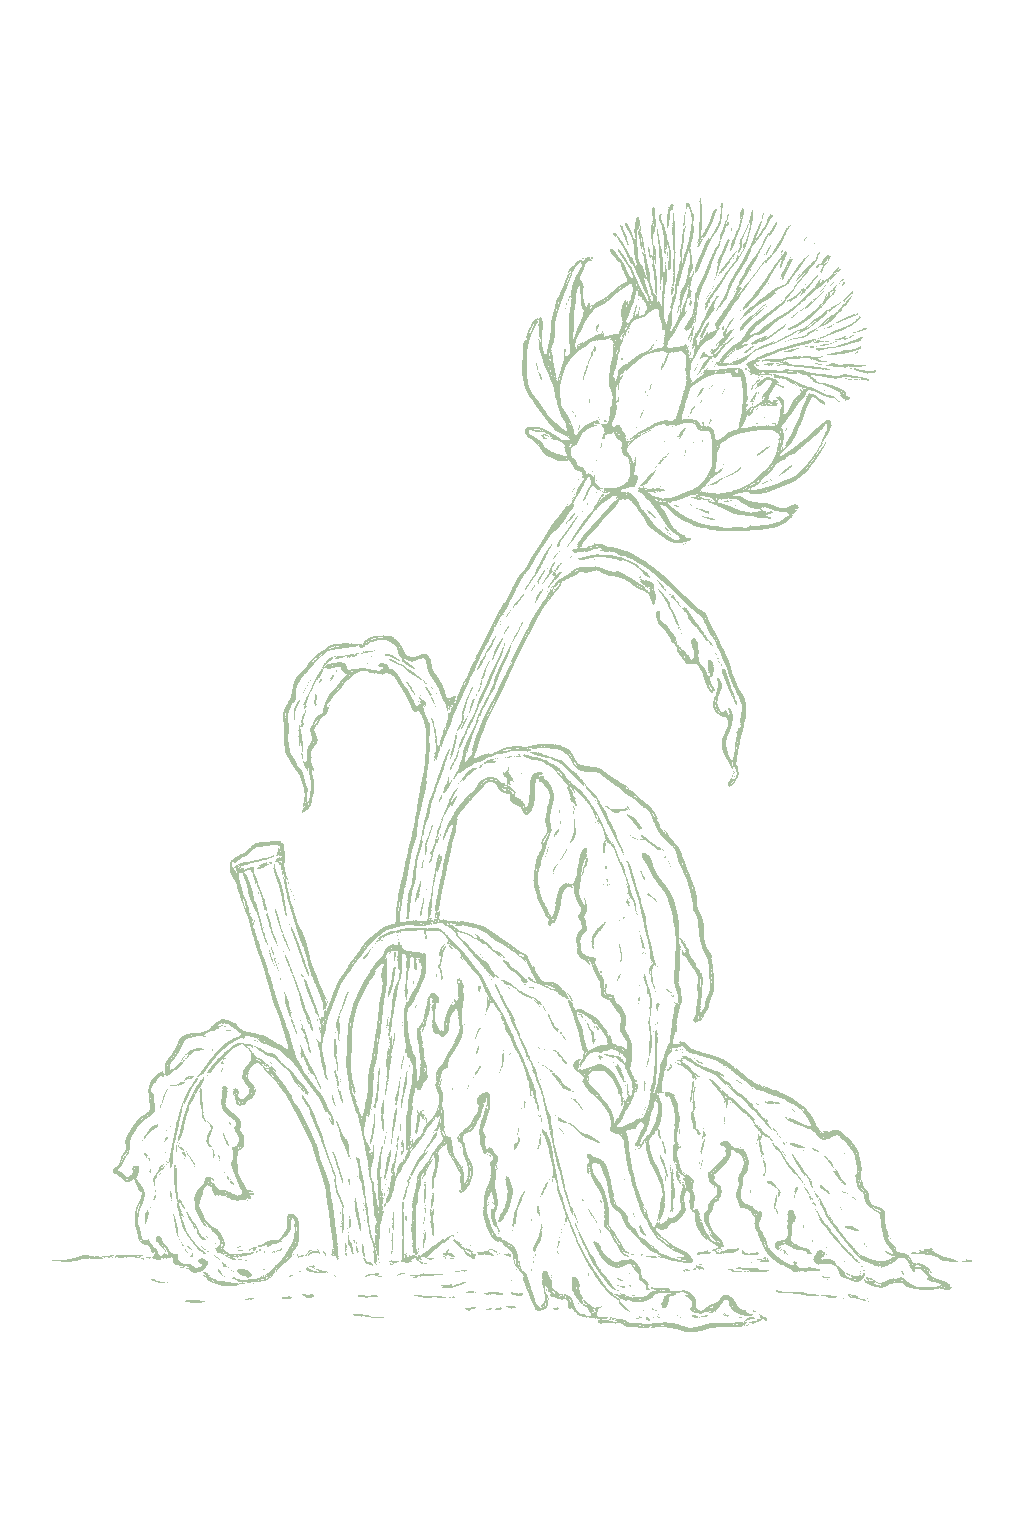
A pot is the easiest way to keep an artichoke alive through a cold winter. After the first hard frost, cut all the leaves off, then move the pot somewhere dark and just above freezing, like an unheated garage, and leave it. Bring it back out about two weeks before your last frost date. A plant that comes through winter crops much earlier the next year than a new one.This is the strongest argument for growing artichoke in a pot in a cold region, and it is a documented method rather than an improvisation. University of Maine's protocol: once the first hard frost has hit, strip off every bit of top growth, then move the container somewhere dark and held between 32°F and 35°F, bringing it back out roughly a fortnight before your expected last frost. An unheated garage or a root cellar suits. The payoff is real, since an overwintered plant starts its second season already established and crops far earlier than a spring transplant.
Ask what your balcony or roof can carry
A balcony or roof can only hold so much weight. Before you set heavy pots there, ask a building architect what it can safely carry.Illinois Extension's guidance is to consult a building architect about weight limits before placing heavy pots on a balcony or rooftop garden. It gives no weight figure.
Never grow food in a container with anything toxic in it
Many kinds of containers can be used. Whatever you choose, keep anything toxic out of it, especially if you are growing food.Colorado State accepts nearly any container material but warns against using a container that holds toxic materials, especially for edible plants. Illinois adds that a vegetable container should be free of chemicals toxic to plants or people, and urges caution with treated lumber when growing food. If you cannot account for what a repurposed container once held, that alone is a reason to keep food out of it.
Secure hanging containers well
Fasten hanging baskets and window or rail boxes securely. Think about what is below them too, since they can drip on people or things underneath.Illinois Extension asks growers to secure hanging containers well and to think through the safety issues of hanging them. Placement matters too, since a hanging container can drip onto people or belongings below.
Aim for a slightly acidic soil, around pH 6.0 to 6.5. If a soil test comes back much lower than that, work in some lime before planting. Artichoke is not especially fussy, but since a plant may sit in the same spot for years it is worth getting right at the start.University of California puts the target at pH 6.0 to 6.5 and adds that lime or gypsum can be worked into soils low in calcium. That is the only pH figure the artichoke extension corpus publishes, so no tolerated band is given here rather than inferring one; if a soil test comes back well outside that range, correct toward it before establishing a bed you intend to keep.
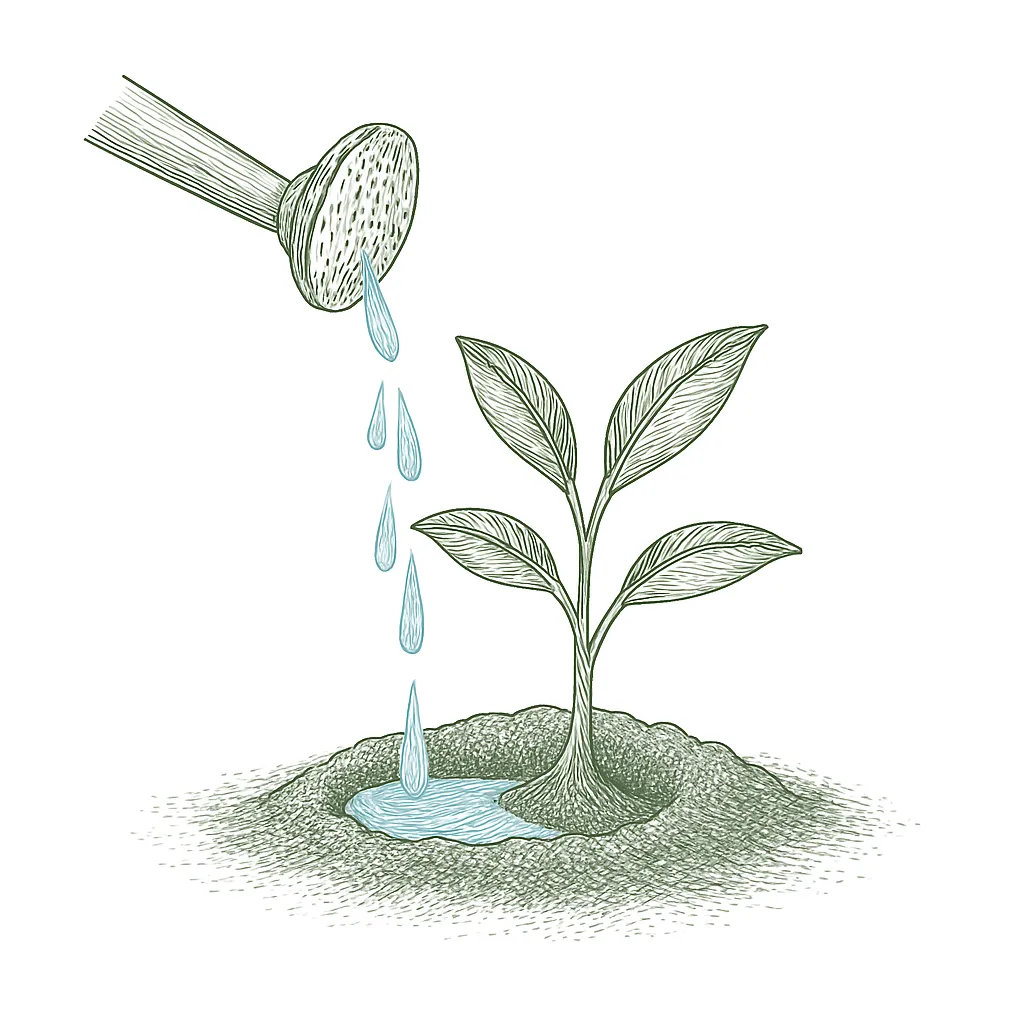
Feed once when you plant and again when the plant starts growing strongly in spring, using something nitrogen-rich. Keep the soil moist at the same time, because a thirsty plant cannot use fertilizer. Skip black plastic mulch with artichoke; it warms the roots and can undo the cold treatment the plant needs to make buds.Feed at planting and again as growth picks up ahead of bud formation. Utah State's guidance pairs two instructions deliberately, a steady nitrogen feed alongside ground kept damp right through summer, and the pairing is the point, since a dry plant cannot use the nitrogen you gave it. One caution specific to this crop: Rutgers found black plastic mulch reduced early and total yields in New Jersey trials, likely by raising root temperatures enough to devernalize the plants, so warm-soil tricks that help other transplants can work against this one.
Nitrogen is the one that matters. If you dug in compost or manure, that plus a nitrogen feed is usually all the plant wants. If you did not, use a balanced fertilizer such as 10-10-10 before planting instead.Nitrogen is the nutrient that actually moves this crop. University of California's guidance is that where the ground has been properly amended with compost or manure, nitrogen is the only nutrient likely to be needed at all, applied at 0.5 to 1 pound of actual nitrogen per 100 feet of row; where it has not been amended, use a fertilizer carrying both nitrogen and phosphorus before planting.
There is no reliable companion planting advice for artichoke, so we do not offer any. Two things are worth knowing about its neighbors though. Do not plant it where lettuce or strawberries grew, because they share a soil disease. And remember it gets about four feet wide and tall enough to shade whatever is behind it, so put it at the back or the north side of a bed. No extension source publishes companion planting guidance for artichoke, and this guide does not invent any. Two neighbor questions do have sourced answers and they matter more than any companion list would. What must not precede it: lettuce and strawberry, which share the Verticillium strain that infects artichoke. What suits it as a following or preceding crop: broccoli and the other brassicas, which UC IPM names as the rotation for infected ground. Beyond that, the practical constraint on neighbors is physical rather than chemical, since a mature plant is around four feet across and casts real shade, so site it at the north end of a bed in the northern hemisphere and give short crops somewhere else to live.
Squeeze the bud. If it is firm and the scales are still shut tight against each other, cut it. If the scales have started to loosen and open out, you waited too long, and it will be woody and bitter no matter how you cook it. Size is not the signal, tightness is. Cut the big bud at the top of the stalk first, taking 2 to 3 inches of stem with it, and the smaller ones lower down will come along afterward. In hot weather check every day, because heat makes buds open fast.Cut on bract tightness, not on size. A bud is ready once it has reached full size for its position on the stalk and while its bracts are still closed flat against each other; the moment they loosen and begin to spread, the bud turns woody and bitter and is finished as food. University of California is explicit that on seeded varieties a mature bud stops enlarging, so waiting past that point buys nothing and costs the bud. Take the terminal bud first, since it matures well ahead of the two or three secondaries below it, and cut with 2 to 3 inches of stem attached. Heat compresses this window sharply: above 86°F buds open quickly and the heart loses tenderness and compactness, so in a hot spell check daily rather than every few days.
Each flower stalk gives you one big artichoke at the top and two or three smaller ones below it, and a healthy plant sends up several stalks. Depending on where you are, expect somewhere between six and twenty buds from a mature plant over the season, but only two or three of them will be the large ones you picture.Structure sets the count: each flower stalk carries one terminal bud plus two to three smaller secondaries, and a plant throws several stalks. Utah State frames it that way and reports three to five buds per stalk. Texas A&M expects six to nine buds from a healthy plant. University of Maine and the New England guide both report 10 to 20 buds per plant under annual culture, of which only two or three are primaries. Read those numbers with the size caveat attached, below.
If your plants live for years, the big harvest comes in spring, roughly March through May, and cutting the plants back afterward can bring a smaller second crop. If you are growing it as a yearly crop, you get one main flush instead, with most of the harvest packed into about six to eight weeks and then a trickle of small side buds until frost ends it.Where artichoke perennializes, peak production is a spring event: University of California puts the peak for perennial plantings in March and April, with the highest volume between March and May, and cutting plants back after that peak brings a lighter second crop later in the year. Under annual culture there is one concentrated flush instead, most of it inside a six to eight week window, followed by a sporadic light picking of secondary buds until frost. Connecticut measured that concentration precisely, with 86 percent of buds harvested in a 5.9 week span. Expect two surprises in year one. First, some plants never produce anything, often one in five even when you did everything right, so plant a few spare. Second, your artichokes will mostly be smaller than shop ones, usually under 3 inches across. They taste better than they look, and the plants get more productive in later years if yours survive the winter.Two first-year realities worth setting expectations against. Some plants will simply not bud: Virginia Cooperative Extension reports 15 to 25 percent barren in the planting year even where chilling was adequate, and the figure is far worse with a cultivar not bred for annual production, with barely one Green Globe plant in seven bearing anything at all in Virginia. And the buds run small. University of Maine's trials found most under 3 inches across, against the 3 to 4 inch buds sold in shops, and its researchers advise growers to be sure their market wants small artichokes before scaling up. A first-year crop is a real crop; it is just not a supermarket one.
Pick your variety based on how much cold your artichokes will get, not on the picture on the packet. If you are replanting every year, choose one bred for that, and Imperial Star is the safe first choice everywhere. Emerald is good if your spring is short or your winter mild, and Wonder is the one without spines, which your hands will thank you for. If your plants survive winter and you want a permanent bed, Green Globe is the classic. Violetto is the purple one people grow for flavor, though you get fewer of them. Avoid Talpiot and Grande Buerre unless your plants overwinter, because in trials they simply never flowered in their first year.Choose on chill requirement first, because it is the trait that decides whether you get a crop at all, and it is the one the sources actually differentiate these cultivars on. If you are growing artichoke as an annual, take a cultivar bred for it: Imperial Star is the reference, with Emerald the low-chill early alternative and Wonder the spineless one. If you are planting a permanent bed in a mild-winter region, Green Globe is University of California's recommendation and its high chill requirement stops being a liability once the plant is established. Flavor is where Violetto earns its place, at the cost of yield and a longer chilling need. Two cultivars are worth actively avoiding for first-year cropping, since Welbaum recorded no Talpiot or Grande Buerre plants flowering after as much as 528 hours of chilling. No disease-resistance ratings are given for any of them, and that is a finding rather than a gap: see the note on resistance below. No disease-resistance ratings are published for artichoke cultivars by any extension service, so none are given here. This is a deliberate blank rather than missing homework. Four resistance-adjacent statements exist in the literature and none is gradeable: UC IPM reports that all annual varieties are more susceptible to Verticillium than the perennial Green Globe, UC ANR 7221 states flatly that all artichoke varieties are susceptible to Verticillium wilt, University of Maine offers a hedged and uncited claim about Green Globe Improved, and Utah State credits Imperial Star with good disease resistance without naming a single disease. The first two contradict each other. A fifth claim in circulation, grading two cultivars moderately resistant, could not be resolved to a readable source. Manage artichoke disease by siting, rotation and sanitation rather than by cultivar choice.
The ladder troubleshoots from the gentlest solution to the strongest. Start with the gentlest option and only move on when and if it doesn't work.
The single most effective thing you can do, and it is a once-a-year job: cut the plants right down to ground level and get rid of the tops. The caterpillars live inside the plant, so clearing it out is what breaks the cycle.UC IPM quantifies this rung, which is rare: cutting plants off 2 to 3 inches below soil level, shredding the tops and incorporating them reduces plume moth infestations in perennial fields by about 95 percent. Nothing else on this ladder comes close. In a home planting, cut down, chop and bury the residue under at least 6 inches of soil, and clear thistles and related plants nearby, since they host it too.
Learn to spot an infested bud, which shows small holes and frass around the base, and pick it off straight away whatever size it is. Do not leave it on the plant hoping it will come good.UC IPM's instruction is to identify infested buds and pick them immediately regardless of stage of maturity, then remove them from the planting. Sacrificing an immature bud is worth it, since the larva inside will otherwise complete development in place.
When planting or replanting, you can soak the crowns in a solution of beneficial nematodes first. Done properly it is very effective at keeping a new planting clean.A preplant soak of replant stumps in Steinernema carpocapsae is UC IPM's recommendation, and it reports that done correctly this can reduce plume moth infestations to under 1 percent and cut first-year treatments. Note the contrast with in-season nematode applications, which UC describes as not reliable; the value is in the preplant soak specifically.
Bt is a naturally occurring bacterium that only affects caterpillars, so it is safe around bees and beneficial insects. Spray when you see fresh damage, and repeat, because it does not last long on the plant.Bacillus thuringiensis applied by itself is on UC IPM's organically acceptable list for this pest. Timing is everything, since the larva bores into the bud early and is protected from contact materials once inside, so sprays have to land on young larvae before they enter.
If the earlier steps have not held, spinosad is the next option and is allowed in organic growing. Spray at dusk to spare bees.The Entrust formulation of spinosad is UC IPM's other organically acceptable in-season material for plume moth. It is toxic to bees while wet, so apply at dusk. Do not expect it to rescue a planting that has skipped the annual cut-back, which is the rung that does the real work.
The bottom rungs are products with label rules: timing, pollinators, and days to wait before harvest. Before you spray →
The ladder troubleshoots from the gentlest solution to the strongest. Start with the gentlest option and only move on when and if it doesn't work.
Clear out the old plant material as soon as you have finished harvesting. That is where the next generation builds up.UC IPM's cultural control for this aphid is one line and this is it: destroy crop residue immediately after harvest. Outbreaks are most likely during periods of high average daily temperature coupled with high humidity, so residue left through a warm humid spell is the worst case.
A firm jet of water knocks aphids off and most of them do not make it back. Repeat every few days while numbers are building.
Ladybugs, lacewings, hoverfly larvae and tiny parasitic wasps all work on these aphids, and they usually arrive on their own if you do not spray. Give them a week or two before reaching for anything stronger.Parasitic wasps in Diaeretiella and Lysiphlebus, plus ladybugs, syrphid fly larvae, lacewings and the fungus Entomophthora aphidis all attack it. UC IPM's advice is to preserve them by avoiding unnecessary insecticide applications, and notes a lag between aphid buildup and the natural enemy response, so patience is part of the method.
Insecticidal soap works on aphids but only where it actually lands, so spray thoroughly including under the leaves. It has no lasting effect, which is also why it is gentle on the helpful insects.
Neem oil is the next step and is allowed in organic growing. Do not spray oil in hot weather or in strong sun, since it can burn the leaves.Neem oil is on UC IPM's organically acceptable list for artichoke aphid. Avoid applying oils above roughly 90°F. Worth noting that the other aphid species on artichoke, green peach, black bean and pea aphid, are mostly cosmetic, and UC advises they do not normally warrant control unless contamination of the buds is a concern.
The bottom rungs are products with label rules: timing, pollinators, and days to wait before harvest. Before you spray →
The ladder troubleshoots from the gentlest solution to the strongest. Start with the gentlest option and only move on when and if it doesn't work.
Clear boards, pots, dense ground cover and weedy edges from around the plants, since that is where snails spend the day. Doing this before you try anything else makes everything else work better.Habitat removal first. UC IPM describes mollusks as of major concern on perennial artichokes especially in winter, and notes they do not pose a threat to annual artichokes, so this problem largely belongs to the mild-winter perennial regions. Switching from sprinklers to drip is part of this rung rather than a separate one, since it cuts the overnight moisture they move in.
Go out after dark with a torch and pick them off, which is more effective than it sounds if you do it several nights running. Boards or an upturned melon rind left out overnight give you a place to collect them from, and a copper band around a raised bed or pot stops them crossing. Crushed eggshells and coffee grounds have been tested and do not work.Handpicking at night, board and melon-rind traps and copper barriers are the physical rungs UC IPM's Pest Notes carries. It states explicitly that crushed eggshells and coffee grounds have not been shown to be effective deterrents, which is worth knowing given how widely they are recommended elsewhere. Decollate snail release is county-restricted in California.
Iron phosphate bait is the safest option to use around pets and wildlife. Scatter it thinly around the plants rather than in piles, and refresh it after rain.
The bottom rungs are products with label rules: timing, pollinators, and days to wait before harvest. Before you spray →
The ladder troubleshoots from the gentlest solution to the strongest. Start with the gentlest option and only move on when and if it doesn't work.
Clear weeds and plant debris from the bed a couple of weeks before you plant out. Cutworms are already in the soil living on that material, and removing it early makes them leave or starve before your transplants arrive.
Push a collar of cardboard or a cut-off cup an inch into the soil around each new transplant, standing an inch or two proud. Cutworms chew through stems at ground level and a collar simply stops them reaching.The highest-value rung for this pest on artichoke, because the damage window is narrow: cutworms take young transplants at the soil line and an established plant is not at risk. Collar at set-out and remove them once the stems lignify.
Go out after dark and check around the base of any plant that has been cut off. The culprit is usually curled up in the top inch of soil within a few inches of the damage.
Bt affects only caterpillars and is safe around bees. Apply it in the evening around the base of the plants, since cutworms feed at night.
Spinosad is the last step here and is allowed in organic growing. Apply at dusk, both because that is when cutworms feed and to spare bees.
The bottom rungs are products with label rules: timing, pollinators, and days to wait before harvest. Before you spray →
The ladder troubleshoots from the gentlest solution to the strongest. Start with the gentlest option and only move on when and if it doesn't work.
Clear weedy edges around the planting and pull out badly infested lower leaves. Keeping the plants unstressed and well watered matters more than usual here, because dusty, drought-stressed plants are where mites explode.THIS LADDER TERMINATES DELIBERATELY, and the reason is worth stating: UC IPM records that miticides are not available for the control of spider mites on artichokes. There is no chemical rung to escalate to, so cultural management is not the gentle first option here, it is the whole of the response. Keep plants watered, keep dust down, avoid the broad-spectrum insecticides that flare mites by removing their predators, and tolerate low populations.
No spray for this one. Prevention is the control.
The ladder troubleshoots from the gentlest solution to the strongest. Start with the gentlest option and only move on when and if it doesn't work.
This one is about where you plant, not what you spray. Never put artichoke where lettuce or strawberries have grown, or where an artichoke wilted before. The same fungus attacks all three and it survives in the soil for years. Broccoli and other cabbage-family crops are the right thing to plant into ground that has the problem.UC IPM reports that V. dahliae isolates from artichoke, lettuce and strawberry can each infect all three crops, and instructs growers not to plant annual artichokes in ground with a history of the disease and to rotate infected ground into broccoli. The microsclerotia survive many years in soil with no host present, so a single season off does nothing. For a permanent bed this collapses into a one-time siting decision you cannot revisit.
Never take divisions off a plant that has wilted, and pull out and bin affected plants rather than composting them. Keep the plants unstressed, since stressed plants show the worst symptoms.UC IPM: do not take crowns for propagation from ground where the disease has occurred, and practice proper cultural practices to avoid stressing plants, since stressed plants develop the most severe symptoms. In severe cases yields fall by as much as 50 percent. NOTE WHAT IS ABSENT FROM THIS LADDER: there is no resistant-variety rung, because no extension source publishes a cultivar-by-disease rating for artichoke, and the two closest statements contradict each other.
No spray for this one. Prevention is the control.
The ladder troubleshoots from the gentlest solution to the strongest. Start with the gentlest option and only move on when and if it doesn't work.
Give the plants room and run the rows so the wind moves along them, so leaves and buds dry quickly after rain or dew. Water at the base with a drip line rather than over the top.University of Maine ranks gray mold first among the artichoke diseases it has seen in trials, on both frequency and damage, so this rung earns real effort. Spacing, row orientation for air movement and drip rather than overhead irrigation are the levers.
Take off dead and damaged leaves and any rotting buds as soon as you see them, and get them out of the garden. The mold gets in through damage, so protecting buds from frost, slugs and insect injury is part of preventing it.Botrytis enters through wounds, which makes frost injury, snail grazing and insect damage into gray mold entry points rather than separate problems. That is the practical link between this ladder and the frost and mollusk ones.
Cut out infected parts back into clean tissue and dispose of them away from the plant. When you harvest, cut the stem at a slight angle so water runs off the cut instead of sitting on it.University of Maine adds a detail specific to this crop worth adopting: make angled harvest cuts so water does not pool on the cut surface, which is otherwise a ready infection court on a plant being cut repeatedly through a wet season.
No spray for this one. Prevention is the control.
The ladder troubleshoots from the gentlest solution to the strongest. Start with the gentlest option and only move on when and if it doesn't work.
Space plants generously and keep the middle of the plant open. Powdery mildew is mostly a cosmetic nuisance on artichoke and usually does not need anything more than this.
Only worth spraying if the mildew gets bad enough to damage the plant. Sulfur is the usual organic option, but do not use it above about 90°F or it burns the leaves.UC's own framing sets the threshold: fungicides are not needed unless the disease becomes severe. Sulfur is effective but phytotoxic in heat, which in the regions where artichoke summers hardest is a real constraint rather than a footnote.
The bottom rungs are products with label rules: timing, pollinators, and days to wait before harvest. Before you spray →
The ladder troubleshoots from the gentlest solution to the strongest. Start with the gentlest option and only move on when and if it doesn't work.
There is no cure, so this is entirely about not bringing it in and not spreading it. Pull out and destroy any plant that is badly stunted with distorted, dark-spotted leaves. Never take divisions from it.UC IPM: rogue diseased plants, and if propagating by crowns use only disease-free stock. Infected plants yield up to 40 percent less and the buds they do make are deformed. Under experimental conditions the virus can also infect other Asteraceae including cardoon, sunflower and zinnia, so bear that in mind when siting.
If you are starting a new planting and you have a choice, grow from seed rather than from divisions off an old plant. The virus spreads by dividing infected plants, and there is no evidence it travels in seed.This is the propagation decision made into a control, and it is the strongest lever available: UC IPM states there is no evidence artichoke curly dwarf virus is seedborne, so seed and the transplants raised from it may prevent the problem occurring in new plantings. It is also why this guide's crop-wide propagule is `transplant` rather than division despite division dominating the perennial regions. Carry one unresolved conflict: UC IPM says no vector has been identified, while UC ANR 7221 says the virus is insect-transmitted with the specific vector unknown.
No spray for this one. Prevention is the control.
The ladder troubleshoots from the gentlest solution to the strongest. Start with the gentlest option and only move on when and if it doesn't work.
Do not use crowns off an infected plant for propagation, and clear out rotted material rather than leaving it in the bed. Once a plant is affected, lift it out with its roots rather than trying to cut back to healthy tissue. If you grow artichoke as a yearly crop from seed or bought transplants, you may never see this at all.UC IPM: do not use infected crowns for propagation, and notes that annually grown artichokes planted from seed or transplants may not develop the disease at all. That makes this a mostly perennial-mode problem, and another entry on the list of reasons a seed-raised transplant is the clean route into new ground.
No spray for this one. Prevention is the control.
The ladder troubleshoots from the gentlest solution to the strongest. Start with the gentlest option and only move on when and if it doesn't work.
Brown or blackened tips on the bud scales are not a disease and nothing is eating your plant. It is the plant telling you it went short of water. The bud is still perfectly good to eat, since only the outside is affected. Water more evenly and it stops.Texas A&M attributes black tip to moisture stress and reports it as most common when conditions are sunny, warm and windy, which is exactly when a large canopy transpires hardest. The damage is cosmetic and the edible portion of the bud is unaffected. Treat it as an instrument reading rather than a problem: it tells you the irrigation is not keeping up with the bud period, which is the one window Utah State says must not be water-stressed. Worth distinguishing from frost blistering, which whitens and blisters the outer bracts instead, and from the separate disorder UC calls black tip whose cause it says is not known.
No spray for this one. Prevention is the control.
If you are growing artichoke as a yearly crop, move it around the garden like anything else and keep it off ground that grew lettuce or strawberries. If you are planting a permanent bed, you only get one chance to choose the spot, so choose it carefully: it will be there for years.Rotation means different things for the two modes. Grown as an annual, treat artichoke as a normal rotation crop and keep it off lettuce, strawberry and old artichoke ground. Grown as a permanent bed there is no rotation at all, so the same rule becomes a one-time siting decision that you cannot revisit for five to ten years, which makes it worth more care rather than less.
The plant app sends a timely reminder at every critical moment of your artichoke season. The wording adjusts to whichever you pick: beginner or seasoned. Here are three you'll see in Zone 9.
plant sends the right notification at exactly the right moment, for your zone, your weather, your crops. Founding members lock the rate forever.
We're building this guide with real growers. Got a question we missed? Ask here. We read every one and add the best answers right to this page.
Learned something the hard way? Pass it on. Real growers' tips make this guide better for the next person, and we credit you by name when yours goes live.
If you've grown this crop and you see a date, a temperature, a companion claim, or a recommendation that doesn't match your experience, tell us. Real growers' corrections make this guide better for the next person.
Every date, temperature, spacing, and recommendation on this page is sourced from university cooperative extension publications, peer-reviewed agricultural research, NOAA climate data, and direct extension calendars. Where claims are softer (traditional gardening wisdom not formally documented), we say so.
Spot a data point that doesn't match your experience? Submit a correction; accepted corrections earn full author credit on the page.
Zone-aware seasonal nudges, what's worth planting now, and the occasional recipe from the harvest. No spam, ever.