Pick your zone and the dates re-calibrate.
The Guide Crops Vol. 003

Asparagus

in Zone 9, this week

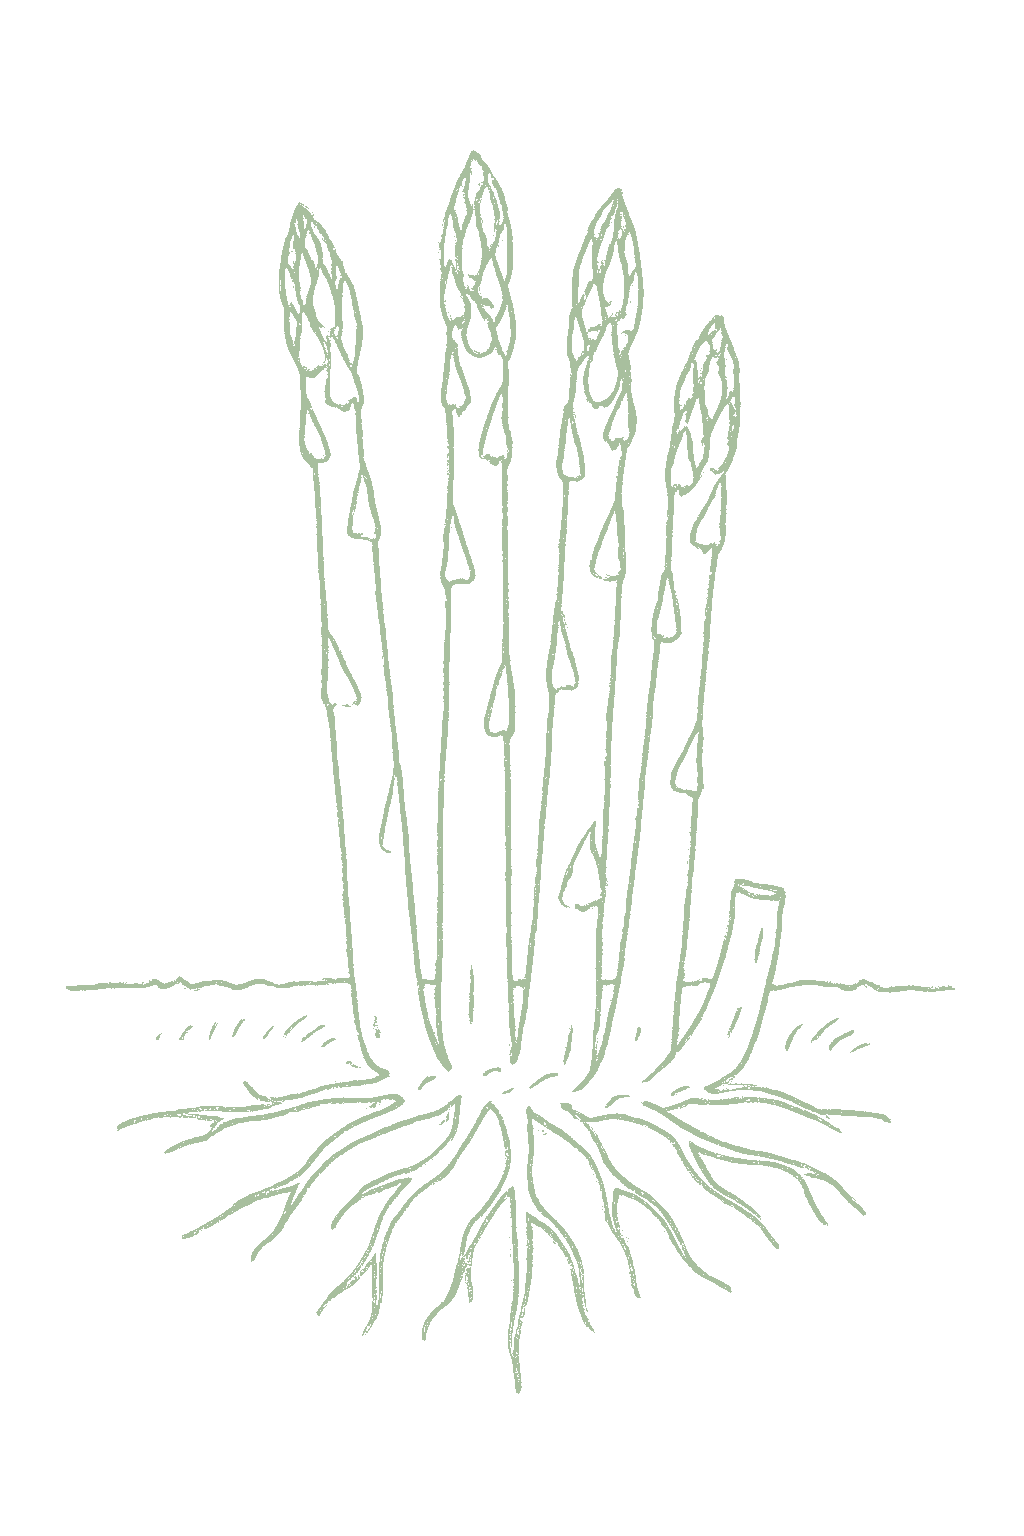
Asparagus is a long-lived perennial vegetable: you plant it once and a good bed keeps feeding you for 15 to 20 years. You grow it from one-year-old crowns set in a deep trench, then wait two to three years for the first real harvest while the roots get strong. Each spring the bed sends up the tender green spears you eat; a young bed gives only a short pick and a mature one can run six to ten weeks, and you stop when the new spears come up thin and let the rest grow into tall, ferny foliage that feeds the roots for next year. For a new bed, plant an all-male hybrid like Millennium, a very cold-hardy, high-yielding variety that most northern nurseries now carry. Jersey Knight is another good all-male pick, with better tolerance to rust and root rot. Mary Washington is the classic seed-grown heirloom, lower-yielding but easy to find, and Purple Passion has sweet purple spears that are nice raw in a salad. Asparagus likes full sun and deep, well-drained soil, and it needs a real winter rest, so it is a temperate crop rather than a tropical one. Asparagus (Asparagus officinalis) is a long-lived herbaceous perennial grown for the tender spring spears it pushes from a deep, cold-hardy crown. Established once from one-year-old crowns in a deep trench, a well-sited bed yields for 15 to 20 years and sometimes far longer. The rhythm is fixed: spears emerge as the soil warms and are cut for a spring window that lengthens with bed age, reaching six to ten weeks on a mature crown, after which every remaining spear grows into a tall fern canopy that recharges the crown for the next season. Its physiology is temperate rather than tropical. UC IPM ties the plant's longevity to getting a true dormant season each year, not just a mild pause, so a bed set where winter never really arrives will not hold. Variety choice sets the ceiling. All-male hybrids outyield the open-pollinated types and skip the weedy volunteer seedlings: Millennium, a cold-hardy University of Guelph hybrid, is the modern high-yield northern standard but runs more susceptible to rust, while the Rutgers Jersey hybrids, represented here by Jersey Knight, carry the class's vigor-based field tolerance to rust and to Fusarium crown and root rot. Among the open-pollinated types, Mary Washington is the century-old heirloom standard, hardy but lighter-yielding with mixed male and female plants, and Purple Passion is a sweeter, purple-speared strain that yields less and catches foliage disease more easily. Give asparagus full sun and deep, well-drained ground, and choose the site with care, since the crowns will hold it for two decades.
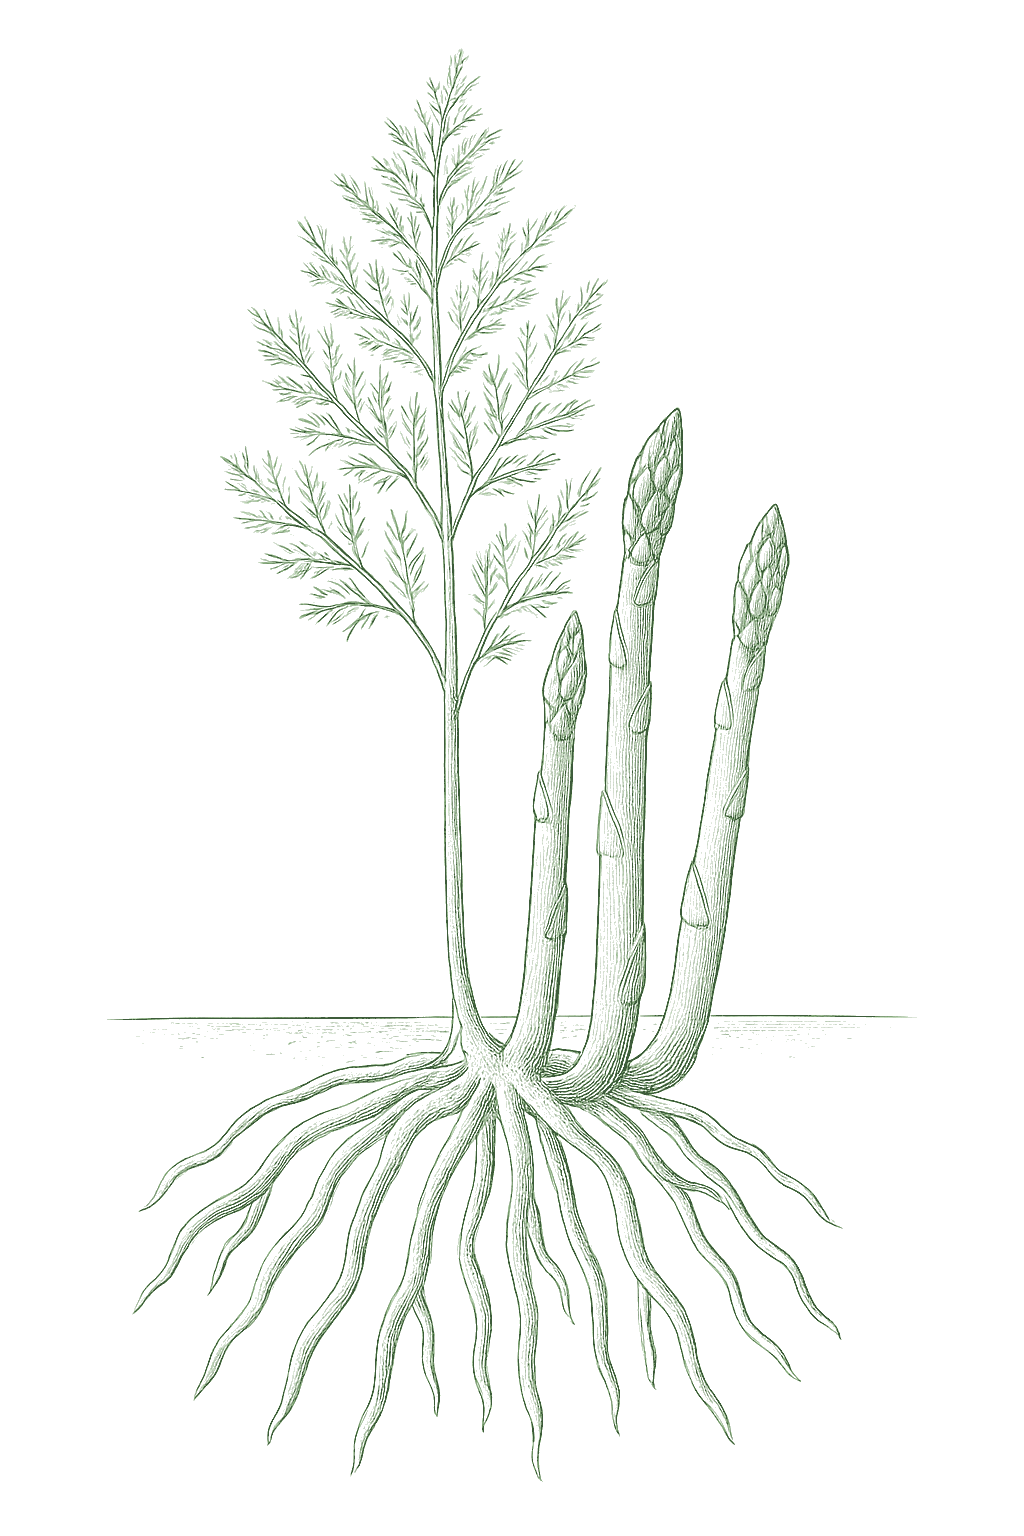
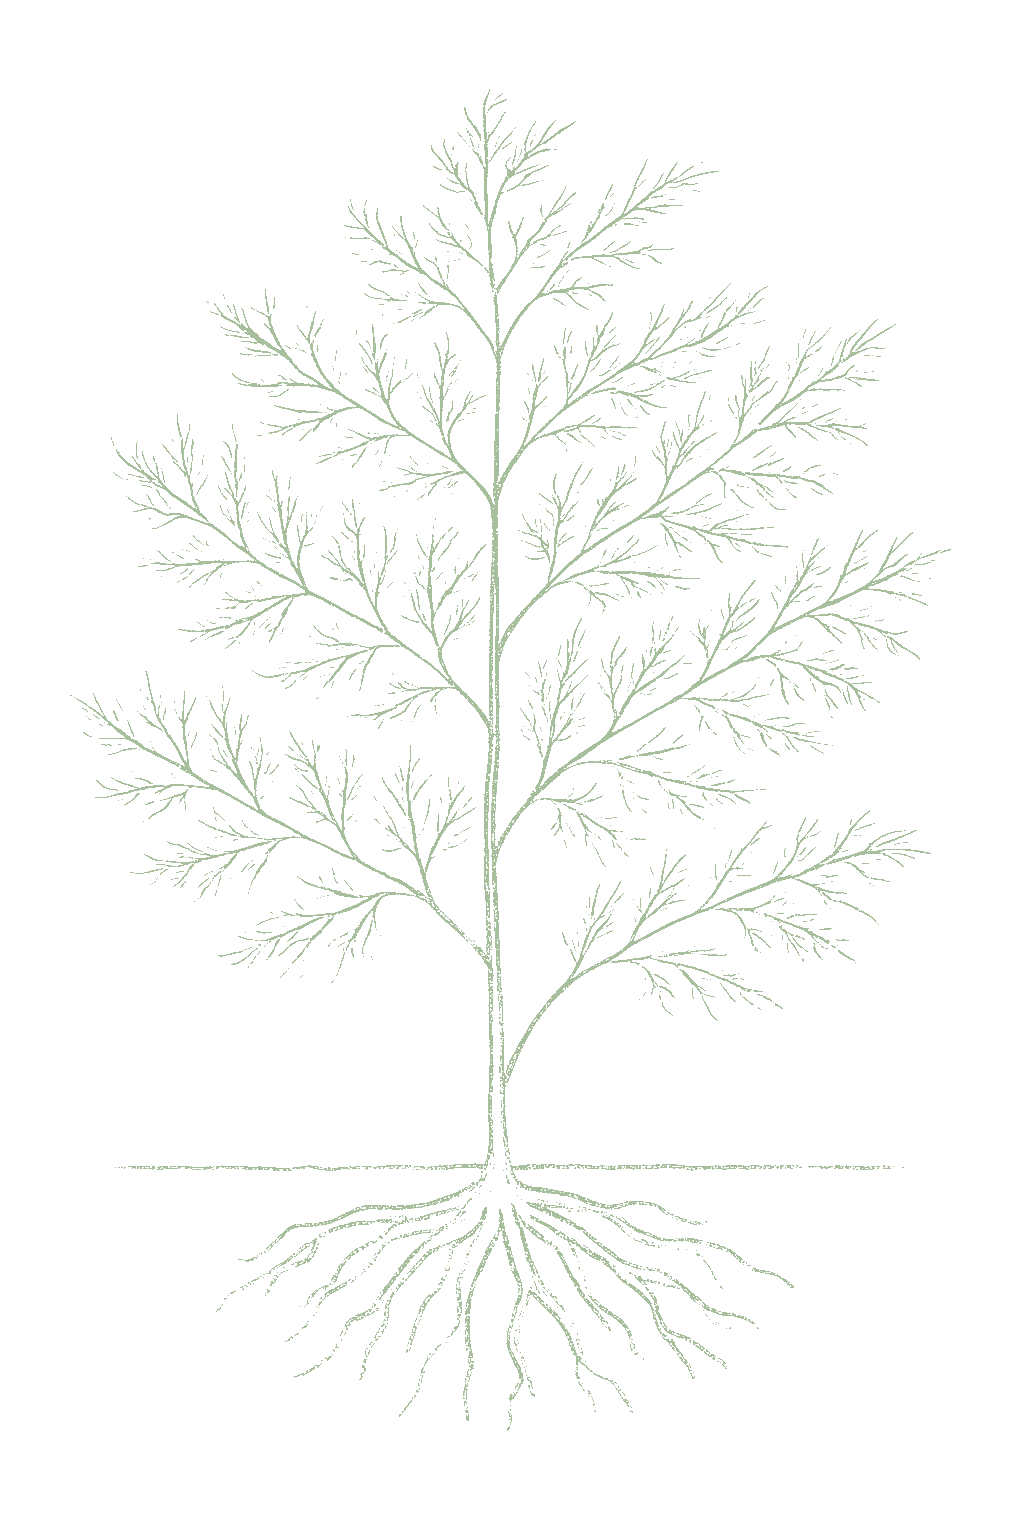
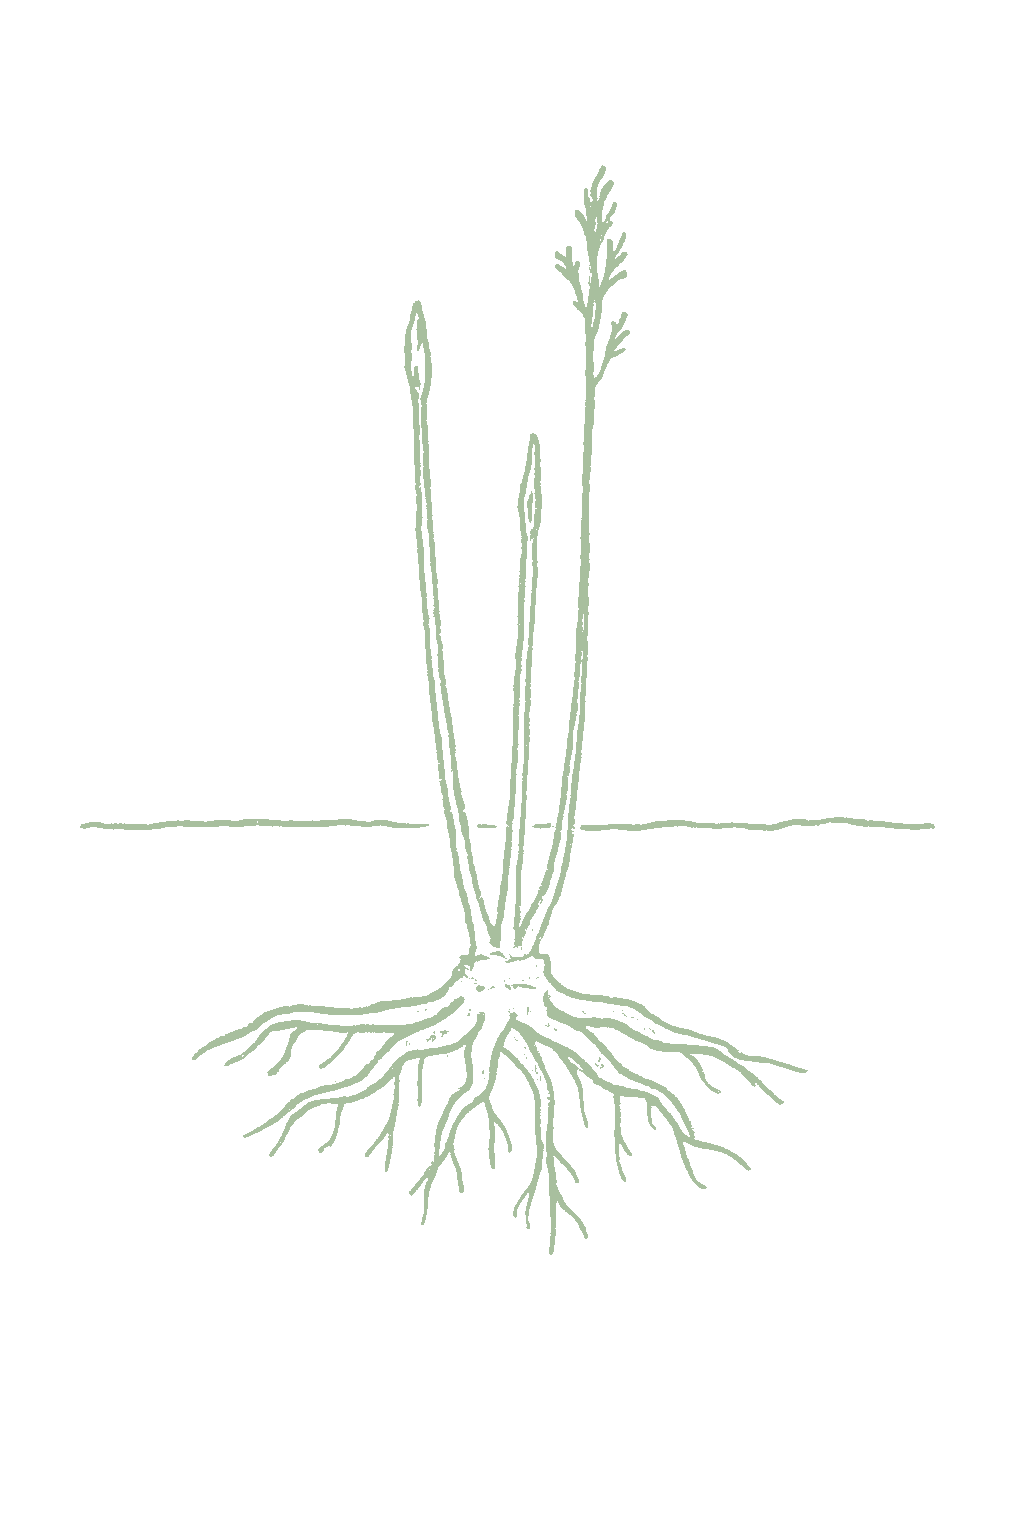
Asparagus mature plant
Fig. 01 · Asparagus, mature Zone 9
First fruit
2-3 yrs
to first harvest
Sunlight
Full sun
8-10 hrs daily
Water
Regular
Spacing
12 to 18 in
between plants
Soil pH
6.5-7
slightly acidic
Today · in your zone

What's happening right now

October 21 · Zone 9 · Stage 01 · Establishment (years 1 to 2)

Off-season for asparagus in zone 9.

Seasoned
Microclimate · Zone 9a vs 9b

Your zone, at a finer grain

Zone 9 averages a last frost around March 1. Within Zone 9, the colder half (9a, winters down to 20°F) runs about a week later. The warmer half (9b, winters down to 25°F) runs about a week earlier. The plant app picks your subzone from your ZIP.

SubzoneLast springFirst fallGrowing daysWinter minFruits reliably
9aMar 8Nov 24~26120-25°FYes · two seasons
9bFeb 28Nov 30~27525-30°FYes · two seasons

Averages from 8 weather stations per subzone, drawn from NOAA 1991-2020 Climate Normals. Your actual frost date can vary by up to two weeks based on elevation, proximity to water, and local topography.

Source: NOAA 1991-2020 Climate Normals Methodology
Your climate region in Zone 9
The season at a glance

Planting calendar

In Zone 9, asparagus can be planted February through March.

Jan
Feb
Mar
Apr
May
Jun
Jul
Aug
Sep
Oct
Nov
Dec
plant
too cold
plant
plant
too late
too late
too late
too late
too late
too early
too early
too cold
too cold
harvest
harvest
harvest
harvest
indoors
plant out
harvest
The season, mapped

Seed to garden

Plant one-year-old crowns instead of seeds to get a head start.Establish from one-year-old crowns; you can grow from seed, but that adds a full year before the first harvest.
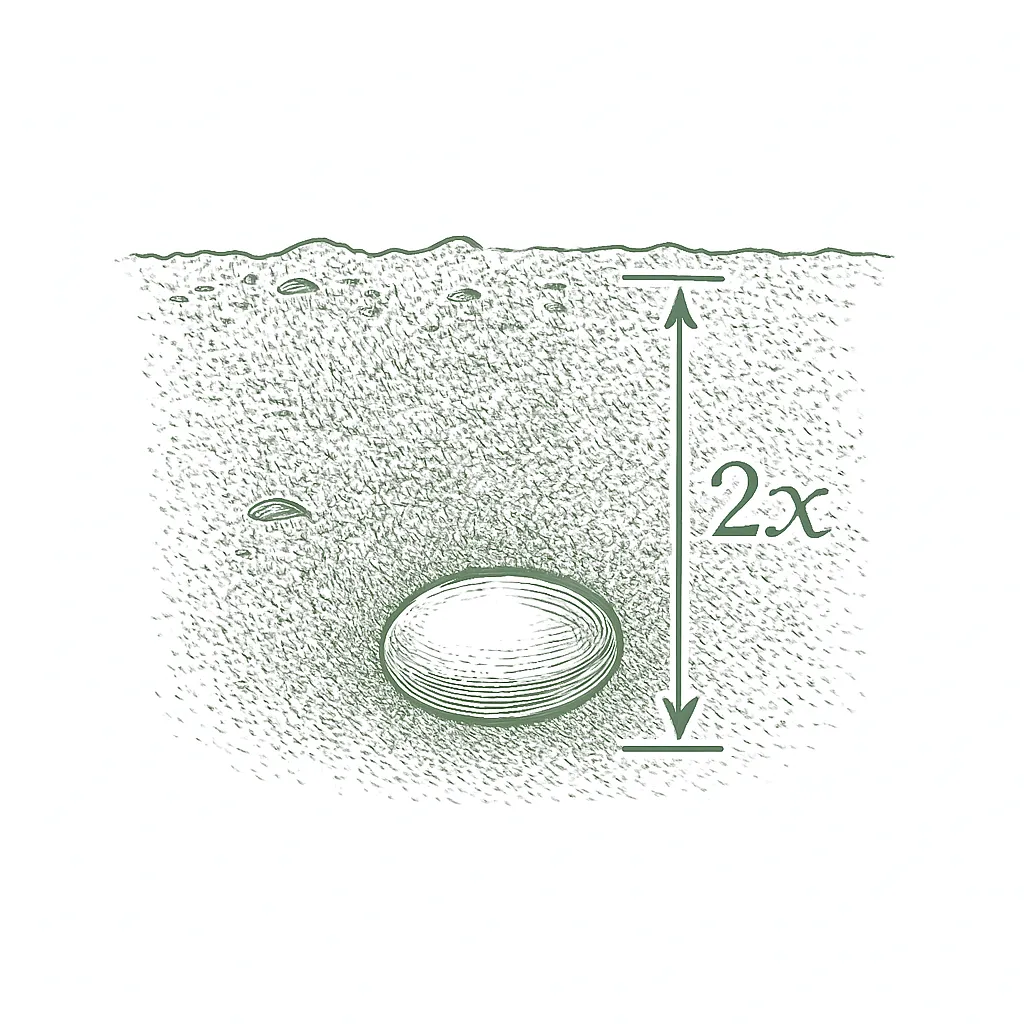
  1. 01
    Sow outside
    Jan 1 - Mar 15 (dormant crowns, one-time planting)
Start method
Transplant
Soil temp
60-85°F
From seed to fruit

The growing journey

Stage 01 · Establishment (years 1 to 2)
01
Establishment (years 1 to 2)
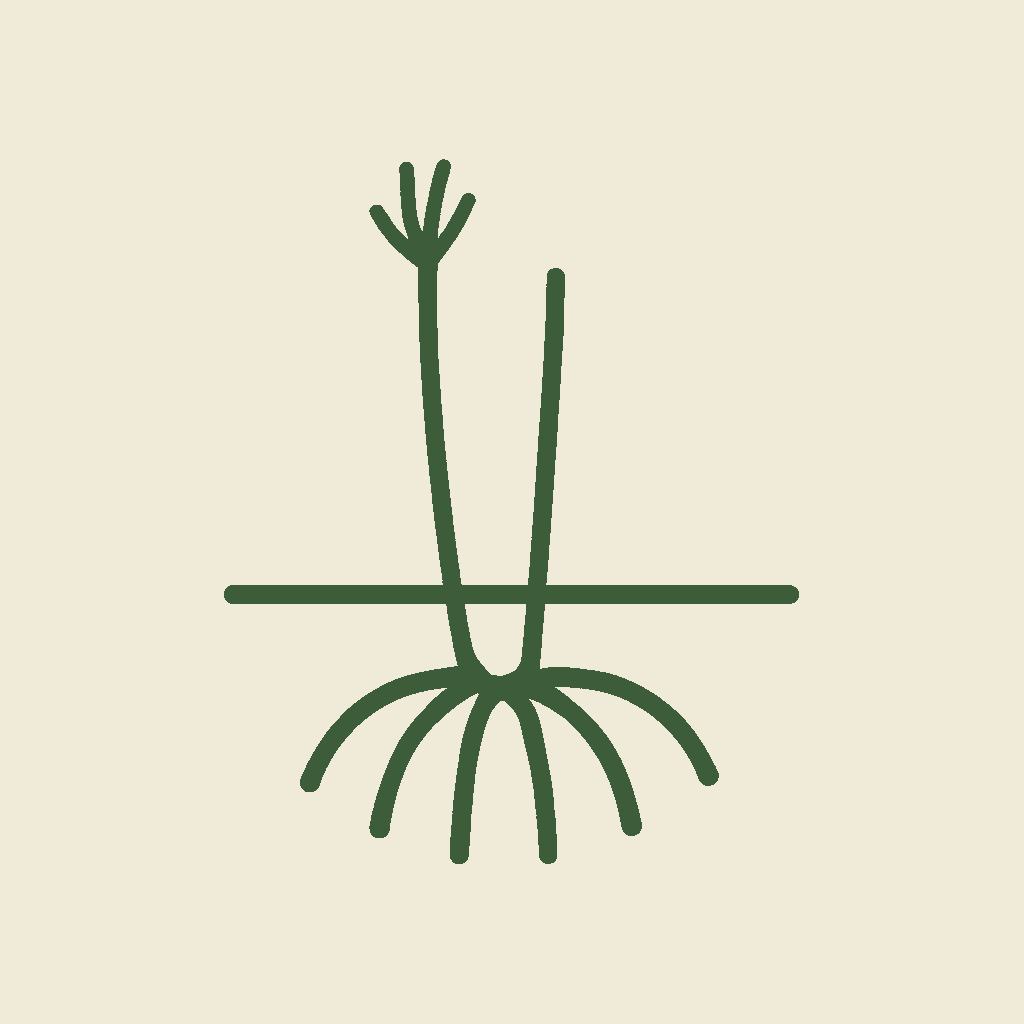
In the first year or two you will see just a few skinny spears. Let them all grow into tall, feathery ferns. The plant is busy building strong roots underground, so there is almost nothing to pick yet.In the planting year the crowns send up only a few thin, wiry spears; you let them all grow straight into ferns while the plant builds the deep root and crown reserves it will draw on for decades. Expect little to nothing to harvest for the first two years.
Resist harvesting the first year, and take only a little the second year. Keep weeds down and the soil moist so the roots get strong. Set crowns about 12 to 18 inches apart.Do not cut in the planting year and harvest only lightly in year two; keep the bed weed-free and evenly moist so the crowns bulk up. Set crowns 12 to 18 inches apart in the trench and backfill gradually as the spears grow.
FROM PLANT · Do not pick any spears the first year you plant. Let them all grow into tall ferns so the roots get strong. The next spring you can take a small two-week harvest if the plants look healthy, then stop. Harvesting a young bed too hard, too soon, can weaken it permanently, so be patient for the big harvests.Hold off on harvest while the bed roots in. Cut nothing the planting year and let every spear grow to fern, which is how the crown banks the reserves it will draw on for decades. The second spring, take only a light two-week pick, and just if the bed came through the first season strong; some guides wait for year three. Cutting a young bed too hard too soon leaves it weak and spindly and can set the crown back for good.
02
Spear emergence and harvest (spring)
In spring, established plants send up the spears you eat. Cut them when they are about 6 to 8 inches tall and the tips are still closed and tight. A hard late frost can ruin spears that are already up, so keep an eye on cold nights.On an established bed, spears push up as the soil warms in spring, ready to cut at about 6 to 8 inches while the tips are still tight. A late spring frost can turn emerged spears dark and glassy and collapse them, so watch the cold nights.
Pick spears every day or two right through the spring harvest, then stop once the new spears come up thin and let the plants grow. If frost is coming, cut the standing spears first or cover the bed.Snap or cut spears at the soil line every one to three days through the harvest window the bed's age supports, then stop once the spears thin toward pencil width and let the rest grow into ferns. If frost threatens emerged spears, harvest them first or cover the bed.
FROM PLANT · Once a bed is established, cut spears when they are about 6 to 8 inches tall with closed, tight tips, every day or two. A mature bed can keep going six to ten weeks, but let the spears call it: stop when the new ones turn thin, about pencil-width or skinnier. That thinning is the plant telling you it is low on energy, so let the rest grow into ferns.On an established bed, cut spears at about 6 to 8 inches with tight tips, every one to three days, through a spring window that reaches six to ten weeks once the crown is mature. The signal to stop is the spears themselves: when the majority thin down to about pencil width, a quarter to a half inch depending on which extension you follow, and come up spindly, quit cutting. Harvesting past that point drains the crown, so let the rest grow to fern once the diameter drops off.
03
Fern growth (summer recharge)
When you stop harvesting, let the plants grow into tall, ferny green foliage all summer. This is how the plant feeds its roots for next year, so never cut it down early. Check the ferns for asparagus beetles and orange rust spots.After harvest ends, every spear grows into a tall, feathery fern. This summer canopy is the crown recharging its reserves for next spring; the ferns tolerate summer heat and keep working into fall. Scout them for asparagus beetles and for orange rust pustules.
Give the bed a feeding right after the last harvest, keep it watered and weeded, and let the ferns grow untouched. Pick off asparagus beetles by hand and let ladybugs help; good airflow keeps rust down.Feed the bed right after the final harvest to fuel fern growth, keep it weeded and watered, and leave the ferns standing all summer. Handpick asparagus beetles and let ladybug larvae and the native egg parasites help; keep the ferns open and dry against rust.
FROM PLANT · When you stop harvesting, let the plants grow into tall, feathery ferns and leave them up all summer. This is how the roots refill their energy for next year, and next spring's harvest depends on it, so never cut the ferns down early. Feed the bed after the last harvest, keep it watered and weeded, and check the ferns for beetles and orange rust spots.After the final cut, let every spear grow into a tall fern and leave it standing all summer and into fall. This canopy is the crown recharging: next spring's spear yield tracks directly with this year's fern growth, so never shear it early. Feed the bed right after harvest, keep it weeded and watered to fuel the ferns, and scout the foliage for asparagus beetles and for rust.
04
Dormancy (fall and winter)
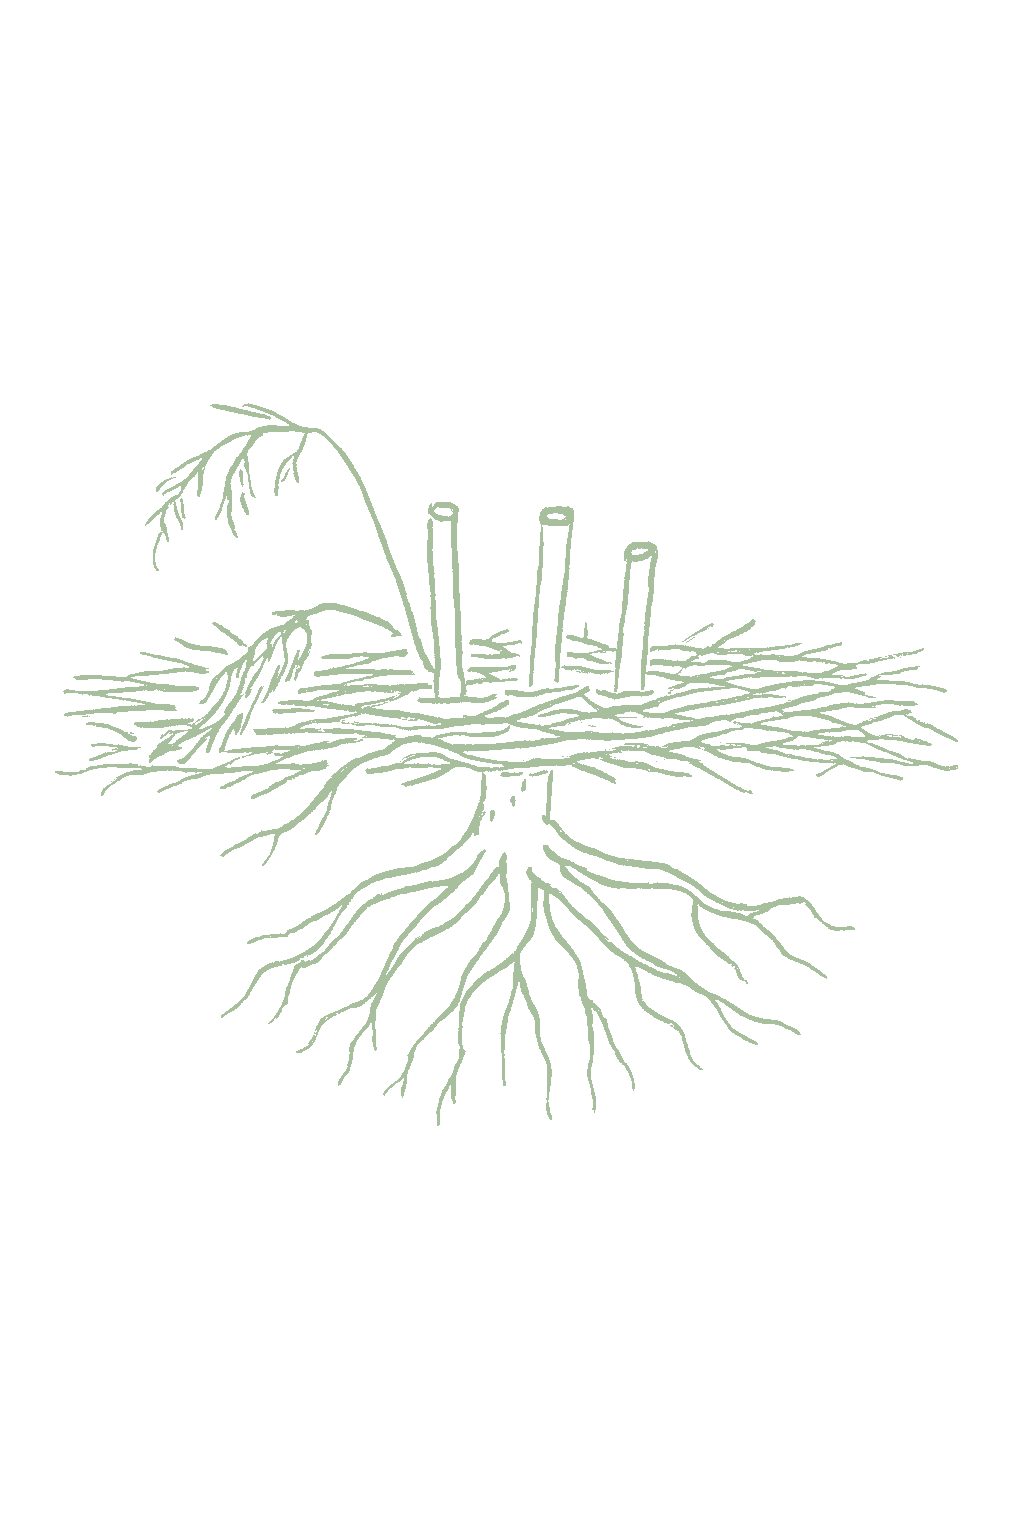
In fall the ferns turn yellow and die back once frost arrives, and the plant rests underground for winter. The roots are very cold-hardy and survive the cold; only the ferns above ground are killed by frost.In fall the ferns yellow and die back after hard frost, and the crown drops into winter dormancy underground. The crown itself is deeply cold-hardy and overwinters in place; it is the top growth, not the crown, that frost kills.
Once the ferns are fully brown, cut them down and clear away the old growth, which cuts down on beetles and rust next year. In very cold areas, mulch over the bed for winter. Do not dig or till it.Once the ferns have fully browned, cut them to the ground and remove the debris to deny asparagus beetles and rust a place to overwinter; mulch the crowns in the coldest, snow-poor zones. Do not disturb or till the bed.
FROM PLANT · After frost turns the ferns brown, cut them down to the ground and rake away the old growth. Beetles and rust spend winter hiding in that dead fern, so clearing it out means fewer problems next year. Any time from late fall to late winter works, as long as you finish before the new spears come up. Do not dig or till the bed, since the roots are just resting underground.Once frost has fully browned the ferns, cut them to the ground and clear the debris off the bed. Both asparagus beetles and rust overwinter in that dead fern litter, so removing and destroying it before spring knocks back next year's pressure. You can cut anytime from late fall through late winter, as long as it is down before the new spears push. Do not till or dig the bed; the crown is resting, not gone.
Beginner
Know your soil

Your soil

Identify yours

Not sure what soil you have? Grab a small handful of damp soil from your garden bed and squeeze it. If it crumbles apart easily, it's sandy. If it holds together but breaks when you poke it, it's loam (what most vegetables want). If it stays in a hard, slippery ball, it's clay.

What this crop wants

Asparagus wants a deep, loose, well-drained bed in full sun, with plenty of compost worked in. It is not picky about soil type and grows in sandy, loamy, or heavier ground, as long as water never stands there. Since the bed stays put for 15 years or more, take the time to loosen it deeply and clear out perennial weeds before you plant.

If your soil doesn't match

You have sandy soil

Mix 2-3 inches of compost into the top 6 inches of your bed before planting. Compost holds moisture (which sandy soil drains too fast) and adds the nutrients sandy soil tends to lack. Repeat each season. Compost breaks down over time.

You have clay soil

Mix 2-3 inches of compost AND a few inches of coarse sand or perlite into the top 6 inches of your bed. The compost feeds the plants; the sand breaks up the clay so air and water can move through. Don't add sand without compost. It can compact like concrete.

Containers and raised beds

If amending your soil sounds like too much work, or if your soil is heavy clay, full of rocks, or contaminated, build over it. A raised bed at least 12 inches deep filled with a 50/50 mix of compost and sandy loam gives you ideal growing soil with no battles. A 5-gallon container with quality potting mix does the same for one plant at a time. Both bypass your native soil entirely.

Learn more about your soil
The specs

Care guide

The numbers that matter, at a glance.

Sunlight
Full sun · 8-10 hrs/day
Water
Regular
Spacing
12 to 18 inches
Soil
sandy loam, loam
Soil pH
6.5 to 7
Container OK?
No
Germination temp
60-85°F
In a pot

Not suited to a pot

Asparagus is not a good container crop. It is a permanent bed that lives for 15 years or more, with deep roots that spread several feet, so it needs open ground or a large, deep raised bed rather than a pot. If you only have hard surfaces, build a deep raised bed instead of using containers, and grow something else in your pots.Skip containers for asparagus. It is a long-lived permanent planting (the University of Georgia notes a well-established bed can last 30 years) whose roots, the University of Illinois observes, spread laterally 5 feet or more over the years, all fed from a deep planting trench. An ordinary pot cannot supply the depth, root run, or longevity the crop needs. A deep raised bed is the only container-adjacent option worth pursuing, and even then it must be permanent and generously sized; for most gardeners an in-ground bed is the right call.

Mature size
5 to 6 feet tall
Soil chemistry

Soil pH for asparagus

Preferred
6.5 to 7
Tolerated
6 to 7.5

Aim for a near-neutral soil pH around 6.5 to 7.0; asparagus is easygoing about pH and does fine anywhere from about 6.0 to 7.5. It dislikes strongly acidic soil, so if a soil test comes back low, work in lime before you plant.Asparagus does best in near-neutral soil, about pH 6.5 to 7.0, the range the University of Minnesota, Michigan State, and others recommend; it is not fussy and still performs across roughly 6.0 to 7.5, taking slightly alkaline ground better than acidity (Michigan State notes a pH a little above 7.0 does not really hurt anything). It does not tolerate strongly acidic soil, so lime an acid bed up toward neutral before planting a bed you will keep for 15 years or more.

Verified · 3 sources View
Steady hand on the hose

Watering

When & how much
Frequency
Water deeply during dry weather so the bed stays evenly moist but never soggy. This matters most in the first couple of years while the roots are getting established; after that the deep roots handle dry spells better.Keep the bed evenly moist and never waterlogged, watering deeply during dry spells rather than lightly and often. Consistent moisture matters most through the first two seasons while the crowns build their deep root system; an established, deeply rooted bed rides out short dry spells well.
Amount
Give the bed a deep soaking when the weather is dry, then let the surface dry a bit before the next watering. A layer of mulch keeps the moisture even and holds down weeds.Water deeply and evenly, especially through establishment and the spring spear-cutting window; let the top inch dry between waterings rather than keeping the crowns wet. A mulch helps hold even moisture and suppress the weeds that compete with a permanent bed.
Method
Water at the base of the plants rather than over the ferns. Dry foliage helps prevent rust and other leaf diseases.Water at the soil line with drip or a soaker hose. Keeping the ferns dry checks the rust and other foliage diseases asparagus catches in crowded, humid stands.
Signs of trouble
Too much water
Soft, yellowing spears and rotting crowns in soggy soil. If water stands in the bed after rain, the spot is too wet for asparagus.Yellowing, collapsing spears and crown or root rot in saturated, poorly drained ground; standing water for even an hour signals a site too wet for asparagus, and waterlogged, low-pH soil worsens Fusarium crown and root rot.
Too little water
Skinny spears and ferns that wilt or brown early when the soil stays dry too long, which is hardest on a young bed.Thin, spindly spears and ferns that wilt or brown early in prolonged drought, especially on a young stand whose roots have not yet gone deep; growth slows and the crown banks fewer reserves for next spring.
Feeding rhythm

Feeding

Frequency
once or twice per year
Type
Balanced fertilizer such as 10-10-10
When to start
in early spring before spears emerge, and again right after the final spring harvest for established beds

Give the bed a balanced fertilizer like 10-10-10 in early spring as growth starts, and feed it again right after you stop harvesting so the ferns can grow strong and feed the roots for next year. Work some fertilizer or compost into the trench when you first plant, too. You do not need to feed more than once or twice a year.Feed a balanced fertilizer such as 10-10-10 in early spring, then feed again right after the final harvest to fuel the summer fern growth that recharges the crown, the two-feeding pattern the University of Georgia and Missouri both describe. The University of Minnesota suggests roughly 1 to 1.5 pounds of 10-10-10 per 100 square feet before planting, with nitrogen added once the crowns are growing; UGA pairs a balanced fertilizer at planting and early season with an after-harvest nitrogen side-dressing. Asparagus is a heavy user of potassium and a light user of phosphorus once the bed is established, so lean on a balanced or potassium-forward feed rather than piling on phosphate.

N · P · K = 10-10-10

Use a balanced fertilizer such as 10-10-10 in early spring, and feed once more right after the final harvest to push strong summer ferns.Balanced spring feed plus an after-harvest nitrogen boost: 10-10-10 in early spring, then nitrogen (for example calcium nitrate) right after the last cutting to drive fern growth. Asparagus uses a lot of potassium and little phosphorus once established, so a balanced or potassium-leaning feed suits it.

Try 10-10-10 balanced garden fertilizer; a nitrogen source such as calcium nitrate for the after-harvest feeding
Who grows well together

Companion planting

Asparagus lives in a permanent bed, so it does not get moved around with companions the way annual vegetables do. The traditional good neighbors are tomatoes and basil, tucked along the edges of the bed: they share the warm season and are said to help keep pests down. This is old garden tradition rather than a proven effect, so treat it as a bonus, not a reason to crowd the bed. Because asparagus is a permanent perennial bed, companion planting matters far less than it does for rotated annuals. The enduring tradition pairs asparagus with tomatoes and basil, on a reciprocal-repellent and aromatic-deterrent rationale that is folklore with a plausible mechanism, not measured extension trials. There is a real practical fit, though: the spring spear harvest ends just as warm-season tomatoes and basil hit their stride, so they can share the ground at different times. Keep any interplanting to the bed's edges so it never competes with the crowns or complicates fern-and-sanitation management.

Other
Tomatoes
Tomatoes are the classic asparagus companion: gardeners have long interplanted the two, and the tomato foliage is said to help deter asparagus beetles while the asparagus is said to return the favor against some soil pests. This is tradition, not a proven effect, but the two share a bed well since asparagus finishes its harvest just as tomatoes get going.A near-universal asparagus companion tradition: tomatoes and asparagus are interplanted on the reciprocal-repellent lore (tomato foliage said to deter asparagus beetle, asparagus said to discourage some nematodes). Treat it as hedged tradition with a plausible aromatic rationale, not a measured pairwise effect; the practical merit is that the spring asparagus harvest and the summer tomato crop occupy the same ground at different times. Traditional
Basil
Basil is a traditional partner tucked in with asparagus and tomatoes; its strong scent is said to help keep pests down, and it fits the same warm-season bed. It is folklore rather than a tested effect, so plant it because it is handy in the kitchen and does no harm.Basil rounds out the traditional asparagus-tomato-basil interplant, credited by garden lore with an aromatic pest-deterrent effect. Plausible mechanism, no measured trial; a low-stakes, space-friendly pairing rather than a documented benefit. Traditional
Provenance tagged inline · see methodology for the labeling system Key
Harvest signals

When to pick

Asparagus pays you back on a schedule, so let the age of the bed set how long the picking season runs. Take nothing the first year after planting, take only a light pick the second year, and let the season stretch a little further each spring as the crown gets stronger, until a bed in its fifth year and beyond carries the longest season it will ever have. Once the season is open, start cutting when the spears are about 6 to 8 inches tall and their tips are still tight and closed. Snap each spear off at the ground, or cut it at the soil line, and check the bed every day or two, because spears come up fast and open into ferns if you leave them. Let the spears end the season rather than the calendar: when the new ones pushing up turn thin, about pencil width, the crown is telling you it is low on stored energy, so stop cutting and let the rest grow into ferns that feed the roots for next year.Harvest length on asparagus is a function of crown reserves, so scale it to bed age rather than to a fixed block of the calendar: no cut in the planting year, a token pick in year two, a short season in year three, a longer one in year four, and the mature ceiling only once the bed reaches year five and beyond. Inside an open season, cut spears at about 6 to 8 inches while the tips are still tight and the bracts closed, snapping at the soil line or slicing just below it, and work the bed every one to three days; in warm weather spears elongate and fern out fast, so a bearing bed can need a daily pass. Close the season on the crop's own signal instead of on elapsed time: when the majority of emerging spears thin to about pencil diameter, roughly a quarter to a half inch depending on which extension standard you follow, the crown's carbohydrate reserves are drawn down and further cutting is borrowed from next spring's yield. Release the bed at that point and let the remaining spears fern out to recharge the crown before dormancy.

Verified · 12 sources View
Yield

What to expect

Pick your variety

Recommended varieties

For a new bed, plant one-year-old crowns of an all-male hybrid like Millennium: you get more spears and no weedy seedlings. Save the purple and heirloom types for a fun second row once the main bed is going.All-male hybrids (Millennium and the Jersey series) outyield the open-pollinated types and skip the seedling weeds. Millennium leads on cold hardiness and yield but trades away rust resistance; the Jersey hybrids lead on rust and Fusarium tolerance.

Millennium
Jersey Knight
Mary Washington
Purple Passion
Off the vine

Storing your harvest

Room temp
Do not leave cut asparagus out on the counter, where it wilts and toughens fast. Cool it and get it into the fridge soon after cutting.Fresh-cut spears lose sugars and turn limp and woody at room temperature, so cool and refrigerate them promptly after cutting rather than leaving them on the counter.
Fridge
Stand the spears upright in a glass with an inch or two of water and drape a plastic bag over the top, and they keep a few days; or store them dry in a plastic bag in the crisper drawer, where they last up to about a week. Refrigerate them right after cutting.Refrigerate spears standing upright in a glass or jar with an inch or two of water, loosely covered with a plastic bag, the way the University of Illinois recommends, which holds them a few days; kept dry in a plastic bag in the crisper they last up to about a week. Either way, refrigerate promptly and use them while the tips are still tight.
Freezer
To keep asparagus longer, freeze it, but boil it briefly first (blanch it) for about 2 to 4 minutes depending on spear size, then cool it right away in ice water and pack it for the freezer. Freezing without this step leaves it mushy and off-color.For longer keeping, freeze asparagus, but blanch it first: Michigan State gives 2 minutes in boiling water for small spears, 3 for medium, and 4 for large, then an equal spell in ice water before packing and freezing. Blanching first preserves the color, texture, and flavor that raw-frozen spears lose.
Verified · 3 sources View
When something goes wrong

Common problems

01 of 04
What happened Your spears are coming up thin and wispy instead of fat. On a young bed this is normal, since the crown is still building underground for the first two or three years. On an older bed, thin spears usually mean it was cut too long or too hard and the roots ran low on energy. Give a young bed time and do not harvest yet; on an older bed, stop cutting as soon as the spears thin down and let them all grow into ferns to rebuild the crown.Spears emerged thin and spindly. On an establishing bed (years one to three) this is expected while the crown accumulates reserves. On a bearing bed it signals crown exhaustion, usually from harvesting too long or too heavily: plants cut too hard too soon become weak and spindly and the crown may never fully recover, and spring vigor tracks directly with the prior year's fern growth. End harvest when the majority of spears drop to pencil diameter (under 3/8 inch), let the rest fern out, and feed and water to rebuild the crown. Next season Do not harvest a young bed, and on any bed stop cutting once spears thin to pencil-width so the crown can recover.Delay harvest on young beds, let bed age set how long a bearing bed is cut, and stop at pencil-diameter thinning to protect the crown.
02 of 04
What happened Hardly any spears came up. In the first year or two this is normal, since a new bed sends up only a few thin spears while the roots grow. Otherwise the spears may just be waiting for the soil to warm, since they push up as the ground warms in spring. Very few spears on an older bed can mean it is too shaded, too wet, weedy, or that the crowns are rotting.Spear emergence was sparse or absent. On a new planting this is normal establishment: the crown sends up only a few spears in years one and two while it builds root reserves. On an established bed, sparse emergence usually means the soil has not warmed yet (spears push up as the ground warms), or the bed is in decline from shade, waterlogged ground, heavy weed competition, or crown rot. Confirm the bed is warm, sunny, well-drained, and weed-free, and rule out crown and root rot before assuming winter loss. Next season Give a young bed time, keep it sunny, well-drained, and weed-free, and wait for the soil to warm in spring.Expect few spears through establishment; on bearing beds keep full sun, good drainage, and weed control, and check for crown rot.
03 of 04
What happened Your ferns turned yellow or brown. The timing tells you which. In fall, after frost, uniform yellowing and browning is normal: the ferns are dying back for winter and you cut them down. In summer, patchy yellowing and browning with rusty, orange to brick-red spots on the stems is asparagus rust, a disease that weakens next year's crop. For rust, cut and destroy the infected ferns, site and space the bed for good airflow, and plant rust-tolerant varieties.Ferns discolored. Distinguish natural senescence from disease by season: uniform fall yellowing after frost is normal dieback ahead of dormancy. Premature summer yellowing, browning, and defoliation, especially with rust-colored (orange to brick-red) pustules on stalks and branches, is asparagus rust, which cuts vigor and yield the following year. Rust-colored fern collapse across the stand, versus one or a few stunted, bright-yellow ferns on an otherwise declining plant, also separates rust from Fusarium crown and root rot. Manage rust with rust-tolerant varieties, wide airflow-oriented spacing in full sun, and sanitation of infected fern. Next season Give the bed sun and airflow, plant rust-tolerant varieties, and clear out old ferns; in fall, browning is just normal dieback.For rust, use more rust-tolerant hybrids, orient wide rows to the prevailing wind in full sun, and remove infected fern; expect uniform yellowing only after fall frost.
04 of 04
What happened Your plants are declining, with yellow, stunted ferns and crowns or roots that are soft and reddish-brown when you cut into them. This is usually Fusarium crown and root rot, a soil fungus that builds up over years and hits harder in wet, poorly drained ground. There is no cure once a bed is infected. Start a new bed in a sunny, well-drained spot that has never grown asparagus, and plant a vigorous all-male hybrid.Plants declined with stunted, bright-yellow ferns; cut crowns and storage roots showed reddish flecks or sunken reddish-brown lesions. This is Fusarium crown and root rot. The fungus survives in soil indefinitely, so it is worst on replant sites and where poor drainage and heavy, wet, inadequately prepared soil stress the crown. It cannot be cured in place. Establish a new bed on well-drained ground never previously in asparagus, favor a vigorous all-male hybrid (hybrid vigor confers tolerance, not immunity), and avoid waterlogging. Next season Plant in well-drained soil that has never grown asparagus, choose a vigorous hybrid, and never let the bed sit waterlogged.Site new beds on well-drained soil never in asparagus, use tolerant all-male hybrids, and keep the crown out of saturated ground.
The usual suspects

Pests & diseases

Pests
Asparagus beetles (common and spotted)
P · 01
The control ladder

The ladder troubleshoots from the gentlest solution to the strongest. Start with the gentlest option and only move on when and if it doesn't work.

  1. Cut down and clear the old ferns in late fall. The beetles spend winter tucked in that dead debris, so removing it shrinks next year's population.Destroy crop residue once the ferns die back; overwintering adults shelter in fern litter and along field edges, so fall sanitation is the foundation of beetle control.

  2. Pick the beetles off by hand and rub the small dark eggs from the spears, dropping the adults into soapy water. In a small home bed this alone often keeps up.

  3. If beetles are heavy, cover the bed with floating row cover early in spring to keep them off the spears, then take it off once harvest is finished.Row cover excludes adults during the cutting season but has to come off for harvest and fern growth, so treat it as a supplement to sanitation, not a standalone fix.

  4. A tiny native wasp parasitizes the beetle eggs, and ladybug larvae feed on the eggs and grubs, so go easy on sprays to let these helpers build up.

  5. If the softer steps have not held, spinosad is an organic option for the larvae. Spray late in the day to spare bees.Spinosad, sold for gardens as Entrust, targets the larvae and is the softest chemical rung; it is toxic to bees while wet, so apply at dusk and after bloom.

  6. As a last resort, a conventional pyrethroid such as permethrin knocks beetles down fast, but it is harmful to bees and fish and kills the natural enemies too. Read and follow the label.A broad pyrethroid is a rescue only; it is hard on pollinators and on the beetle's parasitic wasp, so reserve it for a young stand under heavy pressure.

The bottom rungs are products with label rules: timing, pollinators, and days to wait before harvest. Before you spray →

Cutworms
P · 02
The control ladder

The ladder troubleshoots from the gentlest solution to the strongest. Start with the gentlest option and only move on when and if it doesn't work.

  1. Keep the bed and its edges clear of weeds and old plant debris, since that is where the moths lay eggs and the caterpillars shelter. Cutting down and removing the spent ferns in fall takes away their winter cover.Cutworms overwinter in weeds, field trash, and crop residue, so weed control in and around the bed and thorough removal of fern debris are the foundation; UC IPM lists good weed management and cultivation as the first line, and both are allowed in an organically certified crop.

  2. When spears come up chewed or cut off at the base, dig an inch or so into the soil right around them: the gray, curled caterpillars hide just below the surface by day. Pick them out and drop them in soapy water. In a small bed this often keeps up.Scout at the first chewed or crooked spears and confirm by digging an inch into the soil beside the damage, where the larvae rest. Hand-remove and crush or drown them; a nighttime flashlight check catches them feeding on the spears.

  3. If cutworms keep cutting spears, a spinosad bait is a softer, organic option, but use it on the ferns after harvest rather than on the spears you plan to eat, and follow the label.Spinosad baits are a soft-chemical option for cutworm on the fern stage; per the University of Minnesota they are not labeled for use on the edible spears, so reserve spinosad for after the cutting window and apply at dusk to spare bees.

  4. As a last resort under heavy pressure, a labeled pyrethroid such as permethrin knocks cutworms down, and it works best in cool spring weather. It is hard on bees and beneficial insects, so read and follow the label.A pyrethroid rescue such as permethrin gives good cutworm control under cool spring conditions and can be banded over the rows as spears emerge; it is broad and hard on natural enemies, so hold it for a threshold infestation, around one or more cutworms per ten crowns.

The bottom rungs are products with label rules: timing, pollinators, and days to wait before harvest. Before you spray →

Diseases
Asparagus rust (Puccinia asparagi)
D · 01
The control ladder

The ladder troubleshoots from the gentlest solution to the strongest. Start with the gentlest option and only move on when and if it doesn't work.

  1. Start with a newer rust-resistant hybrid. It will not stop rust completely, but it gets infected far less than the old heirlooms.

  2. Give the bed full sun and space the rows wide, running them with the prevailing wind so the ferns dry quickly after dew and rain.

  3. Cut and destroy infected ferns before spring, and clear out any old, unused, or wild asparagus within a few hundred feet, since that is where the rust overwinters.

  4. If rust keeps coming back, a labeled protectant fungicide can go on the ferns after harvest; sulfur is a common organic choice, but do not apply it in hot weather above 90°F.Protectant fungicides on the fern stage, on a 7-to-10-day schedule after harvest, hold rust in a chronic field; sulfur works but can burn foliage in heat, so avoid it above 90°F.

The bottom rungs are products with label rules: timing, pollinators, and days to wait before harvest. Before you spray →

Fusarium crown and root rot
D · 02
The control ladder

The ladder troubleshoots from the gentlest solution to the strongest. Start with the gentlest option and only move on when and if it doesn't work.

  1. Plant an all-male hybrid; these carry better field tolerance to the Fusarium rots, though no variety is fully immune.

  2. Do not replant asparagus into an old asparagus bed. The Fusarium fungus survives in the soil for years, so choose a fresh, well-drained site the crop has not grown in.Fusarium persists in soil indefinitely, so avoid replant sites and rotate long out of asparagus; favor well-drained ground, since waterlogged, low-pH soil worsens the rots.

No spray for this one. Prevention is the control.

Purple spot (Stemphylium)
D · 03
The control ladder

The ladder troubleshoots from the gentlest solution to the strongest. Start with the gentlest option and only move on when and if it doesn't work.

  1. Plant a more tolerant hybrid where you can. Michigan trials rate the Jersey hybrids as less bothered by purple spot than Millennium, though no variety shrugs it off completely.

  2. Give the bed full sun and wide spacing, and water at the base rather than overhead, so the spears and ferns dry fast. The fungus needs the leaves to stay wet for several hours to infect, so quick drying is the point.Purple spot infects through wet tissue when leaves stay wet for roughly four hours or more, so full sun, wide airflow-oriented spacing, and limited overhead irrigation to shorten leaf-wetness periods are the core cultural controls.

  3. Cut down and clear away the old ferns at the end of the season, since the fungus overwinters on that dead fern litter and reinfects next spring's spears.The fungus survives winter on old fern residue, which seeds the next year's spear infections, so remove or chop and bury the spent fern at season's end; this residue sanitation is the single most important purple spot control in a home bed.

  4. You rarely need to spray in a home bed, since purple spot is mostly a cosmetic blemish. If it turns severe, a labeled protectant fungicide can go on the ferns after harvest; copper is a common organic choice.Purple spot rarely warrants spraying in a home planting, where it is largely cosmetic. In a chronic or commercial case, protectant fungicides on the fern stage hold it (the materials proven in trials are chlorothalonil and azoxystrobin); a labeled copper is the common organic protectant, applied after harvest since fungicides are not used during the cutting window.

The bottom rungs are products with label rules: timing, pollinators, and days to wait before harvest. Before you spray →

Seasoned
Where to plant next year

Crop rotation

You do not rotate asparagus. It is a permanent bed that stays in one place for 15 to 20 years, so instead of moving it each season you just choose the spot well at the start: fresh, sunny, well-drained ground that has not grown asparagus before. If an old bed fails, start the new one somewhere else, not in the same soil.Asparagus is not rotated. It is a permanent 15-to-20-year bed, chosen once and left in place, so the usual annual crop-rotation logic does not apply. Rotation matters only at siting: establish the bed on fresh, well-drained ground that has not recently grown asparagus, to keep clear of the soil-persistent Fusarium crown and root rot, and never replant a failing bed into the same spot.

Family
Asparagus family (Asparagaceae)
Avoid following
Do not plant a new asparagus bed where asparagus grew before. The Fusarium rot that wears old beds out lives in the soil for years, so an old asparagus spot is already loaded with it. Pick fresh ground instead. Since the bed stays put for 15 years or more, this choice is made once, when you site the bed.Do not establish a new asparagus bed where asparagus grew recently. Fusarium crown and root rot, the disease that eventually runs old beds down, survives in the soil indefinitely (UC IPM), so a replant site carries a heavy inoculum load from the start; UC IPM advises long rotations out of asparagus. Because a bed is permanent, this is not annual rotation but a one-time siting decision: keep a new planting off old asparagus ground, and off low, waterlogged spots, since wet soil worsens the crown and root rots.
Plant after
A fresh, sunny, well-drained site not recently in asparagus.
Verified · 2 sources View
In the app · pre-launch

When plant taps you on the shoulder

The plant app sends a timely reminder at every critical moment of your asparagus season. The wording adjusts to whichever you pick: beginner or seasoned. Here are three you'll see in Zone 9.

p
plant
Let new asparagus grow this year Don't cut first-year asparagus
Your asparagus is young. Do not pick any spears this first year. Let them all grow into tall ferns so the roots get strong for the big harvests later. Your bed is establishing. Cut nothing this planting year and let every spear grow to fern so the crown banks the reserves it will draw on for decades; take only a light pick next spring.
p
plant
Stop harvesting your asparagus Time to stop cutting asparagus
Your spring harvest is nearly done. When the new spears turn thin, about pencil width, stop cutting and let the plants grow into ferns so the roots can refuel for next year. You are near the end of the cutting season for a bed this age. Once the spears thin to about pencil width, stop cutting and let the rest grow to fern, or you will drain the crown and cost next spring's yield.
p
plant
Clear the old asparagus ferns Cut down the asparagus ferns
Once frost has turned the ferns brown, cut them down and rake away the old growth. Beetles and rust hide in that dead fern over winter, so clearing it out means fewer problems next year. Do not dig or till the bed. The ferns have browned after frost. Cut them to the ground and remove the debris before spring: asparagus beetles and rust overwinter in the dead fern litter, so fall sanitation knocks back next year's pressure. Do not till the resting bed.
Get personalized alerts.

plant sends the right notification at exactly the right moment, for your zone, your weather, your crops. Founding members lock the rate forever.

Back the Kickstarter →
Ask the gardener

Common questions

Got a question we missed?

We're building this guide with real growers. Got a question we missed? Ask here. We read every one and add the best answers right to this page.

Grown this before?

Share a tip

Learned something the hard way? Pass it on. Real growers' tips make this guide better for the next person, and we credit you by name when yours goes live.

Seasoned
Spot something wrong?

Report a problem

If you've grown this crop and you see a date, a temperature, a companion claim, or a recommendation that doesn't match your experience, tell us. Real growers' corrections make this guide better for the next person.

How we built this guide

Methodology & sources

Every date, temperature, spacing, and recommendation on this page is sourced from university cooperative extension publications, peer-reviewed agricultural research, NOAA climate data, and direct extension calendars. Where claims are softer (traditional gardening wisdom not formally documented), we say so.

Research-backed Documented in cooperative extension publications or peer-reviewed research
Well-grounded A known agronomic principle, but not formally tested for this specific pair
Traditional Time-tested gardening wisdom, limited formal research support
Last reviewed
May 12, 2026
Data version
crops_data_final · v1.0 · schema 2.9
Sources cited on this page
16 publications
Verified entries
Companion-planting claims tagged inline · zone dates verified against 5+ extensions
See all sources cited on this page
  • University of Minnesota Extension umn_ext
  • University of Maryland Extension umd_ext
  • Cornell Cooperative Extension cornell_ext
  • Iowa State University Extension iastate_ext
  • Michigan State University Extension msu_ext
  • NC State Extension ncsu_ext
  • Penn State Extension psu_ext
  • U. of Illinois Urbana-Champaign Extension uiuc_ext
  • UC Davis Postharvest Center ucd_postharvest
  • Texas A&M AgriLife Extension tamu_agrilife
  • Virginia Cooperative Extension 426-331 vce_426_331
  • Piedmont Master Gardeners piedmont_mg
  • UGA Vegetable Garden Calendar uga_calendar
  • Clemson Home & Garden Information Center clemson_hgic
  • UC IPM Statewide IPM Program uc_ipm
  • NOAA 1991-2020 Climate Normals noaa_normals

Growing notes, weekly.

Zone-aware seasonal nudges, what's worth planting now, and the occasional recipe from the harvest. No spam, ever.

Vol. 003 · Asparagus · plant.lifestyle