Today · in your zone
What's happening right now
Off-season for banana pepper in zone 9.
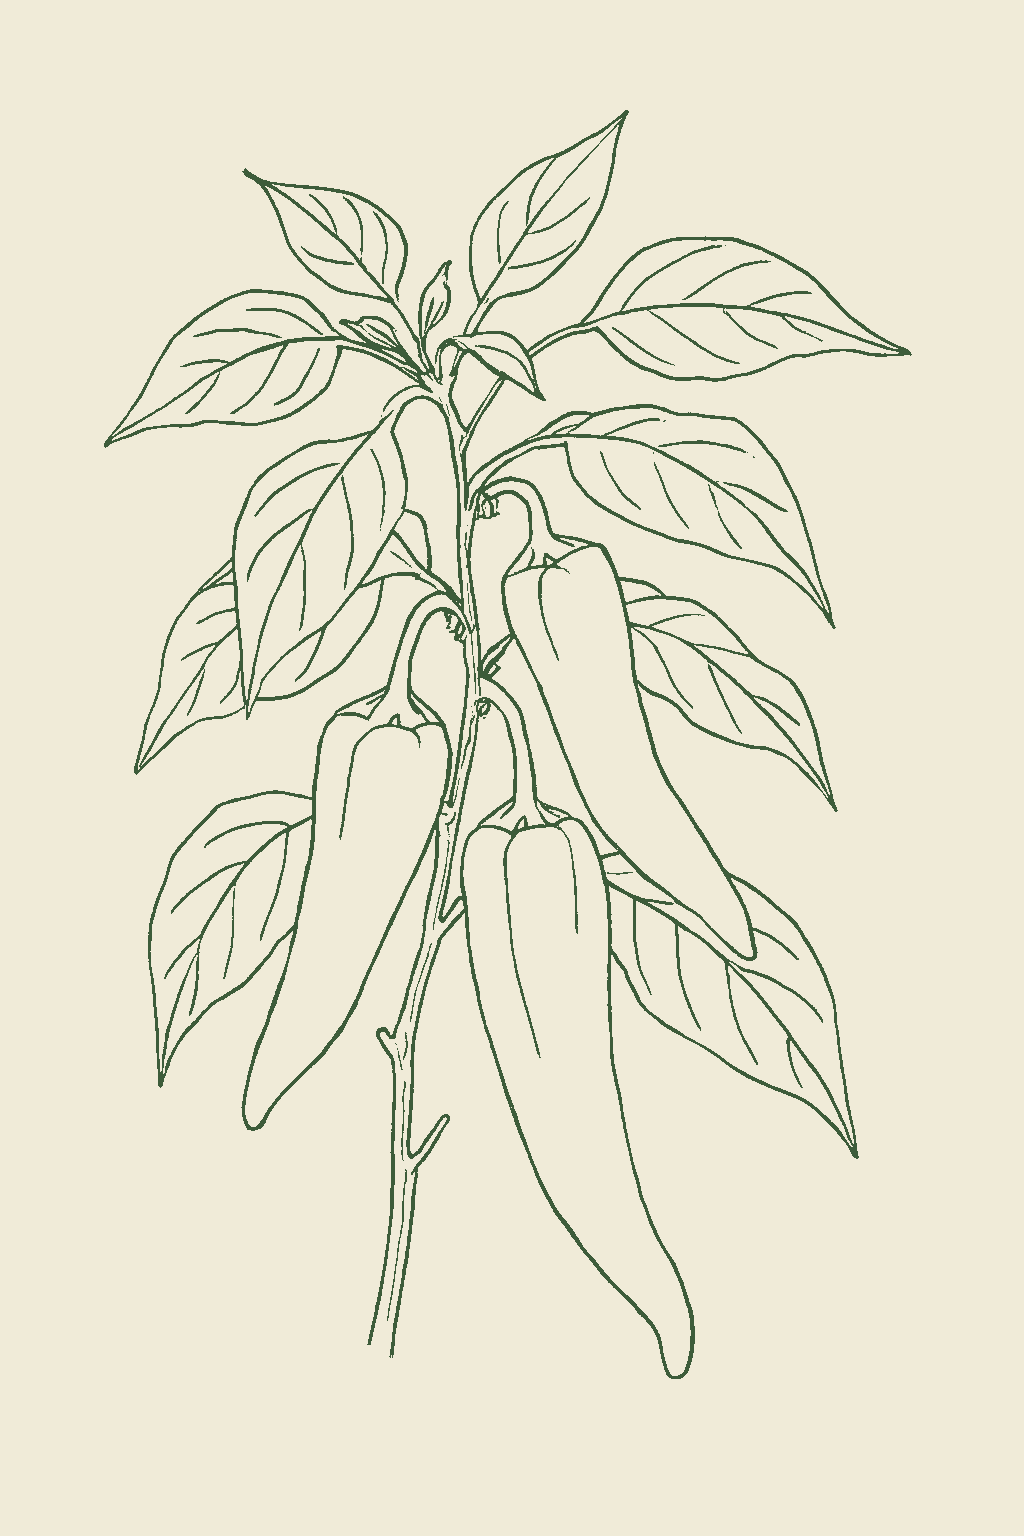
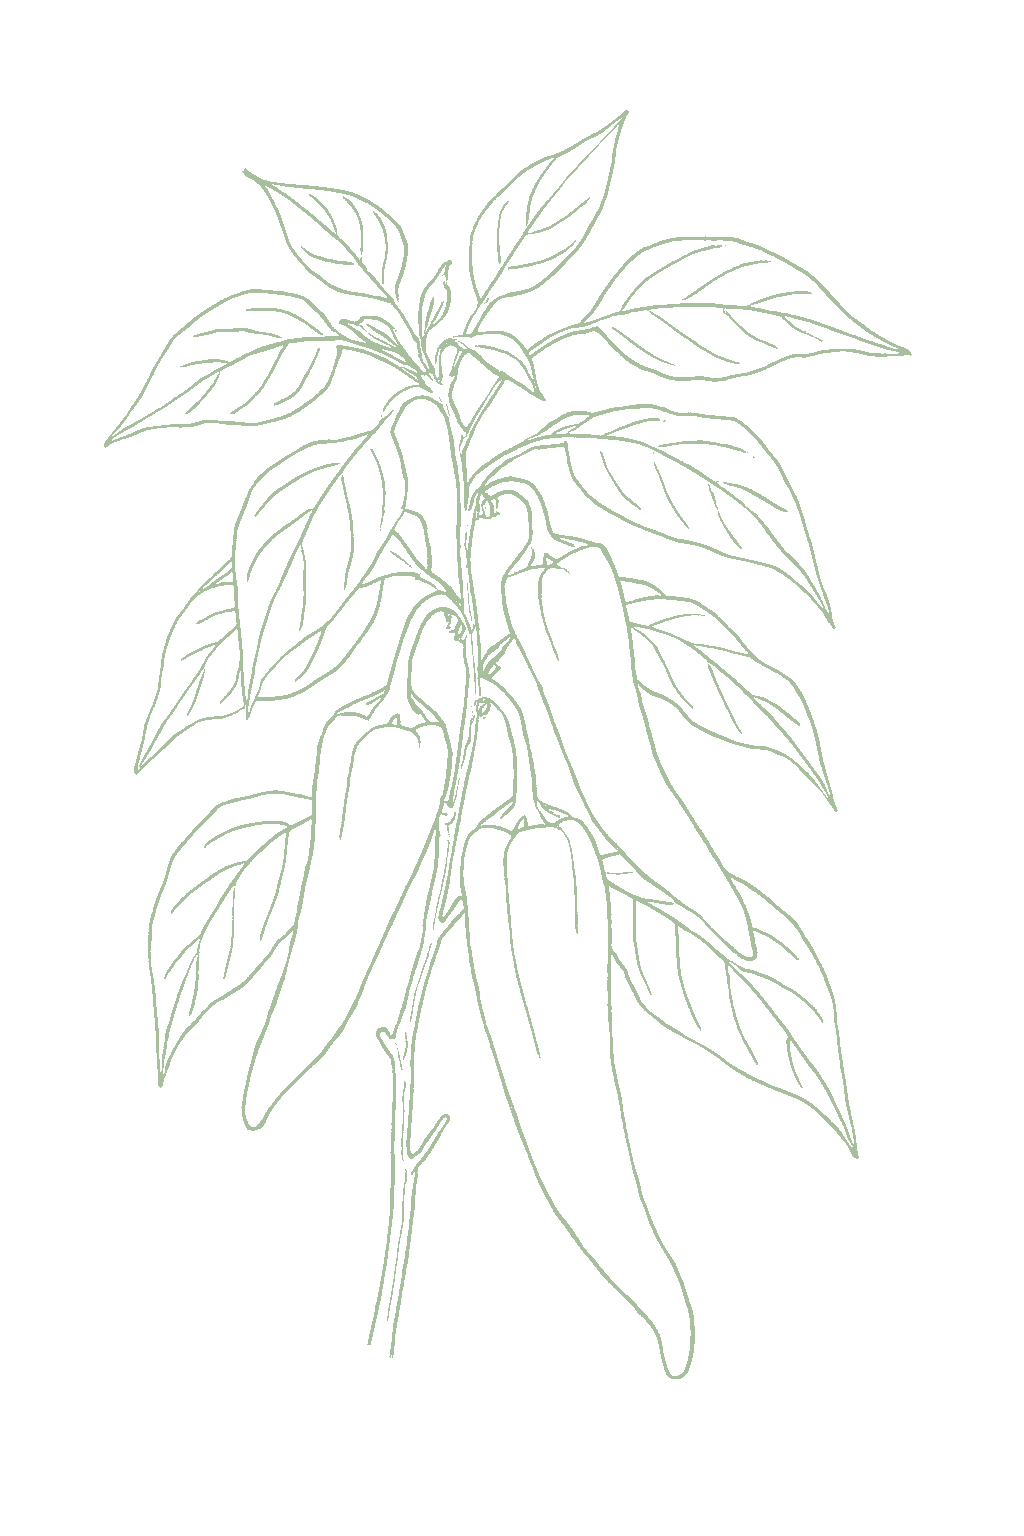
Banana pepper is a warm-season vegetable in the same family as tomatoes and eggplant, grown for its long, tapered fruit that ripens from pale yellow to orange and red. The name covers two kinds that look almost the same: sweet banana peppers are mild, and hot Hungarian wax peppers are spicy and get hotter as they ripen, so it helps to know which you planted. Like most peppers you can pick them at two stages: yellow, or left on the plant to color up and sweeten (or, for the hot ones, get hotter). Banana peppers are heavy producers, they pollinate themselves so one plant will fruit, and they take cool weather a little better than big bell peppers, though they still love warmth and are grown from transplants set into warm soil. They are only light feeders, so going heavy on fertilizer gives you a big leafy plant with few peppers. The two things to watch are blossom-end rot, a dark sunken spot on the bottom of the fruit caused by uneven watering, and sunscald, a pale burned patch on peppers left exposed to strong sun. In very hot weather the flowers drop and the plant stops setting fruit for a while, so in hot climates peppers are grown in spring and fall with a summer break. The main things to get right are warmth, steady and even watering with mulch, modest fertilizer, full sun, and rotating peppers away from where tomatoes, potatoes, or eggplant grew. Banana pepper is a warm-season fruiting vegetable (Capsicum annuum) in the nightshade family, a close relative of tomato and eggplant grown for its long, tapered, waxy fruit that ripens from pale yellow through orange to red. The common name covers two very different peppers that look nearly identical on the plant: the SWEET banana types (Sweet Banana, Sweet Hungarian) are mild and low-heat, among the mildest peppers grown, while the HOT Hungarian wax types (Hungarian Hot Wax) carry real heat that climbs as the fruit ripens, so it pays to know which you planted. Like most peppers the fruit can be picked at two stages: at its pale-yellow stage, or left on the plant to color up and sweeten (or, in the hot types, grow hotter). Banana peppers are prolific setters, self-fertile and largely self-pollinating so a single plant fruits, and a touch more tolerant of cool conditions than the big blocky bells, though still warm-loving and grown from transplants set into warm soil. They are only moderate feeders, easily pushed to leaf by excess nitrogen. Two disorders define the crop's troubles: blossom-end rot, a dark sunken patch on the fruit caused by uneven watering interfering with calcium delivery, and sunscald on fruit exposed by thin foliage. Fruit set itself fails in extreme heat, when daytime highs past about 90°F and warm nights drop the blossoms, so across the hot South and the deserts the crop splits into a spring and a fall planting around a midsummer pause. The pest and disease complex, aphids (and the mosaic viruses they carry), flea beetles, pepper maggot, corn borers, hornworms, and the pepper weevil, plus bacterial leaf spot, Phytophthora blight, and anthracnose, is held off by even moisture, warm well-drained soil, and rotation away from its nightshade relatives.
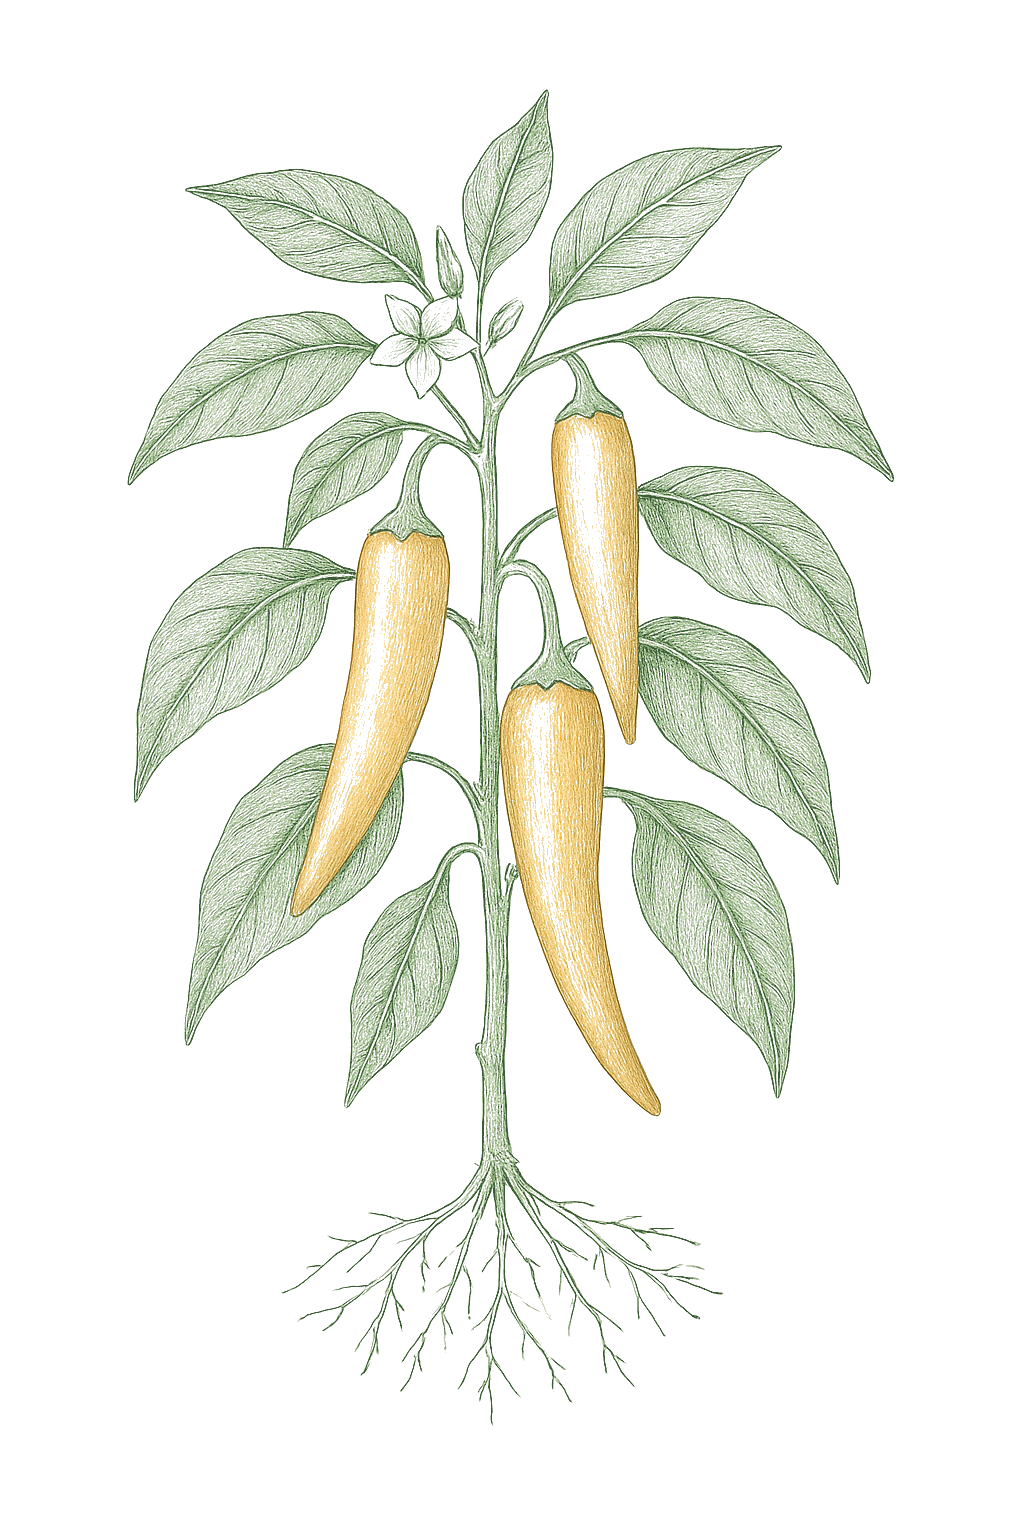
Off-season for banana pepper in zone 9.
Zone 9 averages a last frost around March 1. Within Zone 9, the colder half (9a, winters down to 20°F) runs about a week later. The warmer half (9b, winters down to 25°F) runs about a week earlier. The plant app picks your subzone from your ZIP.
| Subzone | Last spring | First fall | Growing days | Winter min | Fruits reliably |
|---|---|---|---|---|---|
| 9a | Mar 8 | Nov 24 | ~261 | 20-25°F | Yes · two seasons |
| 9b | Feb 28 | Nov 30 | ~275 | 25-30°F | Yes · two seasons |
Averages from 8 weather stations per subzone, drawn from NOAA 1991-2020 Climate Normals. Your actual frost date can vary by up to two weeks based on elevation, proximity to water, and local topography.
In Zone 9, banana pepper can be planted April through May. Harvest runs July through October.
In Zone 9, banana pepper can be planted February through March, then again September, skipping the summer heat. Harvest runs May through June.
You plant banana peppers once for the season. A single planting keeps producing all through the warm months, so there is no need to replant every few weeks. In most places a later planting would not have time to fruit before frost. Only in very warm, nearly frost-free areas, or the hot South and desert, can you fit a spring and a fall planting, and that is really two separate seasons.Banana pepper is not a succession crop. One planting produces continuously through the whole warm season, so you set plants out once rather than at intervals. In most zones a later sowing would be caught by frost before its long warm season could finish. Only in the warmest, frost-free or near-frost-free zones, and across the hot South and the deserts where the crop splits around midsummer heat, is a second seasonal window viable, and that is a separate season rather than a true succession.
In Zone 9, banana pepper can be planted May through June. Harvest runs August through October.
In Zone 9, banana pepper can be planted April through May. Harvest runs July through November.
In Zone 9, banana pepper can be planted May. Start indoors Feb 15 - Mar 1. Harvest runs July through September.
In Zone 9, banana pepper can be planted March, skipping the summer heat. Start indoors Feb 1 - Feb 15. Harvest runs June through June.
In Zone 9, banana pepper can be planted February through March, then again July through August. Start indoors Jan 20 - Feb 23. Harvest runs May through June.
You plant banana peppers once for the season. A single planting keeps producing all through the warm months, so there is no need to replant every few weeks. In most places a later planting would not have time to fruit before frost. Only in very warm, nearly frost-free areas, or the hot South and desert, can you fit a spring and a fall planting, and that is really two separate seasons.Banana pepper is not a succession crop. One planting produces continuously through the whole warm season, so you set plants out once rather than at intervals. In most zones a later sowing would be caught by frost before its long warm season could finish. Only in the warmest, frost-free or near-frost-free zones, and across the hot South and the deserts where the crop splits around midsummer heat, is a second seasonal window viable, and that is a separate season rather than a true succession.
In Zone 9, banana pepper can be planted February through March, then again September, skipping the summer heat. Harvest runs April through June.
You plant banana peppers once for the season. A single planting keeps producing all through the warm months, so there is no need to replant every few weeks. In most places a later planting would not have time to fruit before frost. Only in very warm, nearly frost-free areas, or the hot South and desert, can you fit a spring and a fall planting, and that is really two separate seasons.Banana pepper is not a succession crop. One planting produces continuously through the whole warm season, so you set plants out once rather than at intervals. In most zones a later sowing would be caught by frost before its long warm season could finish. Only in the warmest, frost-free or near-frost-free zones, and across the hot South and the deserts where the crop splits around midsummer heat, is a second seasonal window viable, and that is a separate season rather than a true succession.
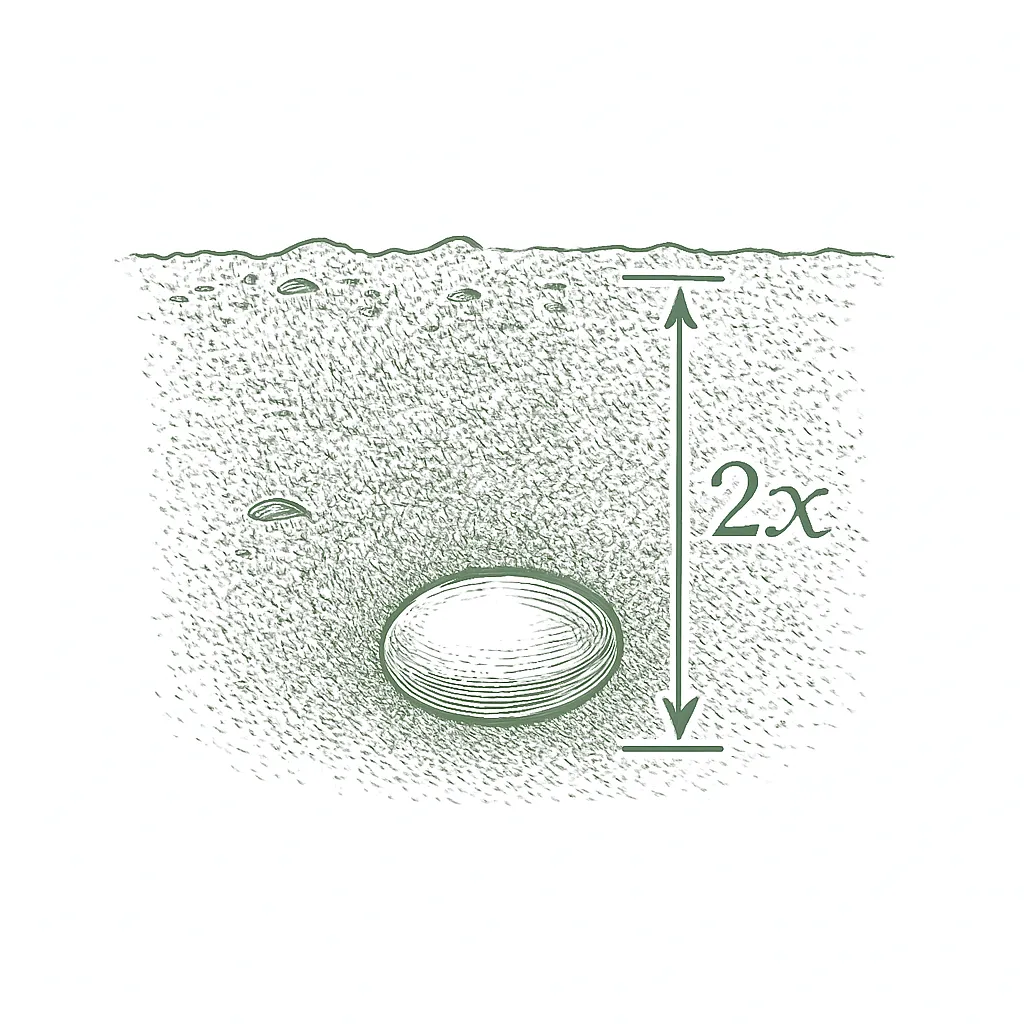
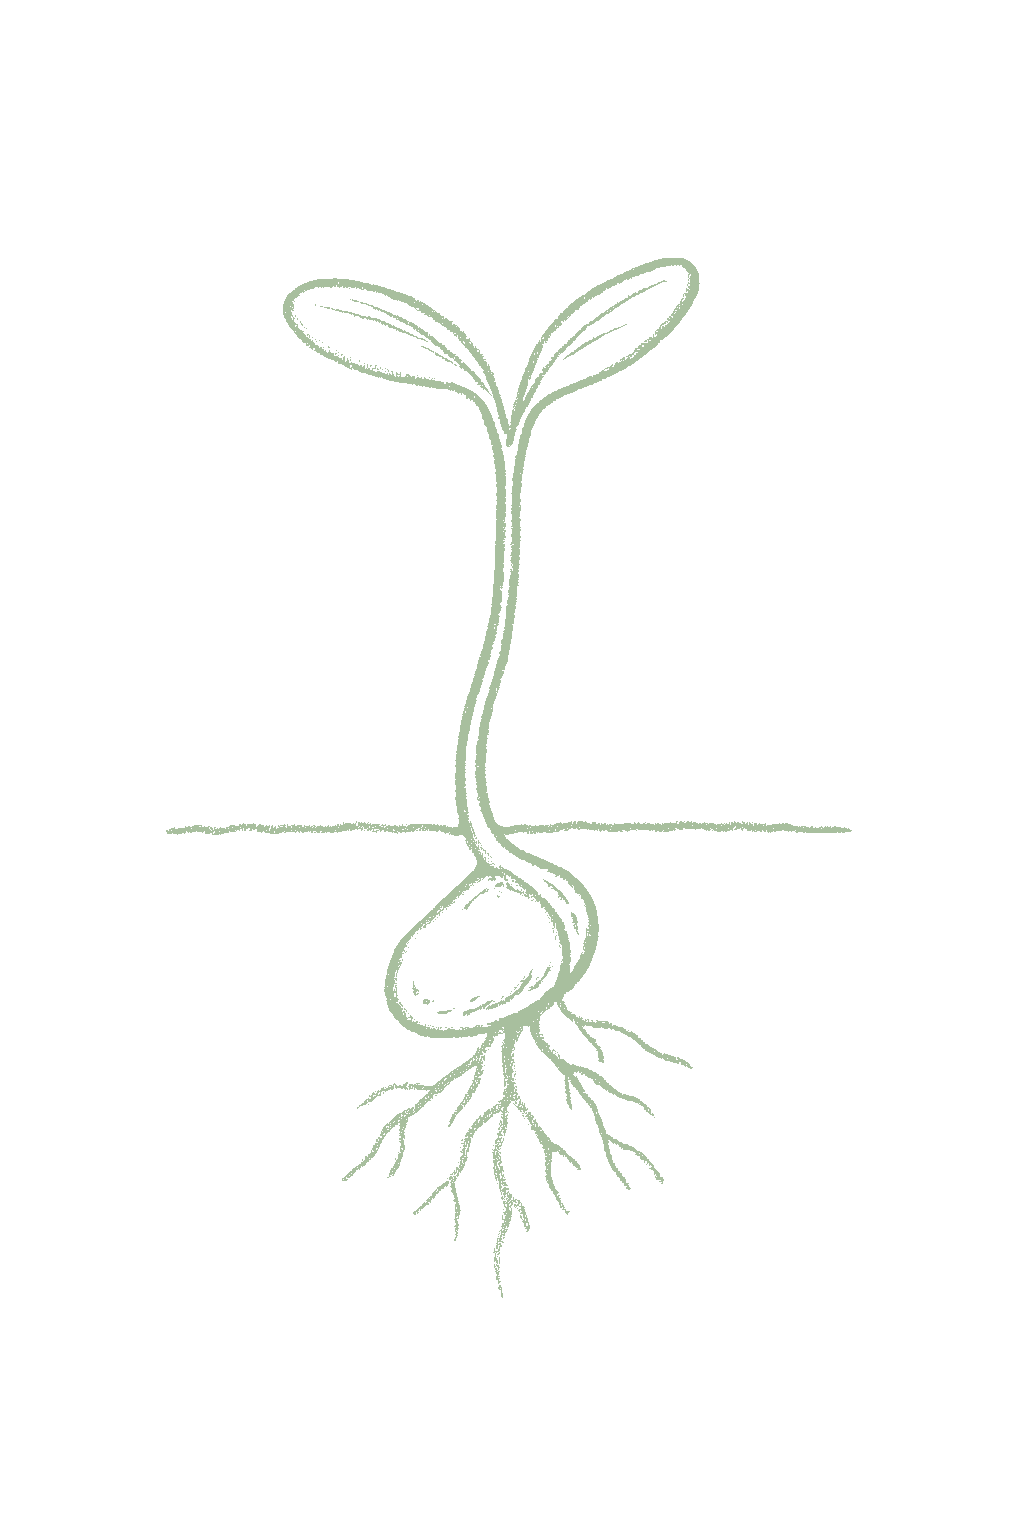
Start banana pepper seeds indoors about 8 weeks before you plan to plant out, keeping them warm (80 to 90°F) to sprout well. Peppers need more warmth and a longer head start than many crops, and they go outside only once the soil is warm (about 60 to 65°F) and nights stay above 50 to 55°F. Use stocky transplants and space them 12 to 24 inches apart.Start banana pepper seeds indoors about 8 weeks before transplanting (Georgia and Clemson use 6 to 8 weeks; Maryland 8 to 10), with bottom heat of 80 to 90°F for fast, even germination. Peppers need warmth and a longer indoor head start than many vegetables and are set out after the soil has warmed to 60 to 65°F and nights hold above 50 to 55°F. Choose sturdy transplants and set them 12 to 24 inches apart in rows about 3 feet apart. Direct sowing is practical only in the longest, warmest regions; nearly everywhere this is a transplant crop.
Not sure what soil you have? Grab a small handful of damp soil from your garden bed and squeeze it. If it crumbles apart easily, it's sandy. If it holds together but breaks when you poke it, it's loam (what most vegetables want). If it stays in a hard, slippery ball, it's clay.
Banana peppers like rich, well-drained soil that warms up in the sun, since they are warm-season plants that dislike cold, soggy ground. Mix in 2 to 3 inches of compost before planting. If your soil is heavy clay or slow to warm, a sheet of black plastic or fabric mulch laid down before planting warms the soil and gives peppers the head start they want. Aim for soil that stays evenly moist but never waterlogged, because uneven watering is what causes the dark, sunken blossom-end rot on the bottom of the fruit.
Mix 2-3 inches of compost into the top 6 inches of your bed before planting. Compost holds moisture (which sandy soil drains too fast) and adds the nutrients sandy soil tends to lack. Repeat each season. Compost breaks down over time.
Mix 2-3 inches of compost AND a few inches of coarse sand or perlite into the top 6 inches of your bed. The compost feeds the plants; the sand breaks up the clay so air and water can move through. Don't add sand without compost. It can compact like concrete.
If amending your soil sounds like too much work, or if your soil is heavy clay, full of rocks, or contaminated, build over it. A raised bed at least 12 inches deep filled with a 50/50 mix of compost and sandy loam gives you ideal growing soil with no battles. A 5-gallon container with quality potting mix does the same for one plant at a time. Both bypass your native soil entirely.
The numbers that matter, at a glance.
Banana peppers grow well in containers, and their compact, upright plants are a natural fit for pots. Use at least a 3-gallon pot (5 is better), 12 inches deep, one plant per pot, in full sun. A dark pot in the sun warms the roots, which these heat-lovers enjoy. Keep it well watered (pots dry fast, and drying out causes blossom-end rot), feed regularly, and give it a small stake so a fruit-laden plant does not tip.Banana pepper is an excellent container crop; its compact, productive plants suit a pot better than the sprawl of many big bells, and the warmer root zone of a dark pot in sun suits it well. Use a pot of at least 3 gallons (5 is better) and 12 inches deep, one plant per pot, in full sun. Water consistently, since a small soil volume dries fast and moisture swings are the leading cause of blossom-end rot in pots, feed regularly because containers leach nutrients, and stake plants, which set a heavy load of long fruit, to keep them upright.
Sweet BananaThe classic mild, sweet banana pepper, sometimes sold as Long Sweet Hungarian. Long, tapered, waxy fruit that ripens from pale yellow through orange to red, sweetening as it colors. Very low heat, near the bottom of the pepper scale; a heavy setter and the standard open-pollinated home-garden banana pepper.
Banana SupremeA vigorous hybrid sweet banana bred for higher yields and uniform, thick, tapered fruit. Ripens yellow to red, mild and sweet like Sweet Banana but heavier-bearing; a good choice where you want a big pickling and slicing harvest.
Sweet HungarianA sweet, mild Hungarian banana type with long yellow fruit that colors to red. Productive and dependable, and easy to tell apart from its hot cousin only by taste, so keep the labels straight in the garden.
Hungarian Hot WaxThe HOT cousin of the sweet banana, and a true banana-shaped wax pepper from Hungary. Same long tapered form and yellow-to-red ripening, but distinctly hot, in jalapeno territory and beyond; the heat climbs as the fruit ripens toward red. Grow it if you want banana-shaped peppers with real bite, and keep it away from the sweet types if you do not.
InfernoA productive hybrid Hungarian hot wax type, bearing heavy crops of uniform, glossy, tapered fruit that ripen yellow to red. Hot like Hungarian Hot Wax, with the reliability and vigor of a modern hybrid; a strong pick for the hot-banana grower.
Ask what your balcony or roof can carry
A balcony or roof can only hold so much weight. Before you set heavy pots there, ask a building architect what it can safely carry.Illinois Extension's guidance is to consult a building architect about weight limits before placing heavy pots on a balcony or rooftop garden. It gives no weight figure.
Never grow food in a container with anything toxic in it
Many kinds of containers can be used. Whatever you choose, keep anything toxic out of it, especially if you are growing food.Colorado State accepts nearly any container material but warns against using a container that holds toxic materials, especially for edible plants. Illinois adds that a vegetable container should be free of chemicals toxic to plants or people, and urges caution with treated lumber when growing food. If you cannot account for what a repurposed container once held, that alone is a reason to keep food out of it.
Secure hanging containers well
Fasten hanging baskets and window or rail boxes securely. Think about what is below them too, since they can drip on people or things underneath.Illinois Extension asks growers to secure hanging containers well and to think through the safety issues of hanging them. Placement matters too, since a hanging container can drip onto people or belongings below.
Banana peppers like slightly acidic soil, about pH 6.0 to 6.8, and a lot of garden soil is already close. The pH scale runs from acidic to alkaline, and this range is where peppers take up nutrients best, including the calcium that prevents blossom-end rot. If your soil runs alkaline, common in the dry interior West, you may need to add sulfur before planting. An inexpensive soil test from your local extension office tells you where you stand.Banana pepper grows best at a soil pH of about 6.0 to 6.8, with Georgia and Clemson both placing the target near 6.0 to 6.5. In that band the nutrients peppers need, including the calcium that guards against blossom-end rot, stay most available. Peppers tolerate a somewhat wider range, roughly 5.5 to 7.5, but uptake of iron, manganese, and other micronutrients tightens as the soil turns alkaline, showing as yellowing between the veins of the youngest leaves. Alkaline soils common across the interior West often need sulfur worked in ahead of planting; most Eastern and Midwestern soils sit naturally near the target. A soil test from your local extension office settles it before you plant.
Banana peppers like steady but modest feeding, and going heavy on nitrogen backfires. Mix a balanced fertilizer such as 10-10-10 into the soil before planting. Then, a few weeks after planting and again once the first peppers set, feed with a nitrogen fertilizer like calcium nitrate. Do not overdo it: too much nitrogen gives you a large leafy plant with few peppers. Calcium nitrate also supplies calcium, which, along with even watering, helps prevent blossom-end rot.Banana pepper is a moderate feeder that rewards restraint with nitrogen. Work a balanced fertilizer such as 10-10-10 or 13-13-13, about 2 pounds per 100 square feet, into the bed before transplanting, then side-dress with a nitrogen source such as calcium nitrate about three to four weeks after transplanting and again as the first fruits set. Hold nitrogen back early and never overdo it: too much drives a big, bushy, dark-green plant that flowers late and sets little fruit. The calcium nitrate side-dress does double duty, feeding the plant while supplying the calcium that, paired with even watering, heads off blossom-end rot.
Use a balanced fertilizer like 10-10-10 at planting, then a nitrogen feed such as calcium nitrate once the plant is growing well and setting fruit. Do not overdo the nitrogen or you get all leaves and few peppers.A balanced fertilizer such as 10-10-10 worked in at planting, then a calcium nitrate (15.5-0-0) side-dress three to four weeks after transplanting and again at fruit set. Avoid heavy nitrogen, which gives leaf at the expense of fruit.
The most useful pepper companions are strong-smelling herbs and flowers like basil, marigold, and nasturtium, which can help deter or lure away aphids and other pests. The one rule that really matters is to keep banana peppers away from tomatoes, potatoes, and eggplant, which are all close relatives and share the same pests and soil diseases. Most pepper companion pairings are traditional rather than trial-tested. The aromatic-herb and flower companions (basil, marigold, nasturtium, alliums) are grown to deter or trap the aphids and thrips that trouble peppers and to draw beneficial insects, a plausible, habitat-based effect rather than an isolated one. The single firmest rule is a rotation one: keep banana peppers away from their Solanaceae relatives, tomatoes, potatoes, and eggplant, which share the full pepper pest and disease complex.
You can pick banana peppers at two stages, whichever you like. Most people pick sweet banana peppers at the pale yellow stage, once they are full-size and firm; you do not have to wait for them to turn color. If you leave them on the plant, they ripen to orange and red and get sweeter over the next couple of weeks. Picking them yellow keeps the plant making more, while letting them color up slows it down. Cut peppers off with scissors or a knife, leaving a little stem on, instead of pulling, because the branches break easily. Banana peppers are heavy producers, so keep picking. If you grow the hot Hungarian wax kind, note that it gets hotter as it turns red.Banana peppers can be picked at TWO stages, and the choice is yours. The sweet banana types are most often harvested at their pale, waxy yellow stage, once the long, tapered fruit is full-size and firm; you do not need to wait for color. Left on the plant, the same fruit ripens on through orange to red, growing noticeably sweeter over the following weeks. Picking fruit at the yellow stage keeps the plant flowering and setting more, while letting fruit color up ties up the plant's energy and slows further set. Cut peppers with pruners or a knife leaving a short stub of stem, rather than pulling, because the branches are brittle and snap easily. Banana peppers are heavy setters, so pick often. Watch fruit left to color for anthracnose and sunscald if the weather turns hot, wet, or intensely sunny. If you are growing the hot Hungarian wax types, remember the heat climbs as the fruit ripens toward red.
A healthy banana pepper plant is a heavy producer, often giving 20 to 30 or more long peppers over the season, more than a typical bell pepper. Keeping it warm, evenly watered, and in full sun, and picking peppers at the yellow stage so the plant keeps setting more, makes the difference.Banana pepper is a notably prolific setter: a healthy plant carries a heavy load of long, tapered fruit and commonly yields 20 to 30 or more peppers over the season, more than most big blocky bells. Iowa State puts good-management pepper yields at roughly 15 to 20 pounds per 10-foot row. Steady warmth, even moisture, full sun, and picking fruit at the yellow stage regularly carry a plant to the upper end; heat that drops blossoms, uneven water that brings blossom-end rot, or too much nitrogen pulls it down.
Once it gets going, a banana pepper keeps setting fruit through the warm months, though very hot spells make the flowers drop for a while before it picks back up. Picking peppers yellow keeps the plant making more, while letting them ripen to red slows it down. In hot areas you often get a spring crop and a fall crop with a summer lull in between.Peppers set fruit through the warm months once established, but production is punctuated by heat: extreme summer heat drops blossoms and pauses set, which resumes as things moderate. Picking fruit at the yellow stage keeps the plant flowering and setting more, while letting peppers ripen fully to red on the plant ties up its energy and slows new set. In hot regions the crop naturally splits into a spring and a fall flush around midsummer. The things that trip up first-year pepper growers are uneven watering (which causes blossom-end rot), planting too early or through a heat wave (which drops the flowers), and sunburned fruit. Water evenly with mulch, wait for warm weather, do not overdo the fertilizer, and keep picking. And be sure you know whether your plant is a sweet or a hot banana pepper.First-season growers most often lose banana pepper yield to three things: blossom-end rot from uneven watering, blossom drop when heat or cold spoils fruit set, and sunscald on fruit exposed by sparse foliage. Wait for real warmth to plant, mulch and water evenly, keep nitrogen moderate, and the rest is full sun and regular picking. One extra thing to get right with banana peppers: know whether you planted the sweet or the hot type before you take a big bite.
Banana peppers come in two kinds that look almost the same but taste very different, so check the label. The SWEET ones (Sweet Banana, Banana Supreme, Sweet Hungarian) are mild and great for slicing and pickling. The HOT ones, called Hungarian wax peppers (Hungarian Hot Wax, Inferno), look just like them but are spicy, and get hotter as they turn red. Grow whichever you like, but keep them separate in the garden so you do not get a surprise. All of them are productive and do well in pots. If disease has been a problem, look for varieties labeled resistant to bacterial leaf spot or viruses.Choose first by heat, then by season and space, because banana peppers split into two very different camps that look nearly identical on the plant. The SWEET banana types (Sweet Banana, the hybrid Banana Supreme, Sweet Hungarian) are mild and low-heat, grown for slicing, stuffing, and pickling; pick them yellow for firm walls or let them ripen to red for extra sweetness. The HOT Hungarian wax types (Hungarian Hot Wax, the hybrid Inferno) share the same long, tapered, yellow-to-red form but carry real heat that climbs as they ripen. They are easy to confuse once picked, so label your rows. All are heavy setters and do well in containers; the hybrids add yield and uniformity, and some modern peppers carry resistance to bacterial leaf spot and the mosaic viruses, worth seeking where those are a problem.
The ladder troubleshoots from the gentlest solution to the strongest. Start with the gentlest option and only move on when and if it doesn't work.
Ease up on nitrogen fertilizer. Aphids multiply fastest on the soft, lush growth that heavy feeding pushes out, so a moderately fed pepper gives them less to build on.Excess nitrogen drives the succulent growth aphids favor; restrained feeding slows colony buildup on growing tips and leaf undersides before any other step is needed.
Lay a silver reflective mulch, a shiny sheet spread on the soil, under young peppers. It helps keep aphids from landing, and since aphids carry plant viruses, it slows virus spread too.Reflective mulch deters colonizing aphids from young plants, and because virus transmission is their most serious effect on peppers, cutting early landings slows virus spread as well as feeding injury.
Knock the aphids off with a strong jet of water from the hose, aiming at the undersides of the leaves where they gather. Go back every few days while they keep returning.A forceful water jet dislodges colonies from tips and leaf undersides; populations rebuild quickly in warm weather, so repeat at a few days' interval.
Ladybugs, lacewings, and tiny parasitic wasps all eat aphids and usually bring them under control on their own. Welcome these helpers, and avoid spraying broadly so you do not wipe them out.Conserved ladybugs, lacewings, and parasitic wasps usually bring aphids under control; supporting natural enemies rather than spraying broadly keeps that pressure working for you.
If the colonies keep growing, spray insecticidal soap onto the undersides of the leaves where the aphids sit, and repeat every few days. It only works where it actually touches them.Soap demands thorough coverage of leaf undersides, since it acts only on contact; repeat every few days to catch the colonies that rebuild.
Horticultural oil, a light spray oil made for plants, is the other option at this step. Like soap, it has to coat the aphids, so wet the undersides of the leaves well and repeat every few days.Oil is the alternative contact material at this rung, carrying the same coverage demand on leaf undersides and the same need for repeat passes.
The bottom rungs are products with label rules: timing, pollinators, and days to wait before harvest. Before you spray →
The ladder troubleshoots from the gentlest solution to the strongest. Start with the gentlest option and only move on when and if it doesn't work.
Clear away weeds and old plant debris at the end of the season. The adult beetles spend the winter hiding in that litter and come out in spring aimed at your youngest plants.Adults overwinter in crop debris and weedy cover; clearing both lowers the spring emergence that falls hardest on the earliest, most vulnerable transplants.
Cover young plants with a floating row cover, a light fabric that lets in sun and water while keeping beetles out, from transplanting until they are big and sturdy. Take it off when they flower so pollinators can reach the blooms.Row cover from transplanting excludes beetles through the window when leaf area is smallest; remove at flowering for pollinator access, by which point established plants tolerate considerable feeding.
For a heavy attack on young plants, coat the leaves with kaolin clay, a fine white mineral powder you mix with water and spray on. The film helps deter the beetles from feeding.Kaolin's particle film is a tool for heavy early infestations on small transplants; established peppers shrug off the shot-holing and rarely need treatment.
If a heavy early attack is shredding young plants, spinosad, an organic spray derived from a soil bacterium, helps. Bigger established plants can usually outgrow the damage without it.Reserve spinosad for heavy early infestations on transplants whose small leaf area is at risk; mature plants tolerate the feeding, so routine application is not warranted.
The bottom rungs are products with label rules: timing, pollinators, and days to wait before harvest. Before you spray →
The ladder troubleshoots from the gentlest solution to the strongest. Start with the gentlest option and only move on when and if it doesn't work.
Clean up old pepper plants and nearby cornstalks at the end of the season, since the borer spends winter in that debris; removing it is the biggest help. During the season, pick off and destroy any pepper with a bored hole.The borer overwinters in crop debris and nearby cornstalks, so destroying both at season's end removes its carryover; through the season, remove and destroy bored fruit, which cannot be salvaged once tunneled.
Watch for the caterpillars from midsummer and spray Bt, short for Bacillus thuringiensis, an organic caterpillar spray, while they are still small and outside the fruit. Once one tunnels into a pepper, no spray reaches it.Time Bt to newly hatched larvae before they bore in, scouting from midsummer when the moths fly; once inside fruit or stem the caterpillar is protected from any application.
Spinosad, another organic spray, works the same way: only on the young caterpillars before they tunnel inside. Catch them early or not at all.Spinosad shares Bt's timing constraint, effective on young surface-feeding larvae and useless after entry, so it is an alternative for the same early window rather than a rescue for bored fruit.
The bottom rungs are products with label rules: timing, pollinators, and days to wait before harvest. Before you spray →
The ladder troubleshoots from the gentlest solution to the strongest. Start with the gentlest option and only move on when and if it doesn't work.
Clear out wild weeds in the nightshade family growing near the garden, especially horsenettle. They host the fly that starts this problem.Wild solanaceous weeds such as horsenettle host the pepper maggot fly; removing them from around the planting takes away the reservoir it works from.
Plant your peppers in a different spot from last year so the flies do not pick up right where they left off.Rotating peppers away from last year's bed puts distance between the crop and the population carried over from the previous planting.
Pick off and destroy any pepper that turns red too early or shows a tiny pinhole scar on its skin. You cannot save a fruit once the maggot is inside, but removing it stops the next generation.There is no rescue for infested fruit, so prompt removal and destruction of prematurely coloring or scarred peppers is what breaks the cycle; culls left in place finish rearing the next generation.
Where this pest is a known local problem, put a floating row cover, a light fabric barrier, over the plants before fruit starts to form so the flies cannot reach the peppers.In problem areas, cover before fruit set to exclude the egg-laying flies; once eggs are in the fruit, nothing applied later reaches the maggot.
Hang a yellow sticky trap, a bright card coated in glue, near the plants. It helps confirm when the flies are active so your other steps are timed right.A yellow sticky trap serves as a flight monitor, helping confirm when adults are active so exclusion and any treatment can be timed to the egg-laying period.
No spray for this one. Prevention is the control.
The ladder troubleshoots from the gentlest solution to the strongest. Start with the gentlest option and only move on when and if it doesn't work.
Cleanup is the main defense. Gather and destroy every dropped bud and fruit as you go, since the grubs finish growing inside them, and pull and destroy the spent plants at the end of the season. There is no way to save an infested pepper.Sanitation is central because infested fruit cannot be rescued: prompt destruction of dropped buds and fruit breaks the breeding cycle, and pulling spent plants at season's end removes the material the pest carries over on.
Get rid of volunteer pepper plants, the strays that come up on their own, and nearby nightshade-family weeds. The weevil survives between seasons on both.Volunteer peppers and solanaceous weeds harbor the weevil between crops; removing both takes away its overwintering hosts.
Do not plant peppers in the same spot as last year.Rotating away from last year's pepper ground adds distance from whatever population the previous crop supported.
No spray for this one. Prevention is the control.
The ladder troubleshoots from the gentlest solution to the strongest. Start with the gentlest option and only move on when and if it doesn't work.
Turn the soil over in fall once the plants come out. The caterpillars pass the winter underground as pupae, the resting stage between caterpillar and moth, and tilling destroys them.Fall tillage destroys overwintering pupae in the bed, trimming the local carryover before the next summer's moths emerge.
Pick the big caterpillars off by hand and drop them into soapy water. They blend into the stems, so look for the dark droppings, called frass, on the leaves below and search just above that spot.Handpicking is effective at home-garden scale; frass on lower leaves locates larvae far more reliably than scanning the stems they match.
If you find a hornworm covered in small white capsules, leave it right where it is. Those are the cocoons of parasitic wasps that will kill it and go on to attack other hornworms.Leave any larva studded with parasitic-wasp cocoons in place, since the emerging wasps kill it and breed more; encouraging these natural enemies is part of what keeps hornworm numbers in check.
When there are more caterpillars than you can pick, Bt, short for Bacillus thuringiensis, is an organic spray that works on the smaller, younger ones.Apply Bt where numbers run high, aimed at younger larvae; it is the material for small caterpillars, with handpicking covering the full-grown ones.
The bottom rungs are products with label rules: timing, pollinators, and days to wait before harvest. Before you spray →
The ladder troubleshoots from the gentlest solution to the strongest. Start with the gentlest option and only move on when and if it doesn't work.
Start with certified disease-free seed, or seed that has had a hot-water treatment, and healthy transplants. This disease often arrives on the seed or the young plants themselves.The bacteria are seedborne, and outbreaks often start from infected seed or transplants, so certified or hot-water-treated seed and clean transplants are the foundation of control.
Look for a variety listed as resistant when you buy seed. There is no cure once a plant is infected, so the choices you make before planting carry the most weight.Choose resistant varieties where available; with no curative option after infection, genetics does work that nothing applied later can.
Do not grow peppers in the same bed year after year. Give the spot a break of two to three years, since the bacteria carry over in old plant debris.Rotate peppers out of the bed for two to three years so debris-borne inoculum declines before the crop returns.
Water the soil at the base of the plants instead of sprinkling over the leaves. The bacteria travel in splashing water, so dry leaves are protected leaves.Basal irrigation removes the overhead splash that disperses the bacteria; the disease is worst in warm, wet, splashy conditions, so limiting leaf wetness works directly against it.
Spread mulch under the plants to stop rain from splashing soil, and the bacteria it carries, up onto the leaves.Mulch intercepts splash off infested soil and debris, cutting one of the short-range routes by which the pathogen reaches foliage.
Stay out of the pepper patch while the leaves are wet. The disease spreads on hands and tools, and wet plants are when it moves most easily.The pathogen moves on hands and tools among wet plants, so working the planting only when foliage is dry closes a transmission route that no spray addresses.
Pull off the worst-spotted leaves during the season, and clear out all the old pepper plants in fall. There is no cure, so removing infected material is how you slow it down.Remove the most affected leaves to check spread and strip crop debris at season's end, since debris carries the bacteria over; heavy defoliation also exposes the remaining fruit to sunscald, which is part of the cost of letting it run.
A copper spray can slow the disease down, but it will not cure it, so treat it as backup for the prevention steps rather than a fix.Copper-based sprays can slow spread but do not eradicate an established infection; they supplement clean seed, rotation, and dry foliage rather than standing in for them.
The bottom rungs are products with label rules: timing, pollinators, and days to wait before harvest. Before you spray →
The ladder troubleshoots from the gentlest solution to the strongest. Start with the gentlest option and only move on when and if it doesn't work.
Plant where water drains away and doesn't pool. Raised beds help, because this disease does best in soggy soil.Plant on well-drained, level ground where water won't stand. Use raised beds where possible. Saturated soil favors the disease.
Water at the soil with a drip line, and don't overwater. Splashing water can throw infected soil onto the peppers.Irrigate moderately by drip and avoid overhead watering, especially once fruit forms. Rain and overhead irrigation can splash infested soil onto developing fruit and infect it.
Lay plastic mulch over a raised bed if you can. Water splashing up from the soil can carry the disease onto the plant.NC State recommends plastic mulch on raised beds where possible. Infection can start anywhere splashing water throws soil onto the plant.
This disease attacks many garden crops and can live in the soil for more than 10 years, so rotating helps less. If you rotate, plant corn or wheat in that spot, since they don't get it.The pathogen's broad host range, including eggplant, tomato, beans and most cucurbits, makes rotation much less effective. Oospores can persist in soil for more than 10 years. If you rotate, rotate to cereals such as corn or wheat, which are not hosts.
Pull any plant that wilts and dies, along with rotted fruit, and take them out of the garden. Don't leave them lying on the ground.Remove diseased plants and fruit from the garden, and don't leave culls on the ground or near ponds or creeks. Culls and debris can become a significant source of the pathogen.
No spray for this one. Prevention is the control.
The ladder troubleshoots from the gentlest solution to the strongest. Start with the gentlest option and only move on when and if it doesn't work.
Start with clean seed. The fungus can ride on or inside seeds, so clean seed keeps it from arriving with the crop.Colletotrichum survives inside or on the surface of seed; starting from clean, pathogen-free seed removes that entry point before anything is in the ground.
Keep peppers out of the bed for two to three years. The fungus carries over on old crop debris in that ground.A 2 to 3 year rotation lets the debris-borne inoculum decline before peppers return to the bed.
Water at the soil instead of over the plants. The spores travel in splashing water, so the drier the leaves and fruit stay, the safer they are.Watering at the soil rather than overhead removes the splash events that carry spores from debris and soil onto fruit; keeping foliage and fruit dry is the working objective.
Put mulch down under the plants to stop rain from splashing spores up from the soil and old debris.Mulch intercepts splash from infested soil and residue, cutting the inoculum that reaches developing fruit.
Space the plants so air moves between them and wet fruit dries quickly. Warm, wet, humid spells are what drive this rot.Spacing for airflow shortens the wetness periods on foliage and fruit, working against the warm, humid conditions near 80°F that favor infection.
Pick ripe peppers promptly instead of leaving them hanging in wet weather. Fully colored fruit left on the plant is what this disease hits hardest.Ripening and colored fruit are the most susceptible tissue, and a late crop left on the plant to color in warm, wet weather is the classic loss; harvesting promptly takes the target out of the infection window.
Pick off and throw away any pepper with a sunken spot as soon as you see it, since a rotted fruit cannot be saved, and clear out the old plants at the end of the season.Prompt removal of symptomatic fruit limits secondary spread, and stripping crop debris at season's end removes the overwintering substrate.
No spray for this one. Prevention is the control.
The ladder troubleshoots from the gentlest solution to the strongest. Start with the gentlest option and only move on when and if it doesn't work.
Choose a variety with virus resistance when you buy seed. Many peppers carry it, and since there is no cure for an infected plant, this is your strongest move.Many pepper cultivars carry virus resistance, and with no curative option once symptoms appear, resistance is the primary control; select for it where available.
Lay reflective mulch, a silvery sheet spread on the soil, under the plants. It helps keep away the aphids that carry most of these viruses, and keeping the carriers down is the real defense.Reflective mulch repels colonizing aphids, and since aphids and thrips are the main vectors, suppressing them is the practical lever on a disease with no cure.
Pull out and destroy any plant with mottled, crinkled leaves as soon as you spot it, so aphids cannot carry the virus from it to healthy plants. Keep weeds down around the garden, wash your hands and tools after touching a sick plant, and do not handle peppers right after using tobacco, since tobacco mosaic virus can travel on your hands.Rogue infected plants early: they are standing virus reservoirs that vectors feed on and move from. These viruses overwinter in weeds and perennials, so keep the margins down, and because tobacco mosaic also moves mechanically on hands and tools, wash both after handling infected plants and avoid working peppers after tobacco use.
No spray for this one. Prevention is the control.
The ladder troubleshoots from the gentlest solution to the strongest. Start with the gentlest option and only move on when and if it doesn't work.
Rotate away from the crops this fungus attacks, on a long cycle. It lives in the soil for years and hits many kinds of plants, so it builds up wherever susceptible crops follow each other.Sclerotium rolfsii persists in soil for years as tough resting bodies and has a very wide host range, so only a long rotation away from susceptible crops draws the population down.
Improve the drainage in the bed. The fungus does best in hot weather with moist soil, so ground that does not stay wet works against it.High soil moisture favors the fungus alongside heat; improving drainage removes one of the two conditions it needs.
If a plant collapses with white threads and tiny tan balls like mustard seeds at the base of the stem, pull it out and destroy it, and scoop up the soil right around the stem too. Those tan balls are the resting bodies that would start the next attack. Clean up old plant debris as well.Remove a collapsed plant along with the soil immediately around its stem to carry off the sclerotia, and clear the crop debris that favors infection; an infected plant cannot be saved, so the work is about protecting the bed.
In a bed where this disease keeps coming back, try soil solarization, which means heating the soil under clear plastic through the hottest part of summer. It helps lower the amount of fungus in the ground.Solarizing a recurring-problem bed in summer lowers the resident population; it is a between-crop reset rather than an in-season rescue, since the resting bodies persist for years.
No spray for this one. Prevention is the control.
Move banana peppers to a different part of the garden each year, and do not return them, or their relatives tomato, potato, and eggplant, to the same spot for about three years, longer if you have had Phytophthora blight. Soil diseases build up where nightshades grow, and rotation is the main tool to keep them in check. Clean up old plants and dropped fruit at the end of the season too.Rotate peppers on at least a 3 year cycle, longer where Phytophthora blight has appeared, to break the buildup of bacterial leaf spot, Phytophthora, anthracnose, and southern blight in the soil. The wider Solanaceae, tomato, potato, and eggplant, share that complex, so rotate as a group and avoid following any of them. Clear and remove spent plants at season's end rather than tilling them in, which removes overwintering disease and pest sites, including the dropped fruit that harbors pepper weevil and pepper maggot.
The plant app sends a timely reminder at every critical moment of your banana pepper season. The wording adjusts to whichever you pick: beginner or seasoned. Here are three you'll see in Zone 9.
plant sends the right notification at exactly the right moment, for your zone, your weather, your crops. Founding members lock the rate forever.
We're building this guide with real growers. Got a question we missed? Ask here. We read every one and add the best answers right to this page.
Learned something the hard way? Pass it on. Real growers' tips make this guide better for the next person, and we credit you by name when yours goes live.
If you've grown this crop and you see a date, a temperature, a companion claim, or a recommendation that doesn't match your experience, tell us. Real growers' corrections make this guide better for the next person.
Every date, temperature, spacing, and recommendation on this page is sourced from university cooperative extension publications, peer-reviewed agricultural research, NOAA climate data, and direct extension calendars. Where claims are softer (traditional gardening wisdom not formally documented), we say so.
Spot a data point that doesn't match your experience? Submit a correction; accepted corrections earn full author credit on the page.
Zone-aware seasonal nudges, what's worth planting now, and the occasional recipe from the harvest. No spam, ever.