Today · in your zone
What's happening right now
Off-season for blackberry in zone 9.
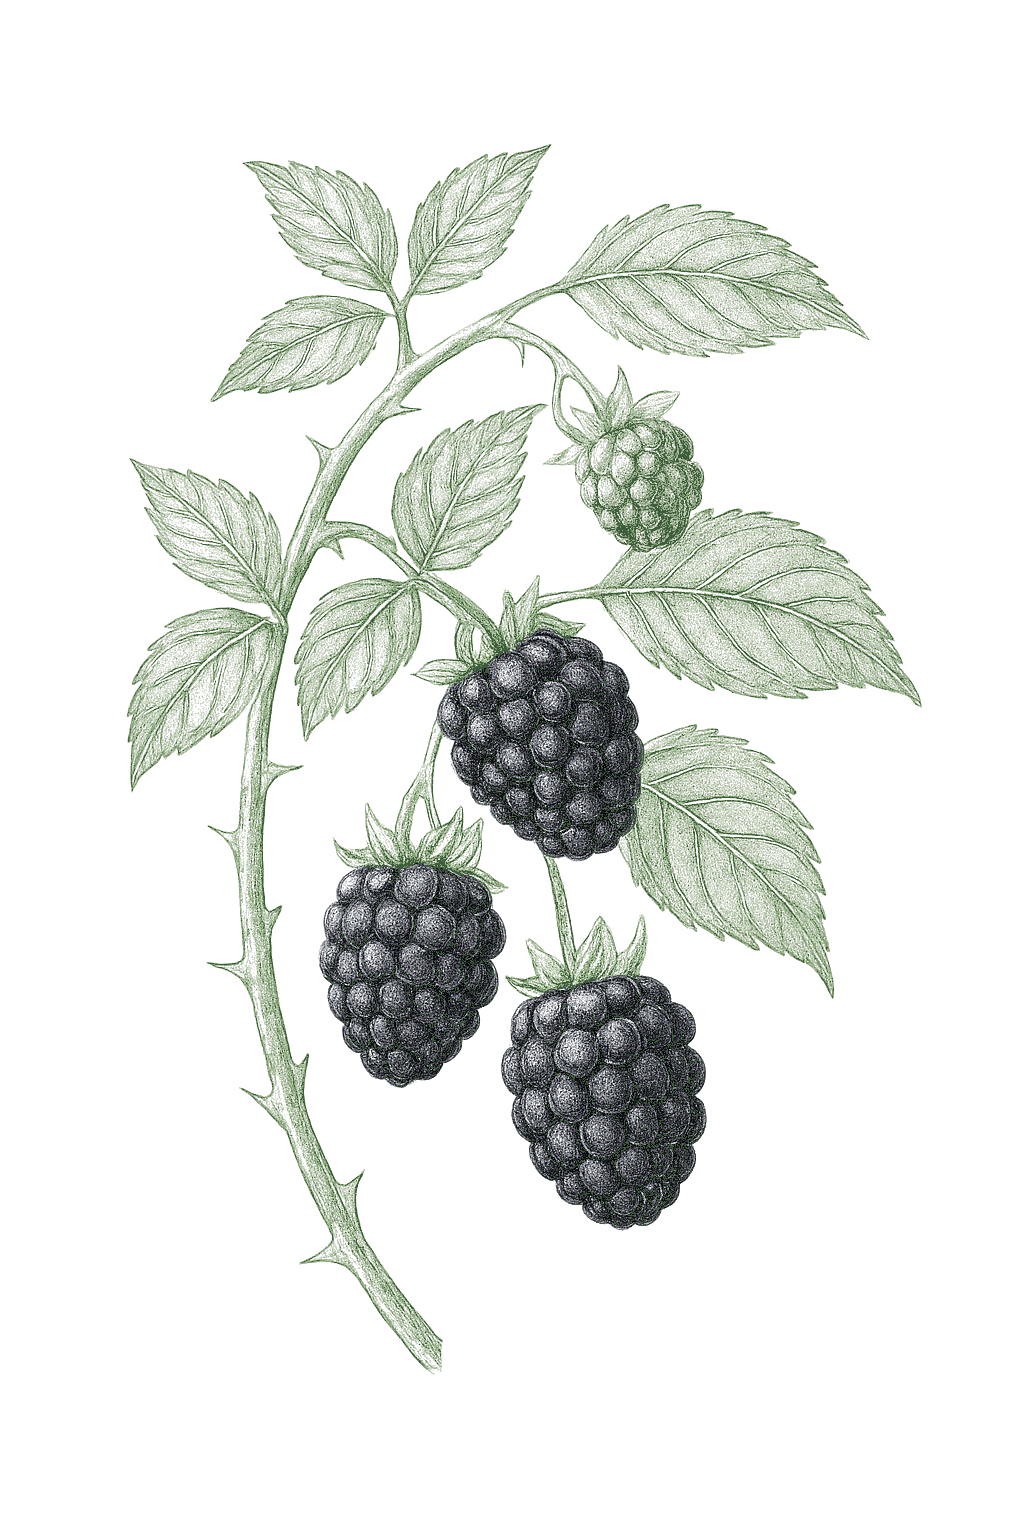
Blackberries are one of the fastest, most generous fruits you can grow: plant while dormant and you can be picking within a year or two, with a patch that lasts 15 to 20 years. Two things matter most. First, the cane: the roots live for years, but each cane lives only two, so how you prune depends on whether your type fruits on new canes or year-old canes. Second, the habit: some types stand up on their own, some are huge and need a trellis, and the trailing kinds taste the best but are the least cold-hardy. They pollinate themselves and handle heat far better than raspberries, so they thrive across the South. Blackberries are fast, generous, long-lived perennial cane fruits: a planting set out while dormant can hand you berries within a year or two and keep bearing for 15 to 20 years. Two things define them. First, the biennial cane: roots and crown are permanent, but each cane lives two years, so matching your pruning to whether the type fruits on first-year canes (primocane-fruiting) or second-year canes (summer-bearing) is the whole game. Second, the growth habit, which sets everything about support and spacing: erect types stand on their own and sucker; semi-erect thornless types grow huge and must be trellised; trailing types (marionberry, boysenberry) are the most flavorful but the least cold-hardy. They are self-fertile and much more heat-tolerant than raspberries, which makes them the caneberry of the South.
Off-season for blackberry in zone 9.
Zone 9 averages a last frost around March 1. Within Zone 9, the colder half (9a, winters down to 20°F) runs about a week later. The warmer half (9b, winters down to 25°F) runs about a week earlier. The plant app picks your subzone from your ZIP.
| Subzone | Last spring | First fall | Growing days | Winter min | Fruits reliably |
|---|---|---|---|---|---|
| 9a | Mar 8 | Nov 24 | ~261 | 20-25°F | Yes · two seasons |
| 9b | Feb 28 | Nov 30 | ~275 | 25-30°F | Yes · two seasons |
Averages from 8 weather stations per subzone, drawn from NOAA 1991-2020 Climate Normals. Your actual frost date can vary by up to two weeks based on elevation, proximity to water, and local topography.
Blackberries need a cold winter rest, measured in chill hours (time below about 45 °F), before they fruit well, but they need less than most raspberries. Low-chill types like Kiowa, Natchez, and Prime-Ark need only a little winter cold, so they grow well in the South. Higher-chill types like Navaho and Chester need a lot more and suit colder regions. If a type does not get the chill it needs, it barely fruits, so match the variety to your climate.Most blackberries need a stretch of winter chill (hours below about 45 °F) to break dormancy and fruit normally, but they are lower-chill than most raspberries. Low-chill Southern types such as Kiowa, Natchez, Ouachita, and the Prime-Ark line need only about 200 to 400 hours, which is why they succeed across the Deep South; higher-chill types such as Navaho, Apache, and Chester want 800 or more and are better suited to colder regions. Too little chill for the type gives weak, erratic budbreak and little fruit, so matching the type's chill requirement to your winter is the main thing, alongside habit, that decides which blackberry to grow.
Your blackberry loses its leaves and rests through winter (this rest is called dormancy). The roots live for years, but each cane lives only two: it grows one year, then fruits and dies. You prune in winter, and how you prune depends on the type. Plant once and a patch keeps producing for many years.Here a blackberry is grown as a deciduous cane fruit: the canes drop their leaves and rest through winter, banking the chill the plant needs, while the perennial crown and roots live for 15 to 20 years and each cane lives only two, growing one year and fruiting the next before dying. You prune in the dormant season, matching the cut to habit and type. Planted once, a patch fruits for two decades.
Once established, your blueberries follow the same yearly rhythm. Choose a cultivar by chill class above, then use this calendar for the season-to-season timing.
Blackberries need a cold winter rest, measured in chill hours (time below about 45 °F), before they fruit well, but they need less than most raspberries. Low-chill types like Kiowa, Natchez, and Prime-Ark need only a little winter cold, so they grow well in the South. Higher-chill types like Navaho and Chester need a lot more and suit colder regions. If a type does not get the chill it needs, it barely fruits, so match the variety to your climate.Most blackberries need a stretch of winter chill (hours below about 45 °F) to break dormancy and fruit normally, but they are lower-chill than most raspberries. Low-chill Southern types such as Kiowa, Natchez, Ouachita, and the Prime-Ark line need only about 200 to 400 hours, which is why they succeed across the Deep South; higher-chill types such as Navaho, Apache, and Chester want 800 or more and are better suited to colder regions. Too little chill for the type gives weak, erratic budbreak and little fruit, so matching the type's chill requirement to your winter is the main thing, alongside habit, that decides which blackberry to grow.
These need more chill than your winter dependably delivers. In a mild winter they bloom unevenly and crop lightly.
Your blackberry loses its leaves and rests through winter (this rest is called dormancy). The roots live for years, but each cane lives only two: it grows one year, then fruits and dies. You prune in winter, and how you prune depends on the type. Plant once and a patch keeps producing for many years.Here a blackberry is grown as a deciduous cane fruit: the canes drop their leaves and rest through winter, banking the chill the plant needs, while the perennial crown and roots live for 15 to 20 years and each cane lives only two, growing one year and fruiting the next before dying. You prune in the dormant season, matching the cut to habit and type. Planted once, a patch fruits for two decades.
Once established, your blueberries follow the same yearly rhythm. Choose a cultivar by chill class above, then use this calendar for the season-to-season timing.
Blackberries need a cold winter rest, measured in chill hours (time below about 45 °F), before they fruit well, but they need less than most raspberries. Low-chill types like Kiowa, Natchez, and Prime-Ark need only a little winter cold, so they grow well in the South. Higher-chill types like Navaho and Chester need a lot more and suit colder regions. If a type does not get the chill it needs, it barely fruits, so match the variety to your climate.Most blackberries need a stretch of winter chill (hours below about 45 °F) to break dormancy and fruit normally, but they are lower-chill than most raspberries. Low-chill Southern types such as Kiowa, Natchez, Ouachita, and the Prime-Ark line need only about 200 to 400 hours, which is why they succeed across the Deep South; higher-chill types such as Navaho, Apache, and Chester want 800 or more and are better suited to colder regions. Too little chill for the type gives weak, erratic budbreak and little fruit, so matching the type's chill requirement to your winter is the main thing, alongside habit, that decides which blackberry to grow.
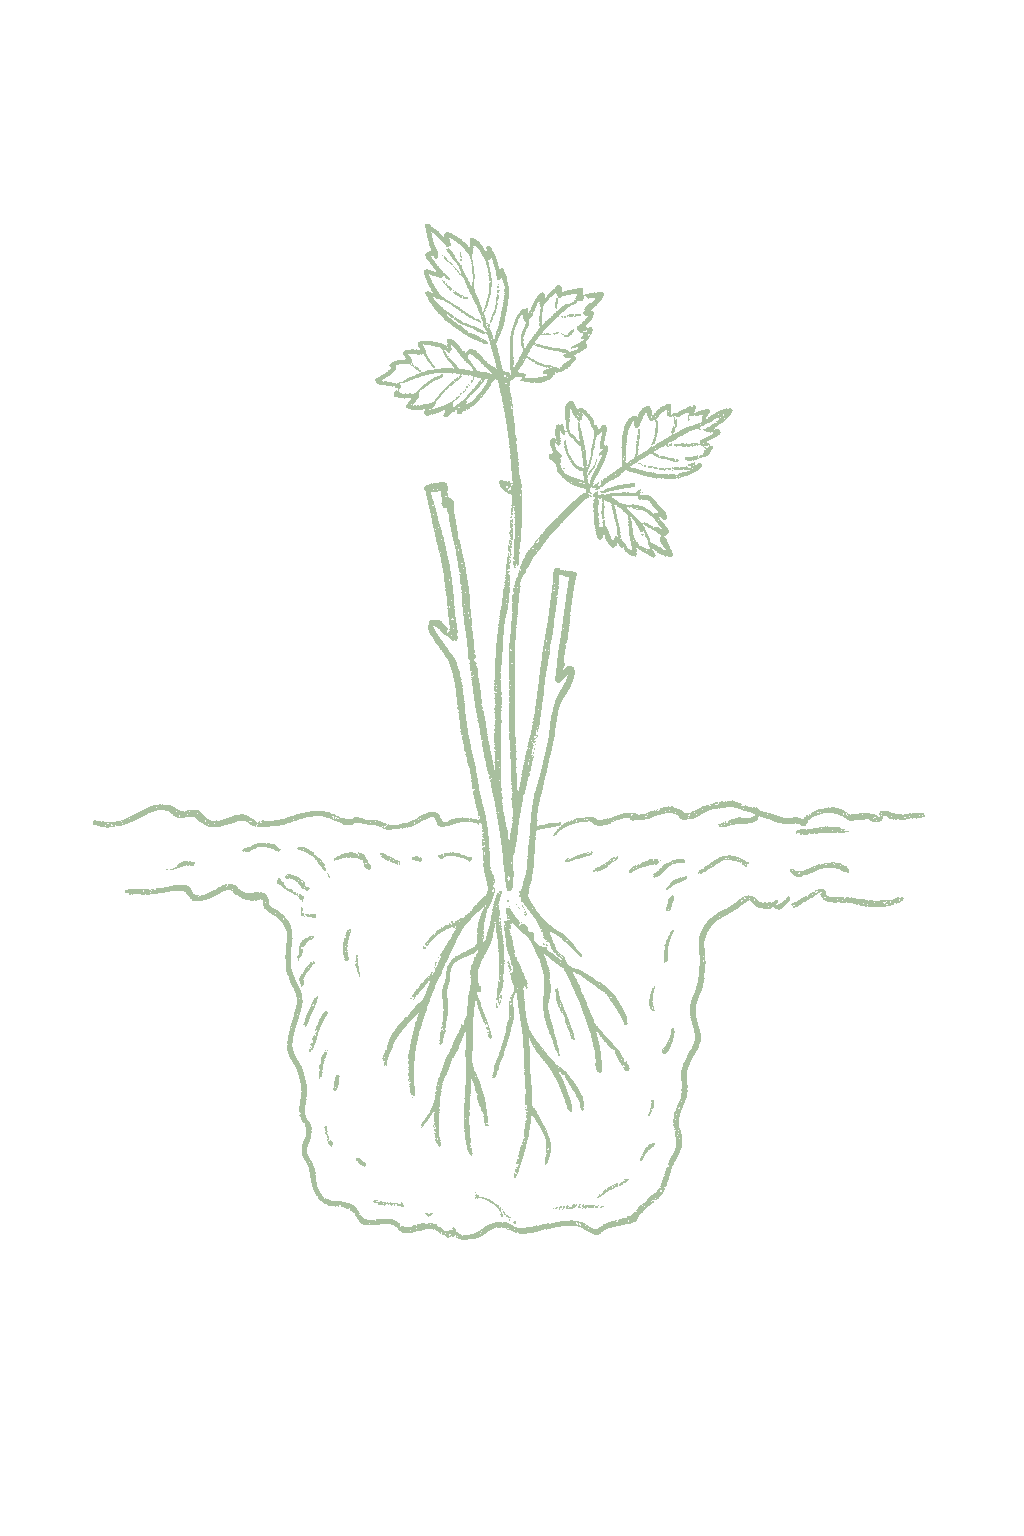
Your blackberry patch is permanent, even though each cane only lives two years: it grows one season, fruits the next, then dies while new canes take over. Plant dormant canes in late fall or winter, put trailing types like marionberry on a trellis, and cut out the old fruited canes each winter.Blackberry is a deciduous cane fruit here: the canes drop their leaves and rest through the mild, wet winter, while the perennial crown and roots live for 15 to 20 years and each cane lives only two, growing one year and fruiting the next before dying. Set dormant bare-root canes from late fall through winter, trellis the trailing types (their long canes root wherever they touch ground if left untrellised), and prune out the spent fruited canes each dormant season.
Once established, your blueberries follow the same yearly rhythm. Choose a cultivar by chill class above, then use this calendar for the season-to-season timing.
Blackberries need a cold winter rest, measured in chill hours (time below about 45 °F), before they fruit well, but they need less than most raspberries. Low-chill types like Kiowa, Natchez, and Prime-Ark need only a little winter cold, so they grow well in the South. Higher-chill types like Navaho and Chester need a lot more and suit colder regions. If a type does not get the chill it needs, it barely fruits, so match the variety to your climate.Most blackberries need a stretch of winter chill (hours below about 45 °F) to break dormancy and fruit normally, but they are lower-chill than most raspberries. Low-chill Southern types such as Kiowa, Natchez, Ouachita, and the Prime-Ark line need only about 200 to 400 hours, which is why they succeed across the Deep South; higher-chill types such as Navaho, Apache, and Chester want 800 or more and are better suited to colder regions. Too little chill for the type gives weak, erratic budbreak and little fruit, so matching the type's chill requirement to your winter is the main thing, alongside habit, that decides which blackberry to grow.
These need more chill than your winter dependably delivers. In a mild winter they bloom unevenly and crop lightly.
Your blackberry loses its leaves and rests through the mild desert winter (this rest is called dormancy). The roots live for years, but each cane lives only two: it grows one year, then fruits and dies. Prune it in winter, and plant once for a patch that can keep producing for many years if you manage the summer heat.Here a blackberry is grown as a deciduous cane fruit: the canes drop their leaves through the mild Mojave winter while the perennial crown lives for 15 to 20 years, and each cane lives only two, growing one year and fruiting the next before dying. Prune in the dormant season, matching the cut to the cultivar's habit. Planted once, a patch can fruit for two decades if it is sited to survive the desert summers.
Once established, your blueberries follow the same yearly rhythm. Choose a cultivar by chill class above, then use this calendar for the season-to-season timing.
Blackberries need a cold winter rest, measured in chill hours (time below about 45 °F), before they fruit well, but they need less than most raspberries. Low-chill types like Kiowa, Natchez, and Prime-Ark need only a little winter cold, so they grow well in the South. Higher-chill types like Navaho and Chester need a lot more and suit colder regions. If a type does not get the chill it needs, it barely fruits, so match the variety to your climate.Most blackberries need a stretch of winter chill (hours below about 45 °F) to break dormancy and fruit normally, but they are lower-chill than most raspberries. Low-chill Southern types such as Kiowa, Natchez, Ouachita, and the Prime-Ark line need only about 200 to 400 hours, which is why they succeed across the Deep South; higher-chill types such as Navaho, Apache, and Chester want 800 or more and are better suited to colder regions. Too little chill for the type gives weak, erratic budbreak and little fruit, so matching the type's chill requirement to your winter is the main thing, alongside habit, that decides which blackberry to grow.
These need more chill than your winter dependably delivers. In a mild winter they bloom unevenly and crop lightly.
These need more chill than your winter dependably delivers. In a mild winter they bloom unevenly and crop lightly.
Your blackberry loses its leaves and rests briefly through the mild Valley winter. The roots live for years, but each cane lives only two: it grows one year, then fruits and dies. Prune it in winter, and plant once for a patch that keeps producing for many years.Here a blackberry is grown as a deciduous cane fruit: the canes drop their leaves and rest briefly through the Valley's mild winter, banking what little chill they need, while the perennial crown and roots live for 15 to 20 years and each cane lives only two, growing one year and fruiting the next before dying. Prune in the dormant season, matching the cut to the cultivar's habit. Planted once, a patch fruits for two decades.
Once established, your blueberries follow the same yearly rhythm. Choose a cultivar by chill class above, then use this calendar for the season-to-season timing.
Blackberries need a cold winter rest, measured in chill hours (time below about 45 °F), before they fruit well, but they need less than most raspberries. Low-chill types like Kiowa, Natchez, and Prime-Ark need only a little winter cold, so they grow well in the South. Higher-chill types like Navaho and Chester need a lot more and suit colder regions. If a type does not get the chill it needs, it barely fruits, so match the variety to your climate.Most blackberries need a stretch of winter chill (hours below about 45 °F) to break dormancy and fruit normally, but they are lower-chill than most raspberries. Low-chill Southern types such as Kiowa, Natchez, Ouachita, and the Prime-Ark line need only about 200 to 400 hours, which is why they succeed across the Deep South; higher-chill types such as Navaho, Apache, and Chester want 800 or more and are better suited to colder regions. Too little chill for the type gives weak, erratic budbreak and little fruit, so matching the type's chill requirement to your winter is the main thing, alongside habit, that decides which blackberry to grow.
These need more chill than your winter dependably delivers. In a mild winter they bloom unevenly and crop lightly.
Your blackberry loses its leaves and rests through winter (this rest is called dormancy). The roots live for years, but each cane lives only two: it grows one year, then fruits and dies. You prune in winter, and how you prune depends on the type. Plant once and a patch keeps producing for many years.Here a blackberry is grown as a deciduous cane fruit: the canes drop their leaves and rest through winter, banking the chill the plant needs, while the perennial crown and roots live for 15 to 20 years and each cane lives only two, growing one year and fruiting the next before dying. You prune in the dormant season, matching the cut to habit and type. Planted once, a patch fruits for two decades.
Once established, your blueberries follow the same yearly rhythm. Choose a cultivar by chill class above, then use this calendar for the season-to-season timing.
Not sure what soil you have? Grab a small handful of damp soil from your garden bed and squeeze it. If it crumbles apart easily, it's sandy. If it holds together but breaks when you poke it, it's loam (what most vegetables want). If it stays in a hard, slippery ball, it's clay.
Blackberries want loose, well-drained soil rich in organic matter and full sun. A slightly acidic pH around 6.0 to 6.5 is ideal and most gardens already have it. Mixing in compost and planting on a slightly raised row before planting helps a lot, because the roots will not stand wet feet.
Mix 2-3 inches of compost into the top 6 inches of your bed before planting. Compost holds moisture (which sandy soil drains too fast) and adds the nutrients sandy soil tends to lack. Repeat each season. Compost breaks down over time.
Mix 2-3 inches of compost AND a few inches of coarse sand or perlite into the top 6 inches of your bed. The compost feeds the plants; the sand breaks up the clay so air and water can move through. Don't add sand without compost. It can compact like concrete.
If amending your soil sounds like too much work, or if your soil is heavy clay, full of rocks, or contaminated, build over it. A raised bed at least 12 inches deep filled with a 50/50 mix of compost and sandy loam gives you ideal growing soil with no battles. A 5-gallon container with quality potting mix does the same for one plant at a time. Both bypass your native soil entirely.
The numbers that matter, at a glance.
Blackberries can be grown in a large pot, which is a good way to keep a vigorous, spreading plant in bounds. Use a big container, at least 10 gallons, fill it with a rich, well-draining mix, and choose a compact or primocane-fruiting variety such as a dwarf thornless type. Give it full sun, steady water, and a small support, and remember pots dry out fast.Containers are a practical way to grow blackberries where space is tight or where you want to contain a vigorous, suckering plant. Use a 10-to-15-gallon pot of free-draining, compost-rich mix, choose a compact or primocane-fruiting cultivar so you can cut canes back hard each winter, and stake or trellis the canes. Keep the mix evenly moist, feed lightly and regularly, and protect the roots over winter while still meeting the plant's chilling and dormancy needs.
OuachitaA leading erect, thornless, floricane-fruiting blackberry from Arkansas: upright self-supporting canes, firm sweet berries, and strong disease resistance including good rosette tolerance. A top all-around home variety in the South.
NatchezAn early, very large-fruited, thornless semi-erect to erect blackberry with a low chill requirement, making it a favorite in the South, California, and central Florida. Needs some support and a clean, airy site.
Prime-Ark FreedomThe first thornless primocane-fruiting blackberry, from Arkansas: fruits on first-year canes in late summer and fall, so it can be mowed to the ground each winter for one clean fall crop, or double-cropped. Large, richly flavored berries best for local, fresh use; heat during bloom can reduce the fall set in the Deep South.
Prime-Ark TravelerA thornless primocane-fruiting Arkansas blackberry bred for firmer, shipping-quality fruit than Prime-Ark Freedom, with glossy, sweet, sub-acid berries. Mow to the ground for a single fall crop on new canes, or double-crop for summer and fall.
Baby Cakes
In cold-winter areas, roots in a pot are more exposed than in the ground. Move the container against a sheltered wall, into an unheated garage, or heel it into the ground and mulch heavily for winter.Potted root zones are far less insulated than ground soil. In cold zones, sink the pot, cluster and mulch containers, or move them to an unheated shelter; the goal is to protect roots from hard freezes while still delivering the winter chill and dormancy the canes need.
Potted root zones are far less insulated than ground soil, so in cold-winter regions a container blackberry needs winter root protection while still going dormant and getting its chill. Sink the pot in the ground, cluster pots together and mulch heavily, or move them to an unheated garage; the goal is to buffer the roots from hard freezes without keeping the plant warm enough to skip dormancy.
Hardy to zone 5 in the ground; roots in a pot sit colder than that.
Ask what your balcony or roof can carry
A balcony or roof can only hold so much weight. Before you set heavy pots there, ask a building architect what it can safely carry.Illinois Extension's guidance is to consult a building architect about weight limits before placing heavy pots on a balcony or rooftop garden. It gives no weight figure.
Never grow food in a container with anything toxic in it
Many kinds of containers can be used. Whatever you choose, keep anything toxic out of it, especially if you are growing food.Colorado State accepts nearly any container material but warns against using a container that holds toxic materials, especially for edible plants. Illinois adds that a vegetable container should be free of chemicals toxic to plants or people, and urges caution with treated lumber when growing food. If you cannot account for what a repurposed container once held, that alone is a reason to keep food out of it.
Secure hanging containers well
Fasten hanging baskets and window or rail boxes securely. Think about what is below them too, since they can drip on people or things underneath.Illinois Extension asks growers to secure hanging containers well and to think through the safety issues of hanging them. Placement matters too, since a hanging container can drip onto people or belongings below.
Blackberries like soil that is slightly acidic, about pH 6.0 to 6.5, which is what most gardens already have. Unlike blueberries, they need no special acidic soil. If your soil is very alkaline and the leaves yellow between the veins, work in compost and use a chelated-iron product.Blackberries prefer a slightly acidic soil, roughly pH 6.0 to 6.5, and tolerate about 5.5 to 7.0. This is close to what most vegetable gardens already carry, so no special acidification is needed, unlike a blueberry. In strongly alkaline soils above about 7.5 the plants can develop iron chlorosis (yellowing between the veins), best corrected with added organic matter and a chelated-iron product rather than a drastic pH change.
Feed blackberries in early spring when growth starts, using a balanced fertilizer or some composted manure spread along the row, and again lightly right after you finish picking. That feeding fuels the new canes for next year. Go easy late in the season, since too much makes weak, floppy canes.Blackberries are moderate feeders. Apply a balanced fertilizer or well-rotted manure in early spring as new growth begins, banded along the row rather than against the crowns, and a second, lighter feeding right after harvest to build the primocanes that carry next year's crop. Nitrogen drives cane vigor, but too much late in the season produces soft, disease-prone canes, so feed early and taper off by late summer. A soil test guides the rate.
Use a balanced fertilizer such as 10-10-10, or composted manure.A balanced complete fertilizer with enough nitrogen to drive primocane growth; roughly a 10-10-10, or composted manure along the row.
Blackberries do not need companion plants to do well. The important rules are what to avoid: do not plant them where tomatoes, potatoes, peppers, eggplant, or strawberries grew recently (they share a soil disease called Verticillium wilt), and pull out any wild brambles nearby, which spread disease and pests. If you want neighbors, garlic along the edge and clover between rows are easy, low-risk choices. Blackberry is not a heavy-companion crop; the siting rules that matter most are about what to keep it away from. Do not plant it where tomatoes, potatoes, peppers, eggplant, or strawberries have grown in the last few years, because all share Verticillium wilt, and clear out nearby wild brambles that carry rosette, orange rust, viruses, and spotted-wing drosophila. Good neighbors are modest: traditional allium edges and a mowed legume cover in the row middles for soil and weeds. The bigger gains come from full sun, spacing, drainage, and a clean start, not from companions.
A blackberry is ready when it turns fully black and loses its shine, going dull, and pulls off easily into your hand with the core still inside (unlike a raspberry, which leaves a hollow center). A shiny black berry is not ripe yet and will be sour, and it will not sweeten after picking. Pick every one to three days in the cool morning, be gentle, and refrigerate right away.A ripe blackberry turns from glossy red-black to a dull, deep black and detaches with a light tug, the whole fruit including its white core coming free (unlike a raspberry, which leaves its core behind as a hollow cap). A shiny black berry is not fully ripe and will taste tart, and it will not sweeten off the plant. Pick over the planting every one to three days in the cool morning after dew dries, handling the soft fruit as little as possible, and refrigerate at once.
Each blackberry plant gives roughly 4 to 15 pounds a season once established, with the big semi-erect thornless types producing the most. A few plants quickly add up to plenty of berries.A mature blackberry plant yields roughly 4 to 15 pounds of fruit per season depending on type, with vigorous semi-erect thornless types (Triple Crown, Chester) at the high end and erect types more modest. A well-managed row produces on the order of a few pounds per linear foot. Yields build over the first few years as the planting fills in.
Blackberries produce fast. Summer types fruit the second year; fall-bearing types can give berries the first fall. Both hit full swing around years 2 to 3 and keep producing for 15 to 20 years if you prune and care for them.Blackberries crop quickly compared with tree fruit. A summer-bearing planting gives its first real crop in the second year; a primocane-fruiting type can fruit its first fall. Both reach full production around years 2 to 3 and then stay productive for about 15 to 20 years with steady pruning and renewal. Whether you get fruit the first year depends on the type. Summer-bearing blackberries make no fruit the first year and start the next summer. Fall-bearing (primocane) types can give you a small crop that same fall, so they are the quickest to your first berries.What you get the first year depends on type. A summer-bearing (floricane) planting makes essentially no fruit the first year, since it fruits on second-year canes; expect the first real crop the following summer. A primocane-fruiting (everbearing) planting set out while dormant can ripen a modest crop on its new canes that first fall, which is the fast route to a first harvest.
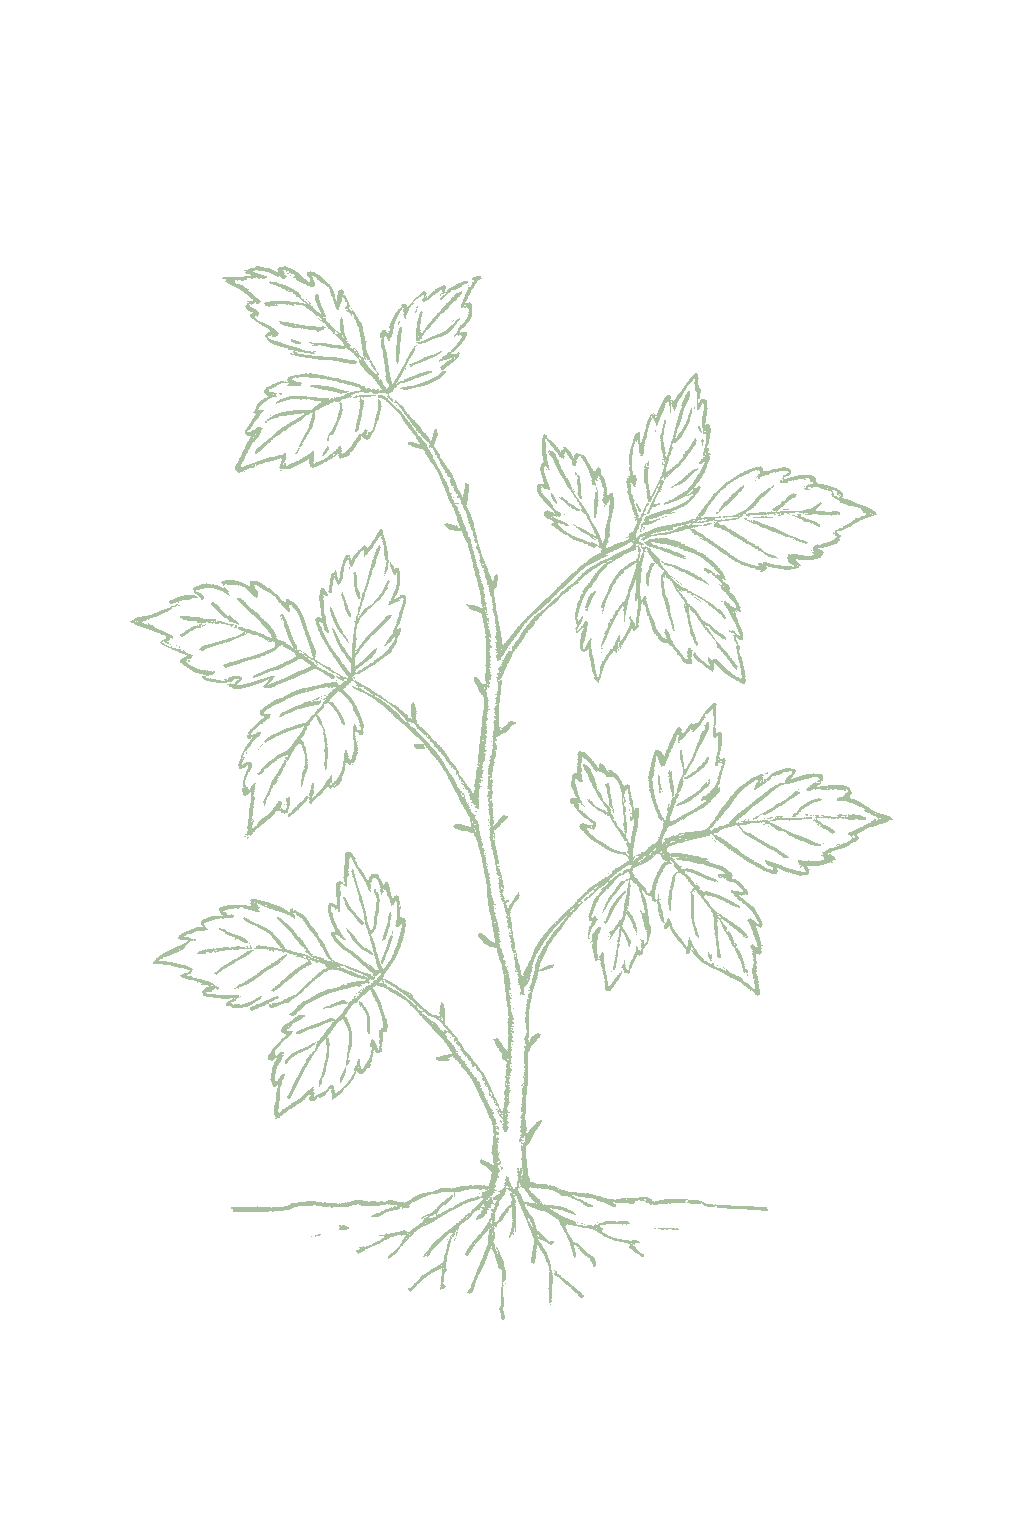
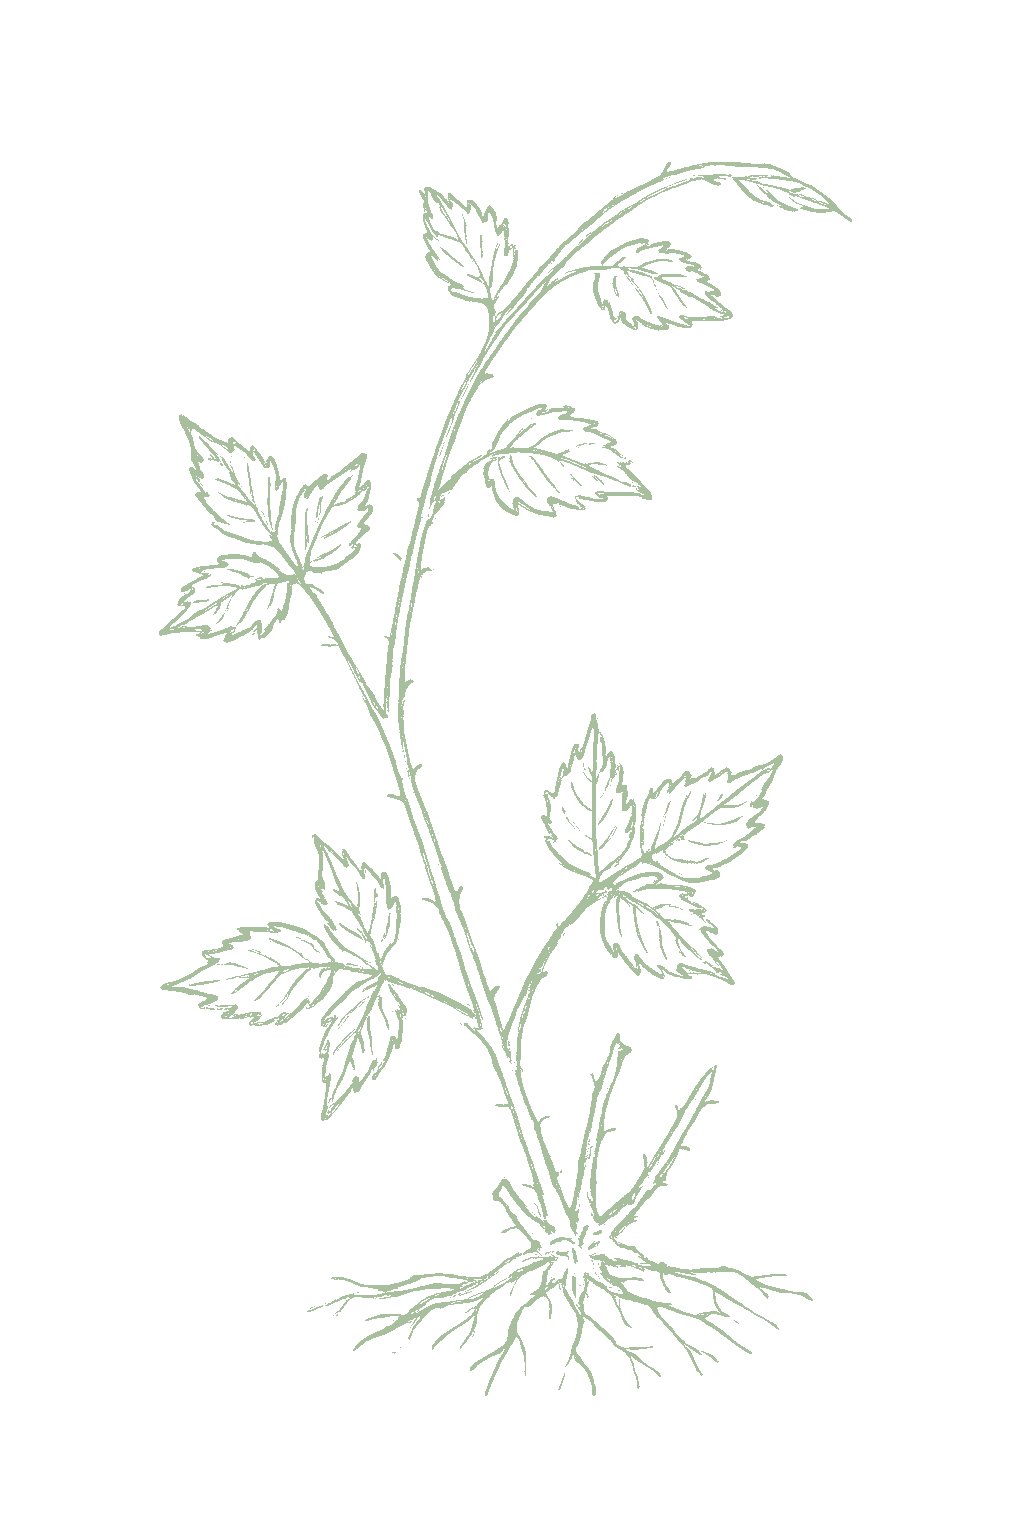
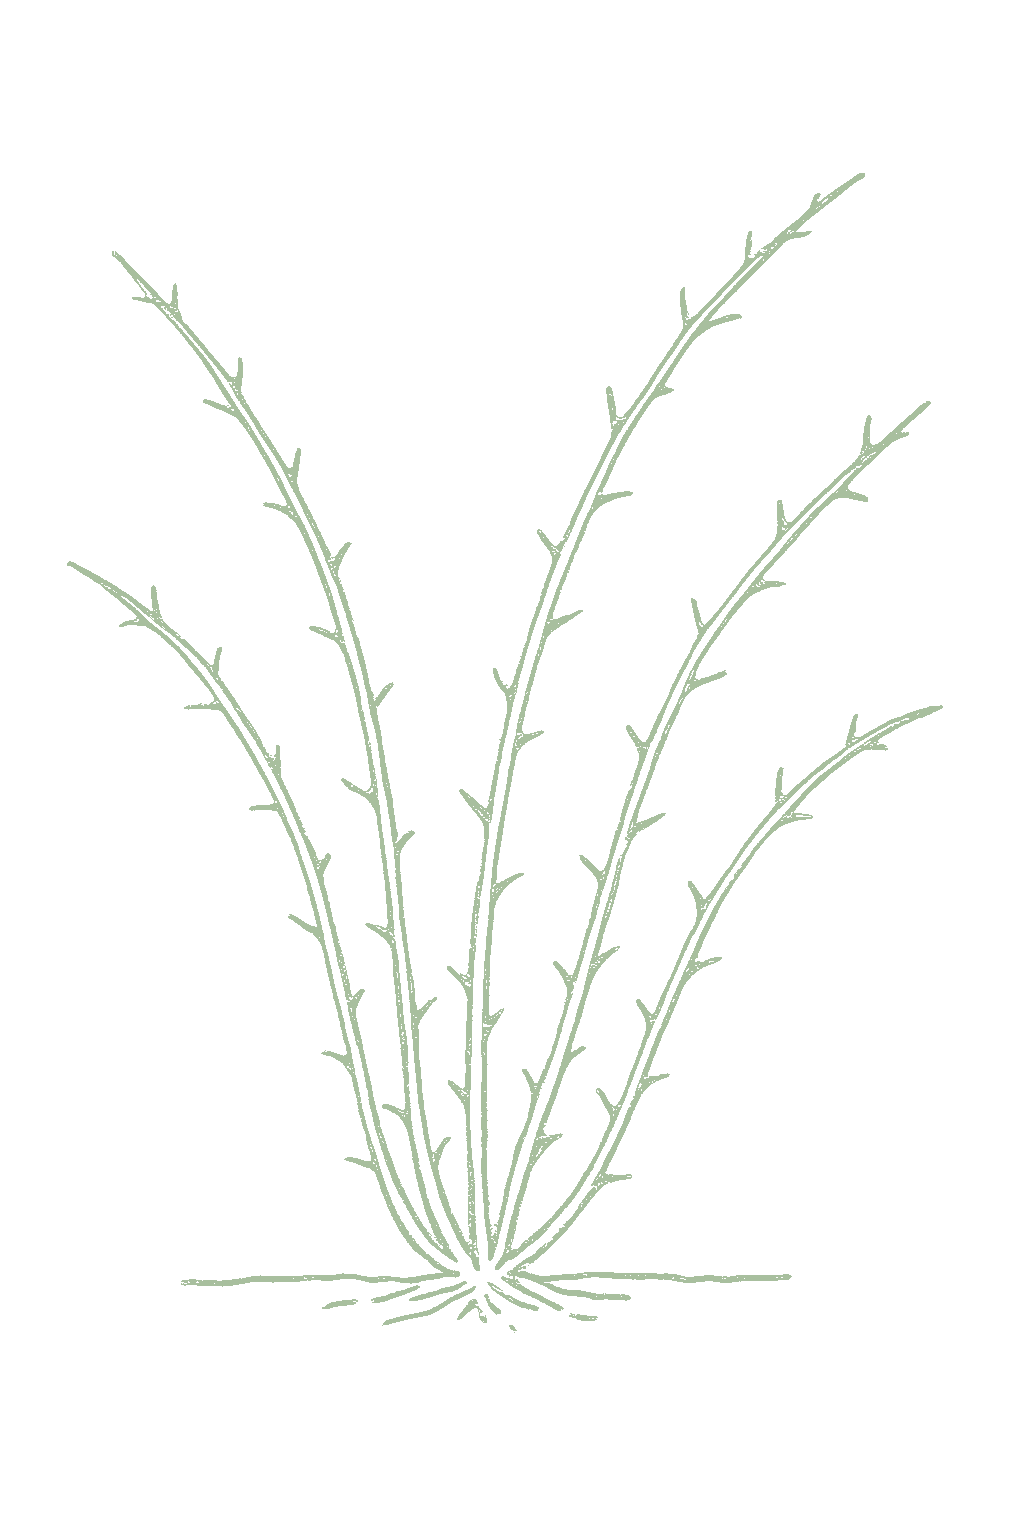
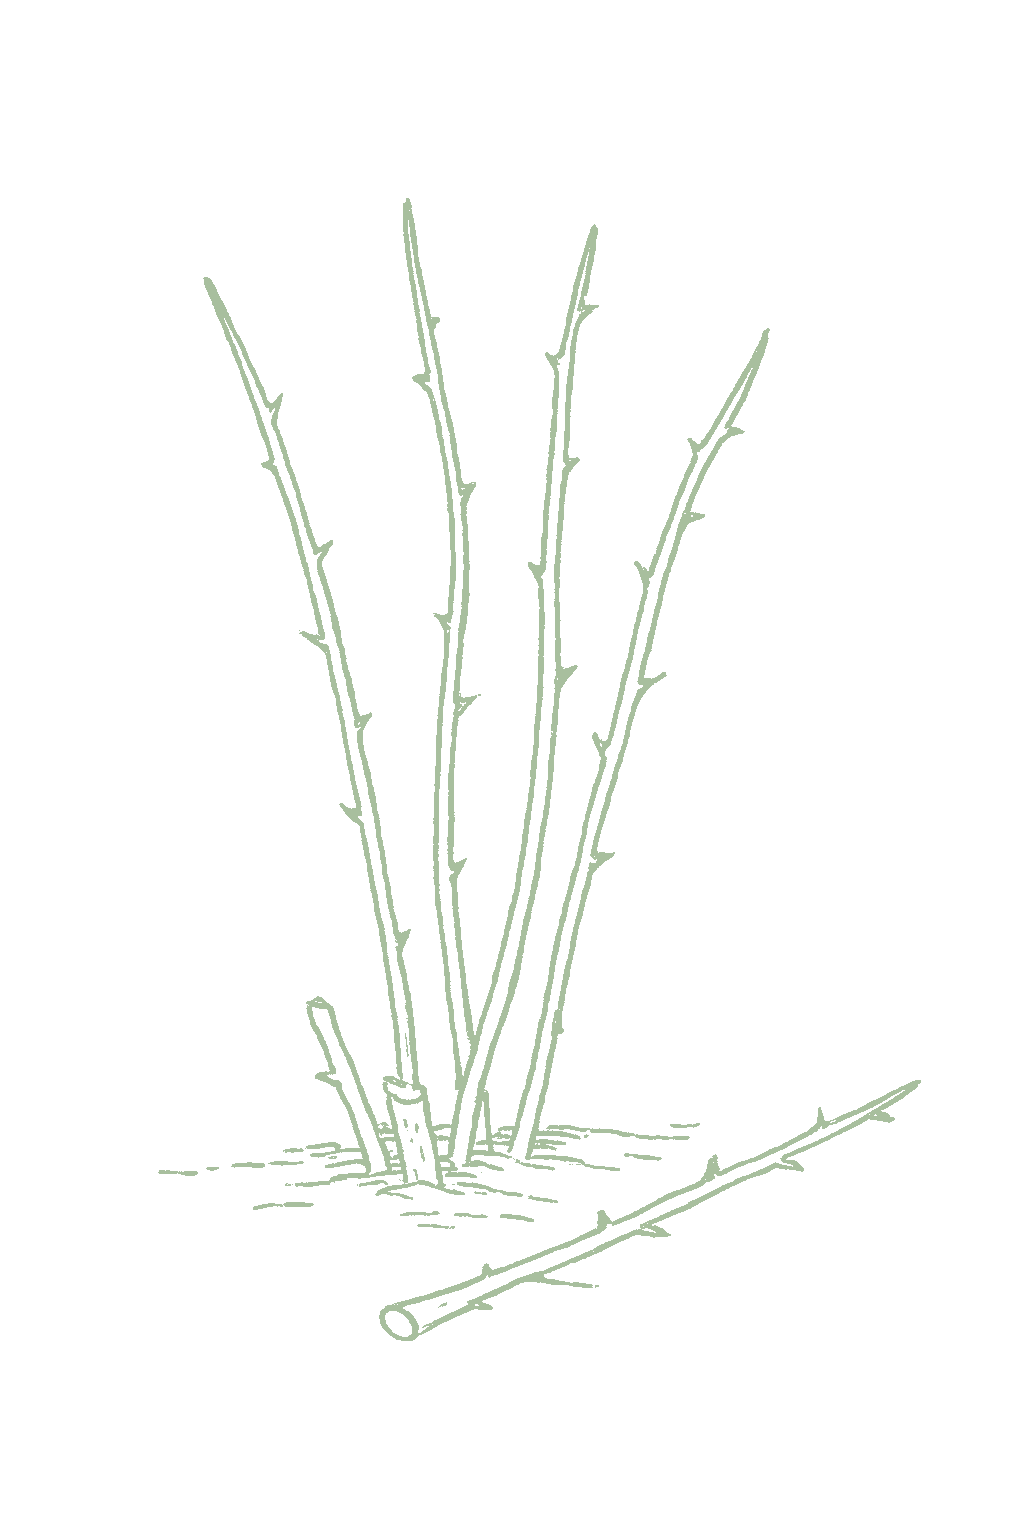
Pick by habit first. ERECT blackberries stand up on their own, spread by shoots from the roots, and are the easiest and hardiest, with thornless choices like Ouachita and Navaho. SEMI-ERECT thornless types like Triple Crown and Chester grow huge and productive but need a trellis. TRAILING types like Marionberry and Boysenberry taste the best but are the least cold-hardy and must be trellised, so they suit mild coastal areas. Most give one summer crop on year-old canes; primocane (everbearing) types like Prime-Ark fruit on new canes in fall and let you just mow everything down each winter. Match the variety to your winters (low-chill kinds for the South, extra-hardy kinds for cold areas), and buy certified disease-free plants.Choose first by growth habit, then by thorniness, cane type, and chill. ERECT blackberries have stiff, self-supporting canes, sucker from the roots to form a hedgerow, and are the hardiest and easiest without a trellis (Ouachita, Navaho, Osage, Arapaho thornless; Apache, Kiowa thorny). SEMI-ERECT thornless types (Triple Crown, Chester) are the most vigorous and productive, form a crown rather than suckering, and must be trellised. TRAILING types (Marionberry, Boysenberry) have the earliest, most intensely flavored fruit but the least cold hardiness and must be trellised, so they suit mild coastal regions. Most are summer-bearing (floricane), fruiting on second-year canes; primocane-fruiting (everbearing) types such as the Arkansas Prime-Ark line fruit on first-year canes and can be mowed to the ground for one clean fall crop. Match the chill requirement to your winter (low-chill Natchez, Kiowa, Ouachita for the South; high-chill Illini Hardy, Apache, Chester for cold regions), and always start with certified disease-free stock.
The ladder troubleshoots from the gentlest solution to the strongest. Start with the gentlest option and only move on when and if it doesn't work.
Pick every ripe berry, and pick every day or two. This fly lays its eggs in sound fruit that is coloring up, not just in rotten fruit, so a berry left hanging is somewhere for the next batch of maggots to start. Clean, frequent picking is the strongest everyday tool you have against it.A complete harvest on a one to two day interval is the backbone of the program, since the female cuts into healthy ripe fruit to oviposit rather than waiting for it to break down. Fruit left on the cane is breeding habitat, and late-ripening and fall primocane crops carry the heaviest pressure.
Gather the overripe berries still hanging and the ones that have dropped, seal them in a bag, and put them in the trash rather than on the compost pile. The bagging is the point: soft and fallen fruit is what this fly breeds in, so it needs to leave the garden.Culls and drops go off site sealed rather than onto a compost heap, since a cull pile holds breeding fruit between pickings. This is the debris half of the job and sits alongside the harvest interval rather than replacing it.
Look past your own row. Wild brambles along fences and field edges nearby host this fly too, and they keep resupplying your patch. Clearing the ones you can reach lowers the pressure the planting has to absorb.Feral Rubus in the surrounding landscape is a reservoir host, so the nearby stand governs how much pressure arrives at the row. Clearing what is within range is what lets a tight picking schedule actually hold.
Set a cup of apple cider vinegar near the berries before they ripen and check it weekly. It tells you the flies have arrived so you can time everything else. Treat it as an early warning, not as control.Vinegar-baited traps hung ahead of ripening and checked weekly establish arrival timing for the harvest interval and for exclusion. Read catch as a detection signal rather than as population removal.
Cover the planting with very fine mesh, under 1 mm, before the first berries start to color, and seal it down at the edges so nothing walks in underneath. Putting it on after fruit has colored risks shutting flies in with the crop.Mesh under 1 mm installed ahead of first color and sealed at every edge excludes adults; deployment after fruit colors can enclose an established population. It works alongside the picking schedule rather than in place of it.
No spray for this one. Prevention is the control.
The ladder troubleshoots from the gentlest solution to the strongest. Start with the gentlest option and only move on when and if it doesn't work.
Cut out every cane carrying one of those spindle-shaped swellings, and place the cut below the swelling so the grub inside comes away with it. Destroy what you cut rather than leaving it beside the row. Do a pass while the canes are bare in winter, and keep looking through the summer as new swellings appear.Excise galled canes below the swelling so the larva is removed with the tissue, and carry the prunings off site. Run it as a dormant pass plus repeat summer passes as galls become visible, since the aim is to take the larva out before it matures and the cane tends to snap at the gall anyway.
Wild brambles growing nearby are where this beetle keeps itself going, so clear out the ones within reach. The problem runs worse close to a wild stand.Feral brambles are the local reservoir, and infestation pressure tracks proximity to them; clearing what is in range lowers the recruitment a planting has to absorb each season.
If you spot the adults, small dark beetles with a coppery-red collar just behind the head, pick them off. In a backyard planting, cutting out the swollen canes and picking off beetles is usually the whole job, and a spray is not normally called for.Hand-collection of adults supplements gall excision; home plantings rarely warrant an insecticide for this borer, so scouting primocanes and removing galls carry the program. Vigor buys tolerance of light injury.
No spray for this one. Prevention is the control.
The ladder troubleshoots from the gentlest solution to the strongest. Start with the gentlest option and only move on when and if it doesn't work.
This one is mostly decided before you plant. Put a new patch on ground that has not carried brambles recently, and buy healthy, borer-free plants to start with. The grubs feed inside the crown, the woody base of the plant, where nothing you spray can reach them, so a clean start does more than any rescue later.Site history is the primary lever: establish on ground without a recent bramble history and from certified borer-free stock. Larvae develop within the crown and lower canes on a two-year cycle, out of reach of anything applied to the outside, so on a permanent planting this collapses into a siting decision you do not get to revisit.
Clear wild brambles growing near the patch. They give the moth somewhere to breed right next door and keep sending adults back into clean ground.Feral brambles nearby sustain the adult population that reinfests an established planting; removing what is in range belongs with the siting decision rather than with the rescue work.
Once a plant is badly infested there is little to save, so dig it out, crown and all, and destroy it. That takes the grubs with it and breaks the two-year cycle before the next round of moths comes out. Look for canes that redden, wilt, and snap off at the base.Infested crowns are dug and destroyed rather than treated, since the larvae sit protected inside; removal is what breaks the two-year cycle. Vigor buys tolerance of light injury, but a heavily tunneled crown declines over two seasons and can be lost.
No spray for this one. Prevention is the control.
The ladder troubleshoots from the gentlest solution to the strongest. Start with the gentlest option and only move on when and if it doesn't work.
Keep the weedy edges around the planting mowed. These bugs shelter in that rough growth and move onto the berries from there, so the border is where the trouble gathers.Weedy margins are the harborage these bugs stage from, and pressure tracks how rough the border is left; mowing removes the shelter rather than the insects, so it is a season-long habit rather than one pass.
Pick often so fruit is not left sitting on the cane. The bugs feed on the berries as they develop, so the less time fruit spends hanging there, the less of it they work over.A tight picking interval shortens each berry's exposure to piercing-sucking feeding, and the damage lands on the harvested part of the crop, so harvest timing is a direct lever rather than general tidiness.
Walk the row while the berries are setting and knock any shield-shaped green or brown bugs into a container of soapy water. Checking during fruit set is what catches a buildup while it is still small.Scout from fruit set and hand-collect adults into soapy water. The injury that shows up as hard red drupelets on an otherwise black berry is done during development, so detection has to run ahead of the visible symptom.
Where the bugs are heavy, netting over the planting keeps them off the fruit. Seal the edges so they cannot walk in underneath, and take it off while the flowers need bees.Exclusion netting is a heavy-pressure option rather than a routine one: it has to seal at the edges, and it has to come off during bloom so pollinators can work, which confines it to the fruit development window.
No spray for this one. Prevention is the control.
The ladder troubleshoots from the gentlest solution to the strongest. Start with the gentlest option and only move on when and if it doesn't work.
Go out in the cool of the morning while the beetles are still sluggish and knock them into a jar of soapy water. This is the most effective thing a home gardener can do about them. Skip the bag traps sold for beetles: they pull in more than they hold.Morning collection into soapy water exploits the adults' low-temperature torpor and is the mainstay home control across the flight, which runs early to midsummer. Keep pheromone traps away from the planting, since they recruit more beetles than they capture.
Netting over the plants keeps the beetles off the berries as they ripen. Seal the edges, and take it off while the flowers need bees.Physical exclusion over ripening fruit covers the adult flight from early to midsummer; it depends on sealed edges and has to come off for bloom, so it protects fruit rather than foliage.
No spray for this one. Prevention is the control.
The ladder troubleshoots from the gentlest solution to the strongest. Start with the gentlest option and only move on when and if it doesn't work.
Go easy with the fertilizer. Heavy nitrogen pushes out the soft new shoots aphids build up on fastest, so feeding modestly gives them less to work with. Starting with certified virus-free plants matters here too, because the bigger risk from aphids is the viruses they carry rather than the feeding itself.Restrained nitrogen limits the flush of succulent tips these aphids colonize. Pair it with certified virus-free stock, since it is the vectoring of the viruses behind the crumbly-fruit decline complex, not the sap feeding, that makes this a problem worth managing.
Pull out wild brambles growing near the patch, along with any nearby bramble that looks sickly or virus-struck. Those are the plants aphids pick viruses up from before they ever reach yours.Removing feral brambles and virus-symptomatic plants within range takes out the reservoirs the aphids move between; the object is cutting off virus introduction rather than lowering aphid counts as such.
A strong jet of water knocks the aphids off the shoot tips, and most of them do not get back on. Do it early in the day so the leaves dry quickly.A forceful water knockdown clears light colonies from the tips with no material applied; spray early so foliage dries and leaf wetness is not prolonged.
Ladybugs and other helpful insects eat aphids and usually keep light numbers in check on their own, at no cost to you. Leaving off broad sprays is what keeps them around.Resident ladybugs, lacewings and parasitoids hold light infestations, so conserving them by avoiding broad-spectrum material is the default. On a pest that matters chiefly as a vector, though, suppression is worth less than clean stock and clearing the virus reservoirs.
If there are a lot of them, insecticidal soap kills the aphids it wets directly. Coat the shoot tips and the undersides of the leaves where they cluster, since it only works while it is wet.A contact soap with no residual, so coverage of tips and leaf undersides decides the outcome and repeat applications are usually needed; it spares dry-surface beneficials but kills the soft-bodied ones it wets.
The bottom rungs are products with label rules: timing, pollinators, and days to wait before harvest. Before you spray →
The ladder troubleshoots from the gentlest solution to the strongest. Start with the gentlest option and only move on when and if it doesn't work.
There is no fixing roots that have already rotted, so this one comes down to getting water away from the plants. Set the row on a tall raised bed or a ridge so the crowns sit above the wet, and steer surface runoff around the planting rather than through it. Ground that stays soggy is where the damage happens.The response is drainage, since rotted roots do not recover: plant on tall raised beds or ridges and divert surface water away from the row. Low, heavy, poorly drained ground is where these water molds do their work, so soil water is the variable you actually control.
If your ground tends to stay wet, ask for a more tolerant variety when you buy. It lowers what the planting has to absorb, though it does not take the place of the drainage work.Cultivar tolerance varies, so a more tolerant selection is worth having on heavy or low ground. Treat it as a reduction in pressure rather than a substitute for the site work, since saturated soil defeats tolerance.
Buy disease-free plants, and when you replace ones you have lost, put clean stock on the better-drained spot rather than back into the same wet ground.Establish from disease-free nursery stock, and site replacements on better-drained ground rather than refilling the failed position, which tends to repeat the loss.
No spray for this one. Prevention is the control.
The ladder troubleshoots from the gentlest solution to the strongest. Start with the gentlest option and only move on when and if it doesn't work.
Variety choice does a lot of the work here. Many primocane-fruiting types, the ones that fruit on first-year canes, and some thornless upright kinds hold up better, so ask before you buy. It matters most in the humid Southeast, where this is the biggest blackberry problem there is.Cultivar tolerance is the highest-leverage decision: many primocane-fruiting selections and some thornless erect types are more tolerant, while erect thorny types take it worst. The choice weighs heaviest in the humid Southeast, where this is the leading blackberry disease.
Start with disease-free plants so you are not planting the problem into a new patch along with the canes.Establishment from disease-free stock is the one control set before anything is in the ground, and it is the cheapest place to keep the pathogen out of a new planting.
Clear out wild brambles growing near the patch. They carry the same disease and sit close enough to keep resupplying yours.Feral brambles nearby are a standing spore source, and the disease runs worst where a planting sits against a wild stand; clearing what is in range lowers the load arriving at bloom.
Keep the row open and airy rather than letting it thicken into a tangle. Give the canes room and trellis them, which also means you can see into the planting when the flowers open.An open, well-trellised row is part of the prevention program, and it keeps the bloom visible, which is what makes scouting practical in the one window when the deformed flowers can be found early.
Check the blossoms closely each spring, and as soon as you find a cane whose flowers have opened into that wrinkled, reddish, broom-like cluster, cut it out and destroy it. Getting it off the plant before the spores move to healthy canes is the whole idea. Where a Southern planting is badly hit, mowing the entire planting to the ground after harvest to grow a fresh set of canes is a common reset. Plants that are infected through and through are worth removing outright.Remove and destroy every cane showing the rosetted bloom as it appears, ahead of spore release onto healthy growth, and scout at bloom in the Southeast where that window is tight. Mowing a badly affected planting to the ground after harvest to regrow a clean set of primocanes is a standard Southern reset, and severely infected plants are rogued rather than pruned.
No spray for this one. Prevention is the control.
The ladder troubleshoots from the gentlest solution to the strongest. Start with the gentlest option and only move on when and if it doesn't work.
Start with clean plants, so the fungus is not in the row from the day you put the canes in.Establish from clean stock: the fungus carries over on cane tissue, so infected planting material can bring it in ahead of any cultural step you take afterward.
Where a resistant variety is offered for the type you want, it is worth choosing. Availability varies, so it is a question to ask at the nursery rather than something to count on.Select resistant cultivars where they exist for the type you want; availability is uneven across the erect, semi-erect and trailing classes, so treat it as an opportunistic gain rather than a planned control.
Keep the row narrow and open. This one does its worst in wet springs and crowded plantings, so canes with room around them and air moving through dry off faster after rain.Narrow, open rows shorten the cane wetness the infection periods depend on; crowding is named alongside wet springs as the condition that turns light spotting into cane damage.
Go easy on the fertilizer. An over-fed row grows dense and soft, and that is the growth this disease runs hardest in.Over-fertilized rows are named with crowding and overhead water as the conditions that worsen it, so restrained nitrogen keeps the canopy from closing in on itself.
Water at the ground, around the base of the plants, instead of sprinkling over the top. Wetting the canes and leaves is what gives this fungus its opening.Base irrigation removes the overhead wetting the sources call out as an aggravating factor; cane and leaf wetness is what the infection needs, so where the water lands is a real lever.
Cut out the old canes that have already fruited, along with the new canes that are most heavily spotted, and destroy them rather than stacking them at the end of the row. The fungus spends the winter on old canes, so clearing them every year is what keeps the following spring's spotting down.Annual removal of spent floricanes and the worst-spotted primocanes strips the overwintering source, since the fungus carries over on old cane tissue and infects new growth during wet weather. Destroy the prunings rather than piling them near the row.
No spray for this one. Prevention is the control.
The ladder troubleshoots from the gentlest solution to the strongest. Start with the gentlest option and only move on when and if it doesn't work.
Keep the row thin and open, at the cane count your planting guidance recommends rather than letting every shoot stay. These fungi do their worst in dense, wet plantings, and thinning is what lets a row dry out.Thinning to the recommended cane density and holding the row narrow shortens wetness and takes out the crowded, injured wood these cankers colonize.
Do not overdo the nitrogen. A heavily fed row grows dense and stays damp, which is the condition these cankers like best.Excess nitrogen is named alongside density and moisture as an aggravating factor, so restrained feeding keeps the canopy from closing and the wood from staying soft.
Prune in dry weather rather than in the rain or with the canes still wet, and try not to nick or scrape canes while you work. These fungi get in through wounds, and a wet day is when they are on the move.Confine pruning to dry weather and minimize mechanical injury: the pathogens enter through pruning wounds and damaged or crowded wood, so when you cut and how cleanly you cut are both part of the control.
Take the old fruited canes out right after harvest rather than leaving them standing over winter, and get them away from the row.Prompt floricane removal after harvest clears the spent wood these fungi occupy instead of leaving it standing in the row through the off season.
Where a cane carries one of those dark brown to purple cankers, a sunken dead patch spreading from a wound or a leaf joint, cut the cane out well below the canker, into clean wood, and destroy what comes off. Dip your pruners between cuts so you are not carrying it from cane to cane. Placing the cut far enough below the damage matters most.Cut well below the visible canker margin into sound tissue and destroy the removed wood; disinfect between cuts, though cut placement carries more of the result than tool sterilizing does. Wilting typically shows the year after infection, so the canes you are cutting reflect last season's entry points.
No spray for this one. Prevention is the control.
The ladder troubleshoots from the gentlest solution to the strongest. Start with the gentlest option and only move on when and if it doesn't work.
Start with clean nursery plants. This fungus lives inside the whole plant rather than sitting on the surface, so one that arrives infected stays infected.Establish from clean stock: the rust is systemic in the plant, so an infected transplant is a permanent carrier rather than something you treat out later.
Where rust turns up regularly in your area, ask for a more resistant variety when you buy. Blackberries take this one harder than the other brambles do.Favor more resistant cultivars where the rust has a local history; blackberries are notably susceptible, so the selection carries more weight here than on the other caneberries.
Clear the wild brambles growing around the planting. They carry the rust and shed spores straight into your patch each spring.Feral brambles are the spore source that seeds a planting, so clearing what is within range belongs to the same job as removing your own infected plants.
There is no cure for a plant that has it. Look the new shoots over each spring, and when you find one with bright orange powder on the leaf undersides, dig that plant out, roots and all, and destroy it before the powder starts blowing around. Cutting the shoot back does not help, because the fungus is in the whole plant.Roguing is the response: the fungus is systemic, so infected plants come out entire, roots included, at the first sight of orange pustules and ahead of spore release onto healthy neighbors. Inspect new shoots each spring, when the spindly, bunchy growth and pustuled undersides are diagnostic; cutting back an infected plant does not remove the pathogen.
No spray for this one. Prevention is the control.
You do not rotate blackberries each year like vegetables, because a patch lives for many years. What matters is the starting spot: do not plant where tomatoes, potatoes, peppers, eggplant, or strawberries grew recently, and avoid old bramble patches. When a patch wears out, plant the new one somewhere fresh.Crop rotation in the annual sense does not apply, since a blackberry planting stays in place for 15 to 20 years. But site history matters at planting: avoid ground that recently grew Verticillium hosts (tomato, potato, pepper, eggplant, strawberry) or old or wild brambles, which leave behind soil disease and virus reservoirs. When a planting declines, start the new one on fresh ground rather than replanting the same spot.
The plant app sends a timely reminder at every critical moment of your blackberry season. The wording adjusts to whichever you pick: beginner or seasoned. Here are three you'll see in Zone 9.
plant sends the right notification at exactly the right moment, for your zone, your weather, your crops. Founding members lock the rate forever.
We're building this guide with real growers. Got a question we missed? Ask here. We read every one and add the best answers right to this page.
Learned something the hard way? Pass it on. Real growers' tips make this guide better for the next person, and we credit you by name when yours goes live.
If you've grown this crop and you see a date, a temperature, a companion claim, or a recommendation that doesn't match your experience, tell us. Real growers' corrections make this guide better for the next person.
Every date, temperature, spacing, and recommendation on this page is sourced from university cooperative extension publications, peer-reviewed agricultural research, NOAA climate data, and direct extension calendars. Where claims are softer (traditional gardening wisdom not formally documented), we say so.
Spot a data point that doesn't match your experience? Submit a correction; accepted corrections earn full author credit on the page.
Zone-aware seasonal nudges, what's worth planting now, and the occasional recipe from the harvest. No spam, ever.