Today · in your zone
What's happening right now
Off-season for blueberry in zone 9.
Blueberries are bushes, not annual plants, and a healthy one can fruit for decades. They are easy to grow once you nail two things: very acidic soil and the right type for your climate. Plant at least two different varieties so they pollinate each other, and you are set for years. Blueberries are long-lived, acid-loving woody shrubs that reward patience: a well-sited bush can produce for decades. Success turns on three things most growers underestimate: matching the type to your winter chill, getting the soil acidic enough, and planting more than one cultivar for cross-pollination.
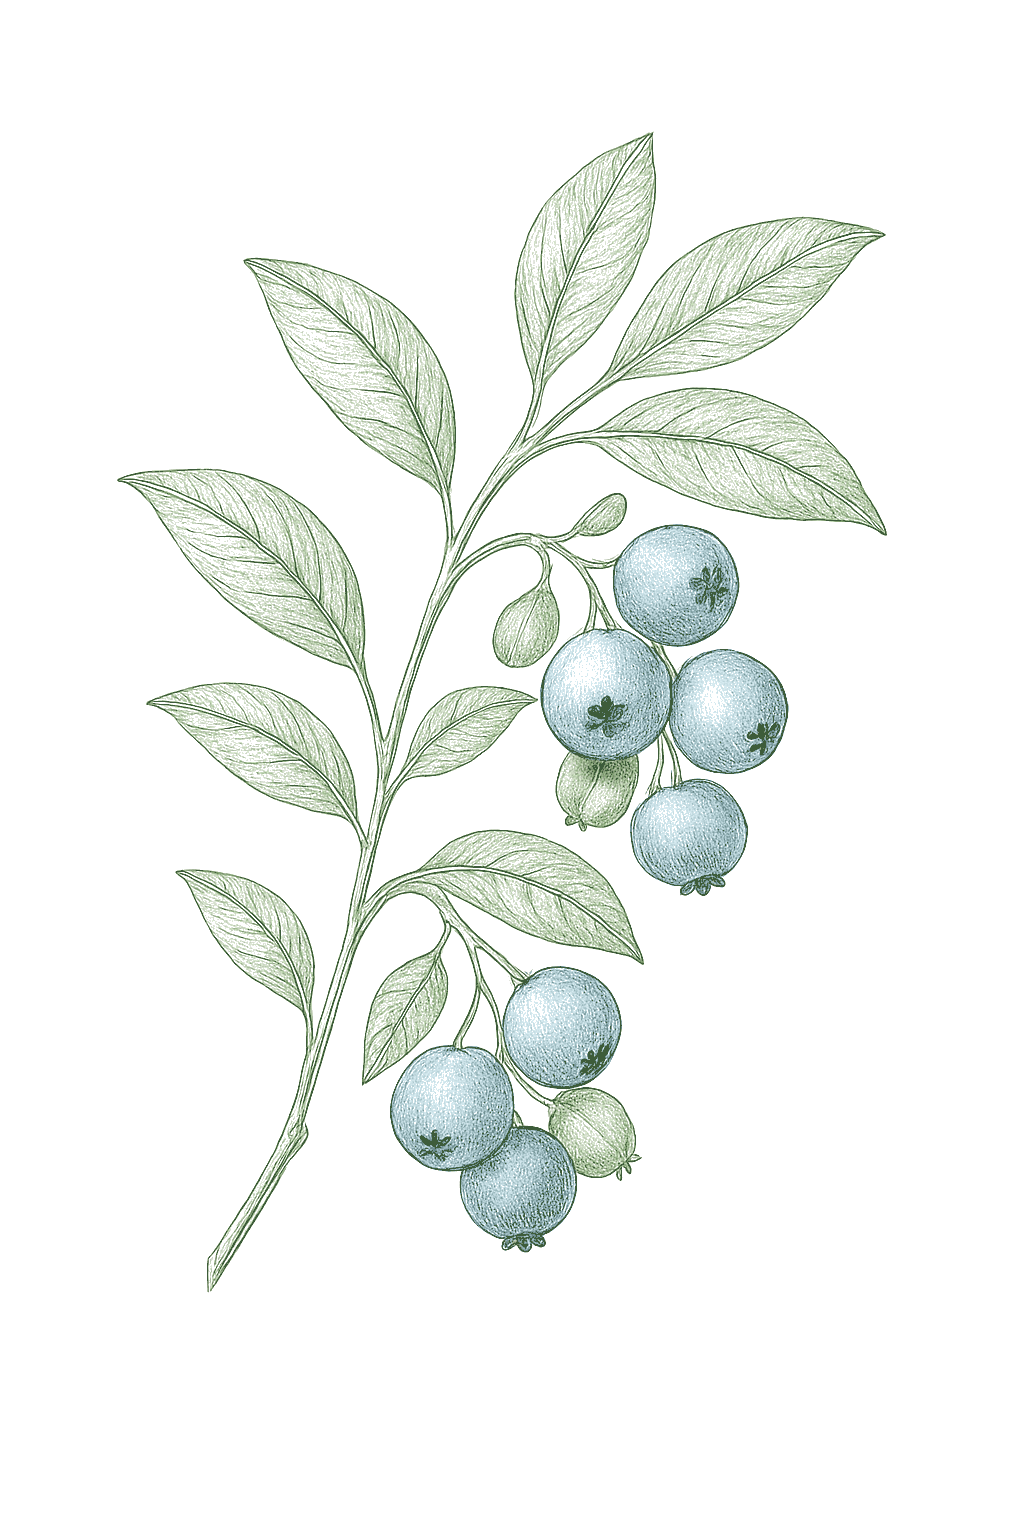
Off-season for blueberry in zone 9.
Zone 9 averages a last frost around March 1. Within Zone 9, the colder half (9a, winters down to 20°F) runs about a week later. The warmer half (9b, winters down to 25°F) runs about a week earlier. The plant app picks your subzone from your ZIP.
| Subzone | Last spring | First fall | Growing days | Winter min | Fruits reliably |
|---|---|---|---|---|---|
| 9a | Mar 8 | Nov 24 | ~261 | 20-25°F | Yes · two seasons |
| 9b | Feb 28 | Nov 30 | ~275 | 25-30°F | Yes · two seasons |
Averages from 8 weather stations per subzone, drawn from NOAA 1991-2020 Climate Normals. Your actual frost date can vary by up to two weeks based on elevation, proximity to water, and local topography.
Blueberries need a stretch of cold winter weather before they will flower and fruit, measured in chill hours (time below 45°F). Each type needs a different amount: northern highbush needs a lot of cold, southern highbush very little, rabbiteye somewhere in between. This is why choosing the type that matches your climate matters so much.Chill hours are the hours of winter temperature below 45°F a blueberry needs to break dormancy and bloom normally. The requirement varies sharply by type: northern highbush wants roughly 800 to 1000 hours, rabbiteye about 350 to 650, and southern highbush as little as 150 to 600. Too little chill for the type gives weak, erratic bloom and little fruit; the figure is the single best predictor of whether a given cultivar will crop where you live.
These need more chill than your winter dependably delivers. In a mild winter they bloom unevenly and crop lightly.
Even in interior California, your blueberry loses its leaves and rests through winter (this rest is called dormancy), unlike the green-all-year bushes on the coast. It flowers in late winter or early spring, ripens berries from late spring into summer, then goes bare. You prune it late in its winter rest, just before the buds open. It is a long-lived bush you plant once and keep for many years.Even in interior California, blueberry grows as a deciduous shrub: the real winter banks enough chill that the bush rests bare and goes dormant, unlike the evergreen coast. It breaks bud and blooms in late winter to early spring, sets and ripens fruit from May into July, then drops its leaves. You prune late in the dormant season, just before bud break. It is a permanent shrub, planted once and productive for decades.
Once established, your blueberries follow the same yearly rhythm. Choose a cultivar by chill class above, then use this calendar for the season-to-season timing.
Blueberries need a stretch of cold winter weather before they will flower and fruit, measured in chill hours (time below 45°F). Each type needs a different amount: northern highbush needs a lot of cold, southern highbush very little, rabbiteye somewhere in between. This is why choosing the type that matches your climate matters so much.Chill hours are the hours of winter temperature below 45°F a blueberry needs to break dormancy and bloom normally. The requirement varies sharply by type: northern highbush wants roughly 800 to 1000 hours, rabbiteye about 350 to 650, and southern highbush as little as 150 to 600. Too little chill for the type gives weak, erratic bloom and little fruit; the figure is the single best predictor of whether a given cultivar will crop where you live.
These need more chill than your winter dependably delivers. In a mild winter they bloom unevenly and crop lightly.
These need more chill than your winter dependably delivers. In a mild winter they bloom unevenly and crop lightly.
Around the Arizona low desert, blueberries have to be grown in large containers because the ground soil is too alkaline. Grown that way it is a long-lived bush you plant once and keep for years, staying green all year. It flowers in mid-winter and ripens berries in spring, around April to May, then settles into a calmer stretch of light care and careful watering. Protect it from the harshest heat, and expect better results in the cooler mid-elevation areas.In the Arizona low desert blueberry is a container-only crop, since the soil is too alkaline for in-ground planting; grown in pots it is a permanent evergreen shrub that keeps its leaves year round. The year runs from a mid-winter bloom to an early harvest, April into May, then a care period of light shaping, feeding, and acidified watering. Shield it from extreme heat; it performs best in cooler mid-elevation spots.
Once established, your blueberries follow the same yearly rhythm. Choose a cultivar by chill class above, then use this calendar for the season-to-season timing.
Blueberries need a stretch of cold winter weather before they will flower and fruit, measured in chill hours (time below 45°F). Each type needs a different amount: northern highbush needs a lot of cold, southern highbush very little, rabbiteye somewhere in between. This is why choosing the type that matches your climate matters so much.Chill hours are the hours of winter temperature below 45°F a blueberry needs to break dormancy and bloom normally. The requirement varies sharply by type: northern highbush wants roughly 800 to 1000 hours, rabbiteye about 350 to 650, and southern highbush as little as 150 to 600. Too little chill for the type gives weak, erratic bloom and little fruit; the figure is the single best predictor of whether a given cultivar will crop where you live.
These need more chill than your winter dependably delivers. In a mild winter they bloom unevenly and crop lightly.
These need more chill than your winter dependably delivers. In a mild winter they bloom unevenly and crop lightly.
In the California desert, blueberries only work in large pots because the ground soil is too alkaline. Grown that way it is a long-lived bush you plant once and keep for years, staying green all year. It flowers early and ripens berries in spring, around April to May, before the worst heat, then moves into a calmer stretch of light care and careful watering. Give it afternoon shade against the intense sun, and know this is a project for a patient gardener.In the California low desert blueberry is a container-only crop, since native soils are too alkaline for it; grown that way it is a permanent evergreen shrub that holds its leaves year round. The year runs from an early bloom to an early harvest, April into May before peak heat, then a care period of light shaping, feeding, and steady acidic watering. Give afternoon shade and treat it as a rewarding challenge rather than a sure thing.
Once established, your blueberries follow the same yearly rhythm. Choose a cultivar by chill class above, then use this calendar for the season-to-season timing.
Blueberries need a stretch of cold winter weather before they will flower and fruit, measured in chill hours (time below 45°F). Each type needs a different amount: northern highbush needs a lot of cold, southern highbush very little, rabbiteye somewhere in between. This is why choosing the type that matches your climate matters so much.Chill hours are the hours of winter temperature below 45°F a blueberry needs to break dormancy and bloom normally. The requirement varies sharply by type: northern highbush wants roughly 800 to 1000 hours, rabbiteye about 350 to 650, and southern highbush as little as 150 to 600. Too little chill for the type gives weak, erratic bloom and little fruit; the figure is the single best predictor of whether a given cultivar will crop where you live.
These need more chill than your winter dependably delivers. In a mild winter they bloom unevenly and crop lightly.
On the cool, foggy north coast your blueberry rests over winter and drops its leaves (this rest is called dormancy). It flowers in late winter, then ripens fruit over a long stretch from late spring into early fall. Once the bush is bare you prune it late in its winter rest, just before the buds open. It is a long-lived bush you plant once and keep for many years.On the cool north coast some southern highbush cultivars grow deciduous, the mild winter still banking enough chill for a real dormancy and a bare-branch rest. The bush blooms in late winter, then the long, mild season stretches harvest from late May into September. After the leaves drop you prune late in the dormant season, just before bud break. It is a permanent shrub, planted once and productive for decades.
Once established, your blueberries follow the same yearly rhythm. Choose a cultivar by chill class above, then use this calendar for the season-to-season timing.
Blueberries need a stretch of cold winter weather before they will flower and fruit, measured in chill hours (time below 45°F). Each type needs a different amount: northern highbush needs a lot of cold, southern highbush very little, rabbiteye somewhere in between. This is why choosing the type that matches your climate matters so much.Chill hours are the hours of winter temperature below 45°F a blueberry needs to break dormancy and bloom normally. The requirement varies sharply by type: northern highbush wants roughly 800 to 1000 hours, rabbiteye about 350 to 650, and southern highbush as little as 150 to 600. Too little chill for the type gives weak, erratic bloom and little fruit; the figure is the single best predictor of whether a given cultivar will crop where you live.
These need more chill than your winter dependably delivers. In a mild winter they bloom unevenly and crop lightly.
These need more chill than your winter dependably delivers. In a mild winter they bloom unevenly and crop lightly.
Your southern highbush blueberry is a long-lived bush you plant once and keep for many years, and on the mild coast it stays green all year. It flowers in late winter, ripens berries from late spring into late summer, then settles into a calmer stretch of light care and feeding. The bush handles cold easily here; it is summer heat you watch for, so give it afternoon shade where the sun is strong.Southern highbush grows as a permanent evergreen on the mild southern coast, planted once and productive for decades; it keeps its leaves year round. The year runs from a late-winter bloom to harvest from roughly late May into August, then a care period of light shaping and feeding. Heat and dry air, not frost, are the main stresses, so give afternoon shade in hot spots.
Once established, your blueberries follow the same yearly rhythm. Choose a cultivar by chill class above, then use this calendar for the season-to-season timing.
Blueberries need a stretch of cold winter weather before they will flower and fruit, measured in chill hours (time below 45°F). Each type needs a different amount: northern highbush needs a lot of cold, southern highbush very little, rabbiteye somewhere in between. This is why choosing the type that matches your climate matters so much.Chill hours are the hours of winter temperature below 45°F a blueberry needs to break dormancy and bloom normally. The requirement varies sharply by type: northern highbush wants roughly 800 to 1000 hours, rabbiteye about 350 to 650, and southern highbush as little as 150 to 600. Too little chill for the type gives weak, erratic bloom and little fruit; the figure is the single best predictor of whether a given cultivar will crop where you live.
Your blueberry bush comes back every year and can produce for decades. It drops its leaves and rests over our mild winter, flowers in April, and ripens fruit from late June through August. Net the bushes starting in mid-June, before the birds beat you to the berries, and prune in winter or very early spring. Plant two different varieties together for a bigger crop.Blueberry is a permanent deciduous shrub here, planted once and productive for decades. It rests bare and dormant through the mild, wet winter, then breaks bud and blooms in April, sets fruit through a long cool spring, and ripens from late June into August. Net the bushes against birds from mid-June through the end of harvest, and prune in the dormant season, winter into early spring, just before growth resumes. Plant at least two cultivars near each other for the best fruit set.
Once established, your blueberries follow the same yearly rhythm. Choose a cultivar by chill class above, then use this calendar for the season-to-season timing.
Blueberries need a stretch of cold winter weather before they will flower and fruit, measured in chill hours (time below 45°F). Each type needs a different amount: northern highbush needs a lot of cold, southern highbush very little, rabbiteye somewhere in between. This is why choosing the type that matches your climate matters so much.Chill hours are the hours of winter temperature below 45°F a blueberry needs to break dormancy and bloom normally. The requirement varies sharply by type: northern highbush wants roughly 800 to 1000 hours, rabbiteye about 350 to 650, and southern highbush as little as 150 to 600. Too little chill for the type gives weak, erratic bloom and little fruit; the figure is the single best predictor of whether a given cultivar will crop where you live.
These need more chill than your winter dependably delivers. In a mild winter they bloom unevenly and crop lightly.
In the Las Vegas Valley, blueberries have to be grown in large containers because the ground soil is too alkaline. Grown that way, it is a long-lived bush that stays green year round in this mild-winter zone. It flowers in winter and ripens berries in spring, around April to May, then settles into a calmer stretch of light care and careful watering. Protect it from the harshest heat.In the Las Vegas Valley low desert, blueberry is a container-only crop, since the native soil is too alkaline for in-ground planting; grown in pots, it stays mild enough through the winter that this guide treats it as evergreen here, keeping its leaves year round. The year runs from a winter bloom to an early harvest, April into May, then a care period of light shaping, feeding, and acidified watering. Shield it from extreme heat.
Once established, your blueberries follow the same yearly rhythm. Choose a cultivar by chill class above, then use this calendar for the season-to-season timing.
Blueberries need a stretch of cold winter weather before they will flower and fruit, measured in chill hours (time below 45°F). Each type needs a different amount: northern highbush needs a lot of cold, southern highbush very little, rabbiteye somewhere in between. This is why choosing the type that matches your climate matters so much.Chill hours are the hours of winter temperature below 45°F a blueberry needs to break dormancy and bloom normally. The requirement varies sharply by type: northern highbush wants roughly 800 to 1000 hours, rabbiteye about 350 to 650, and southern highbush as little as 150 to 600. Too little chill for the type gives weak, erratic bloom and little fruit; the figure is the single best predictor of whether a given cultivar will crop where you live.
These need more chill than your winter dependably delivers. In a mild winter they bloom unevenly and crop lightly.
These need more chill than your winter dependably delivers. In a mild winter they bloom unevenly and crop lightly.
In the Valley, grow blueberry only in a container with a special acidic potting mix, since the ground here is too alkaline for it. Pick the lowest-chill southern highbush variety you can find, and know that even then, fruiting may be hit or miss because Valley winters rarely get cold enough. Plant more than one variety.In the Valley, blueberry is a niche, uncertain crop grown almost always in a container with an amended acidic mix, since native soils are alkaline and unsuited to this plant regardless of chill. Only the very lowest-chill southern highbush cultivars have any real chance, and even they may bloom and fruit erratically given how little chill the Valley banks most winters. Treat any harvest as a bonus, not an expectation, and plant more than one cultivar for better pollination.
Once established, your blueberries follow the same yearly rhythm. Choose a cultivar by chill class above, then use this calendar for the season-to-season timing.
Blueberries need a stretch of cold winter weather before they will flower and fruit, measured in chill hours (time below 45°F). Each type needs a different amount: northern highbush needs a lot of cold, southern highbush very little, rabbiteye somewhere in between. This is why choosing the type that matches your climate matters so much.Chill hours are the hours of winter temperature below 45°F a blueberry needs to break dormancy and bloom normally. The requirement varies sharply by type: northern highbush wants roughly 800 to 1000 hours, rabbiteye about 350 to 650, and southern highbush as little as 150 to 600. Too little chill for the type gives weak, erratic bloom and little fruit; the figure is the single best predictor of whether a given cultivar will crop where you live.
These need more chill than your winter dependably delivers. In a mild winter they bloom unevenly and crop lightly.
Your rabbiteye blueberry is a long-lived bush you plant once and keep for many years, and here it stays green all year. It flowers late enough to usually miss spring frosts, ripens berries from late spring into summer, then moves into a calmer stretch of light tidying and feeding. One key point: it must have a second, different rabbiteye variety planted nearby so the two can pollinate each other and make fruit.Rabbiteye is a permanent evergreen shrub in the Gulf South, planted once and productive for decades; it holds its leaves through the mild winter and stays in leaf year round. The year runs from a late, frost-dodging bloom to harvest from roughly late May into July, then a quieter care period of light shaping and feeding. Rabbiteye needs a second, different rabbiteye nearby to cross-pollinate and set a crop.
Once established, your blueberries follow the same yearly rhythm. Choose a cultivar by chill class above, then use this calendar for the season-to-season timing.
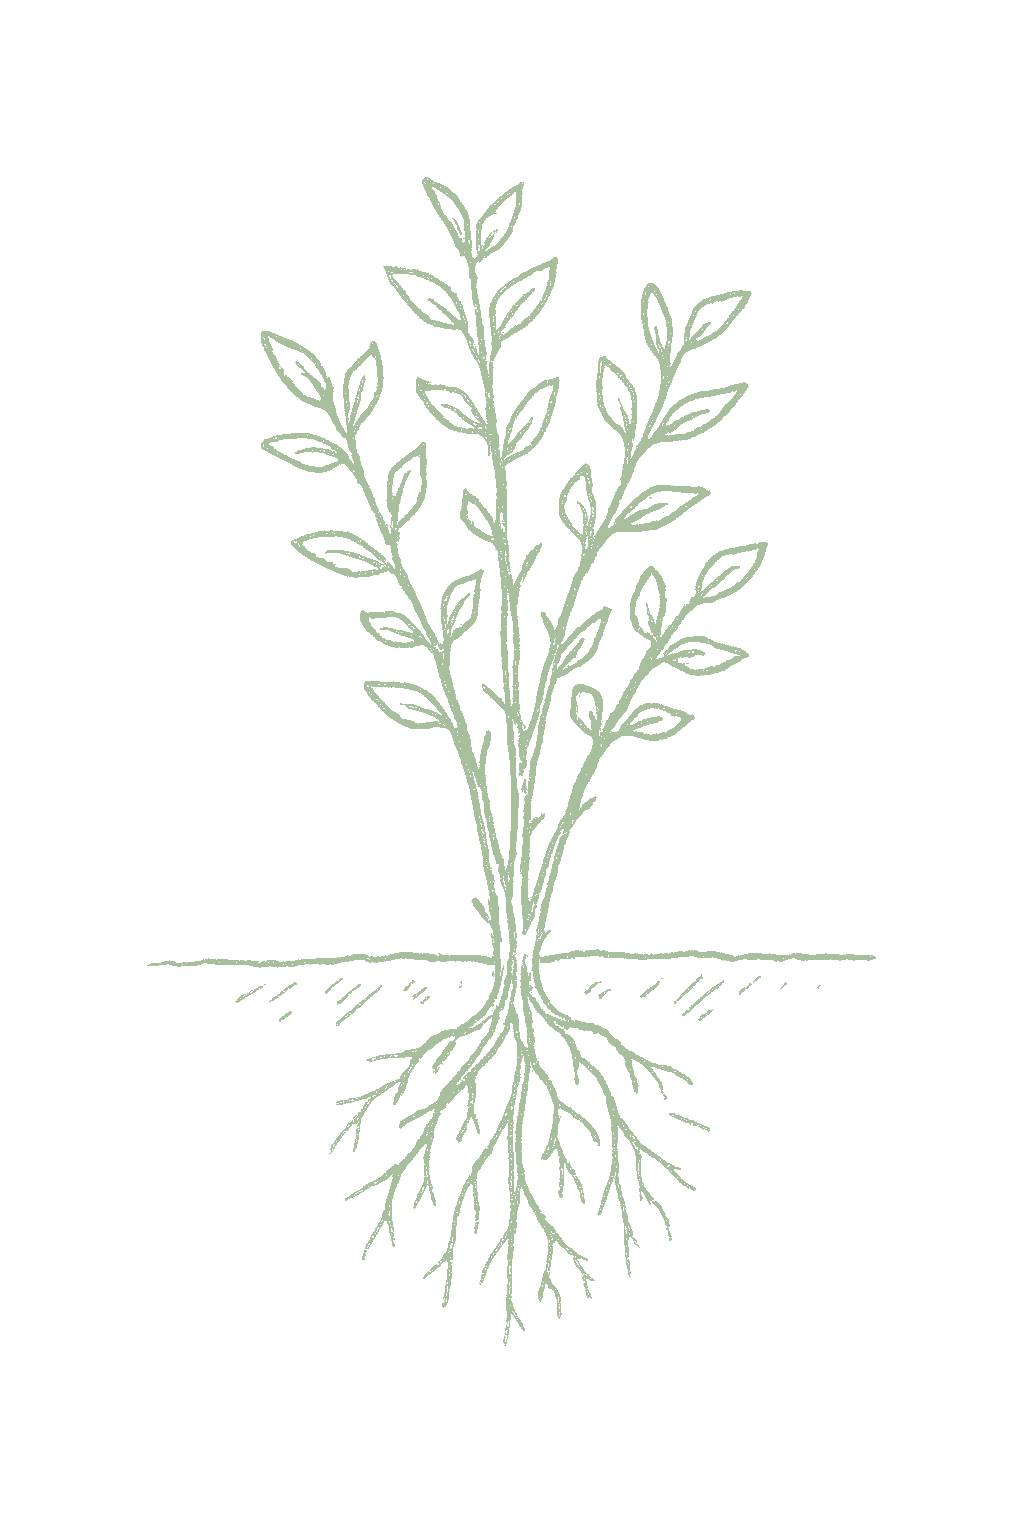
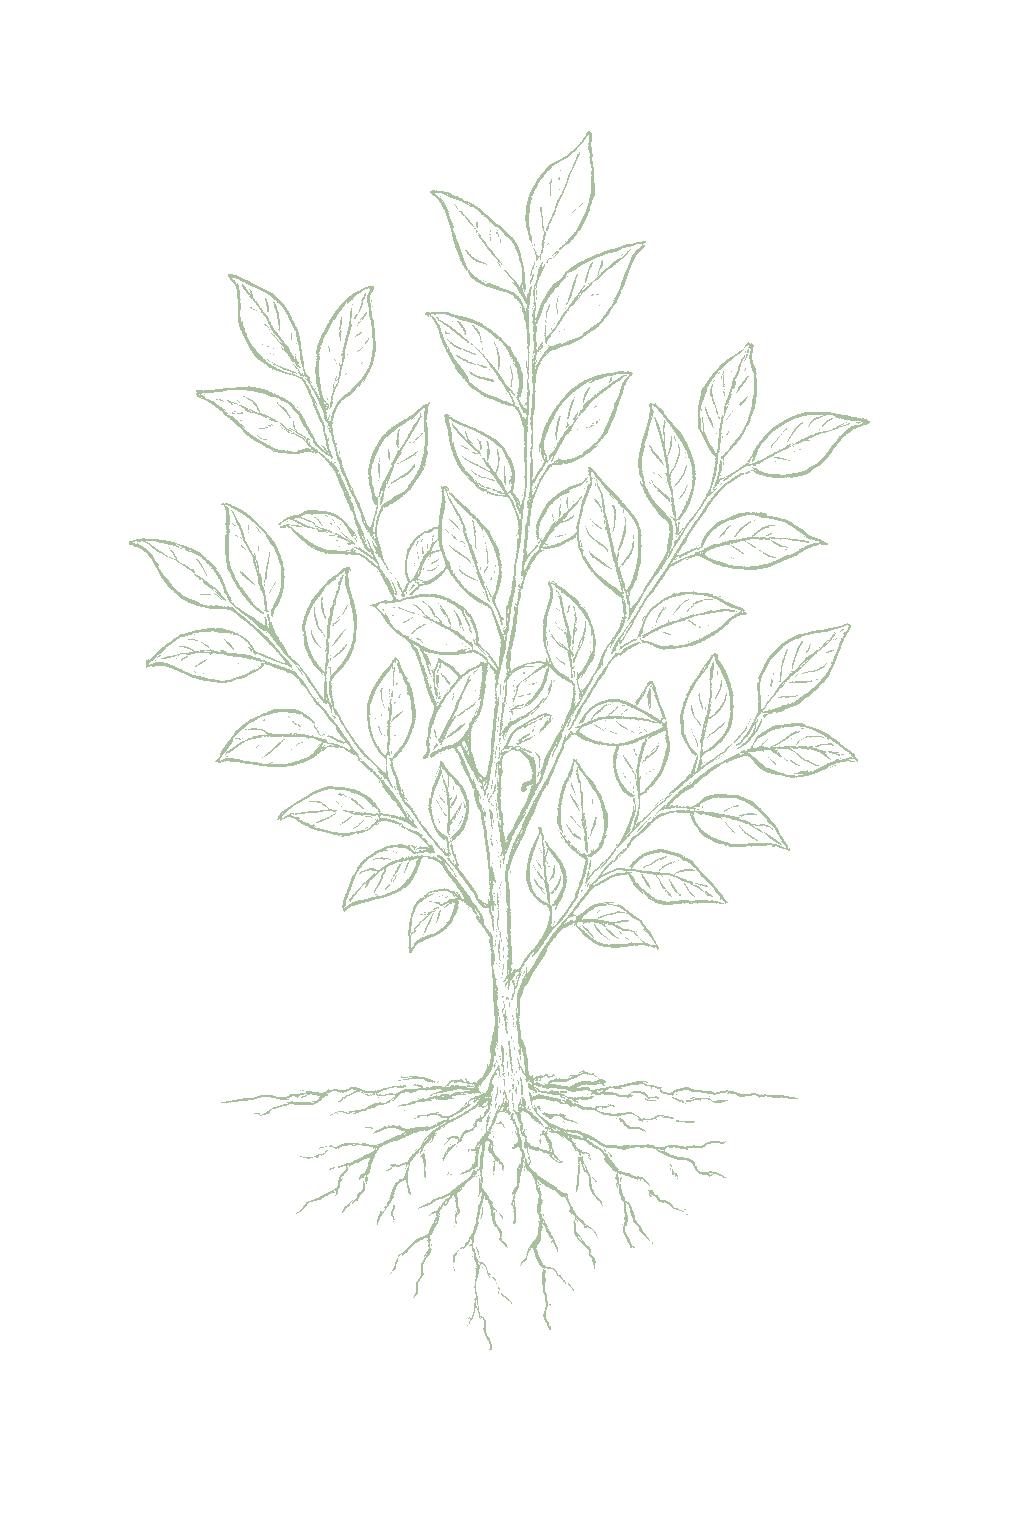
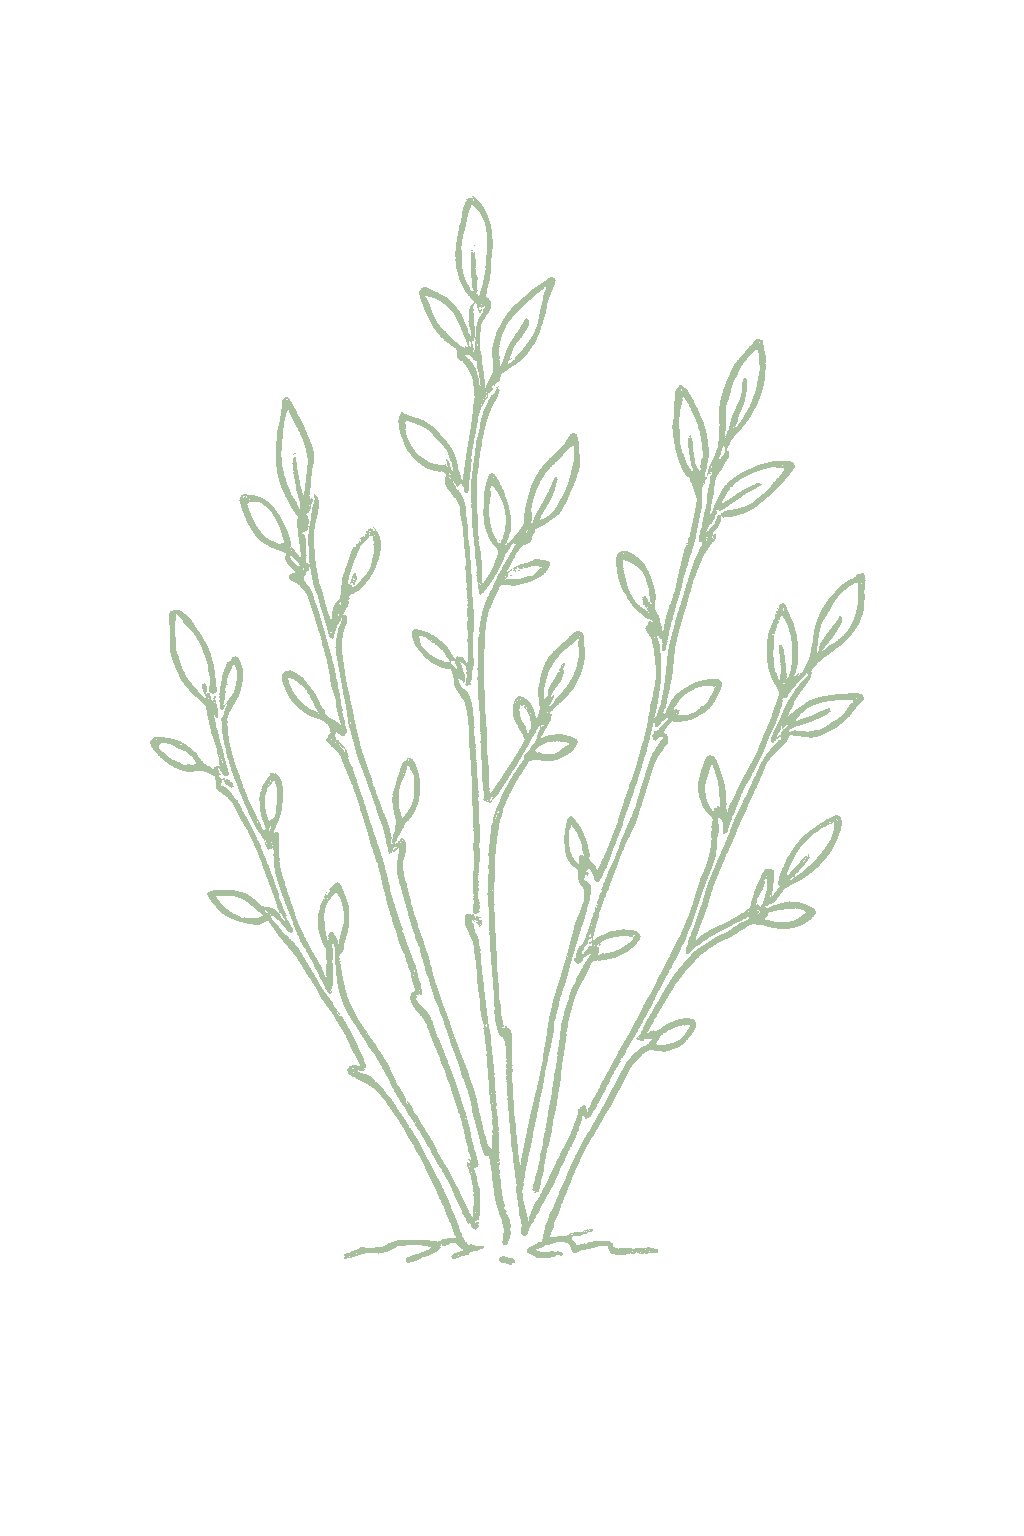
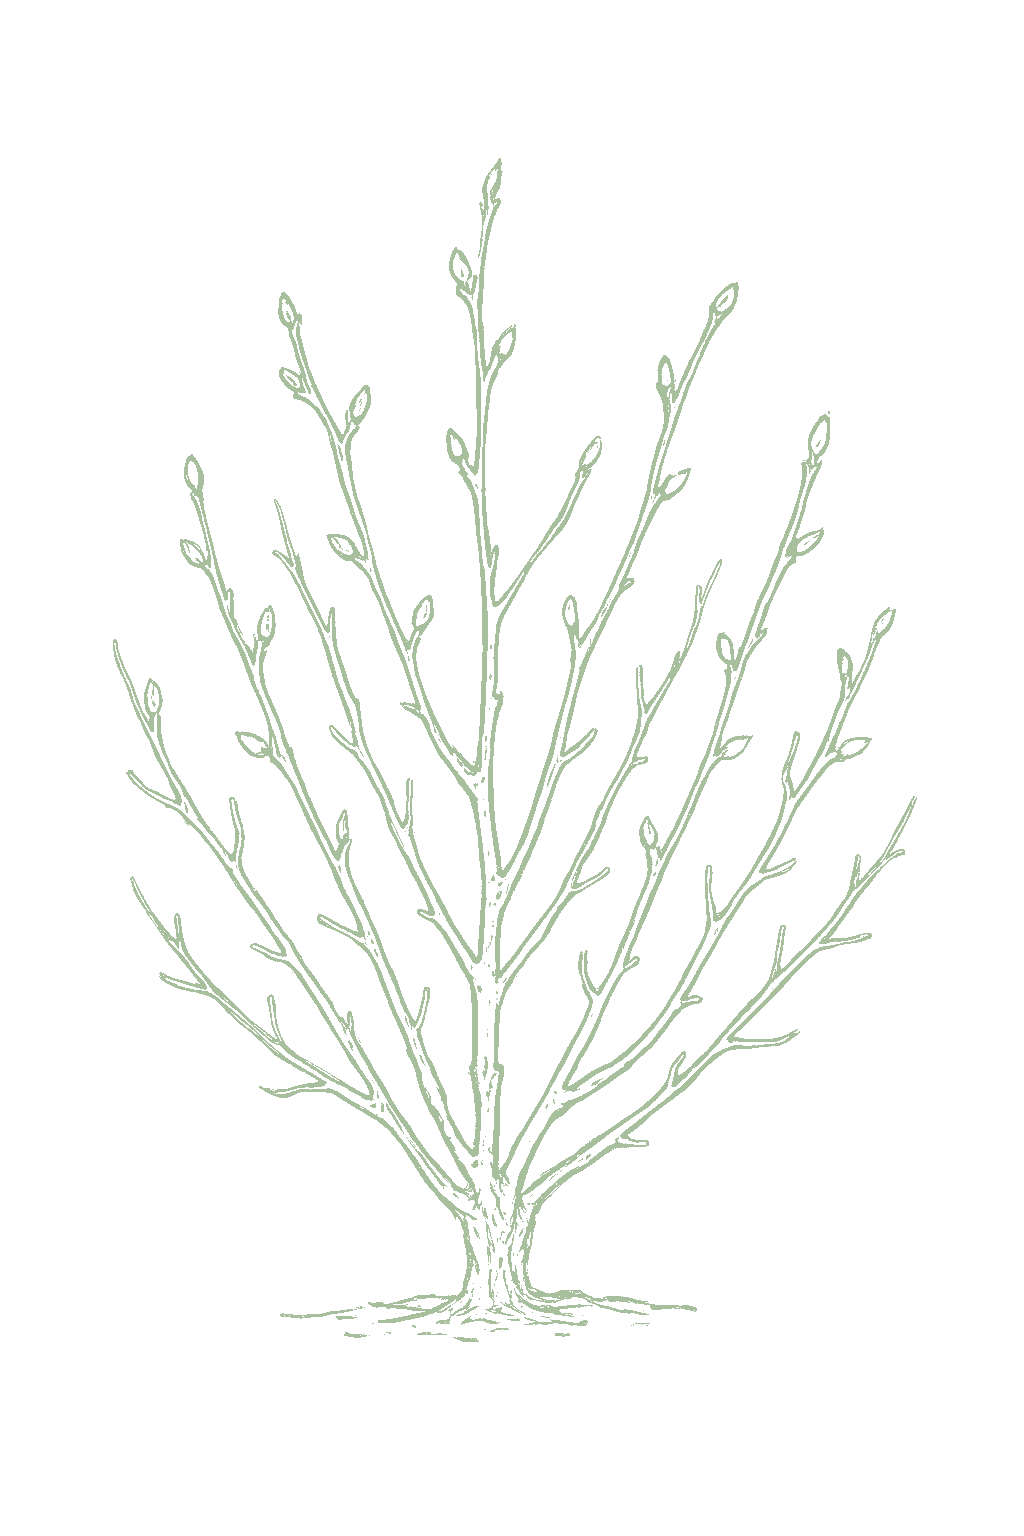
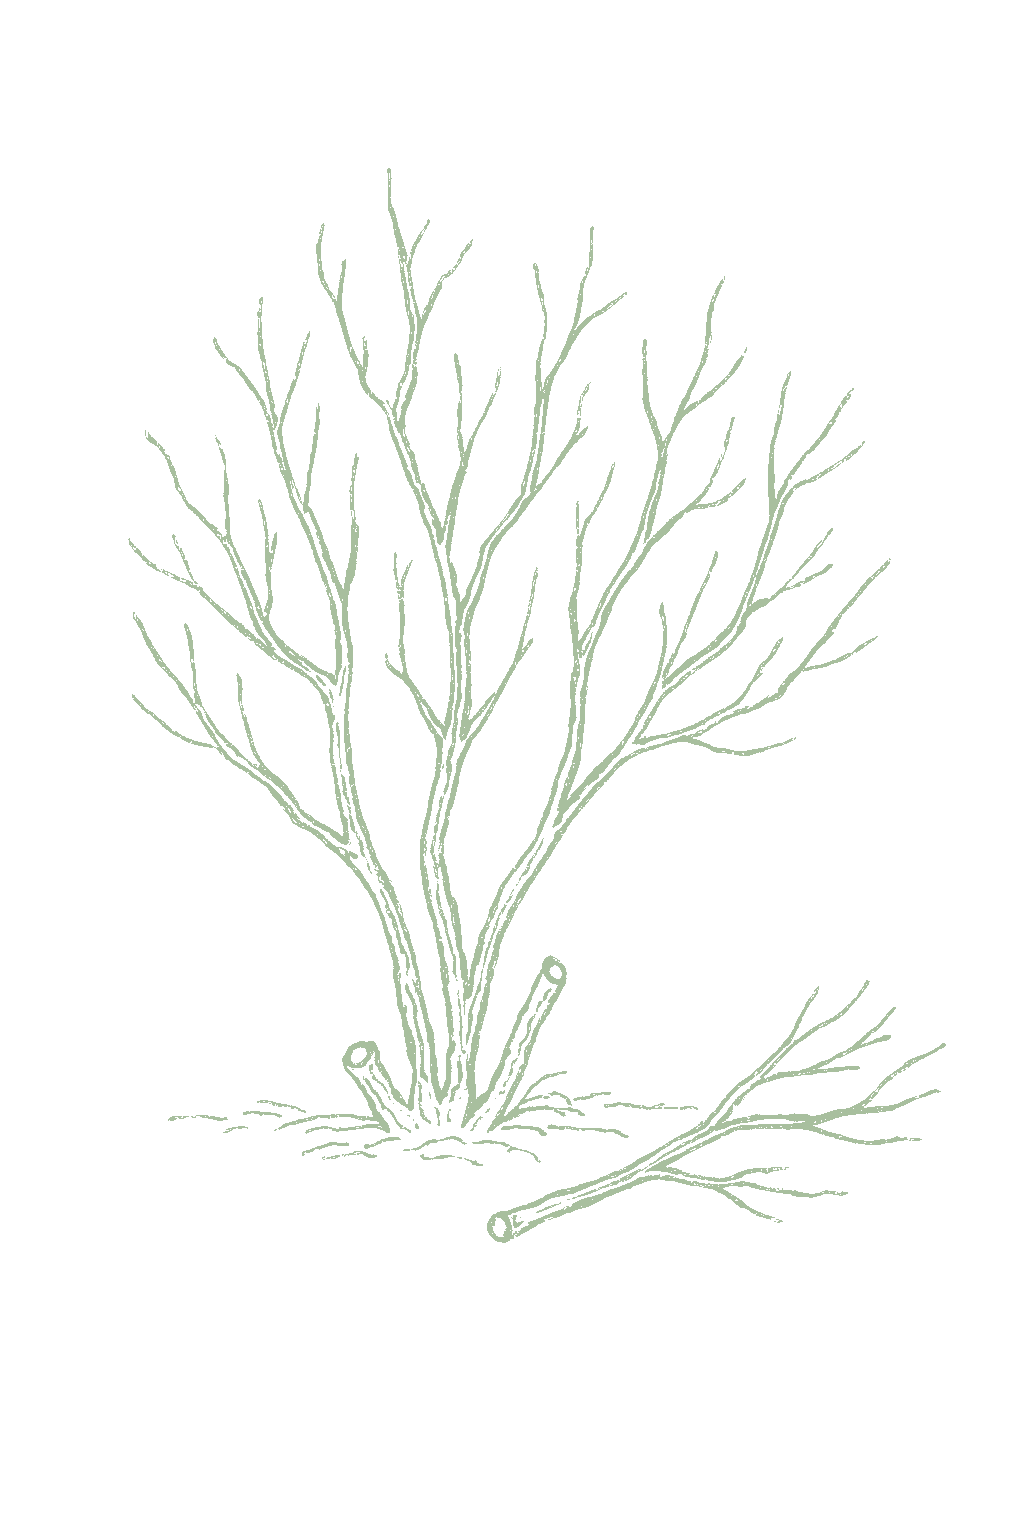




Not sure what soil you have? Grab a small handful of damp soil from your garden bed and squeeze it. If it crumbles apart easily, it's sandy. If it holds together but breaks when you poke it, it's loam (what most vegetables want). If it stays in a hard, slippery ball, it's clay.
Blueberries want loose, acidic soil that drains well and is rich in organic matter. Their roots are shallow and delicate, so heavy clay or soggy ground is a problem. Mixing in peat moss or aged pine bark before planting helps a lot.
Mix 2-3 inches of compost into the top 6 inches of your bed before planting. Compost holds moisture (which sandy soil drains too fast) and adds the nutrients sandy soil tends to lack. Repeat each season. Compost breaks down over time.
Mix 2-3 inches of compost AND a few inches of coarse sand or perlite into the top 6 inches of your bed. The compost feeds the plants; the sand breaks up the clay so air and water can move through. Don't add sand without compost. It can compact like concrete.
If amending your soil sounds like too much work, or if your soil is heavy clay, full of rocks, or contaminated, build over it. A raised bed at least 12 inches deep filled with a 50/50 mix of compost and sandy loam gives you ideal growing soil with no battles. A 5-gallon container with quality potting mix does the same for one plant at a time. Both bypass your native soil entirely.
The numbers that matter, at a glance.
Blueberries are one of the best fruits to grow in a pot, because you control the soil completely. Use a big container, at least 15 gallons, fill it with acidic potting mix, and you sidestep the whole problem of making garden soil acidic enough. Pick a compact variety bred for containers.Containers are arguably the most reliable way for a first-timer to grow blueberries: a 15-to-20-gallon pot of ericaceous mix gives full pH control and bypasses unsuitable native soil entirely. Choose a compact or dwarf cultivar, keep the mix evenly moist, and protect the roots over winter while still meeting the cultivar's chill requirement.
Top Hat
Northsky
Sunshine Blue
Peach Sorbet
Pink Icing
In cold-winter areas, the roots in a pot are more exposed than in the ground. Move the container against a sheltered wall, into an unheated garage, or mulch heavily around it for winter.Potted root zones are far less insulated than ground soil. In cold zones, sink the pot, cluster and mulch containers, or move them to an unheated shelter; the goal is to protect roots while still delivering the dormant chill the type needs.
Potted root zones are far less insulated than ground soil, so in cold-winter regions a container blueberry needs winter root protection while still getting the chill its type requires. Sink the pot in the ground, cluster pots together and mulch heavily around them, or move them to an unheated garage or sheltered spot; the goal is to buffer the roots from hard freezes without keeping the plant warm enough to skip dormancy.
Hardy to zone 3 in the ground; roots in a pot sit colder than that.
Ask what your balcony or roof can carry
A balcony or roof can only hold so much weight. Before you set heavy pots there, ask a building architect what it can safely carry.Illinois Extension's guidance is to consult a building architect about weight limits before placing heavy pots on a balcony or rooftop garden. It gives no weight figure.
Never grow food in a container with anything toxic in it
Many kinds of containers can be used. Whatever you choose, keep anything toxic out of it, especially if you are growing food.Colorado State accepts nearly any container material but warns against using a container that holds toxic materials, especially for edible plants. Illinois adds that a vegetable container should be free of chemicals toxic to plants or people, and urges caution with treated lumber when growing food. If you cannot account for what a repurposed container once held, that alone is a reason to keep food out of it.
Secure hanging containers well
Fasten hanging baskets and window or rail boxes securely. Think about what is below them too, since they can drip on people or things underneath.Illinois Extension asks growers to secure hanging containers well and to think through the safety issues of hanging them. Placement matters too, since a hanging container can drip onto people or belongings below.
Blueberries are fussy about one thing above all: they need very acidic soil, around pH 4.5 to 5.5. Most garden soil is not acidic enough. Get a cheap soil test before you plant. If your soil reads higher, mix in peat moss and add garden sulfur a few months ahead of planting to bring the acidity down. Get this right and the rest is easy.This is the make-or-break detail. Blueberries need a soil pH of roughly 4.5 to 5.5, far more acidic than most garden plants. Test your soil first. If the pH is above that range, lower it with elemental sulfur or by working in peat moss, and do it several months before planting, because sulfur takes time to act. Above about pH 5.5 the plant cannot take up iron and the leaves yellow between the veins.
Feed blueberries with a fertilizer made for azaleas, rhododendrons, or blueberries. These are acid-forming, which is exactly what blueberries want. Skip ordinary garden fertilizer and never add lime. Go light, especially on young plants, and feed in spring when the buds start to swell.Blueberries take up nitrogen in the ammonium form rather than nitrate, so feed with an acid-forming fertilizer such as ammonium sulfate or a blend made for azaleas and rhododendrons. Avoid nitrate fertilizers and anything containing lime, which raise pH and can injure the plant. Young bushes need very little; increase the amount gradually as the plant grows. Split the season's feeding between budbreak and about six weeks later.
Use an azalea or rhododendron food (an acid fertilizer).An acid-forming complete fertilizer; ammonium-form nitrogen, not nitrate.
Blueberries do not need companion plants to do well. The one thing that matters is keeping them away from large shade trees, whose roots crowd them out and cut down on fruit (pine trees are fine). If you want neighbors, other acid-loving plants like azaleas and rhododendrons share the same soil and look good together. Blueberry is not a heavy-companion crop; the main siting rule is what to keep it away from. Plant it clear of hardwood tree roots, which compete heavily and sharply reduce fruiting (pines are the exception and are compatible). Its best neighbors are other acid-loving Ericaceous plants such as azaleas and rhododendrons that share the same acidified bed, more for shared culture and aesthetics than any tested yield gain. Do not crowd the shallow root zone.
A blueberry is ready when it is completely blue and falls off into your hand with a gentle roll of the thumb. Berries turn blue a few days before they are truly sweet, so give them a little longer, then taste one. Pick over the bush every several days as more ripen.Ripe berries turn fully blue and develop a dusty bloom, and they detach with a light roll of the thumb. Color comes a few days before full sweetness, so wait until they part easily from the cluster. Pick every 5 to 10 days through the ripening window; rabbiteye flavor improves with a slightly longer interval.
How much you get depends on the type and the plant's age. A mature highbush bush gives about 5 to 10 pounds a year. Rabbiteye, the warm-climate type, can give a lot more, often 12 to 25 pounds. One bush keeps producing for decades.Yield depends heavily on type and age. A mature northern highbush bush yields roughly 5 to 10 pounds of fruit per year; southern highbush is similar, often exceeding 8 pounds with good care. Rabbiteye is the most productive, commonly 12 to 25 pounds on a mature, well-grown bush. A single bush can produce for decades.
Blueberries take their time. You will get a small crop around year 3 or 4 and a full crop around years 6 to 8. After that, a healthy bush keeps producing for decades.Blueberries are slow to reach full production. Expect a light crop in years 3 to 4 and full bearing around years 6 to 8, after which a well-tended bush stays productive for 20 to 50 years. Rabbiteye in particular keeps building yield as the bush matures. Do not expect berries the first two years. In fact, you should pinch off the flowers in years 1 and 2 so the plant puts its energy into growing a strong bush. It feels harsh, but it gives you far more fruit down the road. A few berries may show up in year 3.Expect no real harvest in years 1 and 2. The recommended practice is to remove the flower buds during the first two seasons after planting so the plant channels its energy into building roots and shoots; this sacrifice pays back in stronger growth and higher yields later. A few berries may come in year 3.
Pick the type that matches your climate, then choose two or more varieties of that same type so they pollinate each other. Getting an early one and a late one of the same type gives you berries over a longer stretch of summer. For very cold areas or for growing in pots, look for the compact half-high varieties.Choose by type first, then by season. Match the type to your winter chill (northern highbush for cold winters; southern highbush or rabbiteye for mild ones), then plant at least two cultivars of that type with overlapping bloom for cross-pollination. Mixing early, mid, and late cultivars within a type stretches the harvest over many weeks. Half-high cultivars (here listed under northern highbush) are the answer for the very coldest gardens and for containers.
The ladder troubleshoots from the gentlest solution to the strongest. Start with the gentlest option and only move on when and if it doesn't work.
Reflective tape and fake owls cost little to try and can push birds off the bush for a while. Birds get used to them, so move the devices around and swap types, and treat this as a stopgap rather than the thing that saves your crop.Visual scares buy a short reprieve before habituation sets in, so reposition and rotate rather than leaving one arrangement standing. Growers widely rate birds the top blueberry pest, and deterrents on their own do not hold that pressure; hang them alongside exclusion, not in place of it.
This is the step that holds. Drape bird netting, roughly 1/2 to 3/4 inch mesh, over the bush or over a frame before the berries start to turn blue, and tuck the edges in at the base so birds cannot get underneath. Put it up again every season.Netting at about 1/2 to 3/4 inch mesh, carried on the bush or a frame with the skirt secured at ground level, is the exclusion that works; an unprotected bush can be stripped within days of color break, and pecked, half-eaten fruit is left behind. Install pre-ripening every year rather than after the first losses.
No spray for this one. Prevention is the control.
The ladder troubleshoots from the gentlest solution to the strongest. Start with the gentlest option and only move on when and if it doesn't work.
Pick every ripe berry every one to three days instead of letting fruit hang. This fly lays its eggs in sound, ripe fruit, so berries left on the bush are what it breeds in, and a tight picking schedule is the strongest everyday step you have.Harvesting the bush clean on a one to three day interval lifts fruit out of the window in which females cut into healthy ripe berries to lay, which is what separates this fly from the vinegar flies that use only rotting fruit. Picking interval carries most of the weight here.
Collect any fallen or overripe berries and get rid of them, sealed in a bag rather than added to the compost pile. Soft fruit on the ground keeps the flies going even after you have picked the bush clean.Drops and overripe culls are breeding substrate, so bagging and destroying them rather than composting closes the route that clean picking alone leaves open. A planting kept clear of dropped fruit is the standing condition the harvest schedule works inside.
Set out a cup of apple cider vinegar near the fruit to catch the flies. It tells you when they have arrived so you can time the other steps; it is a warning tool rather than a control.Apple cider vinegar traps read adult arrival so the picking interval and the netting are timed to the population instead of guessed. Detection rather than suppression: a catch is the cue to tighten harvest and get exclusion on.
Cover the fruiting bush with very fine mesh, finer than about 1 mm, and seal it at the edges so the flies cannot reach the fruit. It goes on before the berries begin to ripen, not after.Mesh below about 1 mm over fruiting plants reduces egg-laying by keeping females off the fruit. It is a pre-ripening install, paired with the traps above so the timing comes from observed arrival rather than the calendar.
No spray for this one. Prevention is the control.
The ladder troubleshoots from the gentlest solution to the strongest. Start with the gentlest option and only move on when and if it doesn't work.
Gather up dropped and infested berries and destroy them, so the maggots cannot finish growing in the soil below the bush. Do not compost them: the resting stage between maggot and fly, called the pupa, survives composting, so bag them instead.The larva develops inside the fruit and then drops to the soil to pupate, so removing infested and fallen berries denies it that step. Pupae come through composting intact, which is why infested fruit is destroyed rather than turned into a pile.
Pick often and promptly as the fruit ripens. The fly lays in nearly ripe berries, so taking them off the bush on time leaves less fruit sitting in the stage it wants.The female places a single egg just beneath the skin of an almost-ripe berry, so a tight picking schedule narrows the laying window and takes infested fruit off the bush before the larvae finish inside it.
Hang baited yellow sticky traps, bright cards coated in glue, a few weeks before the berries ripen. They show you when the small banded-wing fly is around so you can time the cleanup and picking; read them as a watching tool more than a control.Baited yellow cards hung ahead of ripening give a first-catch date for an adult flight that runs across midsummer, which is what times the harvest and sanitation effort. Monitoring rather than suppression: nothing reaches a larva already inside a berry.
No spray for this one. Prevention is the control.
The ladder troubleshoots from the gentlest solution to the strongest. Start with the gentlest option and only move on when and if it doesn't work.
Go easy on nitrogen fertilizer. Heavy feeding pushes out the soft new growth these insects multiply on, so a modestly fed bush gives them less to work with. The reason to bother is less the feeding itself than the viruses aphids can carry.Nitrogen-driven flush is what colonies build on, so restrained feeding lowers the peak instead of responding to it. The stake here is potential virus transmission more than sap loss, which is what justifies acting on numbers that look modest.
Clear the weeds around the planting that aphids live on, since those are where they build up before they find the bush.Aphid-hosting weeds at the edges of the planting feed the colonies that turn up on new growth, so clearing them lowers the pressure the bush sees. Host-specific rather than general tidiness, so it is worth knowing which weeds are involved.
Knock light clusters off with a strong jet of water, aimed at the new shoots and the undersides of the leaves where they gather. Do it early in the day so the leaves dry quickly.A forceful jet dislodges light colonies from tender growth without touching the predator complex; repeat as they rebuild on each flush, and spray early so foliage dries.
Ladybugs and other helpful insects eat aphids and often keep them in check for free. Protect them by keeping broad, strong insecticides off the bush.Resident predators such as ladybugs carry much of the control on an unstressed bush, so conserving them is the working step; a broad-spectrum material removes them along with the aphids and leaves the rebound unopposed.
If there are a lot of them, insecticidal soap kills the aphids you spray directly. It works only while wet, so coat the clusters well. Skip it on a dry, stressed bush or in hot weather, when it can burn leaves.Contact soap acts on what it wets and leaves no residue, so coverage of shoot tips and leaf undersides governs the result; spot treatment spares the soft-bodied beneficials a whole-bush spray would hit. Withhold it on water-stressed plants and in heat.
The bottom rungs are products with label rules: timing, pollinators, and days to wait before harvest. Before you spray →
The ladder troubleshoots from the gentlest solution to the strongest. Start with the gentlest option and only move on when and if it doesn't work.
At winter pruning, look over the older branches and cut out any that are heavily crusted with these bumps, then destroy what you take off rather than leaving it lying by the bush.Dormant pruning is the practical inspection point for scale, which settles on older wood; cutting out and destroying heavily infested canes removes the colonies along with the wood they are fixed to, before a heavy population starts costing vigor.
Natural enemies already living around the bush feed on scale and help hold it down, so keep broad, strong insecticides off the planting.Resident natural enemies supply the ongoing suppression here, so the operative choice is keeping broad-spectrum material out of the bush rather than adding anything to it.
Spray dormant horticultural oil, a light oil that smothers insects rather than poisoning them, onto the bare wood in winter to coat the scale overwintering there. It works only where it lands, so wet the stems thoroughly. Hold off in hot weather and on a dry, stressed bush.Dormant-season oil smothers overwintering scale, so coverage of stems and older wood decides the outcome more than rate does. Withhold it in hot weather or on a water-stressed plant, where foliage injury follows.
The bottom rungs are products with label rules: timing, pollinators, and days to wait before harvest. Before you spray →
The ladder troubleshoots from the gentlest solution to the strongest. Start with the gentlest option and only move on when and if it doesn't work.
Where this shows up most springs, plant a resistant variety, and in a mixed planting take out the varieties that get hit hardest.Cultivar susceptibility varies, so variety choice is the durable lever here, and in a mixed planting the highly susceptible cultivars are the ones to remove.
Rake up the hard, shriveled berries under the bush, the ones called mummies, and throw them away rather than leaving them on the ground. That is where the fungus spends the winter, and clearing them in late winter is what breaks the spring cycle.The fungus overwinters in mummified fruit on the ground, and the spring shoot and blossom infections start from spore cups that form on those mummies, so raking and destroying them is what the organic program rests on. The work belongs in late winter, ahead of cup formation.
Keep the bush open and give it room so air moves through and wet growth dries quickly. This disease is at its worst in cool, rainy springs, which is exactly when a crowded bush stays damp.Air movement through the canopy shortens the spells of wet tissue that favor infection, and it earns most of its keep in the cool, wet springs that make the disease worse.
No spray for this one. Prevention is the control.
The ladder troubleshoots from the gentlest solution to the strongest. Start with the gentlest option and only move on when and if it doesn't work.
This one is decided by where and how you plant. Set bushes on raised beds or mounds in heavy ground, and do not let them stand in soggy soil. Once the roots have rotted there is nothing to spray, so drainage is the job that matters.The water molds behind this attack roots in wet, poorly drained ground, so raised beds or mounds on heavy or low-lying soil remove the condition they depend on. No organic cure exists once roots have rotted, which is what puts the whole program before planting rather than after symptoms.
If the ground has ever stayed wet, the type you buy matters: rabbiteye blueberries are less susceptible to this rot than southern highbush, so the choice at the nursery stacks with the drainage work.Southern highbush is the more susceptible of the two and rabbiteye the less, so type selection is a plant-once decision that lowers exposure where drainage cannot be made perfect.
Start with healthy, disease-free nursery plants, and use clean nursery stock again for any bush you replace.Disease-free nursery stock is one of the named prevention steps, set once at purchase rather than in the bed, and it applies again to every replacement plant.
A bush whose roots have rotted is not going to recover, so pull it out and destroy it. Put its replacement on better-drained ground rather than back into the same wet spot.Removing dead plants is the honest response to a rot with no rescue treatment, and the guidance pairs replacement with a better-drained site, since returning clean stock to saturated ground reproduces the conditions that killed the first plant.
No spray for this one. Prevention is the control.
The ladder troubleshoots from the gentlest solution to the strongest. Start with the gentlest option and only move on when and if it doesn't work.
Prune the bush open so air moves through it and the flowers dry fast. Gray mold takes hold in damp, crowded, still growth, so an open bush does a lot of the work.Canopy openness and spacing shorten the humid spell around the blossoms that the fungus needs; dense, poorly ventilated tissue is where blighting concentrates, and frost-injured flowers are the most vulnerable of all.
Water at the soil rather than over the top of the bush. Wetting the flowers with a sprinkler or hose hands the mold the damp it wants at exactly the wrong moment.Base watering keeps the blossoms out of the wetting pattern overhead irrigation creates. Bloom is when the exposure counts, since this fungus takes the flower cluster first and can carry on into fruit rot.
Do not overfeed with nitrogen. It pushes out dense, soft growth that traps moisture in the canopy, which is what this mold wants.Excess nitrogen thickens the canopy and slows drying, so restrained feeding removes part of the humidity that favors blossom blight. A feeding habit set ahead of bloom rather than a response during it.
Pick off the browned, moldy flower clusters and get rid of them when you spot them.Removing blighted clusters takes out the tissue the fungus is sporulating on and limits what carries forward into fruit rot.
No spray for this one. Prevention is the control.
The ladder troubleshoots from the gentlest solution to the strongest. Start with the gentlest option and only move on when and if it doesn't work.
Some varieties stand up to this rot better than others, so if it costs you fruit most years, variety choice is worth checking first.Cultivar susceptibility varies, so variety selection is the durable lever on a rot that only declares itself at ripening, when little else about the crop can still be changed.
Prune the bush so air moves through it and wet fruit and leaves dry quickly. Infection happens in wet weather, so a canopy that dries fast picks up less of it.An open canopy shortens the wet periods across both of this fungus's windows, the bloom infection and the ripening expression, which makes ventilation the primary cultural lever.
Water at the soil instead of overhead, so you are not adding wet spells of your own on top of the rain.Dropping overhead irrigation removes the controllable share of the fruit and foliage wetting that infection depends on, and it counts through bloom as much as at ripening.
Pick ripe berries on time rather than letting them hang, and get them into the refrigerator soon after picking, since chilling slows the rot down.Timely picking takes fruit off the bush before latent infections express as soft, sunken lesions, and rapid cooling slows the rot in picked fruit. This is a common post-harvest rot as well as a field one, so handling after the pick carries real weight.
Take off and throw away the berries that have rotted rather than leaving them on the bush or underneath it.Removing and destroying rotted fruit lowers what is available to sporulate, the salmon to orange masses on a rotting berry being the source that seeds the fruit beside it during a wet spell.
No spray for this one. Prevention is the control.
The ladder troubleshoots from the gentlest solution to the strongest. Start with the gentlest option and only move on when and if it doesn't work.
Start with a variety adapted to your area that grows vigorously. Resistance to this one is largely a variety matter, and some hold up better than others.Resistance here is variety-led, so an adapted, vigorous cultivar is the primary decision; these canker fungi enter through wounds and stressed or winter-injured wood, which a poorly adapted plant supplies more of.
Give the bush room and keep the canopy open so air moves through it.Good air movement through the planting is part of the standing prevention here, alongside vigor and clean pruning.
Cut dying branches out well below the reddish-brown patch, back into healthy wood, and clean your pruners between cuts so you do not carry it to the next branch. Destroy what you take off rather than leaving it under the bush.Place the cut well below the visible margin in sound tissue, since these lesions advance from smaller wood toward larger branches and can take a young plant outright. Disinfect between cuts, and remove the prunings from the planting rather than dropping them.
No spray for this one. Prevention is the control.
Crop rotation is for vegetables you replant each year. A blueberry is a bush that lives in one spot for decades, so just pick a good site at the start and leave it there.Rotation does not apply to blueberries. Unlike annual vegetables, a blueberry is a long-lived perennial shrub that occupies the same site for 20 to 50 years. Choose the planting spot carefully for drainage and acid soil up front, because you will not be moving it.
The plant app sends a timely reminder at every critical moment of your blueberry season. The wording adjusts to whichever you pick: beginner or seasoned. Here are three you'll see in Zone 9.
plant sends the right notification at exactly the right moment, for your zone, your weather, your crops. Founding members lock the rate forever.
We're building this guide with real growers. Got a question we missed? Ask here. We read every one and add the best answers right to this page.
Learned something the hard way? Pass it on. Real growers' tips make this guide better for the next person, and we credit you by name when yours goes live.
If you've grown this crop and you see a date, a temperature, a companion claim, or a recommendation that doesn't match your experience, tell us. Real growers' corrections make this guide better for the next person.
Every date, temperature, spacing, and recommendation on this page is sourced from university cooperative extension publications, peer-reviewed agricultural research, NOAA climate data, and direct extension calendars. Where claims are softer (traditional gardening wisdom not formally documented), we say so.
Spot a data point that doesn't match your experience? Submit a correction; accepted corrections earn full author credit on the page.
Zone-aware seasonal nudges, what's worth planting now, and the occasional recipe from the harvest. No spam, ever.