Today · in your zone
What's happening right now
Off-season for cabbage in zone 9.
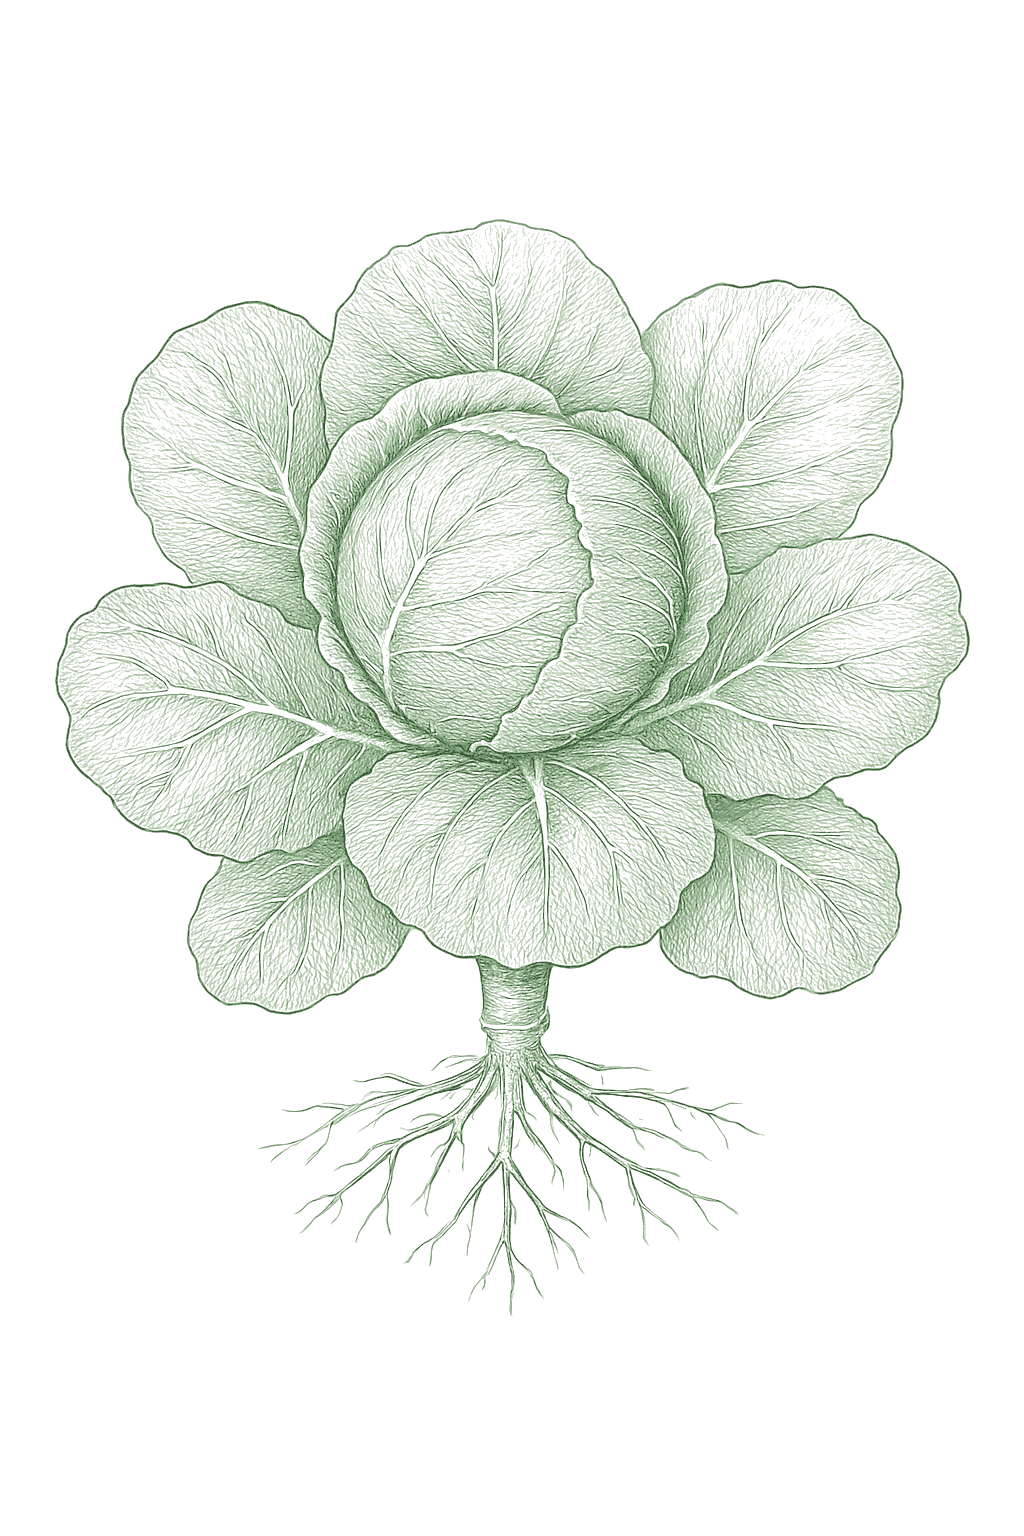
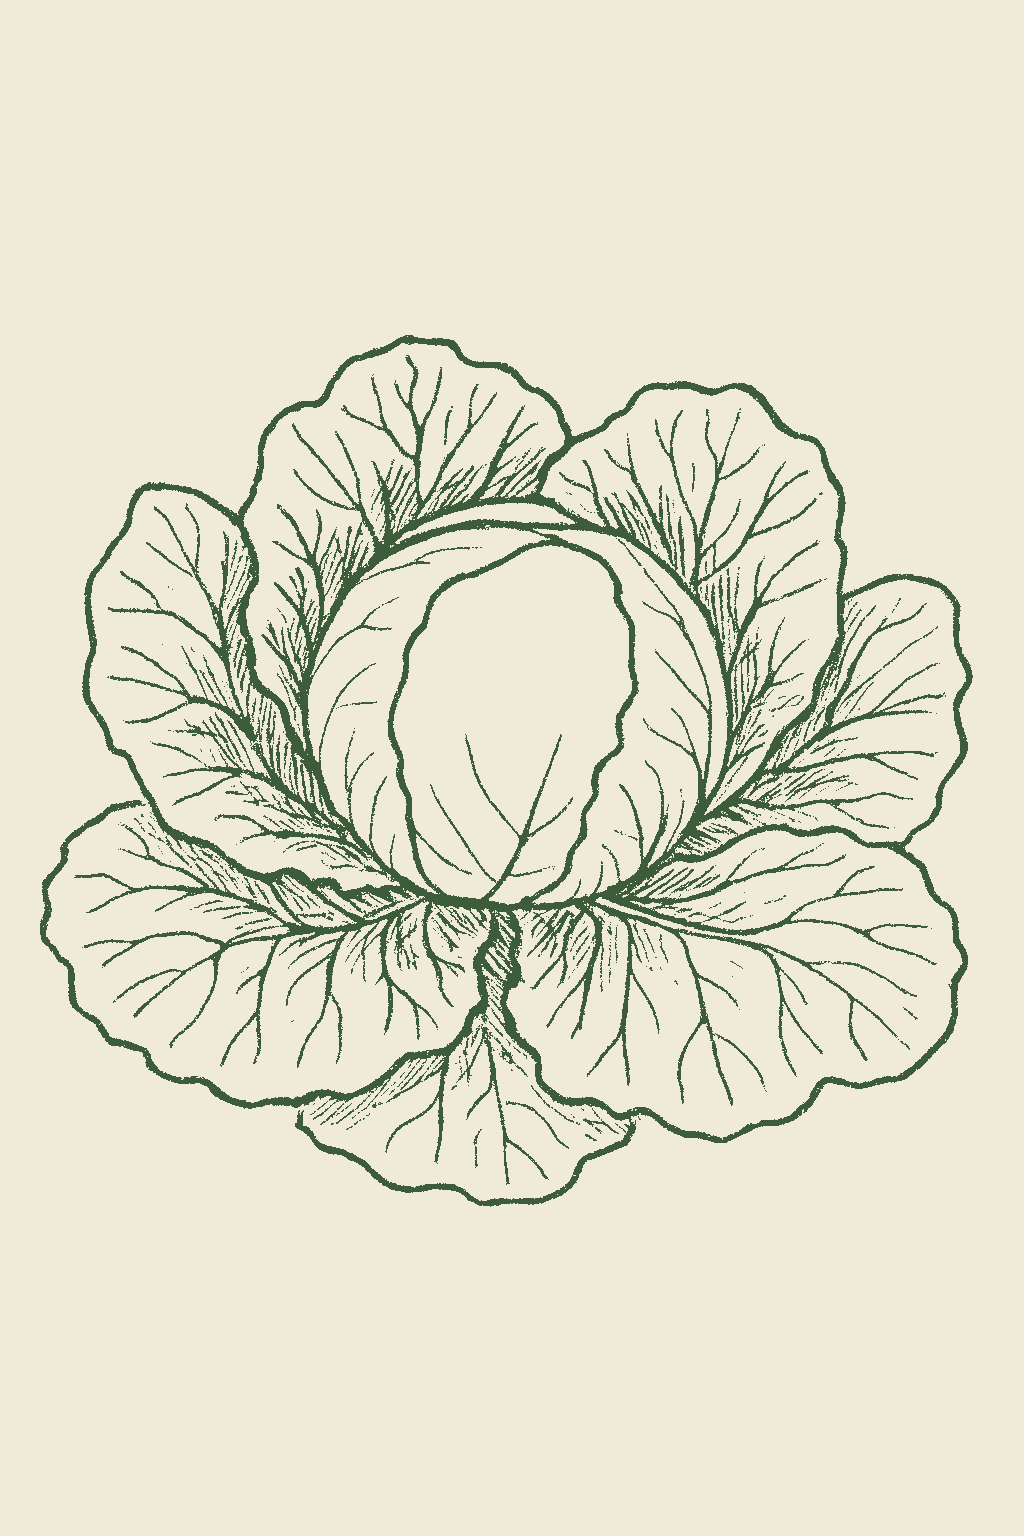
Cabbage grows one big, round, solid head of tightly wrapped leaves at the center of the plant. There are green, red, and crinkly savoy types, some quick (about 2 months) and some late storage kinds (about 4 months). It likes cool weather, so it is grown in spring and again in fall, not in summer heat. Cabbage handles frost well, and late storage types keep for months somewhere cold. The main thing to watch is splitting: keep the watering even and pick the head as soon as it is firm so it does not crack. Cabbage is a cool-season brassica grown for the large, solid head of tightly wrapped leaves that forms at the center of the plant. It comes in early, mid, and late types maturing from about 60 to 120 days, in green, red, and crinkled savoy forms, and is grown as a spring crop and again as a fall crop in most regions, timed to head up in cool weather since heat gives loose heads and bolting. It is very cold-hardy, with mature heads tolerating frost down to about 20°F, and dense late storage types are among the best-keeping garden vegetables, holding for months in cold, humid storage. The crop's signature challenge is splitting: a solid head bursts if it takes up water too fast near maturity or is left standing too long.
Off-season for cabbage in zone 9.
Zone 9 averages a last frost around March 1. Within Zone 9, the colder half (9a, winters down to 20°F) runs about a week later. The warmer half (9b, winters down to 25°F) runs about a week earlier. The plant app picks your subzone from your ZIP.
| Subzone | Last spring | First fall | Growing days | Winter min | Fruits reliably |
|---|---|---|---|---|---|
| 9a | Mar 8 | Nov 24 | ~261 | 20-25°F | Yes · two seasons |
| 9b | Feb 28 | Nov 30 | ~275 | 25-30°F | Yes · two seasons |
Averages from 8 weather stations per subzone, drawn from NOAA 1991-2020 Climate Normals. Your actual frost date can vary by up to two weeks based on elevation, proximity to water, and local topography.
In Zone 9, cabbage can be planted February through May, then again September, skipping the summer heat. Harvest runs April through December.
Plant cabbage in spring and again in late summer for fall, in small batches a couple of weeks apart, instead of all at one time. Planting a few different varieties that ripen at different times also spreads out the harvest. Skip the hottest part of summer, since cabbage will not form good heads in the heat.Cabbage crops in the cool shoulders of the year, so plant in small batches within the spring window and again in late summer for fall, rather than all at once. Mixing early, mid, and late varieties in one planting also spreads the harvest, since they mature at different times. The spring window is short because heads must size up before summer heat, so most gardens fit only a sowing or two before the midsummer gap; the fall planting, heading into cooling weather, is often the more reliable crop and the one to grow for storage.
In Zone 9, cabbage can be planted September through February. Harvest runs March through December.
Plant cabbage in spring and again in late summer for fall, in small batches a couple of weeks apart, instead of all at one time. Planting a few different varieties that ripen at different times also spreads out the harvest. Skip the hottest part of summer, since cabbage will not form good heads in the heat.Cabbage crops in the cool shoulders of the year, so plant in small batches within the spring window and again in late summer for fall, rather than all at once. Mixing early, mid, and late varieties in one planting also spreads the harvest, since they mature at different times. The spring window is short because heads must size up before summer heat, so most gardens fit only a sowing or two before the midsummer gap; the fall planting, heading into cooling weather, is often the more reliable crop and the one to grow for storage.
In Zone 9, cabbage can be planted September through November. Harvest runs January through December.
Plant cabbage in spring and again in late summer for fall, in small batches a couple of weeks apart, instead of all at one time. Planting a few different varieties that ripen at different times also spreads out the harvest. Skip the hottest part of summer, since cabbage will not form good heads in the heat.Cabbage crops in the cool shoulders of the year, so plant in small batches within the spring window and again in late summer for fall, rather than all at once. Mixing early, mid, and late varieties in one planting also spreads the harvest, since they mature at different times. The spring window is short because heads must size up before summer heat, so most gardens fit only a sowing or two before the midsummer gap; the fall planting, heading into cooling weather, is often the more reliable crop and the one to grow for storage.
In Zone 9, cabbage can be planted February through September. Start indoors Jan. Harvest runs May through December.
Plant cabbage in spring and again in late summer for fall, in small batches a couple of weeks apart, instead of all at one time. Planting a few different varieties that ripen at different times also spreads out the harvest. Skip the hottest part of summer, since cabbage will not form good heads in the heat.Cabbage crops in the cool shoulders of the year, so plant in small batches within the spring window and again in late summer for fall, rather than all at once. Mixing early, mid, and late varieties in one planting also spreads the harvest, since they mature at different times. The spring window is short because heads must size up before summer heat, so most gardens fit only a sowing or two before the midsummer gap; the fall planting, heading into cooling weather, is often the more reliable crop and the one to grow for storage.
In Zone 9, cabbage can be planted September through February, skipping the summer heat. Harvest runs March through December.
Plant cabbage in spring and again in late summer for fall, in small batches a couple of weeks apart, instead of all at one time. Planting a few different varieties that ripen at different times also spreads out the harvest. Skip the hottest part of summer, since cabbage will not form good heads in the heat.Cabbage crops in the cool shoulders of the year, so plant in small batches within the spring window and again in late summer for fall, rather than all at once. Mixing early, mid, and late varieties in one planting also spreads the harvest, since they mature at different times. The spring window is short because heads must size up before summer heat, so most gardens fit only a sowing or two before the midsummer gap; the fall planting, heading into cooling weather, is often the more reliable crop and the one to grow for storage.
In Zone 9, cabbage can be planted January through September. Start indoors Dec 4 - Feb 18. Harvest runs April through November.
Plant cabbage in spring and again in late summer for fall, in small batches a couple of weeks apart, instead of all at one time. Planting a few different varieties that ripen at different times also spreads out the harvest. Skip the hottest part of summer, since cabbage will not form good heads in the heat.Cabbage crops in the cool shoulders of the year, so plant in small batches within the spring window and again in late summer for fall, rather than all at once. Mixing early, mid, and late varieties in one planting also spreads the harvest, since they mature at different times. The spring window is short because heads must size up before summer heat, so most gardens fit only a sowing or two before the midsummer gap; the fall planting, heading into cooling weather, is often the more reliable crop and the one to grow for storage.
In Zone 9, cabbage can be planted February through March, then again September, skipping the summer heat. Harvest runs April through May.
Plant cabbage in spring and again in late summer for fall, in small batches a couple of weeks apart, instead of all at one time. Planting a few different varieties that ripen at different times also spreads out the harvest. Skip the hottest part of summer, since cabbage will not form good heads in the heat.Cabbage crops in the cool shoulders of the year, so plant in small batches within the spring window and again in late summer for fall, rather than all at once. Mixing early, mid, and late varieties in one planting also spreads the harvest, since they mature at different times. The spring window is short because heads must size up before summer heat, so most gardens fit only a sowing or two before the midsummer gap; the fall planting, heading into cooling weather, is often the more reliable crop and the one to grow for storage.
In Zone 9, cabbage can be planted October through November. Start indoors Aug 20 - Oct 4. Harvest runs December through March.
Plant cabbage in spring and again in late summer for fall, in small batches a couple of weeks apart, instead of all at one time. Planting a few different varieties that ripen at different times also spreads out the harvest. Skip the hottest part of summer, since cabbage will not form good heads in the heat.Cabbage crops in the cool shoulders of the year, so plant in small batches within the spring window and again in late summer for fall, rather than all at once. Mixing early, mid, and late varieties in one planting also spreads the harvest, since they mature at different times. The spring window is short because heads must size up before summer heat, so most gardens fit only a sowing or two before the midsummer gap; the fall planting, heading into cooling weather, is often the more reliable crop and the one to grow for storage.
In Zone 9, cabbage can be planted January through May, then again September through October, skipping the summer heat. Harvest runs February through December.
Plant cabbage in spring and again in late summer for fall, in small batches a couple of weeks apart, instead of all at one time. Planting a few different varieties that ripen at different times also spreads out the harvest. Skip the hottest part of summer, since cabbage will not form good heads in the heat.Cabbage crops in the cool shoulders of the year, so plant in small batches within the spring window and again in late summer for fall, rather than all at once. Mixing early, mid, and late varieties in one planting also spreads the harvest, since they mature at different times. The spring window is short because heads must size up before summer heat, so most gardens fit only a sowing or two before the midsummer gap; the fall planting, heading into cooling weather, is often the more reliable crop and the one to grow for storage.
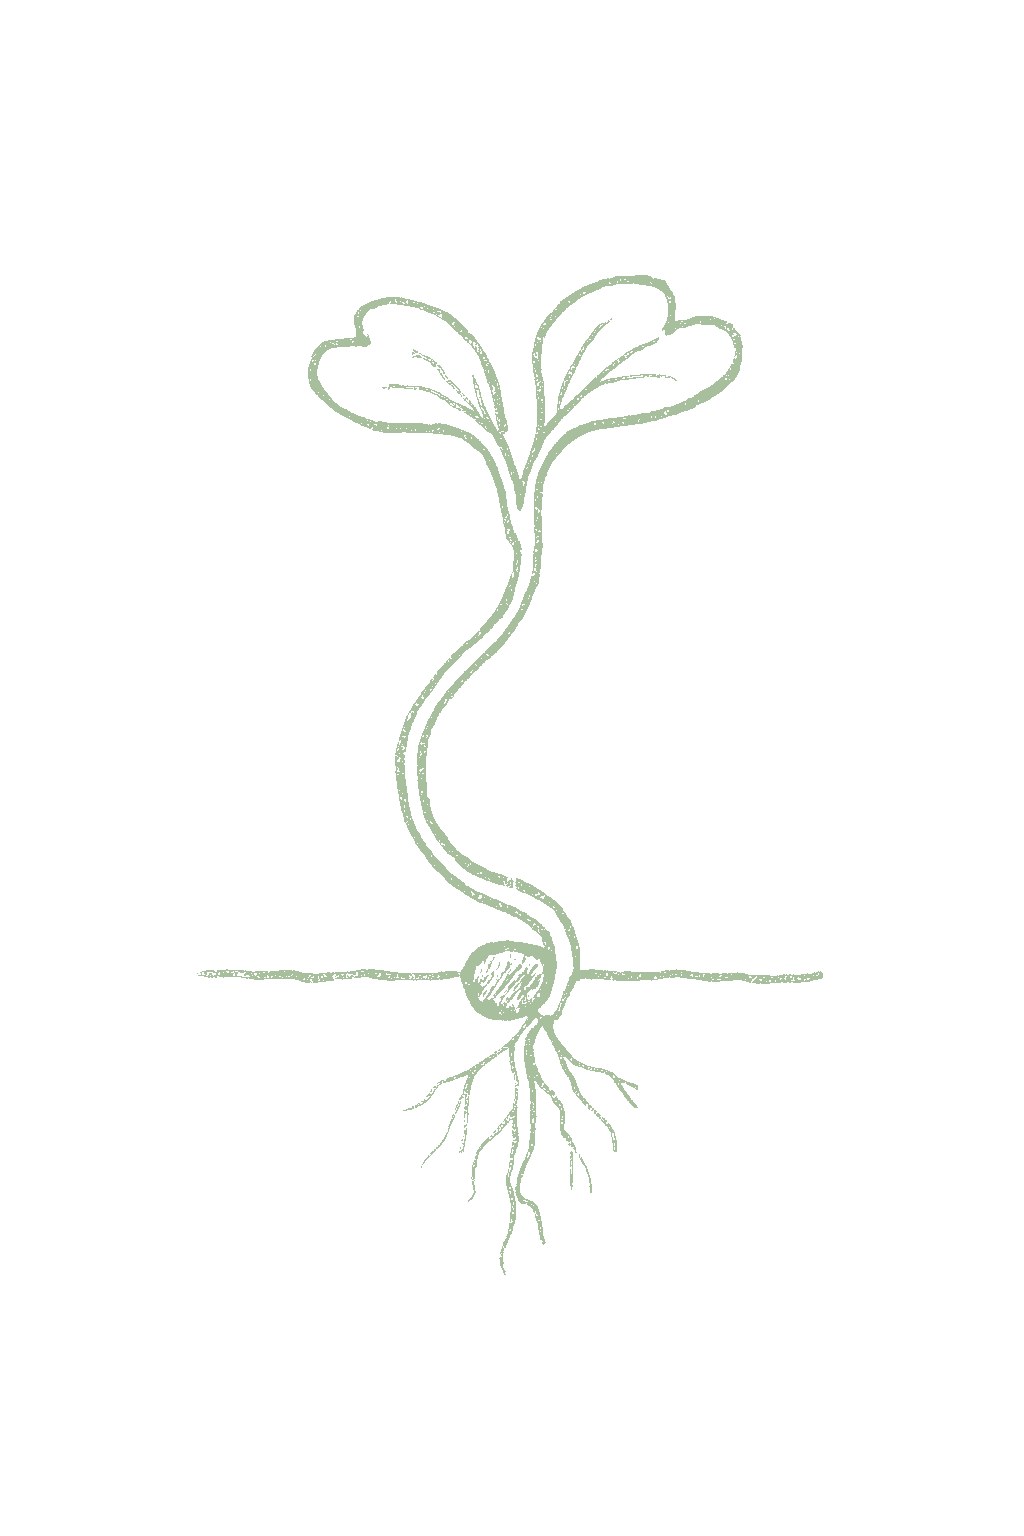
You can grow cabbage from transplants or sow the seeds right in the garden, especially for a fall crop. For spring, start seeds indoors about a month before planting out and set the plants out a few weeks before your last frost, since young cabbage handles cold well. For fall, start them in early to mid summer. Let homegrown seedlings get used to the outdoors over a week before planting.Cabbage is usually transplanted but can also be direct sown, especially for the fall crop. For spring, start seeds indoors about 4 to 6 weeks before set-out and transplant sturdy young plants out 2 to 4 weeks before the last frost, since cabbage transplants are cold-hardy. For fall, sow indoors or direct seed in early-to-mid summer and set out in mid-to-late summer to mature in cool fall weather. Set out stocky plants with 4 to 6 true leaves and harden them off over 7 to 10 days. Avoid setting out overly large or root-bound transplants into a cold spell, which can trigger bolting.




Not sure what soil you have? Grab a small handful of damp soil from your garden bed and squeeze it. If it crumbles apart easily, it's sandy. If it holds together but breaks when you poke it, it's loam (what most vegetables want). If it stays in a hard, slippery ball, it's clay.
Cabbage grows best in rich, well-drained soil with plenty of compost mixed in, and it likes steady, even moisture. Keep the water consistent: a big swing from dry to soaking wet near harvest makes the heads split. Soil that holds moisture but drains well is ideal.
Mix 2-3 inches of compost into the top 6 inches of your bed before planting. Compost holds moisture (which sandy soil drains too fast) and adds the nutrients sandy soil tends to lack. Repeat each season. Compost breaks down over time.
Mix 2-3 inches of compost AND a few inches of coarse sand or perlite into the top 6 inches of your bed. The compost feeds the plants; the sand breaks up the clay so air and water can move through. Don't add sand without compost. It can compact like concrete.
If amending your soil sounds like too much work, or if your soil is heavy clay, full of rocks, or contaminated, build over it. A raised bed at least 12 inches deep filled with a 50/50 mix of compost and sandy loam gives you ideal growing soil with no battles. A 5-gallon container with quality potting mix does the same for one plant at a time. Both bypass your native soil entirely.
The numbers that matter, at a glance.
Cabbage grows fine in a large pot. Use a container of at least 5 gallons, one plant per pot, and keep it well watered and fed. Compact early varieties like Golden Acre are the best fit. The main trick is steady watering so the head does not crack.Cabbage is a workable container crop, especially the compact early varieties. Use a pot of at least 5 gallons (10 is better) at least 10 inches deep, one plant per pot, in a rich, well-drained mix, and keep moisture and feeding steady, since a small soil volume runs out and uneven watering splits the head. Choose small, fast types (Golden Acre, Early Jersey Wakefield, Stonehead) over the big late storage kinds. Container-specific figures are modeled on general container-vegetable guidance plus the plant's size.
Golden AcreA classic early green variety (about 65 days) with small, round, solid 3-to-4-pound heads; quick and dependable for spring. Good for small gardens and early eating, but does not hold or store as long as late types.
Early Jersey WakefieldAn heirloom early variety (about 63 days) with pointed, compact heads, cold-hardy and a longtime garden standard; open-pollinated and seed-saveable.
StoneheadAn early-mid hybrid (about 70 days) with very firm, dense 3-to-4-pound heads that resist splitting and hold well in the garden; carries Fusarium yellows resistance. A reliable all-around pick.
Ask what your balcony or roof can carry
A balcony or roof can only hold so much weight. Before you set heavy pots there, ask a building architect what it can safely carry.Illinois Extension's guidance is to consult a building architect about weight limits before placing heavy pots on a balcony or rooftop garden. It gives no weight figure.
Never grow food in a container with anything toxic in it
Many kinds of containers can be used. Whatever you choose, keep anything toxic out of it, especially if you are growing food.Colorado State accepts nearly any container material but warns against using a container that holds toxic materials, especially for edible plants. Illinois adds that a vegetable container should be free of chemicals toxic to plants or people, and urges caution with treated lumber when growing food. If you cannot account for what a repurposed container once held, that alone is a reason to keep food out of it.
Secure hanging containers well
Fasten hanging baskets and window or rail boxes securely. Think about what is below them too, since they can drip on people or things underneath.Illinois Extension asks growers to secure hanging containers well and to think through the safety issues of hanging them. Placement matters too, since a hanging container can drip onto people or belongings below.
Cabbage grows best in soil that is slightly acidic to neutral, about 6.0 to 7.0. A simple soil test tells you where you stand. If you have had clubroot, a soil disease, keeping the soil closer to neutral (up toward 7.0 or a bit above) helps hold it back.Aim for a soil pH of about 6.0 to 7.0 (UMN and Iowa State both give 6 to 7; Clemson lists 5.8 to 6.5). Cabbage tolerates a wider 5.5 to 7.5 band. Clubroot, the major brassica soil disease, is far more likely in acidic soil below about 6.5, so where it is a concern lime acidic ground well ahead of planting and hold the pH toward neutral or slightly above.
Cabbage needs rich soil and regular feeding to grow a big, solid head. Mix a balanced fertilizer into the soil before planting, then feed with a nitrogen fertilizer once the plants take off and again as the heads start to form. Keep the watering even, because a lot of fertilizer plus a sudden soaking can crack the heads.Cabbage is a heavy feeder that needs steady nitrogen to build a large, solid head. Work a balanced fertilizer such as 5-10-10 or 10-10-10 into the bed before planting (Clemson: 5-10-10 at 3 pounds per 100 square feet), then side-dress with nitrogen once the plants are established and again as heads begin to cup, using about 34-0-0 or calcium nitrate. Keep nitrogen steady through heading, but pair it with even moisture: a late surge of growth from heavy feeding plus a sudden drink of water is what splits heads.
Use a balanced fertilizer like 10-10-10 at planting, then a nitrogen feed once the plants take off and again as heads form.High N to build a large, solid head: a 5-10-10 or 10-10-10 starter worked in before planting, then a nitrogen side-dress such as 34-0-0 or calcium nitrate (15.5-0-0) as the plants establish and begin to head.
Cabbage does well next to aromatic herbs, onions, and quick crops you can tuck in while the plants are small. The most important rule is to keep it away from other cabbage-family plants, which share the same pests and diseases. Most cabbage companion pairings are traditional rather than trial-tested. The ones worth acting on are practical: aromatic herbs and alliums as scent-based deterrents for cabbage pests, small flowering plants such as sweet alyssum and dill to draw the parasitic wasps and hoverflies that attack cabbage aphids and caterpillars (a habitat tactic Clemson recommends for cole crops), and quick crops like lettuce that use the open ground while the cabbage fills in. The well-grounded caution is to separate cabbage from other brassicas, which share clubroot and the whole cabbage-family pest complex, a rotation and disease principle more than a tested adjacency effect.
Your cabbage is ready when the head is full-sized and firm and solid when you squeeze it. Cut it off at the base with a sharp knife. Pick it as soon as it is firm, because a ripe head left sitting will crack, especially after rain. If you are not ready, give the plant a quarter turn to slow it down.Cut the head when it is full-sized, firm, and solid to a squeeze, about 60 to 120 days from transplanting depending on the type. Slice it off at the base with a sharp knife, leaving a few wrapper leaves for protection. Harvest promptly, since a mature head left in the ground will split, especially after rain; to hold a ripe head, give the plant a quarter turn or a slight lift to shear roots and slow water uptake.
Each plant gives you one head, usually about 2 to 5 pounds. Smaller, closer-spaced plants make smaller heads; bigger spacing and late varieties make bigger ones.One head per plant, typically about 2 to 5 pounds depending on variety and spacing (early types and close spacing give smaller 2-to-3-pound heads; late and widely spaced plants give larger ones). Some varieties resprout small secondary heads after the main head is cut.
Each cabbage makes its head over a few weeks and is cut once when firm. The best heads form in the cool weather of spring and fall.Heads mature over a few weeks in cool spring or fall weather; the crop is a one-time cut per plant rather than a long picking season. In hot regions the spring crop must beat the summer heat and the main crop is the fall planting. Here are the two tricks: water evenly so the head grows solid and does not crack, and plant so the head forms in cool spring or fall weather, not summer heat. Cut the head as soon as it is firm, and if you can't, give the plant a quarter turn to slow it down so it does not split.The two keys to good cabbage are even watering and timing. Steady moisture builds a solid head and prevents the splitting that a sudden drink of water causes near maturity, and timing the crop to head up in cool spring or fall weather avoids the heat that gives loose heads, bolting, and yellows. New growers most often lose heads to splitting (let it sit too long or watered unevenly) or to summer heat.
Pick the type that fits your season. Early kinds like Golden Acre and Stonehead grow quickly for spring; later, denser kinds like Danish Ballhead are made to store for months in fall and winter. If you have had trouble with cabbage yellows (a soil disease), choose a yellows-resistant variety. Savoy cabbages have pretty crinkled leaves and are very cold-hardy, and red cabbages add color.Match the variety to the season and the purpose. Early types (Golden Acre, Early Jersey Wakefield, Stonehead) finish fast for spring and small heads; mid-season hybrids (Bravo, Market Prize, Rio Verde) give uniform, often yellows-resistant heads; late storage types (Danish Ballhead and late flat Dutch types) are the ones to grow for fall and long winter keeping. Where Fusarium yellows is a problem, choose a yellows-resistant (YR) variety, the main control for that disease. Savoy types are tender and cold-hardy for cooking; red types add color and hold well. Days-to-maturity figures are approximate and run from transplanting.
The ladder troubleshoots from the gentlest solution to the strongest. Start with the gentlest option and only move on when and if it doesn't work.
Clear out old cabbage-family plants when a crop finishes. The pupae, the resting stage between caterpillar and adult, shelter in that leftover debris, so hauling it away leaves fewer moths and butterflies to start the next round.Removing spent brassica material takes out the debris that shelters pupae between crops, lowering the local carryover of the imported cabbageworm, looper and diamondback complex.
Put a row cover, a light fabric sheet that lets in light and water while keeping insects out, over the plants right after planting. The white butterflies and small moths cannot lay eggs on leaves they cannot reach, and no eggs means no caterpillars.Floating row cover or fine mesh from transplanting excludes the egg-laying adults of all three species at once. It is preventive, so it goes on ahead of the first white butterflies rather than in response to them.
Look under the leaves and pick off caterpillars and their eggs. On a few plants this goes a long way, and it matters most as the head starts to cup, since caterpillars that get down inside are hard to wash out.Hand removal of larvae and eggs from leaf undersides is practical at garden scale, and the three are separable in hand: velvety green imported cabbageworms, loopers that move in a looping arch, and small diamondback larvae that wriggle when disturbed. Weight the passes toward head formation, when larvae bore in and foul the head, which is the costly damage rather than the ragged wrapper leaves.
Spray Bt, short for Bacillus thuringiensis, a caterpillar-specific control that is low in toxicity to people, pets and bees. It acts on caterpillars as a group rather than telling a pest apart from a butterfly's young, so treat only the plants that have a problem. It washes off, so spray again after rain.Bt kurstaki targets the larvae and spares beneficials; the first white butterflies on the wing are the cue to begin. It breaks down, so reapply after rain, and tighten control as heads cup, when damage moves from the wrappers into the part you harvest. Confine applications to infested plantings, since it acts on caterpillars as a group.
If Bt and handpicking are not keeping up, spinosad is a stronger organic caterpillar spray. Save it for real pressure, spray toward dusk when bees are not out foraging, and follow the label.Spinosad is the escalation once the softer rungs have not held; like Bt it targets caterpillars while sparing beneficials, and timing applications to dusk limits exposure to foraging bees.
The bottom rungs are products with label rules: timing, pollinators, and days to wait before harvest. Before you spray →
The ladder troubleshoots from the gentlest solution to the strongest. Start with the gentlest option and only move on when and if it doesn't work.
Go easy on nitrogen fertilizer once the heads start to form. Heavy feeding pushes out soft new growth, and that is what draws these aphids.Hold nitrogen back once heads set; the succulent growth it produces is what this brassica specialist colonizes, and pressure runs heaviest on the long-season fall crop.
Pull out old cabbage-family plants after harvest instead of letting them stand. The aphids carry over on that leftover material and move onto your next planting.Destroy brassica crop debris promptly, since it is what carries the aphid across the gap between plantings.
Keep young plants under a row cover, a light fabric sheet, so winged aphids cannot land and start colonies while the plants are small. Check the growing tips and the developing head every week even so.Cover young plants to block the winged colonizers, and scout growing tips and the developing head weekly; the aim is catching a colony before it lodges in the folds of the head, where it contaminates the part you harvest with insects and honeydew and is very hard to clean.
Knock the clusters off with a strong jet of water from the hose, aiming at the growing tips and the undersides of the leaves, and repeat every few days while you keep finding them.A forceful jet dislodges colonies physically and leaves the natural enemies untouched; repeat every few days and work the growing tips and leaf undersides, where colonies are densest.
Ladybugs and lacewings eat aphids, so give them room to work and avoid broad sprays that would kill them along with the pests.Conserve the natural enemies that suppress this aphid, among them the parasitoid Diaeretiella rapae, hoverflies and lady beetles; a broad-spectrum material removes them and leaves a rapidly reproducing pest a clear field.
Spray insecticidal soap straight onto the aphids, coating the undersides of the leaves, and repeat every few days. It acts where it makes contact, so soak the clusters rather than misting the whole plant.Soap is a contact material, so thorough coverage of the leaf undersides decides the outcome; repeat at intervals of a few days, and spray only where the aphids are, since it also kills soft-bodied beneficials it wets.
Neem oil is another option for coating the colonies. Hit the leaf undersides, repeat every few days, and skip spraying in high heat or when the plants are dry and stressed.Neem is the coverage-dependent alternative to soap on these colonies; it spares beneficials once dry, and applications belong off flowering plants and weeds where bees forage, and off the hottest part of the day.
Horticultural oil, a light spray oil, is a third contact option that kills the aphids it coats. Cover the same leaf undersides, repeat as needed, and keep it off plants that are hot and thirsty.Horticultural oil rounds out the contact options alongside soap and neem; whichever you pick, coverage of the undersides and the leaf folds decides the result more than the product does. Keep it off water-stressed plants and out of hot weather.
The bottom rungs are products with label rules: timing, pollinators, and days to wait before harvest. Before you spray →
The ladder troubleshoots from the gentlest solution to the strongest. Start with the gentlest option and only move on when and if it doesn't work.
Plant cabbage where cabbage-family crops have not grown recently. The fly works the ground that carried its host plants before.Rotating away from previous brassica ground separates new transplants from the carryover population, and it is a decision made before the crop goes in.
Once maggots are in the roots there is no saving that plant, so pull the badly damaged ones and get them out of the garden. Your effort is better spent keeping the fly from laying more eggs on the rest.There is no rescue once larvae are feeding in the roots; rogue out the wilting and collapsing plants, which are also an opening for rots, and shift the effort to blocking further egg-laying on the survivors.
A row cover, a light fabric sheet laid over the bed, keeps the fly from reaching the base of the plants to lay eggs in the first place. Lay it on a bed that did not grow cabbage-family crops last year. Over old brassica ground the flies come up underneath it and are held in with the plants.Exclusion through cool, wet spring establishment covers the period of heaviest fly activity and protects the stage root feeding can kill outright, the new transplant. Set it over ground that did not carry brassicas last season, or the cover can hold emerging flies in with the crop.
Set a small collar or disk flat on the soil around the base of each transplant. It blocks the fly from laying eggs against the stem, which is where the maggots start their trip down to the roots.A basal collar or disk fitted at transplanting denies the adult its egg-laying site at the stem base; it is the per-plant option where covering the whole bed is impractical.
No spray for this one. Prevention is the control.
The ladder troubleshoots from the gentlest solution to the strongest. Start with the gentlest option and only move on when and if it doesn't work.
Clear away garden debris, spent cabbage-family plants and cabbage-family weeds at season's end. The adults spend the winter in that cover, so taking it out cuts into next year's bugs. During the season, pull a plant that is overrun rather than trying to defend it.Adults overwinter in debris and crucifer weeds, so removing both is the main preventive lever against an insect that runs several generations a year in the southern United States. Roguing heavily infested plants belongs in the same pass.
Put an early mustard patch in ahead of the main planting so the overwintered bugs settle there first, then destroy that patch before the crop goes out. Removing it is the step that counts, because bugs left sitting on it will move across to the crop.An early mustard stand draws overwintered adults away from the transplants, and this crop's guidance takes the action through to the removal, destroying the stand before the main crop is set out. Leave it standing and the patch holds a breeding population beside the bed; this method's cautions carry the deadline.
A row cover, a light fabric sheet over the plants, keeps the bugs from reaching them. Put it on early, before you start seeing them.Row cover excludes colonizing adults and earns the most early, when overwintered adults move onto the first cabbage-family plants available to them.
Walk the plants and crush the bugs, their young, and the barrel-shaped eggs laid in neat rows. They are easy to spot, shield-shaped and marked black with orange or red.Hand destruction of adults, nymphs and the barrel-shaped egg rows is workable at garden scale on an insect this conspicuous: shield-shaped, up to about 3/8 inch, marked black with yellow or red.
Where the bugs are severe, insecticidal soap sprayed straight onto them can help. It acts on what it wets, so aim at the insects rather than misting the plant.Soap helps where pressure is severe; it is strictly a contact material, so direct it onto the insects, and spray only where they are, since it also kills soft-bodied beneficials it wets.
Neem oil is the other spray listed for severe pressure. Coat the bugs directly, and avoid spraying in high heat or on dry, stressed plants.Neem is the alternative contact option under severe pressure; coverage decides the result, and it belongs off flowering plants and weeds where bees are foraging.
Where the bugs get severe, a pyrethrin spray, the botanical one pressed from chrysanthemum flowers, knocks them down on contact. It breaks apart in sunlight within about a day, so expect to repeat it. Keep it off anything in flower: pyrethrin sits in UC IPM's strictest bee band, which allows no evening exception.Pyrethrin gives fast contact knockdown where pressure is severe, then degrades in sunlight within roughly a day, so residual control is short and repeat applications are likely. Being organically acceptable does not soften the bee precaution: UC IPM places it in the strictest band, so keep it off blooming plants and weeds entirely rather than timing it to dusk.
The bottom rungs are products with label rules: timing, pollinators, and days to wait before harvest. Before you spray →
The ladder troubleshoots from the gentlest solution to the strongest. Start with the gentlest option and only move on when and if it doesn't work.
Pull cabbage-family weeds growing near the bed. They feed the same beetles, so clearing them means fewer waiting to move onto your seedlings.Weedy brassica relatives nearby sustain the beetles between crops; clearing them and keeping the bed edges clear removes a standing host bridge to a young planting.
Cover young plants with a row cover, a light fabric sheet that lets in light and water but keeps insects out, from the start. Along with steady water and feeding, the point is to get the seedlings big enough to handle the tiny shot holes.Exclusion from transplanting is the core step, since the seedling stage is where this pest does its real harm. A vigorous transplant generally grows through the feeding, so even water and feeding sit alongside the cover; a stalled seedling can be set back badly.
If there are a lot of beetles despite the cover, a spinosad spray can knock them back while the seedlings get established. Spray toward dusk when bees are not foraging, and follow the label.Spinosad supplements exclusion where pressure is high; the objective stays the same, getting the stand past the vulnerable seedling stage, so use it as a bridge rather than a season-long program, and time it to dusk to spare bees.
The bottom rungs are products with label rules: timing, pollinators, and days to wait before harvest. Before you spray →
The ladder troubleshoots from the gentlest solution to the strongest. Start with the gentlest option and only move on when and if it doesn't work.
Once clubroot turns up, keep cabbage and its cabbage-family relatives out of that bed for several years, longer if the disease has been bad. The organism lives on in the soil, and it slowly starves when there is nothing there for it to infect.The pathogen persists in soil for many years; where clubroot is known, UMN advises rotating brassicas out on a cycle of up to 7 years, which draws the soil population down over time.
Lime the bed to keep the soil from being too acidic, closer to neutral. The disease takes hold most easily in acidic soil, so this holds it back rather than curing it. Keep the liming to the affected bed, since most vegetables prefer soil a little on the acid side of neutral.Infection proceeds most readily in acidic soil below about pH 6.5, so liming toward neutral suppresses it. Pair it with the long rotation, since neither clears established ground on its own, and confine the treatment to the affected bed.
Fix the spots where water sits in the bed. The disease moves in soil and water, so better drainage works against it.The pathogen spreads in contaminated soil and water, so correcting drainage on heavy or low-lying ground lowers the infection pressure reaching the roots.
There is no cure once a plant has it, so pull it up with its lumpy roots and get it out of the garden. Knock the soil off your tools afterward, since the disease rides on dirt carried out of an infested bed.Infected plants cannot be treated; remove them with the galls intact and destroy them, then clean soil off tools and boots, since infested soil moved around the garden is one of the ways it reaches clean ground.
No spray for this one. Prevention is the control.
The ladder troubleshoots from the gentlest solution to the strongest. Start with the gentlest option and only move on when and if it doesn't work.
Start with clean, certified seed and healthy transplants. This disease often comes in on the seed or the young plants themselves, so a clean start is the main defense.The bacterium is seedborne, so certified seed and disease-free transplants close the main entry route; a hot-water seed treatment adds a margin where black rot has shown up before.
Do not plant where cabbage-family crops grew recently. Give the ground a couple of years before brassicas come back to it.Rotate 2 to 3 years away from brassicas, so what survives locally between crops is gone before a susceptible planting returns to that ground.
Space the plants so air moves between them and the leaves dry quickly. Warm, wet weather is when this disease does the most damage.Open spacing shortens the warm, wet leaf conditions the bacterium spreads fastest in; in that weather it is often the most serious disease cabbage faces.
Water at the soil instead of over the tops of the plants, so you are not splashing bacteria from leaf to leaf.Skip overhead irrigation; it wets foliage and splashes the bacterium between plants, and the pathogen enters through leaf pores and wounds.
Stay out of the bed while the leaves are wet. Brushing past wet plants carries the bacteria from a sick one to a healthy one.Work the planting only when foliage is dry; handling wet plants moves the bacterium efficiently, and the rule holds after rain and dew, not only after watering. It lowers the rate of spread rather than stopping an infection already underway.
There is no real cure, so remove infected plants and get them out of the garden before the disease reaches their neighbors. The tell is a yellow V-shaped patch at the leaf edge with blackened veins inside it.With no effective cure, roguing symptomatic plants is the in-season control; the V-shaped marginal lesions with blackened veins make cases identifiable early, before the pathogen moves through the vascular system and rots the head.
No spray for this one. Prevention is the control.
The ladder troubleshoots from the gentlest solution to the strongest. Start with the gentlest option and only move on when and if it doesn't work.
Buy certified seed and pick out healthy transplants. This fungus mostly arrives on infected seed, so what you plant with decides most of the outcome.The pathogen is chiefly seedborne, so hot-water-treated certified seed, plus transplants you know are clean, carries the program; management stays preventive here because there is no effective cure to fall back on.
Keep cabbage-family crops out of the bed for a few years after an outbreak. The fungus lingers where those plants grew.Rotate 3 years away from brassicas; the fungus survives in brassica residue as well as on seed, so rotation covers the half that clean seed does not.
There is no cure, so pull and destroy infected plants, and clear away old cabbage-family plants where the fungus survives. Watch for pale sunken spots dotted with tiny black specks, and a darkened, rotting stem base.Rogue and destroy affected plants, and get the brassica debris that carries the fungus over out of the bed. The tells are pale, sunken lesions dotted with pycnidia, the fungus's tiny black fruiting bodies, and a dark girdling canker at the stem base that can rot the crown and lodge the plant.
No spray for this one. Prevention is the control.
The ladder troubleshoots from the gentlest solution to the strongest. Start with the gentlest option and only move on when and if it doesn't work.
Plant a yellows-resistant variety. They are widely available, and since there is no cure once a plant is infected, this is the main control for this disease.Yellows-resistant (YR) cultivars are the standard control, and the resistance they carry holds up well over time. That is what makes them the practical answer: the fungus persists in soil for years, and an infected plant cannot be treated.
Rotate away from cabbage-family crops. It also helps to avoid setting the crop up to mature in the hottest soil, since that is when this fungus is most active.Rotate away from brassicas, and where the schedule allows, avoid timing the crop to mature in the hottest soil; the fungus is most active in warm soil, roughly 80°F and up, which is why spring cabbage running into summer heat is hit hardest.
There is no cure for an infected plant, so pull it and get it out of the garden. Cut a stem and you will see browned tissue inside, which is how it is told apart from black rot, whose mark is the yellow V-shaped patch at the leaf edge.Remove and destroy infected plants. The browned vascular tissue and the dull yellow-green cast, often heavier on one side, separate it from black rot, which produces V-shaped marginal lesions this disease does not.
No spray for this one. Prevention is the control.
The ladder troubleshoots from the gentlest solution to the strongest. Start with the gentlest option and only move on when and if it doesn't work.
Space the plants so air moves between them and dries the leaves. This disease needs cool, damp leaves, and that is the weather cabbage grows in.Spacing for airflow shortens the leaf wetness infection depends on; cabbage's cool, humid season overlaps the conditions the pathogen prefers, so the layout has to do the drying.
Water at the soil instead of over the leaves. Wet foliage and splashing water are how it gets around.Basal irrigation removes the overhead wetting and splash that carry spores and lengthen the wet periods the pathogen needs.
If downy mildew is common where you live, pick a resistant variety at seed-buying time.Where downy mildew recurs regionally, a resistant cultivar is the seed-time decision that lowers the pressure the in-season steps have to carry.
Take off the worst-affected leaves, the ones with pale yellow blotches on top and fuzzy grayish growth underneath, so there is less disease to spread.Removing badly affected foliage lowers the spore load, but the disease is hard to stop once the humidity stays high, so treat removal as a supplement to the preventive steps rather than a replacement for them.
If it keeps spreading despite all that, a copper spray can help. It does the most applied early rather than once the disease is everywhere, and keep the spray out of ponds and drains, since copper is very harmful to fish and other water life.Copper is the escalation when the cultural steps are not holding under high pressure. It is preventive in action, so it belongs at the first sign rather than partway into an established outbreak, and repeat use accumulates in surface soil; keep spray and runoff away from water, copper being highly toxic to aquatic life.
The bottom rungs are products with label rules: timing, pollinators, and days to wait before harvest. Before you spray →
Don't plant cabbage or other cabbage-family crops in the same spot year after year. Waiting at least 3 years between them, and longer if you have had clubroot, helps avoid soil diseases.Rotate so cabbage and its brassica relatives do not return to the same ground for at least 3 years, and longer where clubroot is present (UMN advises a 7-year break where clubroot is known). Repeated same-family cropping builds soil-borne clubroot and Fusarium yellows, and holding soil pH near neutral also helps suppress clubroot.
The plant app sends a timely reminder at every critical moment of your cabbage season. The wording adjusts to whichever you pick: beginner or seasoned. Here are three you'll see in Zone 9.
plant sends the right notification at exactly the right moment, for your zone, your weather, your crops. Founding members lock the rate forever.
We're building this guide with real growers. Got a question we missed? Ask here. We read every one and add the best answers right to this page.
Learned something the hard way? Pass it on. Real growers' tips make this guide better for the next person, and we credit you by name when yours goes live.
If you've grown this crop and you see a date, a temperature, a companion claim, or a recommendation that doesn't match your experience, tell us. Real growers' corrections make this guide better for the next person.
Every date, temperature, spacing, and recommendation on this page is sourced from university cooperative extension publications, peer-reviewed agricultural research, NOAA climate data, and direct extension calendars. Where claims are softer (traditional gardening wisdom not formally documented), we say so.
Spot a data point that doesn't match your experience? Submit a correction; accepted corrections earn full author credit on the page.
Zone-aware seasonal nudges, what's worth planting now, and the occasional recipe from the harvest. No spam, ever.