Today · in your zone
What's happening right now
Off-season for cauliflower in zone 9.
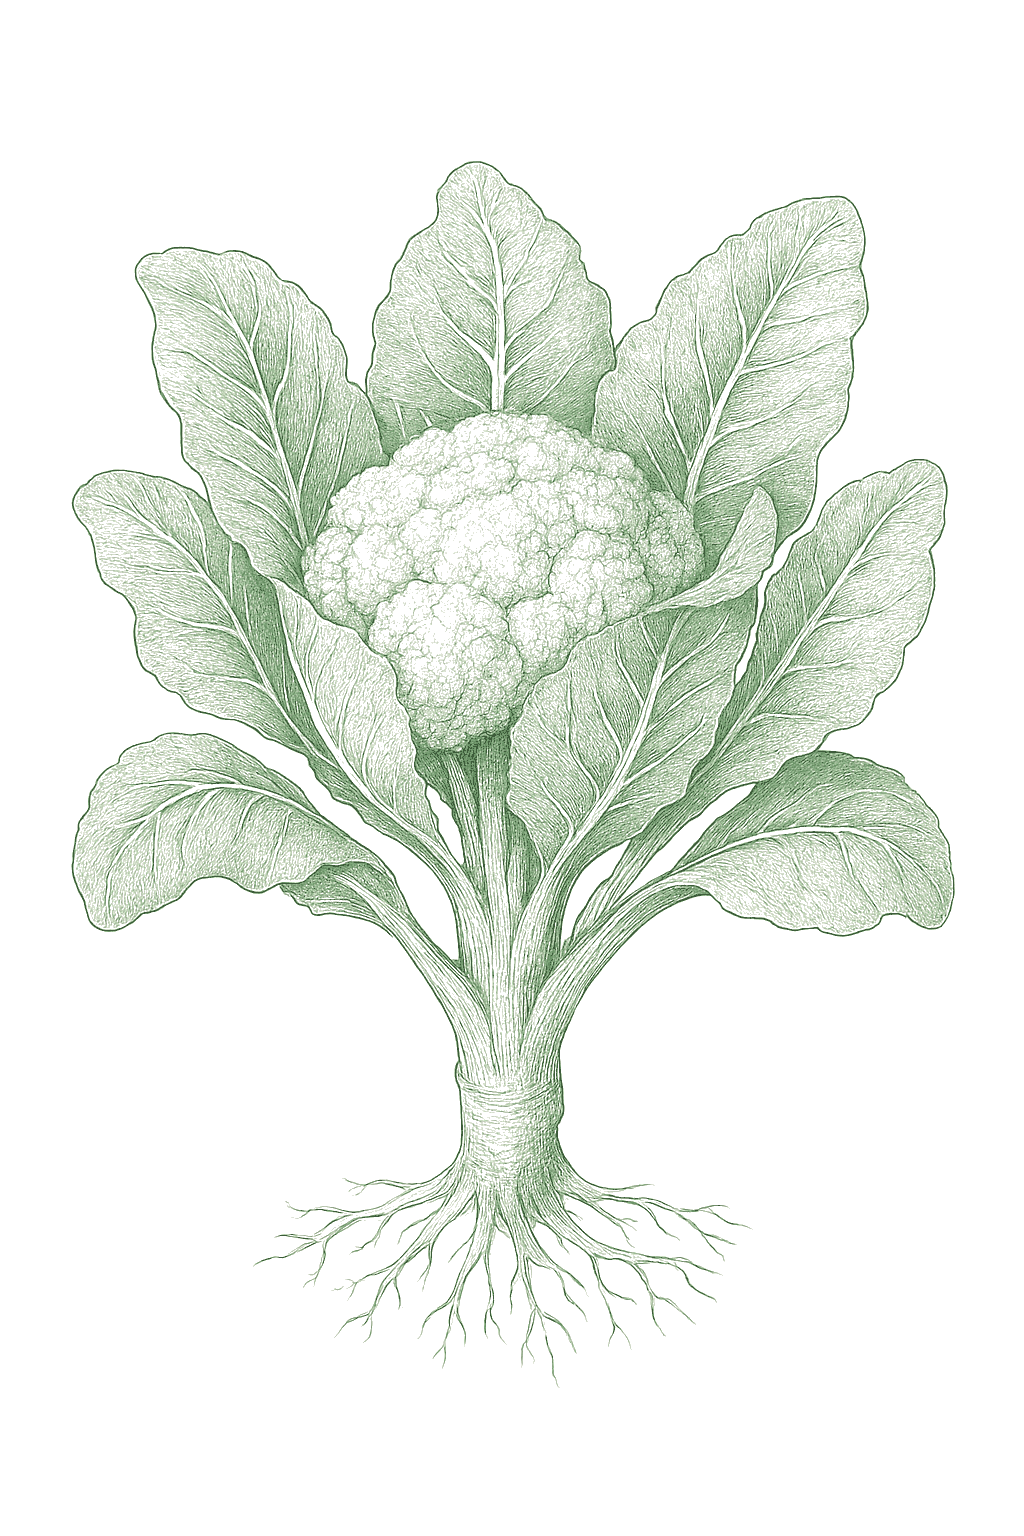
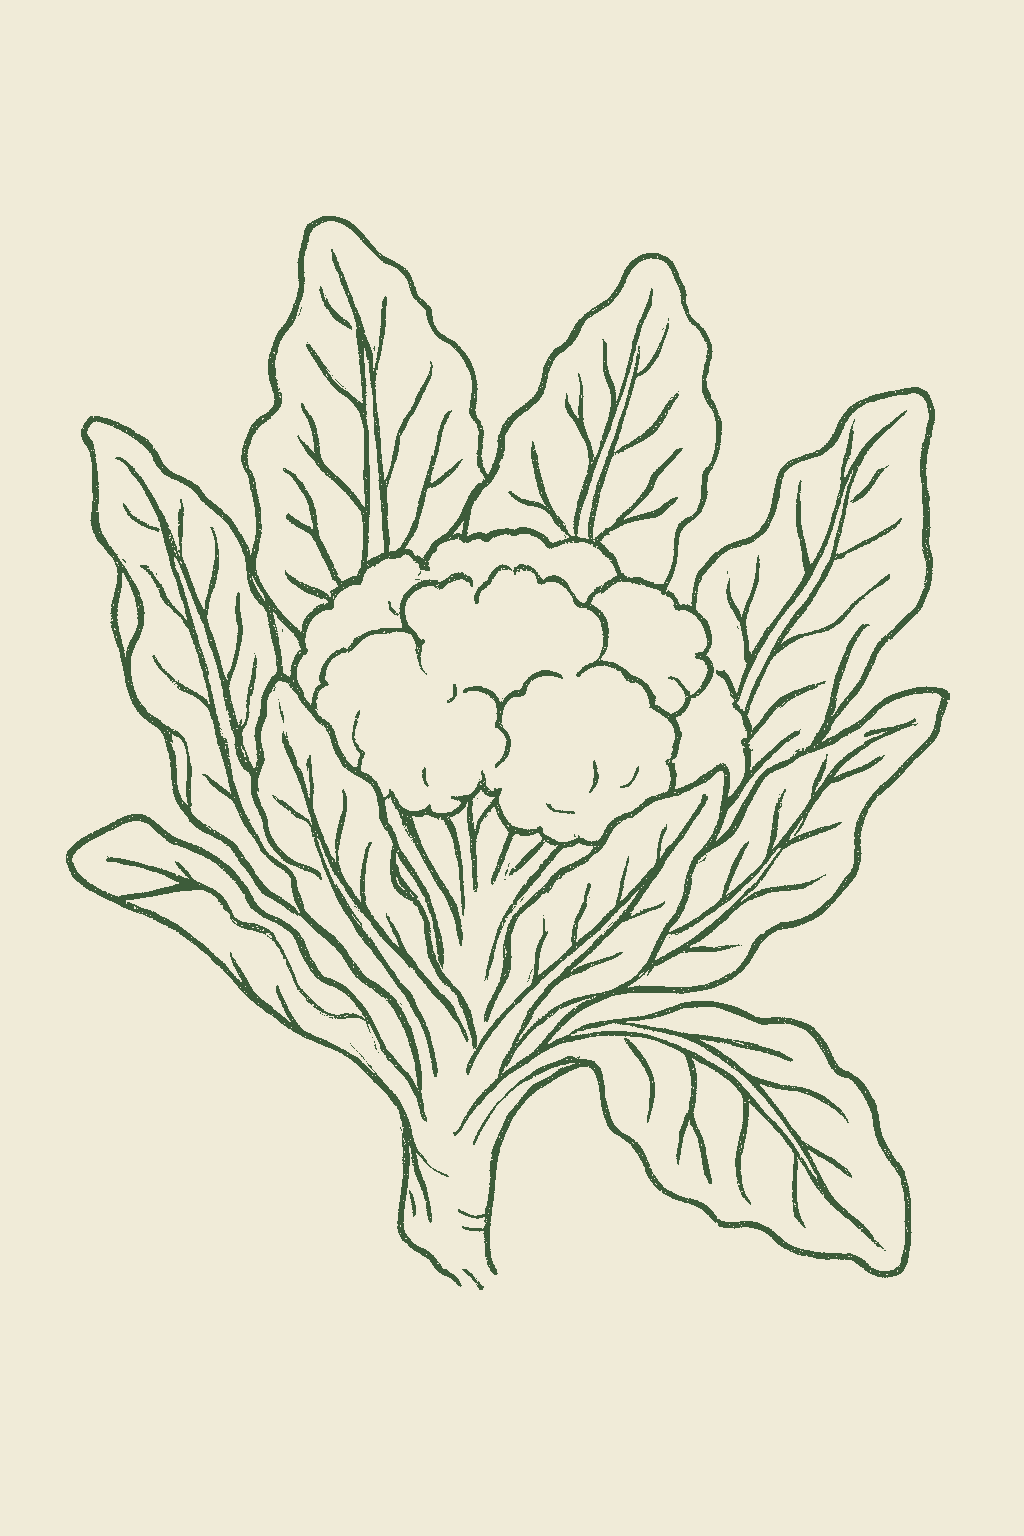
Cauliflower grows one dense, round head (the curd) in the center of the plant. There are white kinds plus fun orange, purple, and spiraled green Romanesco types, taking about 2 to 3 months to mature. It likes steady cool weather, so it is grown in spring and fall, not summer heat. Cauliflower is the trickiest of the cabbage family: it needs to grow without any stress, or it makes a tiny head early (buttoning) or a loose, discolored one. Many white types need blanching, where you tie the outer leaves over the head to keep it white. There are no side shoots like broccoli, so it is one head per plant, and it does not store like cabbage, so use it fresh or freeze it. Cauliflower is a cool-season brassica grown for the single dense white curd, the immature flower head, that forms at the center of the plant. It comes in white types plus orange, purple, and lime-green spiraled Romanesco forms, maturing from about 50 to 100 days, and is grown as a spring crop and a fall crop, timed to mature in cool weather. It is the fussiest of the common cole crops and less cold-hardy than cabbage or broccoli: the curd forms well only in steady cool weather around 60°F to 65°F, and almost any stress (heat, cold, drought, or a checked transplant) causes buttoning (a tiny premature curd) or ricing and discoloration of the head. Many white varieties need blanching, tying the outer leaves over the curd to keep it white, while self-blanching and colored types skip that step. Unlike broccoli it forms no side shoots, so it is a single harvest per plant, and unlike cabbage it does not store, so it is used fresh or frozen.
Off-season for cauliflower in zone 9.
Zone 9 averages a last frost around March 1. Within Zone 9, the colder half (9a, winters down to 20°F) runs about a week later. The warmer half (9b, winters down to 25°F) runs about a week earlier. The plant app picks your subzone from your ZIP.
| Subzone | Last spring | First fall | Growing days | Winter min | Fruits reliably |
|---|---|---|---|---|---|
| 9a | Mar 8 | Nov 24 | ~261 | 20-25°F | Yes · two seasons |
| 9b | Feb 28 | Nov 30 | ~275 | 25-30°F | Yes · two seasons |
Averages from 8 weather stations per subzone, drawn from NOAA 1991-2020 Climate Normals. Your actual frost date can vary by up to two weeks based on elevation, proximity to water, and local topography.
In Zone 9, cauliflower can be planted February through April, then again September, skipping the summer heat. Harvest runs November through April.
Plant cauliflower in spring and again in late summer for fall, in small batches a couple of weeks apart, instead of all at one time. The fall crop, with the head forming in cool weather, is usually the easier and more reliable one. Skip the hottest part of summer, since cauliflower will not form a good head in the heat.Cauliflower crops in the cool shoulders of the year, so plant in small batches within the spring window and again in late summer for fall, rather than all at once. Because it is so tightly tied to cool weather and so prone to buttoning in heat, the spring window is short and unforgiving: most gardens fit only a sowing or two before midsummer heat shuts it down. The fall planting, with the curd maturing into cooling weather, is usually the more reliable crop. Mixing early and late varieties in one planting also spreads the harvest.
In Zone 9, cauliflower can be planted September through November. Harvest runs December through March.
Plant cauliflower in spring and again in late summer for fall, in small batches a couple of weeks apart, instead of all at one time. The fall crop, with the head forming in cool weather, is usually the easier and more reliable one. Skip the hottest part of summer, since cauliflower will not form a good head in the heat.Cauliflower crops in the cool shoulders of the year, so plant in small batches within the spring window and again in late summer for fall, rather than all at once. Because it is so tightly tied to cool weather and so prone to buttoning in heat, the spring window is short and unforgiving: most gardens fit only a sowing or two before midsummer heat shuts it down. The fall planting, with the curd maturing into cooling weather, is usually the more reliable crop. Mixing early and late varieties in one planting also spreads the harvest.
In Zone 9, cauliflower can be planted September through October. Harvest runs December through March.
Plant cauliflower in spring and again in late summer for fall, in small batches a couple of weeks apart, instead of all at one time. The fall crop, with the head forming in cool weather, is usually the easier and more reliable one. Skip the hottest part of summer, since cauliflower will not form a good head in the heat.Cauliflower crops in the cool shoulders of the year, so plant in small batches within the spring window and again in late summer for fall, rather than all at once. Because it is so tightly tied to cool weather and so prone to buttoning in heat, the spring window is short and unforgiving: most gardens fit only a sowing or two before midsummer heat shuts it down. The fall planting, with the curd maturing into cooling weather, is usually the more reliable crop. Mixing early and late varieties in one planting also spreads the harvest.
In Zone 9, cauliflower can be planted February through September. Harvest runs May through December.
Plant cauliflower in spring and again in late summer for fall, in small batches a couple of weeks apart, instead of all at one time. The fall crop, with the head forming in cool weather, is usually the easier and more reliable one. Skip the hottest part of summer, since cauliflower will not form a good head in the heat.Cauliflower crops in the cool shoulders of the year, so plant in small batches within the spring window and again in late summer for fall, rather than all at once. Because it is so tightly tied to cool weather and so prone to buttoning in heat, the spring window is short and unforgiving: most gardens fit only a sowing or two before midsummer heat shuts it down. The fall planting, with the curd maturing into cooling weather, is usually the more reliable crop. Mixing early and late varieties in one planting also spreads the harvest.
In Zone 9, cauliflower can be planted January through May, then again September through October, skipping the summer heat. Harvest runs March through December.
Plant cauliflower in spring and again in late summer for fall, in small batches a couple of weeks apart, instead of all at one time. The fall crop, with the head forming in cool weather, is usually the easier and more reliable one. Skip the hottest part of summer, since cauliflower will not form a good head in the heat.Cauliflower crops in the cool shoulders of the year, so plant in small batches within the spring window and again in late summer for fall, rather than all at once. Because it is so tightly tied to cool weather and so prone to buttoning in heat, the spring window is short and unforgiving: most gardens fit only a sowing or two before midsummer heat shuts it down. The fall planting, with the curd maturing into cooling weather, is usually the more reliable crop. Mixing early and late varieties in one planting also spreads the harvest.
In Zone 9, cauliflower can be planted January through June. Start indoors Nov 20 - Dec 20. Harvest runs February through October.
Plant cauliflower in spring and again in late summer for fall, in small batches a couple of weeks apart, instead of all at one time. The fall crop, with the head forming in cool weather, is usually the easier and more reliable one. Skip the hottest part of summer, since cauliflower will not form a good head in the heat.Cauliflower crops in the cool shoulders of the year, so plant in small batches within the spring window and again in late summer for fall, rather than all at once. Because it is so tightly tied to cool weather and so prone to buttoning in heat, the spring window is short and unforgiving: most gardens fit only a sowing or two before midsummer heat shuts it down. The fall planting, with the curd maturing into cooling weather, is usually the more reliable crop. Mixing early and late varieties in one planting also spreads the harvest.
In Zone 9, cauliflower can be planted February, then again September, skipping the summer heat. Harvest runs April through May.
Plant cauliflower in spring and again in late summer for fall, in small batches a couple of weeks apart, instead of all at one time. The fall crop, with the head forming in cool weather, is usually the easier and more reliable one. Skip the hottest part of summer, since cauliflower will not form a good head in the heat.Cauliflower crops in the cool shoulders of the year, so plant in small batches within the spring window and again in late summer for fall, rather than all at once. Because it is so tightly tied to cool weather and so prone to buttoning in heat, the spring window is short and unforgiving: most gardens fit only a sowing or two before midsummer heat shuts it down. The fall planting, with the curd maturing into cooling weather, is usually the more reliable crop. Mixing early and late varieties in one planting also spreads the harvest.
In Zone 9, cauliflower can be planted October through November. Start indoors Aug 20 - Oct 4. Harvest runs December through March.
Plant cauliflower in spring and again in late summer for fall, in small batches a couple of weeks apart, instead of all at one time. The fall crop, with the head forming in cool weather, is usually the easier and more reliable one. Skip the hottest part of summer, since cauliflower will not form a good head in the heat.Cauliflower crops in the cool shoulders of the year, so plant in small batches within the spring window and again in late summer for fall, rather than all at once. Because it is so tightly tied to cool weather and so prone to buttoning in heat, the spring window is short and unforgiving: most gardens fit only a sowing or two before midsummer heat shuts it down. The fall planting, with the curd maturing into cooling weather, is usually the more reliable crop. Mixing early and late varieties in one planting also spreads the harvest.
In Zone 9, cauliflower can be planted September through October, skipping the summer heat. Harvest runs December through April.
Plant cauliflower in spring and again in late summer for fall, in small batches a couple of weeks apart, instead of all at one time. The fall crop, with the head forming in cool weather, is usually the easier and more reliable one. Skip the hottest part of summer, since cauliflower will not form a good head in the heat.Cauliflower crops in the cool shoulders of the year, so plant in small batches within the spring window and again in late summer for fall, rather than all at once. Because it is so tightly tied to cool weather and so prone to buttoning in heat, the spring window is short and unforgiving: most gardens fit only a sowing or two before midsummer heat shuts it down. The fall planting, with the curd maturing into cooling weather, is usually the more reliable crop. Mixing early and late varieties in one planting also spreads the harvest.
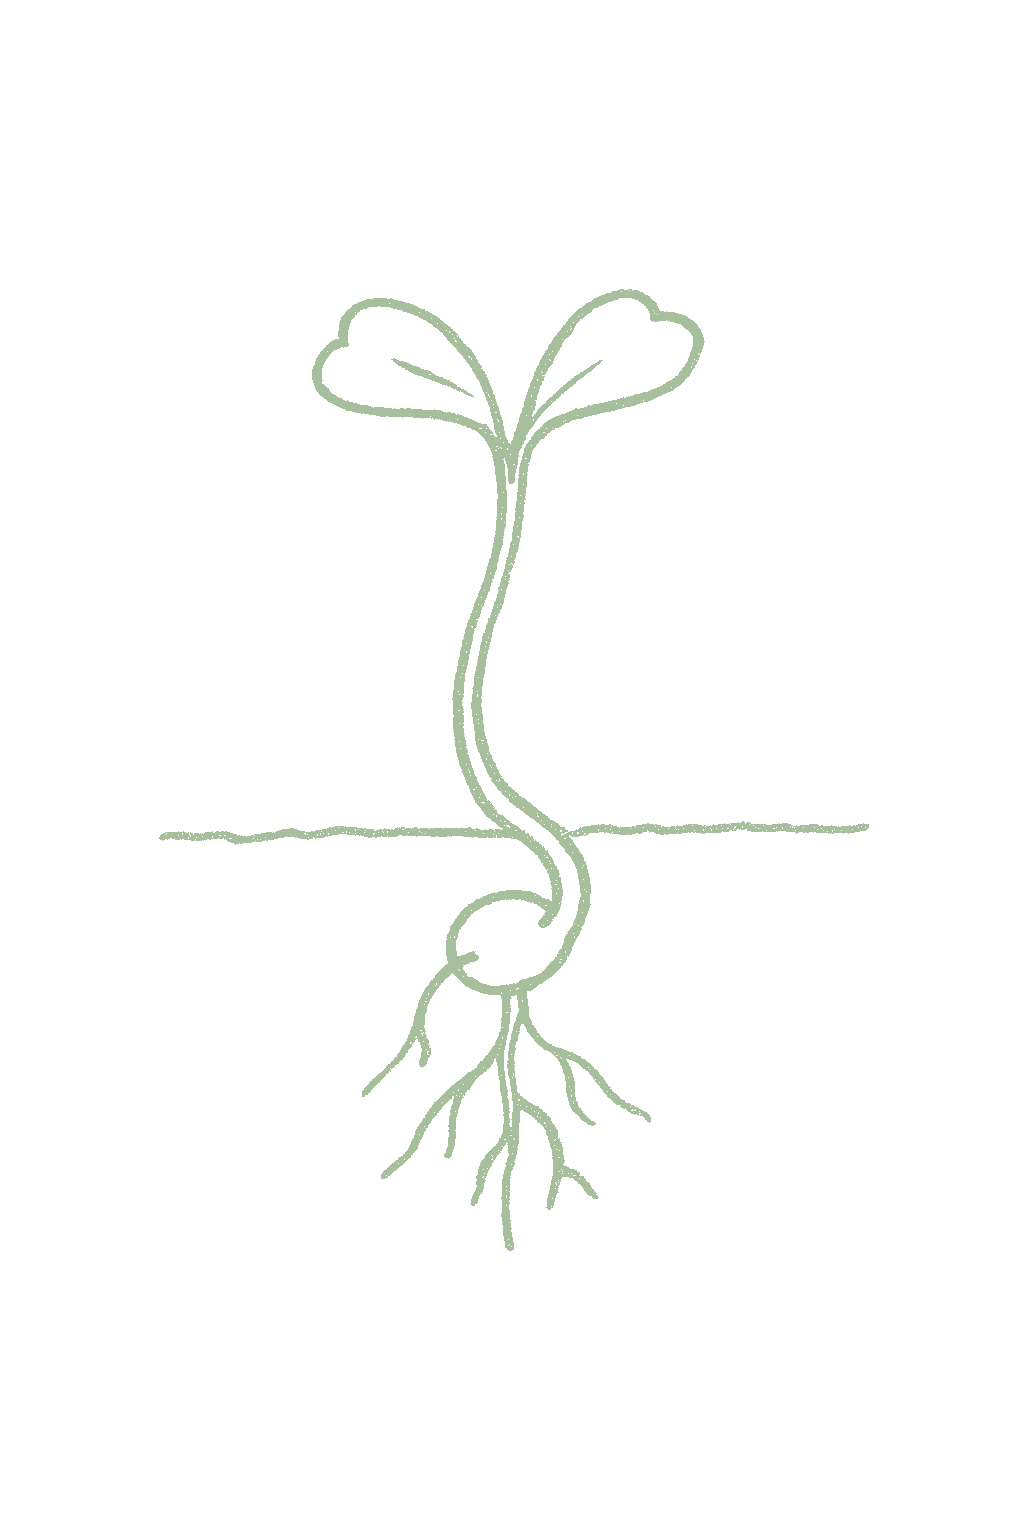
Cauliflower is best grown from transplants, since timing and a smooth, unstressed start are so important. For spring, start seeds indoors about a month before planting out and set the plants out around 2 weeks before your last frost; do not rush them into hard cold, since young cauliflower is touchier than cabbage. For fall, start them in early-to-mid summer. The key is to never let the seedlings get old, root-bound, or chilled, because that stress makes them head early. Let homegrown seedlings get used to the outdoors over a week before planting.Cauliflower is almost always transplanted, since precise timing and an unstressed start matter so much. For spring, start seeds indoors about 4 to 6 weeks before set-out and transplant sturdy young plants out around 2 weeks before the last frost; cauliflower transplants are less cold-hardy than cabbage or broccoli, so do not rush them into hard cold. For fall, start indoors or direct sow in early-to-mid summer and set out so the curd matures in cool fall weather. The single biggest transplant mistake is setting out an old, root-bound, or cold-checked plant: that stress triggers buttoning, where the plant forms a tiny premature curd. Set out stocky plants with 4 to 6 true leaves, harden them off over 7 to 10 days, and keep them growing without a stall.
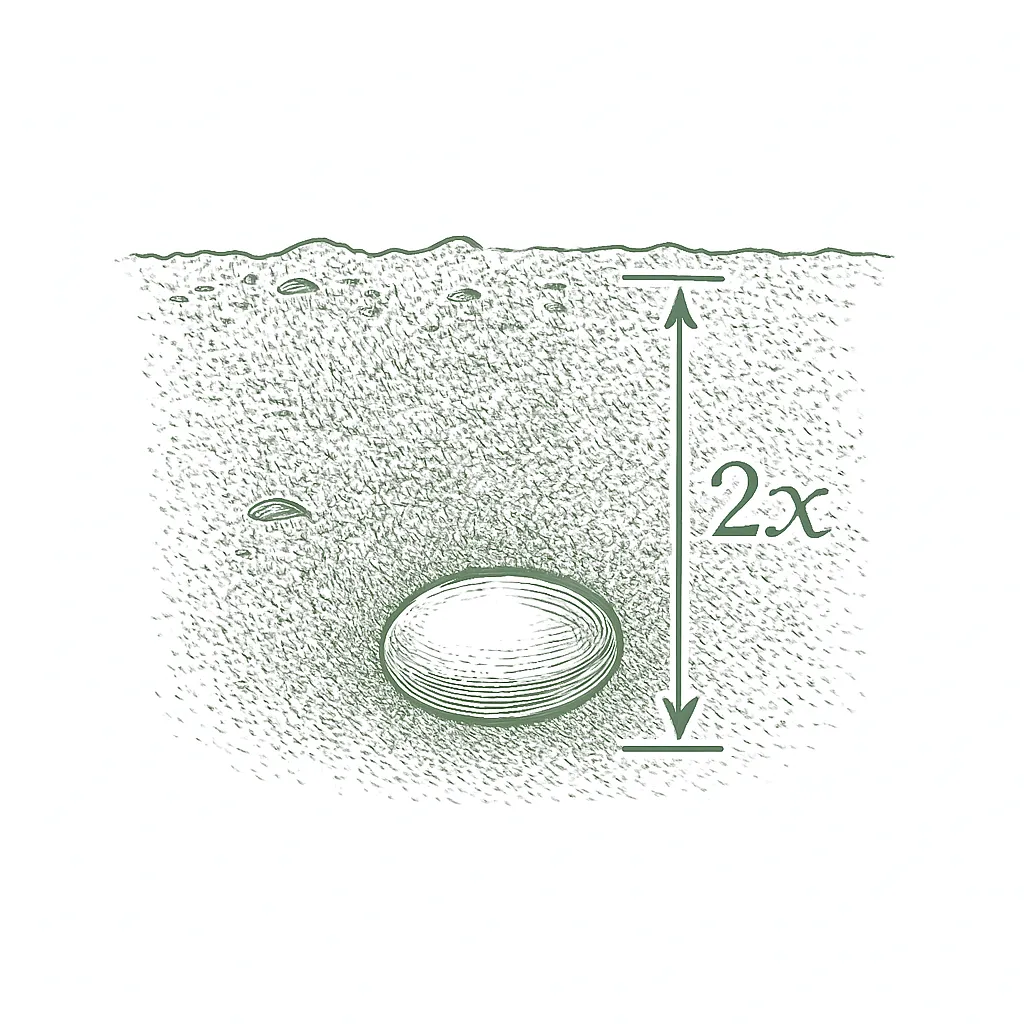
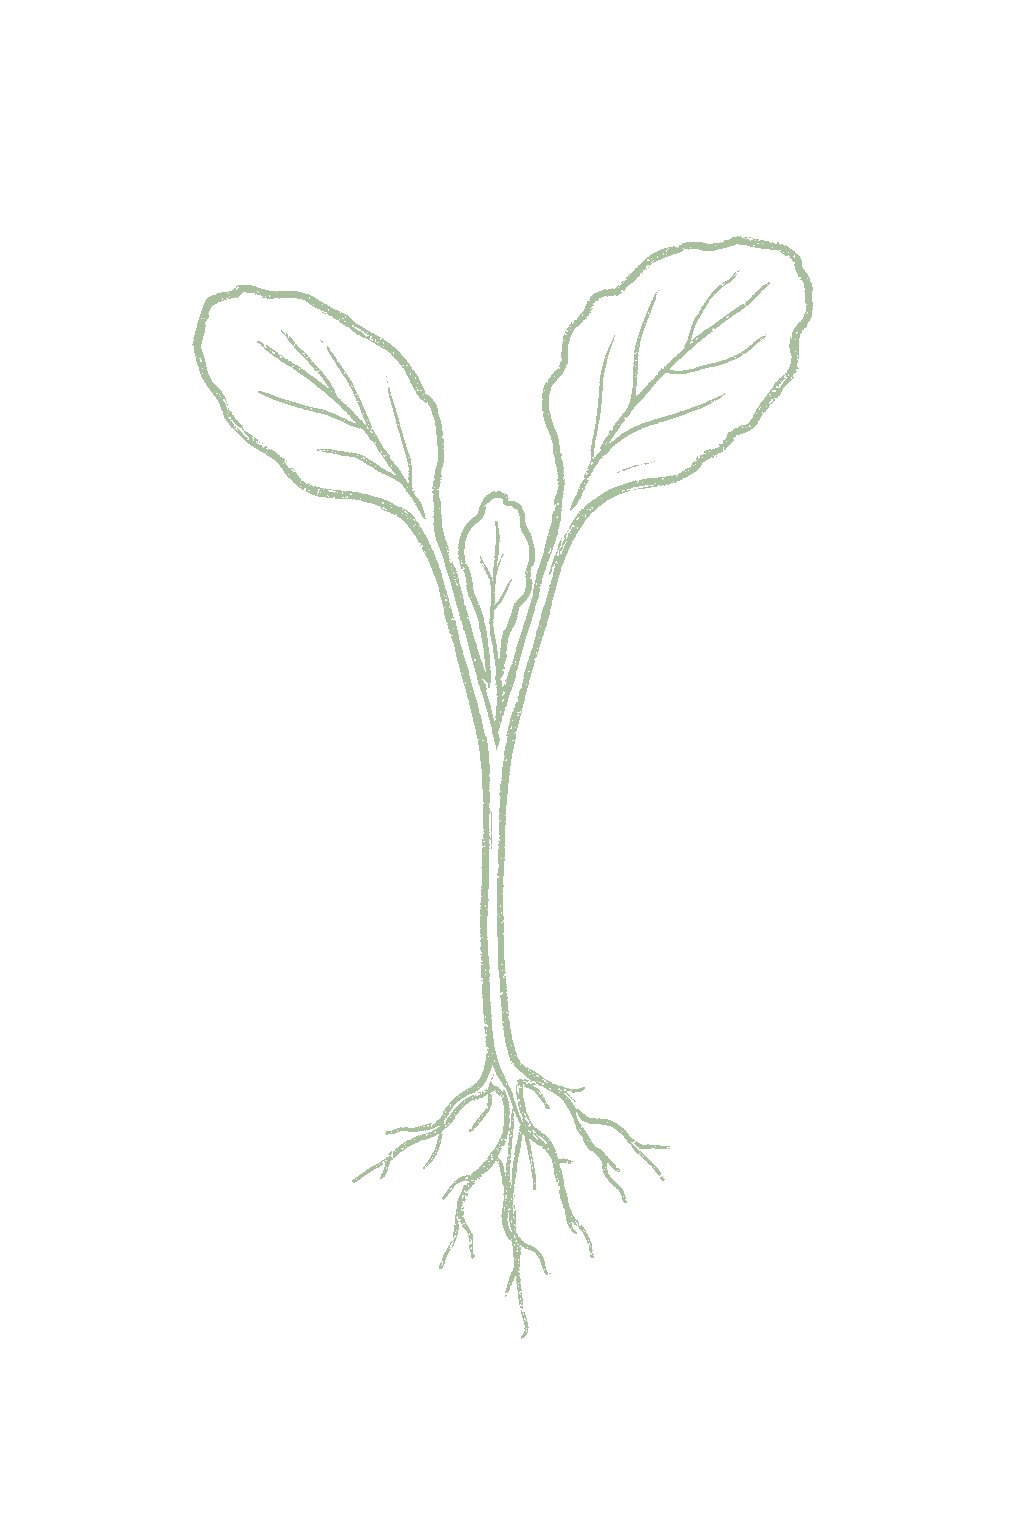
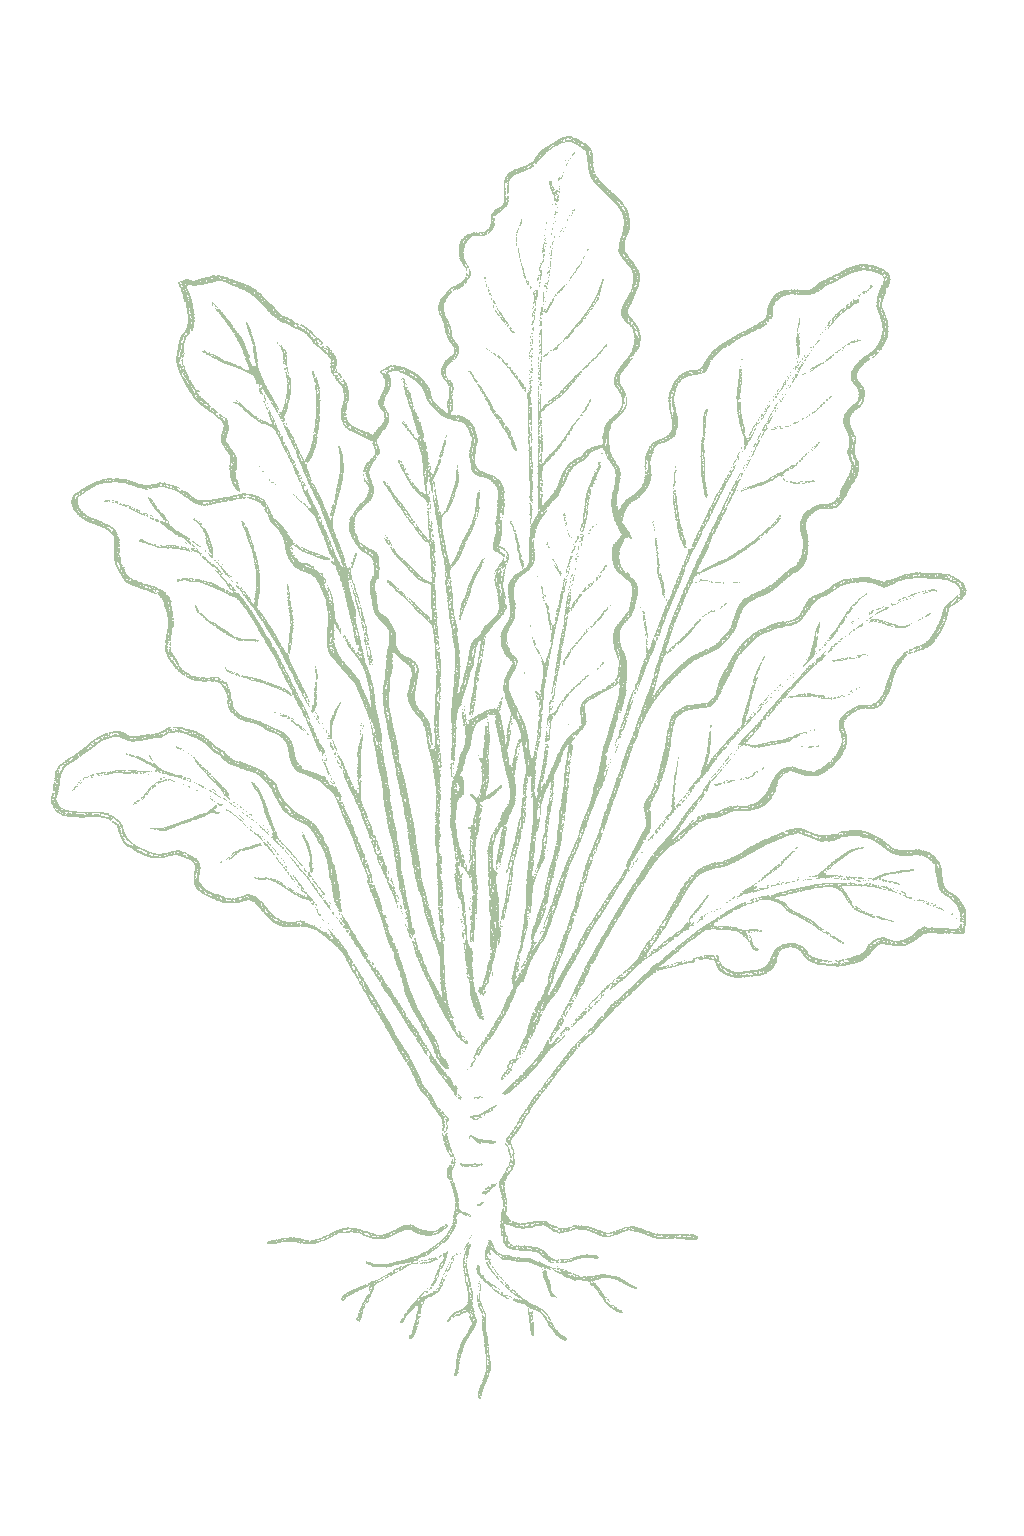
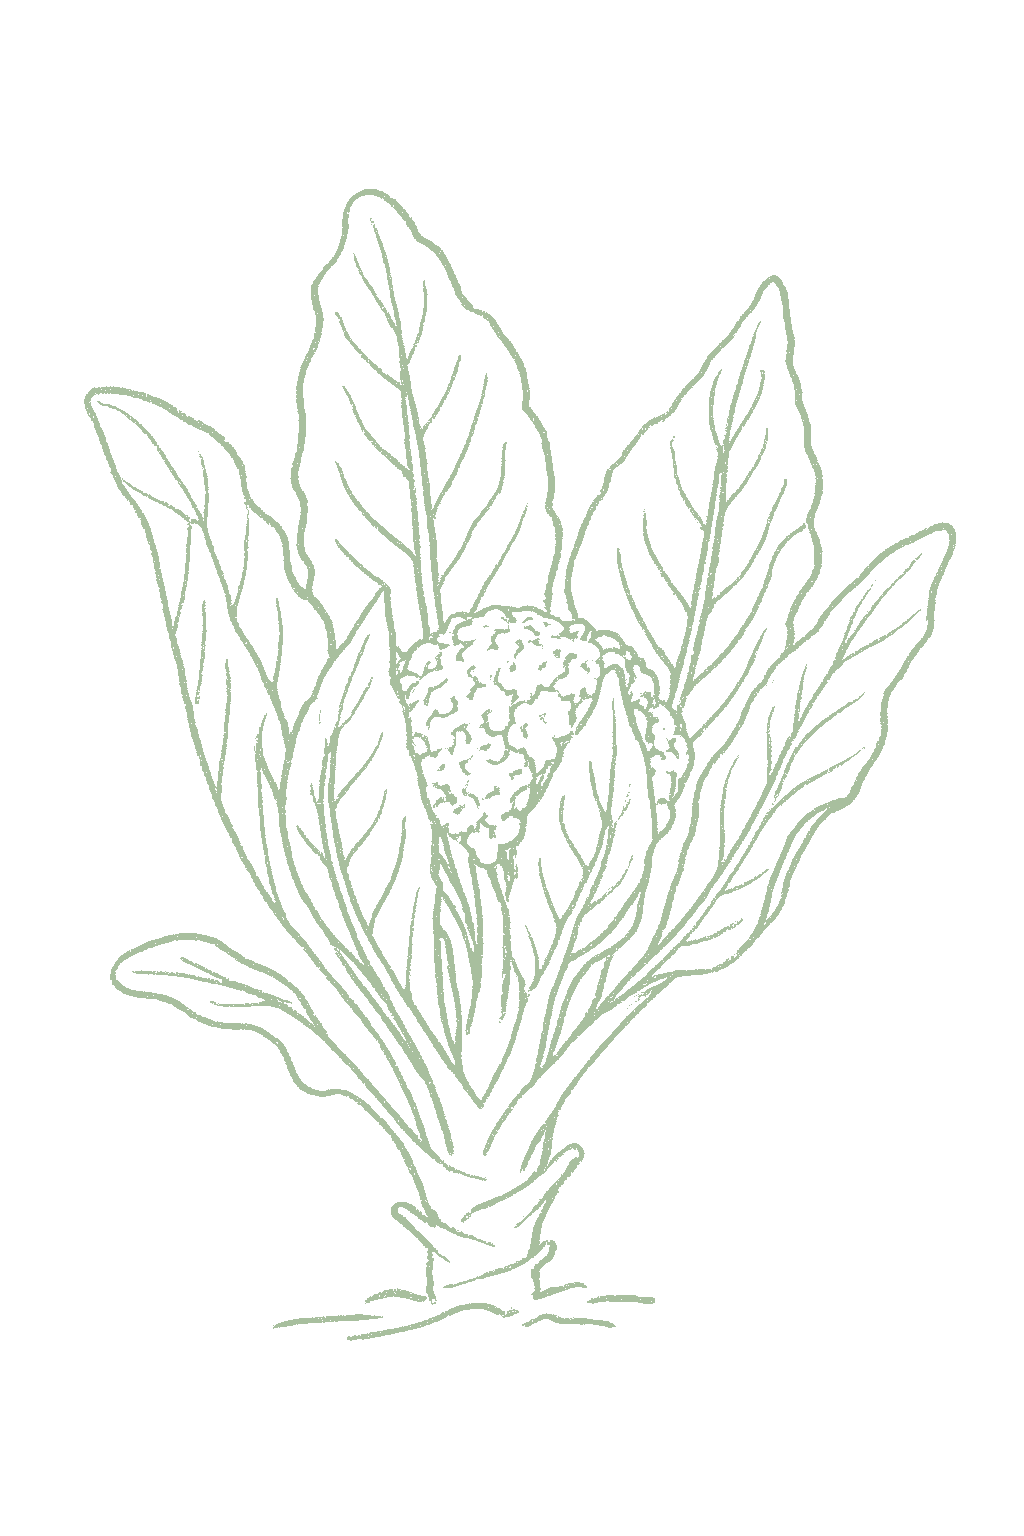
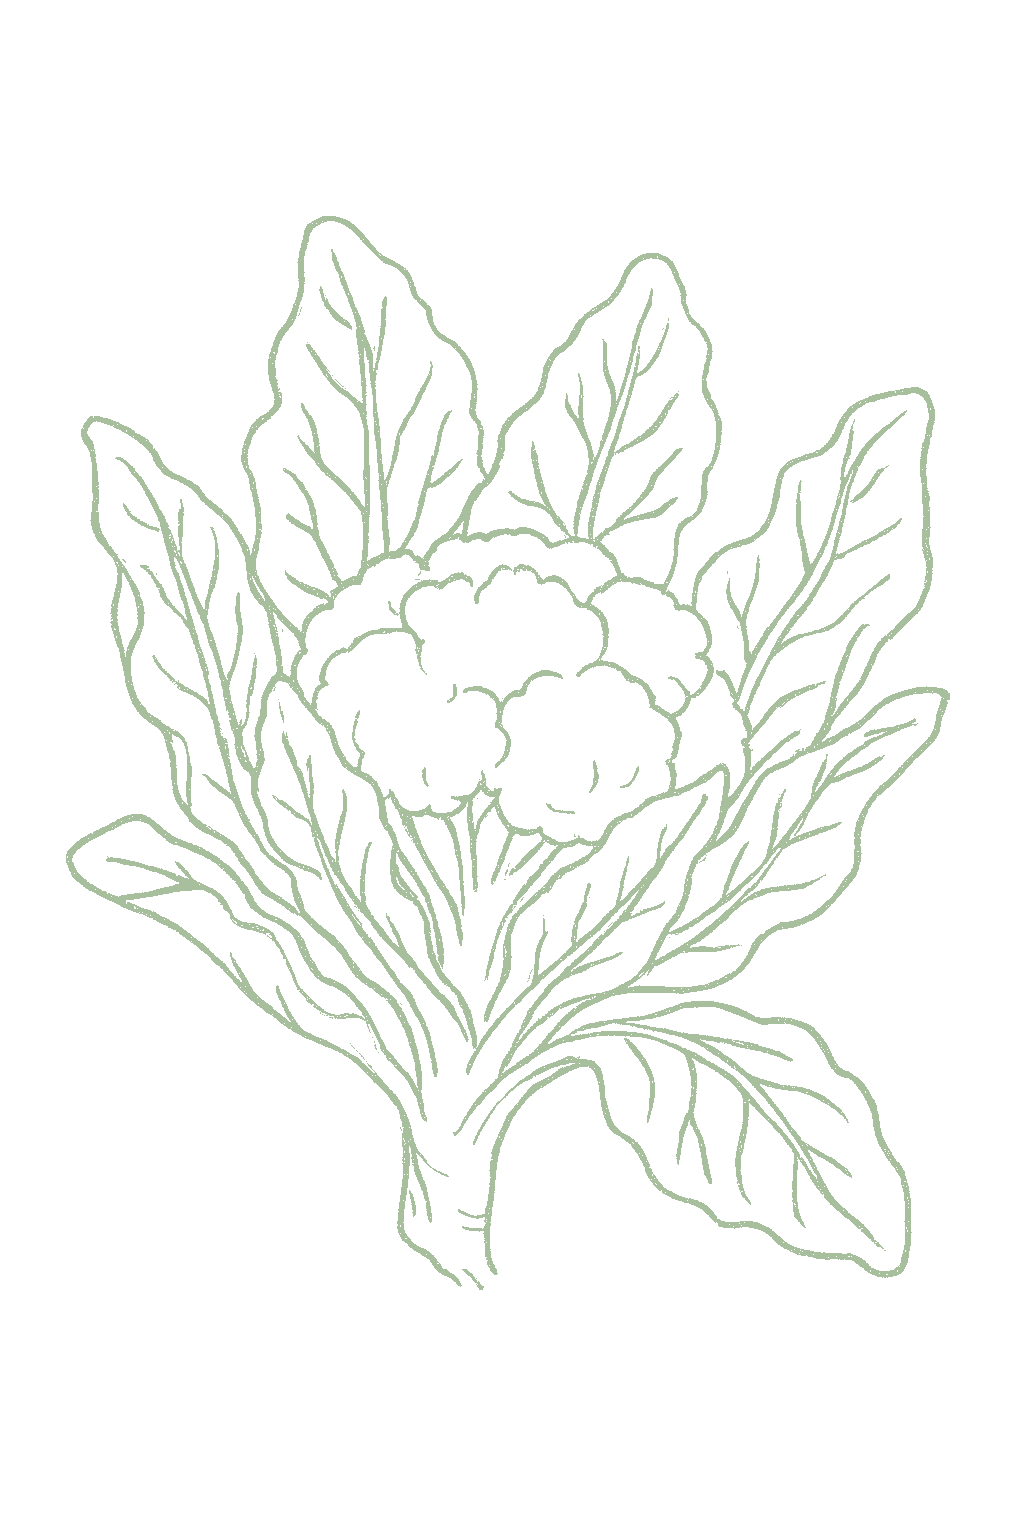





Not sure what soil you have? Grab a small handful of damp soil from your garden bed and squeeze it. If it crumbles apart easily, it's sandy. If it holds together but breaks when you poke it, it's loam (what most vegetables want). If it stays in a hard, slippery ball, it's clay.
Cauliflower grows best in rich, well-drained soil with lots of compost worked in, and it needs steady, even moisture the whole way. More than most vegetables, cauliflower hates being stressed: if it dries out or runs short on food even briefly, it can quit growing and form a tiny, useless head early (called buttoning). Soil that holds moisture but still drains well is ideal.
Mix 2-3 inches of compost into the top 6 inches of your bed before planting. Compost holds moisture (which sandy soil drains too fast) and adds the nutrients sandy soil tends to lack. Repeat each season. Compost breaks down over time.
Mix 2-3 inches of compost AND a few inches of coarse sand or perlite into the top 6 inches of your bed. The compost feeds the plants; the sand breaks up the clay so air and water can move through. Don't add sand without compost. It can compact like concrete.
If amending your soil sounds like too much work, or if your soil is heavy clay, full of rocks, or contaminated, build over it. A raised bed at least 12 inches deep filled with a 50/50 mix of compost and sandy loam gives you ideal growing soil with no battles. A 5-gallon container with quality potting mix does the same for one plant at a time. Both bypass your native soil entirely.
The numbers that matter, at a glance.
Cauliflower grows in a large pot, but it is one of the harder vegetables to get right in a container because it cannot take any stress. Use a pot of at least 5 gallons, one plant per pot, and keep it watered and fed without fail. Easy early varieties like Snow Crown are the best fit. If it ever dries out or runs low on food, it will make a tiny head early.Cauliflower is a workable but demanding container crop, since the small soil volume makes it harder to deliver the unbroken moisture and fertility it needs to avoid buttoning. Use a pot of at least 5 gallons (10 is better) at least 12 inches deep, one plant per pot, in a rich, well-drained mix, and keep moisture and feeding relentlessly steady. Choose easy, quick types (Snow Crown, Self Blanche, Amazing). Container-specific figures are modeled on general container-vegetable guidance plus the plant's size.
Snow CrownAn early, dependable white hybrid (about 50 to 60 days) and the standard beginner pick; vigorous, fairly forgiving, and quick enough for spring before the heat. Some leaf wrap, but blanching (tying the leaves) gives the whitest curd.
AmazingA mid-season white hybrid (about 65 to 70 days) noted for self-wrapping leaves and tolerance of a wider weather range, which makes it one of the more reliable types for the fall crop and for less-than-perfect conditions.
Self BlancheA self-blanching white variety (about 65 to 70 days) whose inner leaves curl up over the curd on their own, so it needs little or no tying; a good fall choice and an easy one for new growers. Days approximate.
Ask what your balcony or roof can carry
A balcony or roof can only hold so much weight. Before you set heavy pots there, ask a building architect what it can safely carry.Illinois Extension's guidance is to consult a building architect about weight limits before placing heavy pots on a balcony or rooftop garden. It gives no weight figure.
Never grow food in a container with anything toxic in it
Many kinds of containers can be used. Whatever you choose, keep anything toxic out of it, especially if you are growing food.Colorado State accepts nearly any container material but warns against using a container that holds toxic materials, especially for edible plants. Illinois adds that a vegetable container should be free of chemicals toxic to plants or people, and urges caution with treated lumber when growing food. If you cannot account for what a repurposed container once held, that alone is a reason to keep food out of it.
Secure hanging containers well
Fasten hanging baskets and window or rail boxes securely. Think about what is below them too, since they can drip on people or things underneath.Illinois Extension asks growers to secure hanging containers well and to think through the safety issues of hanging them. Placement matters too, since a hanging container can drip onto people or belongings below.
Cauliflower grows best in soil that is slightly acidic to neutral, about 6.0 to 7.0. A simple soil test tells you where you stand. If you have had clubroot, a soil disease, keeping the soil closer to neutral (up toward 7.0) helps hold it back.Aim for a soil pH of about 6.0 to 7.0 (UMN and Iowa State both give 6 to 7; Clemson lists 5.8 to 6.5). Cauliflower tolerates a wider 5.5 to 7.5 band. Clubroot, the major brassica soil disease, is far more likely in acidic soil below about 6.5, so where it is a concern lime acidic ground well ahead of planting and hold the pH toward neutral.
Cauliflower needs rich soil and regular feeding to grow a good head. The big rule is to never let it get hungry or stressed: a plant that runs short on food or water stops growing and makes a tiny, useless head early. Mix a balanced fertilizer into the soil before planting, then feed with a nitrogen fertilizer about 3 to 4 weeks after planting out. Keep it growing steadily the whole way.Cauliflower is a heavy feeder, and steady fertility matters even more than with other cole crops because a hungry plant buttons, forming a tiny premature curd instead of a full one. Work a balanced fertilizer such as 5-10-10 or 10-10-10 into the bed before planting (Clemson: 5-10-10 at 3 pounds per 100 square feet), then side-dress with nitrogen about 3 to 4 weeks after transplanting, using roughly 33-0-0 or calcium nitrate. Keep the plant growing vigorously and without interruption right up to curd formation; the most common cause of failed curds is any stall in growth from low fertility or uneven water. On acid or sandy soils, a boron and molybdenum deficiency can cause hollow stem and whiptail, so a soil rich in organic matter at a near-neutral pH is the best insurance.
Use a balanced fertilizer like 10-10-10 at planting, then a nitrogen feed a few weeks after planting out to keep it growing strong.High N to drive steady, uninterrupted growth to a full curd: a 5-10-10 or 10-10-10 starter worked in before planting, then a nitrogen side-dress such as 33-0-0 or calcium nitrate (15.5-0-0) about 3 to 4 weeks after transplanting.
Cauliflower does well next to aromatic herbs, onions, and quick crops you can tuck in while the plants are small. The most important rule is to keep it away from other cabbage-family plants, which share the same pests and diseases. Most cauliflower companion pairings are traditional rather than trial-tested. The ones worth acting on are practical: aromatic herbs and alliums as scent-based deterrents for cabbage-family pests, small flowering plants such as sweet alyssum and dill to draw the parasitic wasps and hoverflies that attack cabbage aphids and caterpillars (a habitat tactic Clemson recommends for cole crops), and quick crops like lettuce that use the open ground while the cauliflower fills in. The well-grounded caution is to separate cauliflower from other brassicas, which share clubroot and the whole cabbage-family pest complex, a rotation and disease principle more than a tested adjacency effect.
Your cauliflower is ready when the head is full-sized (about 6 to 8 inches), firm, and still tight, smooth, and white, usually a week or two after you tied the leaves over it. Cut the whole head off with a few leaves attached. Don't wait, because the head quickly goes loose and grainy and yellows. Use it within about a week, since it does not keep like cabbage.Cut the curd when it is full-sized (about 6 to 8 inches across), firm, compact, and still smooth and white, usually 1 to 2 weeks after blanching and roughly 50 to 100 days from transplanting depending on the variety. Slice the whole head off at the base with a few wrapper leaves to protect it. Harvest promptly: a curd left too long rices (separates into a loose, grainy surface), discolors, and starts to open toward flower, and that window is only a few days, shorter in warm weather. Refrigerate soon, since cauliflower does not hold in the garden the way cabbage does.
Each plant gives you one head, usually about 1 to 3 pounds. There are no side shoots afterward like broccoli has, so it is one head per plant.One curd per plant, typically about 1 to 3 pounds and 6 to 8 inches across depending on variety, spacing, and how steadily the plant grew. Unlike broccoli, cauliflower does not produce useful side shoots after the main curd is cut, so it is strictly a single harvest.
Each cauliflower makes one head over a few weeks and is cut once, while it is still tight. The best heads form in the cool weather of fall and spring.Each curd matures over a short window in cool spring or fall weather and must be cut promptly before it rices; the crop is a one-time cut per plant. In hot regions the spring crop must beat the summer heat and the fall crop is usually the more reliable one. Cauliflower is the fussiest of the cabbage family, and almost all of its problems come from getting stressed. If it dries out, runs low on food, or hits heat or cold while young, it makes a tiny useless head early (buttoning). The two tricks are to keep it growing smoothly with even water and feeding, and to time it so the head forms in cool weather. Tie the leaves over white heads to keep them white, and cut the head as soon as it is full and still tight.Cauliflower is the most demanding of the common cole crops, and almost every failure traces to one cause: a check to growth. Buttoning (a tiny premature curd) comes from any stress, drought, low fertility, heat, cold, or a root-bound transplant, on a young plant; ricing and discoloration come from heat or harvesting late. The two keys are steady, unbroken growth (even water, steady feeding, no transplant shock) and tight timing so the curd matures in cool weather. Blanch white types by tying the leaves, and harvest the instant the curd is full and still smooth.
Pick the type that fits your patience. For a first try, choose an easy self-blanching or self-wrapping kind like Snow Crown, Amazing, or Self Blanche, which need little or no leaf-tying. The colored kinds are fun and skip blanching completely: orange (Cheddar) and purple (Graffiti) just need full sun, and green Romanesco makes a beautiful spiraled head but takes a long, cool fall to do well.Match the variety to the season and your tolerance for fuss. For a first try, the early self-wrapping or self-blanching hybrids (Snow Crown, Amazing, Self Blanche) are the most forgiving and need the least leaf-tying. Open-pollinated whites (Early Snowball, Snowball Y Improved) are seed-saveable but want blanching. The colored types are the fun ones and skip blanching entirely: orange (Cheddar) and purple (Graffiti, Purple of Sicily) are grown in full sun for their color, and lime-green Romanesco (Veronica) brings a spiraled curd but wants a long, steady cool fall. Days-to-maturity figures are approximate and run from transplanting.
The ladder troubleshoots from the gentlest solution to the strongest. Start with the gentlest option and only move on when and if it doesn't work.
Clear away old cabbage-family plants when a crop finishes. The pupae, the resting stage between caterpillar and adult, shelter in that leftover debris, so hauling it out leaves fewer moths and butterflies to start the next round.Clearing spent brassica material removes the debris that shelters pupae between plantings, which lowers the local population emerging onto the next crop.
Lay a row cover, a light fabric sheet that lets in light and water, over the plants right after planting. It keeps the white butterflies and small moths from landing to lay eggs, which stops the problem before there are any caterpillars.Floating row cover or fine mesh set at transplanting excludes the egg-laying adults ahead of any spray decision; seal the edges, since the value is entirely in the adults not reaching the foliage.
Walk the rows and pick caterpillars and eggs off the undersides of the leaves. The first white butterflies of the season are your signal to start looking, and finding larvae early keeps them out of the curd, the white head you eat.Hand removal of larvae and eggs from leaf undersides is practical at garden scale; use the first white butterflies as the cue to begin scouting, and tighten the pass as the curd forms, since contamination of the head is the costly damage.
Spray Bt, a bacterial product that acts on caterpillars rather than on insects in general and is low in toxicity to people, pets and bees. It cannot tell a pest caterpillar from a butterfly one, so treat only the plants that have a problem, and spray again after rain, which washes it off.Bacillus thuringiensis kurstaki targets the larvae of all three species and spares beneficials, but it breaks down, so repeat after rain. Confine applications to infested plantings, since it acts on caterpillars as a group.
If Bt and handpicking are not keeping up, spinosad is the stronger organic option named for this crop. It is worth reserving for the stretch when the curd is forming, since caterpillars tucked into a tight white head are very hard to wash out. Follow the label and spray toward dusk, when bees are not out foraging.Spinosad is the escalation once Bt and hand removal have not held, and the period to spend it on is curd formation, when contamination of the head is the expensive kind. Time applications to dusk to spare foraging bees.
The bottom rungs are products with label rules: timing, pollinators, and days to wait before harvest. Before you spray →
The ladder troubleshoots from the gentlest solution to the strongest. Start with the gentlest option and only move on when and if it doesn't work.
Go easy on nitrogen fertilizer once the curd, the white head you eat, starts to form. The soft growth that heavy feeding pushes out is what draws these aphids.Hold nitrogen back once the curd sets; the succulent growth excess nitrogen produces is what this brassica specialist colonizes first.
Pull out old cabbage-family plants after harvest instead of leaving them standing, since the aphids carry over on that leftover growth.Destroy brassica crop debris, which carries colonies between plantings; pressure runs heaviest on the long-season fall crop, so the cleanup ahead of it earns the most.
Keep young plants under a row cover, a light fabric sheet, so winged aphids cannot land and start colonies while the plants are small.Row cover on young plants blocks the winged colonizers during establishment; once the curd is forming, the head itself is what needs watching.
Knock the clusters off with a strong jet of water, aiming at the growing tips and the undersides of the leaves. Check the tips and the developing curd often, so you catch colonies before they settle into the head, where they are very hard to wash out.A forceful water jet dislodges colonies without touching natural enemies. Scout the growing tips and the curd weekly, since the aim is catching an infestation before aphids lodge in tight florets that cannot be cleaned.
Ladybugs and lacewings eat aphids, so make them welcome and avoid broad sprays that would take them out along with the pests.Conserve the natural enemies that suppress this aphid, among them the parasitoid Diaeretiella rapae, hoverflies and lady beetles; a broad-spectrum material removes them and leaves a fast-breeding aphid with a clear field.
Spray insecticidal soap onto the colonies, coating the undersides of the leaves, and repeat every few days. It works where it wets the aphids, and the dusty, waxy coating on these ones makes thorough coverage the whole job.Soap kills on contact, so coverage decides the outcome: spray into the colonies on the leaf undersides rather than misting the plant, and repeat at short intervals. The waxy bloom on Brevicoryne brassicae is what makes deliberate wetting necessary.
Neem oil is the other contact spray named for these aphids. Cover the same hidden spots under the leaves, repeat every few days, and skip spraying in high heat or on thirsty plants.Neem is a coverage-dependent alternative to soap on the same colonies; it spares beneficials once dry. Keep it off anything in flower and out of the water bees drink.
Horticultural oil, a light spray oil, can also coat the aphids it reaches. Hit the same leaf undersides, and avoid using it in high heat or on dry, stressed plants.Horticultural oil rounds out the contact options; whichever you pick, thoroughness under the leaves decides the result more than the product does. Avoid oils on water-stressed plants and above 90°F.
The bottom rungs are products with label rules: timing, pollinators, and days to wait before harvest. Before you spray →
The ladder troubleshoots from the gentlest solution to the strongest. Start with the gentlest option and only move on when and if it doesn't work.
Plant where cabbage-family crops have not grown recently, so new transplants are not set down on top of what the last brassica crop left behind.Rotate away from ground that carried brassicas; that separates the transplants from the carryover population emerging beneath them.
Once maggots are in the roots that plant cannot be brought back, so pull the badly damaged ones and get them out of the garden. What is left to do is keep fresh eggs off the plants that are still healthy.Larvae feeding inside the roots leave nothing to rescue, so lift and destroy the badly affected plants and spend what remains of the effort on stopping further egg-laying around the survivors.
A row cover, a light fabric sheet over the bed, keeps the fly from reaching the stem base to lay eggs. Tuck the edges down, and avoid laying it over ground that grew cabbage-family crops last year, since it can seal emerging flies in with the crop.Row cover sealed at the edges from transplanting excludes the adult through the cool, wet establishment period. It works over clean ground; over a bed that carried brassicas last season it can trap emerging flies with the crop.
Set a small collar or disk flat on the soil around the base of each transplant. It blocks the fly from laying eggs against the stem, which is where the maggots begin their trip down to the roots.A basal collar or disk fitted at transplanting denies the adult its egg-laying site at the stem; it is the per-plant option where covering the whole bed is impractical.
No spray for this one. Prevention is the control.
The ladder troubleshoots from the gentlest solution to the strongest. Start with the gentlest option and only move on when and if it doesn't work.
Clear garden debris, old cabbage-family plants and cabbage-family weeds at the end of the season, since the adults spend the winter in that cover. During the season, pull a plant that is badly overrun rather than trying to defend it.Removing crop debris and crucifer weeds takes out the overwintering sites of an insect that overwinters as an adult and completes several generations a year; roguing heavily infested plants during the season belongs to the same pass.
Put an early mustard patch in ahead of the main planting so the overwintered bugs settle there first, then destroy that patch before the crop goes out. Removing it is the step that counts, because bugs left sitting on it will move across to the crop.An early mustard stand draws overwintered adults away from the transplants, and this crop's guidance takes the action through to the removal, destroying the stand before the main crop is set out. Leave it standing and the patch holds a breeding population beside the bed; this method's cautions carry the deadline.
A row cover, a light fabric sheet over the plants, keeps the bugs off. Put it on before you start finding them, since keeping them out is easier than clearing them out.Exclusion with floating row cover keeps colonizing adults off the crop, and it earns most early, when overwintered adults move onto the first brassicas available.
Search the plants and crush the bugs, their young, and the barrel-shaped eggs laid in rows. They are large and brightly marked, so a regular walk through the bed turns up most of them.Hand destruction of adults, nymphs and the barrel-shaped egg rows is workable at garden scale on an insect this conspicuous; check the leaf undersides for the egg rows to make the pass thorough.
Where pressure is severe, insecticidal soap sprayed straight onto the bugs can help. It works on the ones it actually wets, so spray the insects rather than the plant in general.Soap is listed as help under severe pressure rather than as a solution; it is strictly contact-acting, so direct it at the insects themselves and repeat as you find them.
Neem oil is the other spray named here for severe pressure. Coat the bugs directly, and avoid spraying in high heat or on thirsty plants.Neem is the alternative contact material where pressure is severe; coverage decides what it does. Keep it off anything in flower and out of the water bees drink.
If the bugs are severe, pyrethrin, the botanical spray made from chrysanthemum flowers, drops them on contact and then breaks down in sunlight within about a day. Keep it away from anything in bloom and from puddles, since it sits in the strictest bee band there is.Pyrethrin is the fast-knockdown botanical for severe pressure, with sunlight degrading it inside roughly a day and little residue left on the curd. UC IPM rates it in the strictest honey bee band despite its organic standing, so exclude bloom and drinking water rather than relying on an evening window.
The bottom rungs are products with label rules: timing, pollinators, and days to wait before harvest. Before you spray →
The ladder troubleshoots from the gentlest solution to the strongest. Start with the gentlest option and only move on when and if it doesn't work.
Pull cabbage-family weeds growing near the bed. They feed the same beetles, so clearing them means fewer waiting to move onto your seedlings.Weedy brassica relatives sustain flea beetles alongside the crop; clearing the bed and its edges removes a standing host bridge to the seedlings, which are the stage at stake.
Cover young plants with a row cover, a light fabric sheet, from the moment they go out. The point is getting seedlings big enough to handle the little round holes, because a stunted cauliflower seedling often heads early and badly.Row cover from transplanting is the main defense, and the objective is carrying seedlings past the vulnerable stage without a growth check, since a checked cauliflower seedling is prone to buttoning.
If the beetles are thick enough to stunt the seedlings, spinosad is the spray named for this crop. Treat it as backup while the plants get established, follow the label, and spray toward dusk when bees are not out foraging.Spinosad supplements exclusion where pressure is high; it is a bridge through the seedling stage rather than a season-long program, and applications belong at dusk to spare foraging bees.
The bottom rungs are products with label rules: timing, pollinators, and days to wait before harvest. Before you spray →
The ladder troubleshoots from the gentlest solution to the strongest. Start with the gentlest option and only move on when and if it doesn't work.
Grow cauliflower and other cabbage-family plants in a given spot only once every few years, and stretch that further where clubroot has already turned up. The germ survives in soil for years, and a long gap starves it down.The organism persists in soil for many years, so keep brassicas off infested ground for a long cycle; UMN advises up to 7 years where clubroot is known. Rotation runs the inoculum down over time rather than clearing it.
Keeping the soil from being too acidic, closer to neutral, holds the disease back. Liming does not cure a plant that already has it, so pair it with the long gap between cabbage-family crops.Liming toward neutral suppresses infection, which proceeds most readily in acidic soils below pH 6.5. Confine the treatment to the affected ground, since most vegetables prefer a pH near 6.0 to 6.8.
Fix the spots where water sits in the bed. The germ moves in soil and water, so ground that drains well gives it less to work with.Correcting drainage lowers infection pressure on the roots, since the pathogen spreads in contaminated soil and water.
There is no cure once a plant has it, so dig out the affected plants, lumpy roots and all, and get them out of the garden. Knock the soil off tools and boots afterward so you are not carrying it to a clean bed.Remove and destroy infected plants with the galls intact; the pathogen also travels in soil moved on tools and boots, so cleaning equipment after working an infested bed is part of the control.
No spray for this one. Prevention is the control.
The ladder troubleshoots from the gentlest solution to the strongest. Start with the gentlest option and only move on when and if it doesn't work.
Buy certified, disease-free seed and pick out healthy transplants. This one usually rides in on the seed or on the young plants themselves, so a clean start is the main defense.The bacterium is seedborne, so certified seed and clean transplants close the main entry route; a hot-water seed treatment adds a margin where black rot has been a problem.
Avoid planting where cabbage-family crops grew recently. The bacteria hang on in what those plantings leave behind.Rotate 2 to 3 years away from brassicas so residue-borne inoculum is gone before a susceptible crop returns to that ground.
Space the plants so air moves between them and the leaves dry. The disease spreads fastest in warm, wet weather, and it can travel through the plant and rot the curd, the white head you eat.Open spacing shortens the warm, wet leaf periods the bacterium advances in; it moves through the vascular system to the curd, which is why slowing foliar spread is worth the row width.
Water at the soil rather than over the tops of the plants, so you are not splashing the bacteria from leaf to leaf.Basal irrigation removes the overhead wetting that carries the bacterium between plants and lengthens leaf wetness.
Stay out of the bed while the plants are wet, and avoid brushing against them or handling them then, since that spreads the bacteria.Work the planting only when foliage is dry; handling wet plants moves the bacterium efficiently, and the rule holds after rain and dew, not just after watering. It lowers the rate of spread rather than stopping an established infection.
Nothing cures a plant that has it, so take the affected ones out and destroy them before the bacteria reach their neighbors.With no effective cure, roguing symptomatic plants is the in-season control; the V-shaped marginal lesions with blackened veins make cases identifiable early enough for removal to count.
No spray for this one. Prevention is the control.
The ladder troubleshoots from the gentlest solution to the strongest. Start with the gentlest option and only move on when and if it doesn't work.
Begin with clean seed. This fungus travels on infected seed, so a clean packet keeps it from arriving with the crop.Seed is one of the entry routes, so certified, hot-water-treated seed removes the infections you would otherwise plant with the crop.
Move the planting away from where cabbage-family crops grew, since the fungus carries over from those old plants.Rotating away from brassica ground separates the crop from spores surviving on the previous crop's residues.
Space the plants so air moves through and the leaves dry. Long spells of wet leaves in warm, humid weather are what the spotting needs.Spacing shortens the leaf-wetness periods the fungi need; long wetness in warm, humid weather is what carries the spotting from the leaves onto the curd.
Water at the soil line and keep it off the leaves, since the spores move in splashing water.Basal watering removes splash dispersal and the extra leaf wetness overhead irrigation adds.
Pick off badly spotted leaves as you find them, and clear away old plants after harvest, since the fungus survives in that debris.Remove affected leaves during the season and take out crop debris afterward; residue is a principal carryover reservoir, and destroying it is safer than leaving it in the bed.
If the spotting starts spreading onto the curd, the white head you eat, a copper spray is the option this crop's guidance names. Control here is mostly preventive, so copper does more applied early than after the leaves are covered. Keep the spray out of ponds and drains, since copper is very harmful to fish, and follow the label rate.Copper is the escalation when the disease threatens the curd; it protects new tissue rather than curing existing lesions, so timing is early. Copper is highly toxic to aquatic life and accumulates at the soil surface with repeat use, so mind runoff and limit how often you lean on it. Read the active ingredient, since the acute hazard band differs between copper compounds.
The bottom rungs are products with label rules: timing, pollinators, and days to wait before harvest. Before you spray →
The ladder troubleshoots from the gentlest solution to the strongest. Start with the gentlest option and only move on when and if it doesn't work.
Space the plants so air moves between them and the leaves dry. This one wants cool, damp, humid weather, which is the same weather cauliflower grows in.Spacing for airflow shortens the leaf wetness infection depends on; the crop's cool, humid season overlaps the pathogen's preferred conditions, so the layout has to do the drying.
Water at the soil instead of from above, so you are not adding to the wet leaves the disease needs.Basal irrigation removes overhead wetting and splash, which shortens the wet periods the spores need.
If downy mildew turns up most years where you live, pick a variety described as resistant when you buy seed.Where downy mildew is a recurring regional problem, a resistant cultivar is the seed-time decision that lowers the load the in-season steps have to carry.
Strip off the worst leaves, the ones with pale yellow blotches on top and fuzzy grayish growth underneath, to cut down what is there to spread.Removing badly affected foliage lowers inoculum, but treat it as a supplement to prevention: once humidity stays high the disease is hard to arrest.
A copper spray can slow it down if it keeps spreading, though it is hard to stop once the weather stays damp. Apply early rather than late, keep the spray away from ponds and drains because copper is very harmful to fish, and follow the label rate.Copper is the escalation when pressure is high and the cultural steps are not holding; it acts preventively, so it belongs at the first sign rather than in an established outbreak. Mind runoff, copper being highly toxic to aquatic life, and limit repeat use across seasons, since it accumulates at the soil surface.
The bottom rungs are products with label rules: timing, pollinators, and days to wait before harvest. Before you spray →
The ladder troubleshoots from the gentlest solution to the strongest. Start with the gentlest option and only move on when and if it doesn't work.
Give the plants room so the heads dry quickly after rain. The rot takes hold on a curd, the white head you eat, that has stayed wet in warm, humid weather.Spacing for airflow is aimed squarely at drying the head; free moisture in the curd plus warm, humid conditions is what drives this bacterial head rot.
Water at the soil and keep it off the curd. Water sitting in the head is what gives the bacteria their opening.Avoid overhead irrigation; free water standing in the head is the operative risk factor, so watering at the base removes the most controllable source of it.
Leave the heads alone while they are wet. Handling a wet head spreads the bacteria and risks bruising it at the same time.Do not handle wet heads; working among wet plants moves the bacteria, and the rule still applies after rain and dew. It lowers the rate of spread rather than stopping an infection already underway.
Cut the heads promptly once the curd is full rather than leaving them standing in the bed. Handle them gently as you go, since the bacteria get in through small wounds.Harvest as soon as the curd is full; time left standing in warm, wet weather is exposure. Cut and carry the heads without bruising them, since wounds and natural openings are the entry points.
There is no cure for a rotting curd, so remove the affected heads. The rest of the work is prevention.Discard affected heads; with no curative option, management here is entirely cultural and preventive.
No spray for this one. Prevention is the control.
Don't plant cauliflower or other cabbage-family crops in the same spot year after year. Waiting at least 3 years between them, and longer if you have had clubroot, helps avoid soil diseases.Rotate so cauliflower and its brassica relatives do not return to the same ground for at least 3 years, and longer where clubroot is present (UMN advises up to a 7-year break where clubroot is known). Repeated same-family cropping builds soil-borne clubroot, and holding soil pH near neutral also helps suppress it.
The plant app sends a timely reminder at every critical moment of your cauliflower season. The wording adjusts to whichever you pick: beginner or seasoned. Here are three you'll see in Zone 9.
plant sends the right notification at exactly the right moment, for your zone, your weather, your crops. Founding members lock the rate forever.
We're building this guide with real growers. Got a question we missed? Ask here. We read every one and add the best answers right to this page.
Learned something the hard way? Pass it on. Real growers' tips make this guide better for the next person, and we credit you by name when yours goes live.
If you've grown this crop and you see a date, a temperature, a companion claim, or a recommendation that doesn't match your experience, tell us. Real growers' corrections make this guide better for the next person.
Every date, temperature, spacing, and recommendation on this page is sourced from university cooperative extension publications, peer-reviewed agricultural research, NOAA climate data, and direct extension calendars. Where claims are softer (traditional gardening wisdom not formally documented), we say so.
Spot a data point that doesn't match your experience? Submit a correction; accepted corrections earn full author credit on the page.
Zone-aware seasonal nudges, what's worth planting now, and the occasional recipe from the harvest. No spam, ever.