Pick your zone and the dates re-calibrate.
The Guide Crops Vol. 003

Dry Beans

in Zone 6, this week

Dry beans are grown just like green beans, but instead of picking the pods young you leave them on the plant to dry out completely. The beans inside get hard, and you harvest, shell, and store them to cook later. Common kinds include black beans like Black Turtle, plus pinto, navy, kidney, and heirlooms like Jacob's Cattle. They are easy to grow and keep for a long time once dried. Dry beans (Phaseolus vulgaris) are the same warm-season legume as snap beans, but grown on to full maturity for their dry, storable seed rather than picked young for tender pods. You sow once in late spring, let the whole planting flower, set pods, and dry down on the plant, then harvest once when the pods are brown and the beans rattle. Cured and shelled, the beans keep for months to years. Black Turtle, Pinto, Navy, Kidney, and heirlooms like Jacob's Cattle are all dry types of this one species, differing in seed size, color, and how long they take to dry down (roughly 85 to 110 days).

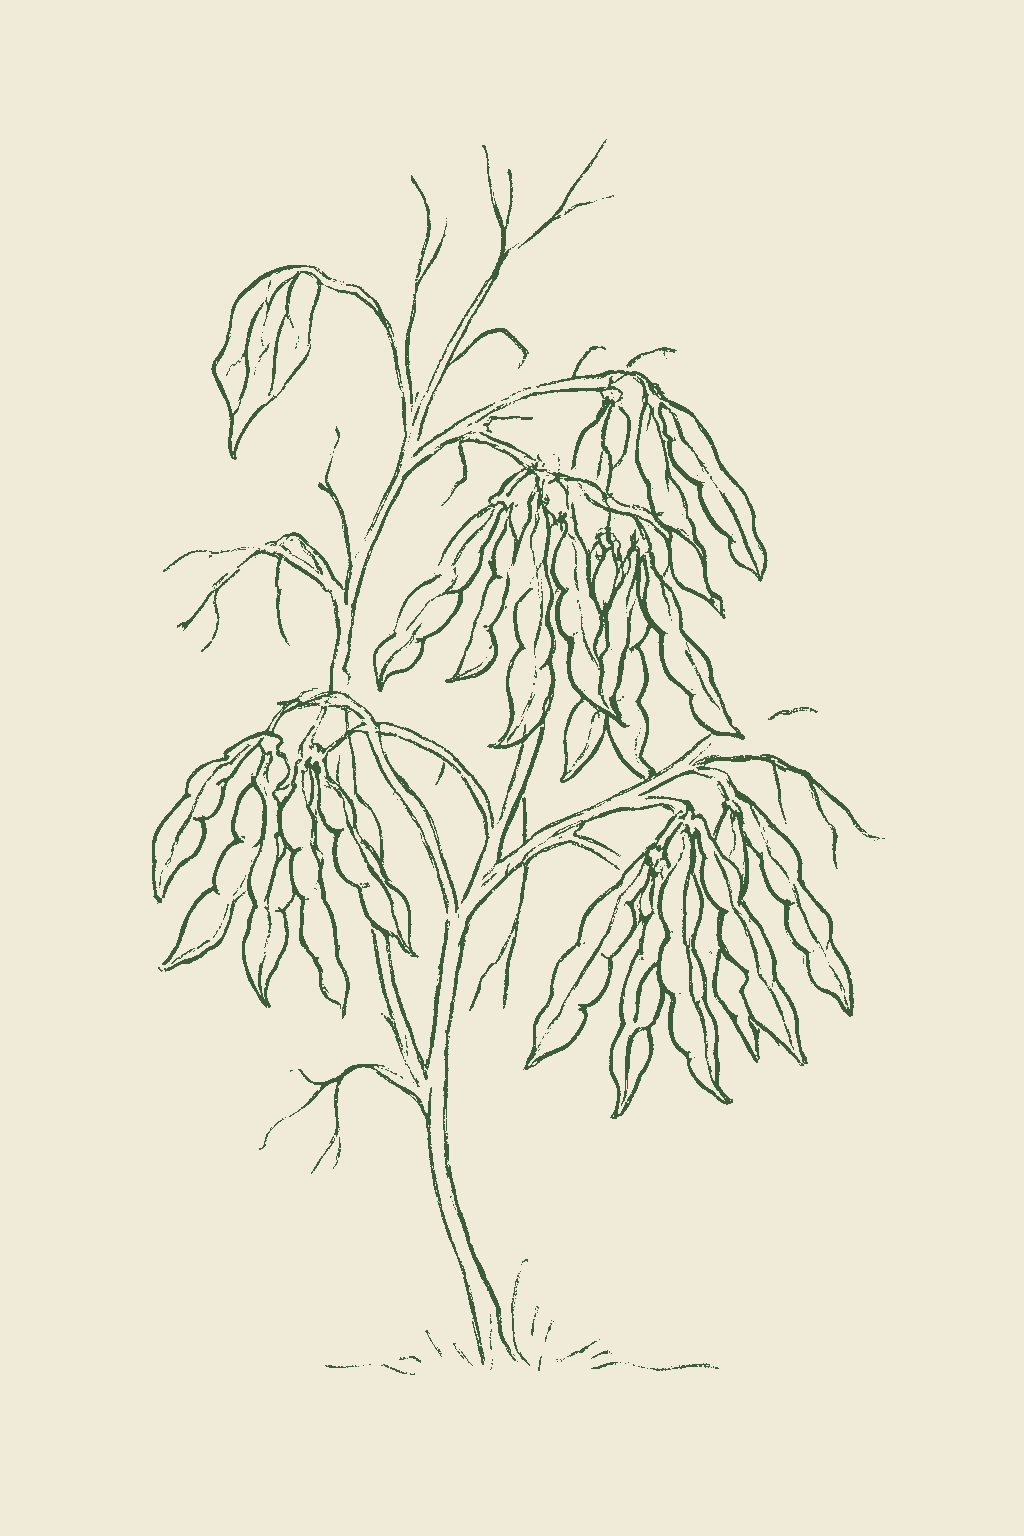
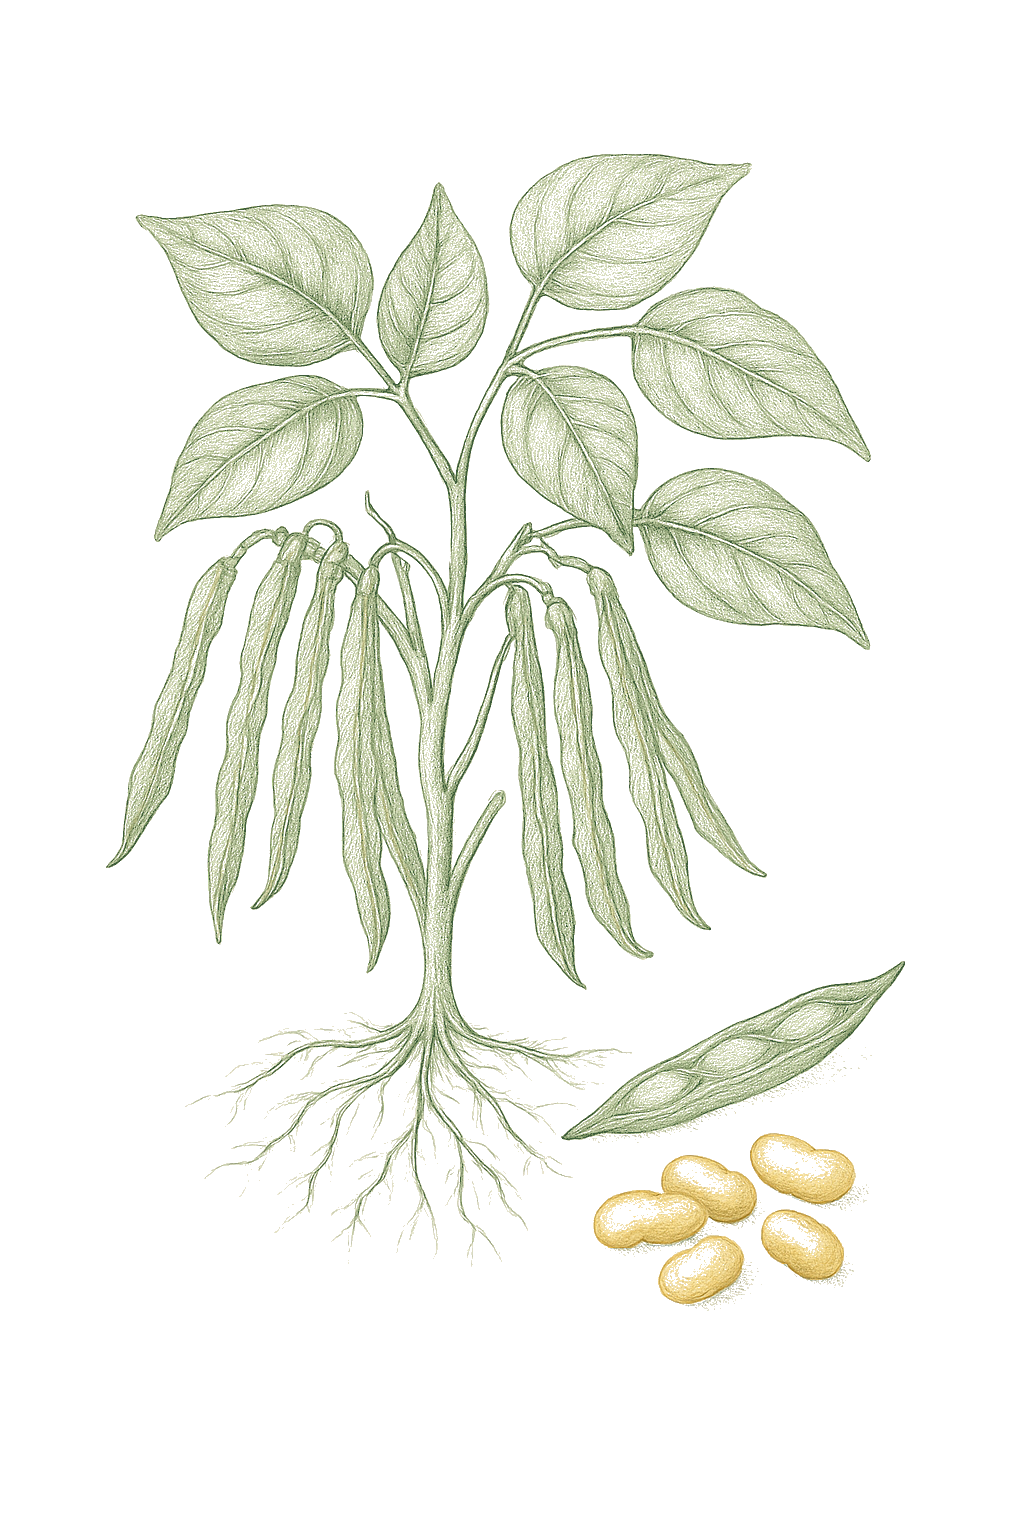
Dry Beans mature plant
Fig. 01 · Dry Beans, mature Zone 6
Mature in
90-100d
from transplant
Sunlight
Full sun
6-8 hrs daily
Water
Moderate
6 inches / week
Spacing
2-4"
between plants
Soil pH
5.8-6.5
slightly acidic
Today · in your zone

What's happening right now

July 24 · Zone 6 · Stage 01 · Germination

Off-season for dry beans in zone 6.

The season at a glance

Planting calendar

In Zone 6, dry beans can be planted May through June. Harvest runs August through October.

Jan
Feb
Mar
Apr
May
Jun
Jul
Aug
Sep
Oct
Nov
Dec
plant
too cold
too cold
too cold
too cold
plant
plant
too late
too late
too late
too late
too cold
too cold
harvest
harvest
harvest
harvest
indoors
plant out
harvest
The season, mapped

Seed to garden

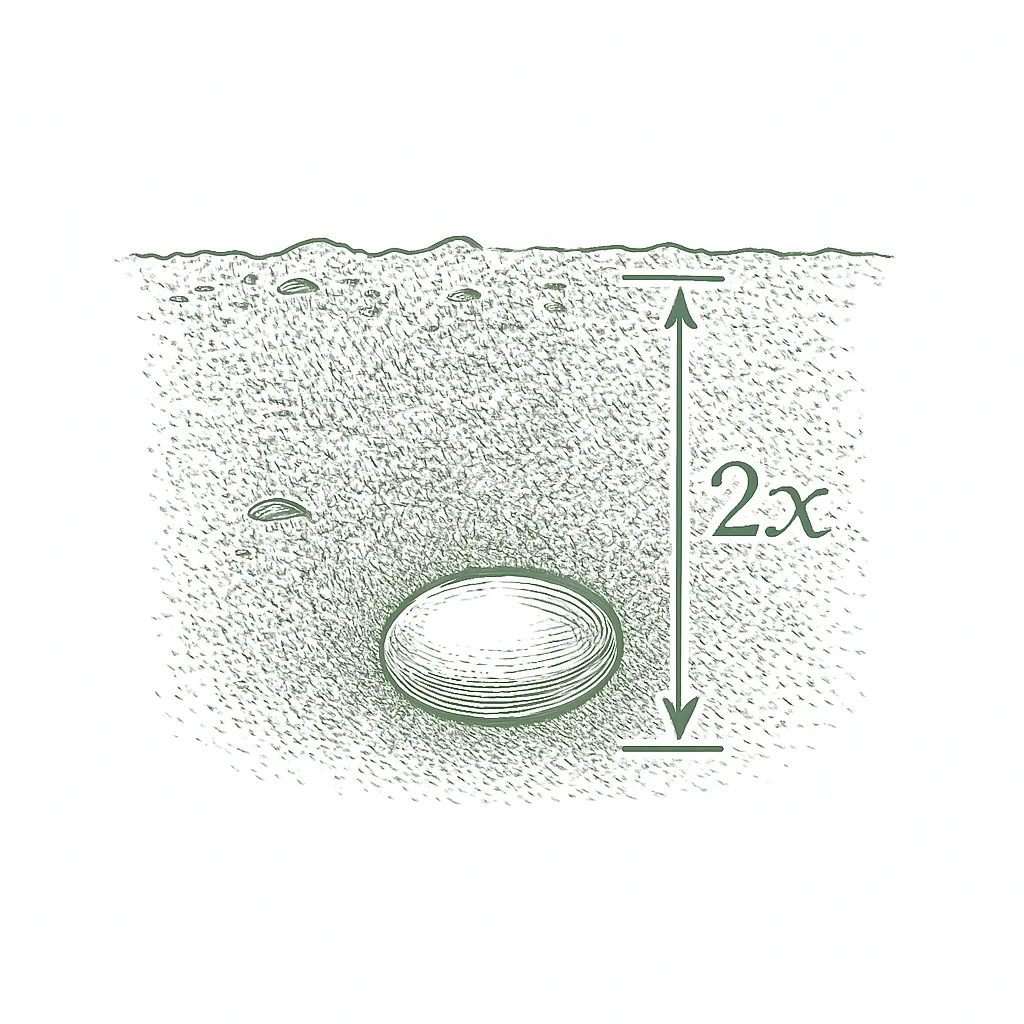
Plant bean seeds right where they will grow, once the soil has warmed and frost is past. Beans do not like having their roots disturbed, so skip starting them indoors.Sow directly into warm soil after the last spring frost. Beans resent root disturbance and germinate quickly in place, so transplanting offers no advantage and risks setting plants back.

  1. 01
    Sow outside
    May 10 - Jun 10
  2. 02
    First harvest
    From Aug 15
    90-100 days from sowing
Start method
Direct
Soil temp
60-85°F
From seed to fruit

The growing journey

Stage 01 · Germination
01
Germination
Days 0-14 · current stage
Bare soil for about a week, then a bent stem pushes up through the surface, pulling two thick first leaves (called seed leaves) up with it. Beans come up fast in warm soil but rot in cold, wet ground. If you plant before the soil has warmed to about 60°F, many seeds will not come up at all.Bare soil for roughly a week, then the seedling shoulders up through the surface still bent in a hook, dragging the two thick seed leaves (cotyledons) up with it before they unfold. Emergence is fast in warm soil but stalls or rots outright in cold, wet ground. Beans planted before the soil reaches about 60°F at a 4-inch depth germinate poorly, and a slow start invites seedcorn maggot and seed rot.
Wait to plant until the soil has warmed to at least 60°F. There is no reward for planting early with beans, only rotted seed. Plant about 1 inch deep in moist, well-drained soil, and do not keep the bed soggy.Sow only once the soil has warmed to at least 60°F at a 4-inch depth; there is no advantage to planting early, and every advantage to waiting. Sow about 1 inch deep into a moist, well-drained bed and avoid soaking the soil, which suffocates the germinating seed and feeds root rot fungi.
FROM PLANT · Bean seeds rot in cold, wet soil. Wait until the soil has warmed to at least 60°F before planting, because planting early just leads to rotted seed and missing plants. Beans planted into warm soil catch up fast, so there is nothing to gain by rushing.Bean seed rots in cold, wet ground. Wait until the soil is at least 60°F at a 4-inch depth before sowing, since early planting only invites poor stands, seed rot, and seedcorn maggot. There is no head start to be had: beans sown into warm soil quickly overtake those sown into cold soil.
FROM PLANT · Plant bean seeds right in the garden instead of starting them inside. Beans do not like having their roots disturbed and sprout quickly anyway, so there is no benefit to transplanting. Plant about 1 inch deep in moist, well-drained soil.Sow beans where they will grow rather than starting them indoors. Beans resent root disturbance and germinate fast in place, so transplanting offers no advantage and sets plants back. Sow about 1 inch deep into a moist, well-drained bed.
02
Seedling
Days 10-21
The two seed leaves open, then the real leaves appear, first a single pair, then the three-leaflet leaves that beans are known for. Once they are up and the weather is warm, they grow fast. This young stage is when beetles can do the most damage to the little plants.The cotyledons open and the first true leaves appear: a pair of single leaflets, followed by the bean's characteristic three-part (trifoliate) leaves. Growth is quick once the plant is up and the weather is warm. Young seedlings are the stage most vulnerable to bean leaf beetle feeding, which can thin a stand.
Keep the soil evenly moist and pull weeds early, because small beans do not compete well with them. Weed and hoe shallowly, since bean roots are close to the surface. You do not need to thin bush beans, they are planted where they will grow.Keep the bed evenly moist and weed-free; young beans compete poorly with weeds. Cultivate shallowly, since bean roots run close to the surface and are easily damaged. There is no thinning to do: bush beans are sown at their final spacing and are not thinned.
FROM PLANT · Pull weeds early, but weed shallowly. Young beans do not compete well with weeds, yet their roots are near the surface, so digging deep hurts the plant more than the weeds do. Pull by hand and hoe lightly near the row, especially in the first six weeks.Weed early and cultivate shallowly. Young beans compete poorly with weeds, but their roots run close to the surface, so deep hoeing does more harm than the weeds. Hand-pull and scuffle-hoe lightly near the row, especially in the first six weeks.
03
Leafy growth
Days 21-40
The plant grows leafier and fills out to its full size, usually one to two feet tall, building up before it flowers. Beans make much of their own food (nitrogen) at this stage. You want healthy green growth, not huge dark leafy plants, which often mean too much fertilizer and fewer beans later.Steady leafy growth as the bush fills out to its full one-to-two-foot height and builds the canopy that will support flowering. The plant is fixing much of its own nitrogen now through root nodules, so vigorous but not lush, overfed growth is the goal. Overly dark, leafy plants with little branching signal excess nitrogen and forecast a poor pod set.
Keep the watering steady and do not add fertilizer now. Beans need very little, and extra fertilizer gives you big leafy plants but fewer beans. One light feeding right before they flower is all they need, and only in poor soil.Hold steady, even moisture and resist the urge to feed. Beans need little nitrogen, and adding more now pushes leafy growth at the expense of flowers and pods. A single light side-dressing before bloom is plenty, and only on poor or sandy soil.
FROM PLANT · Do not add nitrogen fertilizer now. Beans make much of their own from the air through their roots, and extra fertilizer just gives you big leafy plants with fewer beans. At most, feed once lightly right before they flower, and only if your soil is poor.Hold off on nitrogen. As legumes, beans fix much of their own through root nodules, and extra nitrogen now drives leafy growth at the expense of flowers and pods. At most, a single light side-dressing just before bloom, and only on poor or sandy soil.
04
Flowering
Days 38-55
Small white, pink, or purple flowers open all over the plant. Bush beans flower in a short burst, so most of your crop is decided in a week or two. This is the most important time for water. If the plants dry out or the weather stays above about 90°F, the flowers drop without making beans. They start setting beans again once it cools off.Small white, pink, or purple flowers open across the bush. Bush beans flower over a concentrated window, so most of the crop is set here within a week or two. This is the moisture-critical stage: water stress now aborts blossoms, and sustained heat above about 90°F causes blossom drop, especially in varieties like Blue Lake 274. Pod set resumes once the weather cools.
Keep the water steady and generous while the plants are flowering, because dry soil now means fewer beans. Water the soil, not the leaves, to avoid spreading disease. If a heat wave hits, water deeply the day before, but mostly just wait it out, the plants will flower again when it cools.Keep moisture steady and ample through bloom; this is where water stress directly cuts yield. Avoid overhead watering, which spreads disease onto the now-dense canopy. In a heat wave, water deeply the day before and consider temporary afternoon shade, but mostly the plant will recover and reflower when temperatures ease.
FROM PLANT · Keep the water steady and generous while the plants flower. Flowering and pod-forming are the times beans most need water, and letting them dry out now makes the flowers drop and the crop shrink. Water the soil in the morning, not the leaves, to keep disease down.Keep moisture steady and ample through bloom. Flowering and pod set are the moisture-critical stages, and water stress now aborts blossoms and directly cuts the crop. Water at the soil in the morning, not overhead, to keep the dense canopy dry and limit disease.
FROM PLANT · When it stays hotter than about 90°F, beans drop their flowers, especially varieties like Blue Lake 274. The plant gives up on flowers when it is too hot to make beans, then starts again once it cools. Water deeply before a heat wave, but mostly just wait, the plants will flower again.Expect blossom drop in sustained heat above about 90°F, especially in varieties like Blue Lake 274. The plant aborts flowers when it is too hot to set pods, then resumes once the weather cools. Water deeply ahead of a heat wave, but mostly let the plant recover and reflower.
05
Pod Development
Days 50-70
Flat green pods appear where the flowers were, and the beans inside start to swell. Unlike green beans, you leave all the pods on the plant to keep growing. The plant needs steady water now, because dry spells at this stage mean fewer and smaller beans.Flat green pods set after the blossoms drop and swell as the seeds fill. For a dry crop you do the opposite of a snap grower: leave every pod on the plant. The pods lengthen, the seeds plump, and the walls stay green and pliable through this stage. Steady moisture now sets the size of the crop, since drought during pod fill aborts pods and shrinks seed.
Water evenly and do not pick anything yet. The pods you see now will dry on the plant later. Do not add extra fertilizer unless the leaves look pale, since beans make much of their own.Keep the bed evenly moist through pod fill and keep your hands off the pods, they are not the crop yet. Side-dress only if the foliage is pale; beans fix their own nitrogen, and too much feed now grows leaves at the expense of seed.
FROM PLANT · Do not pick any pods now. Unlike green beans, dry beans stay on the plant to dry out. Just keep the soil evenly moist so the beans fill out well.For a dry crop, resist picking. Every pod stays on the plant to mature and dry; steady moisture through pod fill sets the seed size, and drought here shrinks the crop.
06
Dry Down
Days 70-92
The plant starts to die back on purpose. Leaves turn yellow and fall, and the pods change from green to tan or brown and go papery. Shake a pod and the hard beans rattle inside. This is exactly what you want, so be patient and let the pods dry on the plant.The plant shifts from growing to drying. Leaves yellow and drop, and the pods fade from green to yellow, then to tan or brown, and turn leathery. The seeds harden inside and begin to rattle when you shake a pod. This is the point of the whole crop, so let it happen on the plant. Watering now only slows the dry-down and risks mold in the ripening pods.
Stop watering once the pods start drying, and do not pick anything. Keep an eye on the forecast, because a long rainy spell can ruin drying beans. If heavy rain is coming, get ready to harvest.Cut back or stop watering as the seeds mature to speed a clean dry-down. Do not pick. Watch the weather: a wet spell now can mold or sprout the beans in the pod, so plan to harvest ahead of a long rain.
FROM PLANT · Be patient and let the pods turn brown and dry on the plant until the beans rattle. Stop watering, and watch the forecast: harvest before a long rainy spell so the beans do not mold.Let the pods dry on the plant until they are brown and the beans rattle. Stop watering as the seeds mature, and plan to harvest ahead of any long rain, which can mold or sprout the beans in the pod.
07
Harvest
Days 90-100
Almost all the pods are dry, brown, and brittle, and the beans are hard. Now is the time to harvest. Pull up or cut the whole plant before the driest pods pop open and drop their beans, and before fall rains arrive.About 90 percent of the pods are dry, brown, and brittle, and the beans are too hard to dent with a fingernail. This is the harvest window: pull or cut the whole plant now, before the driest pods shatter and drop their seed or a fall rain sets in. Pods left too long split open and spill the crop on the ground.
On a dry day, pull up or cut off the plants once nearly all the pods are dry and brittle. If heavy rain is coming first, cut the plants early and finish drying them indoors.Pull or cut the plants at the soil line on a dry day once about 90 percent of pods are dry. If a hard rain threatens before then, harvest early and finish drying under cover, cutting the plants and moving them inside.
FROM PLANT · Harvest all the plants at once when nearly all the pods are dry and brittle, before they pop open and drop their beans. Pull them up on a dry day, and finish drying indoors if rain is coming.Harvest the whole planting at once when about 90 percent of pods are dry and brittle, before the driest pods shatter and drop their seed. Pull or cut the plants on a dry day; finish drying under cover if rain threatens.
08
Cure and Shell
Days 95-112
After harvest the plants and pods need to finish drying, usually about a week. The beans are ready when one shatters instead of denting if you hit it. Beans that are even a little damp will mold in the jar, so do not rush this step.The pulled plants finish drying over about a week. The pods go fully brittle and the beans reach storage-dry: a bean should shatter, not dent, when you strike it. Only then are they safe to shell and store. Beans jarred even slightly moist will mold and spoil the batch.
Spread or hang the plants somewhere dry and airy for about a week, then shell the beans out by hand. Let the beans dry a few more days, then store them in a sealed jar in a cool, dark cupboard. In a jar they keep for a year or more.Lay the plants in a single layer or hang them somewhere dry and airy for 5 to 7 days, then shell by hand, or bag the pods and thresh by hitting the bag. Winnow the chaff on a breezy day, then let the shelled beans dry a few days more before storing airtight in a cool, dark place.
FROM PLANT · Let the harvested plants dry about a week, then shell the beans. They are ready to store only when a bean shatters instead of squashing. Damp beans will mold in the jar, so make sure they are fully dry.Cure before you store. Dry the pulled plants about a week, then shell; the beans must shatter, not dent, before jarring. Beans stored even slightly moist will mold and spoil the batch.
Beginner
Know your soil

Your soil

Identify yours

Not sure what soil you have? Grab a small handful of damp soil from your garden bed and squeeze it. If it crumbles apart easily, it's sandy. If it holds together but breaks when you poke it, it's loam (what most vegetables want). If it stays in a hard, slippery ball, it's clay.

What this crop wants

Beans like loose, fertile soil that drains well. If water sits on top of your bed for a long time after rain, work in some compost first to help it drain.

If your soil doesn't match

You have sandy soil

Mix 2-3 inches of compost into the top 6 inches of your bed before planting. Compost holds moisture (which sandy soil drains too fast) and adds the nutrients sandy soil tends to lack. Repeat each season. Compost breaks down over time.

You have clay soil

Mix 2-3 inches of compost AND a few inches of coarse sand or perlite into the top 6 inches of your bed. The compost feeds the plants; the sand breaks up the clay so air and water can move through. Don't add sand without compost. It can compact like concrete.

Containers and raised beds

If amending your soil sounds like too much work, or if your soil is heavy clay, full of rocks, or contaminated, build over it. A raised bed at least 12 inches deep filled with a 50/50 mix of compost and sandy loam gives you ideal growing soil with no battles. A 5-gallon container with quality potting mix does the same for one plant at a time. Both bypass your native soil entirely.

Learn more about your soil
The specs

Care guide

The numbers that matter, at a glance.

Sunlight
Full sun · 6-8 hrs/day
Water
moderate
Spacing
2-4 inches
Days to maturity
90-100 days from transplant
Soil pH
5.8 to 6.5
Container OK?
Yes · 5+ gal pot
Germination temp
60-85°F
Soil chemistry

Soil pH for dry beans

Preferred
5.8 to 6.5
Tolerated
5.8 to 7

Beans do well in slightly acidic to neutral soil. If you have not tested your soil, a pH near 6.5 is a safe target and most garden beds are already close.A soil pH of 5.8 to 6.5 suits snap beans. A soil test is the reliable way to confirm both pH and fertility before the season starts.

Verified · 1 source View
Steady hand on the hose

Watering

When & how much
Frequency
Keep the soil evenly moist while the plants are growing and setting pods. Once the pods start to dry and turn brown, stop watering and let the beans finish drying on the plant.Even, regular moisture from germination through pod fill, then a deliberate dry-down. Demand peaks at flowering and pod sizing; once the pods stop enlarging and begin to dry, ease off and let the crop mature dry on the plant.
Amount
Water deeply enough to wet the soil about 6 inches down. Deep, less frequent watering beats a daily light sprinkle.Enough to wet the root zone roughly 6 inches down; watering deeply and less often builds a deeper root system than frequent light sprinkles.
Method
Water the soil, not the leaves, and do it in the morning so the plants dry off during the day. Wet leaves overnight can spread disease.Water at the soil level in the morning so foliage dries before evening; this limits the foliar diseases beans are prone to.
Signs of trouble
Too much water
If the soil is wet but the plants still wilt or the lower leaves turn yellow, you may be overwatering. Soggy soil rots the roots.Yellowing lower leaves, wilting despite wet soil, and stunted growth point to waterlogged roots and the onset of root rot.
Too little water
If plants dry out while flowering, they drop their flowers and the beans come out small and tough. Keep the water steady at that stage.Drought stress during and after flowering aborts blossoms and produces small, stringy pods.
Feeding rhythm

Feeding

Frequency
low
Type
balanced pre-plant, light nitrogen sidedress
When to start
pre-plant at sowing; one sidedress before first bloom

Beans make a lot of their own food from the air, so they do not need much fertilizer. Mix a little balanced fertilizer into the bed before you plant, and feed once more right before the plants flower. Too much fertilizer gives you big leafy plants but fewer beans.Snap beans are moderate, light feeders. As legumes they fix much of their own nitrogen, so heavy nitrogen pushes leafy growth at the expense of pods. Without a soil test, work in a balanced starter before planting, then sidedress once just before the first bloom. Sandy beds or leaching rains can call for a second light sidedress.

N · P · K = 5-10-10

A balanced vegetable fertilizer like 5-10-10 works well.Pre-plant 5-10-10 if no soil test is available; sidedress a nitrogen source before bloom.

Try 5-10-10 pre-plant
Who grows well together

Companion planting

Beans get along with most vegetables. The classic trio is beans with corn and squash. The one pairing to avoid is planting beans right next to onions or garlic. As a nitrogen-fixing legume, beans leave the soil better for what follows and pair traditionally with corn and squash in the Three Sisters planting. The long-standing caution is to keep beans away from the alliums (onion, garlic), which are widely held to suppress them.

Other
Corn
The traditional Three Sisters partner; corn gives a little structure and the planting has been grown together for generations.Corn is the classic bean partner in three-sisters planting. With pole beans the corn is a living trellis; with bush beans the relationship is looser, mostly foliage diversity and efficient use of the same bed. The benefit is structural and space-based rather than a measured pest effect, and since corn is a heavy feeder, the beans' nitrogen fixation helps balance the bed over the season. Traditional
Squash
The third Sister; its broad leaves shade the soil and keep weeds down around the beans.Squash rounds out the three-sisters trio. Its broad sprawling leaves shade the soil, hold moisture, and suppress weeds around the beans, while the varied foliage heights of the planting make it harder for pests to lock onto any one crop. This is a soil-and-space benefit; give the squash room so it does not swamp bush beans, which sit lower than pole beans would. Traditional
Cucumber
A common, easy neighbor that shares similar warm-season, full-sun needs.Cucumber and bush beans coexist comfortably: similar warm-season timing and water needs, complementary growth habits, and the beans' nitrogen fixation lightly benefits the cucumber as a moderate feeder. The added foliage diversity is a modest plus for pest disruption. This is a compatibility pairing rather than a strongly protective one, so expect easy cohabitation more than active pest control. Well-grounded
Keep apart from
Onion Onions and other alliums are traditionally kept away from beans, which are said to grow poorly near them.Onions and beans is one of the better-grounded 'bad' pairings. Alliums release antibacterial sulfur compounds that interfere with the Rhizobium bacteria living on bean roots, the very bacteria the bean depends on to fix nitrogen, so bean growth tends to stall near onions. Keep them in separate parts of the bed. A useful corollary: beans or peas grown before onions actually improve the soil for the following allium crop. Well-grounded
Garlic Like onions, garlic is a traditional bad neighbor for beans.Garlic acts on beans the same way onions do. As an allium it gives off antibacterial sulfur compounds that disrupt the nitrogen-fixing Rhizobium bacteria on bean roots, slowing the beans down. Treat garlic and bush beans as bed-mates to keep apart, and use the bean-then-allium rotation to your advantage instead. Well-grounded
Provenance tagged inline · see methodology for the labeling system Key
Harvest signals

When to pick

The beans are ready when almost all the pods are dry, brown, and brittle and the beans inside are hard and rattle. Pull up the whole plant on a dry day, before the pods pop open and drop their beans. Unlike green beans, you harvest the whole crop at once.Harvest when about 90 percent of the pods are dry, brown, and brittle and the beans are too hard to dent with a fingernail, ideally before the driest pods shatter or fall rain sets in. Pull or cut the whole plant on a dry day, then finish drying under cover if needed. This is a single harvest, not a repeated pick.

Yield

What to expect

One plant does not make much, so dry beans are grown in rows or blocks. A 10-foot row gives you about 2 to 2.5 pounds of dry beans to store. How much you get depends on the variety and the weather.Dry beans yield a modest amount of shelled seed, which is why they are grown in blocks or long rows. A 10-foot row of bush dry beans returns roughly 2 to 2.5 pounds of dry, shelled beans (USU gives about 20 to 25 pounds per 100 feet of row). Yield depends on variety, season length, and how fully the pods fill.

You harvest dry beans all at once when the plants have dried, not a little at a time like green beans.A single harvest: the whole planting dries down together and is gathered once, rather than picked repeatedly over weeks. Bush beans are one of the most reliable crops for a first-year garden. They come up fast, need little fuss, and give a real harvest in about 50 to 60 days. Even a short row should give you a good pick, and the main thing that affects how much you get is keeping the water steady while they flower and form pods.Bush beans are among the most dependable first-year crops: they germinate quickly, ask little, and produce a real harvest in about 50 to 60 days. A first-year grower can reasonably expect a solid pick from even a short row, with steady moisture through flowering and pod fill being the main lever on yield.

What changes yield
Steady moisture through flowering and pod fill (the moisture-critical stages; drought here aborts blossoms and shrinks pods)Temperature during bloom (sustained heat above about 90°F causes blossom drop and cuts the set)Stand density (bush beans crop best at full spacing; thin or gappy stands reduce total yield)Regular picking (leaving mature pods on the plant signals it to stop flowering and ends the crop early)
Verified · 1 source View
Pick your variety

Recommended varieties

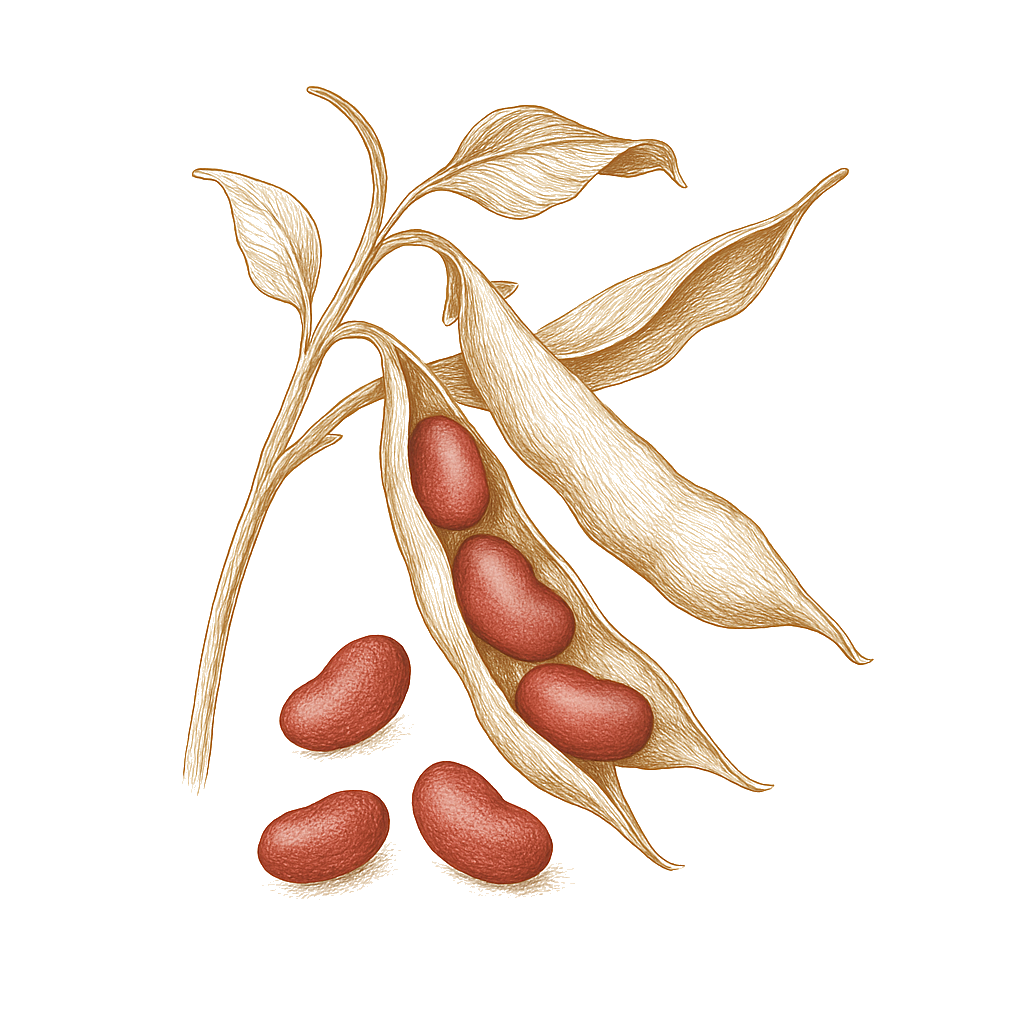
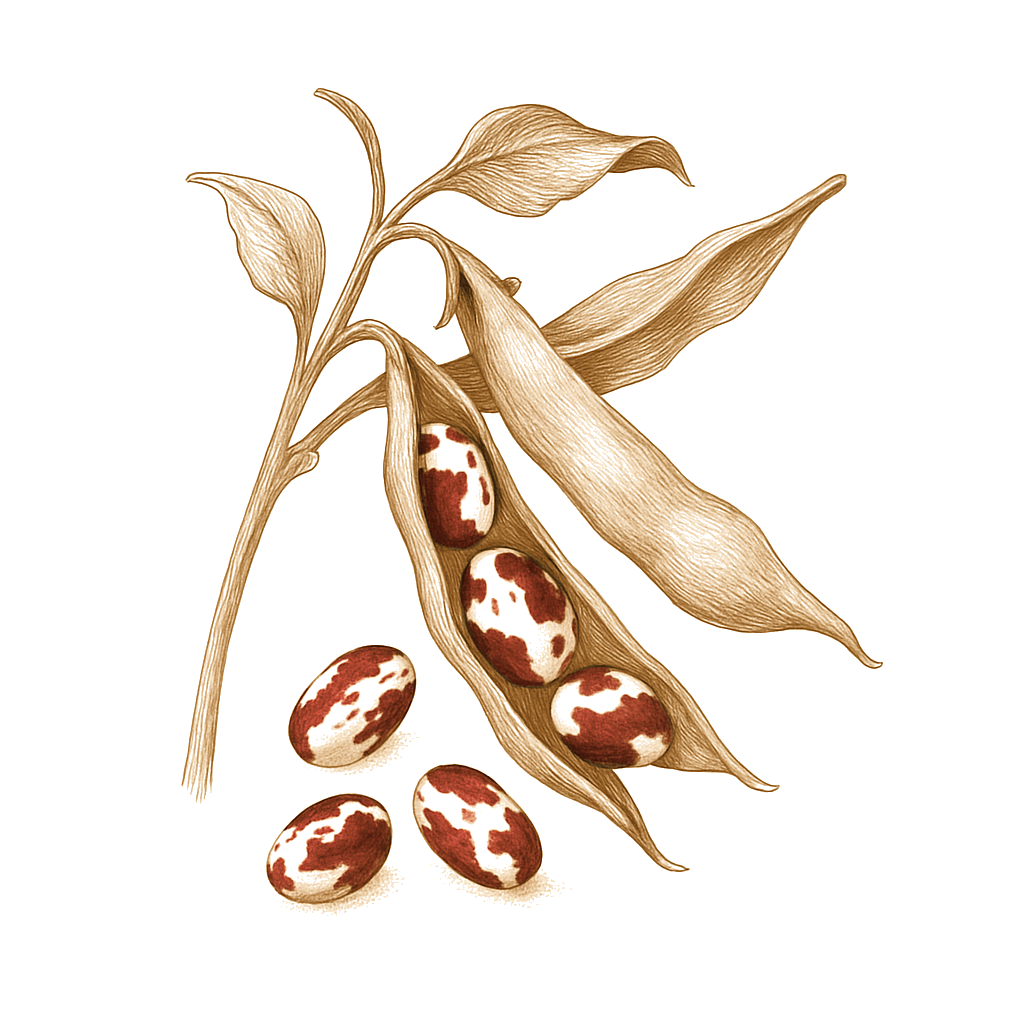
Most dry beans are grown the same way; they just look different and take slightly different amounts of time. If your season is short, choose a faster type like navy rather than a long-season type like black turtle or kidney.Nearly all common dry beans are bush or half-runner forms of Phaseolus vulgaris, so they share this crop's culture; they differ mainly in seed color, size, and days to maturity. Match the variety to your season: navy dries down fastest, while black turtle and Jacob's cattle run the longest.

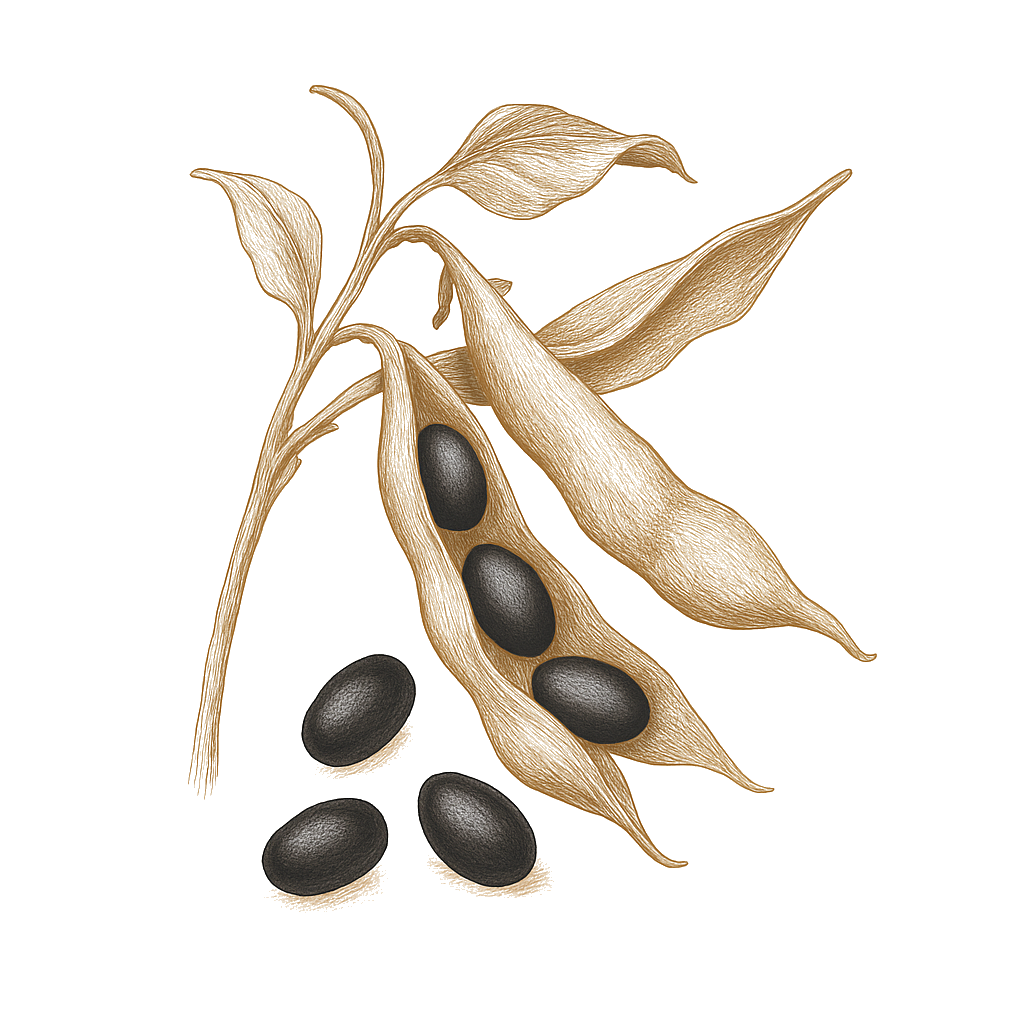
Black Turtle illustration
Black Turtle
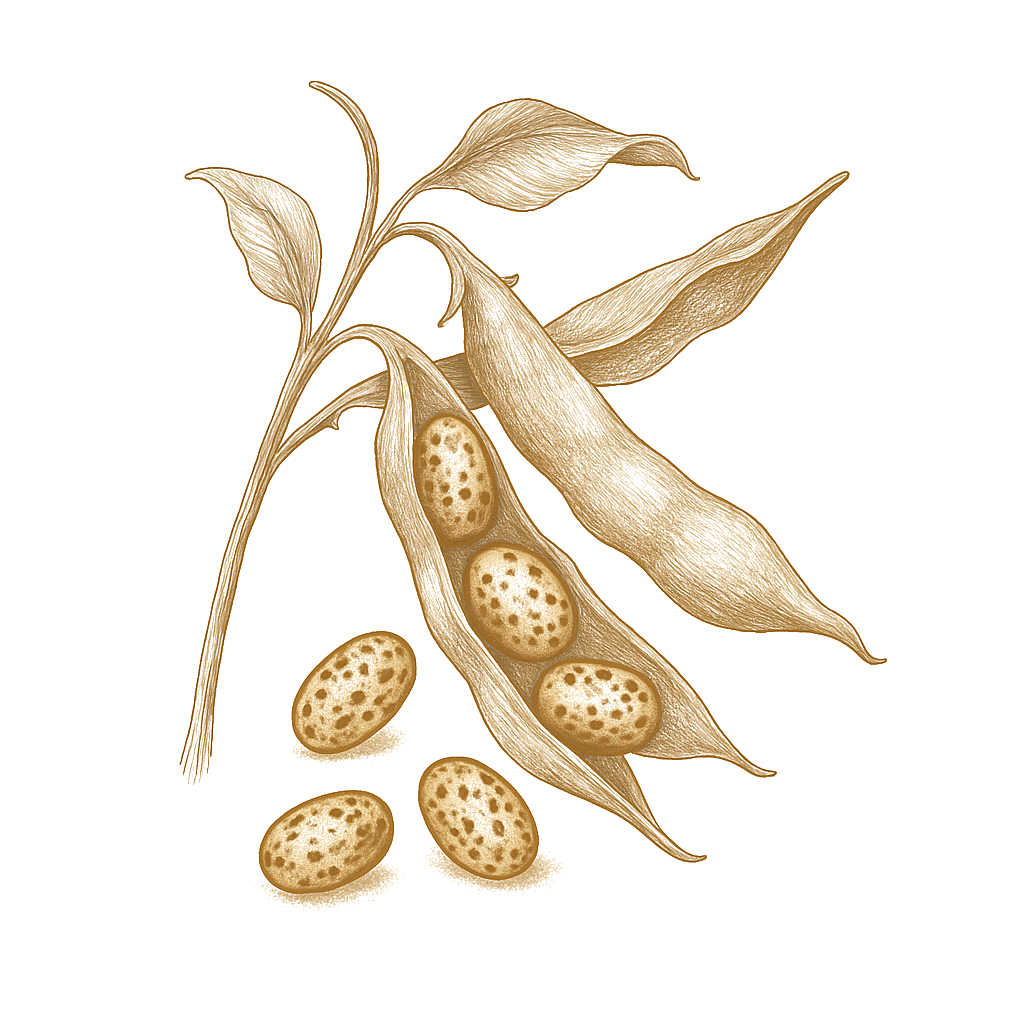
Pinto illustration
Pinto
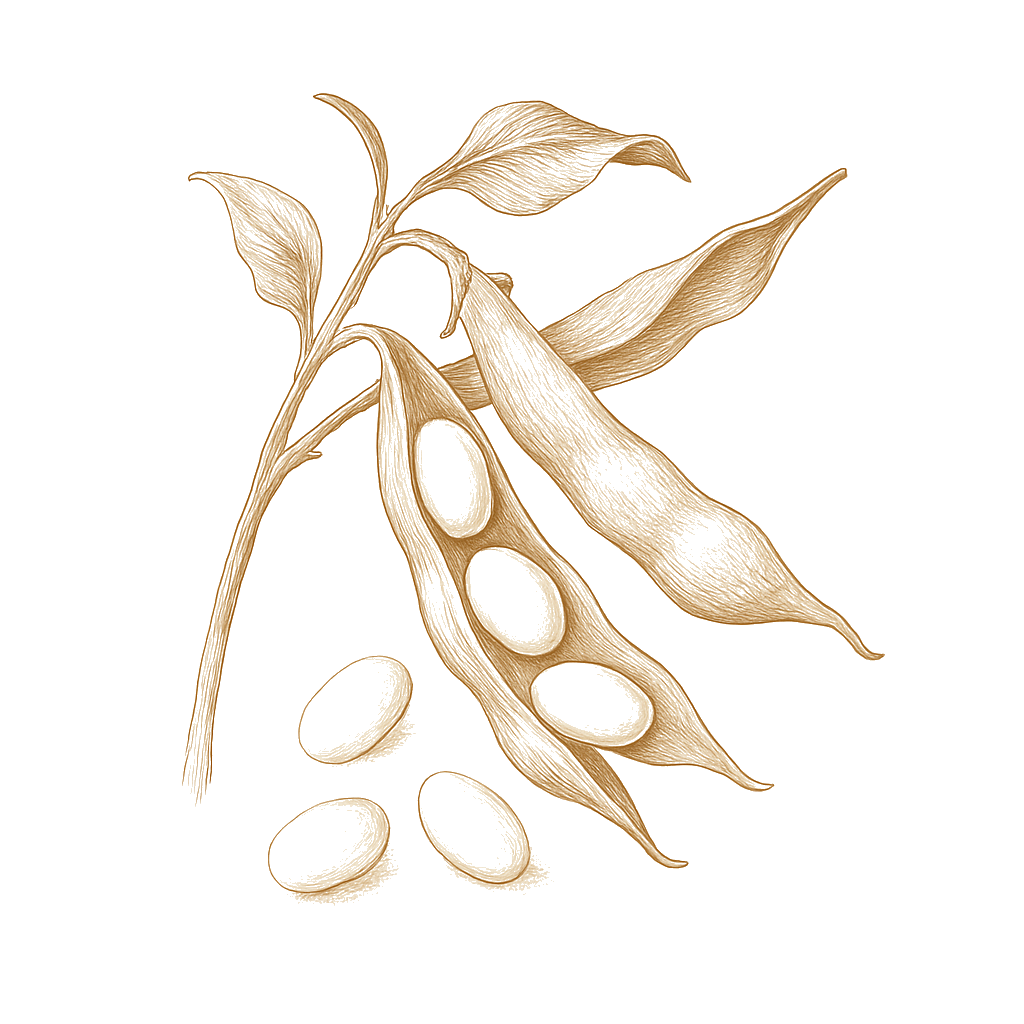
Navy illustration
Navy
Kidney illustration
Kidney
Jacob's Cattle illustration
Jacob's Cattle
Off the vine

Storing your harvest

Room temp
This is how to store dry beans. When the beans are completely hard and dry, put them in a sealed jar and keep it in a cool, dark cupboard. They keep for a year or more. Be sure the beans are fully dry first, because even a little moisture makes them mold.The right way to store dry beans. Once the beans are storage-dry (hard enough to shatter, not dent, under a hammer), keep them airtight in a cool, dark, dry place. In an ordinary sealed jar they hold a year or more; with the oxygen removed (a #10 can or a Mylar bag with an oxygen absorber) they keep ten years or longer.
Fridge
You do not need to refrigerate dry beans. Some gardeners freeze them for a few days first to kill tiny insects, then keep them sealed in the cupboard.Not needed once the beans are dry and sealed. A few days in the freezer before jarring is the usual trick for killing any bean weevils in the seed; refrigeration otherwise adds nothing.
Freezer
Freezing the dry beans for a few days before you jar them kills any bugs in the seed. After that, store them sealed in the cupboard.A 3 to 4 day spell in the freezer before storage kills bean weevil eggs hidden in the seed; jar the beans airtight afterward. Sealed, fully dry beans also keep long-term frozen.
Verified · 2 sources View
When something goes wrong

Common problems

Flowers fell off without making beansFlowers dropped without setting pods
01 of 04
What happened The plant flowered, but the flowers fell off without making beans, because steady heat above about 90°F stops the flowers from being pollinated and the plant drops them. Some varieties, like Blue Lake 274, are hit harder. Letting the plants dry out while flowering does the same thing. It is a weather problem, not a disease, and the plant usually starts setting beans again once it cools off.The plant flowered but the blossoms dropped instead of setting pods, because sustained heat above about 90°F interferes with pollination and the plant aborts flowers it cannot fill. Some varieties, such as Blue Lake 274, are especially prone. Water stress during bloom has the same effect. It is a weather problem, not a disease, and the plant usually resumes setting pods once temperatures cool. Next season Plan your planting so the flowering time skips the hottest part of summer, either early enough to finish before peak heat or as a late-summer planting for a fall crop. Keep the water steady while they flower, water deeply before a heat wave, and pick more heat-tolerant varieties if your summers are very hot.Time plantings so bloom misses the hottest part of summer, sowing early enough to crop before peak heat or as a late-summer succession for a fall crop. Keep moisture steady and ample through flowering, water deeply ahead of a heat wave, and choose more heat-tolerant varieties where summers are reliably hot.
Seeds rotted or did not come upSeeds rotted or came up poorly
02 of 04
What happened The seeds went into soil that was too cold and wet, so they sat there instead of sprouting and rotted, or came up thin and patchy. Bean seeds do not sprout well below about 60°F, and a slow, cold start lets soil fungi and a seed-eating maggot get to the seed while it waits.The seeds were sown into soil that was too cold and wet, so they sat without germinating and rotted, or came up as a thin, patchy stand. Bean seed does not germinate well below about 60°F, and a slow, cold start invites soilborne root rot fungi and seedcorn maggot, both of which attack the lingering seed. Next season Wait until the soil has warmed to at least 60°F before planting, since there is no reward for planting beans early. Plant in well-drained soil or raised beds instead of low, wet spots, plant about 1 inch deep, and do not keep the bed soggy after planting.Wait until the soil has warmed to at least 60°F at a 4-inch depth before sowing; there is no benefit to planting early. Sow into well-drained ground or raised beds rather than low, wet spots, plant about 1 inch deep, and do not keep the bed soggy after sowing.
Big leafy plants but hardly any beansBig leafy plants but few beans
03 of 04
What happened The plants grew big, dark, and leafy but made very few beans, because they got too much nitrogen. Beans make much of their own nitrogen from the air, so extra fertilizer just pushes leafy growth, delays flowering, and gives you fewer beans.The plants grew large and dark and leafy but set few pods, because they were given too much nitrogen. As legumes, beans fix much of their own nitrogen, and extra fertilizer over-stimulates leaf growth, delays flowering, and reduces pod set. Next season Skip the extra fertilizer. Mix in just a little balanced fertilizer or compost before planting, and at most one light feeding right before they flower, and only if your soil is poor. Let the beans make their own nitrogen.Skip the nitrogen feeding. Work in only a little balanced fertilizer or compost before planting, and at most one light side-dressing just before bloom, and only on poor or sandy soil. Let the plant's own nitrogen fixation carry the crop.
Beans came out small, tough, or stringyPods small, tough, or stringy
04 of 04
What happened The beans came out small, tough, or crooked, usually because the plants dried out while flowering and filling pods, which is the time they most need water, or because the pods were left on too long, until the swelling seeds made them woody. Both are easy to fix.The pods came out small, fibrous, or misshapen, usually from drought stress during and after flowering, which is the moisture-critical window, or from leaving pods on the plant past their tender stage, when the enlarging seeds make the pod woody. Both are easy to prevent. Next season Keep the water steady from the first flowers through pod-filling, and pick every two or three days while the pods are still firm and crisp, before you can see the seeds bulging. Picking often also keeps more beans coming.Keep moisture steady and ample from first flower through pod fill, and pick every two to three days, harvesting pods while they are still firm, crisp, and before the seeds bulge. Frequent picking also keeps the plant producing.
Verified · 4 sources View
The usual suspects

Pests & diseases

Pests
Mexican bean beetle
P · 01
Symptoms Leaves that look skeletonized or lacy, with the tissue chewed away from underneath but the veins left behind. Both the spiny yellow young (larvae) and the round, coppery adult beetles feed on the undersides of the leaves, and when there are a lot of them they also chew stems and pods. The adult is yellow to copper colored with rows of small black spots on its back.Leaves taking on a skeletonized, lacy look as tissue is chewed away from the undersides, leaving the network of veins behind. Both the spiny yellow larvae and the dome-shaped, coppery adults feed on the leaf undersides, and when abundant they move on to stems and pods. The adult is yellow to coppery-brown with eight small black spots on each wing cover. Cause The Mexican bean beetle, a leaf-eating cousin of the ladybug. The adults come out of hiding near woods in spring, feed, then lay clusters of yellow eggs under the leaves, and several generations build up over the summer. It is worst in the Mid-Atlantic and southern Appalachian areas and is rarely a problem on the West Coast.The Mexican bean beetle (Epilachna varivestis), a leaf-eating member of the ladybeetle family. Adults emerge from overwintering near woodland edges, feed for a week or two, then lay clusters of yellow eggs on leaf undersides; there are about three generations a year, so populations build through the season. It is most damaging in the Mid-Atlantic and southern Appalachian regions and is largely absent from the Pacific Coast states. Organic treatment Pick off and destroy the adults, the yellow egg clusters, and the spiny young, looking under the leaves. Done early, this works well in a home garden. Beans can lose a fair amount of leaf without losing beans, so you do not need to spray for light damage. If they get bad, an organic spray such as spinosad is labeled for bean beetles, and a tiny helper wasp is sold to control them.Handpick and destroy adults, the yellow egg clusters, and the spiny larvae, checking leaf undersides; this is effective in a home patch caught early. Beans tolerate real defoliation without yield loss (about 30 percent before bloom, 15 percent during bloom and pod fill), so light feeding needs no spray. Where pressure is heavy, an organic option such as spinosad or a pyrethrin is labeled for bean beetles; the parasitic wasp Pediobius foveolatus is sold for biological control. Prevention Because most damage happens in July and August, fast-maturing beans planted very early or in late summer can mostly dodge it. The varieties Wade and Black Valentine hold up better. Clear and turn under the old plants right after harvest so the beetles have nowhere to overwinter, and move your beans to a new spot each year.Since most damage falls in July and August, quick-maturing varieties sown very early or in late summer can largely escape it. The varieties Wade and Black Valentine are tolerant. Work crop debris into the soil promptly after harvest to remove overwintering shelter, and rotate beans away from last year's bed.
Aphids
P · 02
Symptoms Clusters of tiny soft-bodied insects, usually green but sometimes black or pink, packed onto the growing tips and the undersides of leaves. Heavy feeding stunts young plants and slows them down, and a sticky residue may appear. Aphids can also spread virus diseases from plant to plant.Colonies of soft-bodied, pinhead-sized insects clustered on growing tips and leaf undersides, usually green but sometimes black, yellow, or pink. Heavy feeding stunts young plants and delays maturity as the insects withdraw large volumes of sap; a sticky honeydew and sooty mold may follow. Aphids also transmit the mosaic viruses of beans. Cause Several kinds of aphids, most common in cool, dry weather on small plants. They multiply fast and build up thick colonies before their natural enemies catch up. Warmer weather and helpful bugs like ladybugs usually knock them back.Several aphid species (Aphis and Macrosiphum), most prevalent in cool, dry weather on small plants. They reproduce rapidly, building dense colonies before natural enemies catch up; warm weather and predators such as ladybugs usually bring them down. Organic treatment Blast the colonies off with a strong spray of water, or use insecticidal soap, which works on contact. Start as soon as you see them. Once it warms up, ladybugs and other helpful insects usually take care of the rest.Knock colonies off with a strong spray of water, or treat with insecticidal soap, which gives good control on contact. Begin as soon as colonies are found. Once the weather warms, ladybugs and other natural enemies generally take over. Prevention Lay down reflective mulch, which confuses aphids and cuts both their feeding and the viruses they spread, and pull nearby weeds that shelter them. Do not overfeed with fertilizer, since the soft new growth is exactly what aphids like.Lay reflective mulch, which disorients aphids and reduces both feeding and virus spread, and control nearby weeds that harbor them. Avoid overfeeding with nitrogen, which produces the soft, lush growth aphids favor.
Two-spotted spider mite
P · 03
Symptoms Fine whitish or yellow speckling on the leaves at first, turning to a dried, bronzed look as they multiply. The clue is fine webbing on the undersides of the leaves. The mites themselves are tiny specks, easiest to see by tapping a leaf over white paper. They explode in hot, dry weather.A fine whitish or yellow stippling on the leaves at first, progressing to a bronzed, dried-out look as populations build; fine silken webbing over the leaf undersides is the giveaway. The mites are minute specks on the undersides, easiest to confirm by tapping a leaf over white paper. They build explosively in hot, dry weather, completing a generation in as few as eight days. Cause Two-spotted spider mites, tiny eight-legged relatives of spiders that pierce the leaf and suck out the contents. Hot, dry weather lets them build up fast, and dusty, dried-out plants are the most likely to be hit.Two-spotted spider mites (Tetranychus urticae), tiny eight-legged relatives of spiders that pierce leaf cells and suck the contents. Hot, dry conditions favor rapid buildup, and dusty, drought-stressed plants are most prone. Organic treatment Spray the undersides of the leaves with a strong jet of water to knock off the mites and webbing, and use insecticidal soap before they get too thick. Keeping the plants well watered and unstressed slows them down, and helpful bugs pitch in.Hose the undersides of leaves with a strong spray of water to dislodge mites and webbing, and treat with insecticidal soap before numbers climb too high. Keeping plants well watered and unstressed slows buildup, and ladybugs and other predators help. Prevention Keep the soil evenly moist, because dried-out plants are much more likely to get mites, and keep dust down. Check the undersides of the leaves during hot, dry weather so you catch them early.Maintain even soil moisture, since drought-stressed plants are far more mite-prone, and avoid the dusty conditions mites thrive in. Watch the undersides of leaves closely through hot, dry spells so you catch the buildup early.
Bean leaf beetle
P · 04
Symptoms Large ragged holes chewed in the leaves, and on young plants, chewing around the stem near the soil that can kill seedlings. The adult is a small beetle, usually reddish or yellowish, with a few black spots running down each wing cover. The color varies a lot. Early-season damage is the worst because it thins out the plants.Large, irregular holes chewed in leaves, and on young plants, girdling of stems near the soil line that can thin the stand. The adult is small and variable in color, usually reddish or yellowish, marked with a handful of black spots set along each wing cover near where the two covers meet. Damage early in the season matters most because it reduces the stand. Cause The bean leaf beetle, which is rarely a serious problem in most home gardens. The adults chew leaves and stems, and young seedlings are the most at risk.The bean leaf beetle (Cerotoma trifurcata), rarely a serious pest in most home gardens. Adults feed on foliage and stems, with seedlings the most vulnerable stage. Organic treatment Picking them off and the same steps you would use for Mexican bean beetle usually keep them in check. Beans can lose a good bit of leaf without losing beans, so light damage needs nothing. Focus on protecting young seedlings, which are the most at risk.Handpicking and the same measures used against Mexican bean beetle generally keep it in check; beans tolerate considerable leaf loss without yield penalty, so light feeding needs no action. Protect emerging seedlings, the vulnerable stage, where beetles are active. Prevention Clear away the old plants after harvest and move your beans each year so the beetles have nowhere to overwinter. A lightweight row cover over young seedlings protects them through the risky early weeks if this beetle is a problem where you are.Clear crop debris after harvest and rotate beans to deny overwintering sites. A floating row cover over emerging seedlings protects the stand through the vulnerable early weeks where the beetle is a known problem.
Diseases
Bean rust
D · 01
Symptoms Rust-colored bumps, mostly on the undersides of the leaves. Badly infected leaves turn yellow, wilt, and fall off. Stems and pods can get it too. It shows up in humid weather and can hit most kinds of beans.Rust-colored, raised spots that form mainly underneath the leaves; badly infected leaves yellow, wilt, and drop. Stems and pods can be infected too. It develops under humid conditions and can affect most types of beans. Cause A fungus that survives the winter in the soil, on old plant debris, and even on stakes used the year before. Humid weather is what lets it take hold and spread.The fungus Uromyces appendiculatus. It carries over from one season to the next in the soil and on leftover plant debris, and can persist on stakes or poles reused from a previous crop. Humid conditions drive infection and spread. Organic treatment Pick off and throw away (do not compost) infected leaves and give the plants room to breathe. Where rust is bad, a sulfur dust or spray gives good control if you start as the plants begin to flower and repeat every week or two, following the label.Remove and destroy infected leaves and improve airflow. Where rust has been severe, a sulfur dust or spray gives good control when begun as the plants start to bloom and repeated on a 10-to-14-day schedule; follow the label. Prevention Move your beans to a new spot if rust has been a problem, since the fungus carries over on old plants and stakes, and clean or replace stakes between years. Water at the base instead of overhead, give plants room, and pick a rust-resistant variety if it keeps coming back.Rotate beans where rust has been a problem, since the fungus carries over on debris and stakes; clean or replace stakes between seasons. Avoid overhead watering and space plants for airflow, and choose rust-resistant varieties where it recurs.
Anthracnose
D · 02
Symptoms Black, sunken spots about half an inch across on the pods, the clearest sign, sometimes with a pinkish ooze in wet weather. The veins on the undersides of leaves turn black, and spots show up on stems too. It shows up in cool, wet spring and fall weather, not in hot, dry summers.Black, sunken lesions about half an inch across on pods, the most prominent sign, sometimes oozing salmon-colored spores in wet weather; the veins on lower leaf surfaces turn black, and lesions appear on stems and seedling leaves. It develops in cool, wet spring and fall weather, not in hot, dry summers. Cause A fungus that rides in on infected seed and survives up to two years on old plant debris in the soil. Splashing water spreads it, and cool, wet weather is when it strikes.The fungus Colletotrichum lindemuthianum, carried on infected seed and surviving up to two years on plant debris in the soil. Splashing water spreads it, and cool, wet conditions favor infection. Organic treatment You cannot cure tissue that is already infected; pull and throw away (do not compost) affected plants and debris to slow it down. On snap beans, a copper fungicide can help if you start early, but keeping seed clean and rotating does most of the work.There is no cure for infected tissue; remove and destroy affected plants and debris to limit spread. On snap beans, a copper fungicide or chlorothalonil can suppress it when started early; cultural control is the mainstay for a home crop. Prevention Plant certified disease-free seed and do not save seed from an infected crop. Clear away all the old plants after harvest, and do not grow beans in that spot for two to three years. Water at the base and avoid splashing soil up onto the plants.Plant certified disease-free seed and do not save seed from an infected crop. Remove all plant debris after harvest, and do not plant beans where the disease occurred for two to three years. Avoid overhead watering and splashing soil onto the plants.
Bacterial blights (common and halo)
D · 03
Symptoms Two related diseases. Halo blight makes pale greenish-yellow rings around brown spots on the leaves and shows up in cool weather. Common blight turns leaves brown so they drop fast, with no ring, and likes warm weather. Both hit stems, leaves, and pods, and both spread in rain and damp conditions.Two related diseases. Halo blight shows light greenish-yellow halos around brown leaf spots and appears in cool weather; common blight turns leaves brown so they drop quickly, with no halo, and favors warm weather. Both infect stems, leaves, and pods, and both are spread by rain and damp conditions. Cause Two kinds of bacteria, one causing common blight and one causing halo blight. Both start on infected seed, spread easily when it is wet, and survive up to two years on old plant debris in the soil.Two bacteria, Xanthomonas campestris pv. phaseoli (common blight) and Pseudomonas syringae pv. phaseolicola (halo blight). Both start on infected seed, spread readily in moisture, and survive up to two years on plant debris in the soil. Organic treatment There is no cure once plants are infected; copper sprays every 10 days can slow it down. Water at the base, not overhead, and do not touch the plants when the leaves are wet, since that carries the bacteria from plant to plant.There is no cure once plants are infected; copper fungicides applied on a 10-day schedule can slow spread. Avoid overhead watering and do not handle plants when foliage is wet, which moves the bacteria from plant to plant. Prevention Buy new, certified seed each year instead of saving your own, since the disease travels on seed. Do not grow beans in the same spot more than once every three years, and keep out of the patch when the leaves are wet.Buy new, certified seed each year rather than saving it, since the disease is seedborne. Do not plant beans in the same spot more often than every third year, and stay out of the planting when the foliage is wet.
Bean root rots
D · 04
Symptoms Seeds that rot before they come up, or young seedlings that come up stunted, with a soft, watery rot at the soil line. The roots die and the leaves turn yellow. It is worst in cool, wet soil that makes the seeds sit too long before sprouting.Seeds that rot before emerging, or young seedlings that come up stunted, with a watery soft rot just above or below the soil line; roots die and leaves yellow. The damage shows up most in cool, wet soils that slow germination and keep seedlings vulnerable. Cause Several fungi that live in the soil and infect seeds and young seedlings. The usual culprits are Rhizoctonia, Pythium, and Fusarium. Cool, wet, poorly drained soil and damage to the roots at planting are what let them in.Several soilborne fungi that infect seeds and young seedlings. The ones usually responsible are Rhizoctonia, Pythium, and Fusarium species. Cool, wet, poorly drained soil and root injury at planting set the stage for them. Organic treatment There is no saving seedlings that have rotted; replant once the soil is warmer and drains better. Pulling affected plants and improving drainage limits the loss. The main thing is prevention, since these fungi are already in the soil.There is no rescue for rotted seedlings; replant into warmer, better-drained conditions. Removing affected plants and improving drainage limits further loss. The real lever is prevention, since the fungi are already in the soil. Prevention Wait until the soil has warmed to about 69°F before planting, and use raised beds in well-drained ground instead of low, wet spots. Avoid damaging the roots when planting, move your beans around the garden each year, and clear away old plants after harvest.Wait until the soil has warmed to about 69°F at a 4-inch depth before sowing, and plant on raised beds in well-drained ground rather than low, wet spots. Avoid root injury at planting, rotate beans with other vegetables, and clear crop debris after harvest.
White mold (watery soft rot)
D · 05
Symptoms Small, soft, watery spots on stems, leaves, and pods that grow fast in cool, damp weather, join together, and choke off the stem. Affected pods collapse into a brown, watery mush, soon covered in white cottony mold. Crowded, overfed plants with poor airflow are the most at risk.Small, soft, watery spots on stems, leaves, and pods that enlarge fast under cool, moist conditions, run together, and choke off the stem. Affected pods collapse into a brown, watery mush, soon covered by a white cottony fungal growth. Dense, overfed plantings with poor airflow are most at risk. Cause A fungus that thrives in cool, damp weather and heavy, crowded growth. Too much fertilizer makes the lush, dense plants that trap the still, humid air the mold needs.The fungus Sclerotinia sclerotiorum, favored by cool, moist conditions and heavy, dense plant growth. Too much fertilizer drives the lush vine growth that creates the still, humid canopy the disease needs. Organic treatment There is no home-garden spray for this one; you manage it by how you grow. Pull and throw away (do not compost) infected plants, and open up the spacing between plants and rows so the leaves dry out faster.There is no recommended chemical control for the home garden; management is cultural. Remove and destroy infected plants, and improve air circulation between plants and rows to dry the canopy. Prevention Give plants and rows room for air to move instead of crowding them, and go easy on fertilizer, since too much makes the heavy growth the mold likes. Water at the base and avoid keeping the plants wet and packed together.Space plants and rows for good airflow rather than crowding, and go easy on fertilizer, since excess nitrogen feeds the heavy vine growth that favors the disease. Avoid overhead watering and the wet, still conditions the fungus needs.
Verified · 1 source View
Seasoned
Where to plant next year

Crop rotation

Move your beans to a new spot each year, on about a three-year rotation. Because beans feed the soil with nitrogen, whatever you plant there next will benefit.Rotate beans on a roughly three-year cycle. Their nitrogen-fixing habit makes them a good predecessor for nitrogen-hungry crops.

Family
Fabaceae (legume)
Years between
3 years
in the same bed
Avoid following
Do not plant beans in the same spot two years running. Diseases build up in the soil and can hit the next bean crop.Avoid following beans with beans or other legumes in the same bed; rotate to break the soil-borne disease cycle beans are prone to.
Plant after
Beans are an excellent crop to grow before a heavy feeder. As a legume they fix nitrogen and leave the soil in better shape for a following crop such as a leafy green or corn.
Verified · 2 sources View
In the app · pre-launch

When plant taps you on the shoulder

The plant app sends a timely reminder at every critical moment of your dry beans season. The wording adjusts to whichever you pick: beginner or seasoned. Here are three you'll see in Zone 6.

p
plant
Last frost arrives
Time to plant beans
Plant bush beans right in the garden after the last spring frost, once the soil has warmed to at least 60°F. Plant about 1 inch deep in moist, well-drained soil. There is no benefit to planting earlier.
p
plant
2 weeks after last planting
Plant your next row of beans
Bush beans give a big crop over two to three weeks, then slow down. Plant a new short row now, about two weeks after the last one, to keep beans coming. Stop planting about two months before your first fall frost.
p
plant
7 weeks after planting
Start checking your beans every day
Most bush beans are ready around 50 to 60 days. Start checking every day and pick firm, crisp pods that snap cleanly, before the seeds bulge through. Pick every two or three days to keep more beans coming.
Get personalized alerts.

plant sends the right notification at exactly the right moment, for your zone, your weather, your crops. Founding members lock the rate forever.

Back the Kickstarter →
Ask the gardener

Common questions

Got a question we missed?

We're building this guide with real growers. Got a question we missed? Ask here. We read every one and add the best answers right to this page.

Grown this before?

Share a tip

Learned something the hard way? Pass it on. Real growers' tips make this guide better for the next person, and we credit you by name when yours goes live.

Seasoned
Spot something wrong?

Report a problem

If you've grown this crop and you see a date, a temperature, a companion claim, or a recommendation that doesn't match your experience, tell us. Real growers' corrections make this guide better for the next person.

How we built this guide

Methodology & sources

Every date, temperature, spacing, and recommendation on this page is sourced from university cooperative extension publications, peer-reviewed agricultural research, NOAA climate data, and direct extension calendars. Where claims are softer (traditional gardening wisdom not formally documented), we say so.

Research-backed Documented in cooperative extension publications or peer-reviewed research
Well-grounded A known agronomic principle, but not formally tested for this specific pair
Traditional Time-tested gardening wisdom, limited formal research support
Last reviewed
June 22, 2026
Data version
crops_data_final · v1.0 · schema 2.9
Sources cited on this page
16 publications
Verified entries
Companion-planting claims tagged inline · zone dates verified against 5+ extensions
See all sources cited on this page
  • University of Minnesota Extension umn_ext
  • University of Maryland Extension umd_ext
  • Cornell Cooperative Extension cornell_ext
  • Iowa State University Extension iastate_ext
  • Michigan State University Extension msu_ext
  • NC State Extension ncsu_ext
  • Penn State Extension psu_ext
  • U. of Illinois Urbana-Champaign Extension uiuc_ext
  • UC Davis Postharvest Center ucd_postharvest
  • Texas A&M AgriLife Extension tamu_agrilife
  • Virginia Cooperative Extension 426-331 vce_426_331
  • Piedmont Master Gardeners piedmont_mg
  • UGA Vegetable Garden Calendar uga_calendar
  • Clemson Home & Garden Information Center clemson_hgic
  • UC IPM Statewide IPM Program uc_ipm
  • NOAA 1991-2020 Climate Normals noaa_normals

Growing notes, weekly.

Zone-aware seasonal nudges, what's worth planting now, and the occasional recipe from the harvest. No spam, ever.

Vol. 003 · Dry Beans · plant.lifestyle