Today · in your zone
What's happening right now
Off-season for elderberry in zone 10.
Tap to switch. plant calibrates to where you are in the journey.
Elderberry is a large, easygoing native shrub that gives big clusters of small dark berries for making juice, syrup, jelly, and pies. It is very cold-hardy, handles wet soil, and starts producing in just two or three years. Remember two things: plant two different varieties so you get plenty of fruit, and always cook the berries, because raw berries, leaves, and stems can make you sick. Elderberry is a big, fast, tough native shrub grown for its clusters of small dark berries, which are cooked into juice, syrup, jelly, wine, and pie (and its flowers are used too). It is one of the easiest fruits to grow: very cold-hardy, wet-tolerant, and productive within two or three years. Two things are non-negotiable: plant two different cultivars for good yield, and always COOK the berries, because raw or unripe fruit, leaves, and stems are mildly toxic.
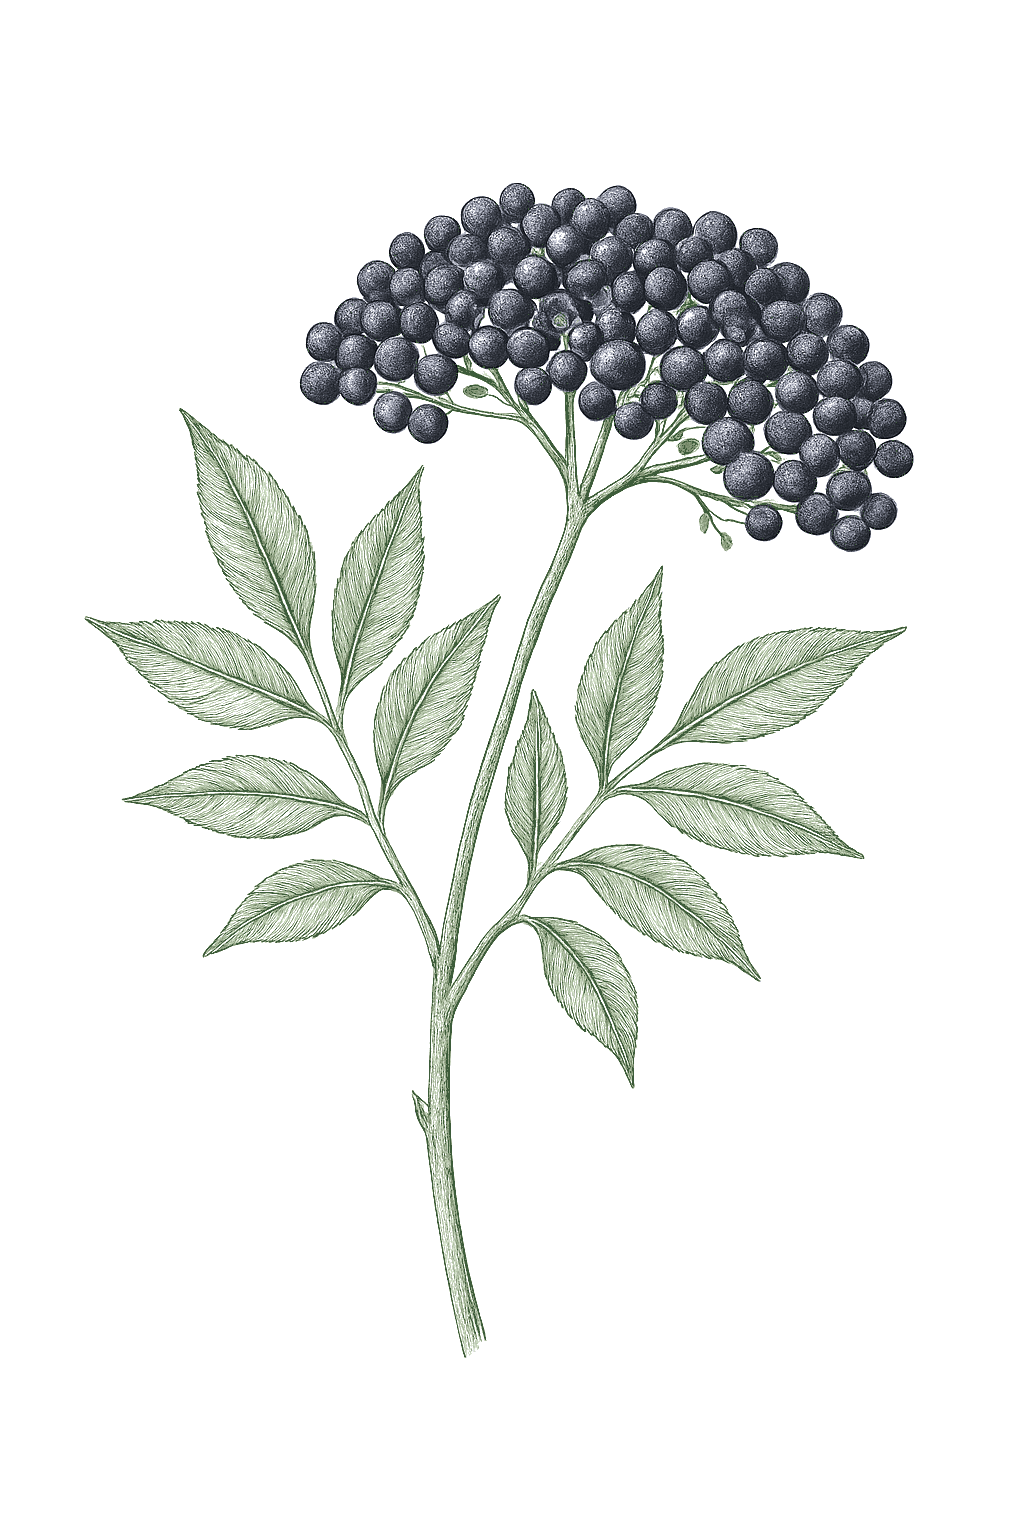
Off-season for elderberry in zone 10.
Elderberry needs a cold winter rest, but not much, and you do not pick varieties by chill the way you do with blueberries; there is basically one kind of elderberry. The only place low winter cold matters is the frost-free deep South, where it can make fruiting less reliable.Elderberry is a deciduous shrub that rests dormant each winter and needs a period of cold to do so, but its chill requirement is low and, unlike blueberry, is NOT how you choose a cultivar: there is essentially one type (American elderberry) grown everywhere. In practice, winter dormancy is a given across its hardy range, and the low-chill point only matters at the frost-free warm edge, where too little cold can make bloom and fruiting erratic.
These need more chill than your winter dependably delivers. In a mild winter they bloom unevenly and crop lightly.
Your elderberry is a long-lived bush you plant once and keep for years. In the mild winters here it rests only briefly, flowers in spring, and ripens earlier than up North. Keep it well watered in the heat, prune old stems in late winter, and plant two different varieties.Elderberry is a permanent deciduous shrub here too, planted once and kept for years, though in the mild winters it rests only briefly. It blooms in spring and ripens earlier than in the North; keep it well watered through the heat, renew old canes in late winter, and plant two different cultivars for good fruit set.
Once established, your blueberries follow the same yearly rhythm. Choose a cultivar by chill class above, then use this calendar for the season-to-season timing.
Elderberry needs a cold winter rest, but not much, and you do not pick varieties by chill the way you do with blueberries; there is basically one kind of elderberry. The only place low winter cold matters is the frost-free deep South, where it can make fruiting less reliable.Elderberry is a deciduous shrub that rests dormant each winter and needs a period of cold to do so, but its chill requirement is low and, unlike blueberry, is NOT how you choose a cultivar: there is essentially one type (American elderberry) grown everywhere. In practice, winter dormancy is a given across its hardy range, and the low-chill point only matters at the frost-free warm edge, where too little cold can make bloom and fruiting erratic.
These need more chill than your winter dependably delivers. In a mild winter they bloom unevenly and crop lightly.
Your elderberry is a long-lived bush you plant once and keep for years. In the mild winters here it rests only briefly, flowers in spring, and ripens earlier than up North. Keep it well watered in the heat, prune old stems in late winter, and plant two different varieties.Elderberry is a permanent deciduous shrub here too, planted once and kept for years, though in the mild winters it rests only briefly. It blooms in spring and ripens earlier than in the North; keep it well watered through the heat, renew old canes in late winter, and plant two different cultivars for good fruit set.
Once established, your blueberries follow the same yearly rhythm. Choose a cultivar by chill class above, then use this calendar for the season-to-season timing.
Elderberry needs a cold winter rest, but not much, and you do not pick varieties by chill the way you do with blueberries; there is basically one kind of elderberry. The only place low winter cold matters is the frost-free deep South, where it can make fruiting less reliable.Elderberry is a deciduous shrub that rests dormant each winter and needs a period of cold to do so, but its chill requirement is low and, unlike blueberry, is NOT how you choose a cultivar: there is essentially one type (American elderberry) grown everywhere. In practice, winter dormancy is a given across its hardy range, and the low-chill point only matters at the frost-free warm edge, where too little cold can make bloom and fruiting erratic.
These need more chill than your winter dependably delivers. In a mild winter they bloom unevenly and crop lightly.
Your elderberry is a long-lived bush you plant once and keep for years. In the mild winters here it rests only briefly, flowers in spring, and ripens earlier than up North. Keep it well watered in the heat, prune old stems in late winter, and plant two different varieties.Elderberry is a permanent deciduous shrub here too, planted once and kept for years, though in the mild winters it rests only briefly. It blooms in spring and ripens earlier than in the North; keep it well watered through the heat, renew old canes in late winter, and plant two different cultivars for good fruit set.
Once established, your blueberries follow the same yearly rhythm. Choose a cultivar by chill class above, then use this calendar for the season-to-season timing.
Elderberry needs a cold winter rest, but not much, and you do not pick varieties by chill the way you do with blueberries; there is basically one kind of elderberry. The only place low winter cold matters is the frost-free deep South, where it can make fruiting less reliable.Elderberry is a deciduous shrub that rests dormant each winter and needs a period of cold to do so, but its chill requirement is low and, unlike blueberry, is NOT how you choose a cultivar: there is essentially one type (American elderberry) grown everywhere. In practice, winter dormancy is a given across its hardy range, and the low-chill point only matters at the frost-free warm edge, where too little cold can make bloom and fruiting erratic.
Your elderberry is a long-lived bush you plant once and keep for years. In the mild winters here it rests only briefly, flowers in spring, and ripens earlier than up North. Keep it well watered in the heat, prune old stems in late winter, and plant two different varieties.Elderberry is a permanent deciduous shrub here too, planted once and kept for years, though in the mild winters it rests only briefly. It blooms in spring and ripens earlier than in the North; keep it well watered through the heat, renew old canes in late winter, and plant two different cultivars for good fruit set.
Once established, your blueberries follow the same yearly rhythm. Choose a cultivar by chill class above, then use this calendar for the season-to-season timing.
Elderberry needs a cold winter rest, but not much, and you do not pick varieties by chill the way you do with blueberries; there is basically one kind of elderberry. The only place low winter cold matters is the frost-free deep South, where it can make fruiting less reliable.Elderberry is a deciduous shrub that rests dormant each winter and needs a period of cold to do so, but its chill requirement is low and, unlike blueberry, is NOT how you choose a cultivar: there is essentially one type (American elderberry) grown everywhere. In practice, winter dormancy is a given across its hardy range, and the low-chill point only matters at the frost-free warm edge, where too little cold can make bloom and fruiting erratic.
These need more chill than your winter dependably delivers. In a mild winter they bloom unevenly and crop lightly.
Your elderberry is a long-lived bush you plant once and keep for years. In the mild winters here it rests only briefly, flowers in spring, and ripens earlier than up North. Keep it well watered in the heat, prune old stems in late winter, and plant two different varieties.Elderberry is a permanent deciduous shrub here too, planted once and kept for years, though in the mild winters it rests only briefly. It blooms in spring and ripens earlier than in the North; keep it well watered through the heat, renew old canes in late winter, and plant two different cultivars for good fruit set.
Once established, your blueberries follow the same yearly rhythm. Choose a cultivar by chill class above, then use this calendar for the season-to-season timing.
Elderberry needs a cold winter rest, but not much, and you do not pick varieties by chill the way you do with blueberries; there is basically one kind of elderberry. The only place low winter cold matters is the frost-free deep South, where it can make fruiting less reliable.Elderberry is a deciduous shrub that rests dormant each winter and needs a period of cold to do so, but its chill requirement is low and, unlike blueberry, is NOT how you choose a cultivar: there is essentially one type (American elderberry) grown everywhere. In practice, winter dormancy is a given across its hardy range, and the low-chill point only matters at the frost-free warm edge, where too little cold can make bloom and fruiting erratic.
These need more chill than your winter dependably delivers. In a mild winter they bloom unevenly and crop lightly.
Your elderberry is a long-lived bush you plant once and keep for years. In the mild winters here it rests only briefly, flowers in spring, and ripens earlier than up North. Keep it well watered in the heat, prune old stems in late winter, and plant two different varieties.Elderberry is a permanent deciduous shrub here too, planted once and kept for years, though in the mild winters it rests only briefly. It blooms in spring and ripens earlier than in the North; keep it well watered through the heat, renew old canes in late winter, and plant two different cultivars for good fruit set.
Once established, your blueberries follow the same yearly rhythm. Choose a cultivar by chill class above, then use this calendar for the season-to-season timing.
Elderberry needs a cold winter rest, but not much, and you do not pick varieties by chill the way you do with blueberries; there is basically one kind of elderberry. The only place low winter cold matters is the frost-free deep South, where it can make fruiting less reliable.Elderberry is a deciduous shrub that rests dormant each winter and needs a period of cold to do so, but its chill requirement is low and, unlike blueberry, is NOT how you choose a cultivar: there is essentially one type (American elderberry) grown everywhere. In practice, winter dormancy is a given across its hardy range, and the low-chill point only matters at the frost-free warm edge, where too little cold can make bloom and fruiting erratic.
Your elderberry is a long-lived bush you plant once and keep for years. In the mild Mojave winters it rests only briefly, flowers in spring, and ripens earlier than up North. Keep it well watered in the heat, prune old stems in late winter, and plant two different varieties.Elderberry is a permanent deciduous shrub here too, planted once and kept for years, though in the mild Mojave winters it rests only briefly. It blooms in spring and ripens earlier than in a cooler climate; keep it well watered through the heat, renew old canes in late winter, and plant two different cultivars for good fruit set.
Once established, your blueberries follow the same yearly rhythm. Choose a cultivar by chill class above, then use this calendar for the season-to-season timing.
Elderberry needs a cold winter rest, but not much, and you do not pick varieties by chill the way you do with blueberries; there is basically one kind of elderberry. The only place low winter cold matters is the frost-free deep South, where it can make fruiting less reliable.Elderberry is a deciduous shrub that rests dormant each winter and needs a period of cold to do so, but its chill requirement is low and, unlike blueberry, is NOT how you choose a cultivar: there is essentially one type (American elderberry) grown everywhere. In practice, winter dormancy is a given across its hardy range, and the low-chill point only matters at the frost-free warm edge, where too little cold can make bloom and fruiting erratic.
These need more chill than your winter dependably delivers. In a mild winter they bloom unevenly and crop lightly.
Your elderberry is a long-lived bush you plant once and keep for years. In the mild Valley winters it rests only briefly, flowers earlier than up North, and ripens earlier too. Keep it well watered in the heat, prune old stems in late winter, and plant two different varieties.Elderberry is a permanent deciduous shrub in the Valley too, planted once and kept for years, though in the mild winters here it rests only briefly. It blooms earlier than farther north and ripens earlier as well; keep it well watered through the intense summer heat, renew old canes in late winter, and plant two different cultivars for good fruit set.
Once established, your blueberries follow the same yearly rhythm. Choose a cultivar by chill class above, then use this calendar for the season-to-season timing.
Elderberry needs a cold winter rest, but not much, and you do not pick varieties by chill the way you do with blueberries; there is basically one kind of elderberry. The only place low winter cold matters is the frost-free deep South, where it can make fruiting less reliable.Elderberry is a deciduous shrub that rests dormant each winter and needs a period of cold to do so, but its chill requirement is low and, unlike blueberry, is NOT how you choose a cultivar: there is essentially one type (American elderberry) grown everywhere. In practice, winter dormancy is a given across its hardy range, and the low-chill point only matters at the frost-free warm edge, where too little cold can make bloom and fruiting erratic.
Your elderberry is a long-lived bush you plant once and keep for years. In the mild winters here it rests only briefly, flowers in spring, and ripens earlier than up North. Keep it well watered in the heat, prune old stems in late winter, and plant two different varieties.Elderberry is a permanent deciduous shrub here too, planted once and kept for years, though in the mild winters it rests only briefly. It blooms in spring and ripens earlier than in the North; keep it well watered through the heat, renew old canes in late winter, and plant two different cultivars for good fruit set.
Once established, your blueberries follow the same yearly rhythm. Choose a cultivar by chill class above, then use this calendar for the season-to-season timing.
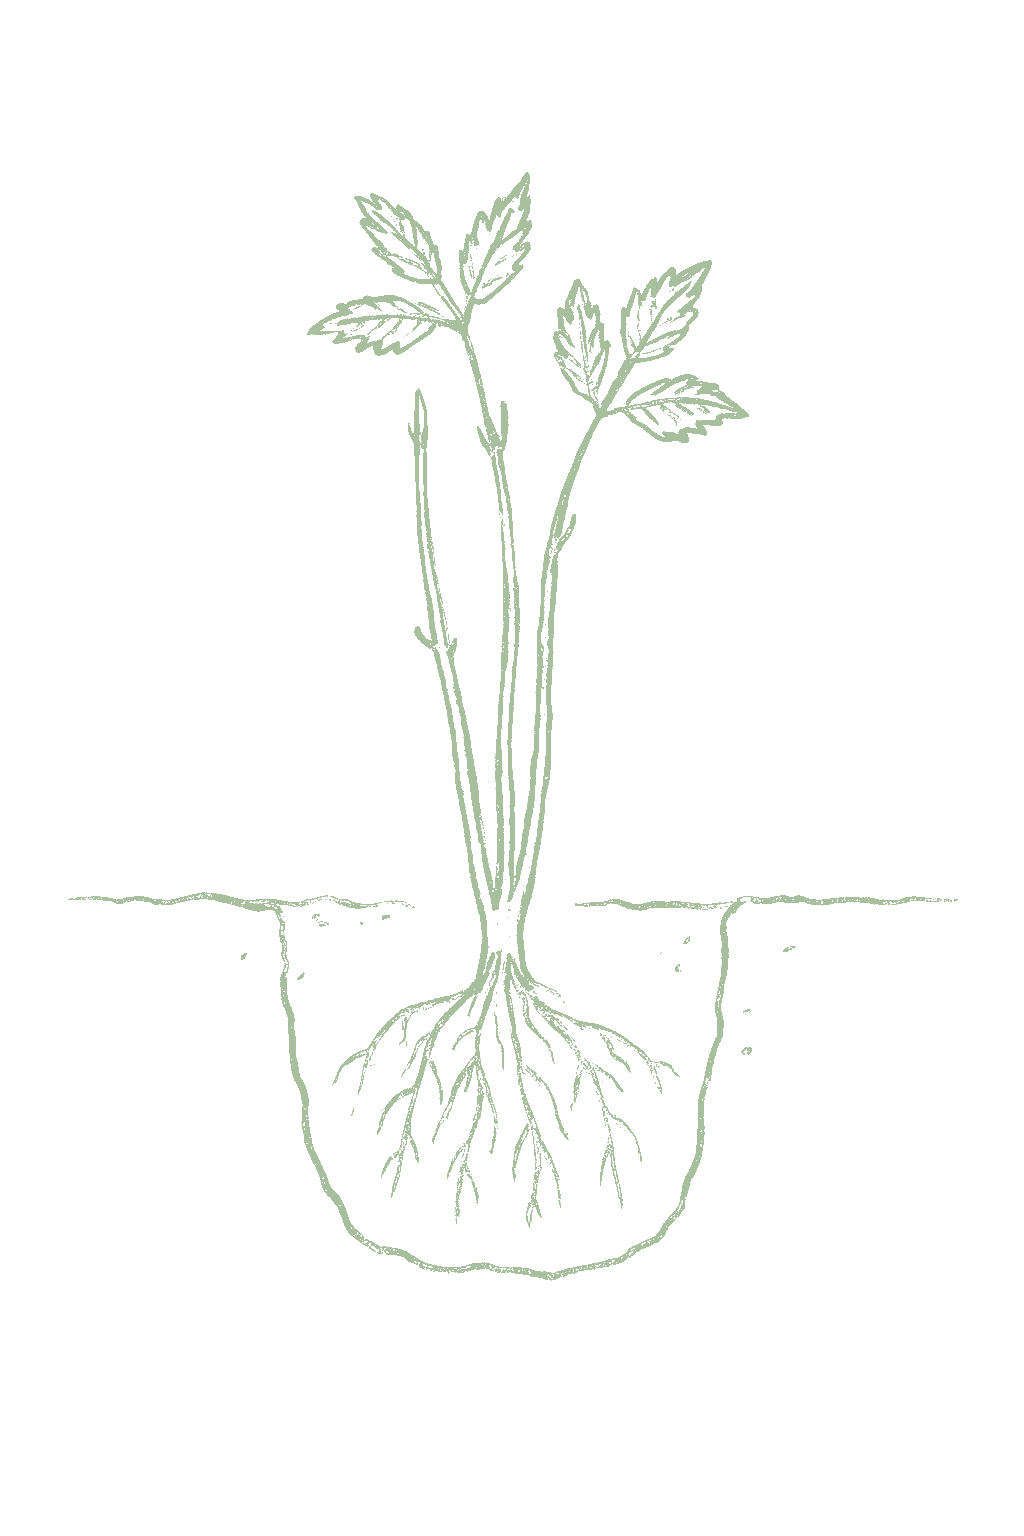
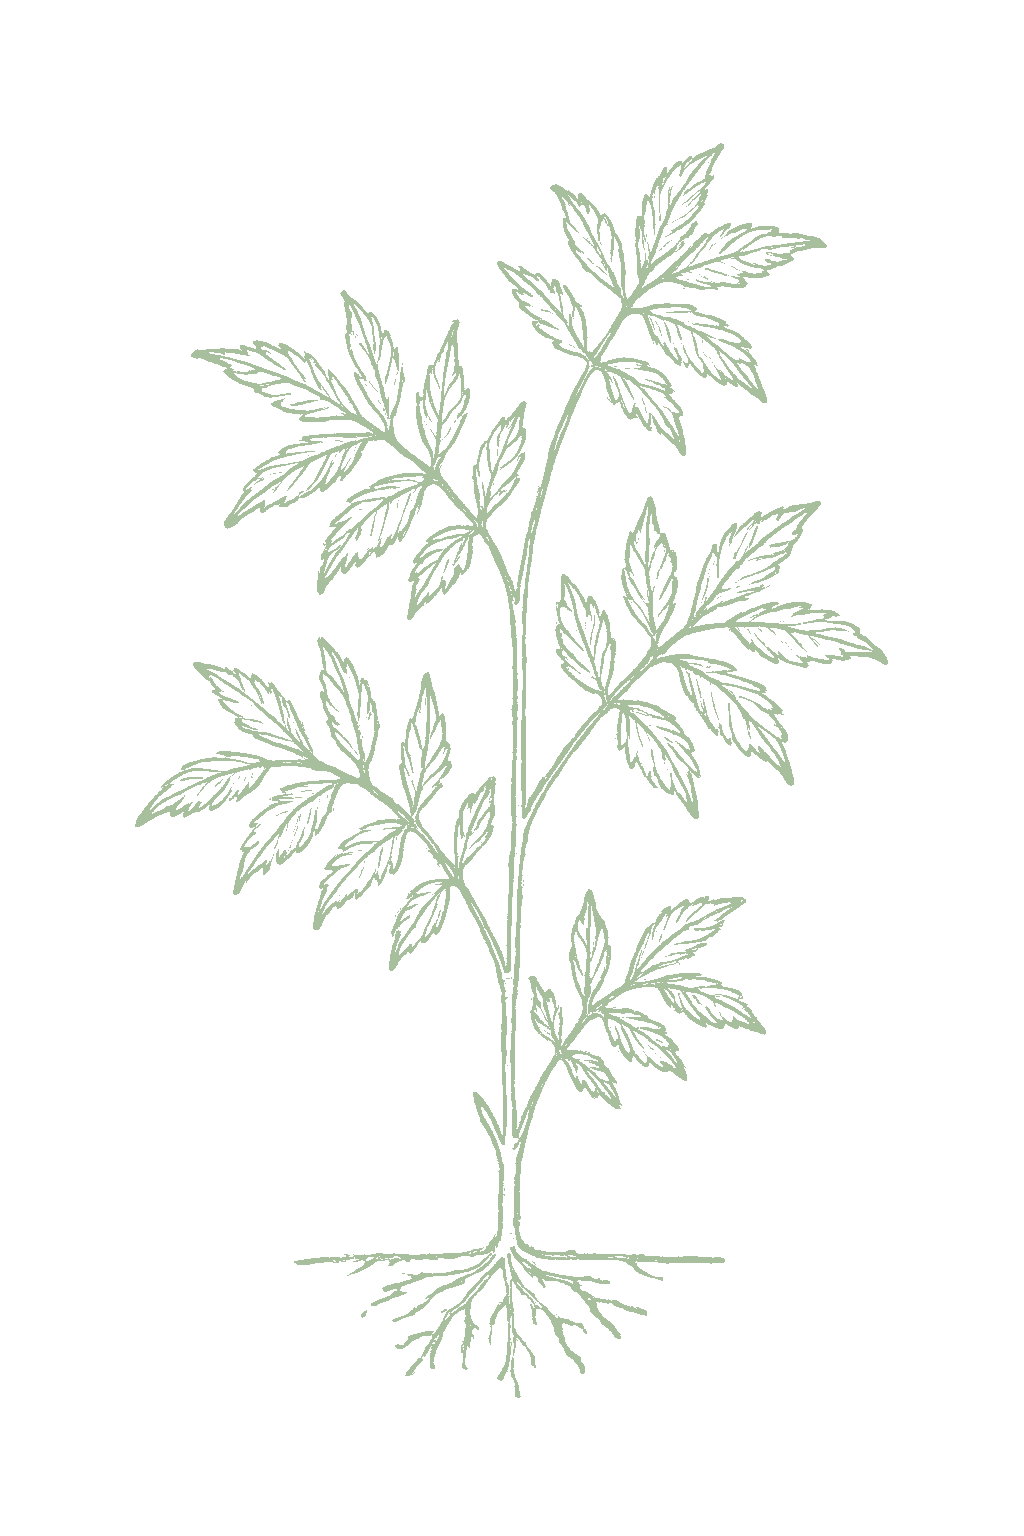
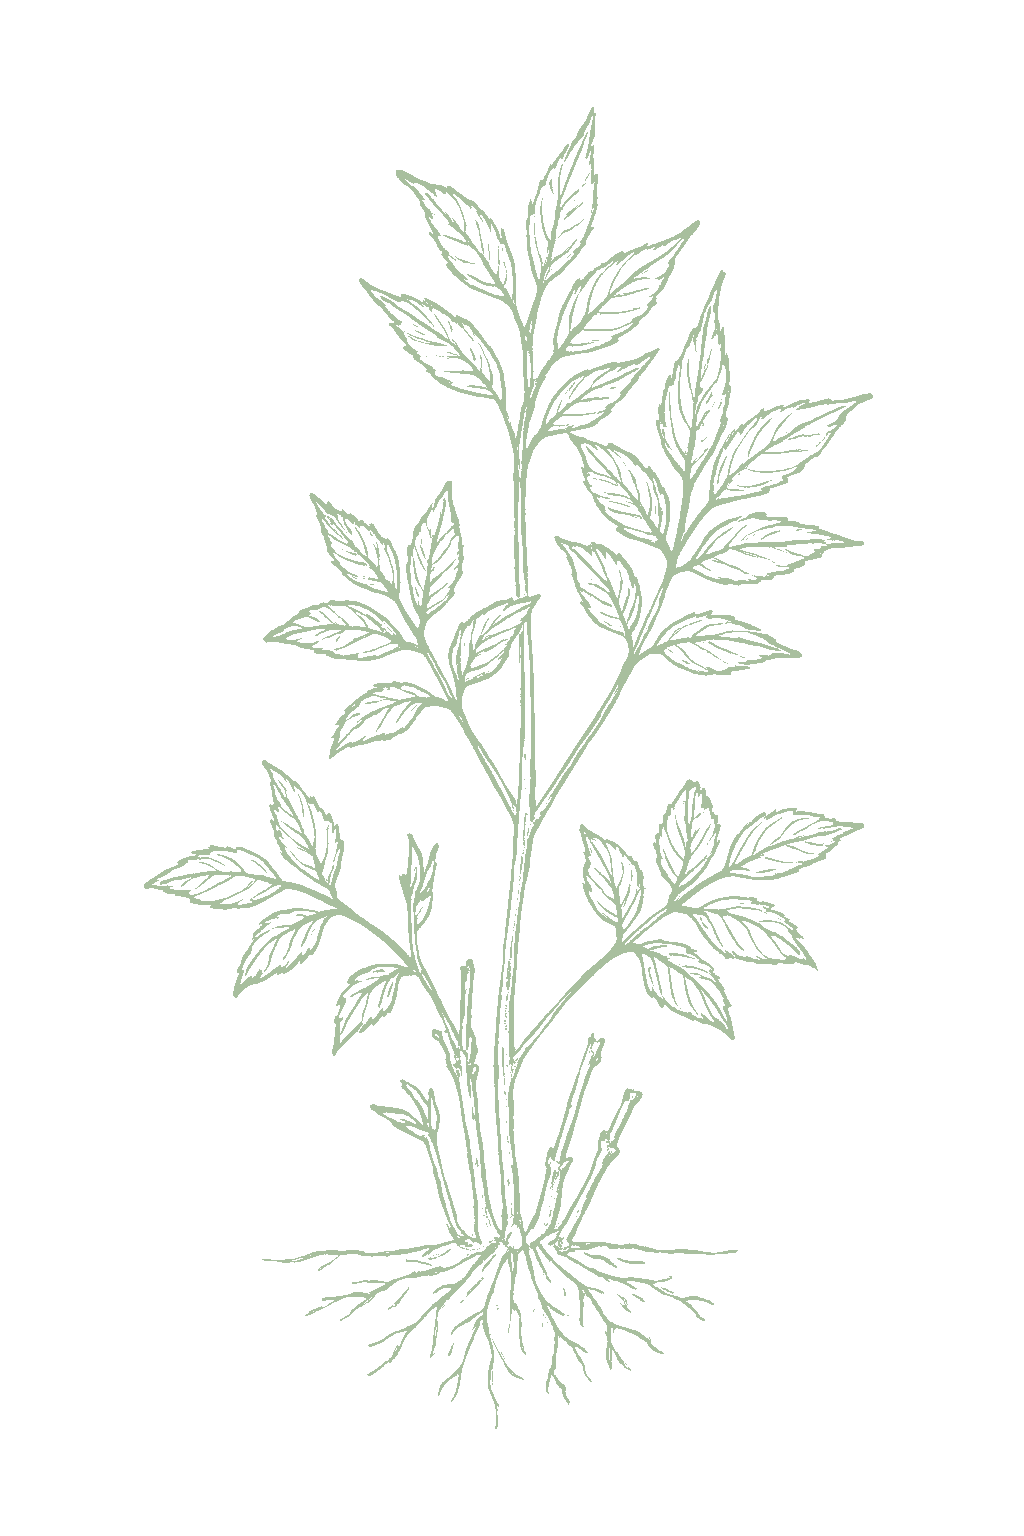
Not sure what soil you have? Grab a small handful of damp soil from your garden bed and squeeze it. If it crumbles apart easily, it's sandy. If it holds together but breaks when you poke it, it's loam (what most vegetables want). If it stays in a hard, slippery ball, it's clay.
Elderberry wants rich, moist soil and is happy in spots that are too wet for most fruit. Work in plenty of compost, keep it damp, and it will thrive; the only soil it really dislikes is dry, droughty sand.
Mix 2-3 inches of compost into the top 6 inches of your bed before planting. Compost holds moisture (which sandy soil drains too fast) and adds the nutrients sandy soil tends to lack. Repeat each season. Compost breaks down over time.
Mix 2-3 inches of compost AND a few inches of coarse sand or perlite into the top 6 inches of your bed. The compost feeds the plants; the sand breaks up the clay so air and water can move through. Don't add sand without compost. It can compact like concrete.
If amending your soil sounds like too much work, or if your soil is heavy clay, full of rocks, or contaminated, build over it. A raised bed at least 12 inches deep filled with a 50/50 mix of compost and sandy loam gives you ideal growing soil with no battles. A 5-gallon container with quality potting mix does the same for one plant at a time. Both bypass your native soil entirely.
The numbers that matter, at a glance.
Elderberry is relaxed about soil pH, doing well anywhere from about 5.5 to 6.5 and tolerating up to around 7.0. Unlike blueberries, it does not need acidic soil, so no special treatment is required. A basic soil test is all you need.Elderberry prefers a soil pH of about 5.5 to 6.5, but it is easygoing and grows well from slightly acidic up to near-neutral (roughly 5.5 to 7.5). Unlike blueberry, it needs no special acidification: a soil test and ordinary garden pH management are plenty. If anything, keep it out of strongly alkaline ground.
Feed elderberry once a year in early spring, starting the second year, with a balanced fertilizer like 10-10-10 or a good layer of compost. Do not feed at planting time. Elderberry grows fast on its own, so go easy; too much fertilizer makes weak, floppy stems.Elderberry is a moderate feeder that responds well to nitrogen and organic matter. Do not fertilize at planting; from the second year on, apply a balanced fertilizer such as 10-10-10, or a generous topdressing of compost or aged manure, once in early spring as growth begins. A vigorous plant that is putting up strong new canes usually needs little more; over-feeding just makes soft, floppy growth.
A balanced all-purpose fertilizer (like 10-10-10), or compost.A balanced complete fertilizer with nitrogen; compost or aged manure works too.
Elderberry does not need companion plants. It is a large shrub, so give it plenty of space and keep it from shading smaller plants. Its one real planting rule is to put a second, different variety nearby so the two can pollinate each other. Elderberry is not a companion-driven crop; it is a big, vigorous shrub best sited for its own sake. The main rules are practical: give it room (it reaches 8 to 12 feet and suckers), keep it where its size will not shade smaller sun-loving crops, and lean into its strengths as a pollinator and wildlife plant and a tolerator of wet, low ground. Its most important 'companion' is simply a second, different cultivar nearby for cross-pollination.
Elderberries are ready when most berries in a cluster are deep purple-black, plump, and soft. Snip off the whole cluster with pruners instead of picking one berry at a time, then pull the berries off the stems (freezing the clusters briefly makes this easy). Skip any green or red berries, keep the stems out, and always cook the berries before eating.Harvest whole flower-cluster heads (cymes) when most of the berries in a cluster have turned deep purple-black and are plump and soft, usually late summer. Cut the entire cluster with pruners rather than picking berries one by one, then strip the berries from the green stems (chilling or briefly freezing makes this easy). Leave green or red under-ripe berries, and never include stems. Berries do not sweeten after picking, and they must be cooked.
A mature elderberry bush usually gives about 10 to 15 pounds of berries a year, more with good soil, plenty of water, and a second variety nearby for pollination.A mature, well-grown elderberry commonly yields roughly 10 to 15 pounds of berries per year, sometimes more on the most productive modern cultivars in good, moist soil. Yield climbs quickly as the shrub fills in and is heavily dependent on cross-pollination and moisture.
Elderberry produces quickly. You will get a small crop the second year and close to a full crop by year three or four, then good harvests for years with regular pruning.Elderberry is fast: expect a light crop the second year and something close to full production by years three to four, far quicker than blueberry. A well-managed, renewed planting stays productive for many years. Do not expect berries the first year, and pinch off the flowers that first summer so the plant grows strong. Elderberry is quick, so you will be picking real crops by year two or three.Expect little or no harvest the first year, and remove the flower clusters that season so the young plant builds roots and canes. It grows so fast that this costs you almost nothing: real crops arrive by the second or third year.
There is really just one kind of elderberry to grow, American elderberry, so pick varieties by how much they yield and when they ripen, not by your climate. The important thing is to plant two different varieties near each other so they pollinate and you get far more fruit. Good pairs are Adams with York, or Bob Gordon with Wyldewood.Elderberry is not split into climate types the way blueberry is: nearly every home and commercial cultivar is American elderberry (Sambucus canadensis), and you choose by yield, ripening season, and habit rather than by chill. The one rule that matters is to plant at least two DIFFERENT cultivars with overlapping bloom for cross-pollination, which sharply raises yield. Classic pairings are Adams with York, or a modern Missouri pair like Bob Gordon with Wyldewood. European elderberry (S. nigra) cultivars exist and can be grown too, but the American types are hardier and better adapted across most of the country.
Crop rotation is for vegetables you replant each year. Elderberry is a shrub that lives in one spot for years, so just pick a good moist, sunny site and leave it there.Rotation does not apply to elderberry. It is a long-lived perennial shrub that occupies the same spot for many years, so choose a moist, sunny, roomy site up front, since you will not be moving it.
The plant app sends a timely reminder at every critical moment of your elderberry season. The wording adjusts to whichever you pick: beginner or seasoned. Here are three you'll see in Zone 10.
plant sends the right notification at exactly the right moment, for your zone, your weather, your crops. Founding members lock the rate forever.
We're building this guide with real growers. Got a question we missed? Ask here. We read every one and add the best answers right to this page.
Learned something the hard way? Pass it on. Real growers' tips make this guide better for the next person, and we credit you by name when yours goes live.
If you've grown this crop and you see a date, a temperature, a companion claim, or a recommendation that doesn't match your experience, tell us. Real growers' corrections make this guide better for the next person.
Every date, temperature, spacing, and recommendation on this page is sourced from university cooperative extension publications, peer-reviewed agricultural research, NOAA climate data, and direct extension calendars. Where claims are softer (traditional gardening wisdom not formally documented), we say so.
Spot a data point that doesn't match your experience? Submit a correction; accepted corrections earn full author credit on the page.
Zone-aware seasonal nudges, what's worth planting now, and the occasional recipe from the harvest. No spam, ever.