Today · in your zone
What's happening right now
Off-season for flint corn in zone 9.
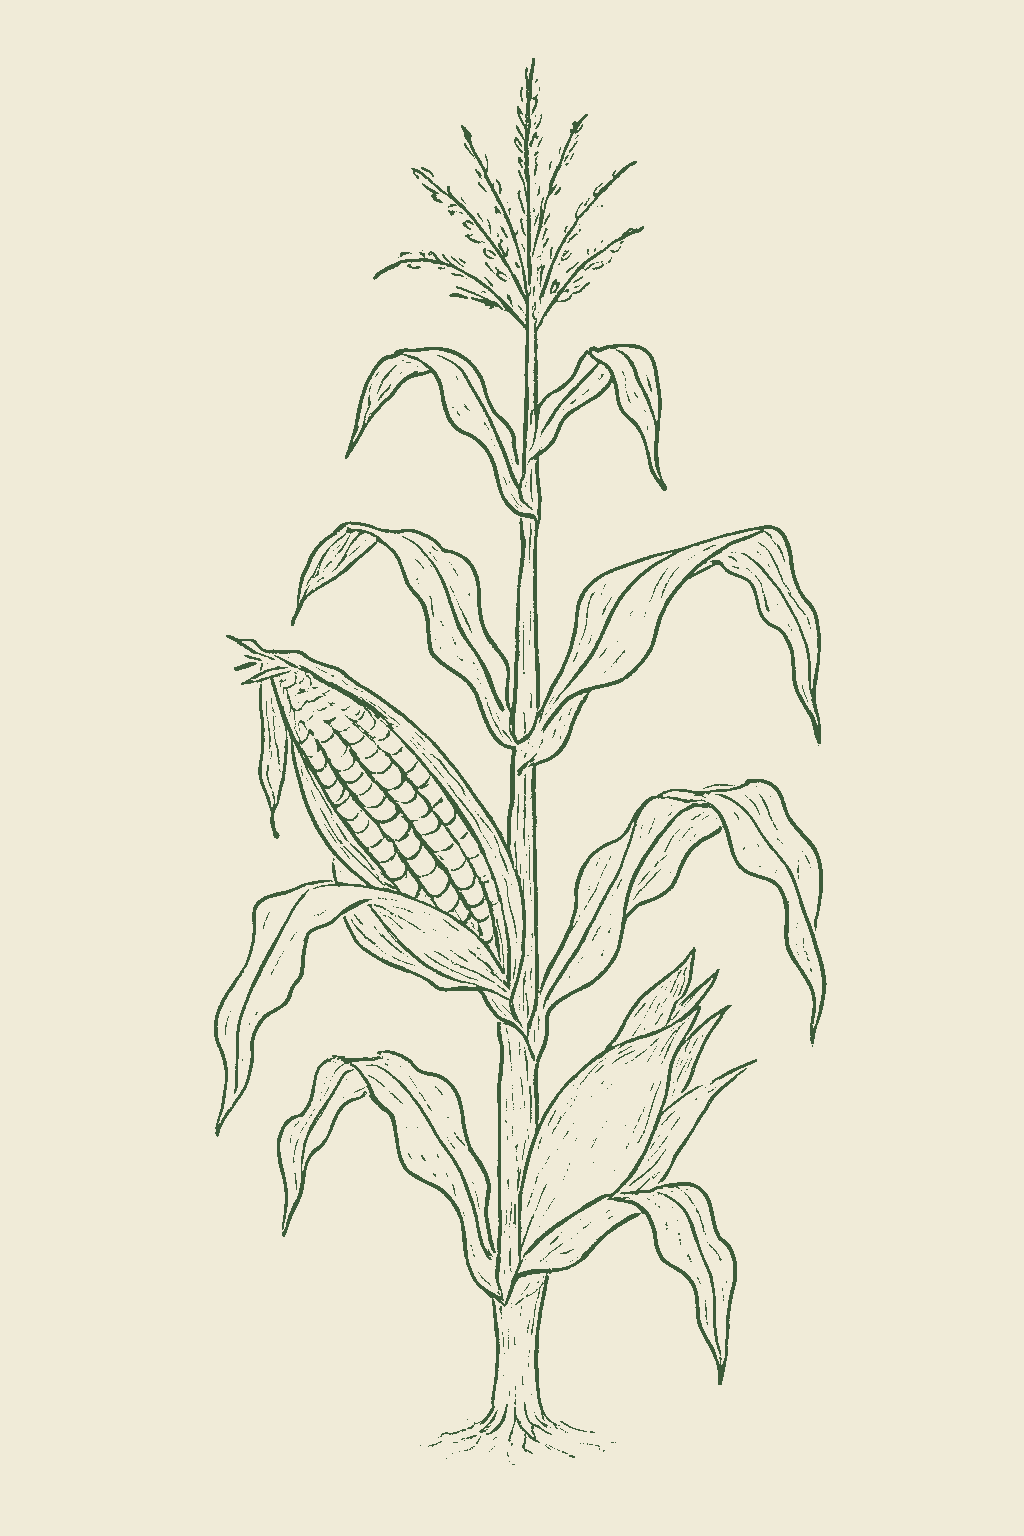
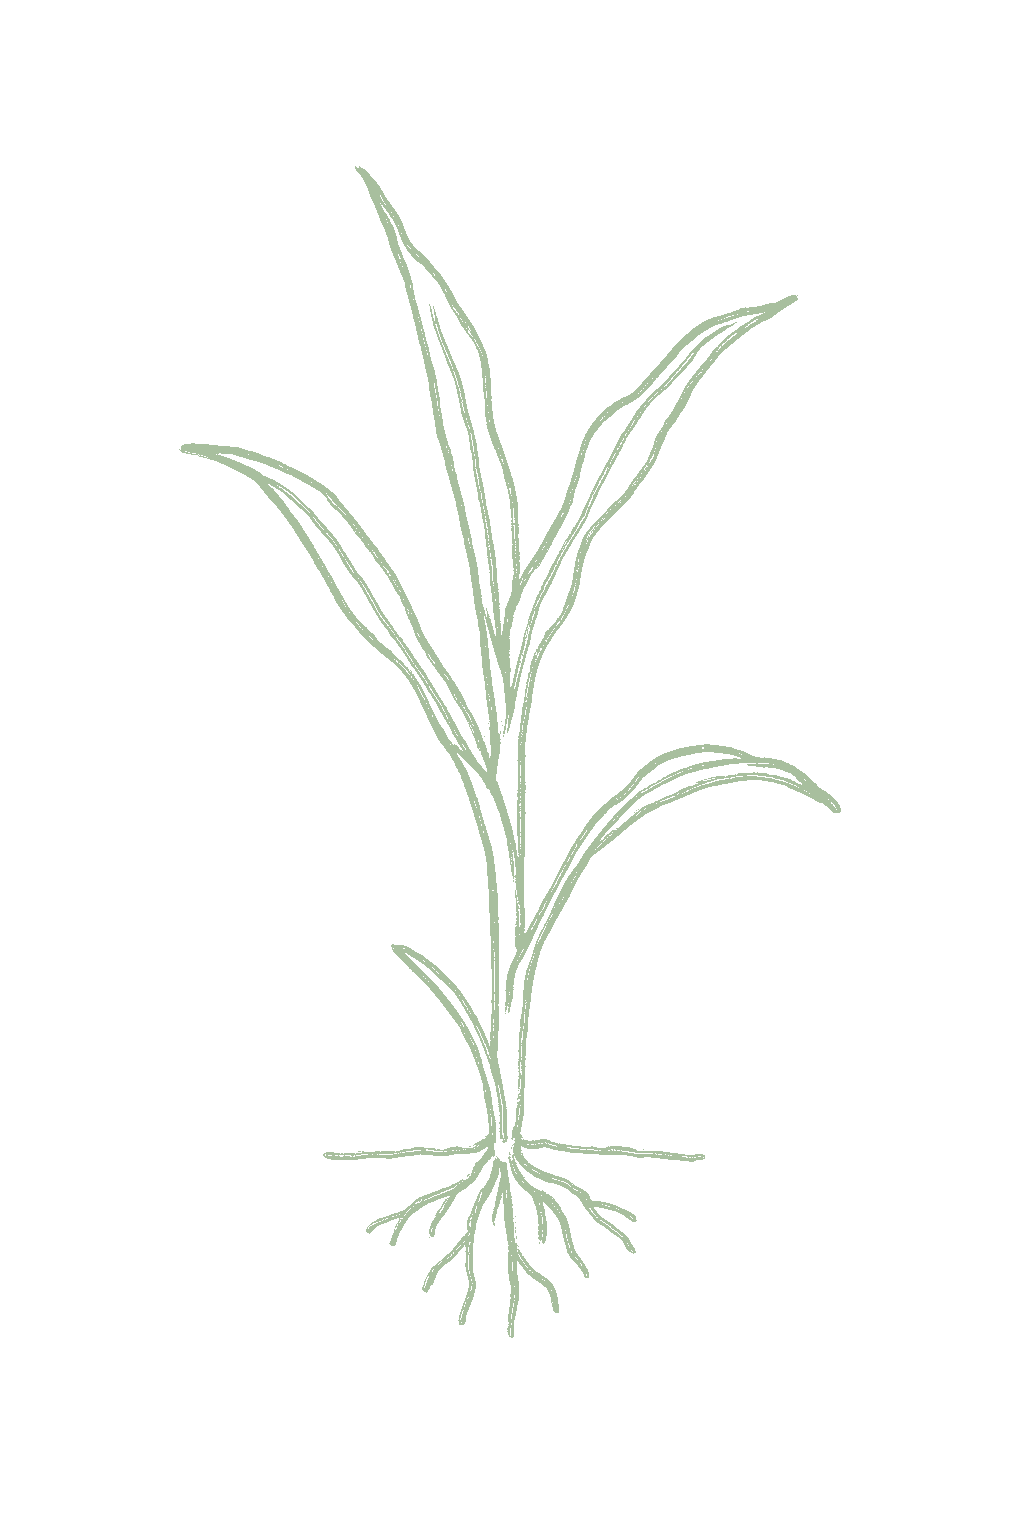
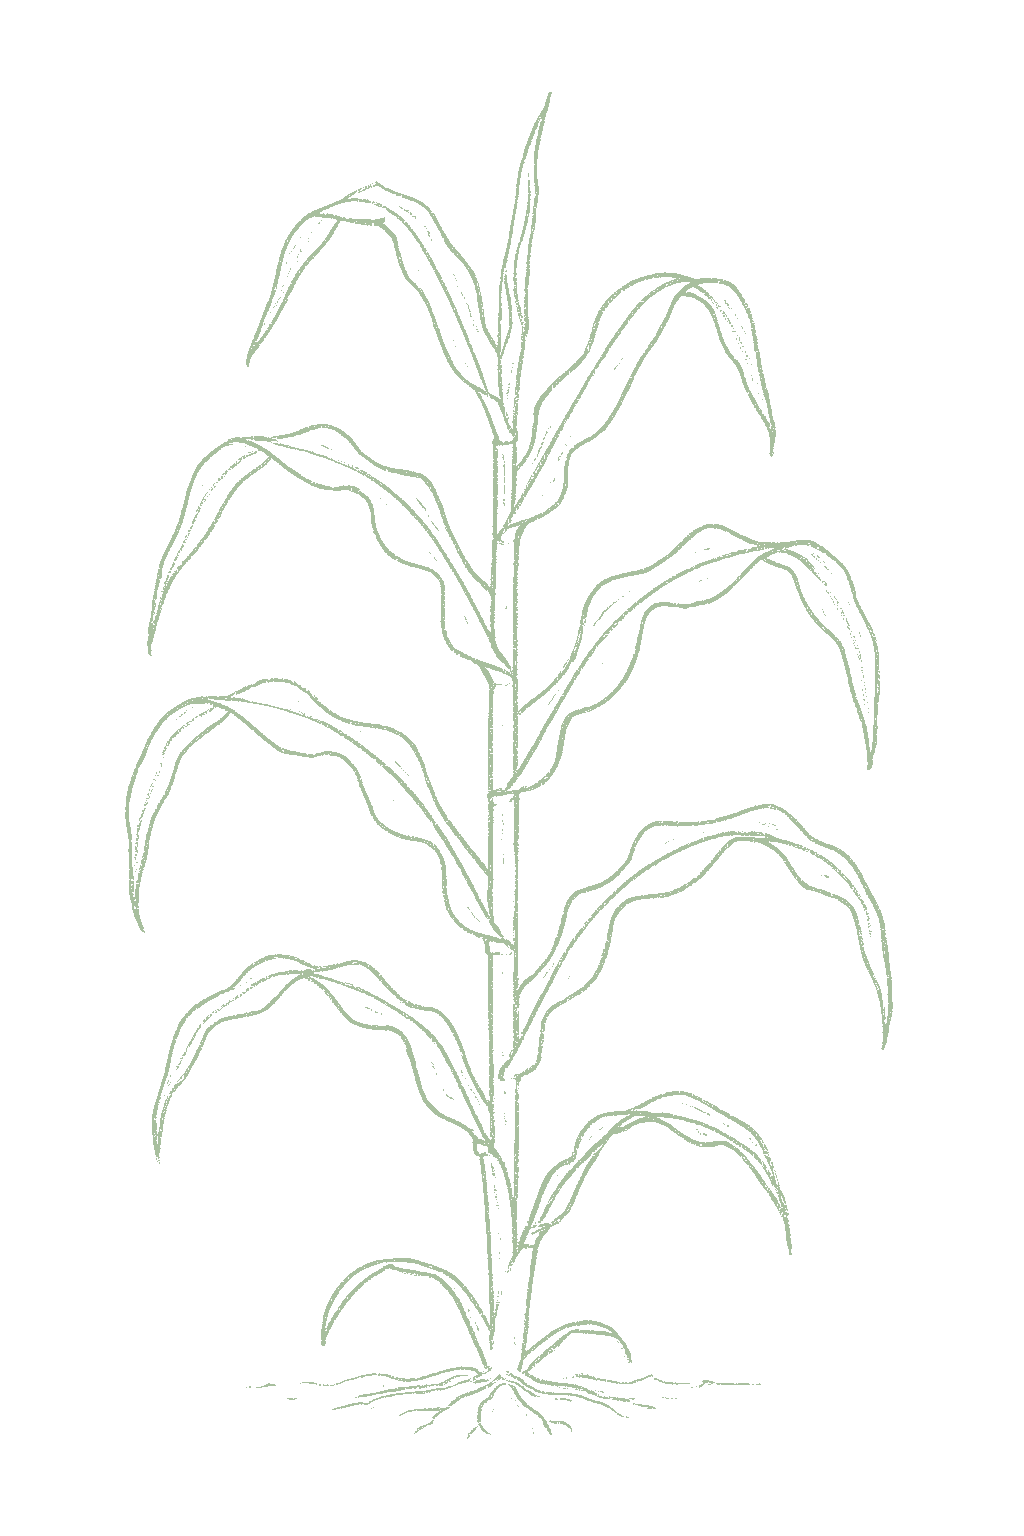
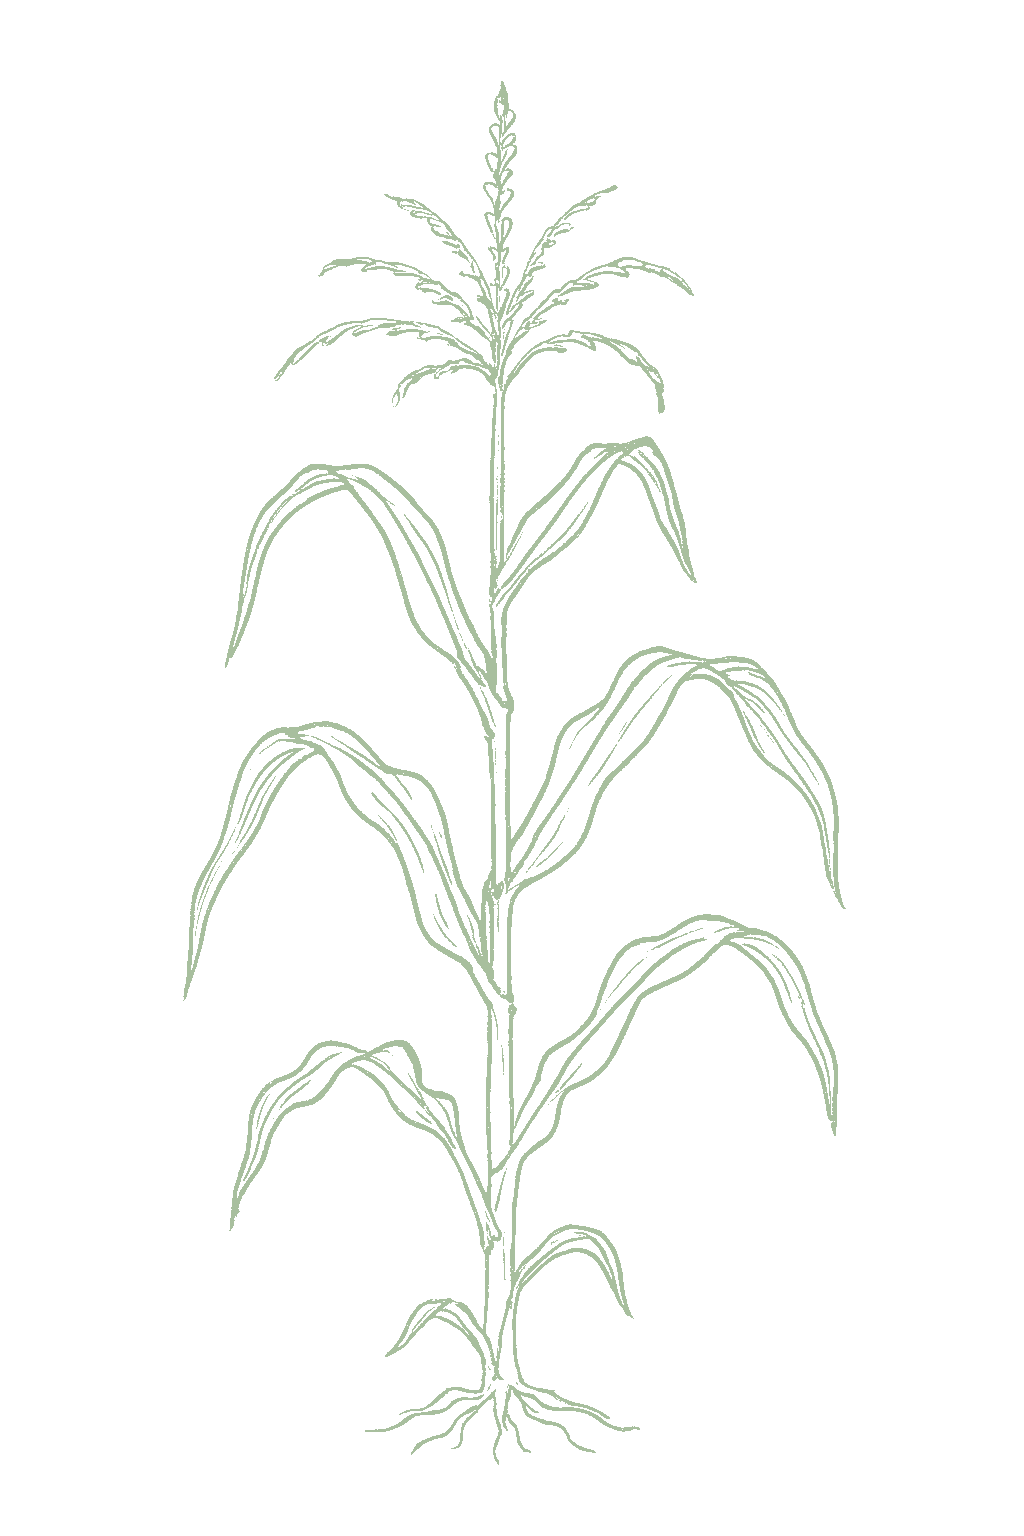
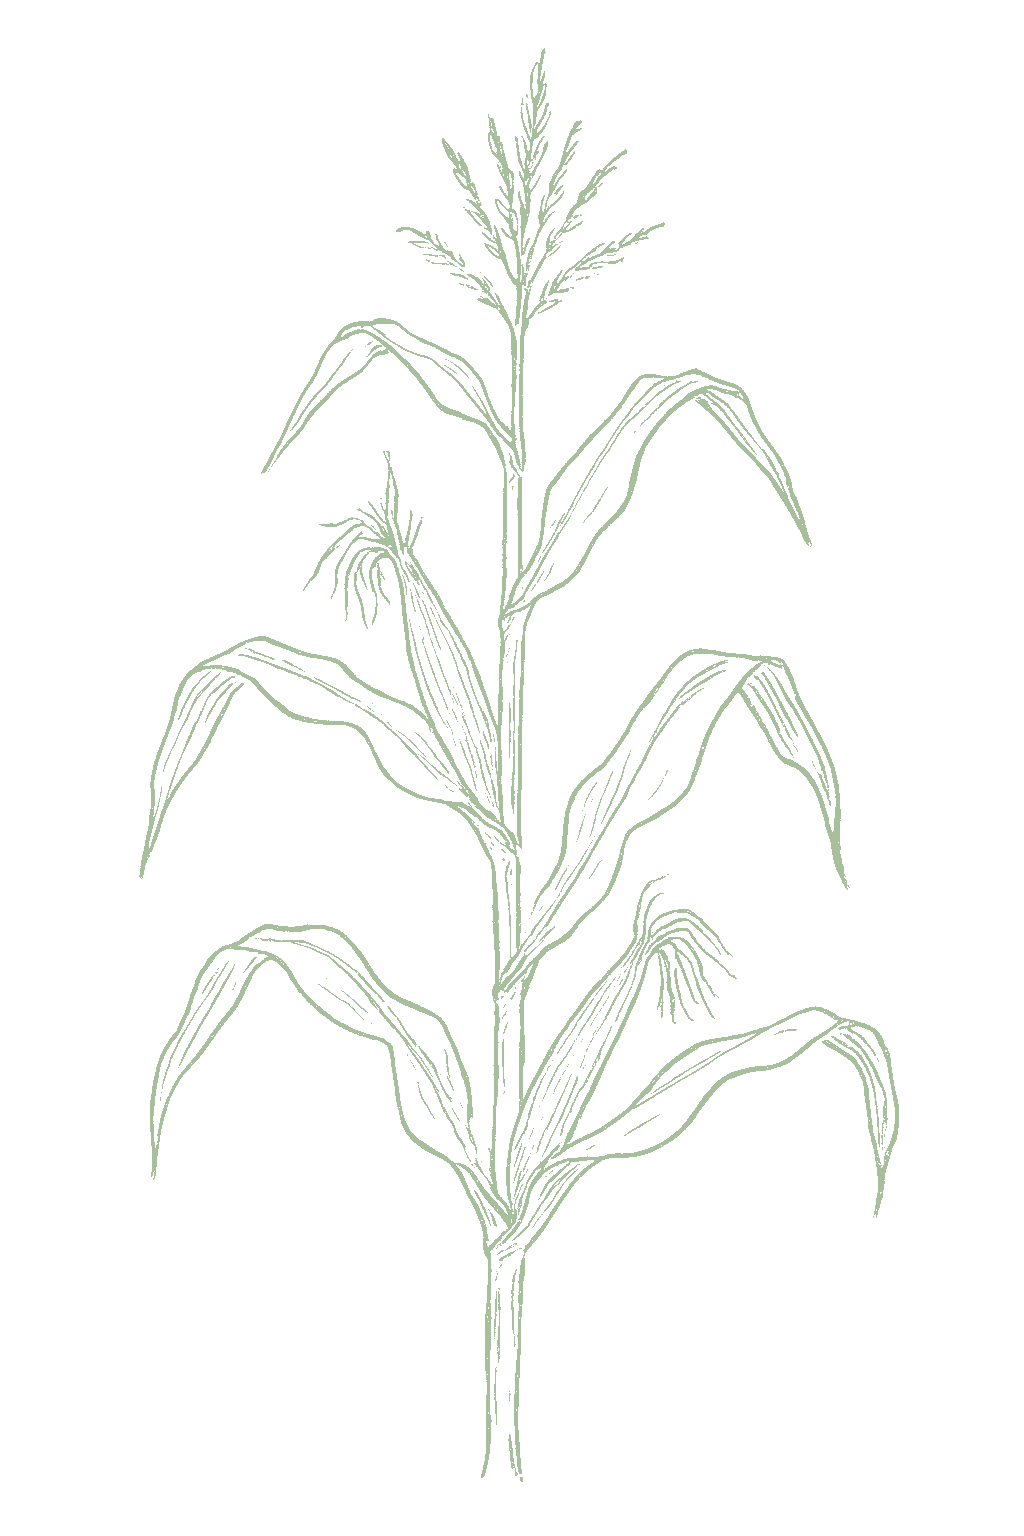
Flint corn is a tall grass grown not for fresh eating but for the hard, dry grain inside the ear. Its kernels have an especially hard, glassy shell, which is where the name flint comes from, and unlike dent corn they dry down smooth and rounded instead of forming a dimple. You let the ears ripen and dry on the stalk, then shell off the kernels to grind into cornmeal, polenta, or hominy, or you grow it just for its beautiful colors. Popular kinds include short-season, cold-hardy Painted Mountain, the Italian polenta corn Floriani Red Flint, the early Northwest polenta corn Cascade Ruby-Gold, and the rainbow-kerneled ornamental Glass Gem. Like all corn it is pollinated by wind, so you plant it in a square block of short rows, not a single line, so the tassels can dust the silks and fill the ears. One important warning: corn pollen drifts between types, so keep flint corn at least 300 feet from sweet corn and popcorn, or time your plantings so they tassel about two weeks apart, or the stray pollen will turn sweet corn starchy, keep popcorn from popping, and muddy your flint's colors. Flint corn (Zea mays var. indurata) is a tall, frost-tender warm-season grass grown to full maturity for its hard, glassy grain rather than picked green like sweet corn. Its kernels carry a hard, vitreous, flinty endosperm that dries down smooth and rounded, without the dimple of dent corn, and it stores and grinds well into cornmeal, polenta, and hominy, or is grown simply for its color. Representative types range from the short-season, cold-hardy Painted Mountain to the Italian polenta flint Floriani Red Flint, Carol Deppe's early Northwest polenta corn Cascade Ruby-Gold, and the ornamental rainbow-kerneled Glass Gem. It is wind-pollinated and block-planted, a heavy nitrogen feeder with the same critical moisture window at tasseling and silking as sweet corn. The isolation rule that matters: corn is wind-pollinated, so stray pollen crosses between types, turning sweet corn starchy, spoiling popcorn's pop, and muddying flint colors, so isolate by at least 300 feet or stagger tasseling by roughly two weeks.
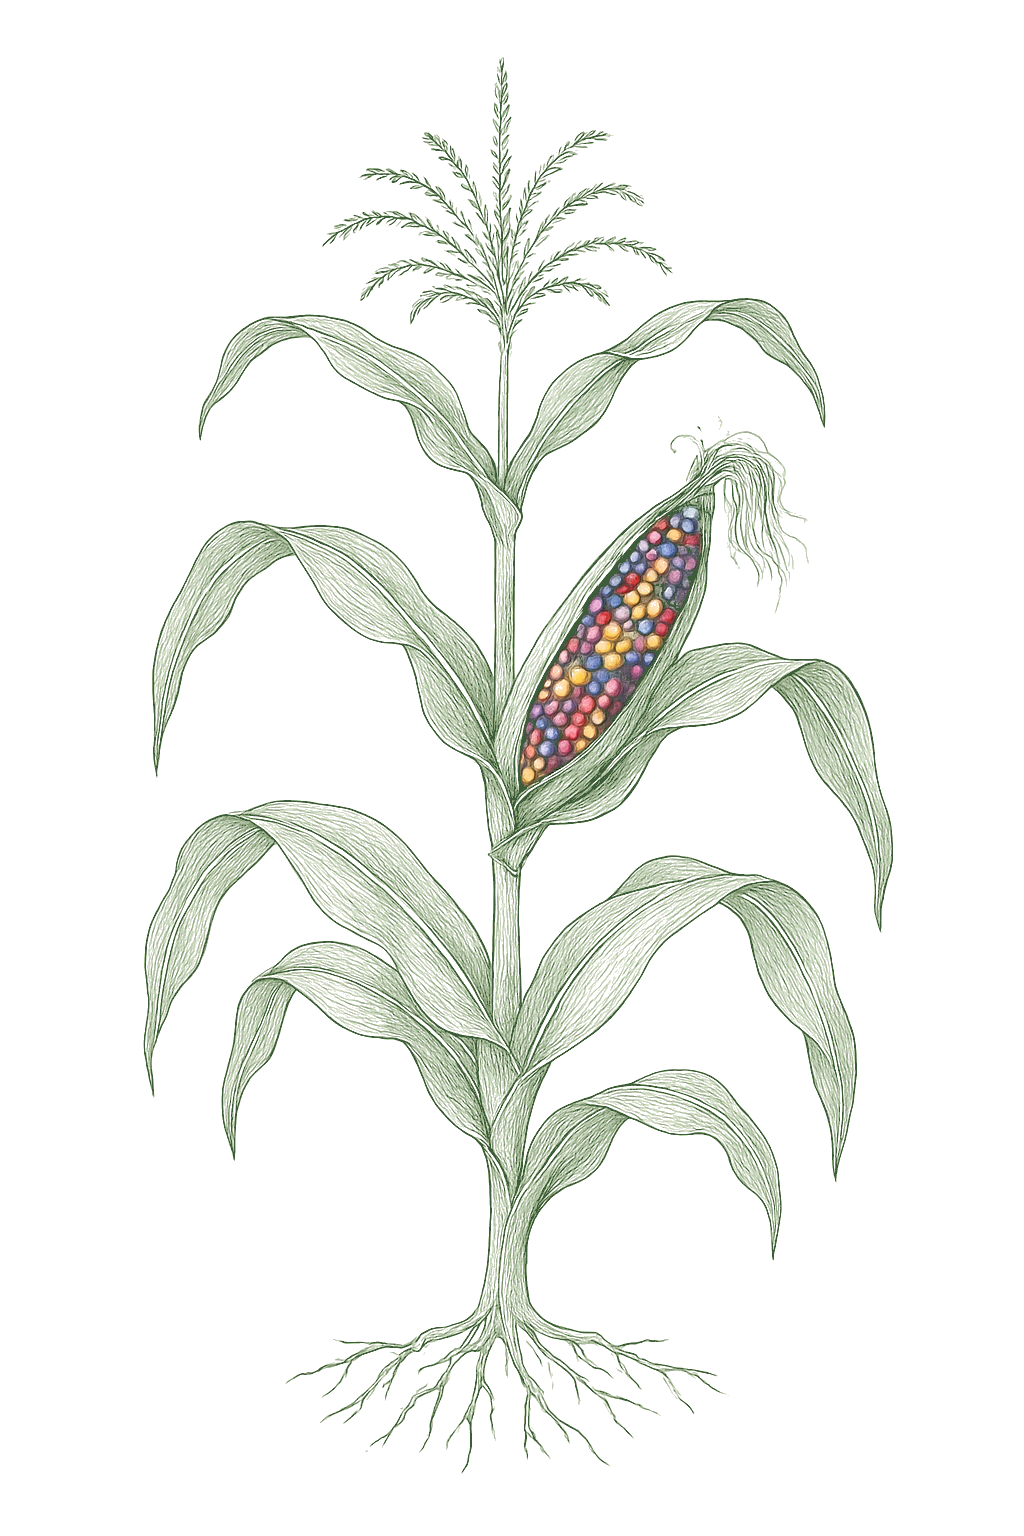
Off-season for flint corn in zone 9.
Zone 9 averages a last frost around March 1. Within Zone 9, the colder half (9a, winters down to 20°F) runs about a week later. The warmer half (9b, winters down to 25°F) runs about a week earlier. The plant app picks your subzone from your ZIP.
| Subzone | Last spring | First fall | Growing days | Winter min | Fruits reliably |
|---|---|---|---|---|---|
| 9a | Mar 8 | Nov 24 | ~261 | 20-25°F | Yes · two seasons |
| 9b | Feb 28 | Nov 30 | ~275 | 25-30°F | Yes · two seasons |
Averages from 8 weather stations per subzone, drawn from NOAA 1991-2020 Climate Normals. Your actual frost date can vary by up to two weeks based on elevation, proximity to water, and local topography.
In Zone 9, flint corn can be planted May through July. Harvest runs September through October.
In Zone 9, flint corn can be planted February, skipping the summer heat. Harvest runs May through May.
In Zone 9, flint corn can be planted February, skipping the summer heat. Harvest runs May through May.
In Zone 9, flint corn can be planted May through June. Harvest runs August through October.
In Zone 9, flint corn can be planted April through June. Harvest runs August through October.
In Zone 9, flint corn can be planted May through June. Harvest runs August through October.
In Zone 9, flint corn can be planted March through April. Harvest runs June through August.
In Zone 9, flint corn can be planted February through March. Harvest runs June through July.
In Zone 9, flint corn can be planted March through April. Harvest runs July through August.
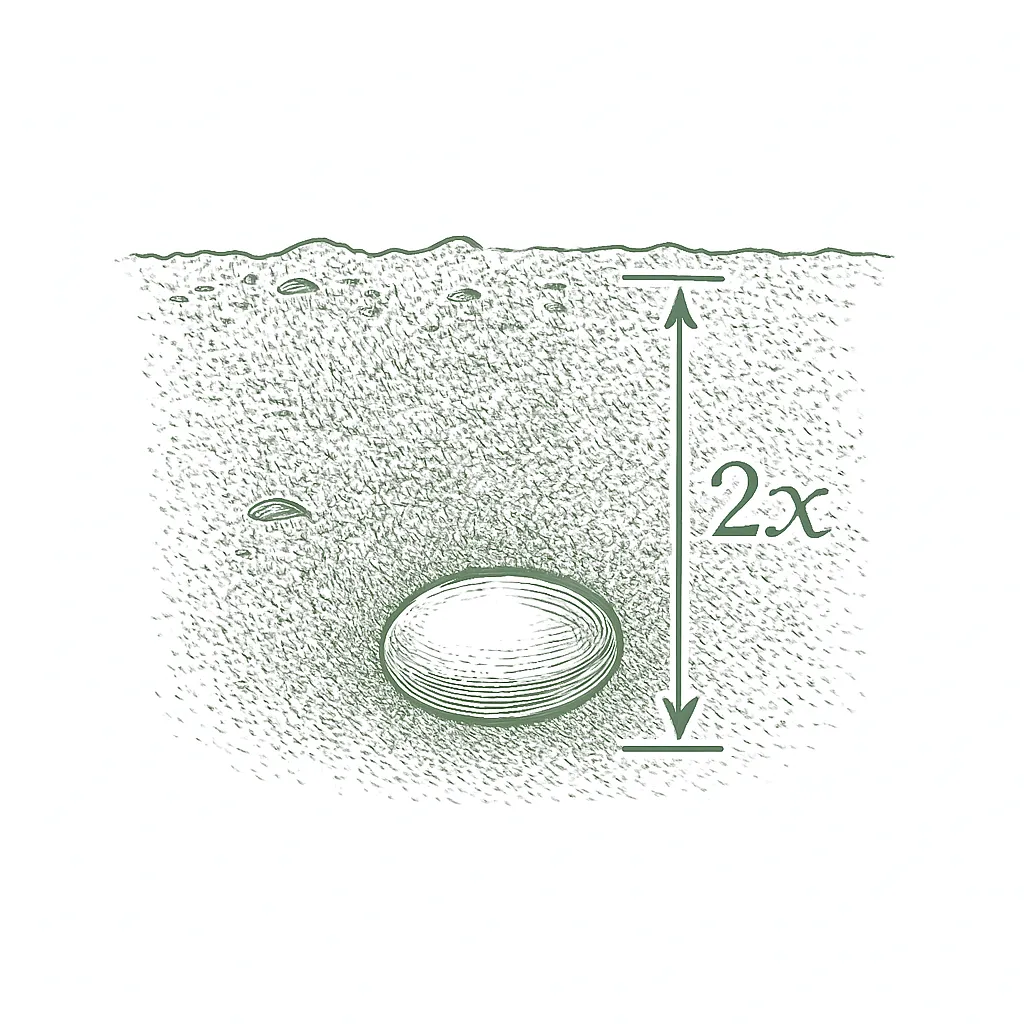
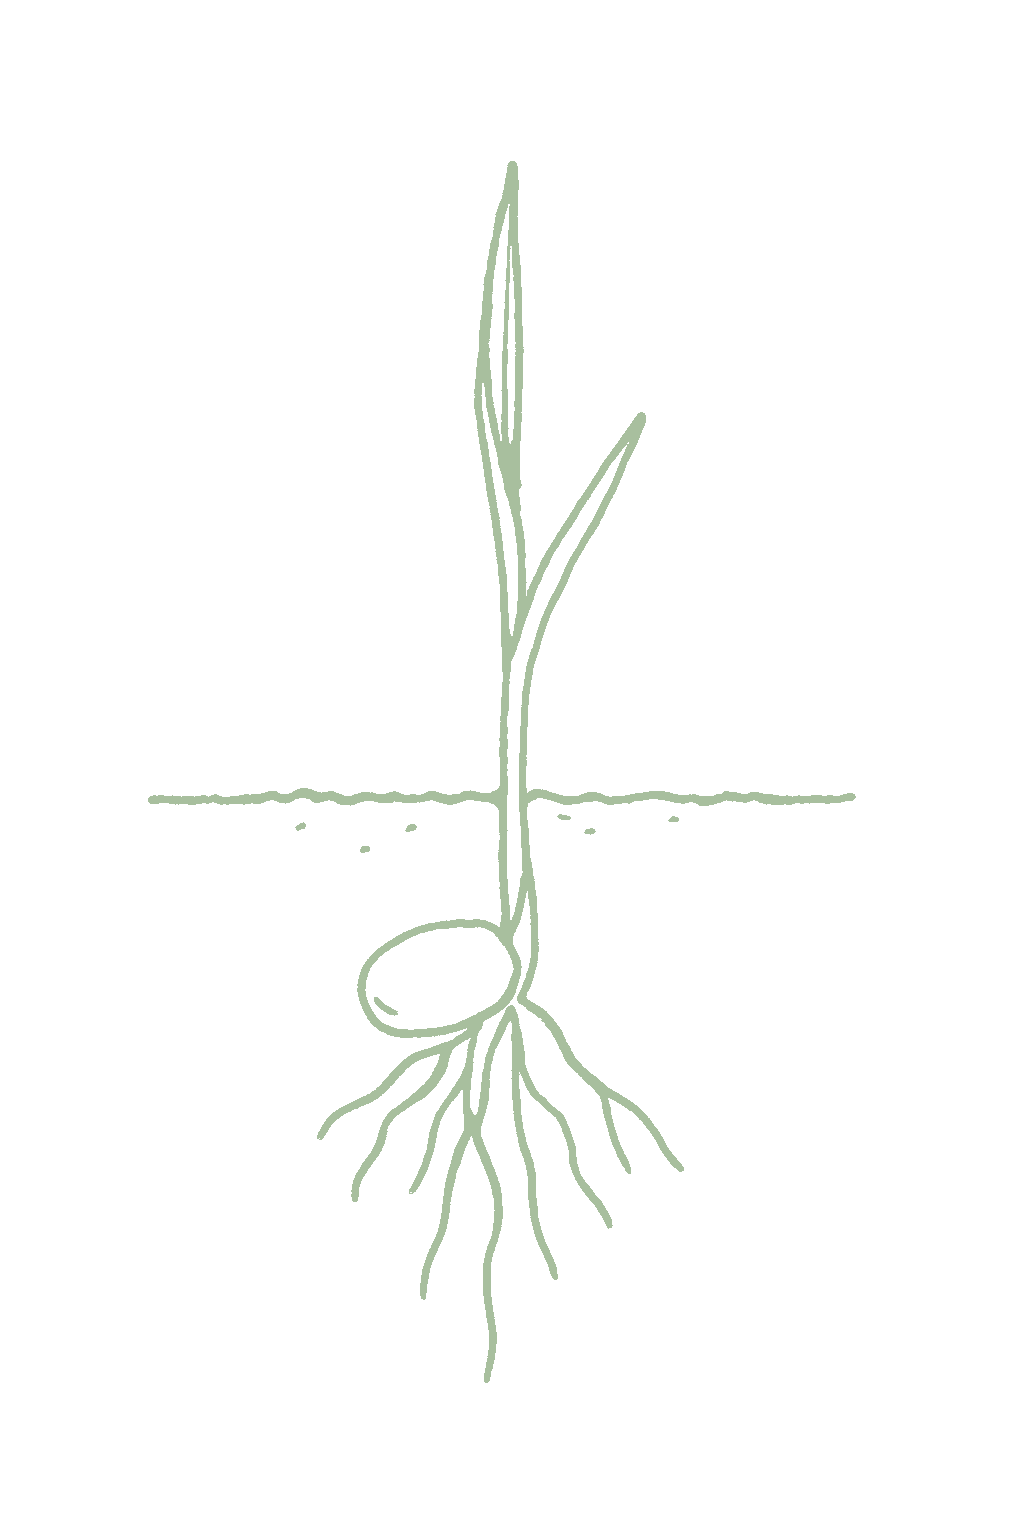
Plant corn seeds right where they will grow, once the soil has warmed to at least 60°F and frost is past. Corn does not like having its roots disturbed and comes up fast anyway, so there is little reason to start it indoors.Direct-sow into warm soil (at least 60°F) after the last spring frost. Corn resents root disturbance and germinates quickly in place, so transplanting offers little gain and risks setting plants back.
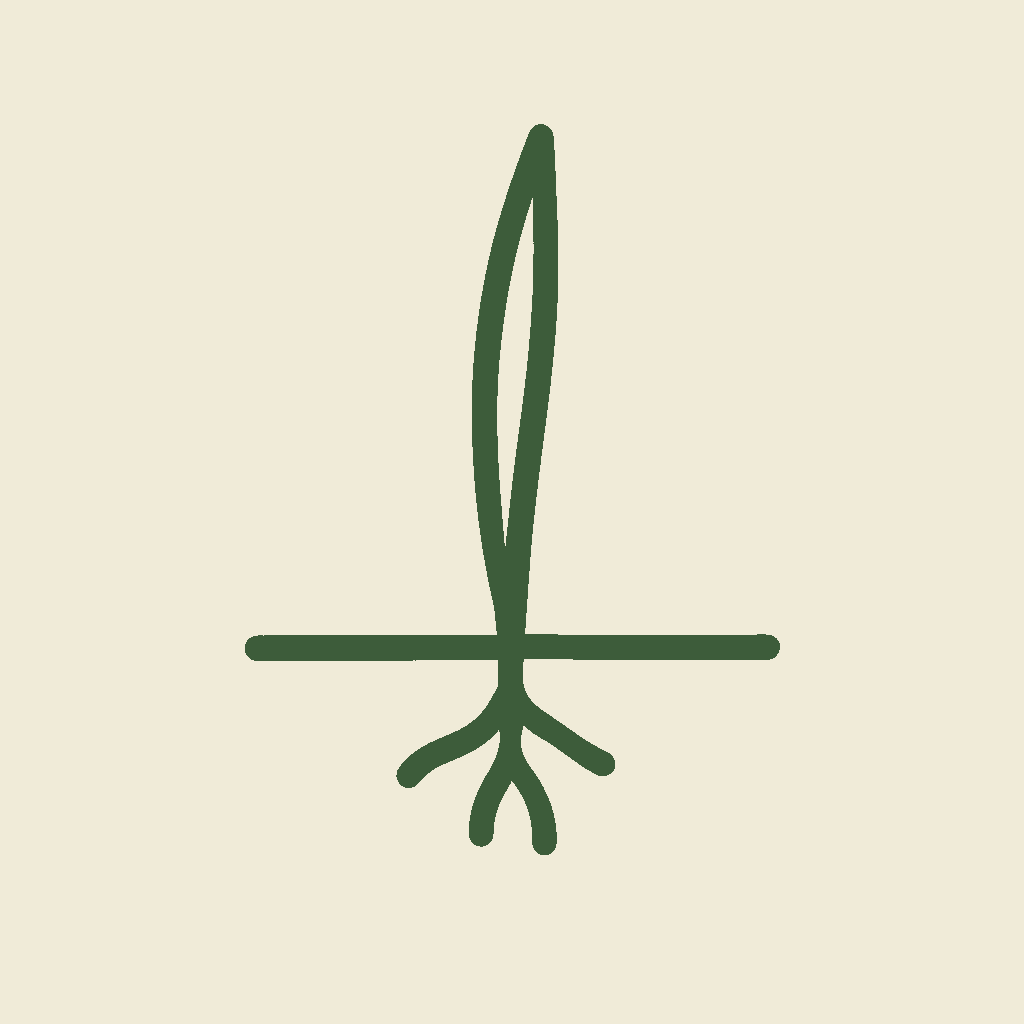


Not sure what soil you have? Grab a small handful of damp soil from your garden bed and squeeze it. If it crumbles apart easily, it's sandy. If it holds together but breaks when you poke it, it's loam (what most vegetables want). If it stays in a hard, slippery ball, it's clay.
Corn likes deep, rich, well-drained soil. If water pools on your bed after rain, work in compost and consider a raised bed so the roots never sit wet.
Mix 2-3 inches of compost into the top 6 inches of your bed before planting. Compost holds moisture (which sandy soil drains too fast) and adds the nutrients sandy soil tends to lack. Repeat each season. Compost breaks down over time.
Mix 2-3 inches of compost AND a few inches of coarse sand or perlite into the top 6 inches of your bed. The compost feeds the plants; the sand breaks up the clay so air and water can move through. Don't add sand without compost. It can compact like concrete.
If amending your soil sounds like too much work, or if your soil is heavy clay, full of rocks, or contaminated, build over it. A raised bed at least 12 inches deep filled with a 50/50 mix of compost and sandy loam gives you ideal growing soil with no battles. A 5-gallon container with quality potting mix does the same for one plant at a time. Both bypass your native soil entirely.
The numbers that matter, at a glance.
Flint corn is not suited to pots. It grows tall, feeds heavily, and must be planted in a block of several plants for wind pollination, so it belongs in a garden bed, not a container.Flint corn is a poor container crop: it is tall and hungry and depends on a block planting for wind pollination, none of which a single pot supports. Grow it in the ground.
Corn does best in soil that is slightly acidic to neutral, around a pH of 6.0 to 6.8. Most garden beds are already close; a soil test is the only way to know for sure and to catch soil that is too acidic.A soil pH of 6.0 to 6.8 suits flint corn. Lime an acidic bed to reach that range the season before, and confirm both pH and fertility with a soil test, since corn's heavy feeding rewards a well-limed, well-fed bed.
Corn is hungry, especially for nitrogen. Mix a balanced fertilizer into the soil at planting, then feed again when the plants are about knee-high and once more when the tassels appear at the top. Those are the times corn needs the most food. In sandy soil or after heavy rain, feed a little more often, since the nitrogen washes away.Corn is a heavy nitrogen feeder. Work a balanced starter into the bed at planting, then sidedress nitrogen twice: once when plants are knee-high and again as the tassels form, the two windows when demand peaks. Sandy soils and heavy rain leach nitrogen, so split the sidedressing further where that applies.
Corn wants plenty of nitrogen. Use a balanced fertilizer at planting, then feed nitrogen again as it grows.Nitrogen-forward feeding: a balanced starter, then nitrogen sidedressings at knee-high and tasseling.
Corn is the tall centerpiece of the classic Three Sisters planting with beans and squash. The beans feed the soil the corn is so hungry for, and the squash shades the ground below. Keep corn away from tomatoes, since the two share the same ear-and-fruit worm. Corn anchors the traditional Three Sisters trio: beans climb it and fix nitrogen for its heavy demand, and squash sprawls below as a living mulch. The main caution is tomatoes, which share the pest Helicoverpa zea (corn earworm / tomato fruitworm), so a shared planting can concentrate it.
Flint corn is ready to harvest when the whole ear has dried down on the stalk: the husks have turned brown and papery, the silks are long dead, and the kernels are hard, smooth, and glassy, not soft or milky. Press a thumbnail into a kernel and it should barely mark. Unlike sweet corn there is no rush, so in good weather you can leave the ears to dry further on the plant. Then pick them, pull back the husks, and finish drying them indoors before you shell off the kernels.Harvest at full physiological maturity and beyond, when the husks are brown and papery, the kernels are hard and glassy (flint kernels harden smooth, without denting), and a black layer has formed at the kernel base (about 30 to 35 percent kernel moisture at that point). For storage the grain needs to reach roughly 13 to 15 percent moisture, so leave sound ears to field-dry on the stalk in dry weather, or pick once the kernels are hard and finish drying them under cover. There is no narrow window as with milk-stage sweet corn.
Each plant gives about one or two ears of dry grain. A 10-foot row in your block yields roughly a dozen to two dozen dried ears, which comes to a few pounds of kernels once you shell them off the cobs for grinding.Each stalk yields one to two mature ears of dry grain. Home plantings are measured in ears rather than bushels: a 10-foot block row returns roughly a dozen to two dozen dried ears, which shell out to a few pounds of grain for grinding.
There is no rush like there is with sweet corn. The whole block dries down together in fall, you bring it in once, and the dry grain keeps for years, so you harvest it all at once instead of checking it every day.Unlike sweet corn there is no fleeting peak. The whole block matures and dries down together over a few weeks in fall, and the dry grain then keeps for years, so the harvest is a single event rather than a race against the milk stage. Flint corn is not hard to grow, but it needs room and time: a block of several rows and a long, warm season of 90 to 110 days to dry down. The payoff is an easy harvest with no daily checking, and dry grain that stores for years.Flint corn is easy to grow but demands space, a long season, and patience: it needs a block of several rows for pollination and a full 90 to 110 days to dry down. Its great advantage over sweet corn is a forgiving, one-shot harvest and grain that stores for years.
Pick a flint by how long your season is and what you want from it. Painted Mountain is the fast, tough choice for short or cold summers, ripening in about 85 days; Roy's Calais and Cascade Ruby-Gold are other early flints good for cornmeal and polenta, while the Italian Floriani Red Flint takes a bit longer, around 100 days. Glass Gem is grown mostly for its gorgeous rainbow kernels. Whatever you plant, keep flint corn away from sweet corn and popcorn so their pollen does not cross and spoil either crop.Flint corn choice turns on season length and use. For short or cold seasons, Painted Mountain (about 85 days) and other early flints like Roy's Calais or Carol Deppe's Cascade Ruby-Gold reach hard grain quickly; the Italian polenta flint Floriani Red Flint runs a bit longer at about 100 days. Ornamental flints like Glass Gem are grown chiefly for their color. Whichever you grow, keep it isolated from sweet corn and popcorn, and from other corn types, since stray pollen crosses the kernels and muddies flint colors.
The ladder troubleshoots from the gentlest solution to the strongest. Start with the gentlest option and only move on when and if it doesn't work.
Start at the seed packet. Varieties with long, tight husk cover make it harder for the young caterpillars to work their way down into the ear. It slows them rather than shutting them out, so treat it as a head start.Husk cover is the varietal lever: long, tight husks slow larvae moving down the silk channel toward the tip. It reduces entry rather than preventing it, so keep the later rungs available.
Bt is a naturally occurring bacterium sold as a spray that sickens young caterpillars once they eat it. It helps only if you put it on fresh silks, because that is where the eggs hatch and where the tiny caterpillars feed before they get down inside the ear.Bt is a labeled organic option for the exposed window on fresh silks. Once larvae are down the silk channel they are out of reach, which makes silk timing the whole of the decision.
Where earworm pressure is heavy, spinosad is the stronger organic spray, and like Bt it has to land on fresh silks to reach the caterpillars before they tunnel in.Spinosad is the other labeled organic material for silk-stage treatment, under the same timing constraint as Bt, since neither reaches larvae already feeding inside the ear.
The bottom rungs are products with label rules: timing, pollinators, and days to wait before harvest. Before you spray →
The ladder troubleshoots from the gentlest solution to the strongest. Start with the gentlest option and only move on when and if it doesn't work.
After harvest, chop the old cornstalks up and dig them into the bed. The caterpillars spend the winter inside those stalks, so working the residue in cuts down how many come back.Shred and incorporate stalk residue post-harvest. The overwintering stage sits inside old stalks, so destroying the residue is the main between-season lever.
Move the corn to a different part of the garden each year rather than replanting last year's patch.Rotating the planting away from last season's block backs up residue destruction; it is offered as a supporting step rather than a stand-alone one.
Scout the whorl, the tight cluster of new leaves at the center of each plant, on a routine. Rub out the egg patches and small caterpillars you find there before they get into the stalk.Whorl scouting with hand removal of egg masses and early instars covers the window that matters; after larvae enter the stalk or ear shank they are protected from anything applied to the outside.
A Bt spray, a bacterial product the caterpillars have to eat, reaches the borers while they are still feeding out in the open whorl. Once they are inside the stalk it will not get to them.Bt covers the same open-whorl window as handpicking and suits widespread whorl feeding; it has no reach on larvae already tunneled into stalk tissue.
The bottom rungs are products with label rules: timing, pollinators, and days to wait before harvest. Before you spray →
The ladder troubleshoots from the gentlest solution to the strongest. Start with the gentlest option and only move on when and if it doesn't work.
Set a cardboard or foil collar around each young stem, pushing it about an inch into the ground. Cutworms chew at the base, so the collar puts a wall between them and the plant.A cardboard or foil collar set an inch into the soil rings each seedling through establishment, the stage when stems are still soft enough to be severed at the base.
A flashlight after dark is the tool here: take the caterpillars off by hand, or scratch through the top inch of soil beside a plant that was cut overnight, where the culprit tends to lie curled up.Night collection plus digging just under the surface next to fresh damage works at low to moderate numbers; the larvae feed after dark and shelter shallowly by day.
No spray for this one. Prevention is the control.
The ladder troubleshoots from the gentlest solution to the strongest. Start with the gentlest option and only move on when and if it doesn't work.
Where Stewart's wilt occurs in your area, pick a variety described as tolerant of it. That does not stop the beetles chewing the leaves; it limits the disease they can pass along while they feed.Varietal tolerance here is aimed at Stewart's wilt, the bacterial disease the corn flea beetle vectors, not at the feeding injury itself. It is a seed-buying decision, made where the disease occurs locally.
Where beetles are thick on the seedlings, cover the young plants with lightweight row cover fabric. Take it off when the tassels form so the wind can carry pollen to the silks.Row cover over the seedling stage is the exclusion step under heavy pressure; it has to come off at tasseling because corn sets its ears by wind pollination.
Light feeding is usually something small plants grow past, so hold an organic spinosad spray back for the times seedlings are actually being set back.Spinosad is labeled if needed, but fine pitting on plants that are growing away from it does not call for a spray.
The bottom rungs are products with label rules: timing, pollinators, and days to wait before harvest. Before you spray →
The ladder troubleshoots from the gentlest solution to the strongest. Start with the gentlest option and only move on when and if it doesn't work.
You cannot spray for raccoons, so the job is keeping them out. Run a short two-wire electric fence around the patch, the wires low at roughly 4 and 8 inches off the ground, and switch it on as the ears get close to ready. Do it before the corn is ripe rather than after the first raid: once raccoons have found your corn they come back every night.Exclusion is the whole control here, since no spray applies. A two-wire electric fence at about 4 and 8 inches, energized before the ears reach the milk stage, is the most reliable home defense. Timing carries as much weight as the fence itself, because a barrier raised after the first raid is trying to break an established nightly route rather than prevent one.
No spray for this one. Prevention is the control.
The ladder troubleshoots from the gentlest solution to the strongest. Start with the gentlest option and only move on when and if it doesn't work.
If smut turns up year after year, look for a variety described as more tolerant of it when you buy seed.Varietal tolerance is the seed-buying lever where smut recurs in the same ground. It is tolerance rather than immunity, so keep the removal step running alongside it.
Move the corn to a different bed each year. The fungus can sit in the soil for years, so replanting the same spot keeps handing it another crop.Spores persist in soil for years, so rotating out of an infected bed is the standing cultural step; it lowers what is waiting there rather than clearing it.
Cut off the galls, the puffy silver-white growths, and bag them for the trash before they burst open. Keep them out of the compost, since the black powder inside is spores headed for your soil.Excise and bag galls while they are still silvery and intact; once one ruptures the teliospores are already loose. Trash rather than compost.
No spray for this one. Prevention is the control.
The ladder troubleshoots from the gentlest solution to the strongest. Start with the gentlest option and only move on when and if it doesn't work.
Rust-resistant varieties are easy to find, so start there when you buy seed.Resistant hybrids are widely available and carry most of the load. The pathogen blows in on wind currents rather than overwintering in most northern gardens, so there is little local carryover to manage.
Plant early in your window so the corn is nearly done before rust gets bad late in summer, which is this crop's guidance alongside the rust-resistant variety this ladder starts with. The one limit is the soil itself, since corn seed rots in cold, wet ground; this method's cautions carry the soil temperatures to wait for.An early planting takes the crop through silking and grain fill before rust builds late in the season, which is this crop's guidance and why the rung sits beside the resistant hybrid at the front of the ladder: both are settled before anything is in the ground. The floor is the seedbed, because corn seed sown into cold, wet soil rots rather than emerges, and this method's cautions carry the temperatures that set it.
Water at the soil line instead of over the top of the plants where you can. Rust takes hold in cool, damp conditions, so leaving less water sitting on the leaves helps.Skip overhead irrigation where practical. Infection favors cool, moist, humid weather, and base watering keeps leaf wetness periods shorter.
Take the worst of the lower leaves off to slow the spread and let more air through the plant. Most home patches live with some rust and no spray at all.Removing the most heavily pustuled lower leaves slows spread and opens the canopy; a labeled fungicide is rarely warranted at garden scale, where tolerating the infection is the usual outcome.
No spray for this one. Prevention is the control.
The ladder troubleshoots from the gentlest solution to the strongest. Start with the gentlest option and only move on when and if it doesn't work.
Resistant or tolerant varieties are the main defense here, so choose them at seed-buying time if this disease shows up where you garden.Hybrid resistance is the primary control. Nothing is curative once the bacterium is in the plant, so the decision is made at seed purchase.
There is no cure for a plant that is already infected. Pull badly affected seedlings and get rid of them rather than waiting to see whether they come back.Rogue and destroy severely affected seedlings. Infected plants do not recover, and management shifts to the vector rather than the bacterium.
Covering young plants with row cover keeps corn flea beetles, the insects that carry this bacterium from plant to plant, off the seedlings during the stage when infection does the most harm. Take the cover off at tasseling so the corn can pollinate.Row cover over seedlings breaks the transmission cycle by excluding the corn flea beetle vector through the most damaging infection window; it comes off at tasseling for wind pollination.
No spray for this one. Prevention is the control.
Move your corn to a new spot each year, on about a two-to-three-year cycle. Planting it where beans or peas grew the year before gives it the extra nitrogen it wants.Rotate corn on a two-to-three-year cycle and place it after a nitrogen-fixing legume where you can, since corn is a heavy nitrogen feeder.
The plant app sends a timely reminder at every critical moment of your flint corn season. The wording adjusts to whichever you pick: beginner or seasoned. Here are three you'll see in Zone 9.
plant sends the right notification at exactly the right moment, for your zone, your weather, your crops. Founding members lock the rate forever.
We're building this guide with real growers. Got a question we missed? Ask here. We read every one and add the best answers right to this page.
Learned something the hard way? Pass it on. Real growers' tips make this guide better for the next person, and we credit you by name when yours goes live.
If you've grown this crop and you see a date, a temperature, a companion claim, or a recommendation that doesn't match your experience, tell us. Real growers' corrections make this guide better for the next person.
Every date, temperature, spacing, and recommendation on this page is sourced from university cooperative extension publications, peer-reviewed agricultural research, NOAA climate data, and direct extension calendars. Where claims are softer (traditional gardening wisdom not formally documented), we say so.
Spot a data point that doesn't match your experience? Submit a correction; accepted corrections earn full author credit on the page.
Zone-aware seasonal nudges, what's worth planting now, and the occasional recipe from the harvest. No spam, ever.