Today · in your zone
What's happening right now
Off-season for heirloom tomato in zone 9.
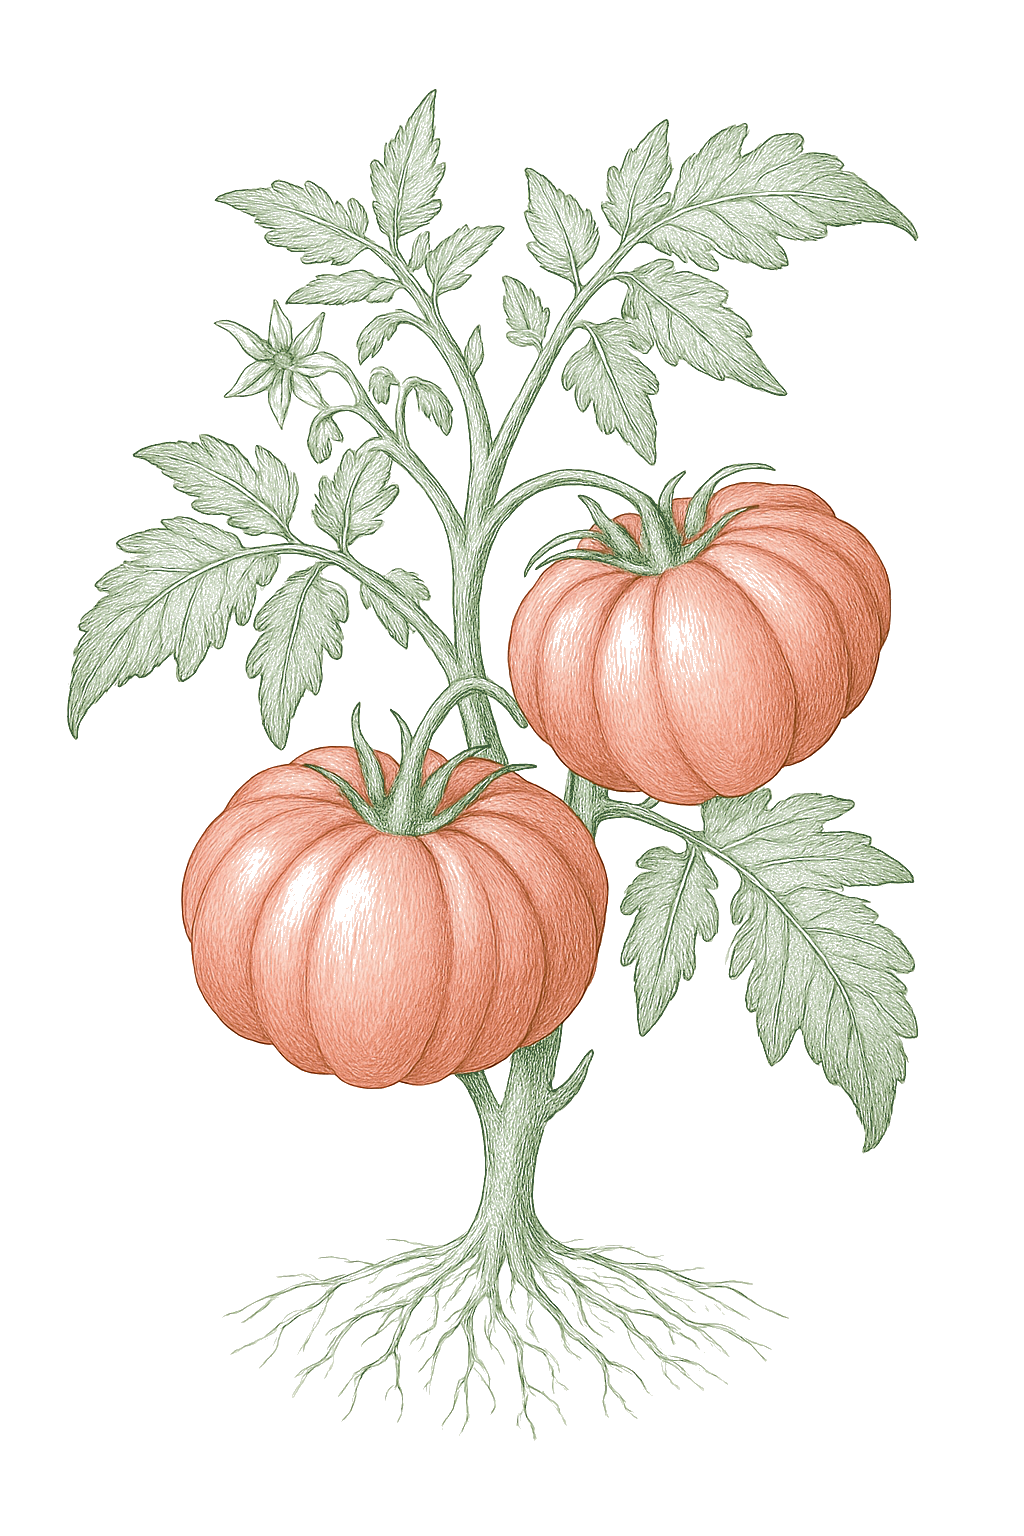
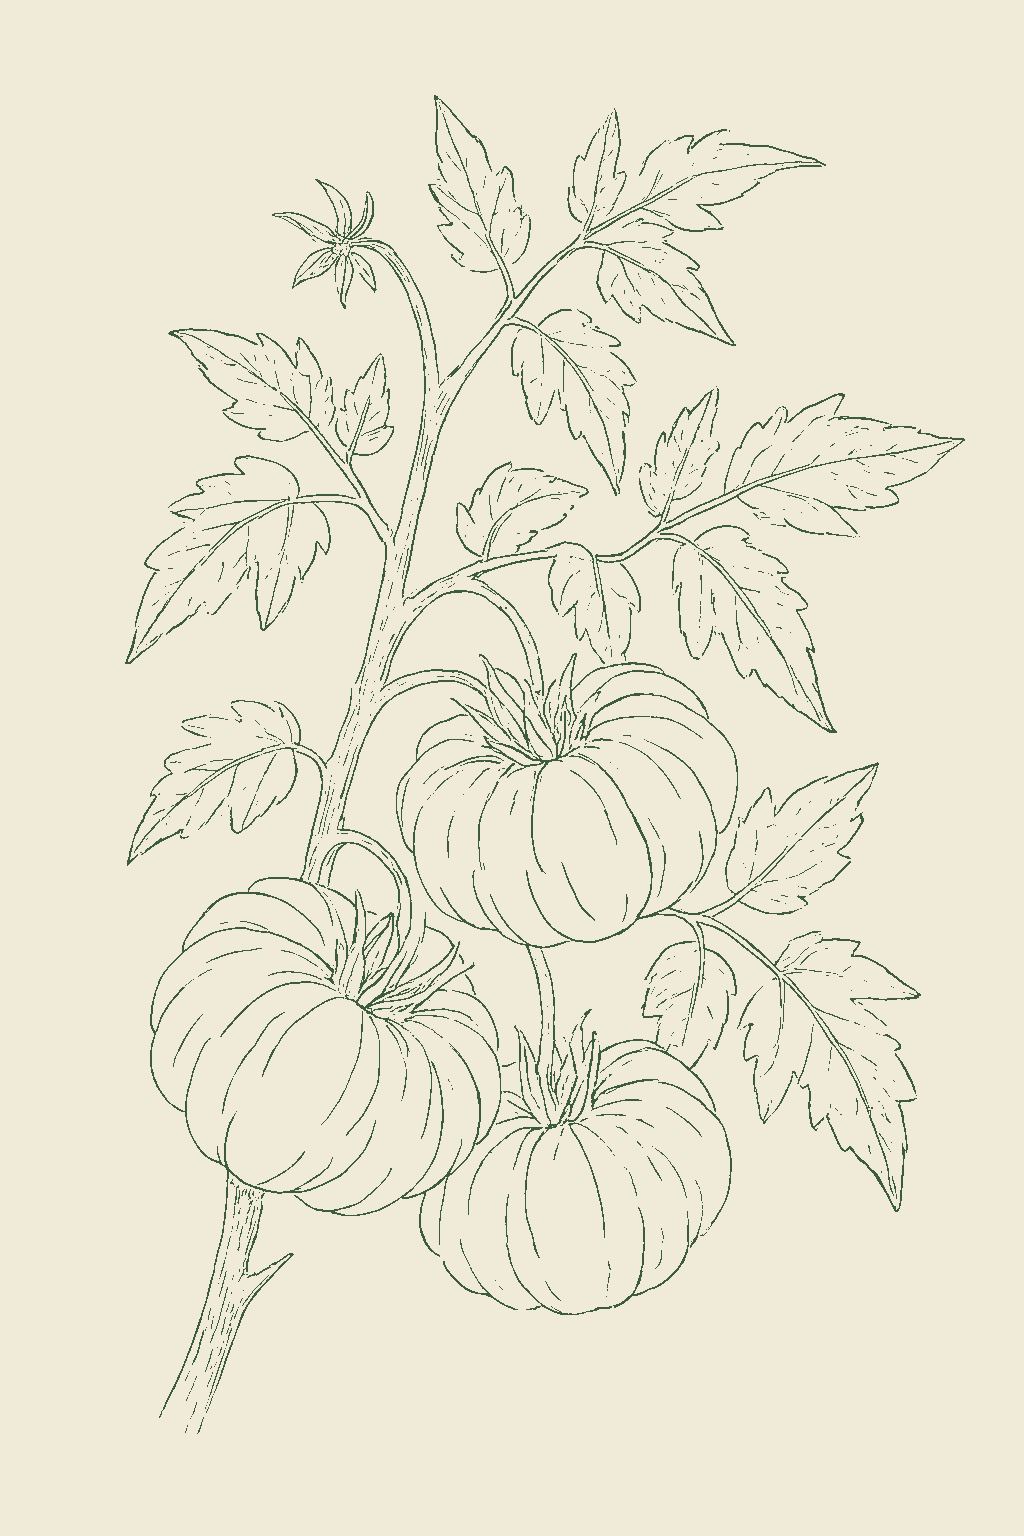
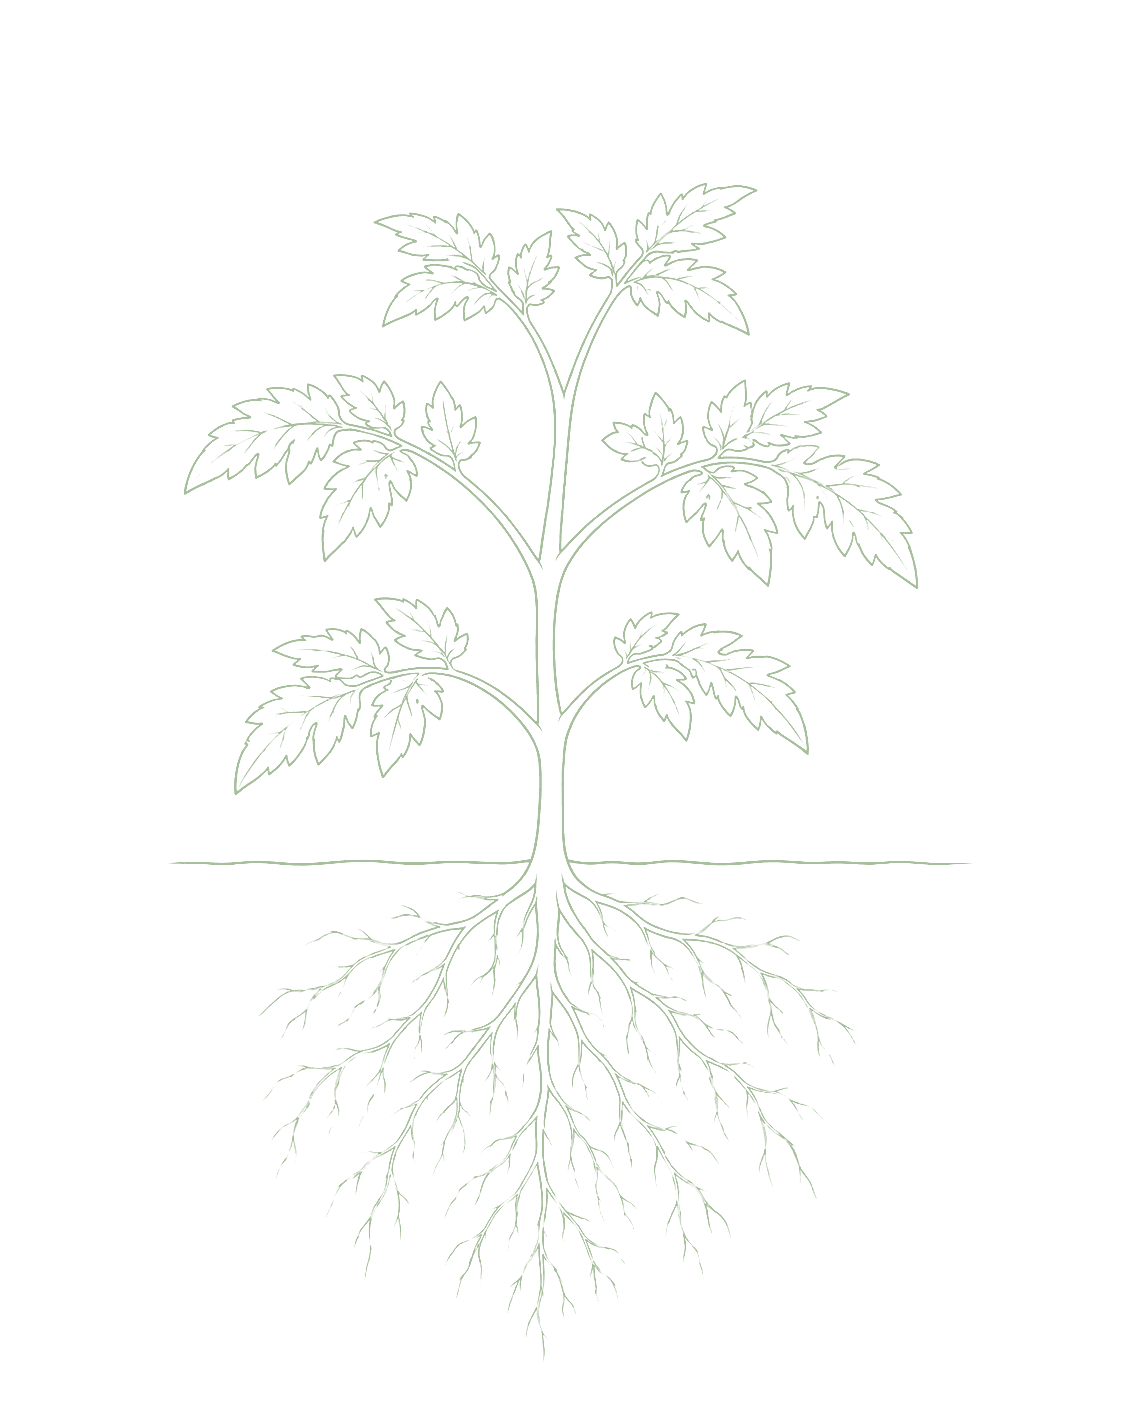
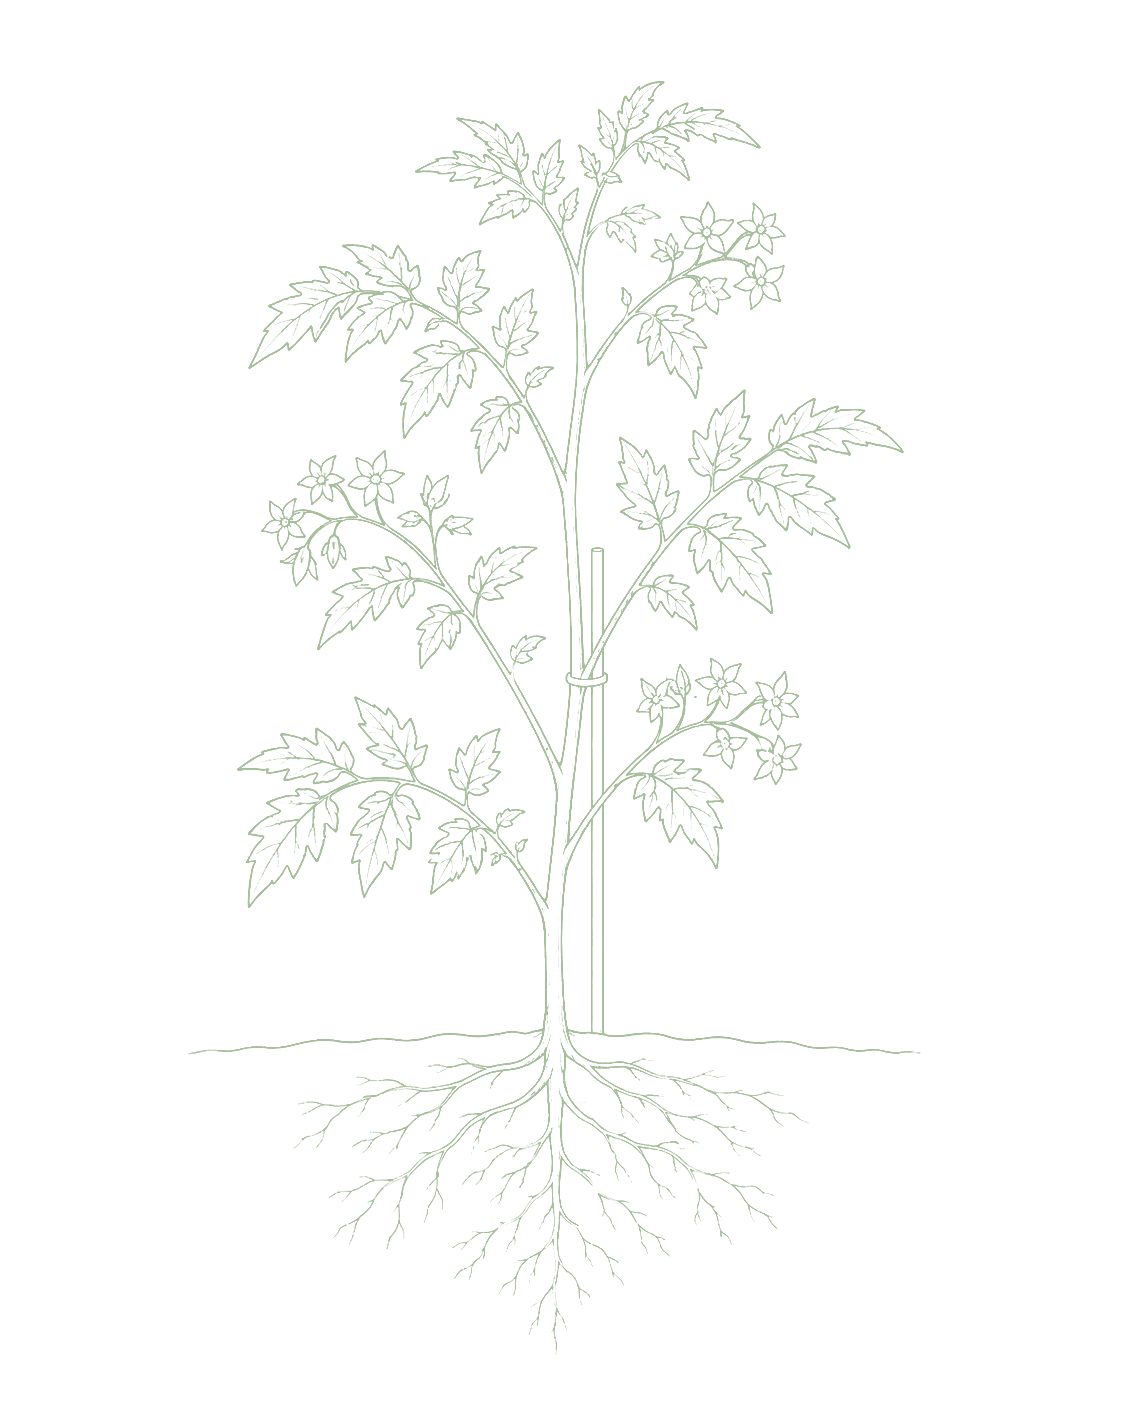
Heirloom tomatoes are open-pollinated varieties, which means you can save their seed and grow the same tomato again next year (hybrid tomatoes do not do this; their saved seed comes up as a mix). They come in an amazing range of colors, shapes, and sizes: deep purple-brown Cherokee Purple and Black Krim, green-striped Green Zebra, huge pink Brandywine and Mortgage Lifter slicers, and slender paste types like San Marzano. Most heirlooms are indeterminate, meaning the plant keeps growing and setting new fruit until frost, so it needs a strong cage or stake from the start; plan for a plant 5 to 6 feet tall or more. The main catch is that heirlooms usually do not have the built-in disease resistance that modern hybrids are bred for, so they are more likely to run into wilt diseases, leaf blights, and cracked fruit. You keep ahead of that with good spacing and airflow, watering at the base, moving your tomatoes to a fresh spot each year, and steady, even watering. The flavor is why people grow them: many gardeners think heirlooms are the best-tasting tomatoes there are. Open-pollinated, mostly indeterminate tomatoes grown for flavor and diversity. The defining trait of an heirloom is that it is open-pollinated: it breeds true from saved seed, so a Brandywine grown from last year's seed comes back as Brandywine, unlike an F1 hybrid whose saved seed segregates into a mix of the parent traits. Heirlooms span an enormous range of size, color, and shape, from the dusky Cherokee Purple and Black Krim, to the green-when-ripe Green Zebra, to two-pound pink Brandywine and Hillbilly slicers, to open-pollinated paste types like San Marzano and Amish Paste. Most classic heirlooms are indeterminate: the vine keeps extending and setting fruit until frost, so it needs strong staking or caging and benefits from pruning to one or two main stems. Days to maturity vary widely by variety, roughly 70 to 90 days from transplant. The main tradeoff is disease: heirlooms generally lack the Verticillium, Fusarium, and nematode resistance (the VFN codes) bred into modern hybrids, so they are more prone to the soilborne wilts, to early and late blight and Septoria leaf spot, and to fruit cracking, and they reward attentive rotation, sanitation, and even watering. Like all tomatoes they need a long frost-free window and set fruit poorly once day temperatures pass the upper 80s°F or nights stay above about 70°F.
Off-season for heirloom tomato in zone 9.
Zone 9 averages a last frost around March 1. Within Zone 9, the colder half (9a, winters down to 20°F) runs about a week later. The warmer half (9b, winters down to 25°F) runs about a week earlier. The plant app picks your subzone from your ZIP.
| Subzone | Last spring | First fall | Growing days | Winter min | Fruits reliably |
|---|---|---|---|---|---|
| 9a | Mar 8 | Nov 24 | ~261 | 20-25°F | Yes · two seasons |
| 9b | Feb 28 | Nov 30 | ~275 | 25-30°F | Yes · two seasons |
Averages from 8 weather stations per subzone, drawn from NOAA 1991-2020 Climate Normals. Your actual frost date can vary by up to two weeks based on elevation, proximity to water, and local topography.
In Zone 9, heirloom tomato can be planted April through May. Start indoors Feb 18 - Mar 4. Harvest runs July through December.
In Zone 9, heirloom tomato can be planted February through March, then again September, skipping the summer heat. Start indoors Dec 28 - Jan 18. Harvest runs May through June.
You only need to plant heirloom tomatoes once; the same plant will keep producing fruit all summer until frost kills it. No need to replant partway through the season. If you live in a very warm climate (think Southern California, Phoenix, or South Florida, Zone 9 or warmer,), you can start a second planting in late summer for a fall and winter harvest.Not a true succession crop; one indeterminate plant produces all season until frost. A second planting started mid-season in most zones would be killed by frost before its 75-100 day maturity window closes. In zones 9-11 a late-summer planting (July-August) is viable as a separate fall crop, not a succession.
In Zone 9, heirloom tomato can be planted September, then again December through March, skipping the summer heat. Start indoors Oct 20 - Feb 1. Harvest runs February through June.
You only need to plant heirloom tomatoes once; the same plant will keep producing fruit all summer until frost kills it. No need to replant partway through the season. If you live in a very warm climate (think Southern California, Phoenix, or South Florida, Zone 9 or warmer,), you can start a second planting in late summer for a fall and winter harvest.Not a true succession crop; one indeterminate plant produces all season until frost. A second planting started mid-season in most zones would be killed by frost before its 75-100 day maturity window closes. In zones 9-11 a late-summer planting (July-August) is viable as a separate fall crop, not a succession.
In Zone 9, heirloom tomato can be planted May. Start indoors Mar 20 - Apr 3. Harvest runs August through October.
In Zone 9, heirloom tomato can be planted April through July. Start indoors Feb 18 - Jun 3. Harvest runs July through December.
In Zone 9, heirloom tomato can be planted May through June. Start indoors Mar 6 - May 5. Harvest runs July through November.
In Zone 9, heirloom tomato can be planted March, skipping the summer heat. Start indoors Feb 1 - Feb 15. Harvest runs June through June.
In Zone 9, heirloom tomato can be planted February through March, then again September through October, skipping the summer heat. Start indoors Dec 20 - Jan 23. Harvest runs April through June.
You only need to plant heirloom tomatoes once; the same plant will keep producing fruit all summer until frost kills it. No need to replant partway through the season. If you live in a very warm climate (think Southern California, Phoenix, or South Florida, Zone 9 or warmer,), you can start a second planting in late summer for a fall and winter harvest.Not a true succession crop; one indeterminate plant produces all season until frost. A second planting started mid-season in most zones would be killed by frost before its 75-100 day maturity window closes. In zones 9-11 a late-summer planting (July-August) is viable as a separate fall crop, not a succession.
In Zone 9, heirloom tomato can be planted March, then again July through August, skipping the summer heat. Start indoors Jan 21 - Feb 4. Harvest runs June through June.
You only need to plant heirloom tomatoes once; the same plant will keep producing fruit all summer until frost kills it. No need to replant partway through the season. If you live in a very warm climate (think Southern California, Phoenix, or South Florida, Zone 9 or warmer,), you can start a second planting in late summer for a fall and winter harvest.Not a true succession crop; one indeterminate plant produces all season until frost. A second planting started mid-season in most zones would be killed by frost before its 75-100 day maturity window closes. In zones 9-11 a late-summer planting (July-August) is viable as a separate fall crop, not a succession.
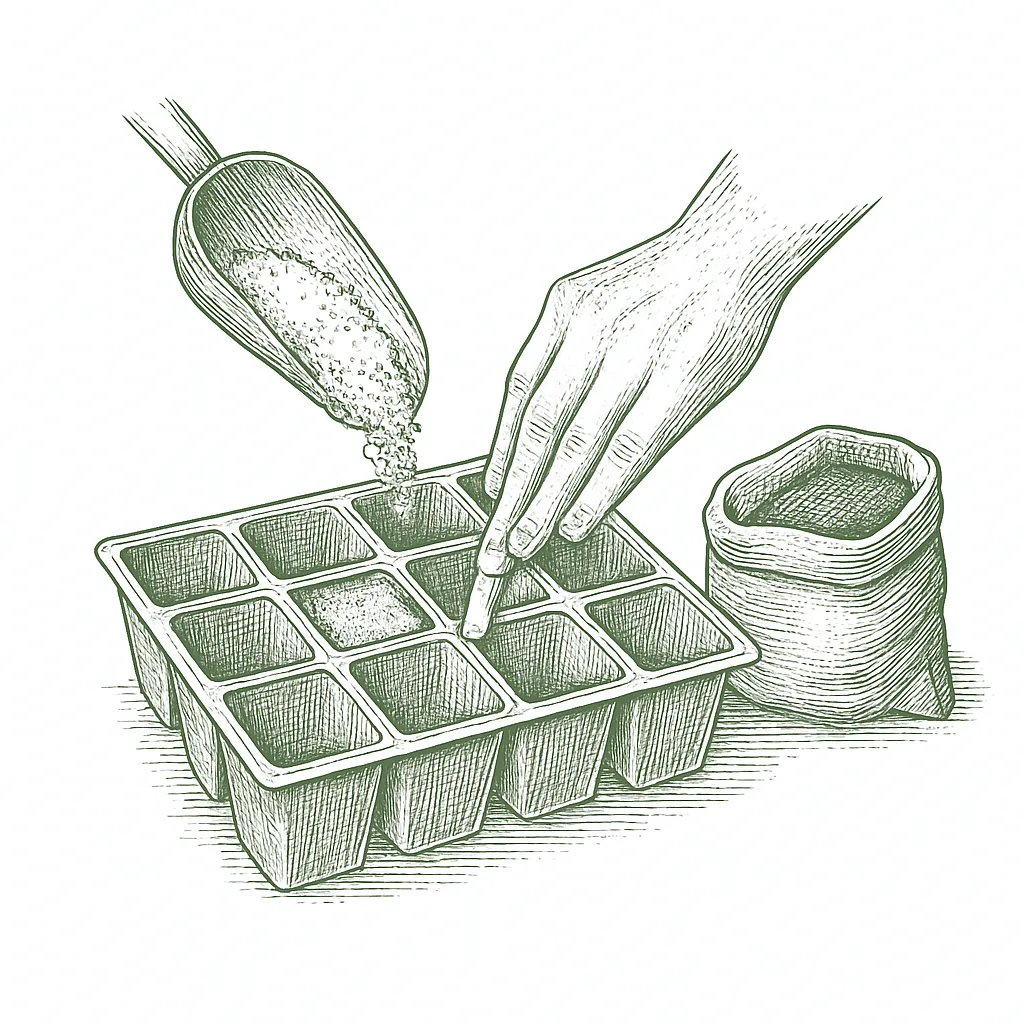
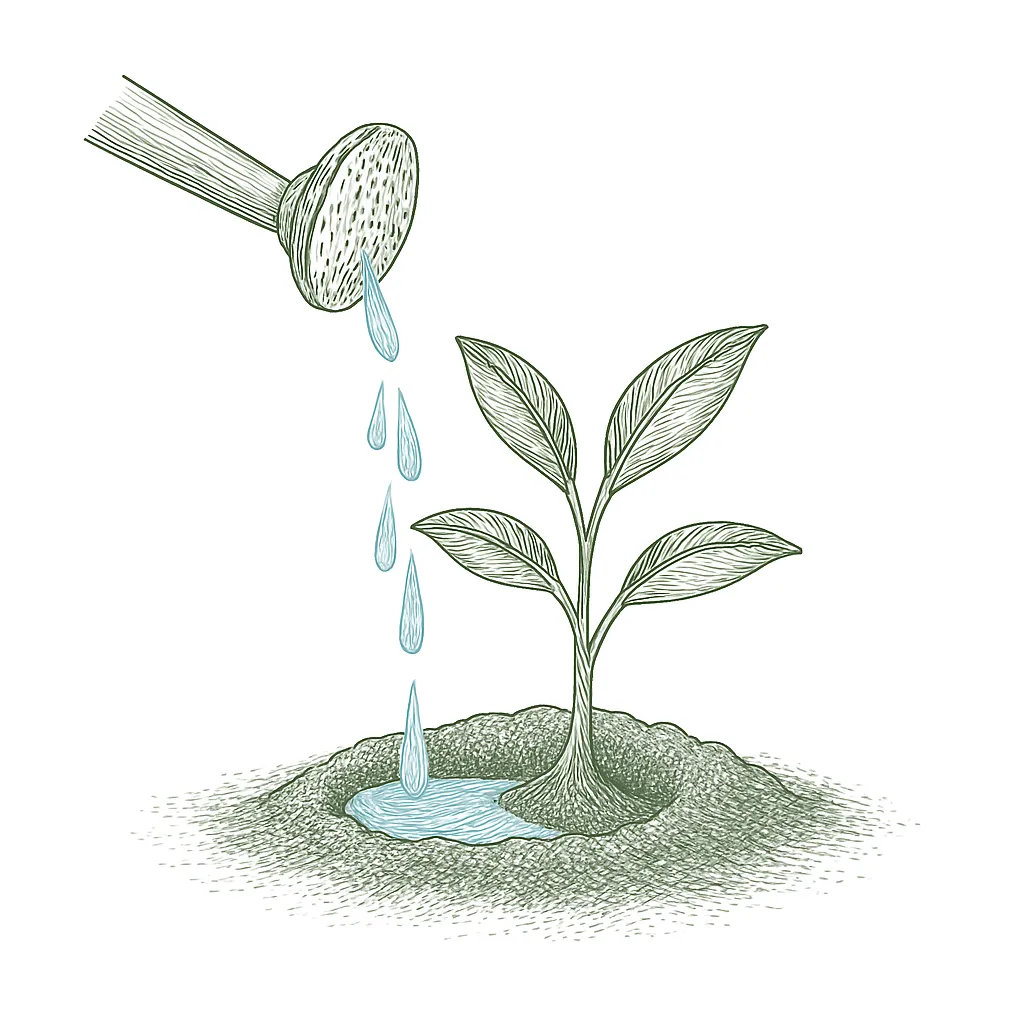
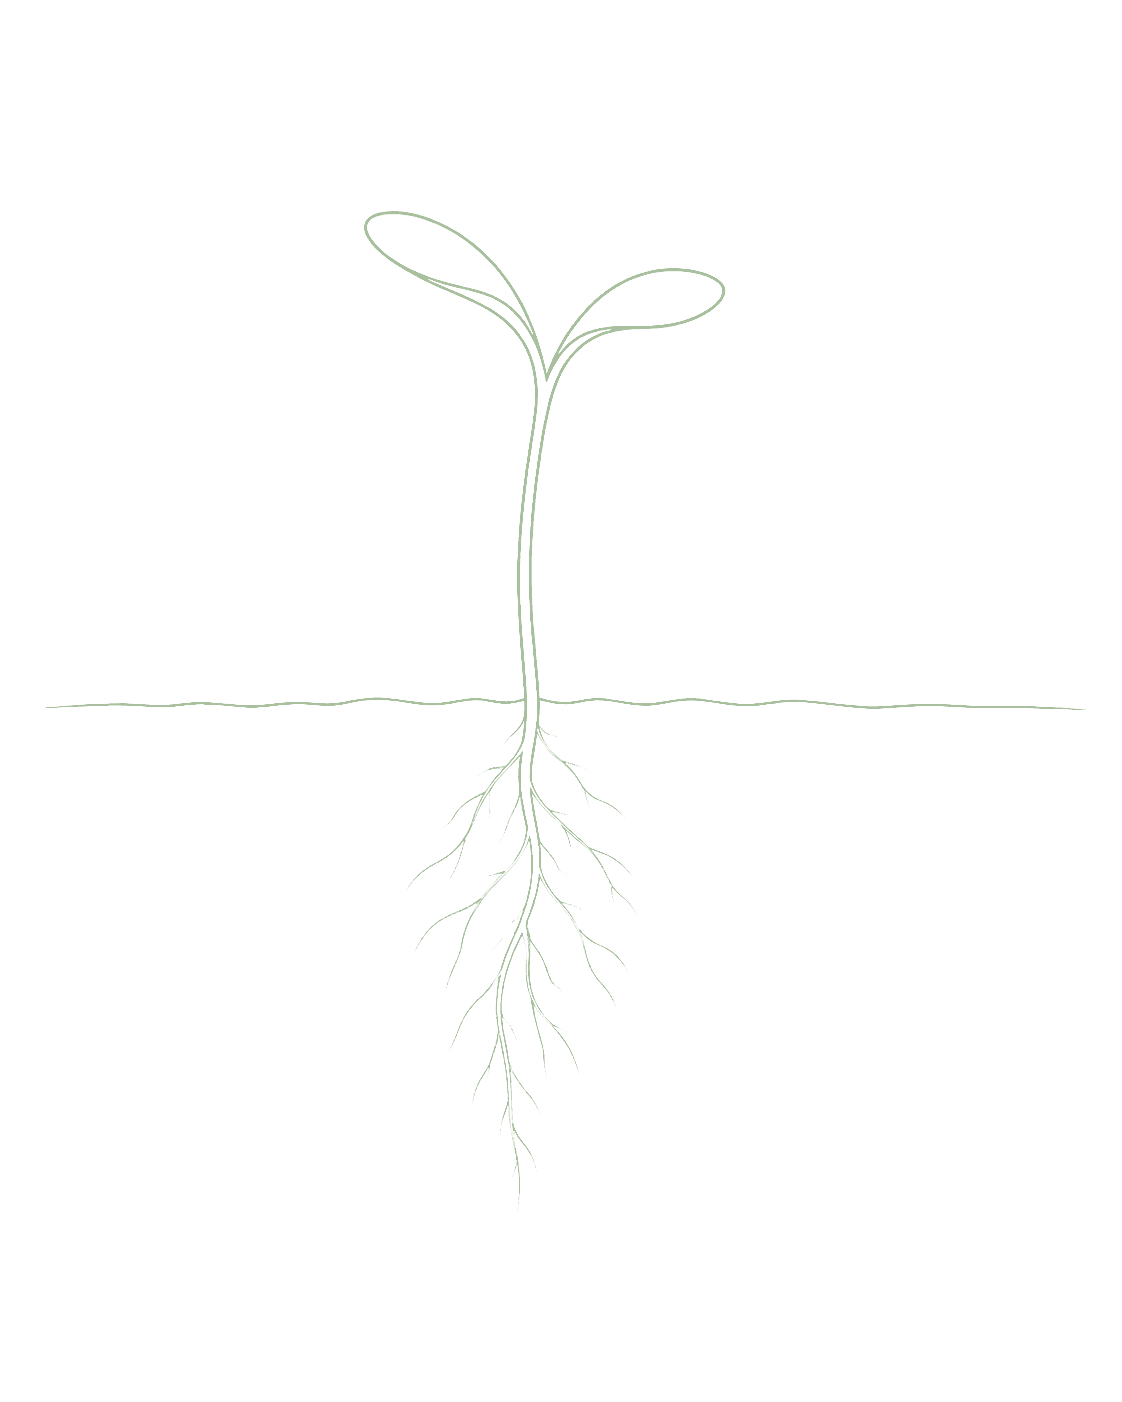
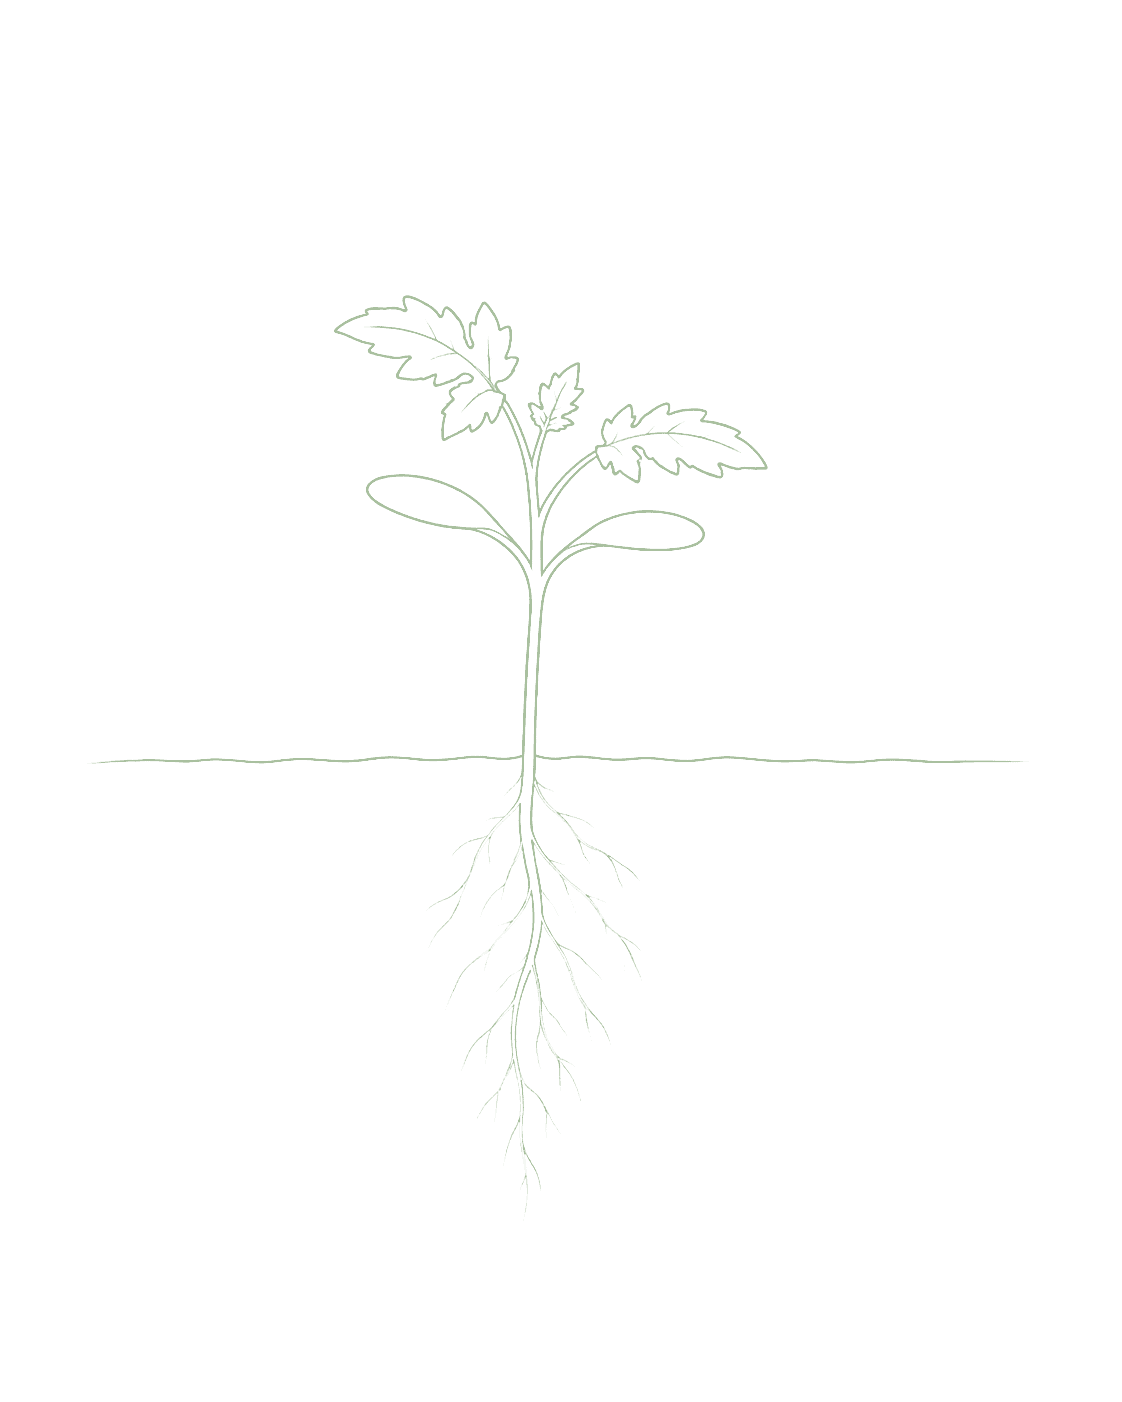
Start seeds 8 weeks before your last frost date; heirloom tomatoes need a long season, so starting on time is important. Plant two seeds per cell about a quarter inch deep in seed-starting mix, somewhere warm (a heat mat helps a lot). At transplant time, bury the stem deeper than it sat in the pot: right up to the lowest set of leaves. New roots will form along the buried stem and give the plant a stronger, more drought-tolerant foundation.Start 8 weeks before last frost; heirlooms need a long season. Harden off carefully. Bury stem deep at transplant.


Not sure what soil you have? Grab a small handful of damp soil from your garden bed and squeeze it. If it crumbles apart easily, it's sandy. If it holds together but breaks when you poke it, it's loam (what most vegetables want). If it stays in a hard, slippery ball, it's clay.
Heirloom tomatoes do best in loose, well-draining soil rich in organic matter: think compost-improved garden beds rather than hard clay. Good drainage matters even more for heirlooms than for hybrids, because most heirlooms have no built-in resistance to the soilborne wilt diseases that thrive in wet, compacted soil. Work in 2 to 3 inches of compost before planting. If water pools after rain and takes more than an hour to soak in, improve the bed or use a raised bed filled with a topsoil-and-compost mix before planting.
Mix 2-3 inches of compost into the top 6 inches of your bed before planting. Compost holds moisture (which sandy soil drains too fast) and adds the nutrients sandy soil tends to lack. Repeat each season. Compost breaks down over time.
Mix 2-3 inches of compost AND a few inches of coarse sand or perlite into the top 6 inches of your bed. The compost feeds the plants; the sand breaks up the clay so air and water can move through. Don't add sand without compost. It can compact like concrete.
If amending your soil sounds like too much work, or if your soil is heavy clay, full of rocks, or contaminated, build over it. A raised bed at least 12 inches deep filled with a 50/50 mix of compost and sandy loam gives you ideal growing soil with no battles. A 5-gallon container with quality potting mix does the same for one plant at a time. Both bypass your native soil entirely.
The numbers that matter, at a glance.
Heirloom tomatoes are a tough fit for containers; they're not well-suited to pot growing. The plants get very large, the roots need a lot of space, and you need a sturdy cage that's hard to anchor in a pot. If you want to try, use at least a 15-gallon container (20 gallons is better) and look for compact varieties like Stupice or Stupice, which stay smaller than standard indeterminate heirlooms. A raised bed is a much better option if you have any outdoor space at all.Heirloom tomatoes are generally not well-suited to container growing. Indeterminate varieties develop extensive root systems that are cramped even in 20-gallon containers, and the large fruit load requires very robust staking that is difficult to anchor in a pot. If container growing is necessary, use compact or determinate heirloom-type varieties (Stupice, Bloody Butcher) in 15-20 gallon containers with heavy-duty caging. Raised beds are strongly preferred for full-size indeterminate varieties.
Stupice
Tiny Tim
Bloody Butcher
Ask what your balcony or roof can carry
A balcony or roof can only hold so much weight. Before you set heavy pots there, ask a building architect what it can safely carry.Illinois Extension's guidance is to consult a building architect about weight limits before placing heavy pots on a balcony or rooftop garden. It gives no weight figure.
Never grow food in a container with anything toxic in it
Many kinds of containers can be used. Whatever you choose, keep anything toxic out of it, especially if you are growing food.Colorado State accepts nearly any container material but warns against using a container that holds toxic materials, especially for edible plants. Illinois adds that a vegetable container should be free of chemicals toxic to plants or people, and urges caution with treated lumber when growing food. If you cannot account for what a repurposed container once held, that alone is a reason to keep food out of it.
Secure hanging containers well
Fasten hanging baskets and window or rail boxes securely. Think about what is below them too, since they can drip on people or things underneath.Illinois Extension asks growers to secure hanging containers well and to think through the safety issues of hanging them. Placement matters too, since a hanging container can drip onto people or belongings below.
Heirlooms want slightly acidic soil: a pH between 6.0 and 6.8. Outside that range, nutrients the plant needs get locked up in the soil even if they're there. Blossom-end rot (the dark sunken spot on the bottom of the fruit) is often triggered by pH problems limiting how much calcium the plant can absorb. If you've never tested your soil, an inexpensive test kit from a garden center is worth doing before your first season. Many extension offices also offer low-cost testing.Tomatoes are particularly sensitive to pH because it governs the solubility of phosphorus, calcium, and magnesium, three nutrients they consume in large quantities. At pH below 5.5, manganese and aluminum become increasingly available at phytotoxic levels; blossom-end rot risk rises as calcium uptake is impaired. Above 7.0, iron and manganese deficiencies drive interveinal chlorosis on younger leaves. In the alkaline soils common across the interior West and alkaline-irrigation regions, growers routinely need to acidify before planting. Eastern soils often run naturally in the preferred range; Pacific Northwest soils vary widely by parent material.
Heirloom tomatoes are heavy feeders and need regular fertilizing throughout the season. Start with a balanced fertilizer at transplant time, then switch to a fertilizer higher in potassium once flowers appear: look for 'tomato fertilizer' or a formula where the third number on the bag (potassium) is the largest. Feed every two weeks through the fruiting period.Heavy feeder. Start with balanced feed at transplant, switch to high-potassium once flowering begins.
Look for three numbers on the fertilizer bag: those are the NPK ratio (nitrogen, phosphorus, potassium). A soil test is the surest guide, and it is what both extension services behind this guide recommend first. Without one, a low-nitrogen balanced formula such as 5-10-10 is a sensible default. Go easy on the first number: too much nitrogen gives you a big leafy plant that is slow to set fruit. Skip the high-phosphorus bags sold as bloom boosters unless a soil test actually calls for phosphorus, because many soils already hold plenty.Soil test governs. Absent one, a low-nitrogen balanced formula such as 5-10-10. UMN advises a low- or no-phosphorus feed unless a test specifically calls for phosphorus, and warns that excess nitrogen produces bushy, leafy plants slow to bear fruit.
The most reliable companion for heirloom tomatoes is marigolds: plant them around the edges of the bed, not between the tomatoes, since heirloom plants get large and will shade out anything too close. Nasturtiums at the bed perimeter draw aphids away from your tomatoes (aphids prefer the nasturtiums). Keep heirlooms away from fennel, which stunts many neighboring plants, and away from potatoes and eggplant, which share the same diseases and pests. Basil is a popular choice to plant nearby and does well in the same sun and water conditions. Heirloom tomato companions follow the same species-level lore as other tomatoes, with two heirloom-specific nuances. First, heirloom's large plant footprint (24-36 inch spacing, 6-foot cages) shades out many traditional companion candidates; prioritize companions that tolerate partial shade or position them at the drip-line edge rather than between plants. Second, the marigold/nematode connection is the best-documented pairing in this crop's companion set, effective as a dense pre-season cover crop, not as scattered concurrent interplanting. For most growers the practical guidance is: avoid fennel, avoid planting near potatoes or eggplant if disease pressure has been a problem, and consider nasturtiums as an aphid trap crop at the bed perimeter where they won't be shaded.
The tricky part with heirlooms is that many of them are not red when ripe. Cherokee Purple and Black Krim ripen to a dusky purple-brown and keep green shoulders, Green Zebra stays green with a yellow blush, and Brandywine turns deep pink. Learn what your variety looks like ripe, then pick when it has full color, gives a little to a gentle squeeze without being mushy, and the skin looks slightly less shiny than before. Big heirlooms take a few extra days than small ones. Heirlooms split easily, so pick them as soon as they are ripe, especially right after rain.The ripeness cue depends on the variety's ripe color, which for heirlooms is often not red: Cherokee Purple and Black Krim ripen to a dusky brick-purple with shoulders that stay green, Green Zebra ripens green with a yellow blush and softens rather than reddens, and pink types like Brandywine deepen to rose. Across types, pick when the fruit has reached its full variety color, yields to gentle pressure without feeling mushy, and the skin shifts from a hard glossy sheen to a softer, slightly matte surface. Learn each variety's ripe look rather than waiting for red. Large heirloom slicers (12 oz and up) take a few extra days than small types; mass slows the ripening front. Heirlooms crack readily, so pick promptly when ripe, especially after rain.
Expect roughly 8 to 20 pounds of tomatoes per plant over the season, though it depends a lot on the variety: a big Brandywine plant makes fewer, huge fruit, while a paste or Green Zebra plant makes many smaller ones. Heirlooms often yield a bit less than modern hybrids because they catch disease more easily, but most gardeners grow them for the flavor rather than the weight.Highly variety-dependent: an indeterminate heirloom typically yields 8 to 20 lbs over the season, but fruit size ranges enormously, from 2 to 4 oz Green Zebra and paste types to 1 to 2 lb Brandywine and Hillbilly slicers, so per-fruit counts vary widely. In short-season zones (3 to 5) total yield is limited by season length; in zones 7 to 9 a well-managed vine often exceeds 20 lbs. Heirlooms frequently yield somewhat less than disease-resistant hybrids because foliar and wilt disease shortens the productive window, which is the main yield tradeoff for the flavor.
At its peak a healthy plant produces steadily for about 4 to 8 weeks in midsummer, then slows as fall arrives. Big-fruited heirlooms give you a few large tomatoes a week; smaller paste or salad types give you many. Fruit sets best when nights stay between about 55 and 75°F; much colder or hotter than that and the flowers often drop without setting.A healthy indeterminate heirloom at peak produces a steady flow of fruit for roughly 4 to 8 weeks in mid-season, then tapers as fall cools and, for many heirlooms, as foliar disease advances. Weekly counts depend on fruit size: a few large slicers, or many small paste and salad types. Fruit set is most reliable when night temperatures stay between about 55 and 75°F; below 55°F pollen viability drops, and above about 70 to 75°F pollen becomes non-viable and flowers drop. Your first heirloom season will probably feel slow. The plant spends the first half of summer building its root system and vine structure before it really starts setting fruit. Getting 3 to 5 large tomatoes in your first season is a real success; don't measure yourself against experienced gardeners who know every trick. Focus on two things: get a strong cage or stake in place early (before you think you need it), and keep the watering consistent when the plant starts flowering.First-season heirlooms frequently disappoint on yield, not because of mistakes, but because the plant architecture is building for the first half of the season. Getting 3-5 large fruit in a first season is a genuine success. Focus on getting the support structure right early and on consistent watering at fruit set; those two factors drive the difference between a partial and a full-season harvest.
Heirlooms are open-pollinated, so you can save seed from your best fruit and grow the same variety again next year. Good starting choices: Brandywine and Mortgage Lifter for classic big pink slicers, Cherokee Purple and Black Krim for deep, rich flavor, Green Zebra for something tangy and different, and San Marzano or Amish Paste for sauce. If disease has been a problem in your garden, Cherokee Purple tends to hold up a little better than most heirlooms. Brandywine is delicious but slower and a bit fussier, so it makes a great second-season variety once you have the basics down.Heirlooms are open-pollinated cultivars, so seed saved from a healthy fruit grows true to type; that is what lets named heirlooms persist across generations. The class spans the full range of the species: large pink slicers (Brandywine, Mortgage Lifter, Hillbilly), dark or dusky varieties (Cherokee Purple, Black Krim), green-when-ripe types (Green Zebra), and open-pollinated paste tomatoes (San Marzano, Amish Paste). Days to maturity vary widely, roughly 70 to 90 days, with the big pink slicers at the long end. Because almost all heirlooms lack the VFN (Verticillium, Fusarium, nematode) resistance bred into hybrids, expect more disease pressure and lean on rotation, sanitation, and airflow; Cherokee Purple is a notable heirloom with some wilt tolerance.
Salads · 20m · Serves 4
The ladder troubleshoots from the gentlest solution to the strongest. Start with the gentlest option and only move on when and if it doesn't work.
Go easy on high-nitrogen fertilizer. It pushes out the soft, fast new growth that aphids settle on first, so a lighter feeding hand gives them less to work with.Nitrogen-flush growth is the preferred feeding substrate, which is why feeding history drives outbreak severity about as much as weather does. Moderate the nitrogen and there is less tender tip growth to support rapid colony buildup.
Hit the clusters with a strong jet from the hose, aiming up under the leaves where they hide. This dislodges most of them and it is the first thing to reach for.A directed jet knocks the colony off mechanically, which suits an insect that reproduces asexually and rebuilds within days. Repeat as fresh tip growth is recolonized, and work the leaf undersides.
Ladybugs, lacewings and small parasitic wasps feed on aphids and will usually bring an outbreak down on their own. Planting marigolds or nasturtiums near your tomatoes draws them in and gives them a reason to stay, and skipping broad sprays keeps them working.Conserving resident natural enemies is the higher-return move: interplanted marigold and nasturtium recruit them without a purchase, and avoiding broad-spectrum material is what keeps them in the planting.
You can also buy ladybugs or lacewings and release them onto active clusters. Treat it as a top-up rather than the plan: they need aphids already there or they move on, and in an open garden they are free to leave.Released predators supplement the resident population rather than replacing it. UC IPM notes the best results come from creating favorable conditions for naturally occurring predators, and that released predators starve or migrate elsewhere if prey is not available when they arrive, so time a release to a located infestation.
For an infestation that keeps coming back, spray insecticidal soap, a soap-based spray that acts on soft-bodied insects it touches. Coat the undersides of the leaves, since that is where the aphids sit.Coverage decides the outcome: target leaf undersides and growing tips where the colonies concentrate, and expect to re-treat as populations rebuild in warm weather.
Neem oil, pressed from the seeds of the neem tree, is the other spray option for stubborn clusters. Like the soap, it has to reach the aphids, so wet the leaf undersides thoroughly.Interchangeable with soap where colonies rebuild after washing. Direct the application onto the colonies themselves, leaf undersides and growing tips, rather than over the top of the canopy.
The bottom rungs are products with label rules: timing, pollinators, and days to wait before harvest. Before you spray →
The ladder troubleshoots from the gentlest solution to the strongest. Start with the gentlest option and only move on when and if it doesn't work.
Turn or till the soil in your tomato bed in autumn. The caterpillars spend the winter in the soil as pupae, a resting stage, and digging brings them up, which cuts how many carry over into next year.Larvae pupate in soil and overwinter there, so an unworked bed carries the prior season's population forward. Autumn tillage exposes the pupae and lowers local carryover.
Pick them off by hand and drop them into a bucket of soapy water. They blend into the stems, so look for the dark droppings on the leaves below and search upward from there. If a caterpillar has small white capsules stuck on its back, leave it in place: parasitic wasps have laid eggs on it and are already at work.Handpicking is the workhorse. A single large larva strips a great deal of foliage, so pulling a few off by hand goes further than it would with a small pest. Frass on lower leaves is the locating cue. Leave larvae bearing white cocoons so the wasp brood completes.
Plant dill, fennel, or basil near your tomatoes. They attract predatory wasps that prey on hornworms, and those wasps are the reason some caterpillars end up carrying white capsules.Dill, fennel, and basil interplantings support the predatory wasps that attack hornworms. The white cocoons on a larva's back are that biological control already running, so preserving parasitized larvae feeds the next wasp generation.
Bt, short for Bacillus thuringiensis, is a naturally occurring bacterium sold as a spray that acts on caterpillars which eat treated leaves. It is worth considering when there are more hornworms than you want to pick off one by one.Bt is the material option where handpicking cannot keep pace. It acts through feeding, so coverage on the foliage the larvae are actively working is what determines the result.
The bottom rungs are products with label rules: timing, pollinators, and days to wait before harvest. Before you spray →
The ladder troubleshoots from the gentlest solution to the strongest. Start with the gentlest option and only move on when and if it doesn't work.
Drape row cover fabric, a light woven sheet, over seedlings and young plants. It is a physical barrier that keeps the beetles off during the stretch when small plants suffer most.Exclusion during the early window is the main play. Overwintered adults emerge in spring and hit small transplants, whose limited leaf area makes shot-hole feeding proportionally damaging; the timing of the attack matters more than its size.
Neem oil, pressed from the seeds of the neem tree, is a spray option if the peppering gets heavy on small plants. Cover the leaves where you see fresh holes.The material fallback where exclusion was not in place early. Reserve it for the seedling stage, since well-established plants with ample foliage usually tolerate the same feeding without major harm.
The bottom rungs are products with label rules: timing, pollinators, and days to wait before harvest. Before you spray →
The ladder troubleshoots from the gentlest solution to the strongest. Start with the gentlest option and only move on when and if it doesn't work.
Keep plants well watered through hot weather. Mites hit water-stressed plants hardest, so steady moisture is your strongest everyday defense. Keeping dust down around the bed helps too, since dry, dusty conditions suit them.Drought stress raises susceptibility sharply and the mites favor hot, dry, dusty conditions, so consistent irrigation plus dust suppression are the primary cultural controls here rather than an afterthought.
Spray the plant with a strong jet of water, especially under the leaves, and repeat over several days. That knocks mites off and breaks up their colonies.Repeated jetting dislodges mites and disrupts colony structure and webbing. Repetition is what makes it work against a pest that completes a generation in under a week in summer heat.
You can buy and release predatory mites, which are mites that hunt spider mites, so a living control is working on the plants for you. Release them onto an infestation you have actually found: with no spider mites to eat, they starve or move on.Released predatory mites put a control into the canopy itself, which is useful late in the season when spider mite populations are compounding fastest. UC IPM names the western predatory mite and Phytoseiulus as the commercially available species and puts a working ratio at about one predator per ten spider mites, while noting that the best results still come from favoring the predators already present.
Insecticidal soap, a soap-based spray that acts on the pests it touches, is a good follow-up after the water blasts. Aim it at the leaf undersides where the mites and webbing are.Follow-up to the water treatment. Leaf-underside coverage is the whole game, and the short summer generation time sets the reapplication interval.
Neem oil, pressed from the seeds of the neem tree, is the other follow-up spray. Same rule as the soap: it has to reach the undersides of the leaves to do anything.Interchangeable with soap as the post-jetting follow-up. Direct it at the leaf undersides where the colonies and webbing sit.
The bottom rungs are products with label rules: timing, pollinators, and days to wait before harvest. Before you spray →
The ladder troubleshoots from the gentlest solution to the strongest. Start with the gentlest option and only move on when and if it doesn't work.
Move your tomatoes to a new spot each year. The spores build up in soil where tomatoes keep going in, so shifting the planting keeps that buildup from working against you.Rotate tomatoes out of a bed on a 3 to 4 year cycle. Repeated plantings build soil inoculum, and the fungus carries over on infected debris and in the soil between seasons.
Lay mulch over the soil around the base of each plant. Rain splashing off bare soil is how the fungus travels from the ground onto the lowest leaves, and a mulch layer gets in the way of that.Mulch interrupts the splash pathway that carries overwintered inoculum from soil onto the lowest foliage, which is why infection starts low and climbs. Core prevention here, not a finishing touch.
Water at the base of the plant rather than over the top of it. Overhead watering drives soil up onto the lowest leaves, which is exactly the route the spores take.Soil-level irrigation removes an operator-generated splash event; paired with mulch it closes the main route from soil inoculum to lower foliage.
Stake or cage your plants and give them room, so the leaves stay off the ground and air moves through. Pruning out the densest growth helps as well.Staking lifts foliage clear of the soil surface, while spacing and canopy pruning keep air moving. Heirlooms mostly lack the partial early-blight tolerance bred into some modern hybrids, so this canopy work carries more of the load.
Pick off the spotted lower leaves as soon as you notice them, since getting them off the plant early slows how fast the disease climbs. Bag what you pull and put it in the trash rather than the compost pile, and clear old tomato debris out of the bed too, since the fungus rides out the winter on it.In-season removal of symptomatic lower leaves takes out sporulating tissue and slows the upward progression, so act on the first bullseye lesions rather than waiting for the lower canopy to yellow and shed. The pathogen overwinters on infected debris, so offsite disposal of both the removed foliage and the end-of-season residue lowers what is available to splash up the following spring. Composting symptomatic tissue keeps it in circulation.
A copper-based spray can slow how fast the disease moves up the plant. It does its best work applied before the disease takes hold, so treat it as protection rather than a rescue once spots are everywhere.Copper is a preventive application, most useful through warm, wet spells when splash infection is active. It slows spread rather than clearing established lesions.
The bottom rungs are products with label rules: timing, pollinators, and days to wait before harvest. Before you spray →
The ladder troubleshoots from the gentlest solution to the strongest. Start with the gentlest option and only move on when and if it doesn't work.
Airflow is your best defense here. Stake your plants and space them so air moves freely through the leaves.Excellent airflow is the leading cultural control. Stake and space generously to keep the canopy open, which matters because this pathogen spreads explosively once cool, wet weather sets in.
Pull off and bin affected leaves and stems the moment you spot them, and if a plant is badly hit, take the whole plant out so it cannot spread to its neighbors. Clear every bit of tomato debris out of the garden before winter, and send affected material to the trash rather than the compost pile.Immediate removal of infected tissue, and roguing whole plants that are badly affected, is the highest-value in-season action against a pathogen that can take a plant down in days. Tomato debris left in the garden over winter is the local carryover to close: bag and bin infected material, since composting it returns the tissue to the bed.
Heirlooms rarely carry late-blight resistance. If this disease has hit your area before, it is worth growing a resistant variety and watching all your plants closely through cool, wet weather.Resistance matters more here than rotation, since the inoculum arrives airborne over long distances. A few modern hybrids carry late-blight resistance genes and heirlooms rarely do, so reserve the variety swap for areas with a recurrence history.
A copper-based fungicide can help as protection during wet spells. Apply it ahead of trouble rather than expecting it to save a plant that is already collapsing.Copper is preventive here. Time applications to wet weather windows and pair them with removal, since this disease outruns a curative approach.
The bottom rungs are products with label rules: timing, pollinators, and days to wait before harvest. Before you spray →
The ladder troubleshoots from the gentlest solution to the strongest. Start with the gentlest option and only move on when and if it doesn't work.
Shift your tomatoes to a new spot each year. This fungus overwinters in old debris and soil, so a fresh bed starts you with less of it.Rotation reduces the carryover this pathogen holds in debris and infested soil, the same lever that works on early blight.
Mulch the soil around the base of your plants. The spores travel in water splashing off bare soil onto the lowest leaves, and mulch blocks that route.Mulch interrupts the splash route from infested soil to lower foliage, which is how the bottom-up defoliation gets started.
Water at the base of the plant instead of overhead, so you are not splashing soil onto the lower leaves yourself.Soil-level irrigation removes an operator-generated splash event during the warm, humid weather when this fungus spreads fastest.
Keep plants staked and prune out very dense growth so air moves through the canopy. Heirlooms are not bred to resist leaf-spot diseases, so airflow does a lot of the work here.Spacing and canopy pruning are load-bearing on heirlooms, which carry no bred leaf-spot resistance. Open canopies plus sanitation stand in for the genetics.
Strip off the spotted lower leaves as soon as you find them. The sooner they are off the plant, the slower the spots climb. Send what you remove to the trash rather than the compost pile, and clear old tomato debris out of the bed, since the fungus carries over on it.Prompt removal of symptomatic lower leaves reduces the sporulating tissue driving defoliation from the bottom up; pair it with canopy opening rather than treating it as the alternative. Carryover lives on debris and in infested soil, so offsite disposal of removed foliage and end-of-season debris keeps that reservoir from rebuilding.
A copper-based fungicide is an option once you are keeping up with leaf removal and airflow. It supports those habits rather than replacing them.Copper is a supporting material. Moisture management and sanitation, rather than a single spray, are what hold this back on a host with no bred resistance.
The bottom rungs are products with label rules: timing, pollinators, and days to wait before harvest. Before you spray →
The ladder troubleshoots from the gentlest solution to the strongest. Start with the gentlest option and only move on when and if it doesn't work.
Keep tomatoes out of an affected bed for several years. Both fungi survive in soil for a long time, so a one-year break does not clear them.Long rotation, on the order of 4 to 6 years out of the bed, because both pathogens persist as resting structures in soil for many years. Fusarium favors warm soils and Verticillium cooler ones, so an infested bed stays risky across a range of seasons.
For heirlooms this is the control that matters most. Most heirlooms have little or no resistance to these two soil fungi, while many hybrids are bred to resist them; look for V and F on a hybrid's tag. Cherokee Purple is one heirloom reported to have some tolerance.The V and F of the VFN codes mark exactly the bred resistance heirlooms lack, leaving them fully susceptible where these pathogens are established. Cherokee Purple is a noted heirloom exception with some tolerance.
Where wilt has struck before, an heirloom can be grafted onto resistant rootstock, meaning the root system of a resistant plant supporting the heirloom top. That lets you keep growing the variety you want on ground a rotation cannot clear.On infested ground, grafting onto resistant rootstock keeps the heirloom fruit on a root system that holds up. It is the option that matters here because both pathogens persist as resting structures in soil for many years, so rotation alone does not free a bed.
Keep the bed well drained. Good drainage is one of the few site conditions that works in your favor here, so improve or avoid ground that stays soggy.Drainage is a standing site condition to maintain, sitting alongside long rotation as prevention, since no curative material exists once the vascular tissue is colonized.
Once a plant has wilted for good, no spray will bring it back. Pull it, bag it, and get it out of the garden so it does not add more fungus to the soil.Rogue out and destroy symptomatic plants. The purpose is limiting further soil loading rather than rescue, since the fungi plug the water-conducting tissue and no curative treatment exists.
No spray for this one. Prevention is the control.
The ladder troubleshoots from the gentlest solution to the strongest. Start with the gentlest option and only move on when and if it doesn't work.
Steady watering is the fix. This is not an infection and it is not a shortage of calcium in your soil: the fruit misses out on calcium when watering swings from wet to dry and back, because calcium travels with water. Water deeply on a regular rhythm once fruit sets, mulch around the plant to smooth out the swings, and try not to disturb the roots at the base. Adding calcium is not the answer.This tracks watering consistency, not soil calcium levels. Calcium moves with water, so moisture swings or root damage starve the fast-growing blossom end and its cells break down. Deep, regular irrigation, mulch to buffer the soil, and no root disturbance at the base are the control. Large-fruited heirlooms show it more severely, and the first fruits of the season take the worst of it, so hold the rhythm tightest early.
Spread a layer of mulch over the soil around the plant. It slows how quickly the ground dries between waterings, so the soil holds a steadier moisture level instead of drying hard and then soaking again, which is the pattern that starves the fruit end.Mulch functions here as a moisture buffer on the root zone, damping the swings between irrigations so calcium keeps moving into the developing fruit. It supports the watering rhythm rather than substituting for it, and it earns the most on large-fruited heirlooms carrying the season's first set.
Go easy on heavy nitrogen feeding, ammonium-based fertilizers included, while fruit is setting. The problem here is calcium reaching the fruit, and pushing a lot of nitrogen at the plant works against that rather than helping.Hold the nitrogen back through fruit set, ammonium sources included, since a heavy feed pulls against the calcium delivery this disorder actually tracks. Skipping the sidedress is the move, not offsetting it with a calcium product, because soil calcium levels are not the limiting factor.
No spray for this one. Prevention is the control.
The ladder troubleshoots from the gentlest solution to the strongest. Start with the gentlest option and only move on when and if it doesn't work.
Even soil moisture is the whole defense. Water deeply and regularly through dry spells and mulch to soften the swings, so the inside of the fruit is not suddenly swelling faster than the skin can stretch. A crack cannot be undone, so pick cracked fruit promptly and use it quickly; if heavy rain is coming, pick the nearly ripe fruit first.Cracking follows rapid water uptake, typically heavy rain onto a dried-out bed, when the interior expands faster than the skin can grow. Deep, regular irrigation during drought plus mulch to buffer the fluctuation is the control; harvesting near-ripe fruit ahead of a forecast soaking takes the vulnerable fruit out of the event. Radial cracking is the more serious form and worsens in hot, humid weather, and thin-skinned, large-fruited heirlooms split more readily than crack-resistant hybrids.
Lay mulch over the soil around the plant. It keeps the ground from drying out hard between waterings, so a heavy rain lands on soil that is already damp and the fruit gets a gentler change rather than a sudden one.The buffer earns its place going into a dry stretch: mulched soil holds moisture more evenly, so a soaking does not translate into the fast uptake that outpaces skin growth. Run it with the deep watering rhythm, since thin-skinned, large-fruited heirlooms have less margin in that event.
No spray for this one. Prevention is the control.
Don't plant tomatoes in the same bed two years in a row. Move them to a fresh spot every year if you can, and wait at least 3 years before coming back to the same location. The same rule applies to peppers, eggplant, and potatoes; they're all in the same family and share the same soil diseases, so rotating one without rotating the others doesn't help much. If you've had plants wilt and die even with good watering, look for disease-resistant varieties: a 'V' or 'F' on the seed packet means the variety is bred to resist the most common soilborne wilts.Rotate nightshades to a fresh bed every 3 years. Fusarium oxysporum and Verticillium dahliae, the two primary soilborne wilts in tomatoes, persist as chlamydospores in soil for 4-6 years and infect through root wounds. Rotation delays pathogen buildup but does not eliminate it; in beds with confirmed wilt history, resistant varieties (coded VF or VFN on seed packets) are the stronger intervention.
The plant app sends a timely reminder at every critical moment of your heirloom tomato season. The wording adjusts to whichever you pick: beginner or seasoned. Here are three you'll see in Zone 9.
plant sends the right notification at exactly the right moment, for your zone, your weather, your crops. Founding members lock the rate forever.
We're building this guide with real growers. Got a question we missed? Ask here. We read every one and add the best answers right to this page.
Learned something the hard way? Pass it on. Real growers' tips make this guide better for the next person, and we credit you by name when yours goes live.
If you've grown this crop and you see a date, a temperature, a companion claim, or a recommendation that doesn't match your experience, tell us. Real growers' corrections make this guide better for the next person.
Every date, temperature, spacing, and recommendation on this page is sourced from university cooperative extension publications, peer-reviewed agricultural research, NOAA climate data, and direct extension calendars. Where claims are softer (traditional gardening wisdom not formally documented), we say so.
Spot a data point that doesn't match your experience? Submit a correction; accepted corrections earn full author credit on the page.
Zone-aware seasonal nudges, what's worth planting now, and the occasional recipe from the harvest. No spam, ever.