Care guide
The numbers that matter, at a glance.
Tap to switch. plant calibrates to where you are in the journey.
Microgreens are baby vegetable and herb plants that you harvest very young, about 1 to 3 weeks after planting, when they are just a couple of inches tall. You grow them indoors all year on a shallow tray of seed-starting mix or a special growing mat. The steps are always the same: scatter seeds thickly, cover the tray to keep it dark for a few days while they sprout, then move it into the light to green up, then snip and eat. A mix is just several kinds grown together for variety. There is no outdoor season or weather to worry about, so they grow the same way no matter where you live.Microgreens are the young seedlings of vegetables and herbs, harvested at the cotyledon to first-true-leaf stage roughly 1 to 3 weeks after sowing. They are grown indoors year-round in a short repeatable cycle: a dense even sow on a shallow tray of mix or a fiber mat, a brief dark blackout to drive even germination and stem stretch, then light to green up, then cut. A mix blends several types (fast brassicas, larger soaked seeds, and slower greens) for a range of color and flavor in one tray. Because there is no frost, season, or hardiness zone involved, the same tray grows identically on a windowsill anywhere.
Indoors, every week of the year. Most mixes are ready in 7 to 21 days; start a fresh tray every week for a steady supply.
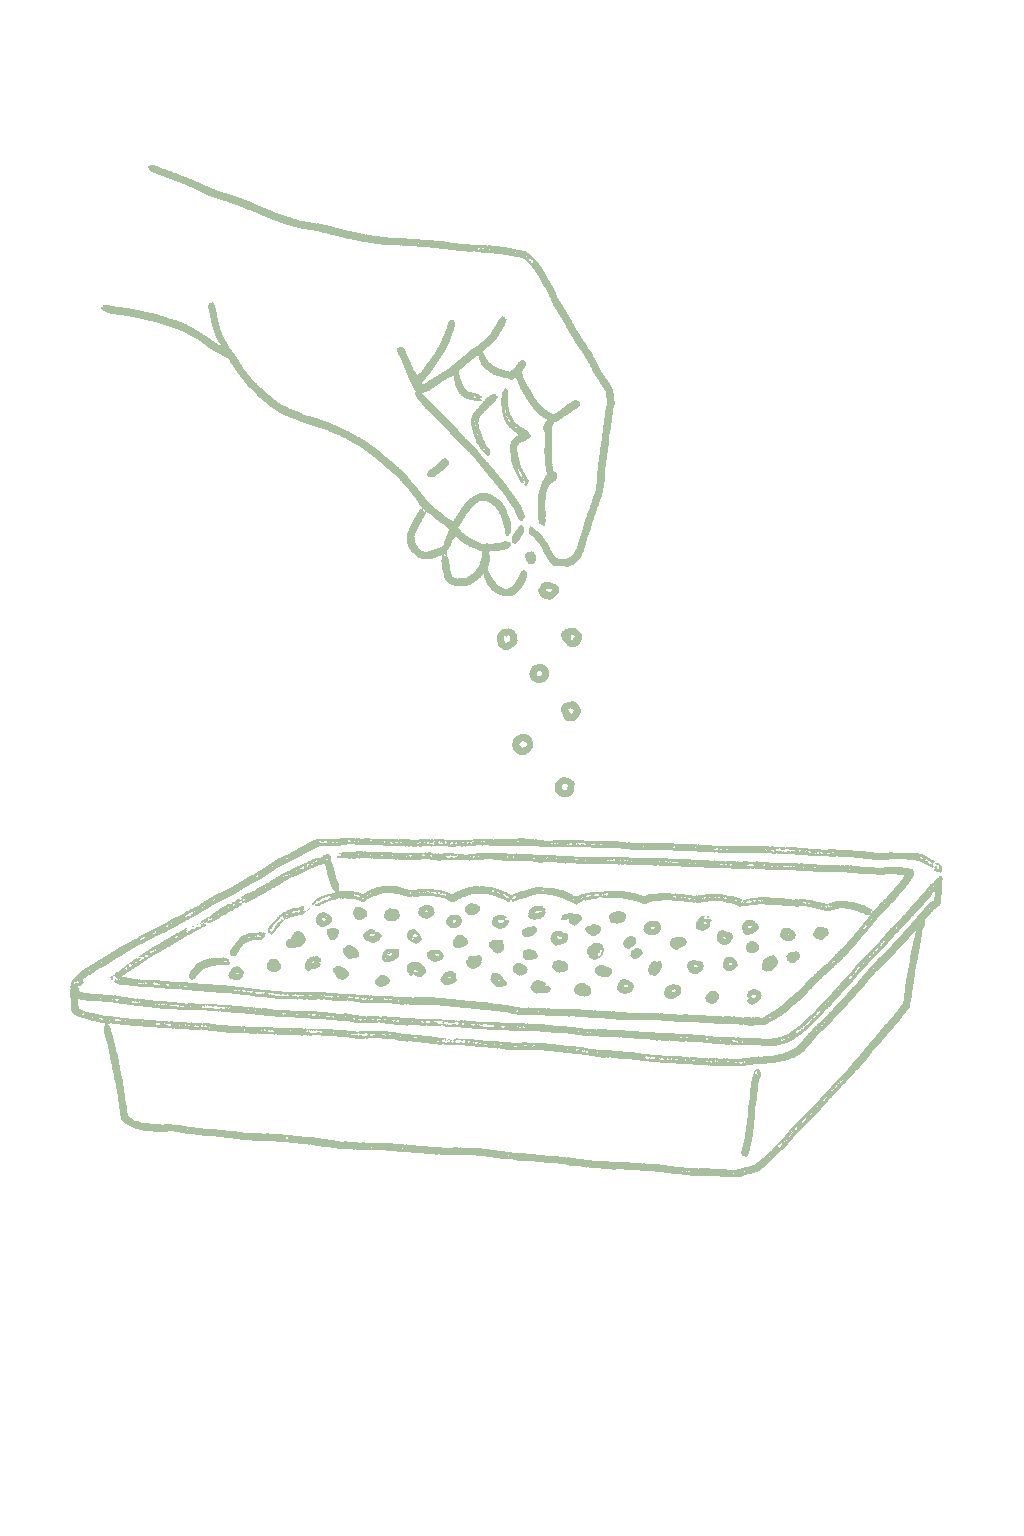
An even, crowded scatter of mixed seed covering the whole surface, over uniformly damp mix with no standing water.A dense, even seed layer of the blend on moist medium, no bare patches.
Seeds swelling and splitting, with white roots and pale stems appearing over a day or two, faster kinds leading and slower ones catching up.Staggered imbibition and splitting across the blend; radicles and blanched stems emerging, lifting the cover.
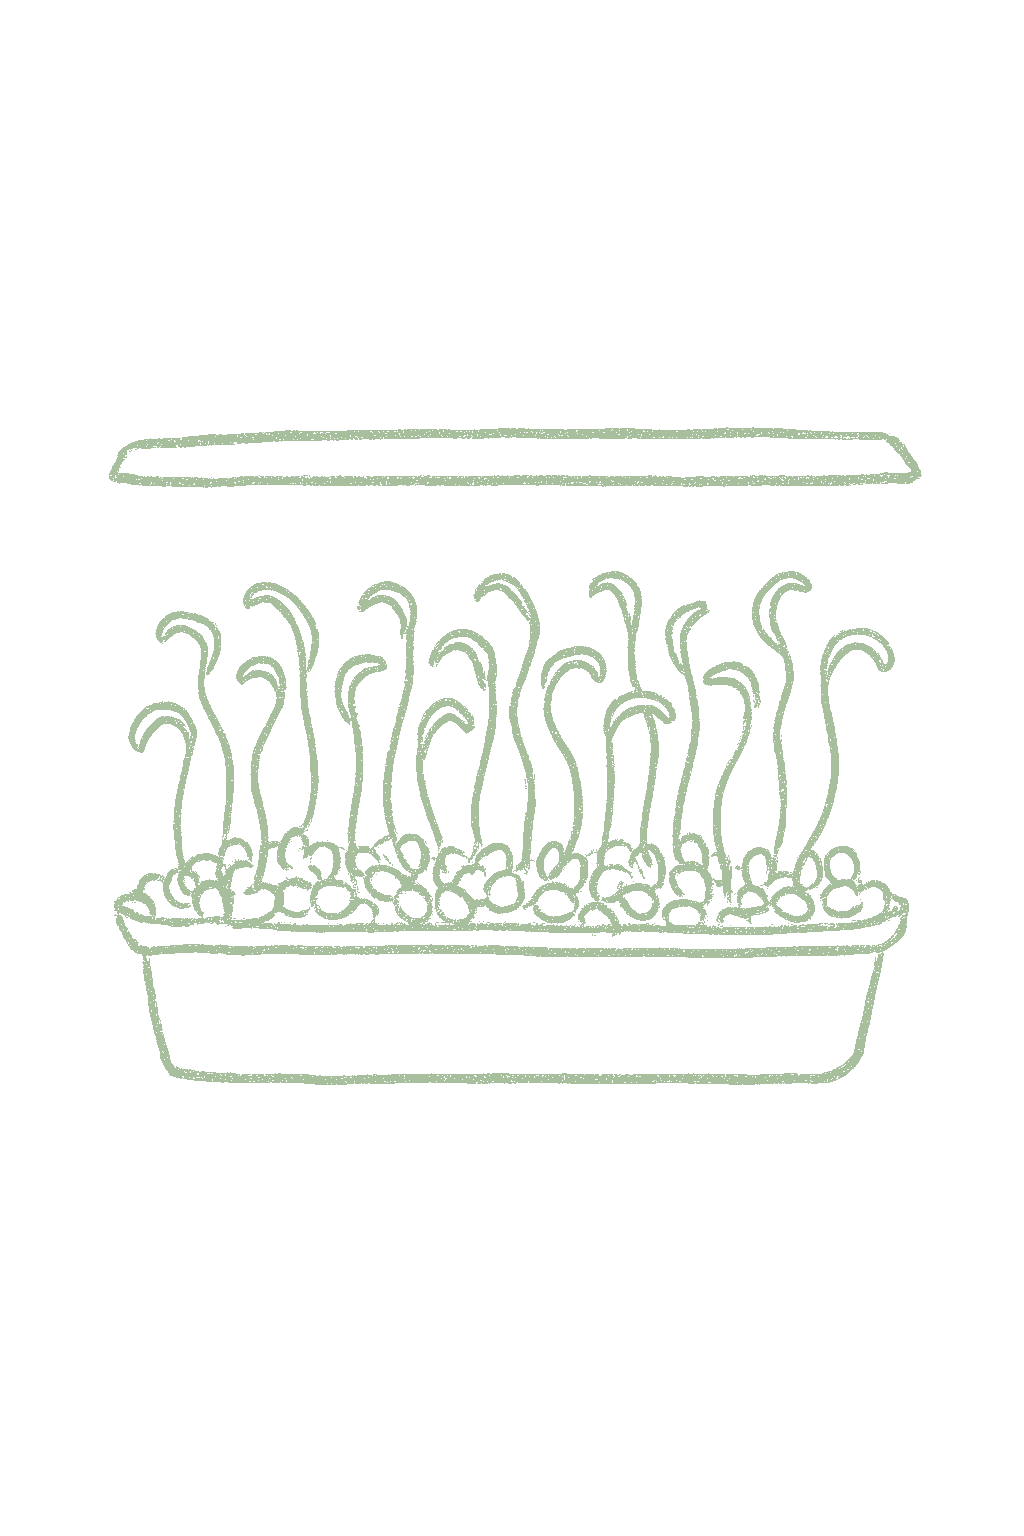
A mat of pale, stretched stems at slightly different heights, evening out as they lift the cover together. Still pale, not green.Elongated, blanched stems evening out across the blend, lifting the cover pre-greening.
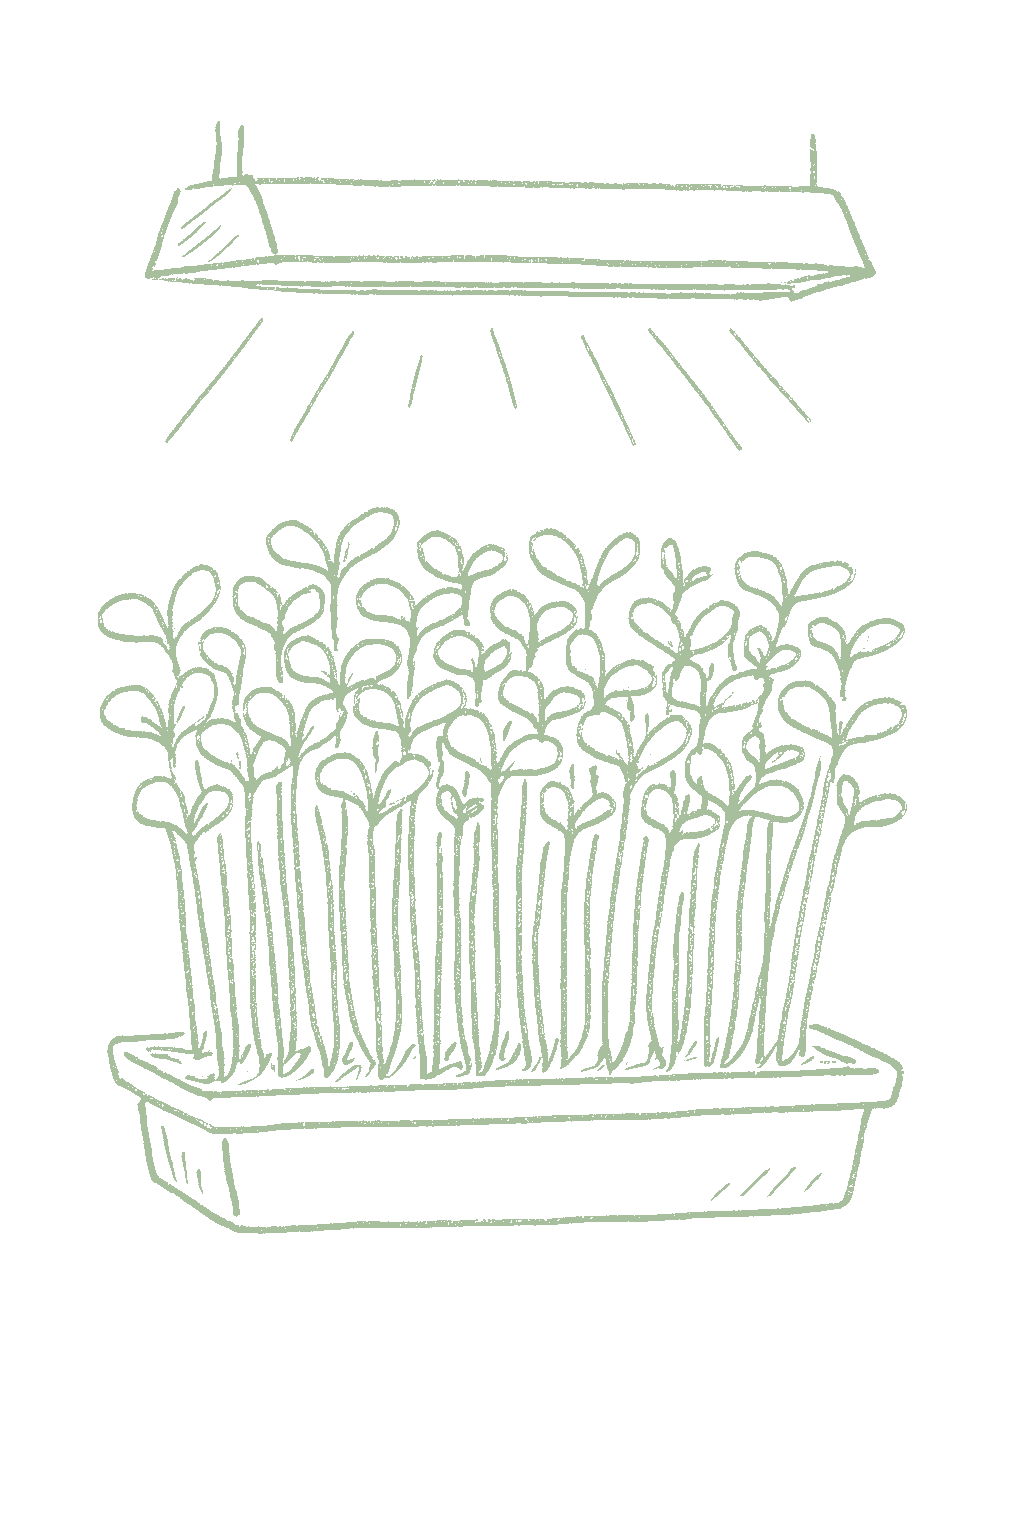
Seed leaves turning green across the tray in a mix of colors and shapes, with the first true leaves starting on the faster kinds.Cotyledons greening across the blend; varied pigmentation; first true leaves on early components.
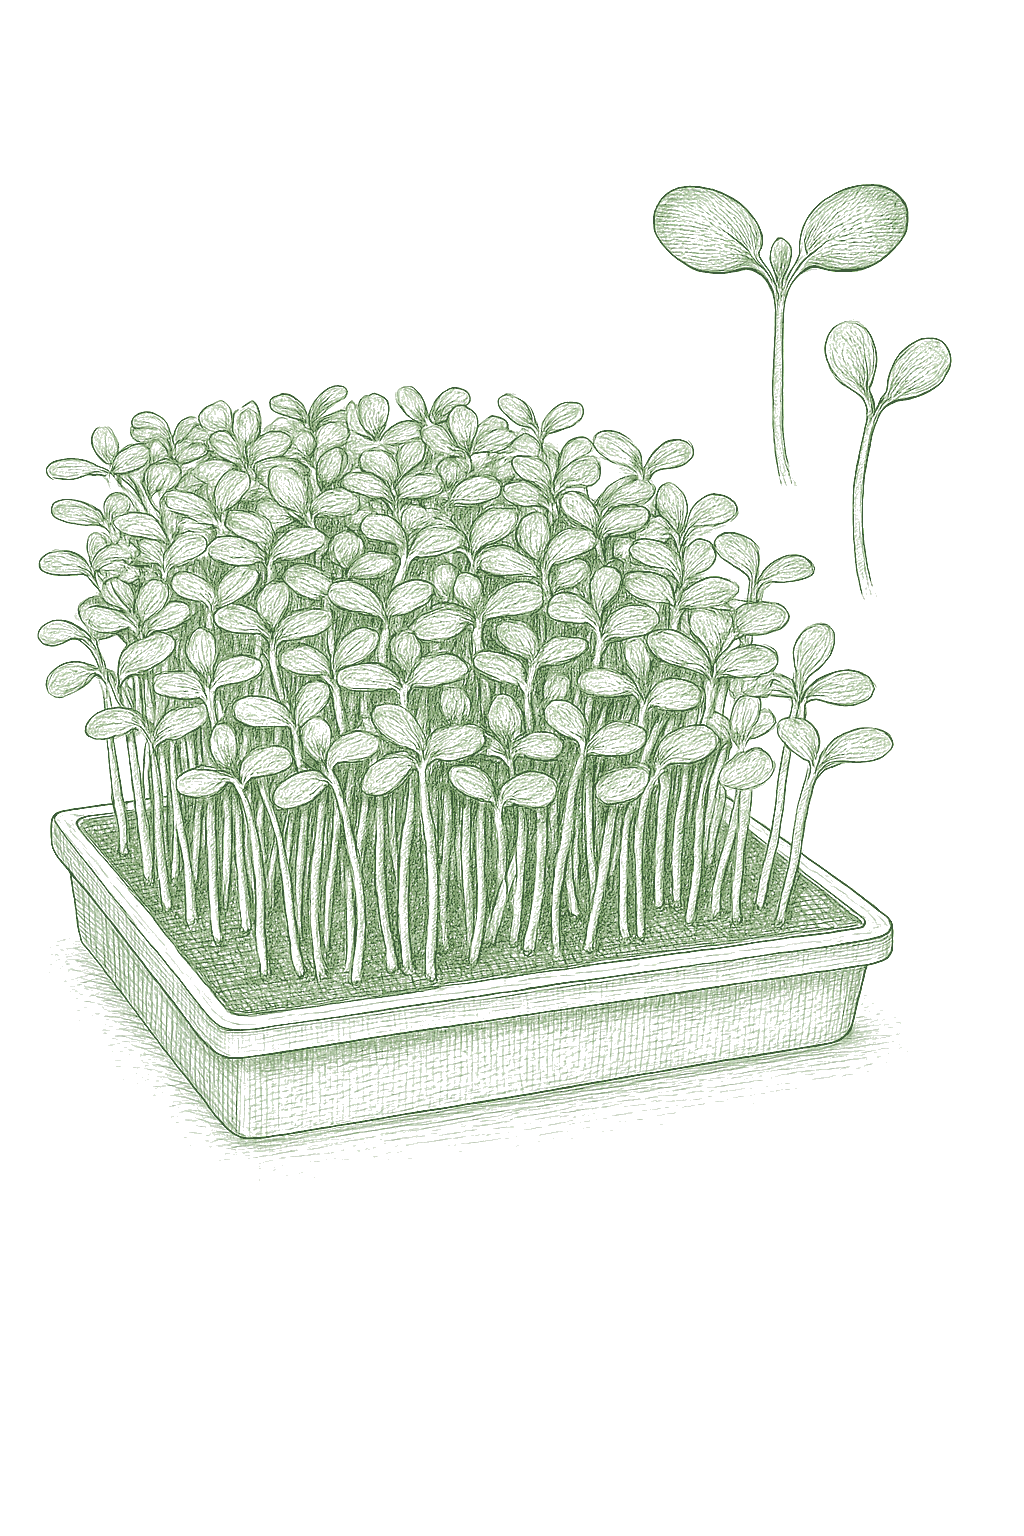
A colorful stand of open seed leaves about one to two inches tall, the majority green and ready even if a few lag behind.Most of the blend at open cotyledon to first-true-leaf, 1-2 in tall; harvest whole despite minor lag.
The numbers that matter, at a glance.
You do not need to worry about soil pH for microgreens. The mixes and mats sold for them are already fine as is.pH is not a practical lever for a single short indoor cycle on a soilless medium; standard seed-starting mixes and coir sit in a workable range and need no adjustment.
You do not need to feed microgreens. The seed carries enough food to get the plant to harvest, and adding fertilizer just invites algae and odd flavors.Microgreens are harvested before they exhaust the seed's own reserves, so no fertilizer is needed for a single cycle on an inert medium or seed-starting mix. Added nutrients mainly raise the risk of algae and off-flavors.
Your microgreens are ready when the first little seed-leaves are open and, for many types, the first true leaf is just showing, usually 1 to 2 weeks after sowing. Snip them just above the soil with clean scissors and eat them fresh. They do not grow back, so you start a new tray each time.Cut at the cotyledon to first-true-leaf stage, typically 7 to 21 days from sowing depending on the type (the mix runs about 10 to 14). Snip just above the medium with clean scissors; the stand will not regrow, so the tray is a single cut.
You measure microgreens by the tray, not by each plant. A full tray usually gives you a few good handfuls (about 6 to 12 ounces).Yield is measured per tray, not per plant: a well-sown 1020 tray returns roughly 6 to 12 ounces of cut microgreens depending on type and seeding rate.
Each tray gives one harvest at its best. To keep a steady supply, start new trays every few days.Every tray is a single harvest at peak; continuous supply comes from staggered sowings, not from regrowth. There is no waiting period with microgreens. Your very first tray works just like the rest; you will just get a feel for how much to sow and water after a few tries.There is no establishment year; the first tray performs the same as any later tray. Expect to dial in seeding rate and watering over the first few cycles.
A good mix combines fast, easy types like radish, broccoli, and arugula with something sweet like pea or sunflower. A couple of rules make it work: soak only the big seeds (pea, sunflower) before sowing, and just mist the sticky ones like basil and cilantro instead of soaking. Different types finish at different times, so many people grow them in separate trays and combine after cutting. Important: never grow microgreens from tomato, pepper, or eggplant seed, as those baby plants are not safe to eat.A balanced mix pairs fast brassicas (radish, broccoli, kale, arugula, mustard) for quick bulk and color with a sweet large-seed type (pea or sunflower, presoaked) and, if you want complexity, a slower aromatic (basil, cilantro). The practical splits are: presoak the large seeds only; mist (never soak) the mucilaginous ones (basil, cilantro, cress, chia); and either sow a pre-blended mix or grow types separately and combine at harvest, since blackout times and finish dates differ. Never use seed from solanaceous crops (tomato, pepper, eggplant), because their seedlings carry alkaloids and are not safe to eat raw.
The ladder troubleshoots from the gentlest solution to the strongest. Start with the gentlest option and only move on when and if it doesn't work.
Keep the surface from staying soaking wet and water from the bottom; the gnat larvae live in the constantly wet mix. Keep a little air moving too.Let the surface dry between waterings where the crop allows and bottom-water, since a persistently wet surface is what drives gnats; good airflow helps, and the short cycle means most trays are harvested before gnats build to a real problem.
Clean your trays and use fresh mix between batches to keep gnats away.Sanitized trays and fresh medium between cycles break the breeding cycle.
Yellow sticky traps set right at the tray surface catch the adult gnats and help knock back a stubborn population, and they stay non-toxic on a crop you eat raw. Most trays are still harvested before gnats build up.Sticky traps at the surface catch adults and dent a persistent population while staying safe on a raw crop; the short cycle usually harvests the tray before numbers matter.
No spray for this one. Prevention is the control.
The ladder troubleshoots from the gentlest solution to the strongest. Start with the gentlest option and only move on when and if it doesn't work.
Do not sow too thickly. Crowded, stuffy stands are where damping-off takes hold.A sensible seeding rate keeps the stand from staying wet and stagnant, the conditions damping-off needs.
Keep the mix just damp, not soggy, and water from the bottom once the leaves are up. A wet surface is the main trigger.Wrung-sponge moisture and bottom-watering once greened keep the surface from staying wet.
Keep a small fan running for constant gentle airflow so the surface and stems stay dry.
There is no spray you can use on a crop you eat raw, so prevention is the whole game. If a tray molds badly, toss it and start over with clean, sanitized trays.There is no rescue spray for a raw cut crop; sanitized trays between cycles are essential, and a badly affected tray is composted and restarted clean.
No spray for this one. Prevention is the control.
We're building this guide with real growers. Got a question we missed? Ask here. We read every one and add the best answers right to this page.
Learned something the hard way? Pass it on. Real growers' tips make this guide better for the next person, and we credit you by name when yours goes live.
If you've grown this crop and you see a date, a temperature, a companion claim, or a recommendation that doesn't match your experience, tell us. Real growers' corrections make this guide better for the next person.
Every date, temperature, spacing, and recommendation on this page is sourced from university cooperative extension publications, peer-reviewed agricultural research, NOAA climate data, and direct extension calendars. Where claims are softer (traditional gardening wisdom not formally documented), we say so.
Spot a data point that doesn't match your experience? Submit a correction; accepted corrections earn full author credit on the page.
Zone-aware seasonal nudges, what's worth planting now, and the occasional recipe from the harvest. No spam, ever.