Pick your zone and the dates re-calibrate.
The Guide Crops Vol. 003

Onion

in Zone 13, this week

An onion is the swollen base of the plant's leaves, packed into the layered bulb you cook with. Here is the part that surprises most first-time growers: an onion decides to start forming its bulb based on how long the days are, not on a date. Because of that, onions are sold by "day length" instead of by the usual hardiness zone. Long-day kinds like Walla Walla need very long summer days and suit the North, short-day kinds like Texas 1015Y need only short days and suit the South, and intermediate kinds like Super Star sit in the middle and grow well across much of the country. Pick the type that matches where you live, give the plants rich loose soil, water them steadily, and they are not hard to grow. Onion (Allium cepa) is a cool-season biennial grown as an annual for its bulb, which is a stack of swollen leaf bases rather than a root. Each green leaf builds one bulb scale, so leaf count at the moment bulbing starts sets the ceiling on bulb size. What triggers bulbing is day length, not the calendar: a cultivar switches from making leaves to filling a bulb only once daylight crosses its threshold. That threshold is what splits onions into long-day (14 to 16 hours, such as Walla Walla), intermediate-day (12 to 14 hours, such as Super Star), and short-day (10 to 12 hours, such as Texas 1015Y) types, and it is why the right variety depends on your latitude. Grow a heavy-feeding, shallow-rooted plant in loose fertile soil, keep moisture steady so growth never stalls, then ease off water as the tops fall to begin curing.
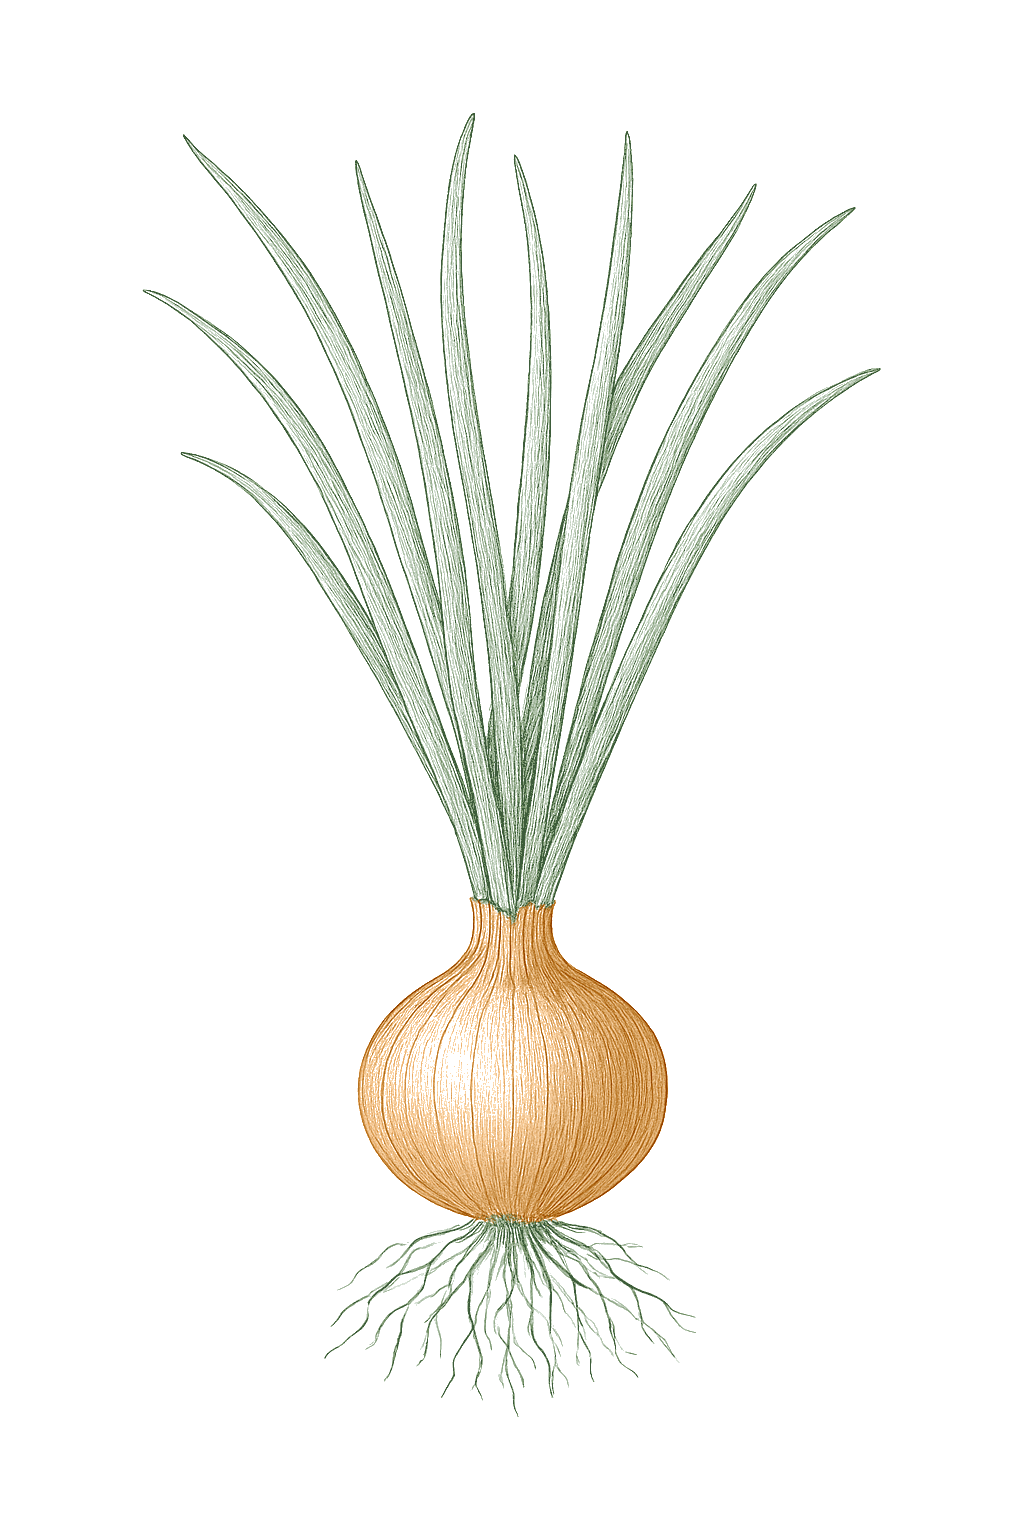
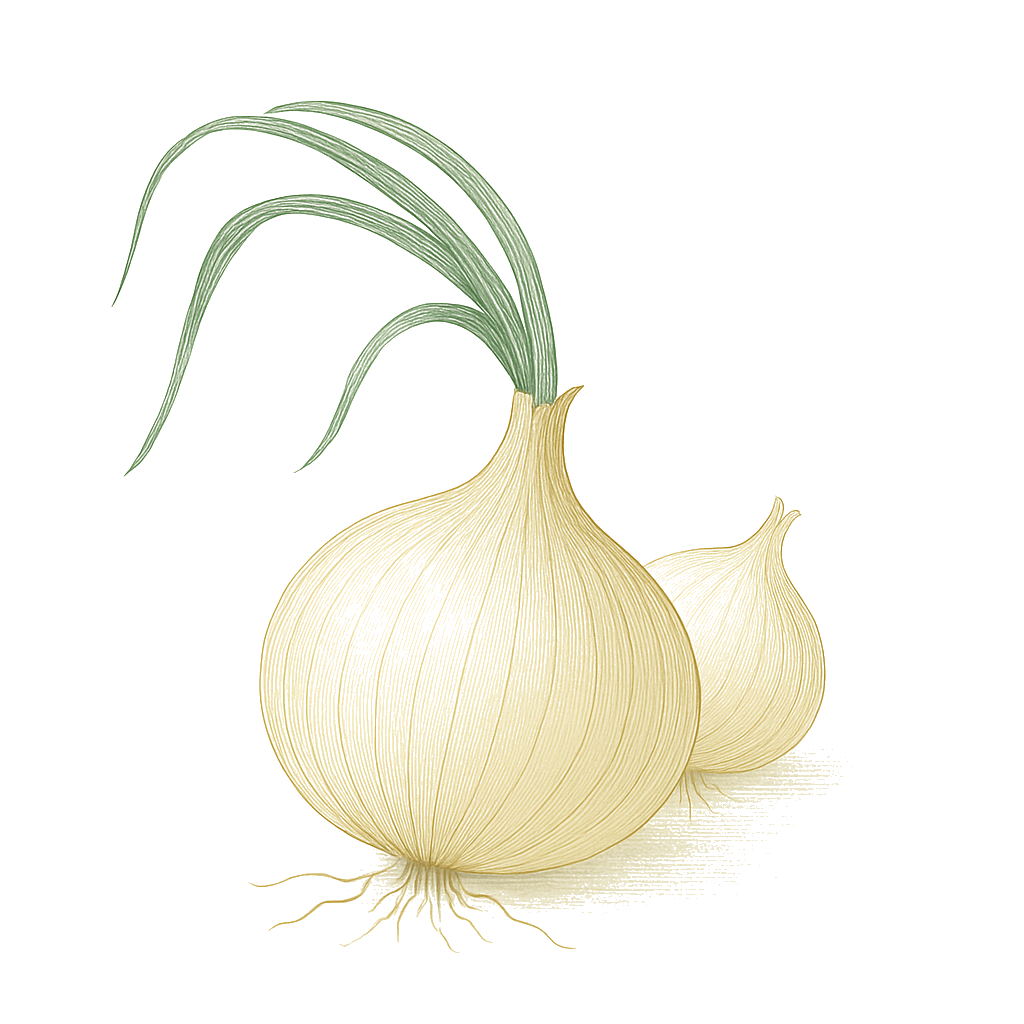
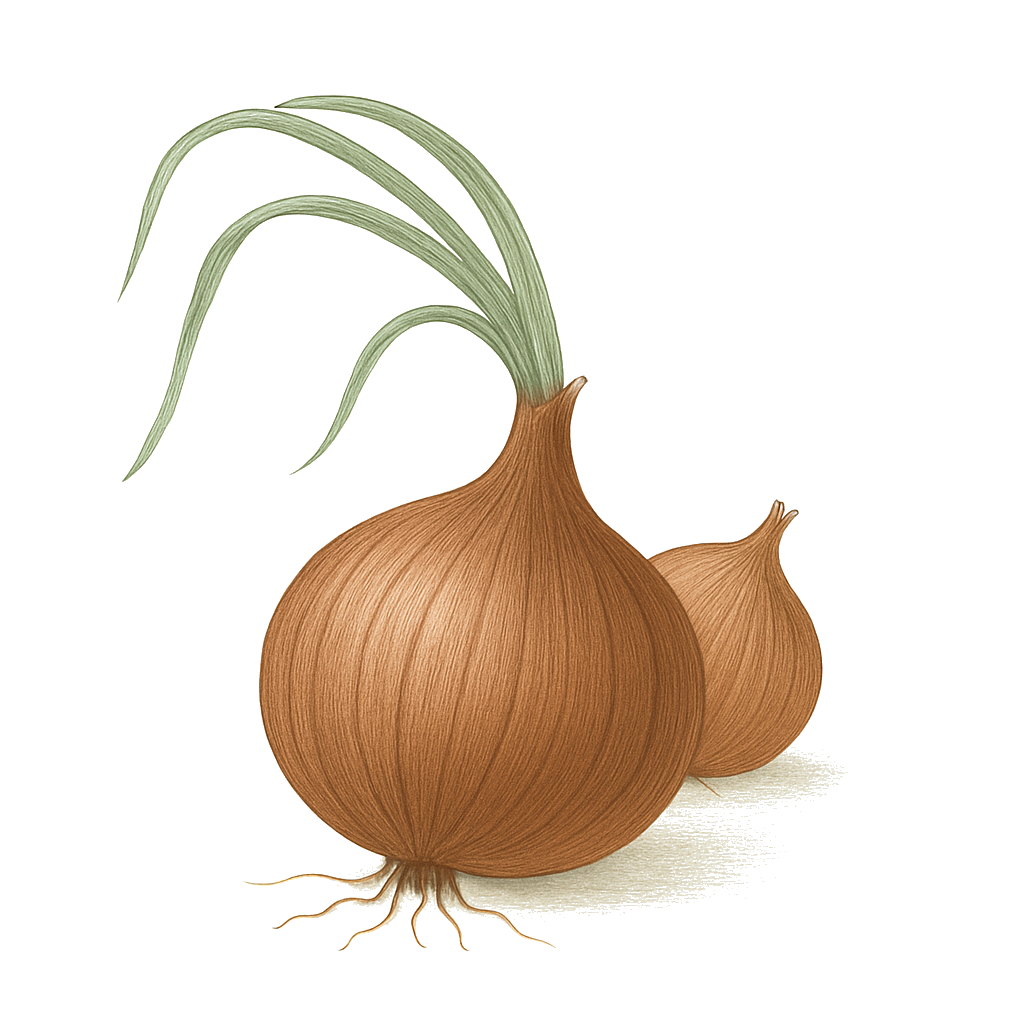
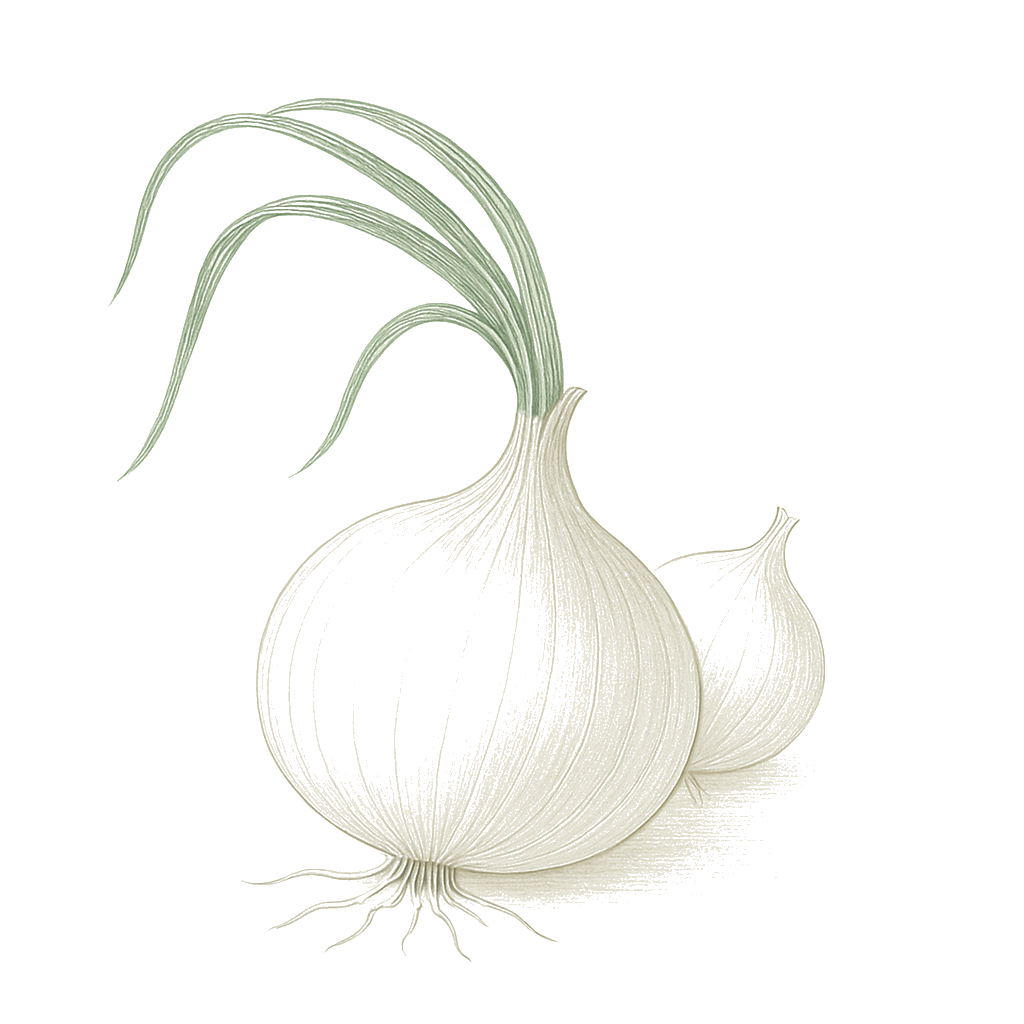
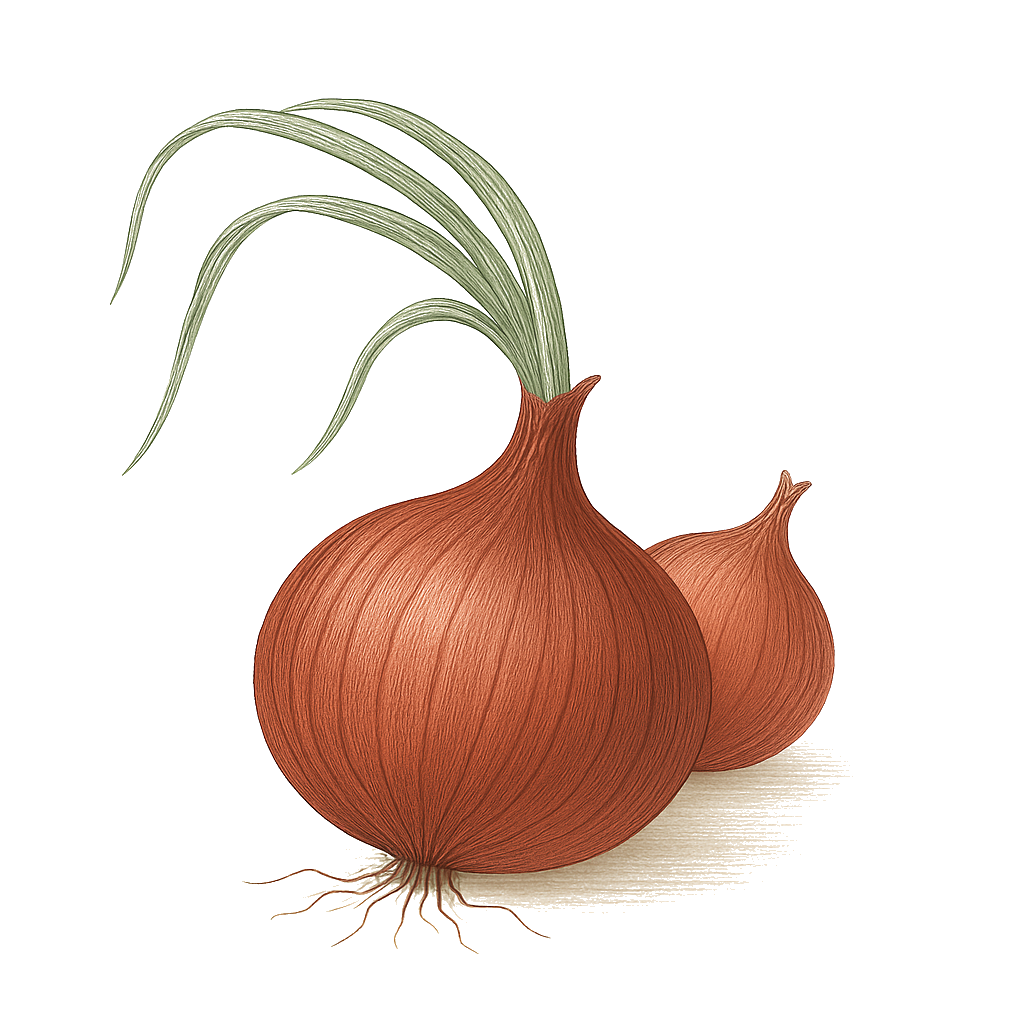
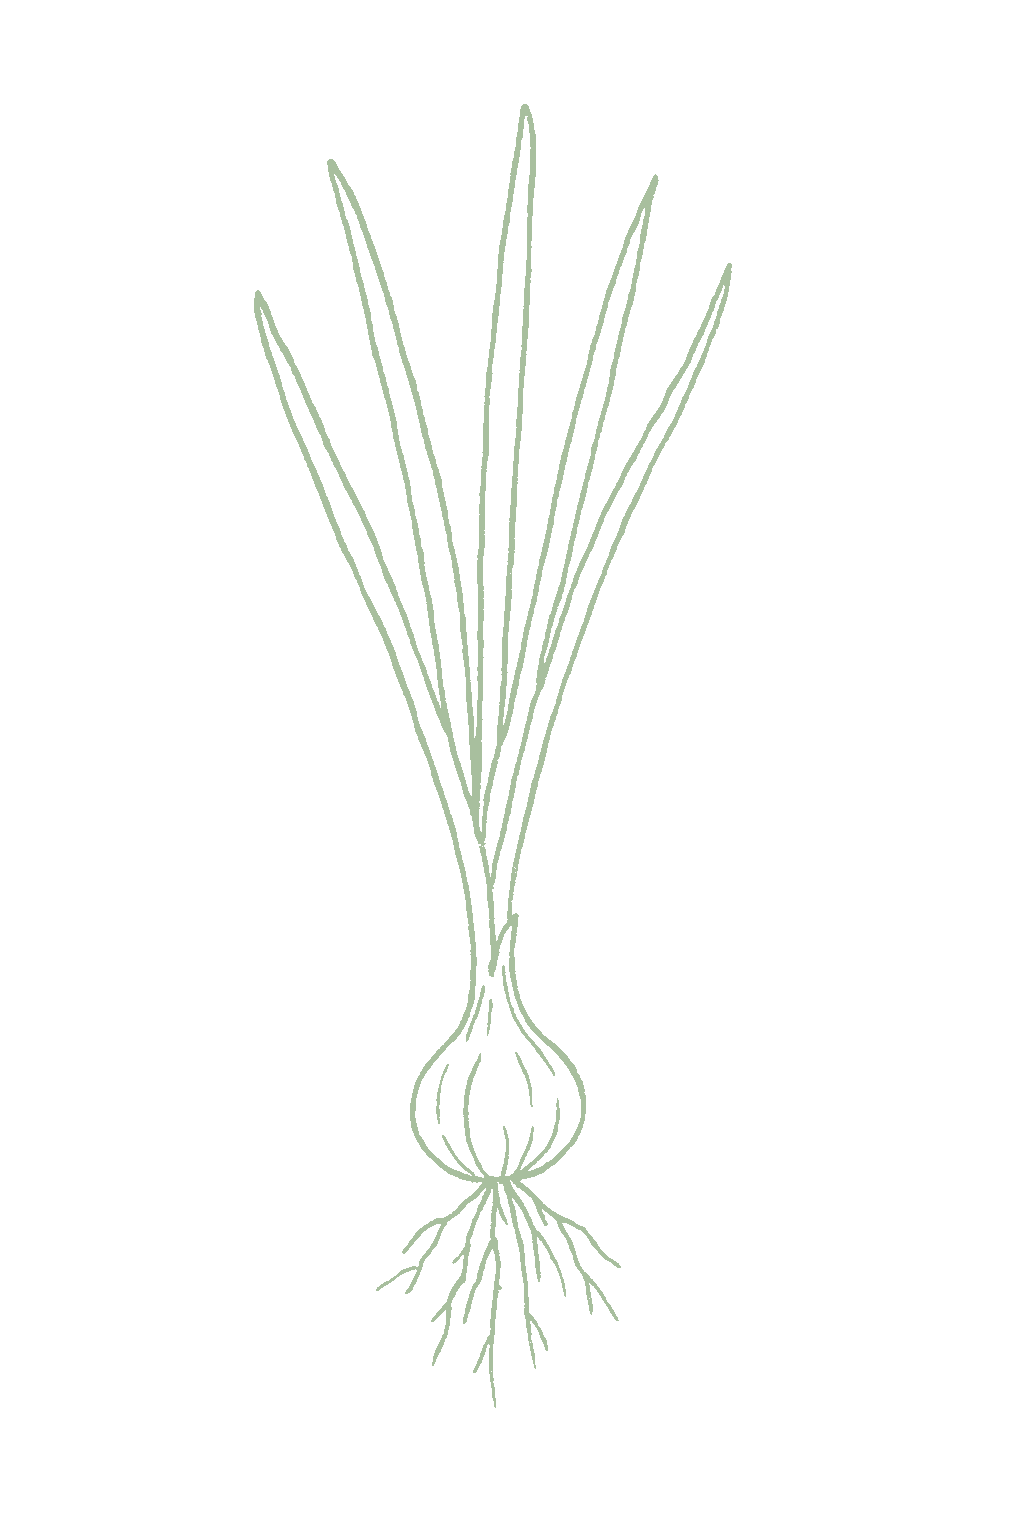
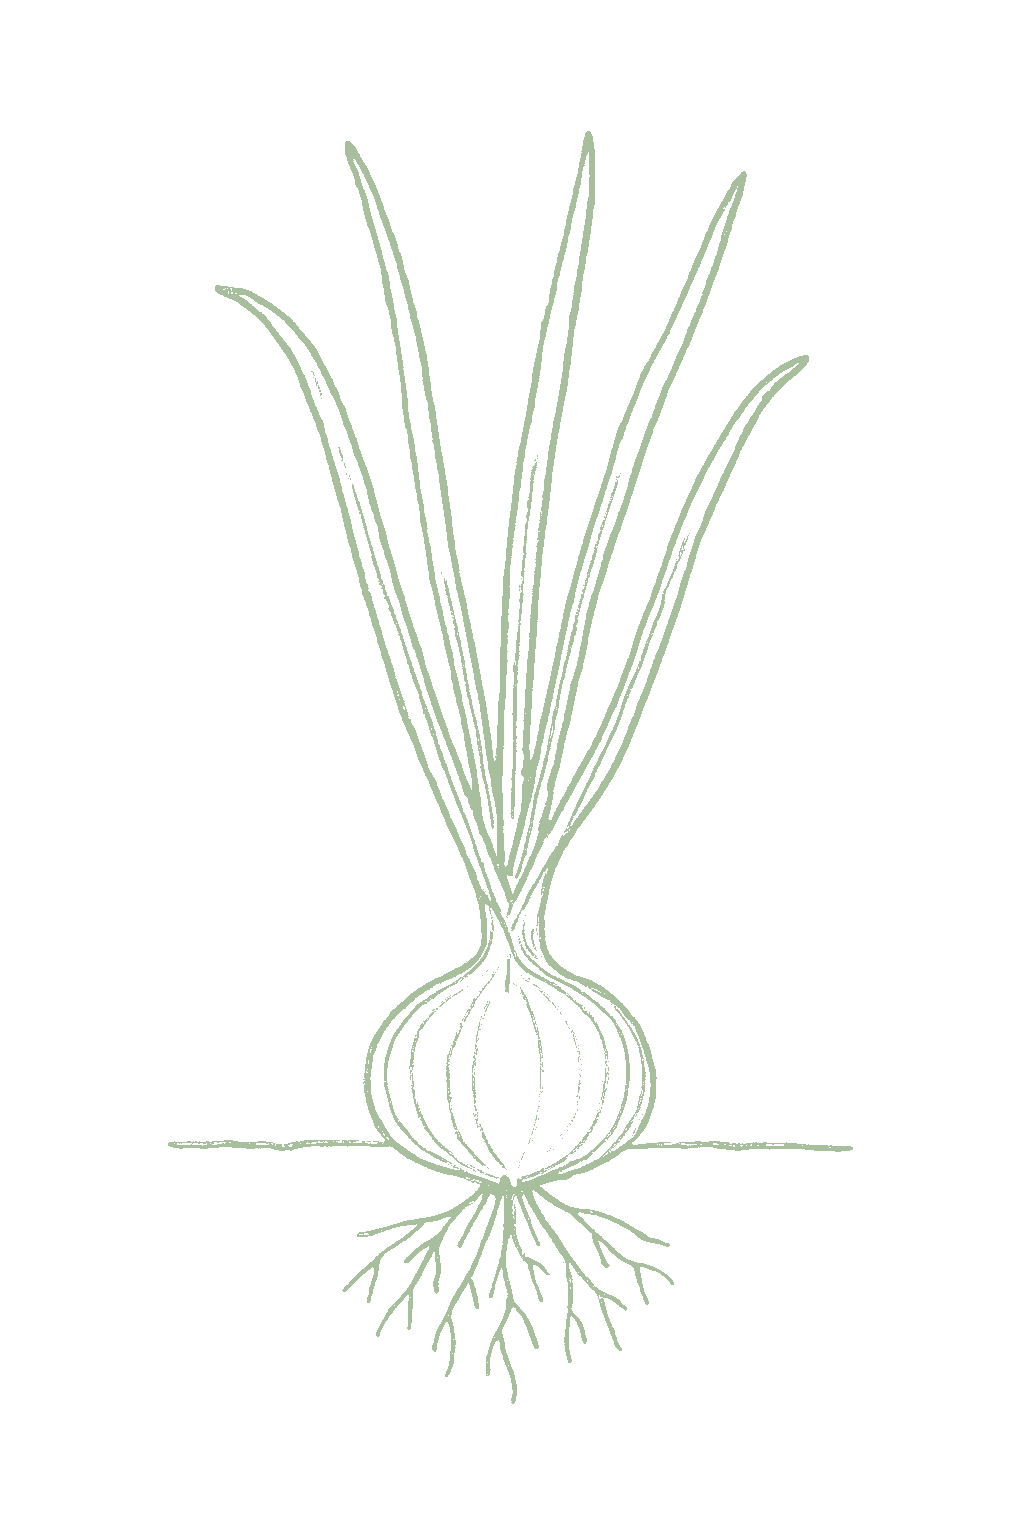
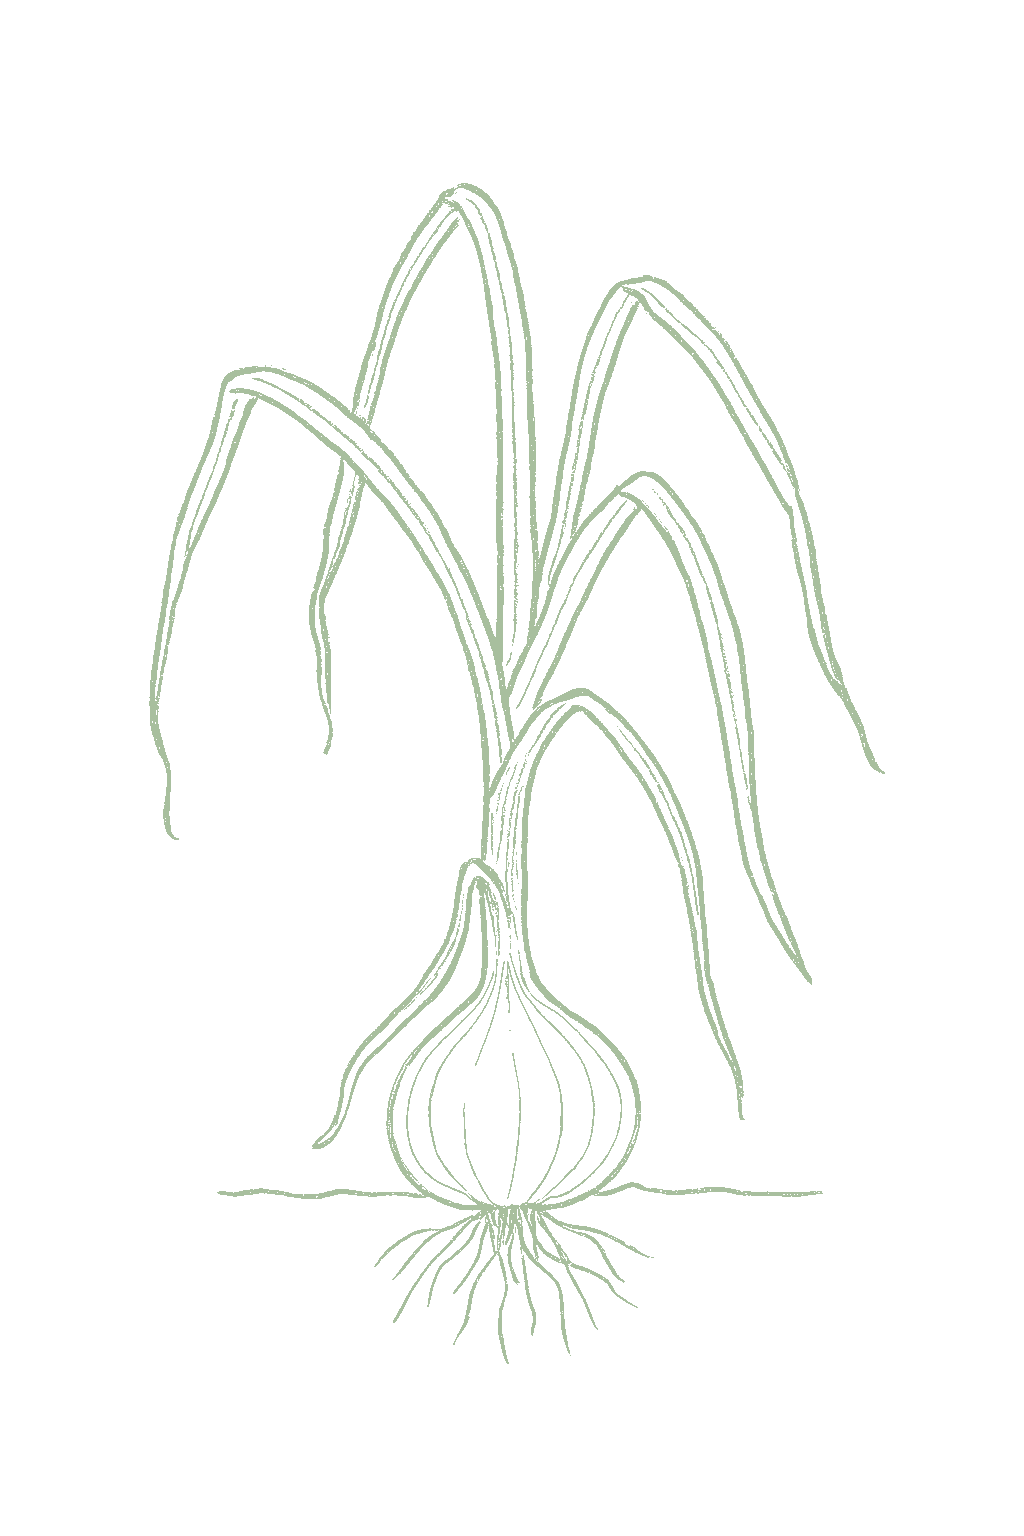
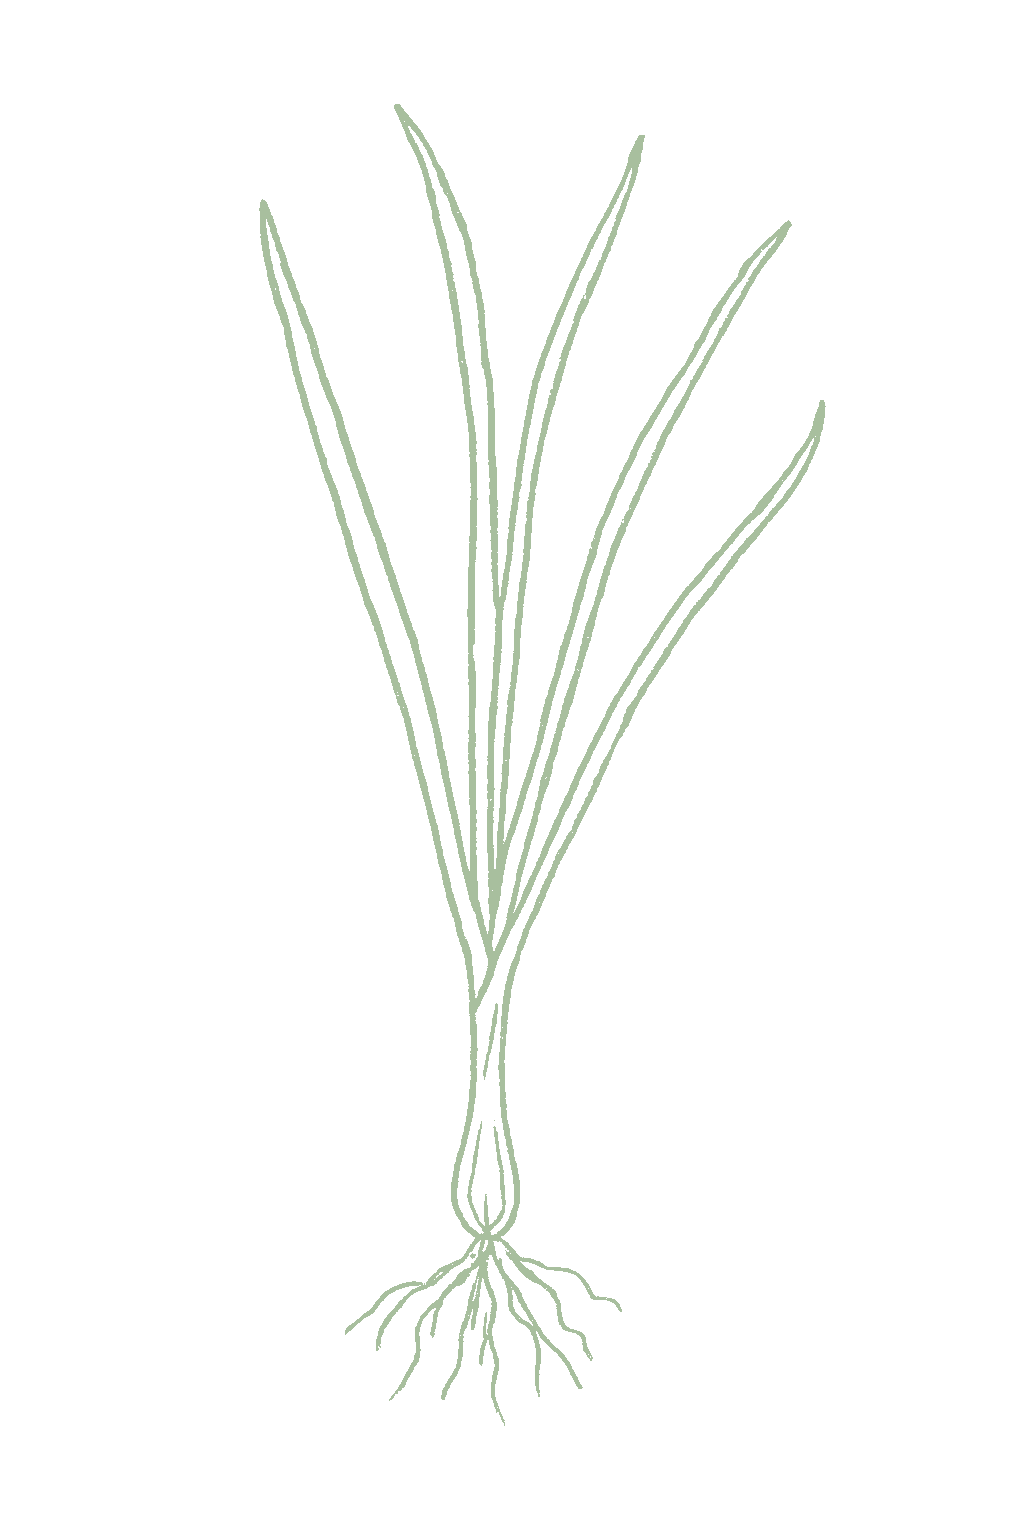
Onion mature plant
Fig. 01 · Onion, mature Zone 13
Mature in
90-120d
from transplant
Sunlight
Full sun
6-10 hrs daily
Water
Consistent
Spacing
4-6"
between plants
Soil pH
6-7
slightly acidic
Today · in your zone

What's happening right now

July 24 · Zone 13 · Stage 01 · Germination & Emergence

Off-season for onion in zone 13.

Day length, not the calendar

Pick the right onion for Zone 13

Onions are unusual: they start making a bulb based on how long the days are, not on the calendar. Each kind of onion needs a certain number of daylight hours before it will switch from growing leaves to growing a bulb. That is why onions are sold by "day length" instead of by hardiness zone. There are three kinds. Long-day onions need very long summer days (14 to 16 hours) and grow best in the North. Short-day onions need only short days (10 to 12 hours) and grow best in the South, where they are planted in fall or winter. Intermediate onions need about 12 to 14 hours and grow well across the middle of the country. Pick the kind that matches where you live: a northern onion planted in the South may never make a bulb, and a southern onion planted in the North makes only a tiny one. Day length decides when the bulb forms, but it does not change when you plant, which still depends on frost and soil temperature.Onion is photoperiodic: a bulb forms only once day length crosses a cultivar-specific threshold, at which point the plant stops adding leaves and starts filling a bulb. Cultivars fall into three classes by that threshold, long-day at 14 to 16 hours, intermediate-day at 12 to 14 hours, and short-day at 10 to 12 hours, so the suitable class depends on your latitude. Long-day types fit northern latitudes (roughly above 38 to 39°N), where summer days run long enough that plants build a large leaf canopy before the trigger; short-day types fit southern latitudes (roughly below 35°N), where they are planted in fall or winter and bulb as days lengthen; intermediate types span the middle (roughly 32 to 42°N) and grow well across much of the country. Plant the wrong class and a long-day onion in the South may never bulb, while a short-day onion in the North bulbs too early on few leaves and stays small. Day length triggers bulbing only; it never moves your planting date, which stays anchored to frost and soil temperature.

Grow in your area
Short-day onions

Where you live, plant short-day onions. Day length means how many hours of sunlight there are in a day, and short-day onions make a bulb once days reach only 10 to 12 hours, which happens in your mild fall and winter. A northern (long-day) onion planted here would never make a bulb at all, just leaves.At this latitude (below about 35 degrees N) grow short-day onions, which begin bulbing at just 10 to 12 hours of daylight. They are planted in fall or winter and bulb as days lengthen toward spring. A long-day variety here never reaches its longer daylength trigger and stays a leafy scallion that never forms a bulb.
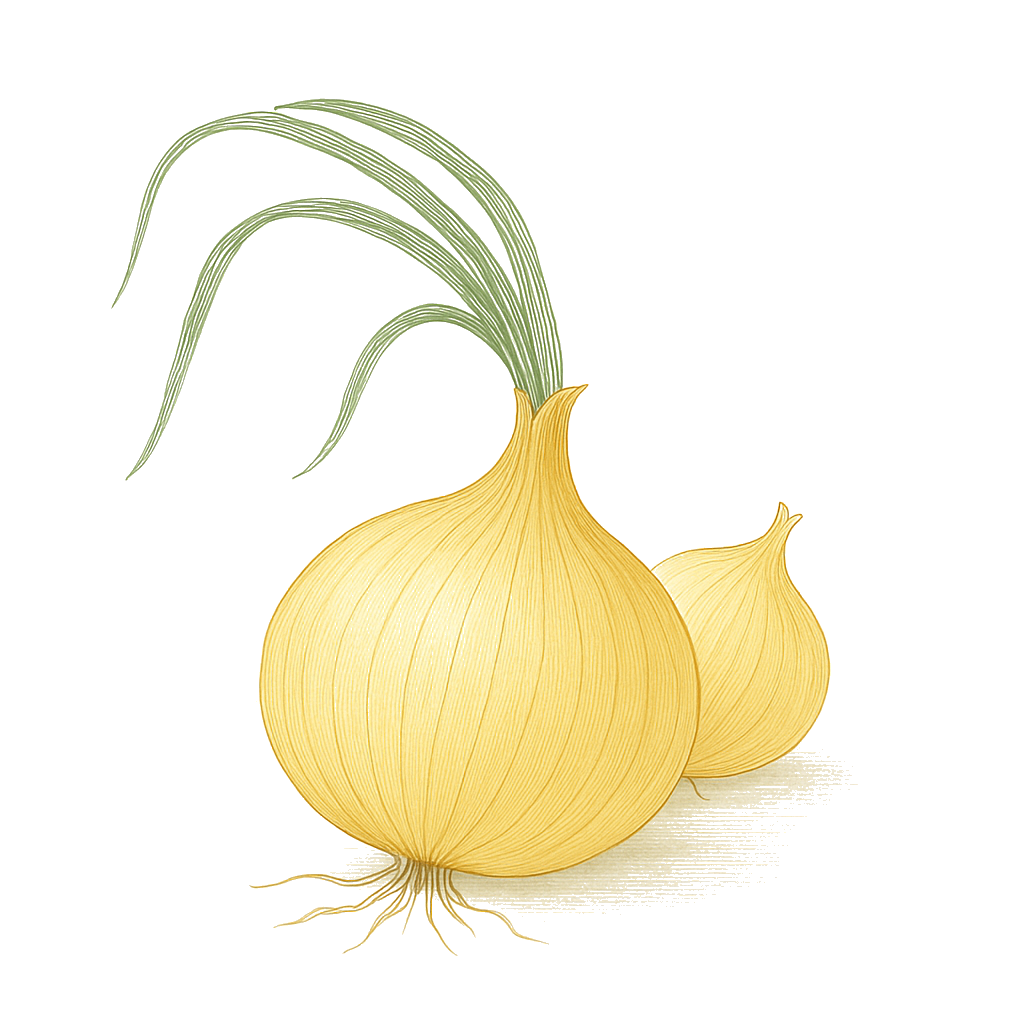
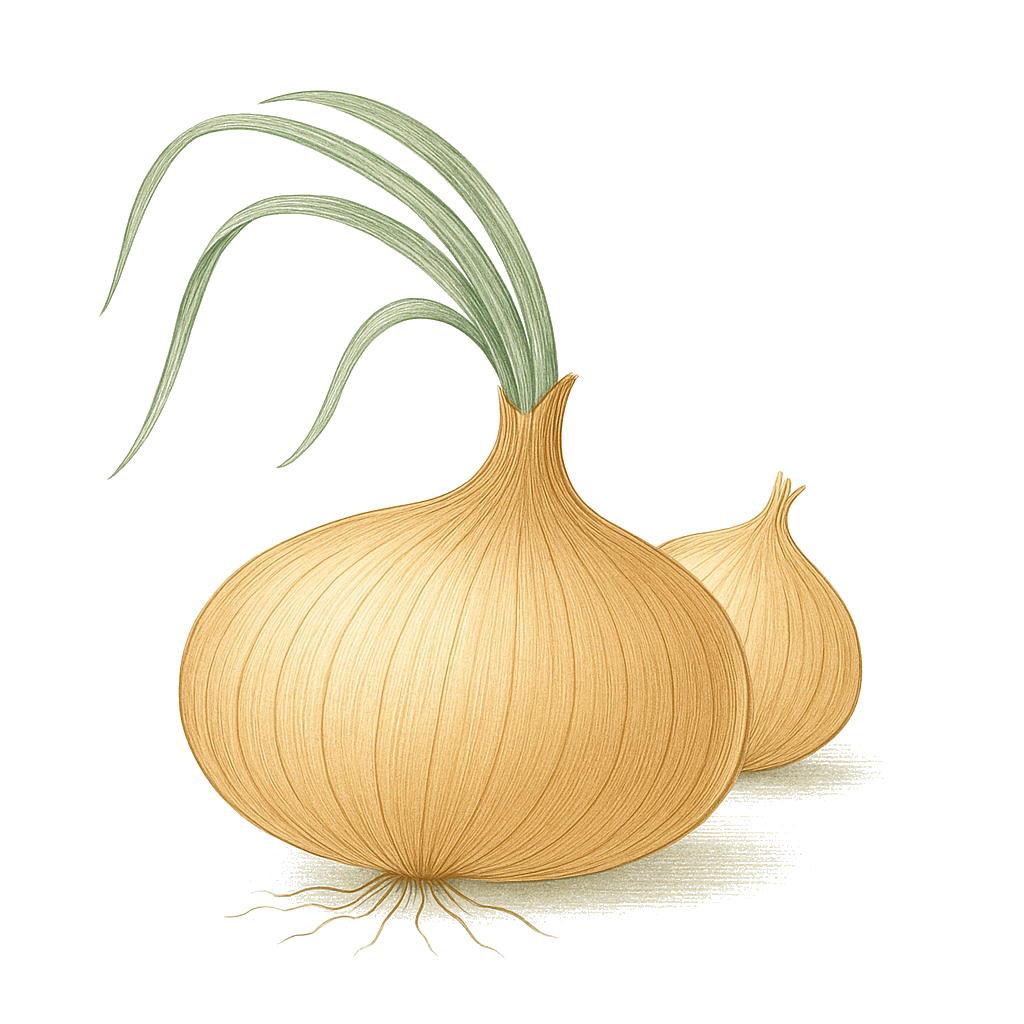
Short-dayfor your area
Texas 1015Y SuperSweet onion illustration
Texas 1015Y SuperSweetsweet fresh-eating
Yellow Granex onion illustration
Yellow Granexsweet fresh-eating
Long-day
Walla Walla onion illustration
Walla Wallasweet fresh-eating
Yellow Sweet Spanish onion illustration
Yellow Sweet Spanishall-purpose storage
Intermediate-day
Super Star onion illustration
Super Starsweet all-purpose
Cimarron onion illustration
Cimarronstorage
The season at a glance

Planting calendar

In Zone 13, onion can be planted September through November. Start indoors Aug. Harvest runs February through April.

Jan
Feb
Mar
Apr
May
Jun
Jul
Aug
Sep
Oct
Nov
Dec
plant
too late
too late
too late
too early
too early
too early
too early
indoors
plant
plant
plant
too late
harvest
harvest
harvest
harvest
indoors
plant out
harvest
Onions bulb on day length, not days since planting. Every planting in this window bulbs together once summer days get long enough, so a long planting window still gives one tight harvest. Planting earlier just grows a bigger onion before bulbing; it does not stagger the harvest.
Above-ground cropBest planted on a none moon
The season, mapped

Seed to garden

You can start onions three ways. Seeds give the biggest bulbs but take the longest. Transplants (young plants) are a faster, reliable choice. Sets (tiny dried bulbs) are the easiest of all. If you buy sets, pick the smallest ones, smaller than a dime, because big sets tend to flower (bolt) instead of forming a good bulb.Three entry points: direct-seed in early spring for the largest, longest-storing bulbs; set out field-grown or homegrown transplants for an earlier harvest in short-season areas; or push small sets into workable spring soil for the fastest, easiest start. Choose set or transplant size deliberately: small sets (smaller than a dime, under about half an inch) resist bolting, while oversized sets are primed to flower instead of bulbing. Bulbs from seed tend to run larger than bulbs from transplants of the same variety.
Start method
Both
Soil temp
48-90°F
From seed to fruit

The growing journey

Stage 01 · Germination & Emergence
01
Germination & Emergence
Days 7-21 · current stage
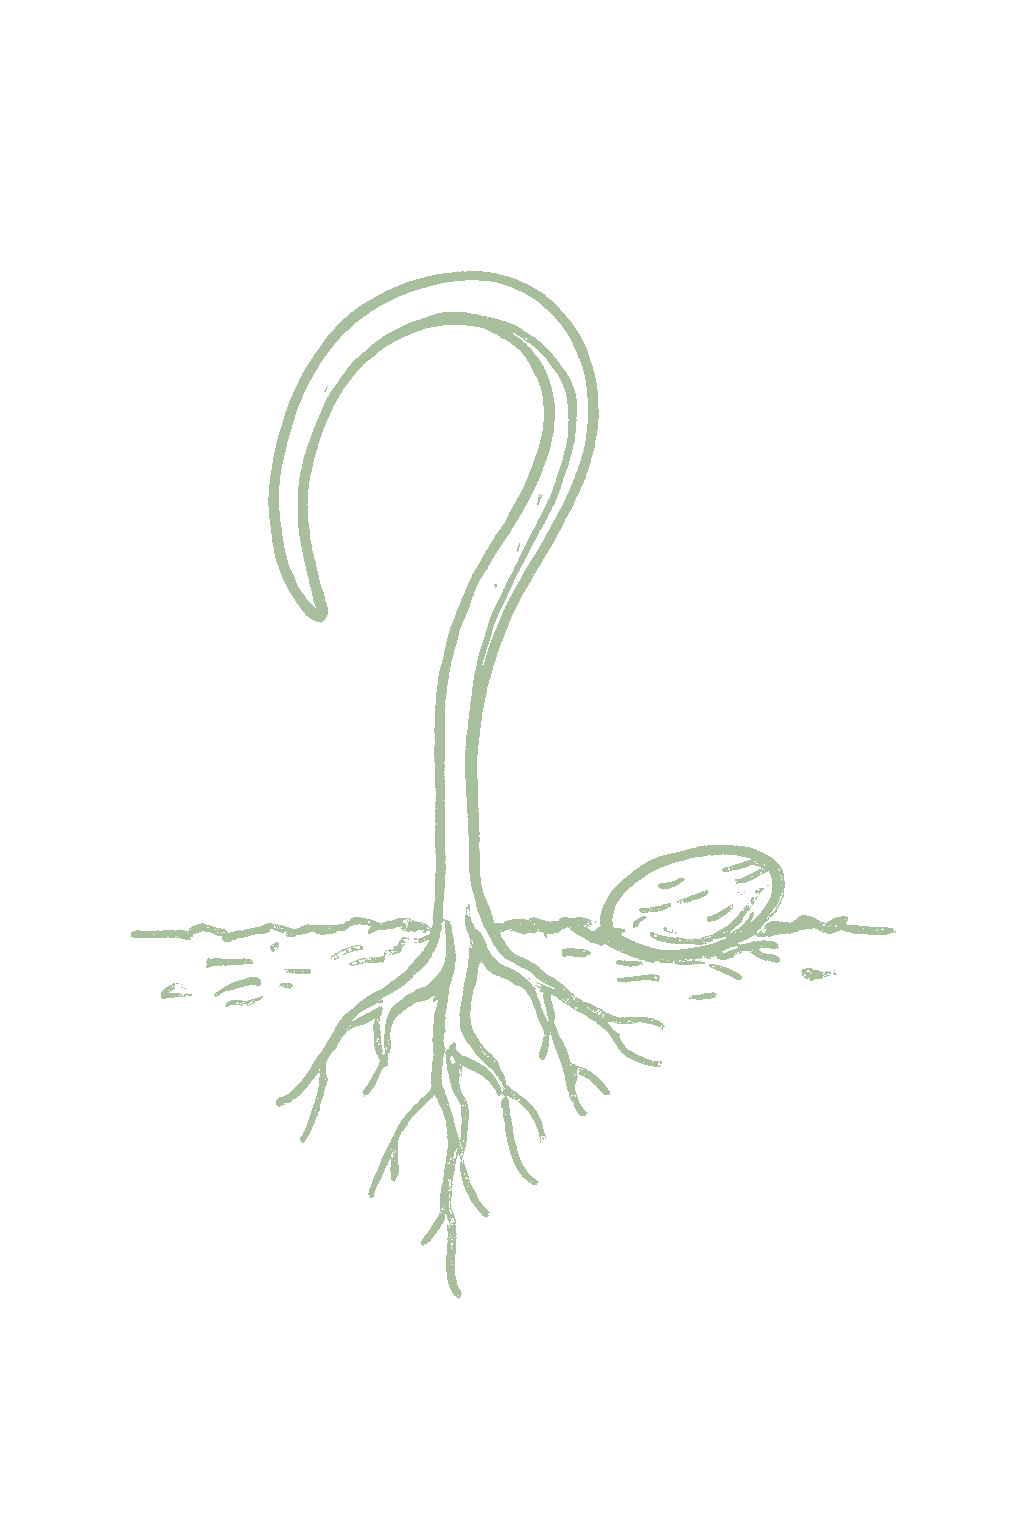
Look for thin grass-like shoots coming up. Each one starts bent over in a little loop, like a hairpin, then stands up straight. Onions sprout slowly and not all at once, so do not worry if they come up over a week or two rather than all together.A single looped seed leaf pushes up bent like a hairpin, then straightens into the first slender tube. Stands are sparse and uneven at first; onion germinates slowly and unevenly over a wide soil range (about 48 to 90°F), fastest in the middle of that band.
Keep the top of the soil damp so the tiny seeds do not dry out while sprouting, and pull weeds early, because young onions lose out to weeds easily. If you planted young plants or sets instead of seeds, you can skip this stage.Keep the surface evenly moist so the fine seed never dries mid-germination, and keep the bed weed-free from the start; onion seedlings are weak competitors. If you set transplants or sets instead of sowing seed, this stage is already behind you.
FROM PLANT · Plant small sets or thin transplants once the soil has warmed up a bit, so they do not bolt. Set them shallow and do not pile soil over the bulbs, because the roots are shallow and that hurts them.Set out at the right size and time: small sets and pencil-thick transplants into soil that has warmed past the cold-snap window resist bolting. Plant shallow; deep planting and hilling soil over the bulb damage shallow roots and shrink bulbs.
02
Leaf & Canopy Building
Days 21-90
The plant grows more and more upright leaves. This stage matters most for how big your onions get, because each leaf turns into a layer of the bulb later. The more healthy leaves the plant grows now, the bigger the onion can be, so you want steady, unbroken growth.The plant adds upright tubular leaves one after another. This is the stage that decides bulb size: each leaf becomes a bulb ring, so the number of leaves a plant builds before bulbing sets its size ceiling. You want vigorous, uninterrupted leaf growth, not a check from drought, weeds, or cold.
Help the plant grow lots of leaves now. Feed it with a nitrogen fertilizer, keep the soil evenly moist, and keep weeds out. Do most of the feeding early, while it is making leaves, because feeding too late leads to soft necks that do not store well.Push leaf growth: side-dress nitrogen, hold moisture steady, and stay ruthless about weeds. Front-load the feeding so the canopy is built before day length triggers bulbing; nitrogen applied late goes to soft necks instead of rings.
FROM PLANT · Focus on growing lots of healthy leaves now, because each leaf becomes a layer in the bulb later. Feed with nitrogen, keep the soil moist, and pull weeds, since onions do not compete with weeds well.Push leaf growth now: this is a leaf crop until day length flips it to a bulb crop, and every leaf becomes a ring. Side-dress nitrogen, keep moisture steady, and stay ruthless about weeds, which onions compete with poorly.
FROM PLANT · Keep weeding and watering steadily while the leaves fill in. The more uninterrupted growth the plants get now, the bigger the bulbs can be.Keep the bed weed-free and evenly watered through canopy build; uninterrupted growth before bulbing sets your maximum bulb size.
03
Bulb Initiation
Days 80-110
Day length is how long the daylight lasts. When the days reach the right length for your kind of onion, the plant stops making new leaves and the bottom starts to swell into a bulb. This switch is set by how long the days are where you live, not by the calendar, so you cannot speed it up. The bulb forms using however many leaves the plant already grew.Once day length crosses your cultivar's threshold (long, intermediate, or short day per the variety you planted), the plant stops adding leaves and the base begins to thicken. This is the photoperiod switch: the trigger is day length, set by your latitude and the season, not the calendar date or anything you do. Bulbing starts on whatever leaf count the plant reached, which is why the leaf stage mattered.
You cannot make this happen faster, so just keep watering steadily as the bulb starts to form. If nothing swells, or it swells when the plants are still tiny, you probably planted the wrong type of onion for your area, which is the thing to fix next year.There is no action that moves this trigger; the work was done in the leaf stage. Keep moisture steady so the swell starts without a check, and confirm you planted the right day-length class for your latitude (a mismatch shows up now as no bulbing or premature bulbing).
FROM PLANT · When the days reach the right length for your kind of onion, the plant stops making leaves and the bottom starts to swell. You cannot speed this up, so just keep watering steadily as it begins. If nothing swells, or it swells while the plants are still tiny, you likely planted the wrong onion type for your area, which is the thing to fix next year.Bulbing is triggered by day length crossing your cultivar's threshold, not by anything you do, so there is no action that moves it; the leaf count the plant reaches before the switch sets the bulb size. Keep moisture and nitrogen steady so the swell starts without a check, and confirm you planted the right day-length class for your latitude, since a mismatch shows up now as no bulbing or premature bulbing.
04
Bulb Sizing
Days 100-130
The leaves stay green and standing up while the bulb gets bigger below them, and you start to see the tops of the bulbs at the soil surface. This is when onions put on most of their size, so keep the watering steady; letting them dry out now makes smaller onions.Tops stay green and upright while the bulb swells underneath and shoulders begin to show at the soil surface. This is the fast-fill window; steady, even moisture now translates directly into size, while any drought check costs you final bulb weight.
Keep watering evenly and stop adding nitrogen fertilizer, because feeding now leads to thick necks that do not store. Do not pile soil over the bulbs or bend the green tops down to hurry them, an old trick that actually makes onions smaller, since those leaves are still feeding the bulb.Hold even moisture through the swell and taper nitrogen off; late nitrogen now thickens necks and works against storage. Do not pull soil up over the bulbs or bend the tops to force them, an old trick that backfires because the standing leaves are still feeding the bulb.
FROM PLANT · When the bulbs start to swell, stop adding nitrogen. Do not bend over the green tops to try to hurry things along, an old trick that actually backfires, because the leaves are still feeding the bulb and breaking them makes the onion smaller.As bulbs swell, taper off nitrogen and let the necks mature; do not bend or break the green tops to force bulbing, since the leaves are still feeding the bulb and knocking them down reduces final size.
05
Maturity & Curing
Days 110-140
The necks get soft and the green tops flop over by themselves. When about half of them have fallen, it is time to harvest. After you pull the onions, they still are not ready to store until they have dried out: the outer skin turns papery and the neck dries shut, which keeps them from rotting.The neck softens and the tops fall over on their own; about half the tops down is the harvest cue. After lifting, the bulb is not storage-ready until it is cured: outer scales turn papery and the neck dries tight, which seals the bulb against rot.
On a dry day, loosen the soil and lift the onions, handling them carefully so they do not get bruised (bruised spots tend to rot). Then dry, or cure, them for two to four weeks somewhere warm, shaded, and breezy until the skins go papery and the necks dry shut. Snip the tops to leave about an inch of stem, and keep them somewhere cool and dry.Loosen and lift on a dry day, handling gently to avoid the bruises that seed storage rot. Cure two to four weeks in a warm, airy, shaded spot until scales rustle and necks are tight, then cut tops to leave roughly an inch of stem before storing cool and dry.
FROM PLANT · Harvest when about half the tops have flopped over on their own and the necks feel soft. Lift the bulbs gently on a dry day, and try not to bruise them, since bruises lead to rot in storage.Harvest when about half the tops have naturally fallen and necks have softened. Loosen and lift on a dry day; careful handling avoids the bruises that seed storage rot.
FROM PLANT · Dry (cure) the onions in a warm, airy, shaded place for two to four weeks until the outer skins are papery and the neck is tight and dry. Then cut the tops about an inch above the bulb. Onions that are not dried well are the ones that rot in storage.Cure in a warm, airy, shaded spot (about 75 to 90°F) for two to four weeks until outer scales are papery and the neck is tight and dry, then trim tops about an inch above the bulb. Poor curing is the main cause of storage loss.
Beginner
Know your soil

Your soil

Identify yours

Not sure what soil you have? Grab a small handful of damp soil from your garden bed and squeeze it. If it crumbles apart easily, it's sandy. If it holds together but breaks when you poke it, it's loam (what most vegetables want). If it stays in a hard, slippery ball, it's clay.

What this crop wants

Onions like loose, rich, well-drained soil. Mix in compost before you plant. They do not do well in heavy clay or in soil that forms a hard crust on top, because their roots stay shallow and need air and steady moisture right near the surface.

If your soil doesn't match

You have sandy soil

Mix 2-3 inches of compost into the top 6 inches of your bed before planting. Compost holds moisture (which sandy soil drains too fast) and adds the nutrients sandy soil tends to lack. Repeat each season. Compost breaks down over time.

You have clay soil

Mix 2-3 inches of compost AND a few inches of coarse sand or perlite into the top 6 inches of your bed. The compost feeds the plants; the sand breaks up the clay so air and water can move through. Don't add sand without compost. It can compact like concrete.

Containers and raised beds

If amending your soil sounds like too much work, or if your soil is heavy clay, full of rocks, or contaminated, build over it. A raised bed at least 12 inches deep filled with a 50/50 mix of compost and sandy loam gives you ideal growing soil with no battles. A 5-gallon container with quality potting mix does the same for one plant at a time. Both bypass your native soil entirely.

Learn more about your soil
The specs

Care guide

The numbers that matter, at a glance.

Sunlight
Full sun · 6-10 hrs/day
Water
consistent
Spacing
4-6 inches
Soil
loam, sandy loam
Days to maturity
90-120 days from transplant
Soil pH
6 to 7
Container OK?
Yes · 5+ gal pot
Germination temp
48-90°F
Soil chemistry

Soil pH for onion

Preferred
6 to 7
Tolerated
6 to 7.8

Onions like soil that is close to neutral, about pH 6.0 to 7.0. They do not like sour (acidic) soil. If a soil test comes back below 6.0, adding garden lime helps. A simple soil test takes the guesswork out of it.Onions grow best near neutral, roughly pH 6.0 to 7.0, and tolerate up to about 7.8. They dislike acid soil; below pH 6.0 a liming amendment helps. Confirm with a soil test before adjusting.

Verified · 2 sources View
Steady hand on the hose

Watering

When & how much
Frequency
Water onions regularly so the soil stays evenly moist while they grow. Their roots are shallow, so they cannot find water deep down, and dry spells make the bulbs smaller. Stop watering when the tops start to flop over, so the bulbs can begin to dry.Keep the soil consistently moist throughout leaf growth and bulbing; onions have small, shallow root systems and any drought check directly reduces yield and bulb size. Then stop watering once the tops begin to fall, to start the bulbs curing.
Amount
About an inch of water a week is a good target, and more during hot, dry weather. Steady is better than a flood one week and nothing the next.Aim for roughly an inch of water per week from rain plus irrigation, more in heat or sandy soil, delivered steadily rather than in swings.
Method
Water the soil at the base of the plants, not over the leaves. Keeping the tops dry helps prevent disease.Water at the base with drip or a soaker to keep the foliage dry; wet tops invite leaf and neck diseases.
Signs of trouble
Too much water
If the soil stays soggy and the bottoms of the plants turn yellow and soft, that is too much water. Sitting in wet soil makes onions rot.Waterlogged soil and yellowing, mushy bases signal overwatering; standing moisture around the bulb encourages basal and neck rots.
Too little water
Wilting, bluish, or brown-tipped leaves mean the onions are too dry. Onions that do not get enough water stay small and taste sharper.Bluish, wilting, or tip-burned leaves and stalled growth indicate the bulbs are running short of water; under-watered bulbs stay small and turn more pungent.
Feeding rhythm

Feeding

Frequency
Side-dress periodically
Type
Nitrogen-forward
When to start
Side-dress through leaf growth, then taper off as bulbs form

Onions are hungry plants. Feed them nitrogen while the leaves are growing, because more healthy leaves mean a bigger bulb later. Feed twice: once by the middle of May, then again near the end of June. Stop feeding after about mid-July. Feeding late makes thick necks and soft onions that do not keep well.Onions are heavy feeders. Drive leaf growth early with nitrogen, side-dressing twice while the leaves build, with a first feeding by the middle of May and a second toward the end of June, because every leaf at bulb initiation becomes a bulb scale and sets the size ceiling. Then stop: hold off on nitrogen past about mid-July. Late, excess nitrogen delays maturity and produces thick necks, soft bulbs, and poor storage.

High nitrogen early

Use a feed higher in the first number (nitrogen) early on, then stop the nitrogen once bulbs start.Higher first-number (N) feeds early; ease off nitrogen at bulb initiation.

Try ammonium sulfate or a balanced vegetable fertilizer
Who grows well together

Companion planting

Onions are good neighbors for carrots, beets, lettuce, and cabbage-family plants, mostly because their strong smell is thought to keep some pests away. The main thing to avoid is planting onions next to beans or peas, since onions can slow those down. These are helpful traditions, not sure things, so do not worry if your garden does a little differently. Onions earn their companion reputation mostly through their scent, which is traditionally credited with deterring aphids and the carrot rust fly, so they pair well with carrots, beets, lettuce, and brassicas. The one firm caution is the legume conflict: alliums are widely held to inhibit beans and peas, so keep onions away from them. Most of these claims are traditional rather than trial-proven; treat them as low-risk suggestions, not guarantees.

Other
Carrots
Onions and carrots are a classic garden pair. Their strong smell is said to help hide carrots from the carrot rust fly, and the two plants do not crowd each other's roots.Carrots and onions are the textbook reciprocal pairing. Your onions' sulfur scent helps mask the carrots from the carrot rust fly, and in return carrots interplanted with onions tend to carry less onion thrips damage, so each crop disrupts the other's main pest. Intercropping trials have measured real reductions in carrot fly where the two grow together. Plant in alternating rows with enough onion density for the scent-masking to register, and note the strongest results come from small mixed plantings rather than large solid blocks. Research-backed
Beets
Beets and onions grow well side by side. They like the same cool weather and stay out of each other's way.Beets and onions share a bed comfortably. The onion's pungency helps deter pests that bother beets, and because onions bulb shallowly with sparse upright foliage while beets put their energy into a single root, the two do not crowd each other above or below ground. This is mostly a good-neighbor, efficient-space pairing with a modest pest-repel bonus. Traditional
Lettuce
Fast little lettuce plants fit nicely in the gaps between onions and like the same cool season, so you get two crops from one spot.Lettuce and onions interplant efficiently. Lettuce is shallow-rooted and quick while onions send a narrow bulb down with little leafy spread, so they occupy different space and the lettuce fills in between onion rows. The onion scent offers a little aphid deterrence over the lettuce as a bonus. Treat it as a space-and-timing pairing first, mild pest help second. Traditional
Brassicas (cabbage, broccoli)
Cabbage and broccoli like the same cool weather as onions, and the strong onion smell is thought to bother some of their pests.Onions are a well-supported brassica companion. Their sulfur scent helps mask the cabbage family and deter its signature pests, cabbage loopers, worms, and root maggots, and extension trial work including onion in a mix with broccoli showed reduced caterpillar damage. Alliums are shallow and undemanding, so they tuck between brassicas without competing for the heavy feeding those crops want. Research-backed
Provenance tagged inline · see methodology for the labeling system Key
Harvest signals

When to pick

Your onions are ready to dig when about half the tops have flopped over on their own and the necks feel soft. A simple test: gently pinch the neck just above the bulb. If it is stiff, wait; if it is soft and floppy, it is time. Pull them on a dry day, then dry (cure) them.Bulb onions are ready when about half the tops have naturally fallen over and the necks have begun to soften and dry. Pinch a neck to judge maturity: a stiff neck is immature, a soft, limber neck is ripe, and a collapsed neck means over-mature. Lift on a dry day, then cure.

Verified · 2 sources View
Yield

What to expect

Each onion plant makes one bulb. A 10-foot row can give you about 20 to 25 pounds of onions in a good year.One bulb per plant. A 10-foot row at 4-inch spacing yields roughly 20 to 25 pounds of bulbs in a good season.

Onions of the same kind all finish around the same time, so you harvest most of them together rather than a few at a time.All bulbs of a variety size up and mature together as day length triggers bulbing, so the harvest comes in one main flush rather than over a long window. The most important thing for a good first harvest is picking the right type for where you live. The wrong type will make tiny bulbs or no bulbs.Matching variety day-length type to your latitude is the biggest first-year yield lever; a mismatched type bulbs too early (small) or never bulbs at all.

What changes yield
variety day-length type matched to latitudeleaf count at bulb initiationconsistent moistureearly nitrogen then taperspacingfreedom from bolting
Verified · 2 sources View
Off the vine

Storing your harvest

Room temp
Once the onions are cured (dried), keep them somewhere cool, dry, and airy. They keep best just above freezing; a warm spot makes them sprout. Eat any thick-necked ones first, since those do not store well.After curing, store cured bulbs in a cool, dry, well-ventilated spot near 32 to 40°F; warmer than about 40°F encourages sprouting. Use thick-necked bulbs first; they do not keep.
Fridge
You do not need to refrigerate whole cured onions, and the fridge can make them damp. Sweet onions are the exception, since they do not keep long, so the fridge helps them last.Whole cured onions do not need refrigeration and can sweat in the crisper; sweet short-day types, which store poorly, are the exception and keep longer chilled.
Freezer
You can chop onions and freeze them for cooking. They go soft after thawing, so use frozen onions in cooked food, not in salads.Onions freeze well chopped for cooking; texture softens, so use frozen onion in cooked dishes rather than raw.
Verified · 2 sources View
When something goes wrong

Common problems

01 of 03
02 of 03
03 of 03
Verified · 5 sources View
The usual suspects

Pests & diseases

Pests
Onion thrips
P · 01
Cause A tiny insect called onion thrips. It multiplies fast in warm, dry weather and hides in the tight folds of the leaves.Onion thrips (Thrips tabaci) build through warm, dry spells, sheltering in the leaf axils where sprays miss them.
Onion maggot
P · 02
Cause The larvae (maggots) of a small fly that lays eggs at the base of onion plants. They survive in leftover onion debris.Larvae of the onion maggot fly (Delia antiqua), whose eggs are laid at the plant base; populations carry over in allium residue.
Diseases
Botrytis neck rot
D · 01
Cause A mold that gets into the neck of onions that were harvested too green or not dried properly. Too much fertilizer and bending the tops down make it worse.Botrytis infection of immature or insufficiently cured necks; excess nitrogen and bent-over green tops worsen it.
Fusarium basal rot
D · 02
Cause A soil fungus that stays in the ground for years and likes warm soil. Injuries and insect damage let it in.Soilborne Fusarium that persists for years and is favored by warm soil; wounds and maggot damage open the door.
Pink root
D · 03
Cause A soil fungus that builds up when onions and their relatives are grown in the same ground year after year. Stressed plants get it worst.A soilborne fungus (Setophoma terrestris) that builds in continuous allium ground; stressed plants show it worst.
Verified · 2 sources View
Seasoned
Where to plant next year

Crop rotation

Onions do well planted after leafy greens or beans and peas. Just do not plant beans or peas right next to onions, since onions can slow them down.Onions follow well after a leafy or legume crop and pair poorly before beans and peas, which alliums tend to inhibit.

Family
Allium
Years between
4 years
in the same bed
Avoid following
Do not plant onions where you grew onions, garlic, or leeks recently. Some onion diseases live in the soil and build up. Wait at least 3 to 4 years before growing onions in the same spot again.Avoid following onions or other alliums (garlic, leeks, shallots) in the same ground; several onion diseases, including pink root and white rot, persist in soil. Commercial guidance runs as long as 5 to 7 years between allium crops; a home garden can target at least 3 to 4.
Plant after
leafy greens or legumes
Verified · 2 sources View
In the app · pre-launch

When plant taps you on the shoulder

The plant app sends a timely reminder at every critical moment of your onion season. The wording adjusts to whichever you pick: beginner or seasoned. Here are three you'll see in Zone 13.

p
plant
12 weeks before last frost
Time to start onion seeds inside
If you are growing onions from seed, plant them in trays indoors now, about 10 to 12 weeks before they go outside. Onions need this long head start to grow lots of leaves first. If you are using sets or young plants from a store, you can ignore this reminder.
p
plant
2 weeks before last frost
Time to plant onions outside
Plant your sets or young onions outside now, once the soil is workable and not ice-cold. Set them shallow and use small, thin ones. Big sets, or a cold snap right after planting, can make onions bolt (shoot up a flower stalk instead of making a bulb).
p
plant
2 weeks after last frost
Feed your onions now
Give your onions a nitrogen fertilizer now, while they are growing leaves, and again every few weeks until the bulbs start forming. Feeding early builds the leaves that decide bulb size. Once bulbs start to swell, stop feeding, because it does more harm than good then.
Get personalized alerts.

plant sends the right notification at exactly the right moment, for your zone, your weather, your crops. Founding members lock the rate forever.

Back the Kickstarter →
Ask the gardener

Common questions

Got a question we missed?

We're building this guide with real growers. Got a question we missed? Ask here. We read every one and add the best answers right to this page.

Grown this before?

Share a tip

Learned something the hard way? Pass it on. Real growers' tips make this guide better for the next person, and we credit you by name when yours goes live.

Seasoned
Spot something wrong?

Report a problem

If you've grown this crop and you see a date, a temperature, a companion claim, or a recommendation that doesn't match your experience, tell us. Real growers' corrections make this guide better for the next person.

How we built this guide

Methodology & sources

Every date, temperature, spacing, and recommendation on this page is sourced from university cooperative extension publications, peer-reviewed agricultural research, NOAA climate data, and direct extension calendars. Where claims are softer (traditional gardening wisdom not formally documented), we say so.

Research-backed Documented in cooperative extension publications or peer-reviewed research
Well-grounded A known agronomic principle, but not formally tested for this specific pair
Traditional Time-tested gardening wisdom, limited formal research support
Last reviewed
June 16, 2026
Data version
crops_data_final · v1.0 · schema 2.9
Sources cited on this page
16 publications
Verified entries
Companion-planting claims tagged inline · zone dates verified against 5+ extensions
See all sources cited on this page
  • University of Minnesota Extension umn_ext
  • University of Maryland Extension umd_ext
  • Cornell Cooperative Extension cornell_ext
  • Iowa State University Extension iastate_ext
  • Michigan State University Extension msu_ext
  • NC State Extension ncsu_ext
  • Penn State Extension psu_ext
  • U. of Illinois Urbana-Champaign Extension uiuc_ext
  • UC Davis Postharvest Center ucd_postharvest
  • Texas A&M AgriLife Extension tamu_agrilife
  • Virginia Cooperative Extension 426-331 vce_426_331
  • Piedmont Master Gardeners piedmont_mg
  • UGA Vegetable Garden Calendar uga_calendar
  • Clemson Home & Garden Information Center clemson_hgic
  • UC IPM Statewide IPM Program uc_ipm
  • NOAA 1991-2020 Climate Normals noaa_normals

Growing notes, weekly.

Zone-aware seasonal nudges, what's worth planting now, and the occasional recipe from the harvest. No spam, ever.

Vol. 003 · Onion · plant.lifestyle