Will it actually fruit here?
Hardiness tells you the tree will survive your winters. It does not tell you whether you will get fruit. Each zone carries its own verdict. Yours is marked.
rarely fruits
rarely fruits
low chill
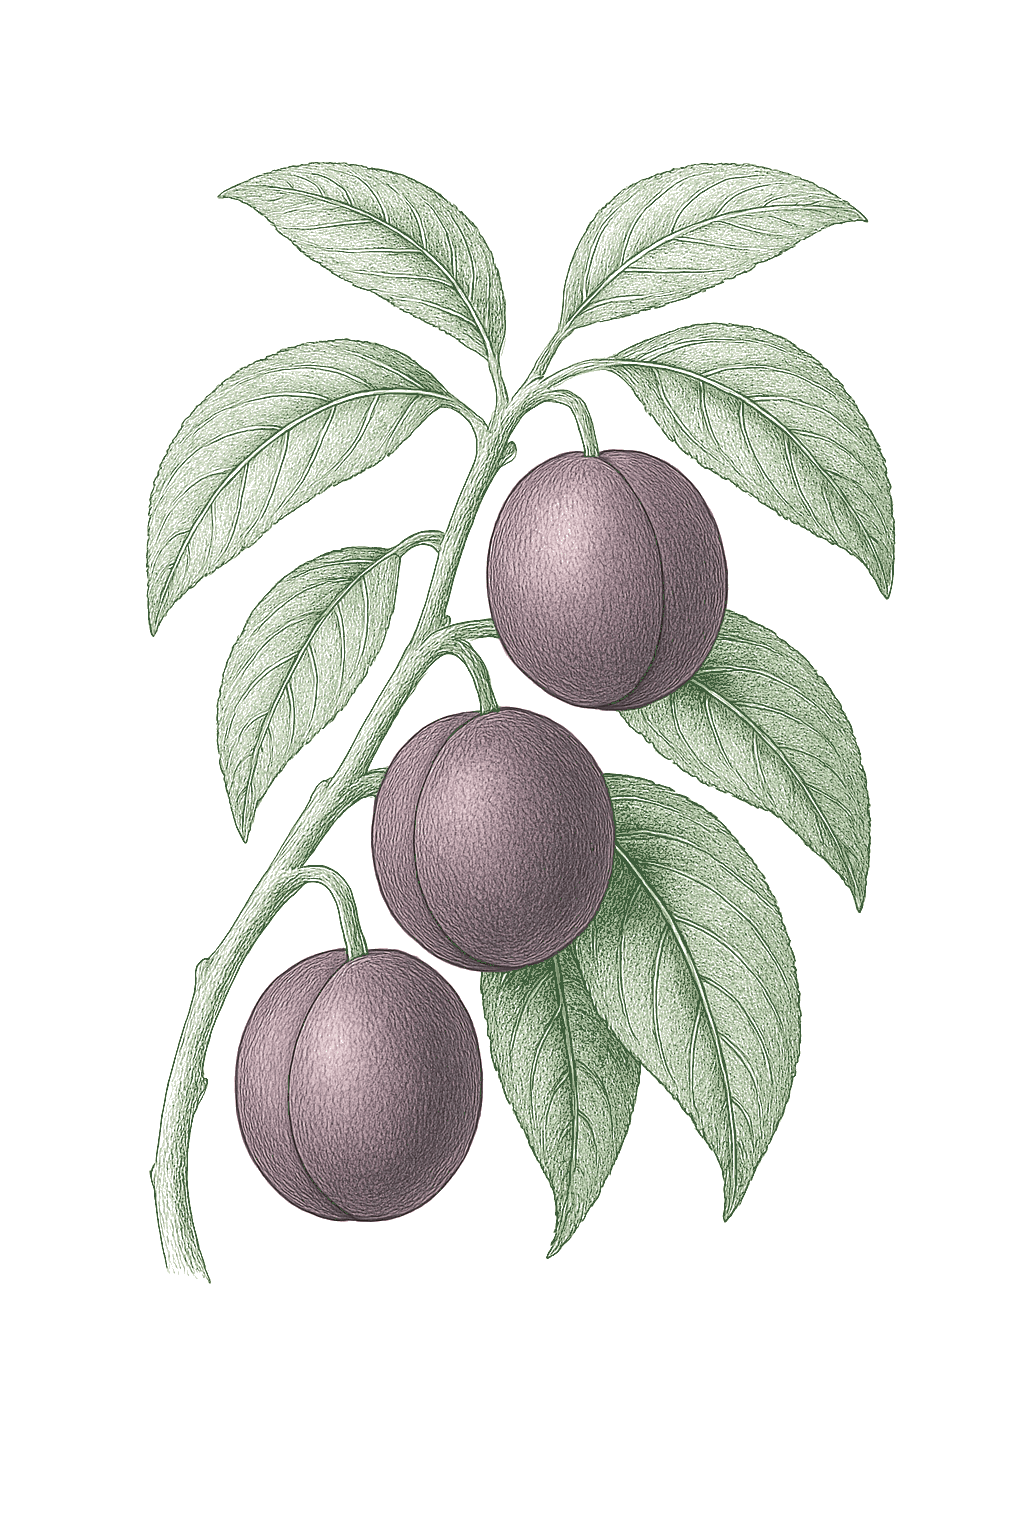
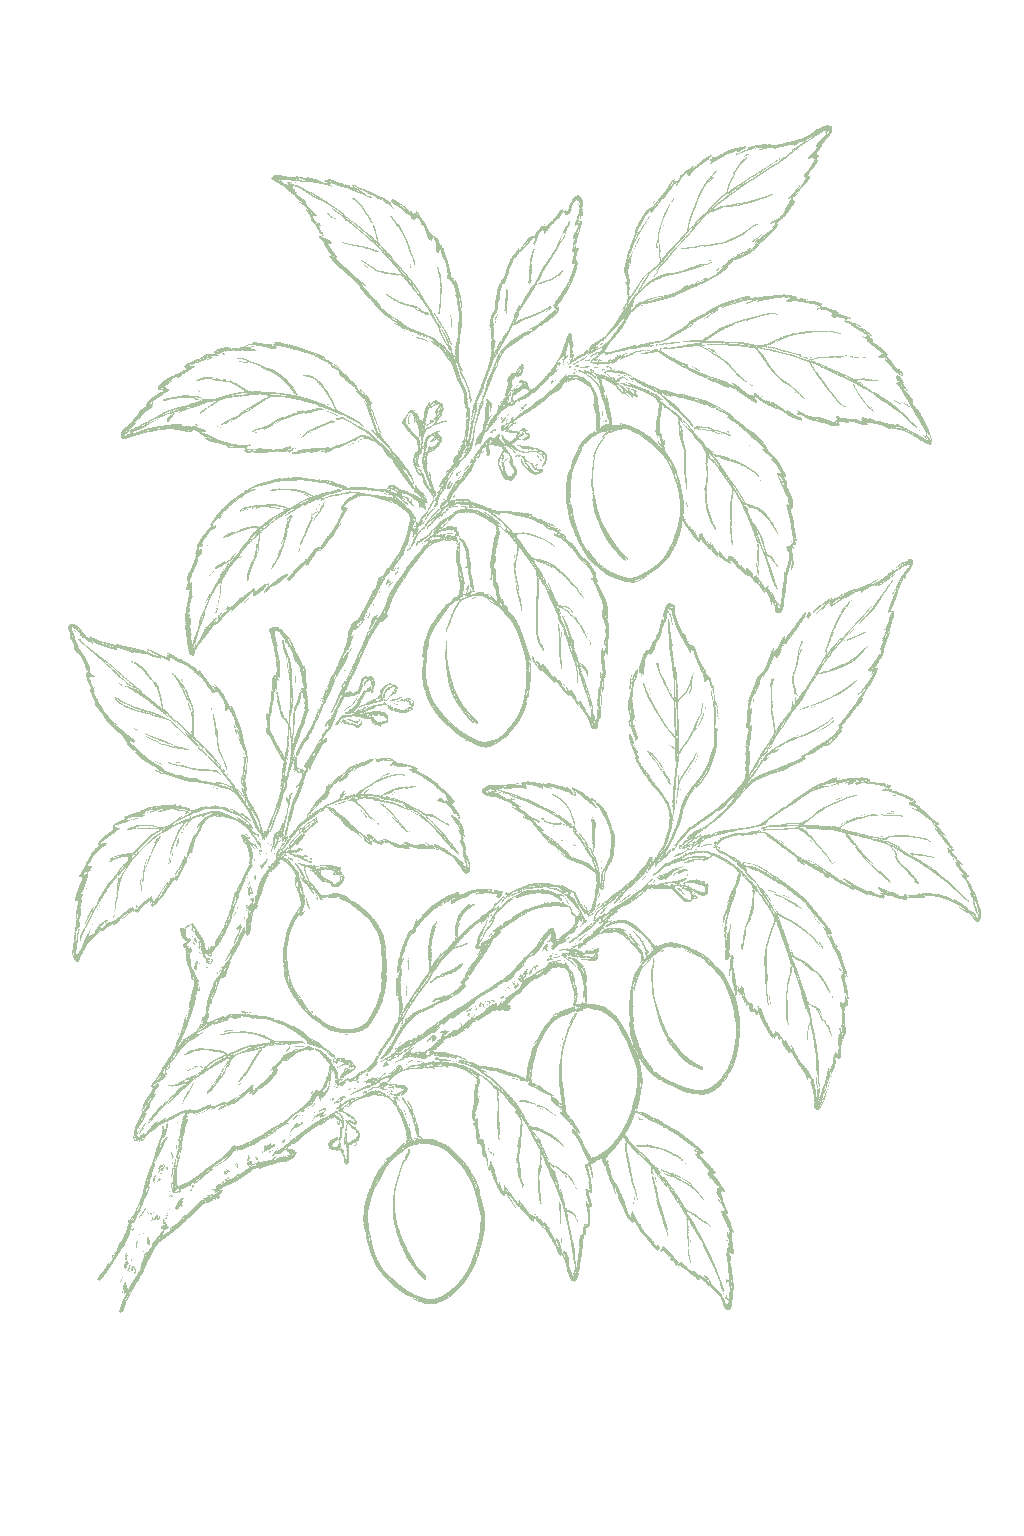
A plum is a fruit tree that drops its leaves each winter and comes in two main types that act differently. European plums (like Stanley, Italian prune, and damson) are hardier, bloom later, and mostly make fruit on their own. Japanese plums (like Santa Rosa and Methley) are juicier for fresh eating but bloom early (so frost is more of a risk) and usually need a second, different Japanese plum nearby to set fruit. Plums take steady work: prune every winter (more gently than a peach), cut out black knot (a black branch disease), thin off extra fruit so the rest grow big, and plant in a sunny, well-drained spot away from frost pockets. With that care, a backyard plum gives you fruit far better than the store. Plum is a deciduous stone-fruit tree grown in two main types that behave quite differently. European plums (Prunus domestica, including prune and damson types) are more cold-hardy, higher-chill, later-blooming, and mostly self-fruitful, so a single tree bears; Japanese plums (Prunus salicina) are lower-chill, earlier-blooming and more frost-exposed, juicier for fresh eating, and usually self-unfruitful, needing a second compatible Japanese cultivar. Either way plum asks for real commitment: annual dormant pruning (lighter than a peach), diligent black knot removal, early fruit thinning, and a frost-aware, well-drained site. Given that care, a backyard plum rewards you with tree-ripe fruit far better than the store.
Hardiness tells you the tree will survive your winters. It does not tell you whether you will get fruit. Each zone carries its own verdict. Yours is marked.
California: Interior, Zone 9. Winters bank about 300 to 950 chill hours; these varieties need about 250 to 900 chill hours. Zone 9 in the interior valleys fruits plums reliably, especially Japanese and lower-chill European types, with a long hot season.Zone 9 interior fruits plums reliably; chill is adequate for Japanese and lower-chill European types, and the long, hot season sizes and sweetens fruit well.
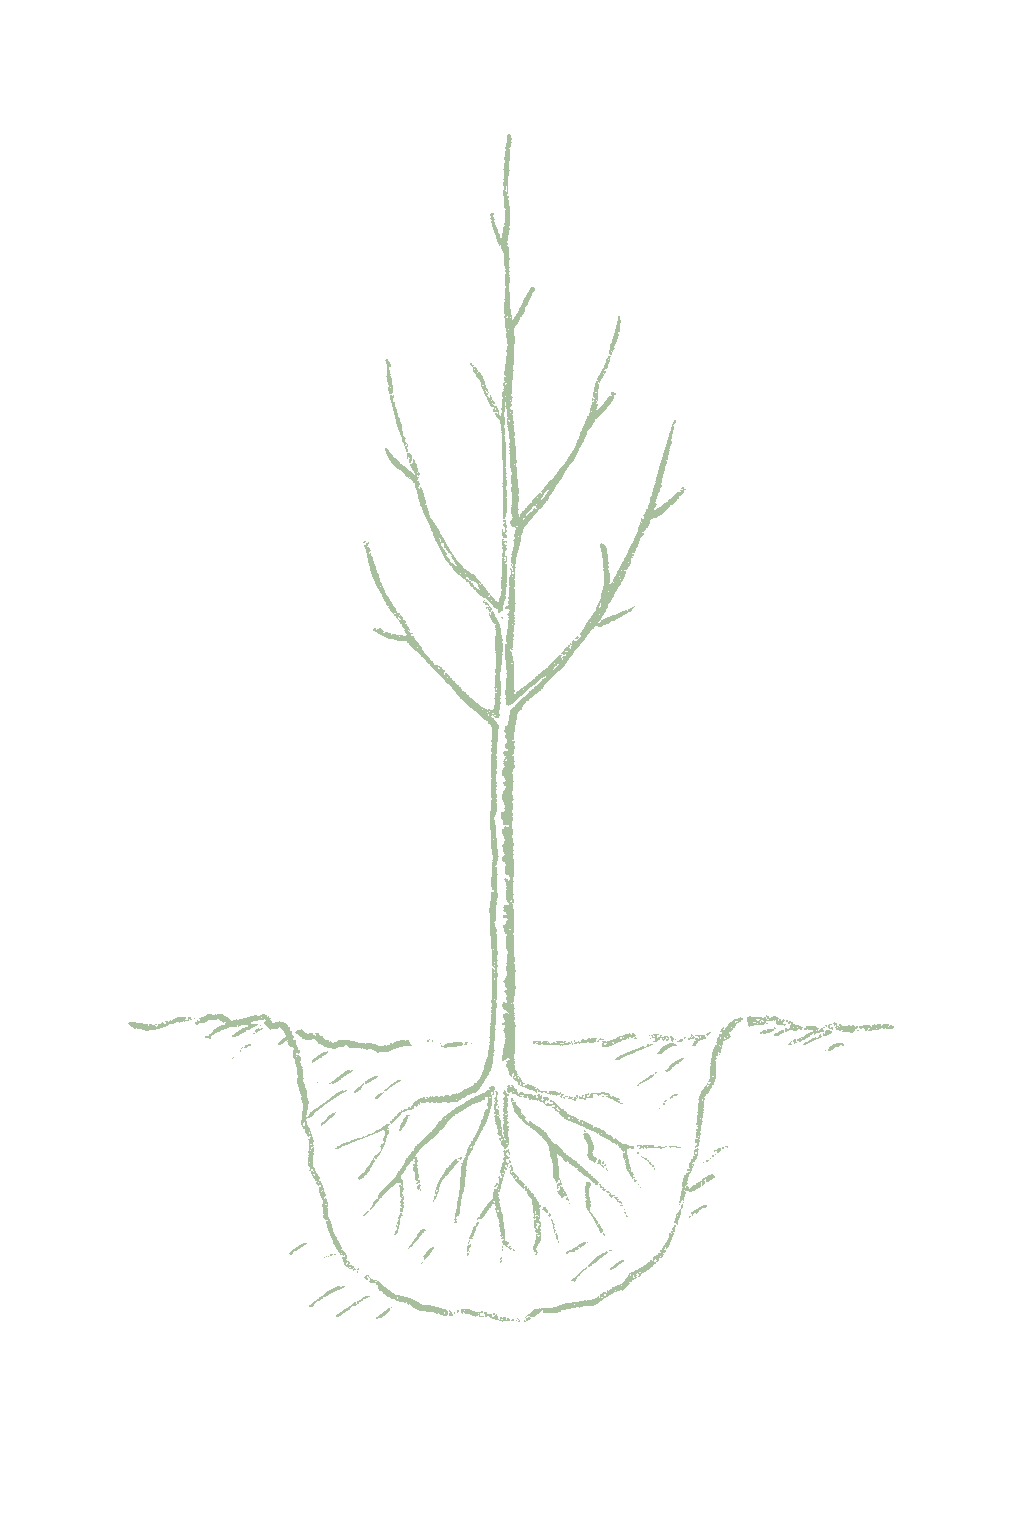
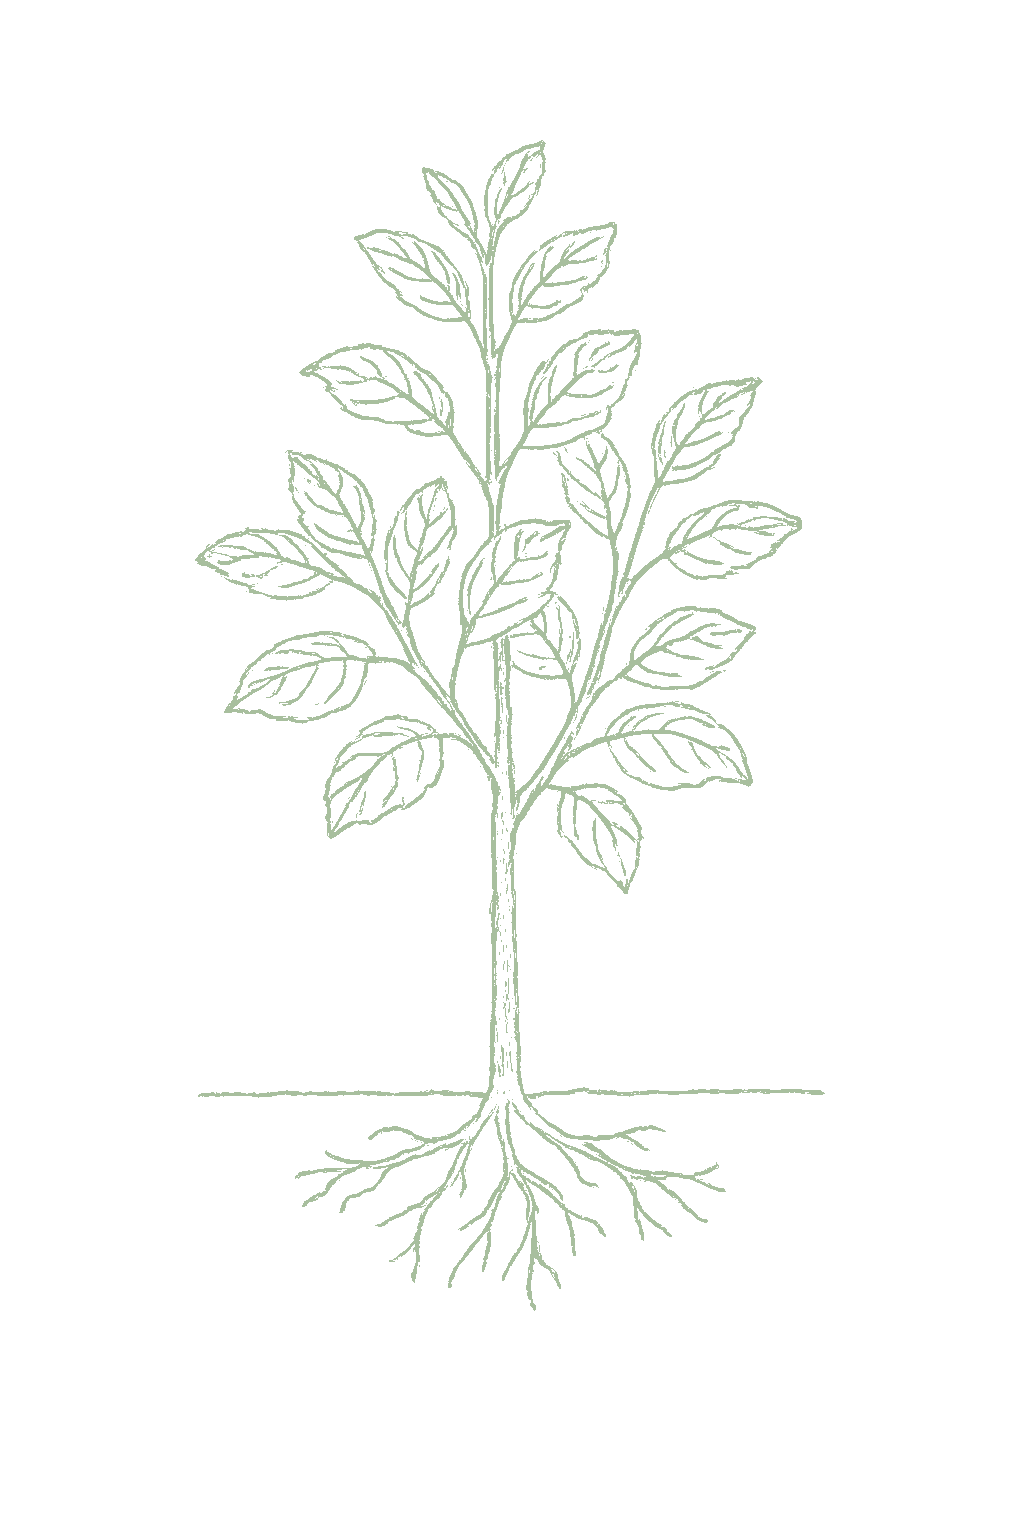
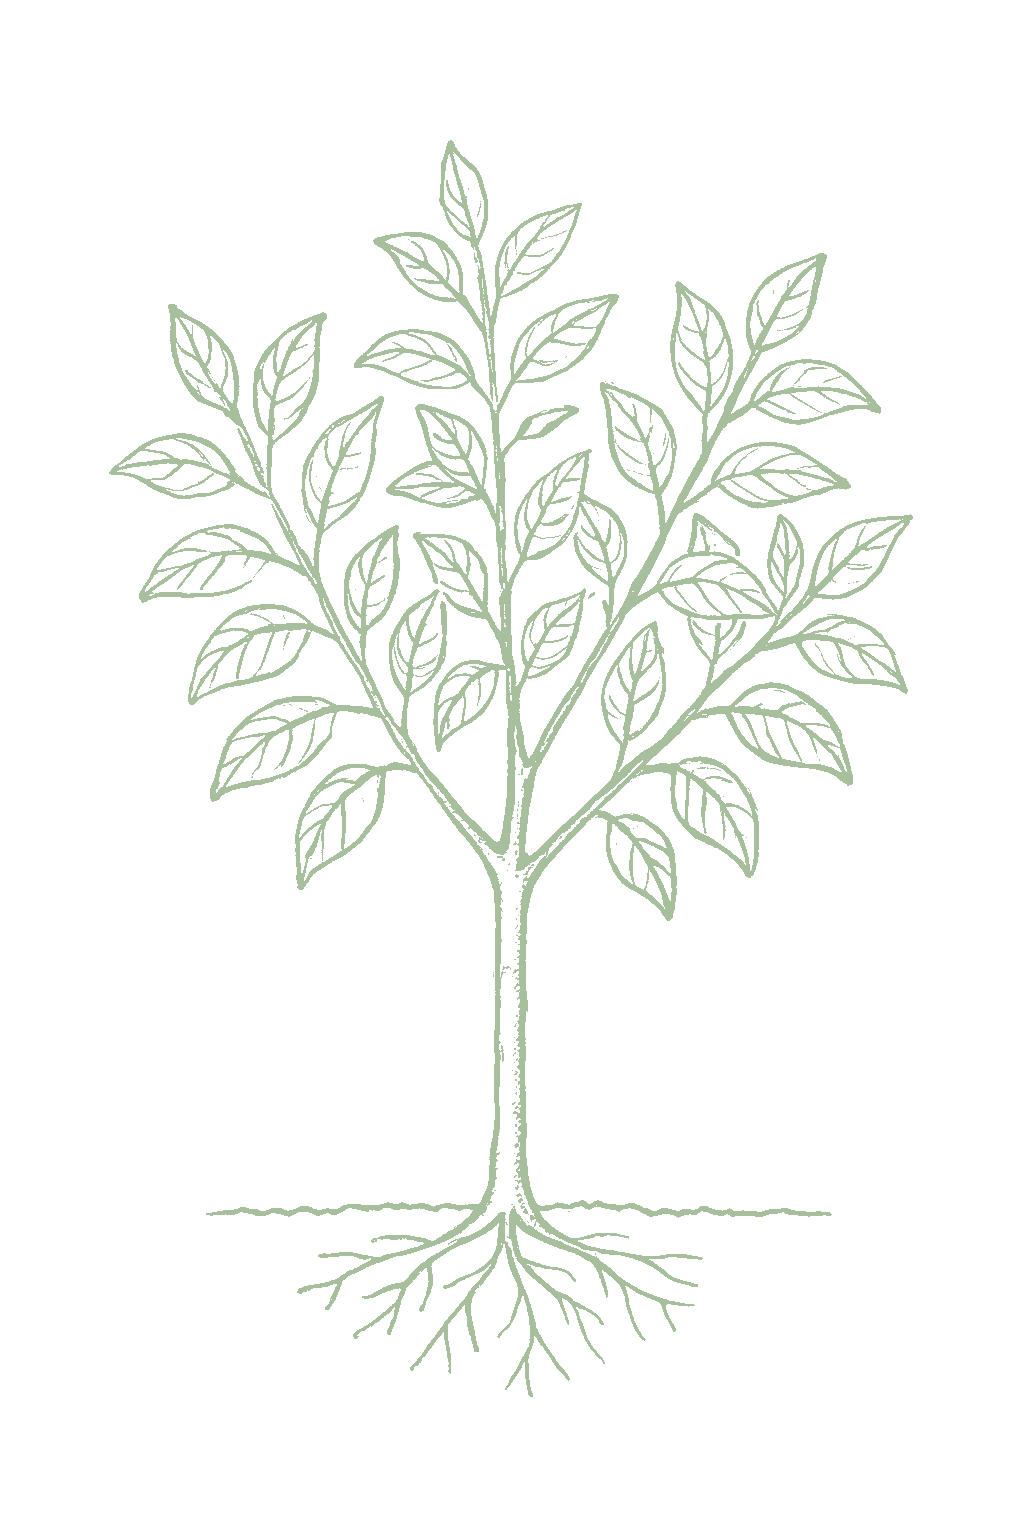
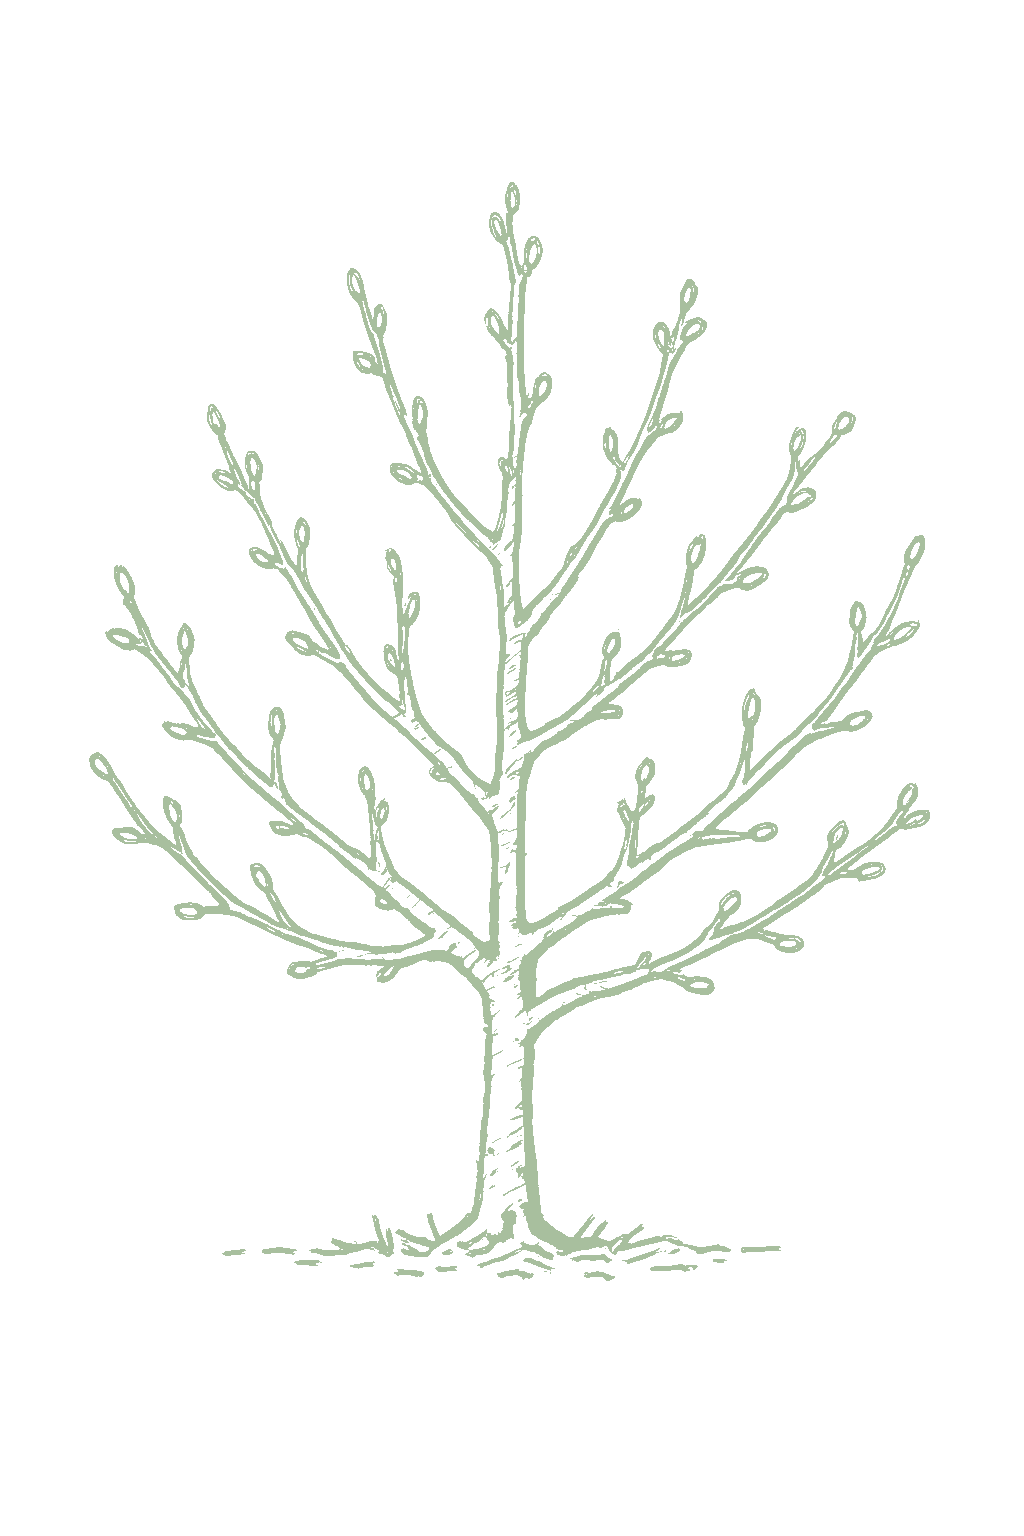
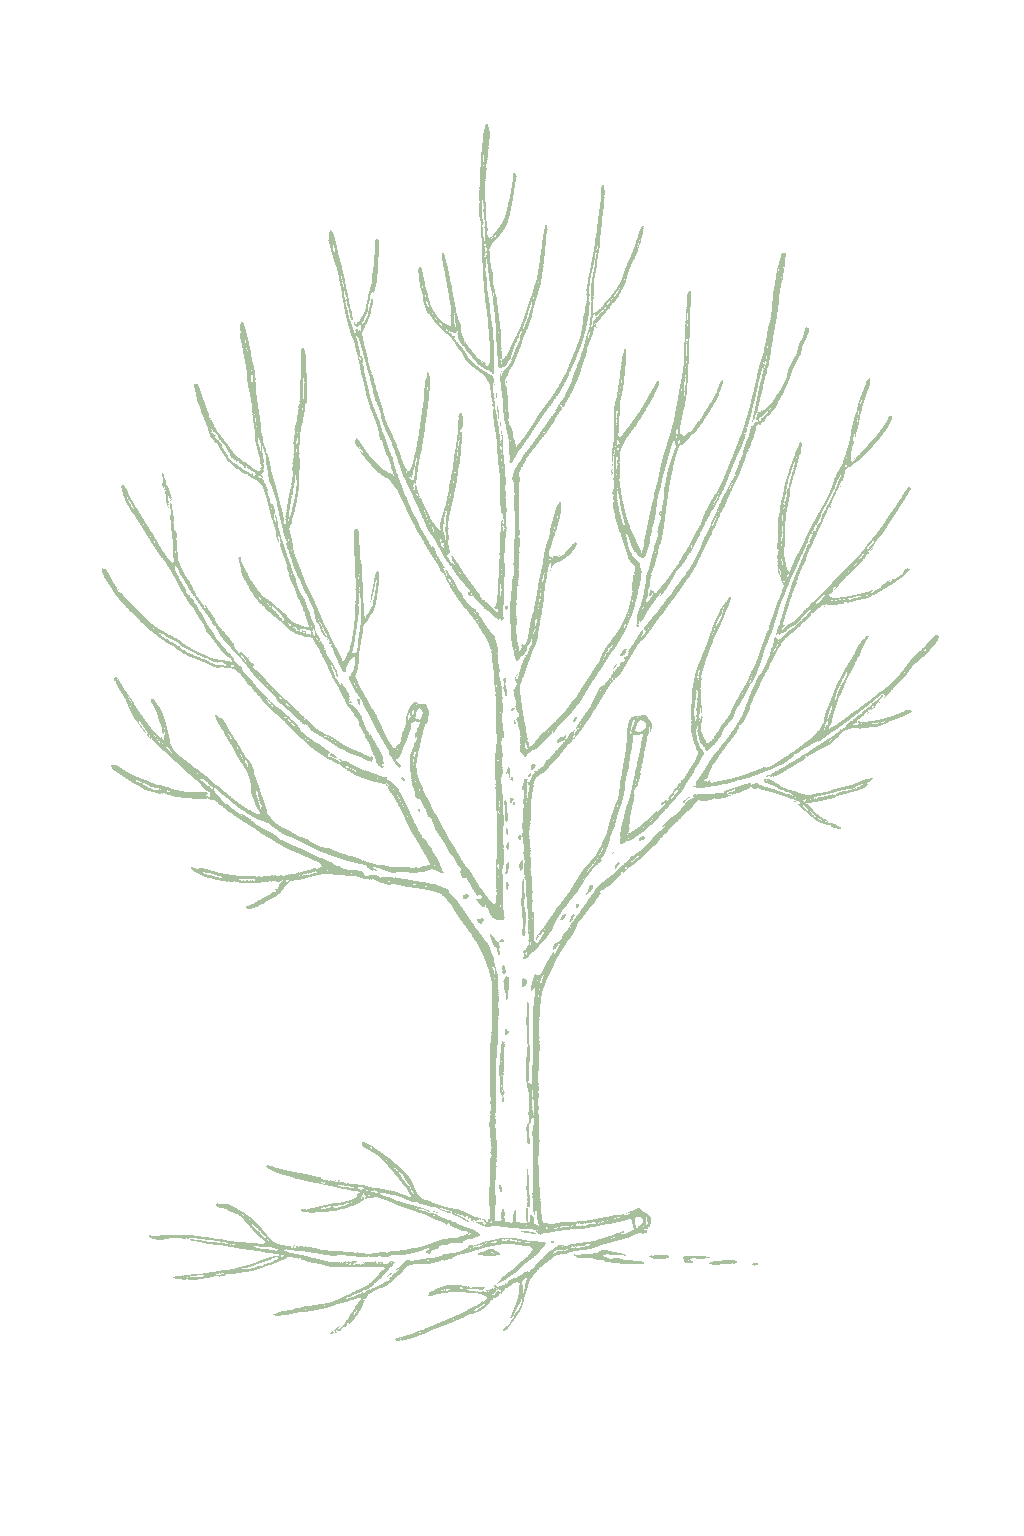
A fruit tree runs on the same rhythm every year: rest, prune, bloom, grow, harvest, then settle in again.
Plum trees need enough cold winter hours, called chill hours, before they will bloom properly in spring, and how many depends on the type. European plums need more cold (roughly 700 to 1,000 hours), so they suit colder areas. Japanese plums need less (about 400 to 800 hours, some even less), so they fit milder-winter and southern gardens. If your winters are mild, choose a low-chill Japanese variety; if your winters are cold, a European variety is the safer bet. Planting a high-chill variety where winters are warm usually means lots of leaves and very few plums.Plums need a stretch of winter cold, counted as chill hours (hours between about 32°F and 45°F), to break dormancy and bloom evenly, and the requirement is set by type and variety. European plums are the higher-chill group, roughly 700 to 1,000 hours, so they suit colder winters; Japanese plums are lower-chill, about 400 to 800 hours, and some (like Methley, around 250) are lower still, which is why they fit mild-winter and southern gardens. Match the variety to the chill your winters actually bank: too little chill and the blossoms open unevenly and drop without setting, while a warm winter spell above about 60°F can subtract from the running total.
Most plums are self-fruitful: a single tree sets a full crop with its own pollen, so you don’t need a second variety to get fruit. Bees still move the pollen from blossom to blossom, so strong pollinator activity through bloom is what drives a heavy set.
Bar length shows how long each variety blooms, roughly 8 to 14 days. Bars that overlap bloom at the same time.
▲ Tap a variety to see its bloom timing
The most important choice with plums is pollination, and it depends on the type. European plums (Stanley, Italian prune, damson) are mostly self-fruitful, so one tree makes fruit on its own, though it often crops a little better with a second European nearby. Japanese plums (Santa Rosa, Burbank, Methley) usually need a second, different Japanese plum blooming at the same time; Methley and Santa Rosa can partly fruit alone and make good partners. Important: European and Japanese plums bloom at different times and cannot pollinate each other, so the partner has to be the same type. Bees do the pollinating, so plant the partner within about 100 feet and help bees be active at bloom.Pollination is the headline decision for plum, and it splits by type. European plums (Prunus domestica) such as Stanley, Italian prune, and damson are largely self-fruitful, so a single tree bears, though most crop somewhat more heavily with a second European variety nearby. Japanese plums (Prunus salicina) such as Santa Rosa, Burbank, and Methley are usually self-unfruitful and need a second compatible Japanese cultivar blooming at the same time; Methley and Santa Rosa are partial exceptions and also serve as good pollenizers. Crucially, European and Japanese plums bloom weeks apart and will not pollinate each other, so a pollenizer must match type. Plums are insect-pollinated, mainly by bees, so bloom-time pollinator activity matters; place a pollenizer within about 100 feet.
The first choice is the TYPE of plum, because it sets both how cold-hardy the tree is and whether it needs a partner. European plums (like Stanley, Italian prune, and damson) are the usual pick in cold areas: hardy, they bloom later so frost is less of a risk, and most make fruit on their own. Japanese plums (like Santa Rosa and Methley) suit warmer, milder-winter areas, but they bloom early (more frost risk) and usually need a second, different Japanese plum nearby to set fruit. After type, match the variety's chill needs to your winters and think about disease resistance.Choose first by TYPE, because it decides both hardiness and pollination. European plums (Stanley, Italian prune, damson, Green Gage) are the northern default: more cold-hardy, higher chill (roughly 700 to 1,000 hours), later-blooming so they dodge frost, and mostly self-fruitful, so a single tree bears. Japanese plums (Santa Rosa, Methley, Burbank) are lower-chill (about 400 to 800 hours), better for mild-winter and southern gardens, but bloom early (more frost-exposed) and are usually self-unfruitful, needing a second compatible Japanese cultivar. Then match chill hours to your winters, weigh bloom timing and disease resistance (bacterial spot, black knot), and pick freestone versus clingstone for your use.
Pick a rootstock for your soil, pests, and desired tree size: Myrobalan is the vigorous, widely adaptable default that tolerates heavier and wetter soils, while Marianna is a size-limiting choice for smaller trees.
Ask for your variety on Myrobalan 29C if you want a vigorous, full-size tree that adapts to a wide range of soils.
The numbers that matter, at a glance.
A plum really wants to grow in the ground, and a pot is the workaround if you do not have the space. It can be done, especially with a semi-dwarfing rootstock like Marianna, but plan on more hands-on care and smaller, less dependable crops than a tree in the ground. Use the biggest pot you can that drains really well, and know that watering, feeding, and winter protection all need closer attention than they would in open ground.Plum is fundamentally a ground tree, and a container is the compromise for growers who lack the space or the soil for an in-ground tree. It can work, best on a size-limiting rootstock such as Marianna, but expect more hands-on management and lighter, less reliable crops than the same tree in the ground. Give it the largest practical pot with excellent drainage, and accept that watering, feeding, and winter protection all demand closer attention than they would in open soil.
Plum grows best in slightly acidic soil, around pH 6.0 to 6.5, and is fine up to about 7.0 (pH is just a measure of how acidic or alkaline the soil is). Test your soil before planting and adjust slowly if you need to: garden lime raises the pH if the soil is too acidic, and elemental sulfur lowers it if the soil is too alkaline. Mix any of this in before you plant, because pH changes slowly and is much easier to fix before the permanent tree goes in.Plum does best in a slightly acidic soil, roughly pH 6.0 to 6.5, and tolerates up to about 7.0. Test the soil before planting and adjust gradually if needed: lime raises a too-acidic pH, while elemental sulfur lowers one that is too alkaline. Work amendments in ahead of planting, since pH shifts slowly and is far easier to correct before the permanent tree is in the ground.
Scatter the fertilizer evenly on the soil around the tree out to where the branches reach, keep it off the trunk, and water it in. On sandy soil it helps to split it, most in spring and a little after harvest. Do not overdo the nitrogen (the first number on the bag), because too much pushes soft, leafy growth that draws aphids and disease. Never feed late in the year, because late feeding keeps the tree growing when it should be going dormant and makes winter damage more likely.Broadcast the fertilizer evenly around the root zone out to the drip line, keeping it off the trunk, and water it in. Split timing (the bulk in spring, a lighter touch after harvest) suits sandy soils. Go easy on nitrogen: plums push vigorous shoots readily, and lush, succulent growth is more prone to aphids, bacterial canker, and black knot, and never feed late in the season, since late nitrogen delays dormancy and invites winter injury.
A balanced fertilizer like 10-10-10 (the three numbers are nitrogen, phosphorus, and potassium) works well for backyard plums. Do not overdo nitrogen, the first number, because too much pushes leafy growth and more disease instead of fruit.A balanced ratio such as 10-10-10 suits backyard plums; a young tree that is not making about a foot of new growth a year can take a spring nitrogen boost, but a vigorous tree needs little. Avoid high-nitrogen feeding, which pushes soft, disease-prone growth at the expense of fruit.
Whether a plum needs a companion tree is really a pollination question, and it depends on the type. European plums (like Stanley, Italian prune, and damson) are mostly self-fruitful, so one tree makes fruit on its own. Japanese plums (like Santa Rosa and Methley) usually need a second, different Japanese variety blooming nearby to set a good crop. Beyond that, the things that matter for a tree are not the usual vegetable-garden pairings but what grows around the roots: keep grass and weeds pulled back from under the branches, because lawn competes hard with a young tree, and a mulched, weed-free area helps the tree settle in. One thing to avoid is planting a plum near other wild or neglected plums and cherries, because those spread black knot, the black warty branch disease, to your tree. For a plum, the key interaction is pollination, and it splits by type: European plums (Stanley, Italian prune, damson) are largely self-fruitful and fruit alone, while Japanese plums (Santa Rosa, Methley, and most others) are self-unfruitful and need a second compatible Japanese cultivar blooming at the same time. The other interactions that matter are about the root zone, not classic vegetable companions: keep turf and weeds cleared back from under the canopy, since a young tree competes poorly with grass for water and nitrogen. The site rule to respect is inoculum: do not plant near wild, ornamental, or neglected Prunus (chokecherry, wild plum, purple-leaf plum), which are reservoirs of black knot and brown rot.
A plum is ripe when it shows full color, has a natural dusty coating on the skin (that is normal, not a problem), gives a little when you press gently, and comes off the branch with an easy pull. European prune plums are ready when soft and sweet through to the pit; juicy Japanese plums are picked when full-colored and just starting to soften. If you need to carry or store them, pick when fully colored but still firm and let them soften on the counter. For eating right away, pick when they give to a gentle squeeze.A plum is ready when it reaches full variety color, develops the natural dusty bloom on the skin, gives slightly to gentle pressure, and separates from the spur with an easy pull or light twist. European prune types are ripe when soft and sweet all the way to the pit, ideal for drying and canning; Japanese types are picked when full-colored and just softening for fresh eating. If you need to handle or store the fruit, pick when fully colored but still firm and let it finish on the counter; pick at full give for eating that day.
A grown plum tree (about year 5 onward) usually gives roughly 2 to 3 bushels a year, which is 60 to 150 pounds of fruit. The exact amount depends on the type and variety, how you prune and thin, whether it is well pollinated, and the weather. Japanese plums often set the heaviest, but only if you thin them so the fruit sizes up.A mature standard plum (roughly years 5 and up) commonly yields about 2 to 3 bushels per tree, on the order of 60 to 150 pounds, depending on type, variety, pruning, thinning, pollination, and season. Japanese plums tend to overset and can out-yield European types when well thinned; crop is limited far more by thinning, frost, and pollination than by feeding.
A plum tree hits its full production around years 5 to 6 and keeps producing for years after, as long as you prune, thin, cut out black knot, and manage disease each year. Thinning every year also helps keep the tree from swinging between a huge crop one year and almost none the next.Trees reach full bearing around years 5 to 6 and stay productive for many years after, given annual pruning, thinning, black knot removal, and disease control. Thinning each year also evens out the alternate-year (biennial) bearing plums are prone to. Do not expect plums the first year, or really the second. If a few fruit form early, pick them off so the young tree can build roots and strong branches. Your first real harvest usually comes in years 3 to 5, with full crops by years 5 to 6.Expect no crop in the planting year and little to none in year 2. Remove any fruit that sets early so the tree puts its energy into roots and framework; the first meaningful harvest typically comes in years 3 to 5, with full bearing by years 5 to 6.
The ladder troubleshoots from the gentlest solution to the strongest. Start with the gentlest option and only move on when and if it doesn't work.
Start here: pick up every dropped plum promptly and get it out of the garden, because the grub inside finishes growing in the soil under the tree. On a cool early morning, when the beetles are sluggish, spread a sheet under the branches, tap them so the beetles fall, and destroy what lands. Keeping the ground clear all season means fewer beetles the following year.Season-long removal of drops denies larvae the soil beneath the canopy, and the effect compounds year over year, which is why sanitation is the backbone rather than a supplement. Jarring limbs over a sheet at first light, while adults are still cold enough to drop instead of fly, physically strips the population that petal fall released.
Kaolin clay is a fine white mineral you mix with water and spray on, leaving a coating the beetles do not want to walk on. Start at petal fall, the moment they begin working the young fruit, and reapply through the season as the fruit expands and rain washes the film thin.Kaolin from petal fall is the organic deterrent this crop's guidance names, and it works as a particle barrier, so unbroken coverage on expanding fruit is what carries it. Heavy use can flare San Jose scale and mites, worth weighing on a tree that already carries scale.
No spray for this one. Prevention is the control.
The ladder troubleshoots from the gentlest solution to the strongest. Start with the gentlest option and only move on when and if it doesn't work.
Go easy on nitrogen feeding in spring. Rich feeding pushes out soft new shoots, and that tender growth is what these aphids multiply fastest on.Restraining spring nitrogen limits the succulent flush that drives colony buildup at the shoot tips. It is a feeding habit set before the aphids arrive rather than a response once they have.
Knock the colonies off with a strong jet of water from the hose, aimed up into the curled shoot tips where they hide. Do it early in the day so the leaves dry quickly.A forceful jet dislodges colonies on sturdy wood without the collateral a broad spray carries. Tightly rolled leaves shelter some of them, so expect to repeat as colonies rebuild, and spray early enough that foliage dries, since long leaf wetness favors disease.
Ladybugs, lacewings, hoverfly larvae, and tiny parasitic wasps usually clean up plum aphids by early summer on their own, so the most useful thing you can do is skip the harsh insecticides that kill those helpers along with the aphids. Ants farm aphids for their sugary honeydew and chase the helpers off, so keeping ants off the trunk protects your allies.Resident natural enemies typically bring both aphid species down by early summer, so conservation is the working control: decline broad-spectrum material, and deny ants access to the colonies they tend and defend.
For a heavy infestation, spray insecticidal soap straight onto the aphids in the curled shoots. It kills only what it wets, so unroll the tips and coat them. Skip it on a dry, stressed tree or above 90°F, since it can burn leaves.Contact soap suits a heavy pocket the softer steps have not held, and the rolled leaf is the practical limit, since it shields aphids from coverage. It also kills soft-bodied beneficials it directly wets, so treat only the infested shoots, and avoid water-stressed trees or temperatures above 90°F.
A narrow-range horticultural oil helps two ways: on the curled shoots in season, and, more usefully, as a dormant or delayed-dormant spray in late fall or winter that smothers the eggs waiting near the buds. Where aphids return every year, that dormant timing is the strongest single step. Do not use oil above 90°F or on a drought-stressed tree, and once the tree has leaves keep it at least 30 days clear of any sulfur spray; check the oil label, because some say to wait longer.In-season oil gives contact control on exposed colonies; the delayed-dormant application is the higher-value use, taking the overwintering eggs before the spring flush rather than chasing colonies after it. Observe the oil constraints: not above 90°F, not on stressed trees, and not within 30 days of sulfur while the tree is in leaf, or longer if the oil label says so.
No spray for this one. Prevention is the control.
The ladder troubleshoots from the gentlest solution to the strongest. Start with the gentlest option and only move on when and if it doesn't work.
Clear the grass and weeds away from the bottom of the trunk so the soil line stays in plain view, and look it over once a year in late summer for fresh gummy ooze. Keep mowers and string trimmers off the bark down there, since the wounds they leave are what draws the egg-laying moths.A clear, open crown is both a scouting surface and one less shelter at the trunk base, so give the soil line a late-summer inspection for new gum and frass. Mechanical injury gives egg-laying females the wounded bark they favor, so keep machinery off the lower trunk and keep the tree vigorous.
Once the larvae are tunneling under the bark, no spray reaches them, so this is the backyard fix. In late summer or fall, scrape the soil back from the base, spot each entry hole by the gum and the frass, which is the wet, sawdust-like droppings, push a thin stiff wire into it to kill the larva inside, then smooth the soil back.Worming out the larvae by hand is the practical home control at and just below the soil line, where the tunnels run in the inner bark and no rescue material follows them. Work the exposed crown in late summer or fall, follow each gum-and-frass entry, and probe with stiff wire. A few borers can girdle a young trunk in one season, so the labor is well spent there.
No spray for this one. Prevention is the control.
The ladder troubleshoots from the gentlest solution to the strongest. Start with the gentlest option and only move on when and if it doesn't work.
Prune out the twigs and branches that are heavily crusted with scale and destroy what you cut rather than leaving the wood by the tree. That takes out the densest colonies in one pass. Give any new tree a close look before you plant it, since scale often hitches a ride in on nursery stock.Removing and destroying encrusted wood strips the settled population where it is thickest and lowers the crawler load that spreads along the branches. Inspect incoming nursery stock as well, which is a common way an infestation arrives in the first place.
Tiny parasitic wasps and predatory beetles feed on scale and hold light infestations down on their own. Broad insecticides wipe those helpers out, so leaving them undisturbed is a control in itself.Resident parasitoids and predatory beetles suppress light populations, and the mobile crawler stage is the window they exploit, since a settled scale sits under an armored cover. Avoiding broad-spectrum material is therefore part of holding the population, not merely a courtesy to the garden.
This is the main home control: in late winter, while the tree is bare, spray horticultural oil so it wets every bit of bark on the twigs and branches. The oil smothers the scales under their shells, so coverage is the whole job. Do not spray oil on a drought-stressed tree or above 90°F, and once the tree has leaves keep it at least 30 days from any sulfur spray; check the oil label, because some say to wait longer.A thorough dormant or delayed-dormant oil applied to run-off over all bark is the mainstay here: the armored cover blocks most contact material, so the result rides entirely on wetting the shell. Repeat it in seasons following an infestation rather than waiting for encrustation to rebuild. Keep the oil constraints in view: not above 90°F, not on stressed trees, not within 30 days of sulfur while the tree is in leaf, or longer if the oil label says so.
No spray for this one. Prevention is the control.
The ladder troubleshoots from the gentlest solution to the strongest. Start with the gentlest option and only move on when and if it doesn't work.
Some plum varieties shrug this off better than others, so ask which one you are buying before the tree goes in the ground. It lowers the trouble, but it does not take the place of cutting the knots out each winter.Cultivar susceptibility varies, so a less-susceptible selection lowers the pressure a tree carries for its whole life. It is a planting-time choice that supports the annual pruning habit rather than substituting for it.
Look past your own tree. Wild plums, chokecherries, and neglected ornamental plums and cherries in the neighborhood carry the same fungus and keep re-seeding your tree with spores each spring, so removing or cleaning up the ones within reach matters as much as pruning your own.The nearby reservoir governs how much pressure the tree sees: wild and neglected Prunus hold galls that shed spores into the same cool, wet spring weather your tree is pushing green shoots in. Clearing that reservoir within range is what lets annual knot removal actually hold.
This is the fix, and the timing carries it: cut the knots out in late winter, with the tree still bare and before spring growth resumes. Place each cut into clean wood 3 to 4 inches beyond the lump you can see, because the fungus runs farther along the branch than the swelling shows. Then get the prunings out of the yard, by burning, bagging, or burying them, and disinfect the blades between cuts, for which rubbing alcohol works.Dormant removal ahead of spring growth, before about April 1, is the core control. Take each cut 3 to 4 inches into clean wood past the gall, since colonized tissue extends beyond what is swollen, and carry the prunings off site rather than piling them nearby. Disinfect between cuts, and where a scaffold is too valuable to lose, excise the gall back to healthy wood instead of taking the limb.
No spray for this one. Prevention is the control.
The ladder troubleshoots from the gentlest solution to the strongest. Start with the gentlest option and only move on when and if it doesn't work.
Cleanup is the core of it. Take every shriveled, dried fruit, called a mummy, off the tree and off the ground, and clear away the dropped and thinned fruit too. Mummies are where the fungus waits out the winter, so leaving them hanging sets up next year's rot. Pick and dispose of any plum you see rotting as soon as you spot it.Mummies in the canopy and on the ground are the primary overwintering inoculum, so stripping them at dormancy and clearing drops and thinnings through the season removes what would otherwise meet bloom. In season, pull rotting fruit before the dusty tan spore mass develops and seeds the fruit around it.
Prune the tree so it is open and air moves through it. This rot runs on wet fruit, so a canopy that dries fast after rain gives it much less to work with.An open canopy shortens the wetting period on fruit after rain, which is the variable that decides how fast warm, humid weather turns a spot into a rotted plum.
Pick the plums as they come ready instead of letting them hang, handle them gently so the skins do not break, and chill them soon after picking. Any nick or split in the skin is a way in for the rot.Harvesting on time removes fruit before the ripe phase the pathogen exploits, and gentle handling protects the skin, since any break, whether a curculio scar, hail, or a growth crack, is an infection court. Cooling soon after picking slows what may already be underway.
Cut out the small gummy dead patches on the twigs, the ones left where the disease ran back from an infected blossom, and destroy what you remove. Those patches hold spores over winter alongside the mummies.Twig cankers formed where blossom infections ran back into the wood are the second overwintering site, so excise them into clean wood and destroy the prunings, leaving next spring's bloom less inoculum to meet.
No spray for this one. Prevention is the control.
The ladder troubleshoots from the gentlest solution to the strongest. Start with the gentlest option and only move on when and if it doesn't work.
This one is mostly decided before you plant. Varieties differ a lot in how hard they get hit, and Japanese plums often suffer more than European ones, so buy a tree sold as resistant or tolerant to bacterial spot.Cultivar susceptibility is the dominant variable and it is set at planting, with Japanese types generally taking it harder than European. Once a susceptible tree is in the ground, what remains manages severity rather than removing the disease.
Prune so air moves through the canopy and the leaves dry off after rain. This will not clear the bacteria, but an open, healthy tree carries the spotting with less damage.Canopy openness and tree vigor act on severity rather than on presence: faster drying cuts into the warm, wet, windy conditions the bacterium spreads in, and a vigorous tree tolerates the leaf drop better.
Be realistic about this rung. There is no dependable home cure once the spots are on the tree. Copper does more as a preventive than as a rescue, and overusing it can injure the tree itself, so it is not something to lean on. If you do reach for it, follow the label rate, and keep spray and runoff away from ponds and storm drains, since copper is highly toxic to fish.Copper is a limited protectant here rather than a cure, and phytotoxicity from repeated application is a real cost, which is why it does not amount to a reliable home answer for this disease. Where it is used, the label rate governs, the copper compound named on the label sets the acute hazard band, and the residue accumulates at the soil surface, so keep repeat use over the years restrained.
No spray for this one. Prevention is the control.
If you have no choice but to replant where a stone fruit was, dig out and replace a big area of soil, pick a tough rootstock like Myrobalan or Marianna, and expect the tree to start slower. The simplest fix is to plant in a new spot instead, away from any wild plums or cherries that carry black knot.If a plum must go where a stone fruit was removed, replace a generous volume of soil, choose a vigorous, tolerant rootstock such as Myrobalan or Marianna, and expect slower establishment. Best practice is simply to pick a new location well away from wild Prunus that harbor black knot.
We're building this guide with real growers. Got a question we missed? Ask here. We read every one and add the best answers right to this page.
Learned something the hard way? Pass it on. Real growers' tips make this guide better for the next person, and we credit you by name when yours goes live.
If you've grown this crop and you see a date, a temperature, a companion claim, or a recommendation that doesn't match your experience, tell us. Real growers' corrections make this guide better for the next person.
Every date, temperature, spacing, and recommendation on this page is sourced from university cooperative extension publications, peer-reviewed agricultural research, NOAA climate data, and direct extension calendars. Where claims are softer (traditional gardening wisdom not formally documented), we say so.
Spot a data point that doesn't match your experience? Submit a correction; accepted corrections earn full author credit on the page.
Zone-aware seasonal nudges, what's worth planting now, and the occasional recipe from the harvest. No spam, ever.