Today · in your zone
What's happening right now
Off-season for pole beans in zone 9.
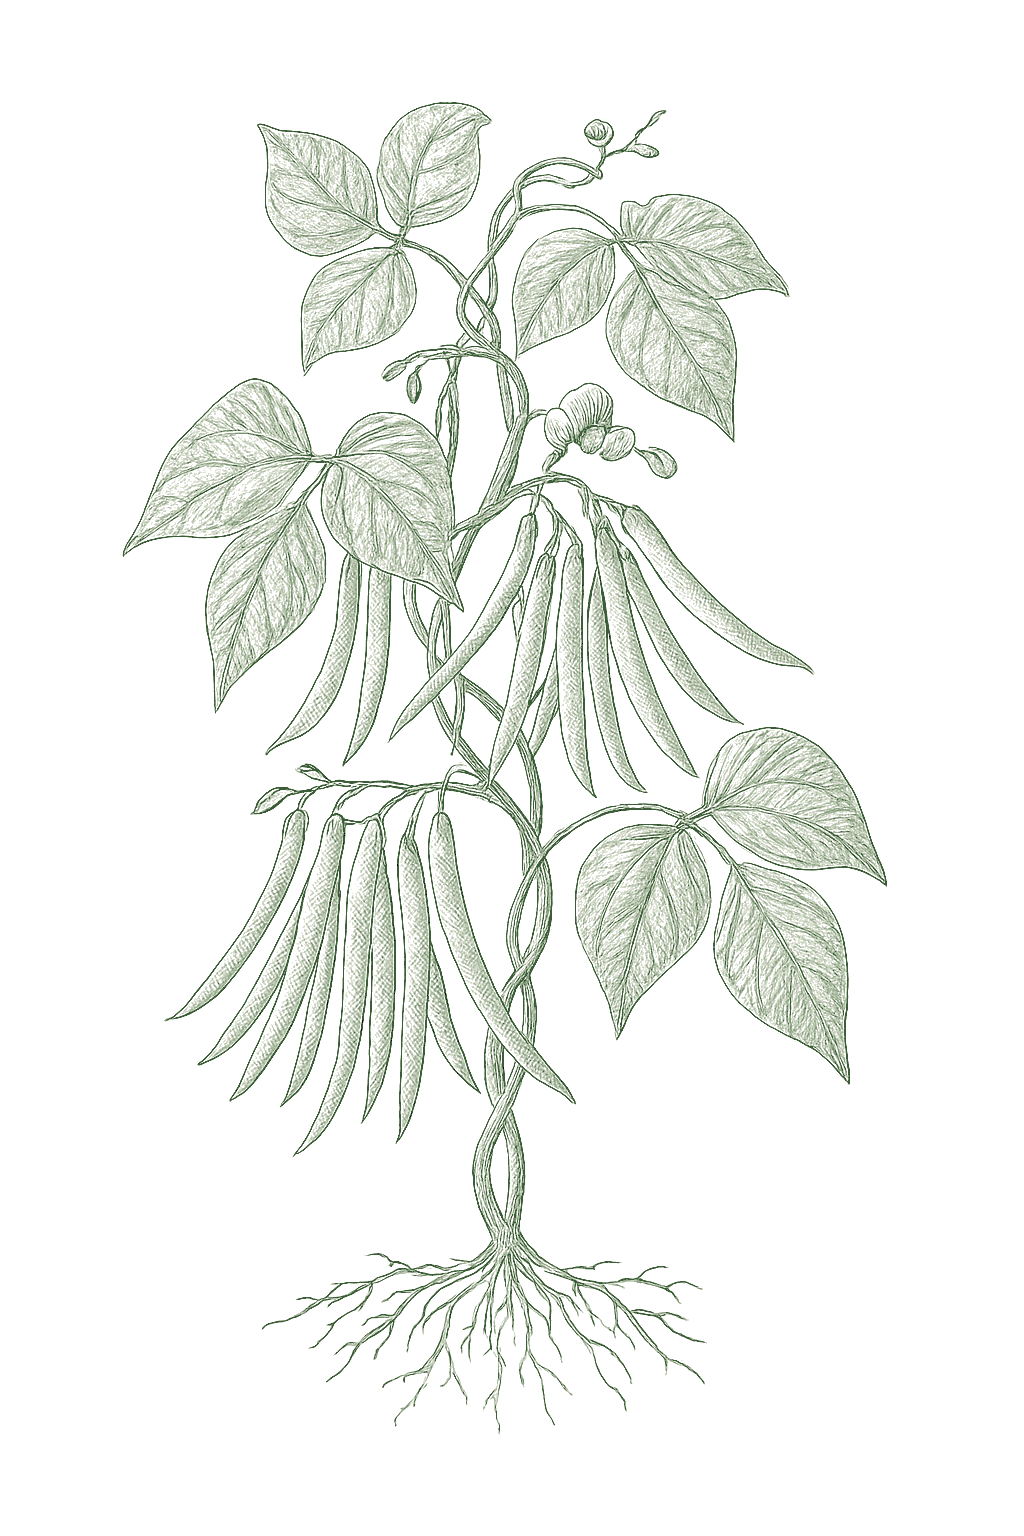
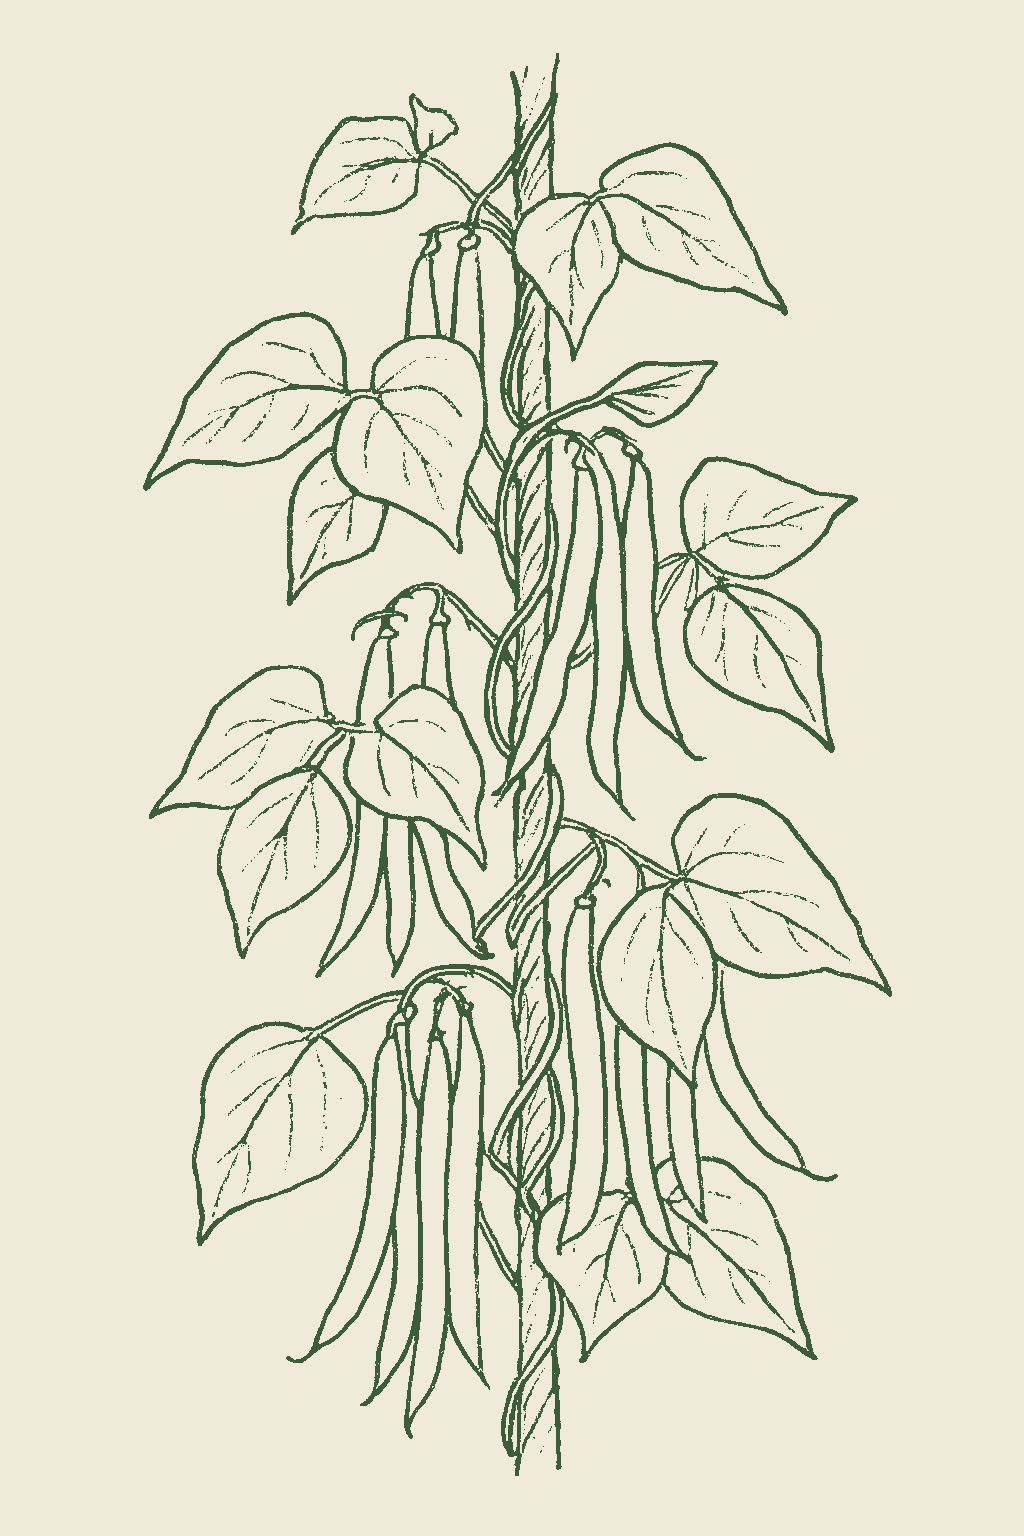
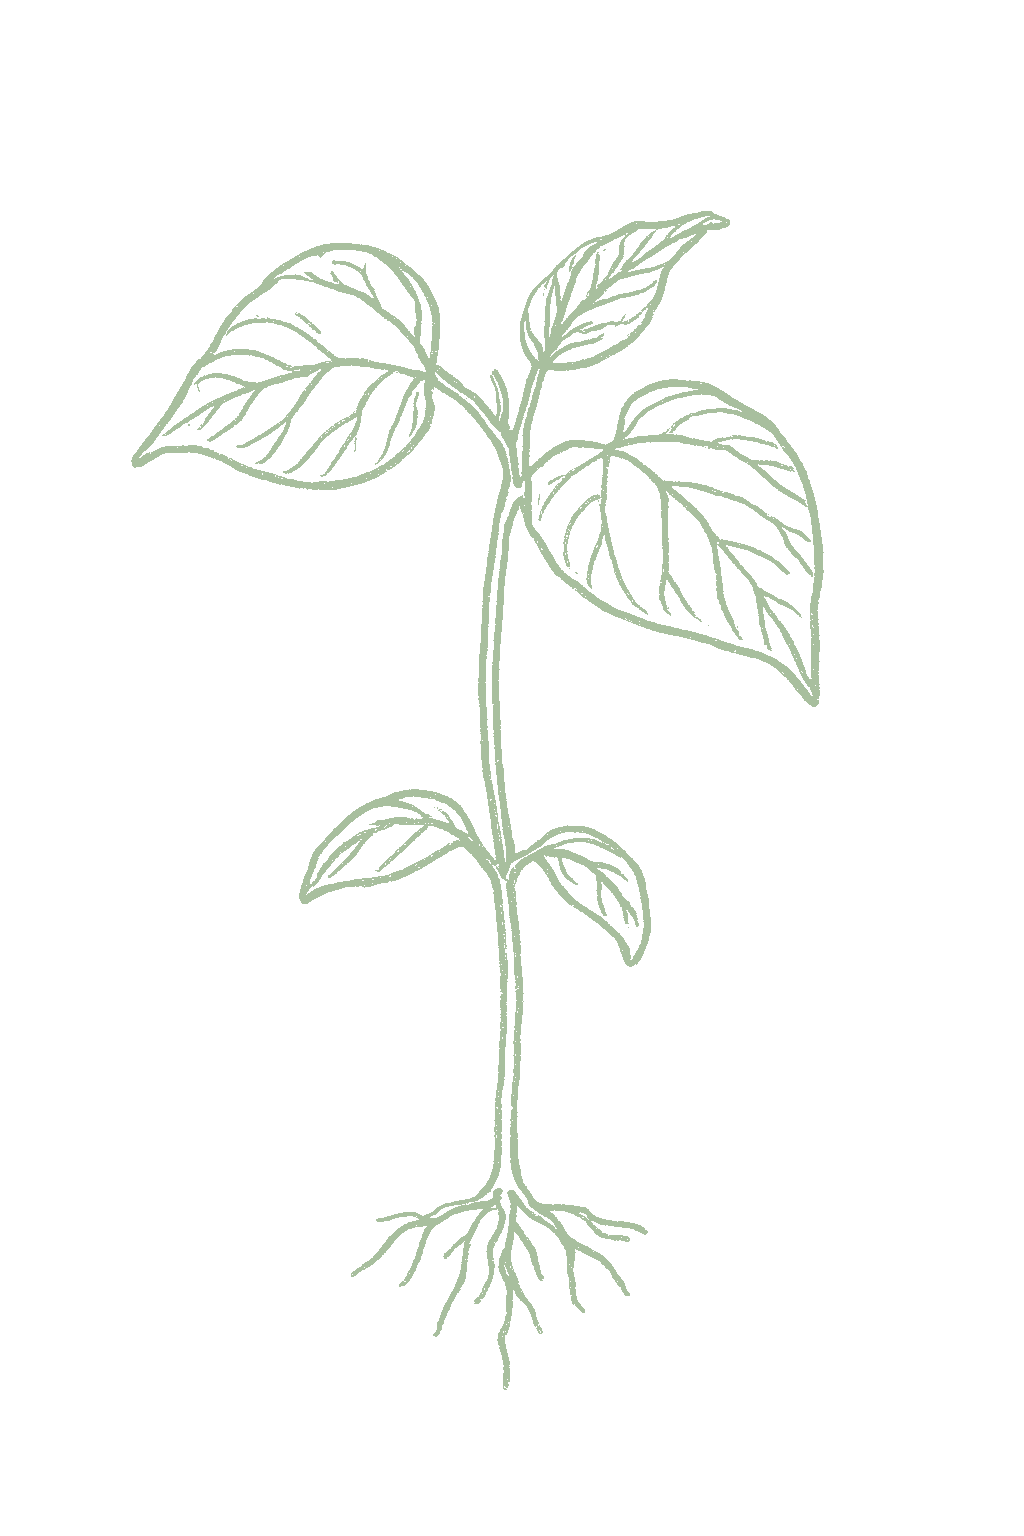
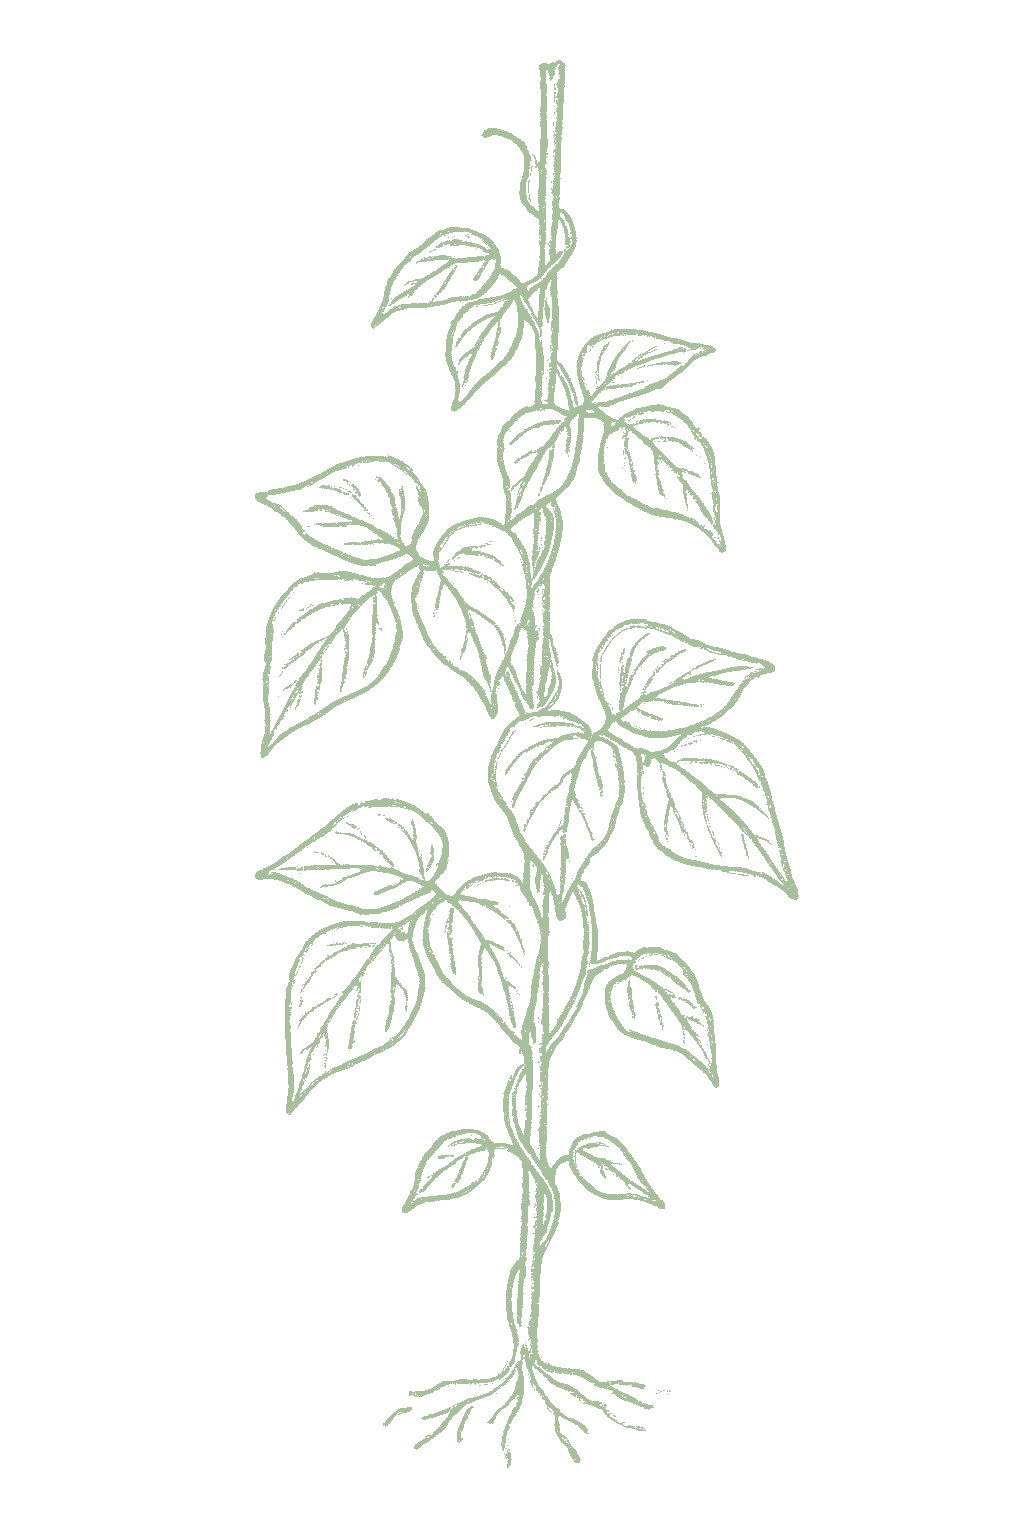
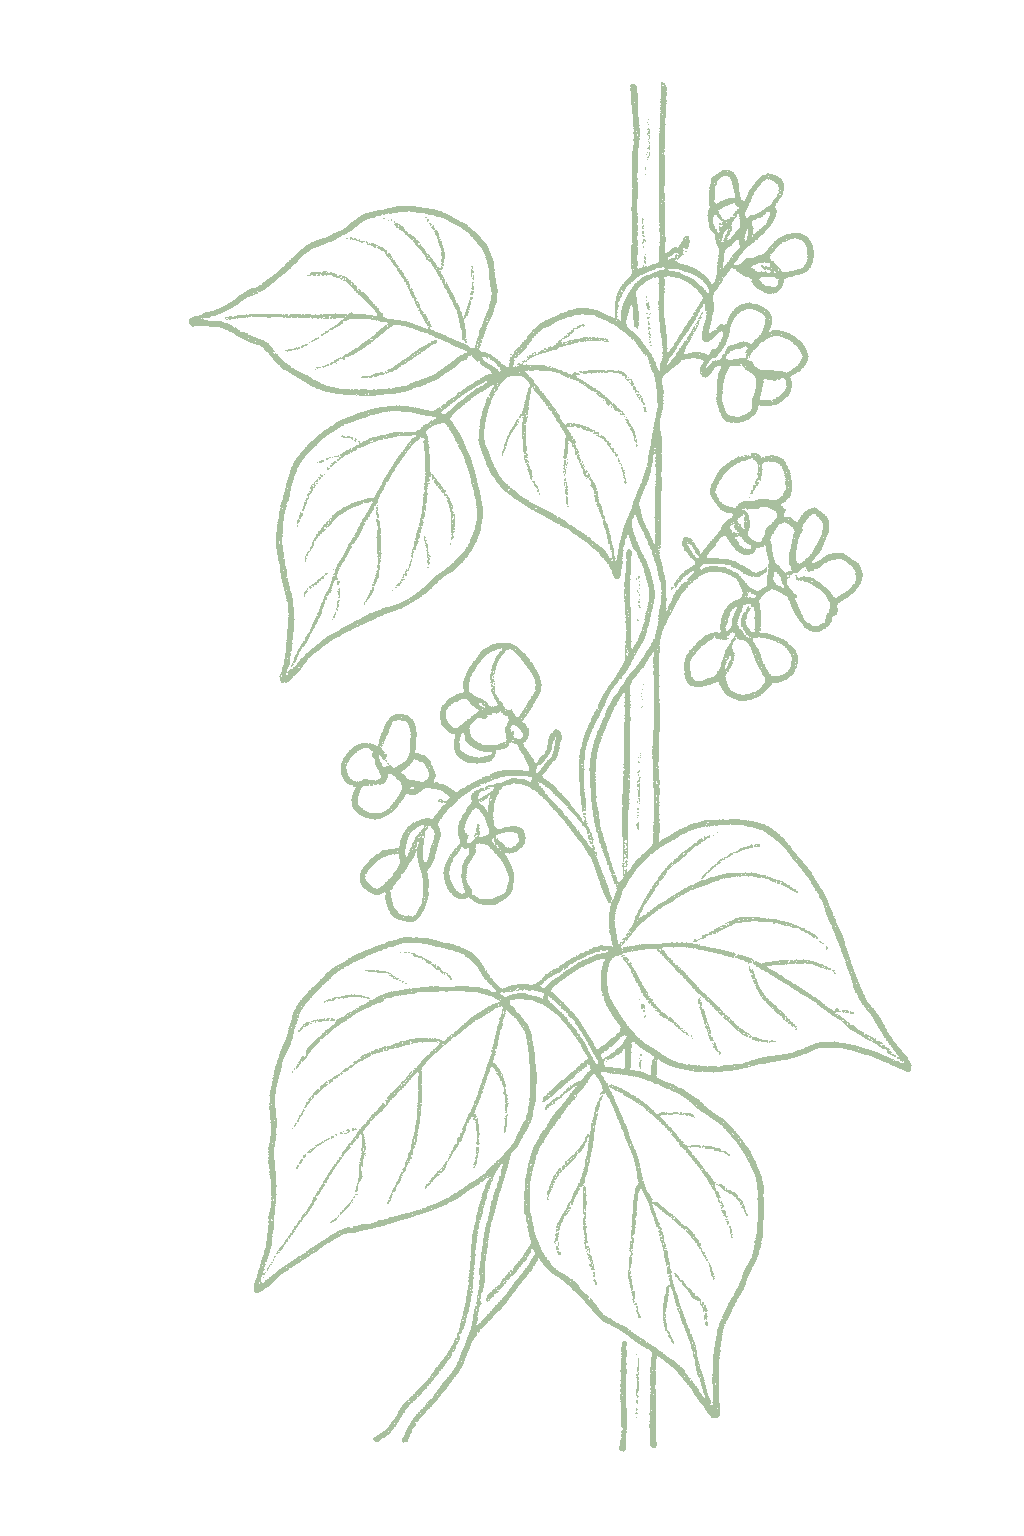
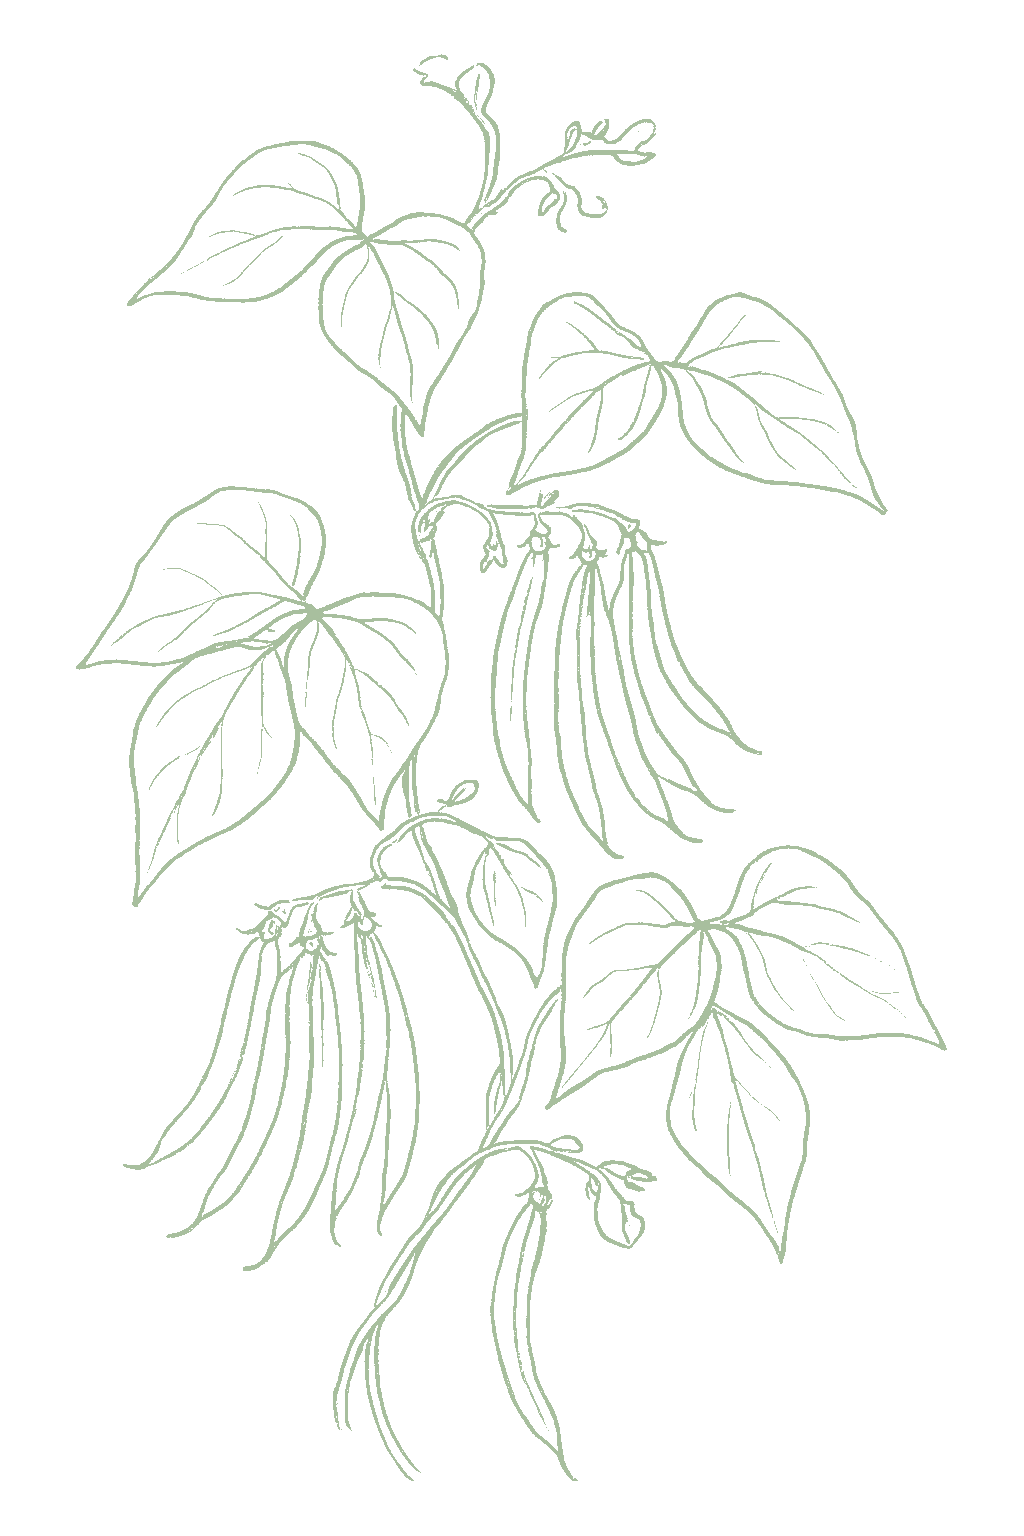
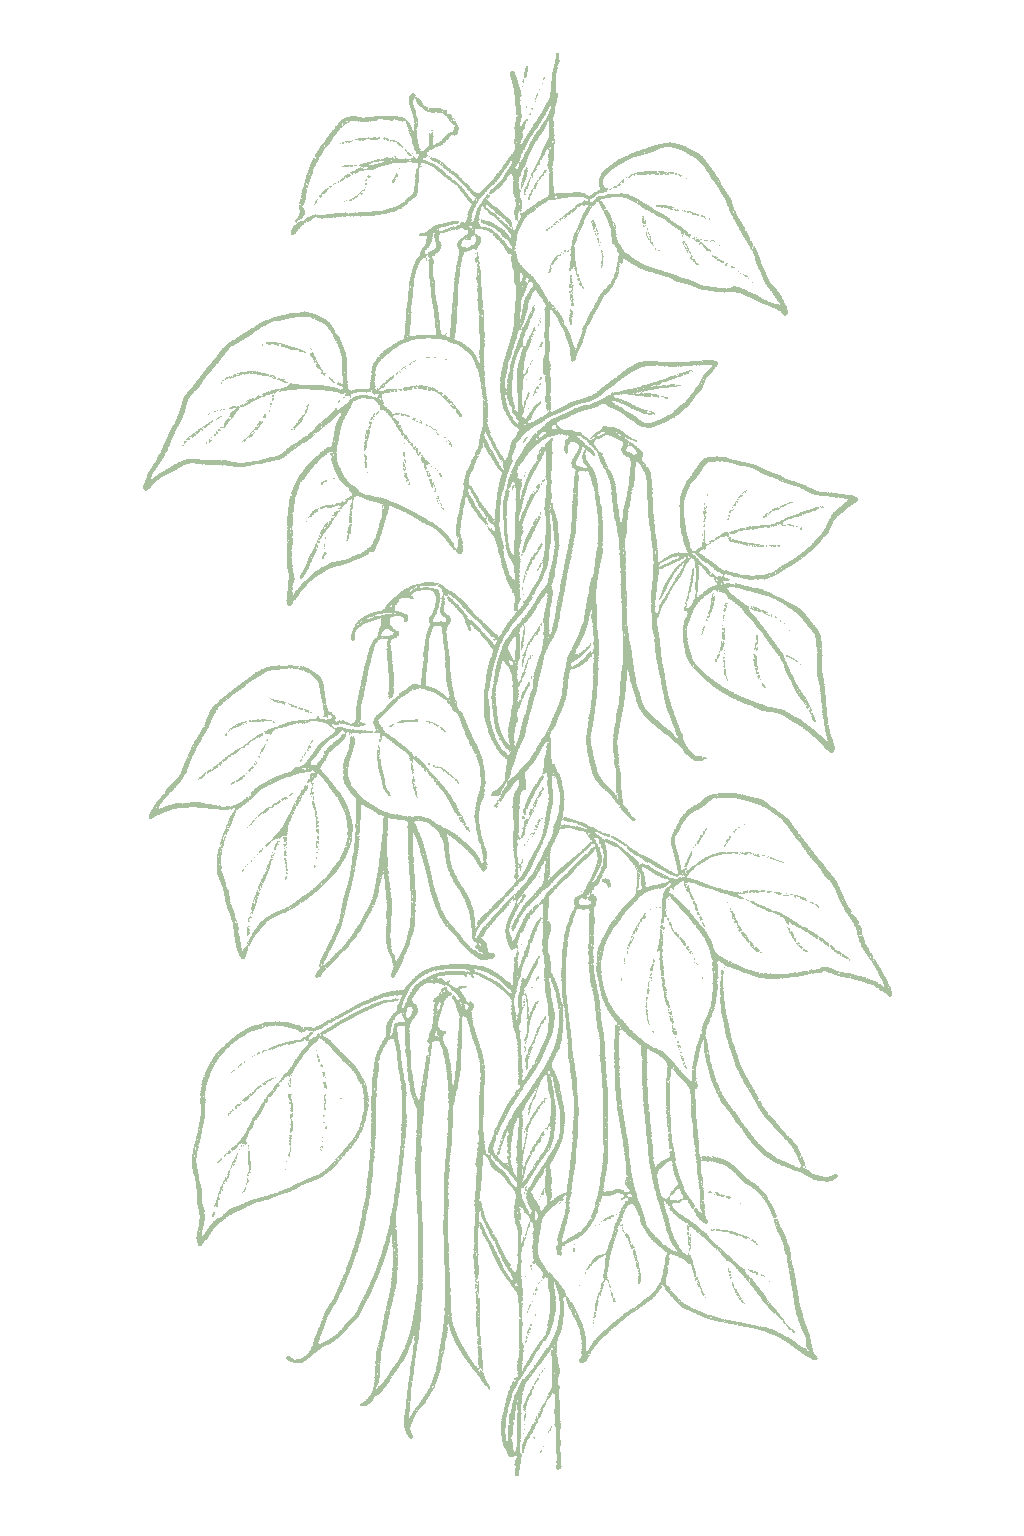
Pole beans are the climbing kind of green bean. Instead of staying short like bush beans, they grow as long vines that need something tall to climb, like a trellis, a teepee of poles, or a fence about 6 to 8 feet high. The reward is a long harvest: one planting keeps making beans for weeks, all the way until frost, so you pick a handful every few days instead of getting them all at once. You plant the seeds straight in the garden after the last frost, give them their support, keep them watered, and start picking in about two months. Pole beans (Phaseolus vulgaris) are the climbing form of the common snap bean: frost-tender, warm-season, nitrogen-fixing legumes grown for their tender immature pods. Unlike the self-supporting bush type, they are twining vines that need a sturdy trellis, teepee, or fence 6 to 8 feet tall to climb. That vertical habit is the payoff: a single planting flowers and sets pods progressively over many weeks, bearing more from the same ground than a bush planting and continuing right up to frost, so you pick regularly rather than facing one concentrated glut. Direct-sown into warm soil after the last frost, they reach a first pickable crop in about 60 to 70 days.
Off-season for pole beans in zone 9.
Zone 9 averages a last frost around March 1. Within Zone 9, the colder half (9a, winters down to 20°F) runs about a week later. The warmer half (9b, winters down to 25°F) runs about a week earlier. The plant app picks your subzone from your ZIP.
| Subzone | Last spring | First fall | Growing days | Winter min | Fruits reliably |
|---|---|---|---|---|---|
| 9a | Mar 8 | Nov 24 | ~261 | 20-25°F | Yes · two seasons |
| 9b | Feb 28 | Nov 30 | ~275 | 25-30°F | Yes · two seasons |
Averages from 8 weather stations per subzone, drawn from NOAA 1991-2020 Climate Normals. Your actual frost date can vary by up to two weeks based on elevation, proximity to water, and local topography.
In Zone 9, pole beans can be planted April through May, then again July through August, skipping the summer heat. Harvest runs May through June.
You plant pole beans once and pick for a long time. One planting keeps making beans for weeks, all the way to frost, so there is no need to replant every couple of weeks like you would with bush beans. In warm regions you may make a separate spring and a fall planting around the summer heat. The main thing is to pick often, which keeps new beans coming.Pole beans are not a succession crop the way bush beans are. A single planting climbs its support and bears progressively for many weeks, right up to frost, so you sow once per season rather than at intervals. In long-season warm regions, growers slot a separate spring and a fall sowing split by summer heat, but that is a distinct seasonal crop, not staggered succession. Keep picking every couple of days to keep the vines flowering and setting new pods.
In Zone 9, pole beans can be planted February through March, then again September, skipping the summer heat. Harvest runs March through May.
You plant pole beans once and pick for a long time. One planting keeps making beans for weeks, all the way to frost, so there is no need to replant every couple of weeks like you would with bush beans. In warm regions you may make a separate spring and a fall planting around the summer heat. The main thing is to pick often, which keeps new beans coming.Pole beans are not a succession crop the way bush beans are. A single planting climbs its support and bears progressively for many weeks, right up to frost, so you sow once per season rather than at intervals. In long-season warm regions, growers slot a separate spring and a fall sowing split by summer heat, but that is a distinct seasonal crop, not staggered succession. Keep picking every couple of days to keep the vines flowering and setting new pods.
In Zone 9, pole beans can be planted January through March, then again August, skipping the summer heat. Harvest runs March through May.
You plant pole beans once and pick for a long time. One planting keeps making beans for weeks, all the way to frost, so there is no need to replant every couple of weeks like you would with bush beans. In warm regions you may make a separate spring and a fall planting around the summer heat. The main thing is to pick often, which keeps new beans coming.Pole beans are not a succession crop the way bush beans are. A single planting climbs its support and bears progressively for many weeks, right up to frost, so you sow once per season rather than at intervals. In long-season warm regions, growers slot a separate spring and a fall sowing split by summer heat, but that is a distinct seasonal crop, not staggered succession. Keep picking every couple of days to keep the vines flowering and setting new pods.
In Zone 9, pole beans can be planted May through July. Harvest runs June through September.
In Zone 9, pole beans can be planted March through August. Harvest runs April through October.
In Zone 9, pole beans can be planted May through June. Harvest runs June through November.
In Zone 9, pole beans can be planted March through April. Harvest runs May through July.
In Zone 9, pole beans can be planted March, then again September, skipping the summer heat. Harvest runs April through June.
You plant pole beans once and pick for a long time. One planting keeps making beans for weeks, all the way to frost, so there is no need to replant every couple of weeks like you would with bush beans. In warm regions you may make a separate spring and a fall planting around the summer heat. The main thing is to pick often, which keeps new beans coming.Pole beans are not a succession crop the way bush beans are. A single planting climbs its support and bears progressively for many weeks, right up to frost, so you sow once per season rather than at intervals. In long-season warm regions, growers slot a separate spring and a fall sowing split by summer heat, but that is a distinct seasonal crop, not staggered succession. Keep picking every couple of days to keep the vines flowering and setting new pods.
In Zone 9, pole beans can be planted March through April, then again August through September, skipping the summer heat. Harvest runs April through June.
You plant pole beans once and pick for a long time. One planting keeps making beans for weeks, all the way to frost, so there is no need to replant every couple of weeks like you would with bush beans. In warm regions you may make a separate spring and a fall planting around the summer heat. The main thing is to pick often, which keeps new beans coming.Pole beans are not a succession crop the way bush beans are. A single planting climbs its support and bears progressively for many weeks, right up to frost, so you sow once per season rather than at intervals. In long-season warm regions, growers slot a separate spring and a fall sowing split by summer heat, but that is a distinct seasonal crop, not staggered succession. Keep picking every couple of days to keep the vines flowering and setting new pods.
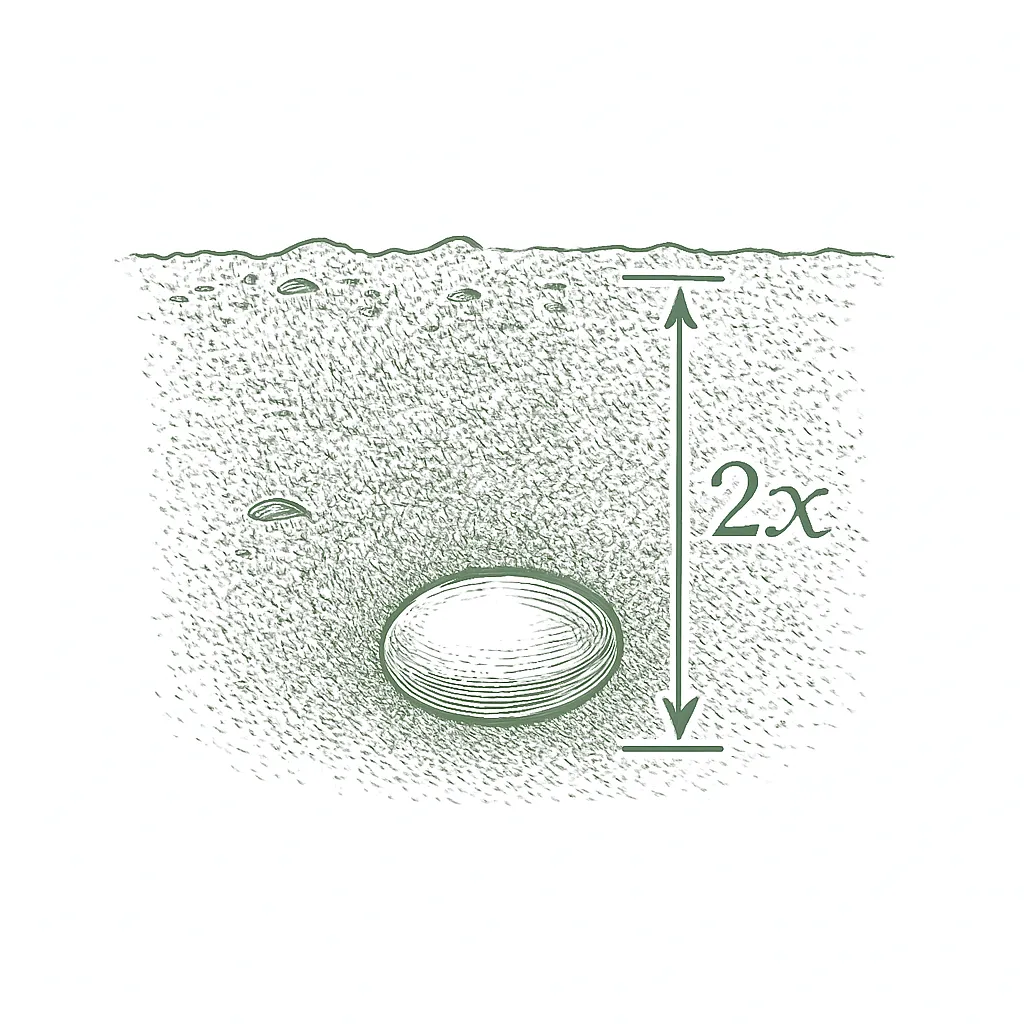
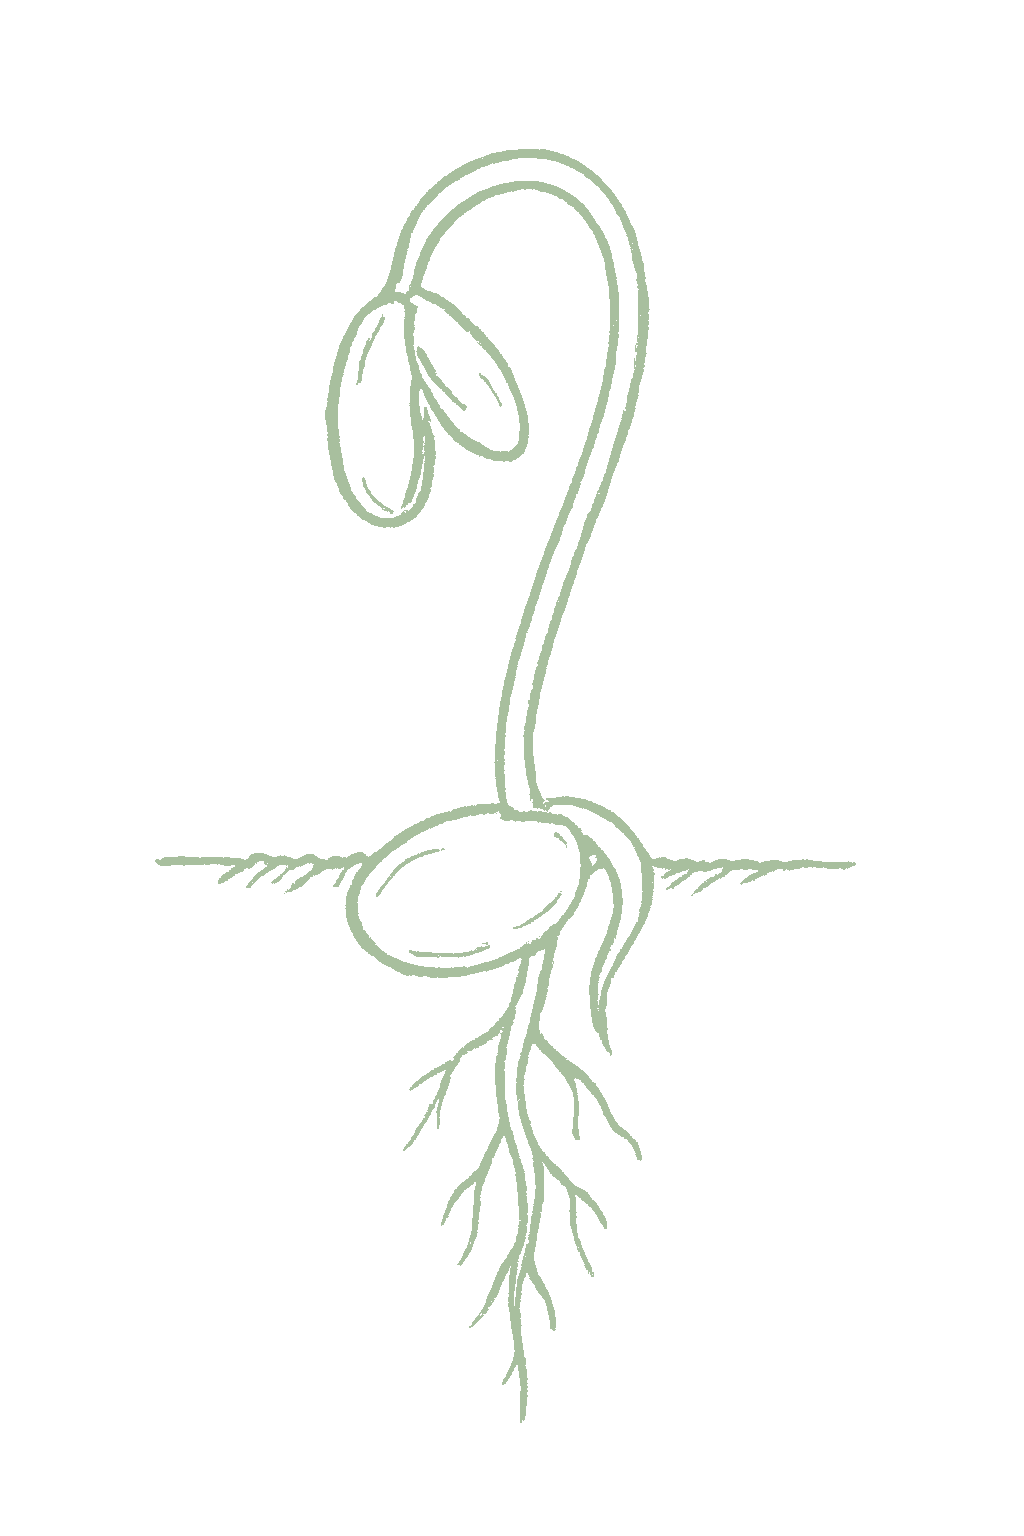
Plant pole bean seeds right where they will grow, once the soil has warmed and frost is past, and put up the trellis or poles at the same time. Beans do not like having their roots disturbed, so skip starting them indoors.Sow directly into warm soil after the last spring frost, and set the trellis, poles, or netting in place at planting so you do not disturb the roots later. Beans resent root disturbance and germinate quickly in place, so transplanting offers no advantage.




Not sure what soil you have? Grab a small handful of damp soil from your garden bed and squeeze it. If it crumbles apart easily, it's sandy. If it holds together but breaks when you poke it, it's loam (what most vegetables want). If it stays in a hard, slippery ball, it's clay.
Pole beans like loose, fertile soil that drains well. If water sits on top of your bed for a long time after rain, work in some compost first to help it drain.
Mix 2-3 inches of compost into the top 6 inches of your bed before planting. Compost holds moisture (which sandy soil drains too fast) and adds the nutrients sandy soil tends to lack. Repeat each season. Compost breaks down over time.
Mix 2-3 inches of compost AND a few inches of coarse sand or perlite into the top 6 inches of your bed. The compost feeds the plants; the sand breaks up the clay so air and water can move through. Don't add sand without compost. It can compact like concrete.
If amending your soil sounds like too much work, or if your soil is heavy clay, full of rocks, or contaminated, build over it. A raised bed at least 12 inches deep filled with a 50/50 mix of compost and sandy loam gives you ideal growing soil with no battles. A 5-gallon container with quality potting mix does the same for one plant at a time. Both bypass your native soil entirely.
The numbers that matter, at a glance.
Pole beans can grow in a big pot, but they need a tall, sturdy support they will not tip over. Use a pot at least 5 gallons, ideally 10 or more and 12 inches deep, set up a 6-foot teepee or trellis in it, plant a few seeds around the base, and keep the mix evenly moist.Pole beans grow in a large container, but they need both room and a sturdy tall support. Use a pot of at least 5 gallons, ideally 10 or more and 12 inches deep, anchored so a 6-foot teepee or trellis will not topple in wind. Plant several seeds around the support and keep the mix evenly moist.
Kentucky WonderThe classic heirloom pole bean; vigorous, heavy-yielding, with long meaty pods and full old-fashioned flavor. Widely adapted and a dependable first choice.
Blue Lake PolePopular pole form of the Blue Lake type; smooth round green pods with classic flavor, produced heavily over a long season.
Kentucky BlueA cross of Kentucky Wonder and Blue Lake combining the flavor of one with the tender straight pods of the other.
Ask what your balcony or roof can carry
A balcony or roof can only hold so much weight. Before you set heavy pots there, ask a building architect what it can safely carry.Illinois Extension's guidance is to consult a building architect about weight limits before placing heavy pots on a balcony or rooftop garden. It gives no weight figure.
Never grow food in a container with anything toxic in it
Many kinds of containers can be used. Whatever you choose, keep anything toxic out of it, especially if you are growing food.Colorado State accepts nearly any container material but warns against using a container that holds toxic materials, especially for edible plants. Illinois adds that a vegetable container should be free of chemicals toxic to plants or people, and urges caution with treated lumber when growing food. If you cannot account for what a repurposed container once held, that alone is a reason to keep food out of it.
Secure hanging containers well
Fasten hanging baskets and window or rail boxes securely. Think about what is below them too, since they can drip on people or things underneath.Illinois Extension asks growers to secure hanging containers well and to think through the safety issues of hanging them. Placement matters too, since a hanging container can drip onto people or belongings below.
Pole beans do well in slightly acidic to neutral soil. If you have not tested your soil, a pH near 6.5 is a safe target and most garden beds are already close.A soil pH of 5.8 to 6.5 suits snap beans; they tolerate up to about neutral. A soil test is the reliable way to confirm both pH and fertility before the season starts.
Pole beans make a lot of their own food from the air, so they need little fertilizer. Mix a little balanced fertilizer into the bed before you plant, and feed once more lightly right before the plants flower. Too much fertilizer gives you big leafy vines climbing the trellis but fewer beans, and it delays flowering.Pole beans are light feeders. As legumes they fix much of their own nitrogen through root nodules, and excess nitrogen delays flowering and pushes leafy vine growth up the trellis at the expense of pods. Without a soil test, work a balanced starter into the bed before planting, then sidedress lightly just before the first bloom. Sandy beds or leaching rains can call for a second light feeding across the long bearing season.
A balanced vegetable fertilizer like 5-10-10 works well.Pre-plant 5-10-10 if no soil test is available; sidedress a nitrogen source lightly before bloom.
Pole beans get along with most vegetables. The classic combination is beans, corn, and squash grown together, with the beans climbing the corn. The one pairing to avoid is planting beans right next to onions or garlic. As a nitrogen-fixing legume, pole beans leave the soil better for what follows and are the classic climbing partner in the Three Sisters planting, where the beans scramble up the corn while squash covers the ground. The long-standing caution is to keep beans away from the alliums (onion, garlic), which are widely held to suppress them.
Beans are ready when the pods are firm and crisp and snap cleanly, before you can see the seeds bulging inside. Pick every two or three days all season. On pole beans, picking often is what keeps new beans coming, so do not let old pods sit on the vine.Pick when pods are firm, crisp, and snap cleanly, before the enlarging seeds bulge the pod wall. Pole beans bear over a long season, so work the vines every two to three days: regular picking keeps the plant flowering and setting new pods, while pods left to mature signal it to slow down.
Pole beans give more from the same patch than bush beans because they grow up instead of out and keep bearing for a long time. A 10-foot row of pole beans usually gives about 8 to 12 pounds of beans over the season, versus around 5 pounds for bush beans in the same space.Pole beans out-yield bush beans from the same footprint by growing vertically and bearing over a long season. A 10-foot row of pole beans typically returns roughly 8 to 12 pounds of pods over its extended cropping period, compared with about 5 pounds for bush beans in the same space.
Instead of one big batch, pole beans give a steady supply over many weeks from a single planting, all the way to frost. That is why you do not need to replant every couple of weeks like with bush beans: one planting keeps going, as long as you pick every few days.Rather than a single burst, pole beans bear steadily over many weeks from one planting, right up to frost. That long, running harvest is why succession sowing is unnecessary: one well-tended planting keeps a household supplied, provided you pick every couple of days to keep it flowering. Pole beans are a satisfying crop for a first-year garden. They come up fast, need little fuss, and one planting keeps making beans for weeks once it starts, about 60 to 70 days from planting. The main things that affect how much you get are keeping the water steady and picking often so the vine keeps producing.Pole beans are a rewarding first-year crop: they germinate quickly, ask little, and a single planting bears for weeks once it starts, around 60 to 70 days from sowing. The main first-year lever on yield is steady moisture through the long flowering and pod-fill season, plus picking often enough to keep the vine producing.
Kentucky Wonder and Blue Lake Pole are easy, dependable choices for a first pole bean patch. Rattlesnake is a good pick if your summers are hot. One to know: Scarlet Runner bean, with its bright red flowers, is a different plant (Phaseolus coccineus) usually grown for looks, not the same as a snap bean.Choose cultivars with resistance to bean common mosaic virus and anthracnose where those diseases are a concern. The varieties here are widely recommended pole types; Kentucky Wonder and Blue Lake Pole lead for dependable, long-bearing crops. Note that Scarlet Runner bean is a different species (Phaseolus coccineus), often grown as an ornamental, not a green-podded snap bean.
The ladder troubleshoots from the gentlest solution to the strongest. Start with the gentlest option and only move on when and if it doesn't work.
Start at the seed rack: two varieties, Wade and Black Valentine, carry a note of tolerance for this beetle. Tolerant means the plant handles the feeding better, not that the beetle stays away, so it is worth asking for one of them if this pest turns up in your garden most years.Wade and Black Valentine are described as tolerant rather than resistant, so the gain is in absorbing feeding, not in deterring adults. A seed-order decision, settled before anything else on this list is available.
Most of the chewing lands in July and August, so sowing very early, or putting in a fresh late-summer sowing, can let the crop dodge the busiest stretch. When the beetle shows up shifts by region, so check what your own extension service publishes before you move a sowing date.Damage concentrates in July and August, so moving the tender stage to either side of that window trades a treatment for a calendar decision. The window is local, so confirm it against regional guidance rather than carrying these months across climates.
Give beans a different bed than the one they grew in last year. It costs nothing but a little planning, and it goes together with clearing the old vines rather than replacing that step.Move the planting off last season's bean ground. Clemson pairs rotation with prompt residue removal, so treat the two as one habit rather than as alternatives.
As soon as you have picked the last beans, pull the spent vines and work the debris into the soil so the beetles lose the cover they would otherwise shelter in over winter.Incorporating crop residue promptly after harvest strips overwintering shelter around the bed. Like any off-season step it pays out a year later, not against the beetles feeding now.
Check the undersides of the leaves and keep working up the trellis, because on a tall vine the feeding climbs higher than you tend to look. Take the coppery adults, the clusters of yellow eggs, and the spiny young off by hand and kill them. Started early in a home garden this carries most of the load, and light damage is not worth treating, since beans can give up a fair bit of leaf without giving up pods.Scout leaf undersides through the full canopy height and take adults, egg masses and larvae in the same pass. The published tolerance is generous, roughly 30 percent defoliation before bloom and 15 percent through bloom and pod fill, so light feeding is a scouting note rather than a treatment trigger.
If the beetles get ahead of you, spinosad is an organic spray labeled for bean beetles. Treat it as the step for when picking is not keeping up, and follow the label.Under heavy pressure spinosad is labeled for bean beetles and is the organic rescue here. It sits behind handpicking rather than replacing it, and label rates and intervals govern.
The bottom rungs are products with label rules: timing, pollinators, and days to wait before harvest. Before you spray →
The ladder troubleshoots from the gentlest solution to the strongest. Start with the gentlest option and only move on when and if it doesn't work.
Go easy on the fertilizer. Heavy feeding pushes out soft new growth, and that soft growth is exactly what aphids settle on and multiply in.Restrained nitrogen keeps growth steady instead of flushing the tender tissue that lifts aphid reproduction. Preventive, costs nothing, and it is set before the colonies arrive.
Lay a reflective mulch, a silvery sheet over the soil, while the plants are still small. It confuses aphids flying in, so there is less feeding and less of the virus they can carry from plant to plant.Reflective mulch laid early disorients incoming aphids, reducing feeding and virus spread rather than killing anything. The documented benefit is on small plants, so the window narrows as the canopy covers the sheet.
Blast the colonies off with a strong jet of water as soon as you find them. Aphids knocked to the ground mostly do not climb back up. Do it early in the day so the leaves dry off.A forceful water spray is the first knock-back on colonies at the growing tips and leaf undersides. Start at first detection, before the colony thickens, and spray early enough in the day that foliage dries quickly.
Give the ladybugs and other helpful insects a chance before you spray anything. Once the weather warms they usually catch up with the aphids on their own, and broad sprays set them back just when they are getting to work.Aphids run ahead of their natural enemies on small plants in cool, dry weather and are generally overtaken once warmth brings resident predators up to speed. Conserving those predators is the reason to keep this ladder at its soft end.
Where a colony is heavy, insecticidal soap gives good control, but only on what the spray actually wets. Coat the growing tips and the undersides of the leaves, and start as soon as you find the colonies rather than after they have spread.Soap works on contact with no residual, so coverage of tips and undersides decides the result and a repeat pass is often needed. Applied only where colonies sit, it leaves most of the resident predator population intact.
The bottom rungs are products with label rules: timing, pollinators, and days to wait before harvest. Before you spray →
The ladder troubleshoots from the gentlest solution to the strongest. Start with the gentlest option and only move on when and if it doesn't work.
Keep the soil evenly moist instead of letting it swing from soaked to bone dry. Plants that have been left dry are much more likely to get hit, so this is the cheapest thing you can do about mites.Drought stress is the main accelerant, so steady soil moisture is the preventive lever here. Numbers also build fastest through hot, dry spells, which is when scouting should tighten.
Turn a strong jet of water up under the leaves to knock the mites and their webbing loose. Check undersides during hot, dry weather so you are doing this early rather than after the leaves go bronze.A forceful spray directed at leaf undersides dislodges mites and strips webbing. Repeat through the hot, dry stretch that drives buildup, since one pass only reaches what it wets.
Ladybugs and other predators feed on mites and help hold them down, so it is worth avoiding anything that would wipe them out.Resident predators contribute to holding mite numbers down, which argues for spot treatment over a broad one; the softer steps here are chosen partly to keep them working.
If the numbers keep climbing, insecticidal soap works on contact, so aim it at the leaf undersides where the mites actually are. Use it before they get thick rather than after.Soap is a contact material with no residual: coverage of undersides and a repeat application are what decide the outcome. Applied before populations climb it does far more than a rescue attempt on an already bronzed canopy.
The bottom rungs are products with label rules: timing, pollinators, and days to wait before harvest. Before you spray →
The ladder troubleshoots from the gentlest solution to the strongest. Start with the gentlest option and only move on when and if it doesn't work.
Move the beans to a different bed each year so the beetles do not have last year's ground to winter in.Rotating off last year's bean ground denies overwintering sites. Paired with residue removal it is the standing preventive for a beetle that is rarely serious in a home garden.
Clear the old vines and debris away after harvest, since that is the cover the beetles would otherwise use over the winter.Clearing crop residue at the end of the season removes overwintering shelter, and it is the companion move to rotation rather than a substitute for it.
Where this beetle is known to be a problem locally, float a lightweight cover over the seedlings as they come up. Those first weeks are what count, because chewing around the stem near the soil can kill young plants and thin your stand.Row cover over emerging seedlings carries the stand through the vulnerable window. That stage is the one worth protecting, since early stem girdling costs plant numbers rather than just leaf area.
Once the plants are past the seedling stage, picking the beetles off usually keeps them in check, and the same steps you use for Mexican bean beetle apply here. Light leaf damage needs nothing, since a bean plant can shed quite a lot of leaf and still fill its pods.Handpicking, on the same routine used for Mexican bean beetle, generally holds it. Foliar tolerance is high enough that later leaf feeding rarely justifies action, so put the effort into emerging seedlings, where the loss is real.
No spray for this one. Prevention is the control.
The ladder troubleshoots from the gentlest solution to the strongest. Start with the gentlest option and only move on when and if it doesn't work.
If rust keeps coming back in your garden, pick a rust-resistant variety at seed-buying time. It is the least work of anything on this list.Where rust recurs, a resistant cultivar is the durable, plant-once control and the first thing to change.
Move your beans to a new spot where rust has been a problem, since the fungus carries over in the soil and in old plant debris.Rotate beans out of ground with a rust history. The fungus overwinters in soil and in residue, so returning to the same bed reloads the crop from the start.
Pick off the infected leaves and get rid of them, keeping them out of the compost. Deal with the supports as well: wash them down or swap them out before you put them up again, because the fungus winters on the poles and trellis and unwashed supports bring it straight to the new crop.Strip and destroy infected foliage during the season, and treat the supports as part of the cleanup: carryover on poles and trellis is a direct route back into a new crop, and it is the piece of rust sanitation a bush planting does not have to think about.
Train the vines so air moves through them, since rust takes hold in humid, close conditions. Room between plants and an open support both help the leaves dry.Spacing and an open support shorten leaf wetness, which is the condition humid weather supplies and the fungus needs to infect and spread.
Water the soil rather than the leaves. Overhead watering keeps the foliage wet, which is what rust is waiting for.Base irrigation removes the leaf wetness overhead watering adds, denying infection the humid interval it depends on.
Where rust has been bad, dusting or spraying with sulfur controls it well, as long as you begin at first flowering and keep it going every 10 to 14 days. Follow the label.Sulfur begun at bloom and repeated on a 10 to 14 day schedule gives good control where rust has been severe. It protects rather than cures, so the start date carries more weight than the number of applications. Follow label rates.
The bottom rungs are products with label rules: timing, pollinators, and days to wait before harvest. Before you spray →
The ladder troubleshoots from the gentlest solution to the strongest. Start with the gentlest option and only move on when and if it doesn't work.
Start with certified disease-free seed, meaning seed produced and checked to be clear of this fungus, and do not save your own seed from a crop that had it. This one rides in on the seed.Seedborne inoculum starts the outbreak inside the planting rather than at its edge, which puts clean seed ahead of every in-season measure. Seed saved off an infected crop carries it straight forward.
Keep beans out of that spot for two to three years. The fungus can hold on in the soil, in the remains of last year's crop, for as long as two years.A two to three year break off infected ground outlasts the debris-borne survival, reported at up to two years.
There is no fixing tissue that is already infected, so pull the affected plants and throw them out rather than composting them, and clear the debris after harvest.Infected tissue does not recover, so removal is about limiting spread now and about not carrying residue into next season. Clear the bed of debris at harvest, not just the obviously diseased plants.
Water at the soil line and try not to splash soil up onto the plants, since splashing water is how this one travels.Splash is the dispersal route, so base irrigation and anything that keeps soil off the lower foliage cut the number of new infections.
For snap beans, starting a copper fungicide early, before the disease has a hold, can hold it back. It will not cure what is already infected, and clean seed plus rotation still do most of the work.Copper can suppress anthracnose on snap beans when started early, acting as a protectant rather than a cure. It is a supporting step, with clean seed and rotation carrying the weight.
Named alongside copper as the other material that can hold anthracnose back, and only where it is started early. It suppresses rather than cures, and this crop's guidance is plain that the cultural steps above are what carries a home crop, so this sits at the far end rather than being the answer. Read its warnings before choosing it.Named with copper as a material that can suppress anthracnose where treatment starts early; the source calls cultural control the mainstay for a home crop, so this rung closes a program rather than replacing one. Suppression rather than eradication, and preventive in its timing, so a late application buys little.
The bottom rungs are products with label rules: timing, pollinators, and days to wait before harvest. Before you spray →
The ladder troubleshoots from the gentlest solution to the strongest. Start with the gentlest option and only move on when and if it doesn't work.
Start each season with fresh certified seed rather than seed you saved yourself, since both of these blights ride in on the seed. Certified means the seed was produced and checked to be free of the disease.Both pathogens are seedborne, which makes annual certified seed the highest-leverage step; seed saved off an affected crop reintroduces the bacteria into clean ground.
Leave at least two seasons between bean crops on the same ground, so a bed grows beans no more often than every third year. The bacteria can last as long as two years in the remains of an old crop.A three year interval between bean crops on a bed outlasts the reported survival on debris of up to two years.
Water the soil, not the leaves. These bacteria move in rain and splashing water, so wet foliage is what spreads them.Overhead irrigation supplies both the splash and the leaf wetness these bacteria travel in. Base watering removes the share of it you control; rain and dew are the share you do not.
Stay out of the patch while the leaves are wet from rain, dew, or watering. Brushing past wet vines carries the bacteria from plant to plant on you.Moving through a wet canopy vectors bacteria along the row in a pattern they would not reach unaided, so delay picking, tying and weeding until the foliage has dried. It lowers the rate of spread rather than stopping an infection already established.
Once a plant is infected there is no curing it, but copper sprays on a 10-day schedule can slow the spread down. Follow the label.Copper on a 10 day interval slows spread without curing infected tissue. It belongs alongside the seed and scheduling steps rather than in place of them.
The bottom rungs are products with label rules: timing, pollinators, and days to wait before harvest. Before you spray →
The ladder troubleshoots from the gentlest solution to the strongest. Start with the gentlest option and only move on when and if it doesn't work.
Wait for the soil to warm to about 69°F at 4 inches deep before you sow. Seed that sits in cold, wet ground takes a long time to come up, and that waiting stretch is when the rot gets it.Sowing once soil reaches about 69°F at a 4-inch depth shortens the time seed and seedling spend in the susceptible stage. Slow germination in cold, wet ground is the condition that gives these fungi their opening.
Plant on raised beds in ground that drains, not in a low, wet spot. There is no spray for this one, so drainage is the control.Raised beds on well-drained ground remove the saturated conditions the rots depend on. Where losses have already started, better drainage plus removing the affected plants is what limits the rest.
Move beans around the garden rather than growing them in the same bed year after year.Rotating beans with other vegetables is the standing recommendation here, and it sits alongside residue removal rather than ahead of the drainage and sowing decisions.
Clear the old plants away after harvest, and pull any seedlings that have rotted rather than leaving them in the bed. There is no saving them, so the choice left is whether to replant once the soil is warmer and draining better.Remove affected seedlings and clear crop residue after harvest. Rotted tissue does not recover, so the remaining decision is whether conditions have warmed and drained enough to justify a replant.
No spray for this one. Prevention is the control.
The ladder troubleshoots from the gentlest solution to the strongest. Start with the gentlest option and only move on when and if it doesn't work.
Give the vines room and keep air moving through them. Tie them up their support and thin out any crowding, which lets the leaves dry faster, and growing upward is an advantage here because it keeps the canopy up off wet ground.Open spacing, vertical training and thinning a crowded canopy shorten the leaf wetness this fungus needs. Vertical growth is a genuine advantage for pole types, lifting the canopy clear of the soil surface.
Go easy on fertilizer. Too much of it drives the heavy, crowded vine growth that traps still, damp air, and that is the setting this mold needs.Excess nitrogen builds the dense canopy that holds moisture and stills the air. The lever here is canopy architecture rather than tissue chemistry, so modest feeding is a disease decision as much as a nutrition one.
Water at the base rather than overhead, so you are not adding wet leaves to a canopy that is already damp and packed together.Base irrigation avoids adding surface wetness to a canopy that is already slow to dry under the cool, moist conditions the fungus favors.
There is no chemical control recommended for home gardens here, so how you grow the crop is the control. Pull the infected plants and throw them out rather than composting them.With no chemical control recommended for the home garden, removing infected plants is the in-season step; destroy the tissue rather than composting it, and pair it with opening the canopy back up.
No spray for this one. Prevention is the control.
Move your beans to a new spot each year, on about a three-year rotation, and clean or swap out the poles and trellis between seasons. Because beans feed the soil with nitrogen, whatever you plant there next will benefit.Rotate beans on a roughly three-year cycle, and clean or replace poles and trellis between seasons since rust and blights persist on them. Their nitrogen-fixing habit makes beans a good predecessor for nitrogen-hungry crops.
The plant app sends a timely reminder at every critical moment of your pole beans season. The wording adjusts to whichever you pick: beginner or seasoned. Here are three you'll see in Zone 9.
plant sends the right notification at exactly the right moment, for your zone, your weather, your crops. Founding members lock the rate forever.
We're building this guide with real growers. Got a question we missed? Ask here. We read every one and add the best answers right to this page.
Learned something the hard way? Pass it on. Real growers' tips make this guide better for the next person, and we credit you by name when yours goes live.
If you've grown this crop and you see a date, a temperature, a companion claim, or a recommendation that doesn't match your experience, tell us. Real growers' corrections make this guide better for the next person.
Every date, temperature, spacing, and recommendation on this page is sourced from university cooperative extension publications, peer-reviewed agricultural research, NOAA climate data, and direct extension calendars. Where claims are softer (traditional gardening wisdom not formally documented), we say so.
Spot a data point that doesn't match your experience? Submit a correction; accepted corrections earn full author credit on the page.
Zone-aware seasonal nudges, what's worth planting now, and the occasional recipe from the harvest. No spam, ever.