Pick your zone and the dates re-calibrate.
The Guide Crops Vol. 003

Popcorn

in Zone 9, this week

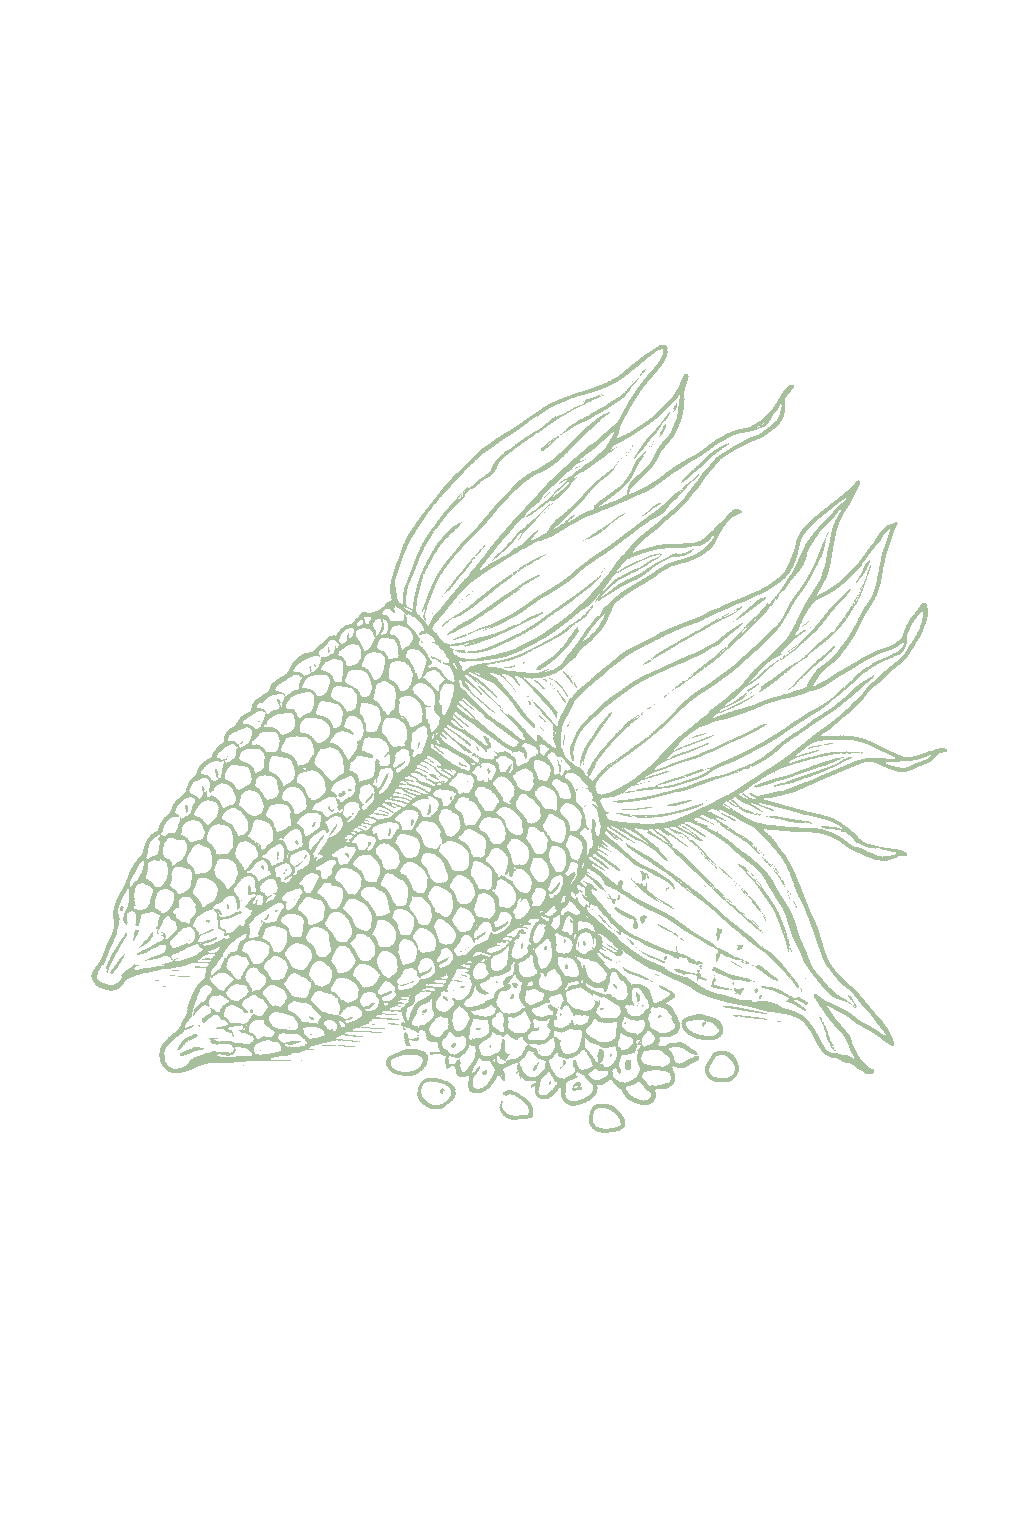
Popcorn is a type of corn grown for its small, hard kernels that burst into fluffy popped corn when heated. Each kernel has a hard, moisture-sealed shell around a dense, starchy center; when it gets hot, the tiny bit of water trapped inside flashes to steam and the kernel explodes, turning itself inside out. You grow it just like other corn, in a square block of short rows so the wind can pollinate it, and you let the ears dry down on the stalk. Popular home types include the reliable yellow Robust hybrids, the tender heirloom Japanese Hulless, and ornamentals like deep-red Strawberry popcorn and blue-black Dakota Black that look as good on the shelf as they taste in the bowl. The single most important rule: keep popcorn away from all other corn, because pollen from sweet corn or field corn drifting onto your popcorn ruins its ability to pop. Keep them at least 300 feet apart, or time your plantings so they tassel about two weeks apart. Getting the kernels to the right dryness, about 13 to 14 percent moisture, is what makes them pop well. Popcorn (Zea mays var. everta) is a flint-type corn whose kernels carry an exceptionally hard, moisture-tight hull over a dense, glassy endosperm. When heated, the small amount of water sealed inside each kernel flashes to steam and pressure builds against the hard hull until it ruptures, and the gelatinized starch turns the kernel inside out into a crisp flake. That mechanism makes moisture the whole game: the ideal kernel moisture for popping is 13 to 14 percent, and kernels that are too wet pop small and chewy while kernels dried too far fail to pop at all. Representative types run from dependable modern yellow hybrids (the Robust series) and the classic tender heirloom Japanese Hulless to ornamentals like ruby Strawberry and blue-black Dakota Black that pop as well as they display. It is wind-pollinated and block-planted like any corn, a heavy nitrogen feeder with the same critical moisture window at tasseling and silking. Its isolation rule is the strictest of all the corns: because popping depends on an intact hard endosperm, any foreign pollen, sweet or dent, crossing onto the ear degrades the pop, so isolate by about 300 feet or stagger tasseling by roughly two weeks.
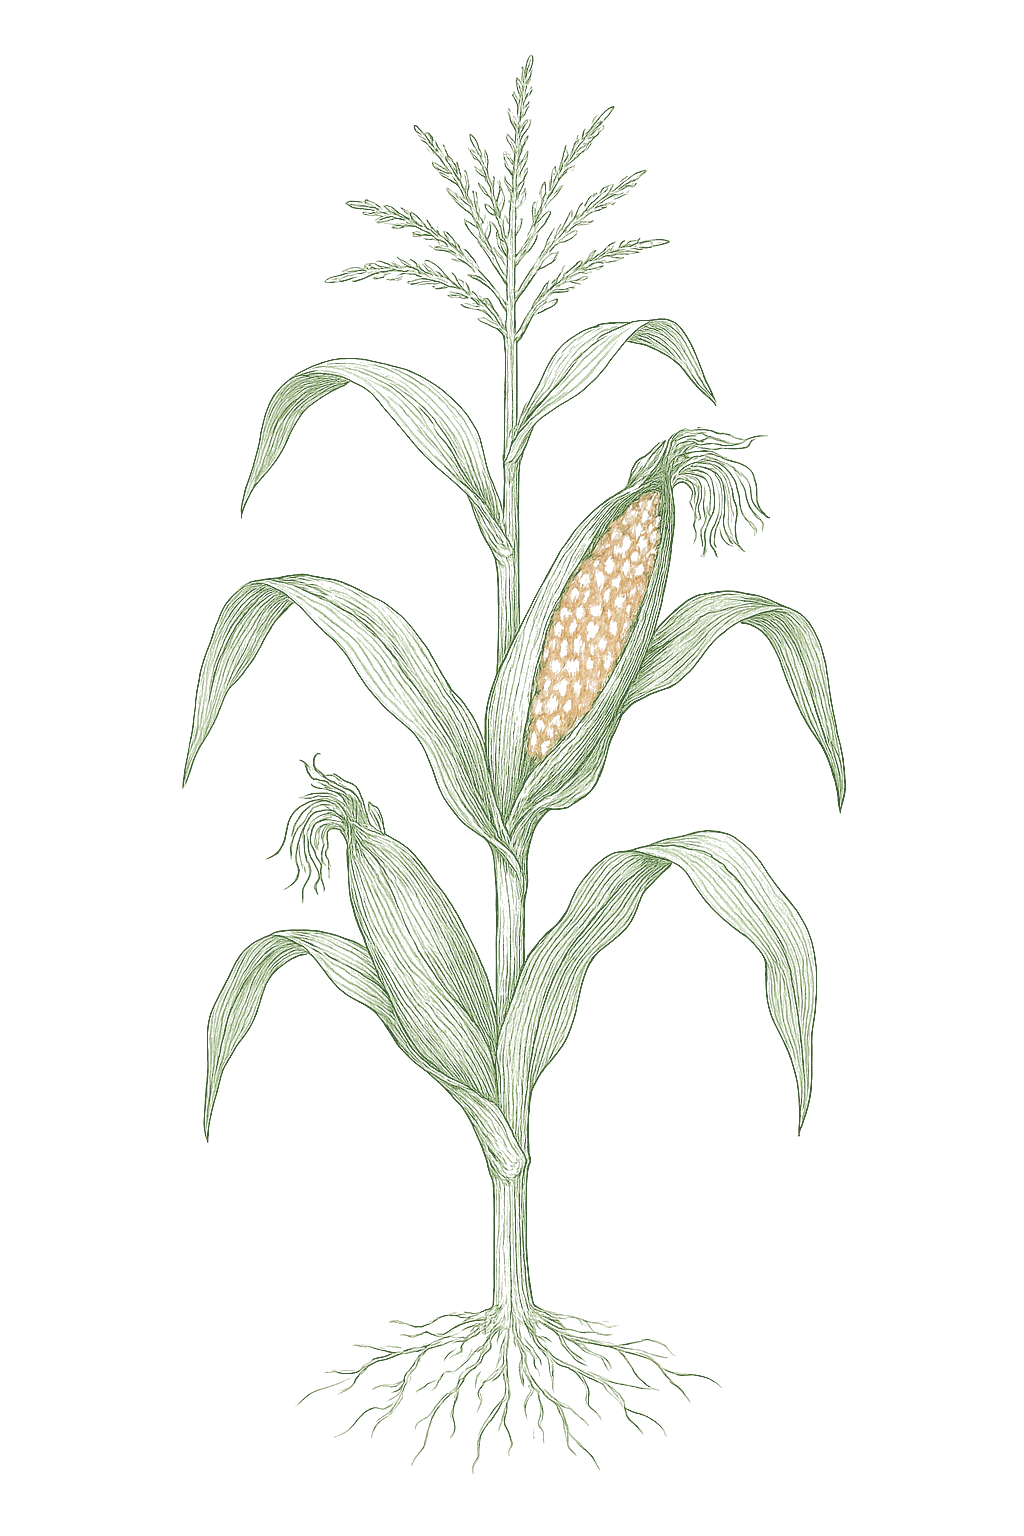
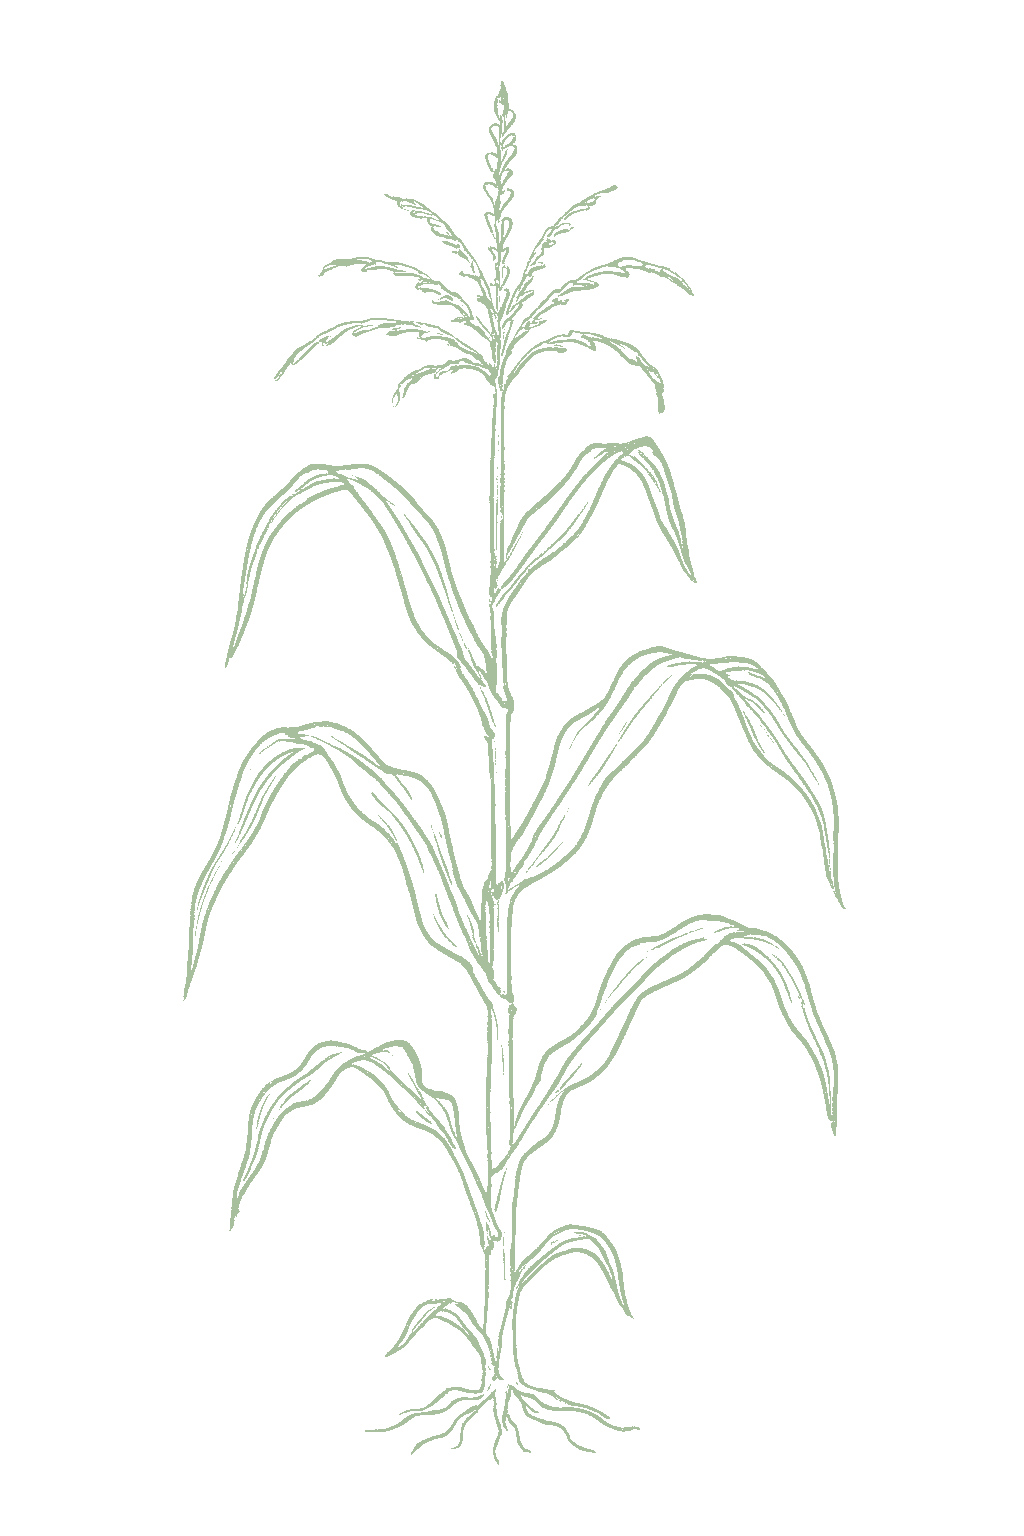
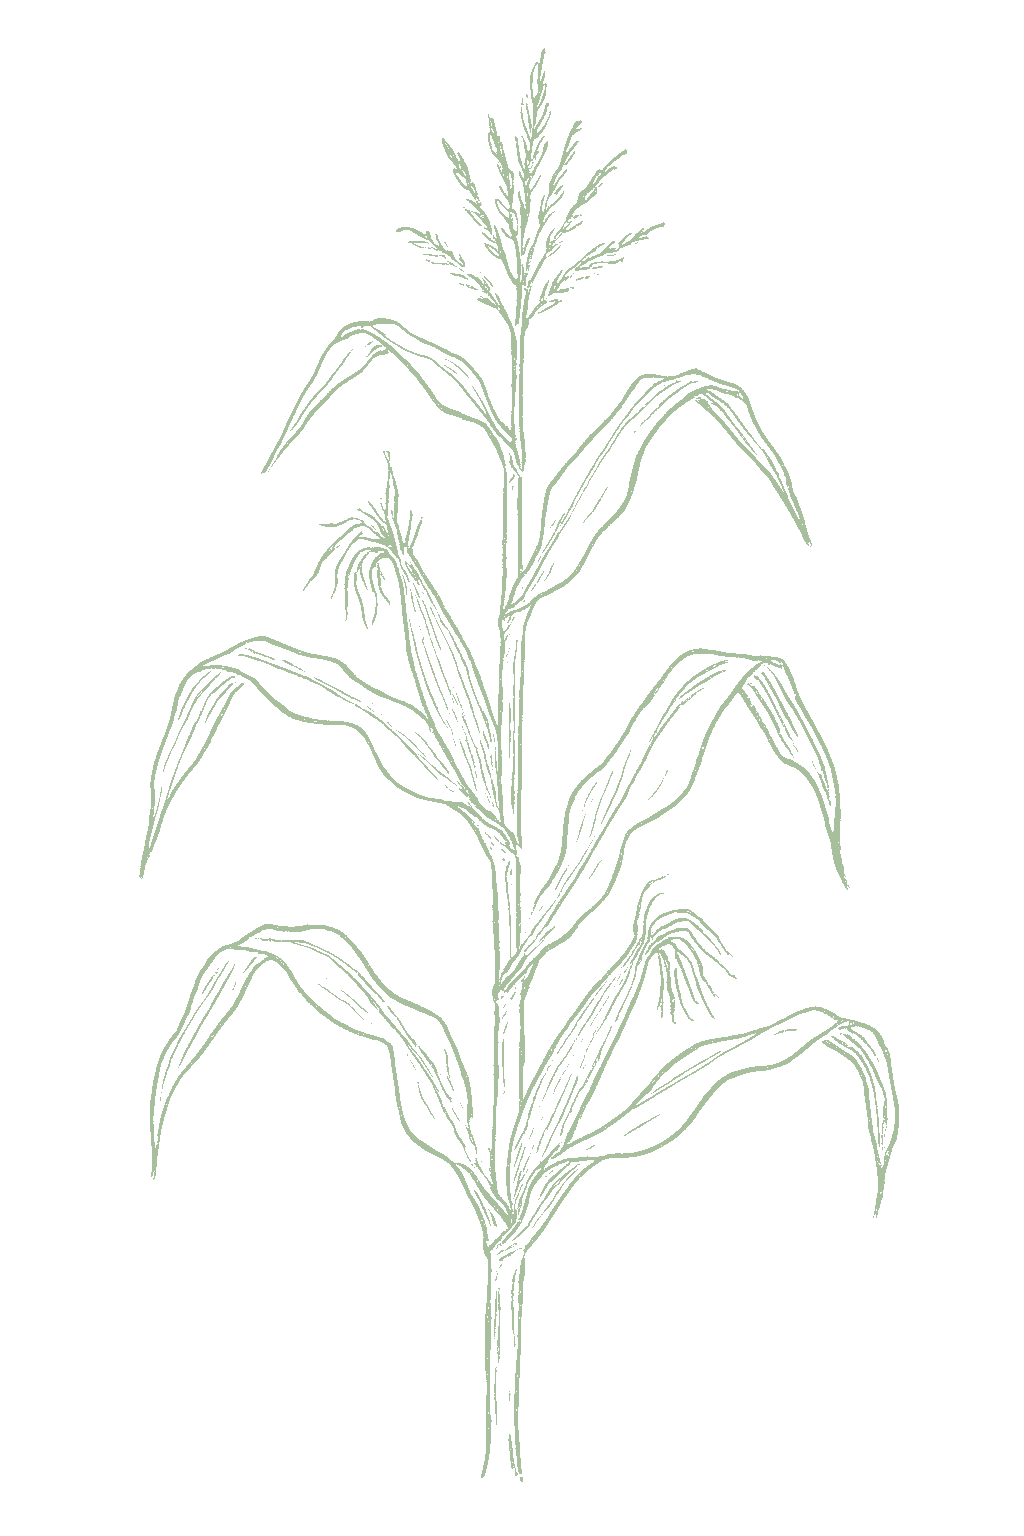
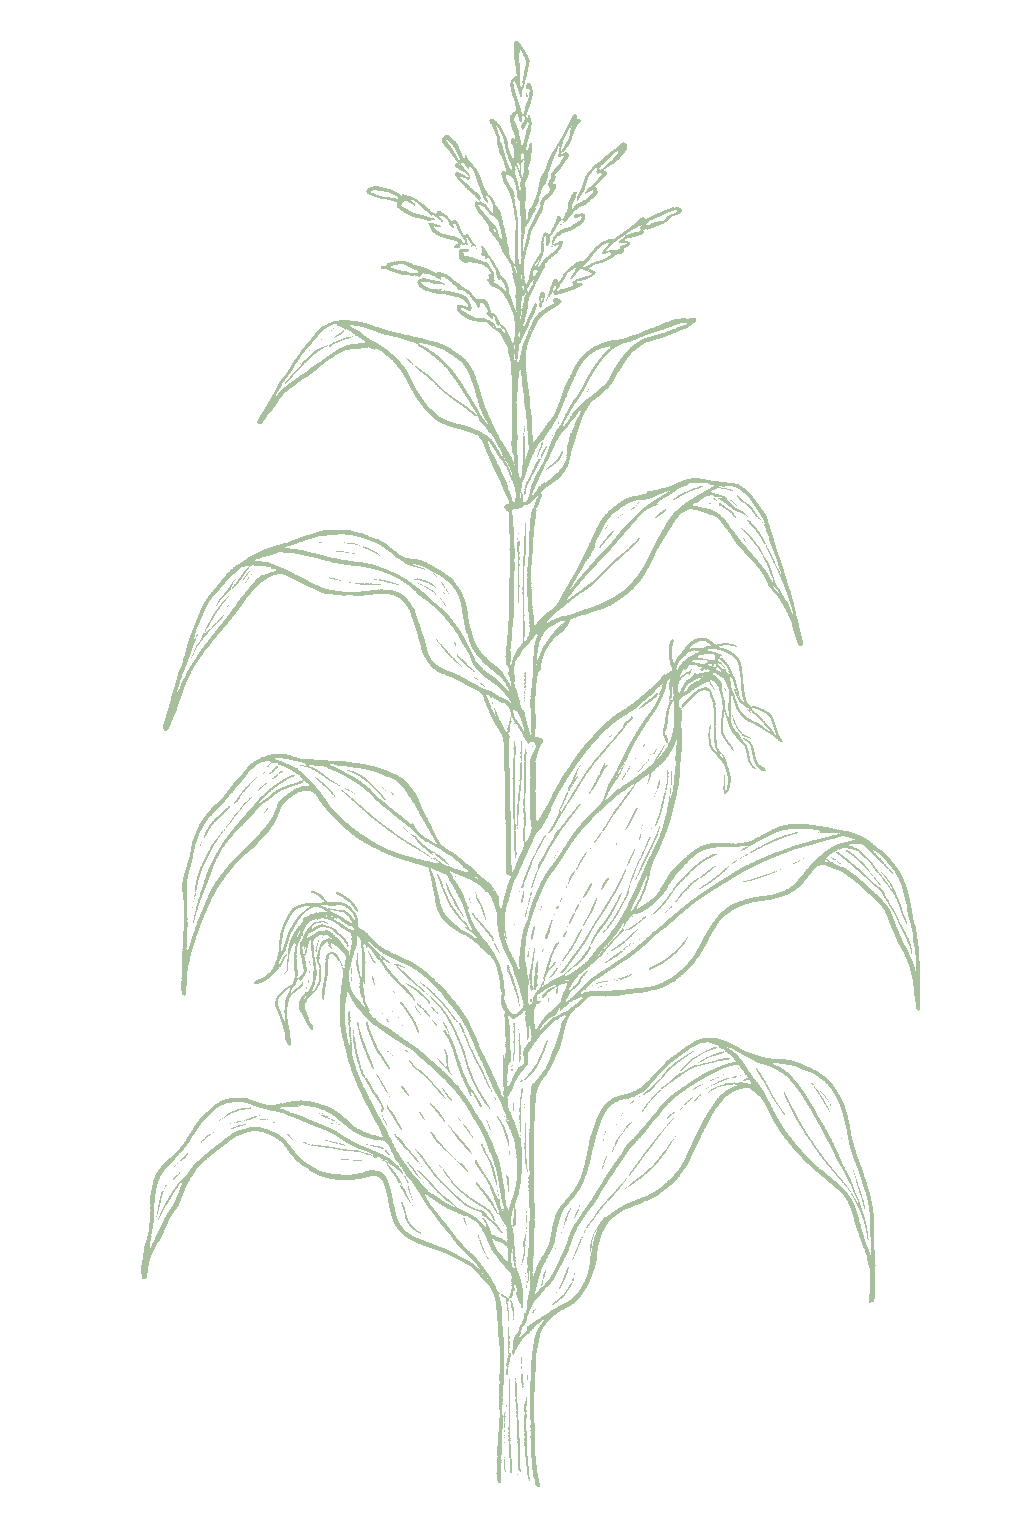
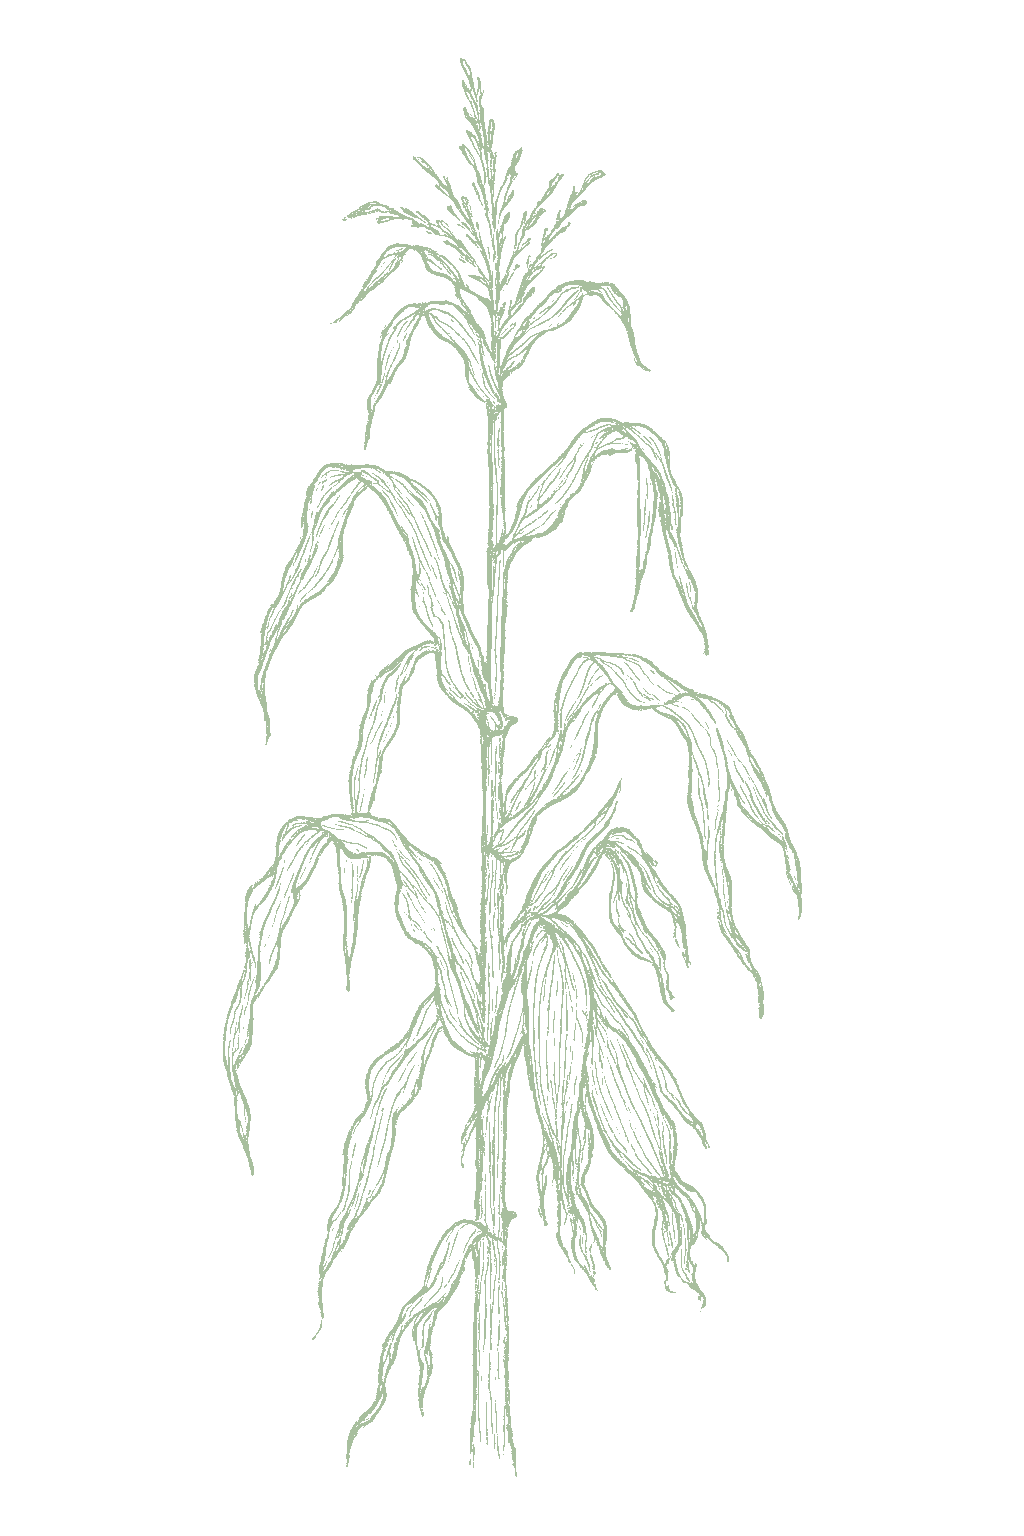
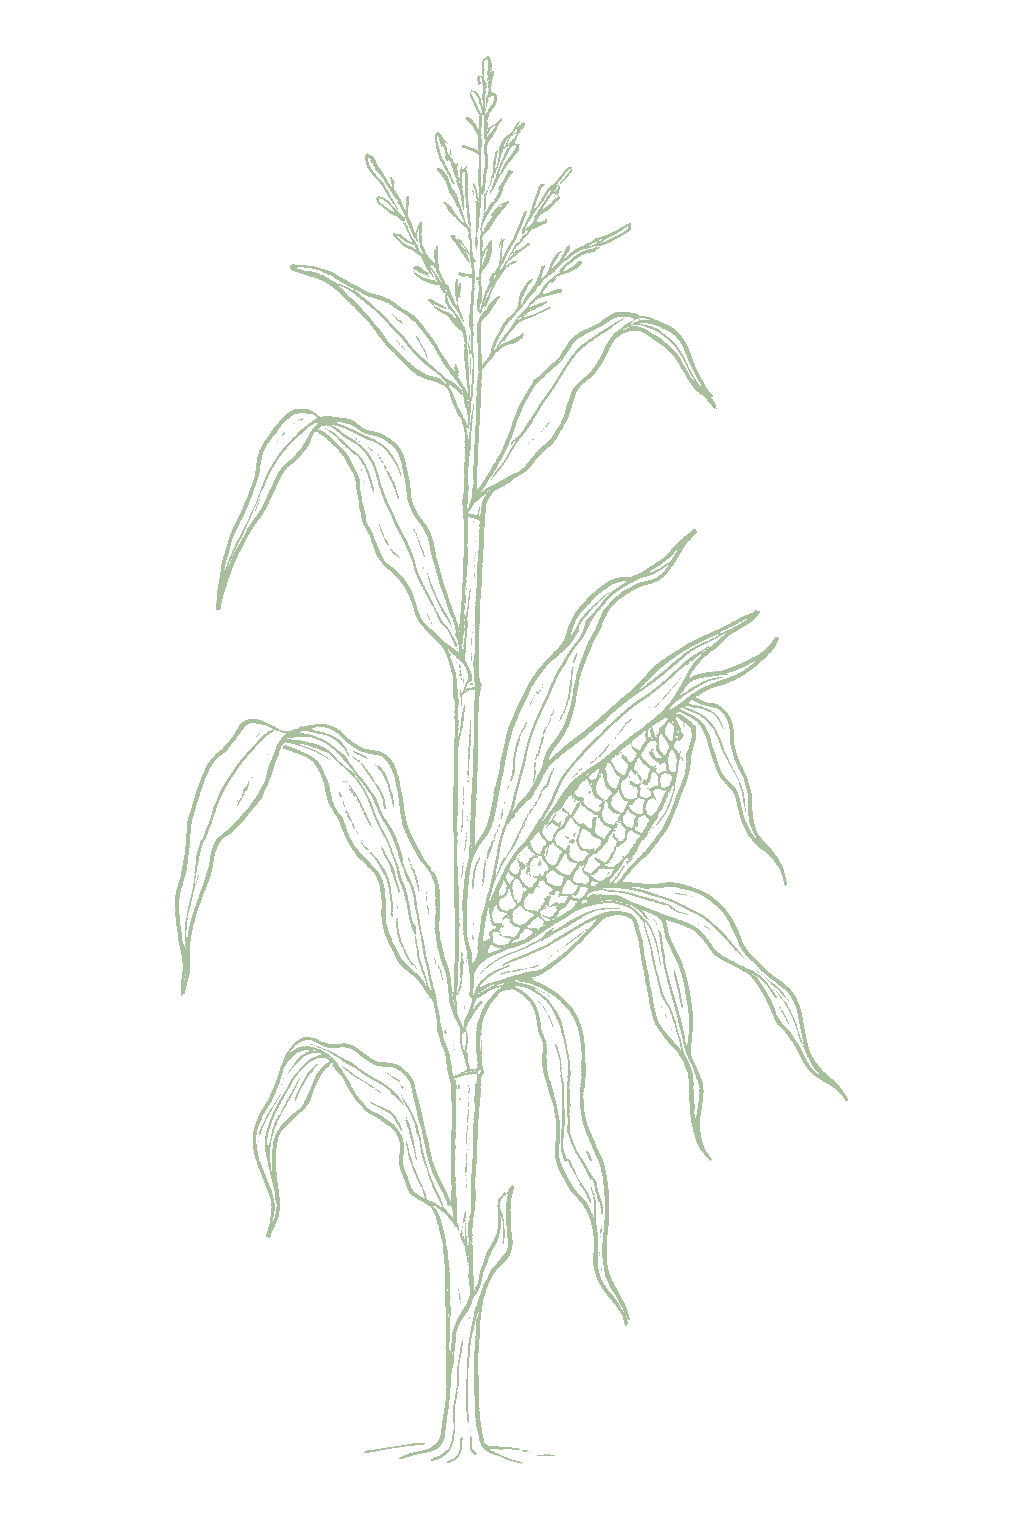
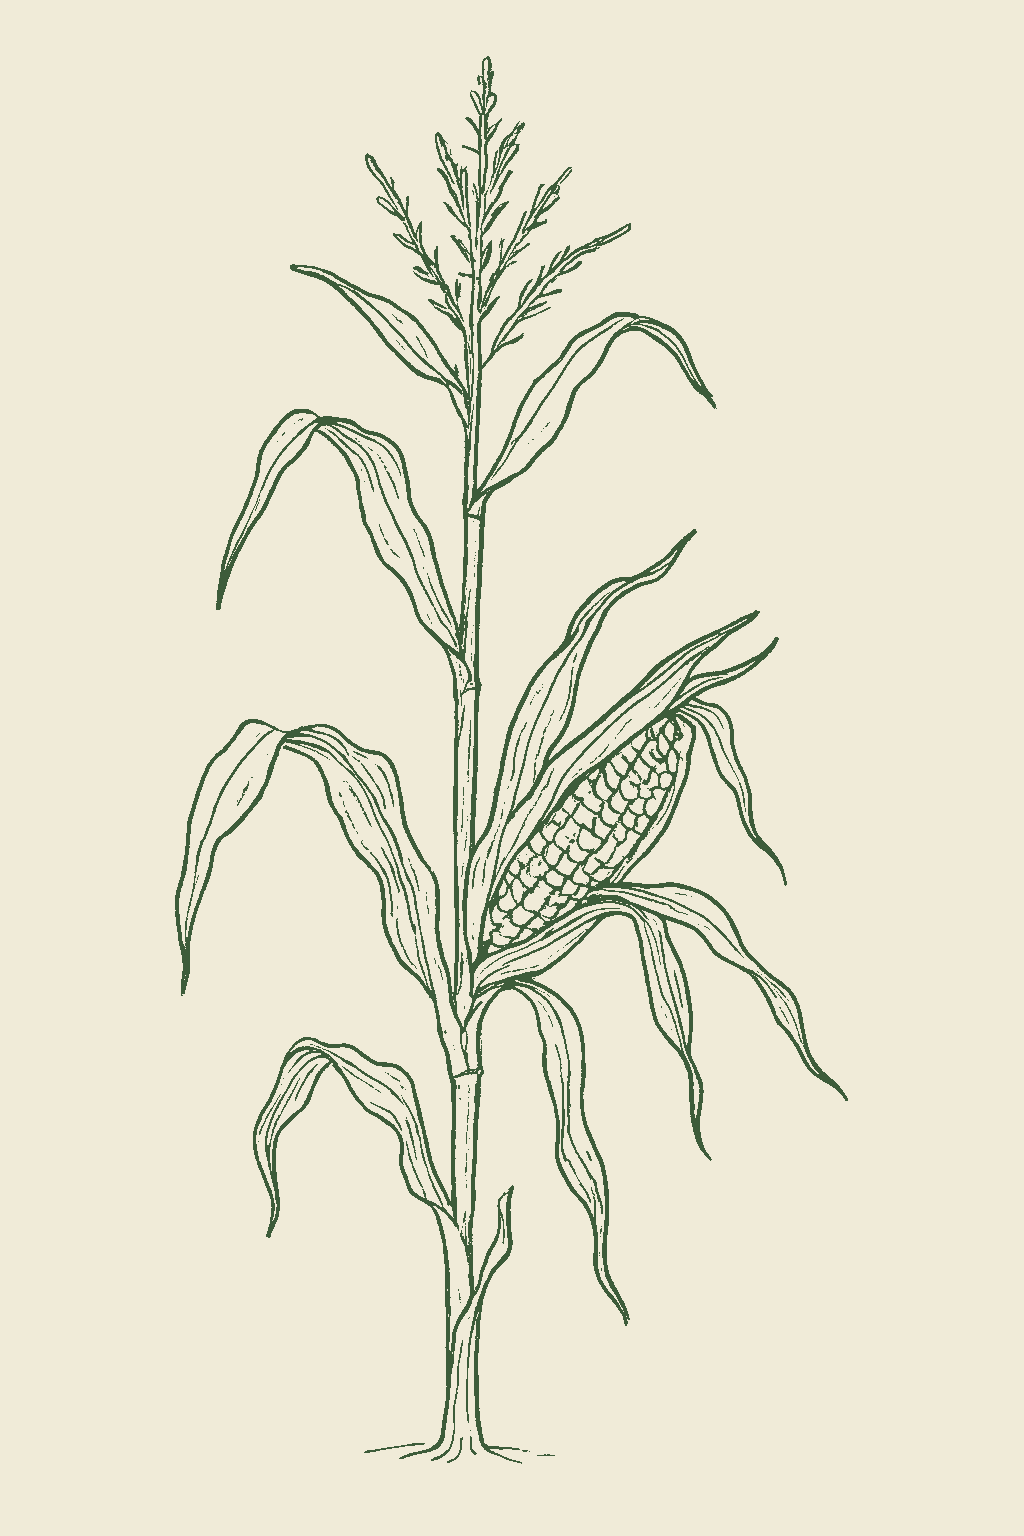
Popcorn mature plant
Fig. 01 · Popcorn, mature Zone 9
Mature in
90-110d
from transplant
Sunlight
Full sun
6-8 hrs daily
Water
High
1 inch / week
Spacing
8-12"
between plants
Soil pH
6-6.8
slightly acidic
Today · in your zone

What's happening right now

July 24 · Zone 9 · Stage 01 · Germination

Off-season for popcorn in zone 9.

Seasoned
Microclimate · Zone 9a vs 9b

Your zone, at a finer grain

Zone 9 averages a last frost around March 1. Within Zone 9, the colder half (9a, winters down to 20°F) runs about a week later. The warmer half (9b, winters down to 25°F) runs about a week earlier. The plant app picks your subzone from your ZIP.

SubzoneLast springFirst fallGrowing daysWinter minFruits reliably
9aMar 8Nov 24~26120-25°FYes · two seasons
9bFeb 28Nov 30~27525-30°FYes · two seasons

Averages from 8 weather stations per subzone, drawn from NOAA 1991-2020 Climate Normals. Your actual frost date can vary by up to two weeks based on elevation, proximity to water, and local topography.

Source: NOAA 1991-2020 Climate Normals Methodology
Your climate region in Zone 9
The season at a glance

Planting calendar

In Zone 9, popcorn can be planted May through July. Harvest runs August through October.

Jan
Feb
Mar
Apr
May
Jun
Jul
Aug
Sep
Oct
Nov
Dec
plant
too cold
too cold
too cold
too cold
plant
plant
plant
too late
too late
too late
too cold
too cold
harvest
harvest
harvest
harvest
indoors
plant out
harvest
The season, mapped

Seed to garden

Plant corn seeds right where they will grow, once the soil has warmed to at least 60°F and frost is past. Corn does not like having its roots disturbed and comes up fast anyway, so there is little reason to start it indoors.Direct-sow into warm soil (at least 60°F) after the last spring frost. Corn resents root disturbance and germinates quickly in place, so transplanting offers little gain and risks setting plants back.
  1. 01
    Sow outside
    May 15 - Jul 1
  2. 02
    First harvest
    From Aug 25
    90-110 days from sowing
Start method
Direct
Soil temp
60-90°F
From seed to fruit

The growing journey

Stage 01 · Germination
01
Germination
Days 0-10 · current stage
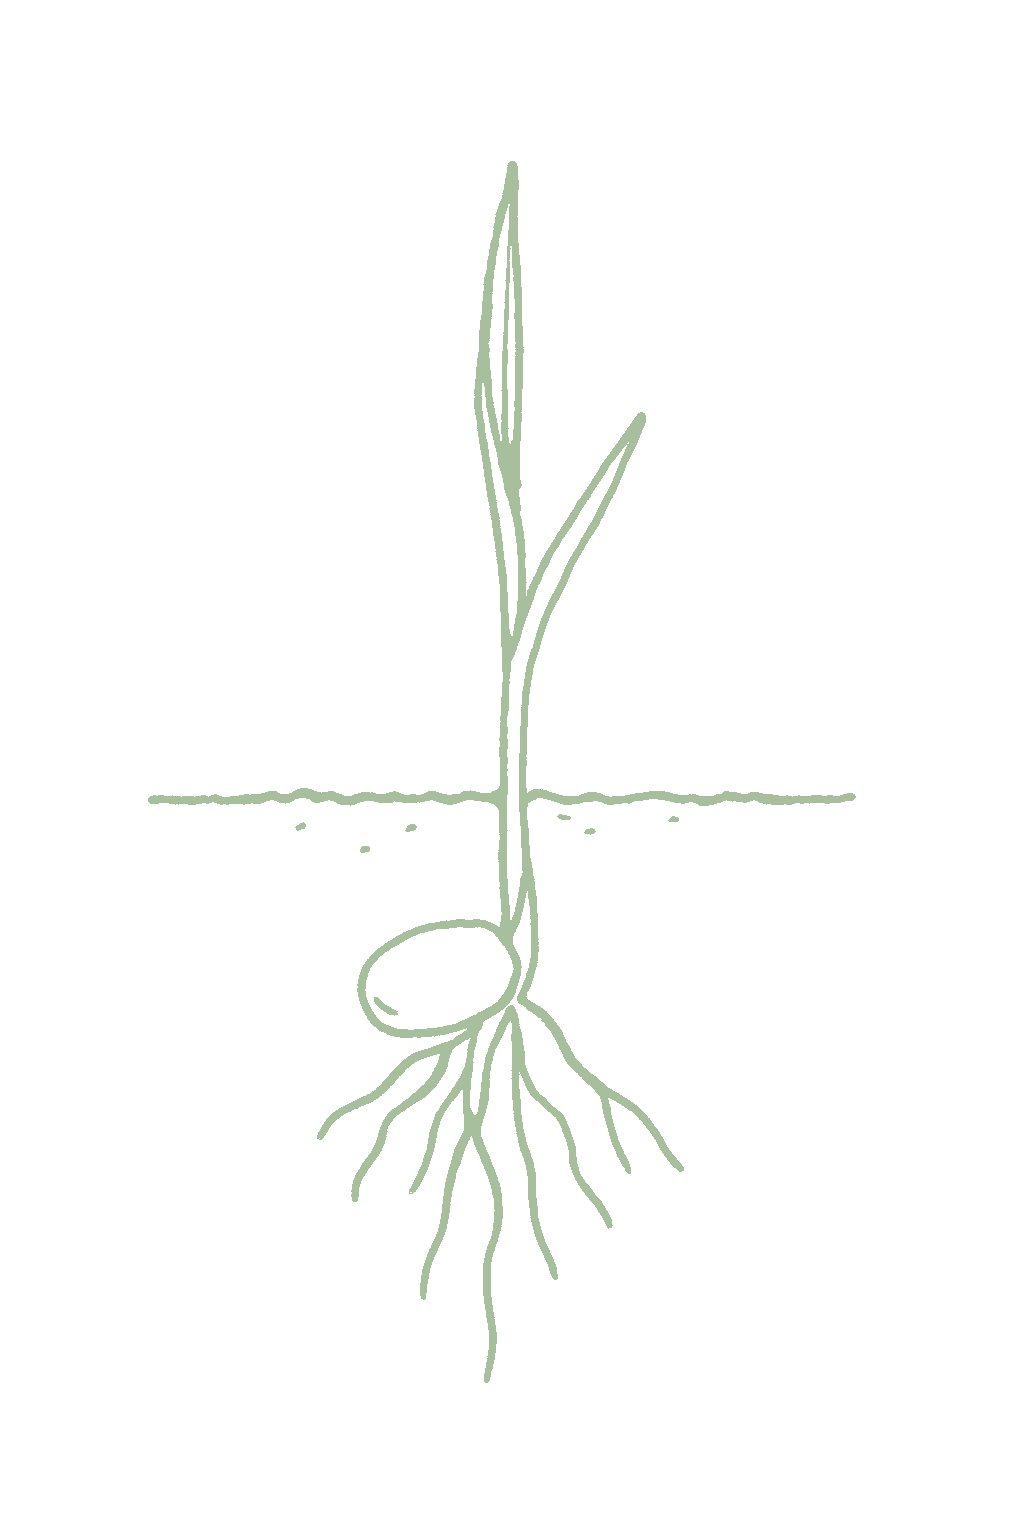
Bare soil for about a week, then a pointed shoot pushes up and the first leaf opens. Corn comes up in about 4 to 7 days in warm soil, slower when it is cool.Bare soil for roughly a week, then the coleoptile spikes through and the first blade unfurls. Emergence takes about 4 to 7 days in warm soil and much longer in cool soil.
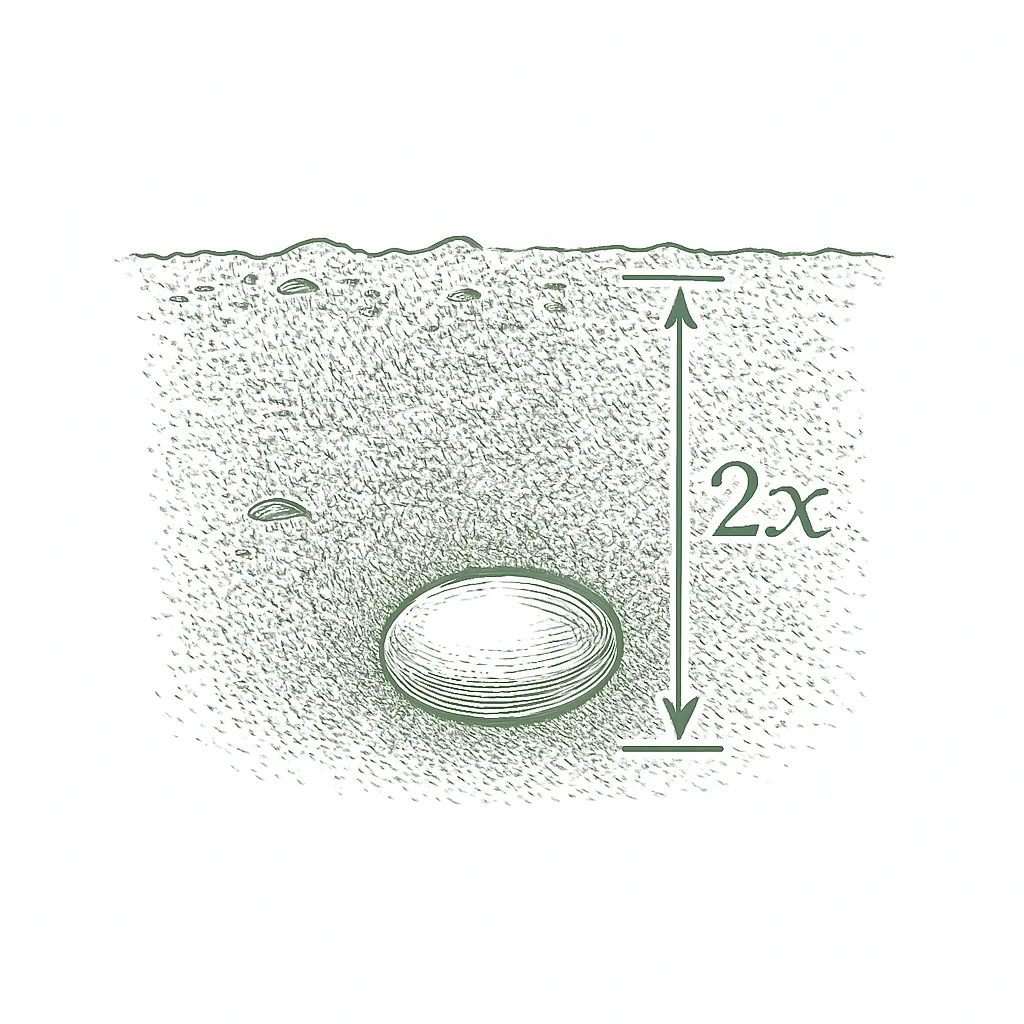
Plant the seeds about 1 to 2 inches deep once the soil has warmed to at least 60°F, laying out a block of short rows rather than one long row. Plant small-kerneled kinds a bit shallower. Keep the bed evenly damp but not soggy, because cold, wet soil rots the seed.Sow about 1 to 2 inches deep once soil is at least 60°F, into a block of short rows; sow the small-kerneled types a little shallower. Keep the seedbed evenly moist but not saturated, since cold, wet soil rots the seed.
FROM PLANT · Plant corn in a square block of short rows, not one long row. Corn is pollinated by wind, so the pollen from the tassels has to drift down onto the silks. A block of at least four short rows (think four rows of four) keeps the pollen among the plants, so the ears fill out with full kernels.Plant corn in a BLOCK, not a long single row. Corn is wind-pollinated: the tassel sheds pollen that must fall on the silks, and a block of at least four short rows (a 4 by 4 grid) fills the ears far better than one long row where pollen blows off to the side.
FROM PLANT · Wait until the soil has warmed to at least 60°F before planting. Corn seed rots in cold, wet soil, so planting early just gives you gaps in the stand. There is nothing to gain by rushing.Wait for soil at least 60°F before sowing. Corn seed rots or takes chilling injury in cold, wet ground, and there is no head start to be had from early planting.
02
Seedling
Days 10-25
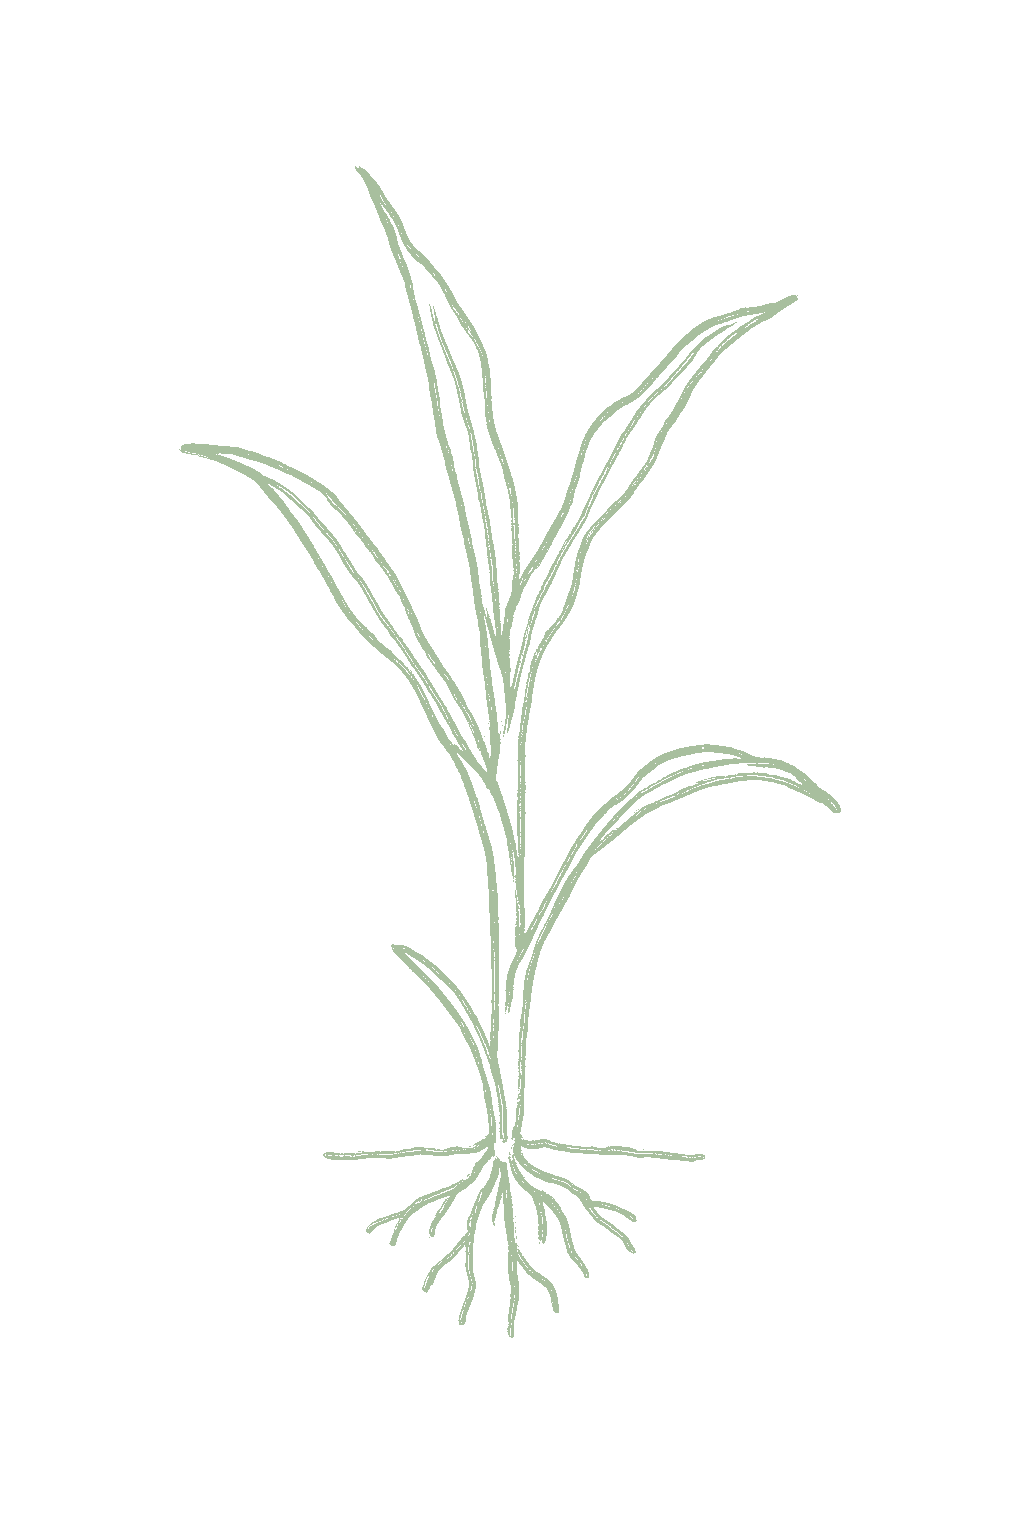
The young plants send up several long, narrow leaves and reach a few inches tall by two or three weeks. This is when flea beetles and cutworms can do the most damage, so watch for tiny holes and cut-off stems.The seedlings put out a few strap-shaped leaves and stand a few inches tall by around two to three weeks. This is the stage flea beetles and cutworms do the most harm, so watch for pinholes and clipped stems.
Keep the soil evenly moist and pull weeds early, since small corn does not compete well with them. Weed shallowly to protect the roots near the surface. If you planted thickly, thin to about 8 to 12 inches apart now.Keep the block evenly moist and weed-free; young corn competes poorly with weeds. Cultivate shallowly to spare the surface roots. Thin now to a final 8 to 12 inches in the row if you sowed thickly.
FROM PLANT · Keep popcorn away from sweet corn and field corn. Pollen from either will drift in and ruin its popping. Keep them at least 300 feet apart, or, since that is a lot of room, plant them so they tassel about two weeks apart instead.Keep popcorn away from sweet corn AND field corn: pollen from either one crossing onto your popcorn keeps the kernels from popping. Isolate by at least 300 feet, or, since that is impractical in most home gardens, stagger tasseling by at least two weeks.
03
Vegetative
Days 20-55
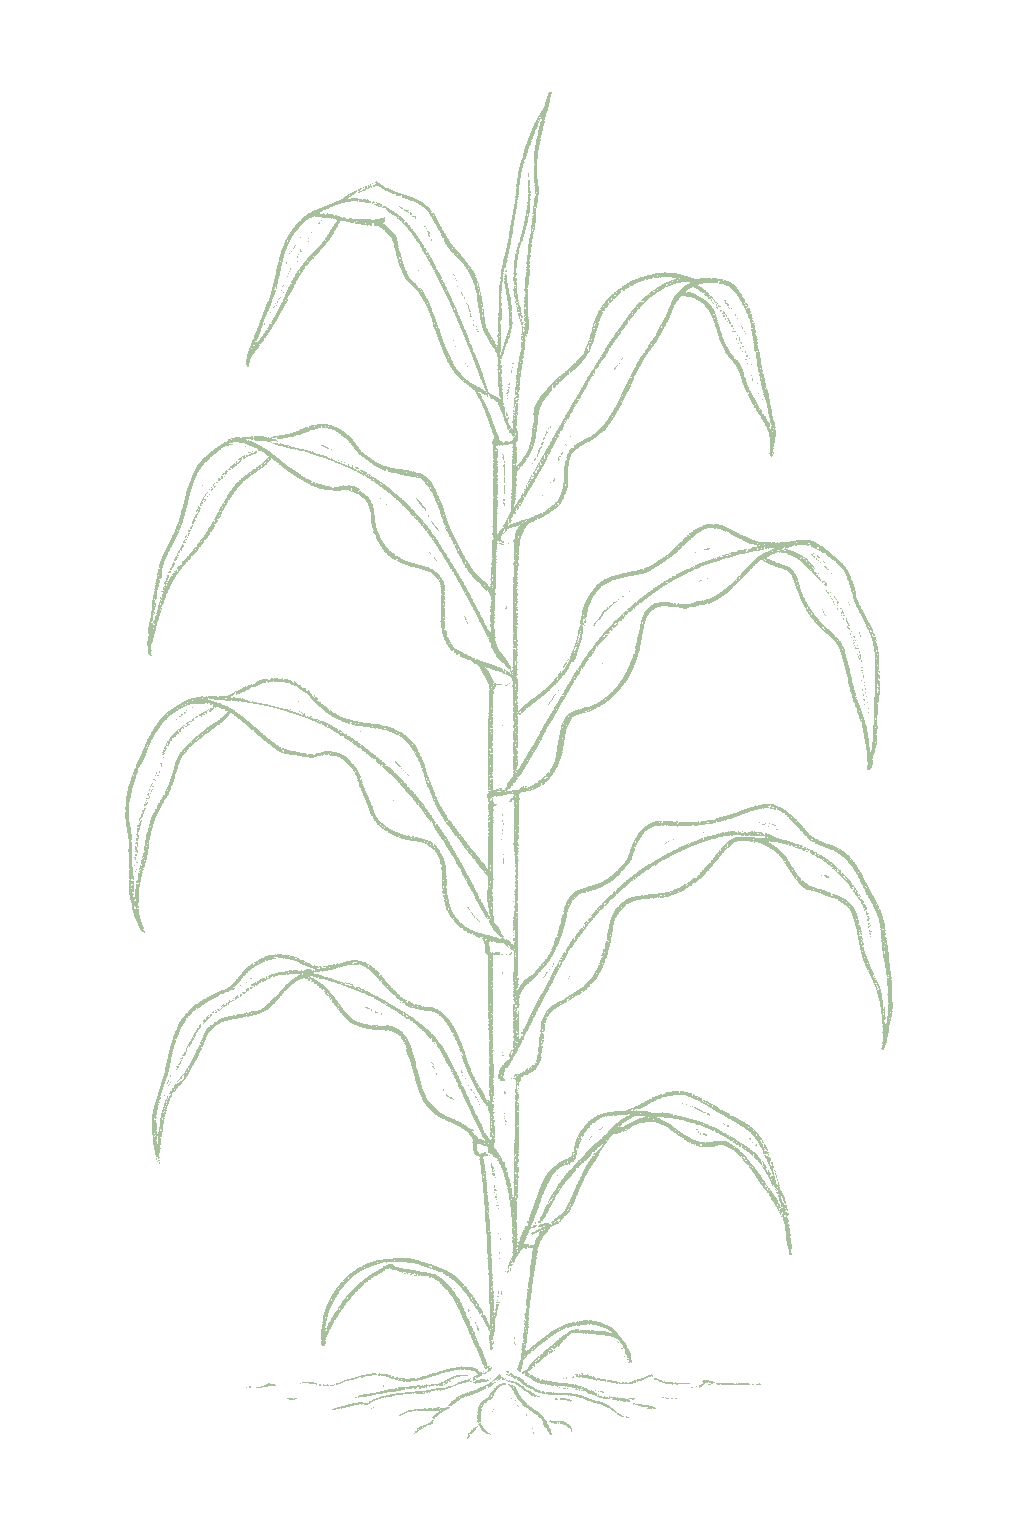
Fast upward growth from a few inches to knee-high and taller, adding leaves and thickening the stalk. Inside, the plant is already forming the tassel and ears, so steady water and feeding at this stage set up your harvest.Rapid upward growth from a few inches to knee-high and beyond, adding leaves and building the stalk that will carry the ears. Reproductive parts (tassel and ears) are being set inside now, so steady water and feeding here shape the crop.
Feed with nitrogen when the plants are about knee-high, and keep the water steady as they shoot up. Pull a little soil around the bases to steady the tall stalks, and avoid injuring them, which can let in disease.Sidedress nitrogen at knee-high and keep moisture steady as the plants stretch up. Hill a little soil around the base for support, and hold off overhead work that could injure stalks and invite smut.
FROM PLANT · Feed corn with nitrogen when it is about knee-high and again when the tassels appear. Corn is a hungry crop, and those are the two times it needs the most food. In sandy soil, feed a little more often, since the nitrogen washes away.Sidedress nitrogen at knee-high and again as tassels form. Corn is a heavy nitrogen feeder, and the two demand peaks are rapid stalk growth and the run-up to pollination; sandy soils call for splitting it further.
04
Tasseling
Days 50-68
A feathery tassel appears at the very top of each stalk and starts releasing pollen. This is one of the two touchiest weather stages: hot spells over 95°F or dry soil now ruin the pollen and leave you with gappy ears.The tassel pushes out of the top of the stalk and begins shedding pollen. This is one of the two most weather-sensitive stages: heat over 95°F or drought here kills pollen and thins the eventual kernel set.
Keep the water steady and generous now, because this begins the most important stretch for the crop. Feed once more with nitrogen as the tassels appear, and try not to shake the plants and lose pollen early.Do not let the bed dry out: this is the start of the critical-moisture window. Keep water high and steady, sidedress nitrogen again as tassels emerge, and avoid anything that knocks pollen off prematurely.
FROM PLANT · Keep the soil moist while the tassels are shedding pollen. Hot weather over 95°F or dry soil now ruins the pollen, so the ears end up with missing kernels. Water deeply and keep it steady through this stretch.Do not let the bed dry out at tasseling. Heat over 95°F or drought as pollen sheds kills pollen viability and thins the kernel set. Keep moisture high and steady through the pollination window.
05
Silking
Days 55-75
Silks come out of the top of each young ear a day or two after the tassels open, and every silk that catches pollen turns into one kernel. The silks can be pollinated for up to two weeks. Silks that dry up without pollen mean empty ears.Silks emerge from the ear tips a couple of days after the tassel opens; each silk that catches pollen becomes one kernel. Silks stay receptive for up to two weeks. Brown, dry silks with no pollination leave blank ears.
Keep the water at its highest and steadiest now, because silking is the stage that suffers most from dry soil. Water deeply through any hot spell, and leave the plants alone while pollen is landing on the fresh silks.Hold moisture at its peak: silking is the single most drought-sensitive stage. Water deeply through any heat wave, and do not disturb the block while pollen is shedding onto the fresh silks.
FROM PLANT · Silking is the most important time of all for water. If the corn dries out now, the silks cannot catch and hold pollen, and that costs you more than dry weather at any other time. Water deeply through any hot spell while the silks are out.Silking is the single most drought-sensitive stage: stress here desiccates silks and pollen and gives the greatest yield loss of any timing. Water deeply through any heat wave while the silks are receptive.
06
Kernel Fill
Days 68-95
The ears reach full size and the kernels change from soft and milky to a firm dough and then to hard and glossy. Popcorn kernels stay small and dense rather than swelling up like sweet corn. The husks are still green at this point.The ears reach full size and the kernels pass from milky through a stiff dough to a hard, glassy flint. Popcorn kernels stay small and dense rather than plumping like sweet corn; the husks stay green for now.
Keep watering steadily while the kernels fill out and harden, since drying out now costs you kernels at the tip. As the crop nears the end, let it dry out a little so the grain can start to harden. Leave the ears on the plant.Keep moisture steady as the kernels fill and harden; stress now aborts tip kernels. Then ease off water as the crop nears maturity so the grain can begin to dry. Leave the ears on the stalk to finish.
FROM PLANT · Keep watering steadily while the ears fill, then ease off as the corn nears the end. After the corn has been pollinated, dry soil shows up as missing kernels at the tip of the ear, so do not let it dry out until the kernels are full.Hold steady moisture through ear fill, then ease off as the crop nears maturity. Once pollination has succeeded, dry conditions show up as aborted kernels at the ear tip, so keep water even until the kernels are well filled.
07
Dry-Down
Days 90-110
The whole plant turns brown and dies back, the husks go from green to dry and papery, and the kernels get hard and glossy. After the kernels are fully formed they just keep drying out on the plant, heading toward the moisture that lets them pop.The plant yellows and dies back, the husks turn from green to brown and papery, and the kernels harden and lose moisture. A black layer forms at the base of each kernel at physiological maturity, after which no more starch is added and the grain simply dries toward the popping window.
Stop watering and let the corn dry out on the plant. There is little to do now except keep birds and raccoons off the ears and, if your weather is humid, watch for any ears whose husks are loose or split, since those can mold. The more the kernels dry on the stalk in good weather, the better.Stop watering and let the crop dry on the stalk. Little needs doing now except protecting the ears from birds and raccoons and, in humid regions, watching for mold on any ears with loose or damaged husks. The longer the kernels dry on the plant in good weather, the closer they get to popping moisture.
FROM PLANT · Let popcorn dry out on the plant and stop watering once the kernels are hard. In dry weather you can leave the ears standing to keep drying on the stalk. In humid weather, watch for mold and be ready to pick them and finish drying them indoors.Let popcorn dry down on the stalk and stop watering once the kernels harden. In dry weather leave the ears standing to field-dry toward popping moisture; in humid weather watch for mold and be ready to pick at hard-dry and finish under cover.
08
Harvest
Days 100-120
Brown, papery husks, dead silks, and hard, glossy kernels that do not dent when you press them with a thumbnail. Unlike sweet corn, you want the ear fully mature and dry, not green and juicy.Brown, papery husks, dead silks, and hard, glassy kernels that barely mark under a thumbnail. Unlike milk-stage sweet corn, the ear is meant to be fully mature and dry, not plump and green.
Pick the ears when the husks have turned brown and papery and the kernels are hard and glossy. If the weather is dry you can leave them on the stalk to dry further; if it is humid, pick them so they do not mold. There is no rush, so harvest whenever it suits you once the kernels are hard, then finish drying them indoors.Pick the ears once the husks are brown and papery and the kernels are hard and glossy. In dry weather you can leave them longer on the stalk to field-dry; in humid weather, pull them at hard-dry to beat mold. There is no narrow window, so harvest at your convenience once the kernels are hard, then finish drying under cover.
FROM PLANT · Harvest popcorn dry, not green like sweet corn. Wait until the husks are brown and papery and the kernels are hard and glossy, then pick the ears and finish drying them indoors before you test-pop and shell. There is no narrow window to catch, so the timing is easy.Harvest popcorn dry, not green. Let the husks turn brown and papery and the kernels harden to a glassy flint, then pick and finish drying under cover before test-popping and shelling. Unlike sweet corn there is no 4-to-5-day window, so the timing is forgiving.
09
Cure and Shell
Days 115-145
Kernels that come off the cob easily and pop up crisp and fluffy when you test them. If they come out chewy or jagged, they are still too wet and need to dry more. If they will not pop at all, they got too dry.Kernels that shell cleanly off the cob and pop up crisp, fluffy, and fully expanded in the test batch. Chewy or jagged pops mean the kernels are still too wet and need more time; a sample that fails to pop means they have dried past the window.
Pull the husks back, put the ears in mesh bags, and hang them somewhere warm, dry, and airy for two to three weeks. Once or twice a week, twist off a few kernels and try popping them. When they pop up crisp and fluffy, they are ready, so shell the ears and store the kernels. Do not over-dry them, because popcorn that is too dry will not pop.Shuck the harvested ears, put them in mesh bags, and hang them in a warm, dry, airy place for two to three weeks to finish drying. Once or twice a week, shell a few kernels and test-pop them: when they pop up crisp and fluffy, shell the whole ear and store the kernels. Stop drying at the popping window (about 13 to 14 percent moisture); take the ears no further, since over-dry kernels will not pop.
FROM PLANT · After you pick the ears, pull the husks back, put them in mesh bags, and hang them somewhere warm, dry, and airy for two to three weeks. Test-pop a few kernels each week, and once they pop up crisp and fluffy, shell and store them. Do not over-dry them, or they will stop popping.After picking, shuck the ears, bag them in mesh, and hang them in a warm, dry, airy place for two to three weeks. Test-pop a few kernels once or twice a week; when they pop crisp and fluffy, shell and store. Stop at the popping window of about 13 to 14 percent moisture, since over-dry kernels will not pop.
Beginner
Know your soil

Your soil

Identify yours

Not sure what soil you have? Grab a small handful of damp soil from your garden bed and squeeze it. If it crumbles apart easily, it's sandy. If it holds together but breaks when you poke it, it's loam (what most vegetables want). If it stays in a hard, slippery ball, it's clay.

What this crop wants

Corn likes deep, rich, well-drained soil. If water pools on your bed after rain, work in compost and consider a raised bed so the roots never sit wet.

If your soil doesn't match

You have sandy soil

Mix 2-3 inches of compost into the top 6 inches of your bed before planting. Compost holds moisture (which sandy soil drains too fast) and adds the nutrients sandy soil tends to lack. Repeat each season. Compost breaks down over time.

You have clay soil

Mix 2-3 inches of compost AND a few inches of coarse sand or perlite into the top 6 inches of your bed. The compost feeds the plants; the sand breaks up the clay so air and water can move through. Don't add sand without compost. It can compact like concrete.

Containers and raised beds

If amending your soil sounds like too much work, or if your soil is heavy clay, full of rocks, or contaminated, build over it. A raised bed at least 12 inches deep filled with a 50/50 mix of compost and sandy loam gives you ideal growing soil with no battles. A 5-gallon container with quality potting mix does the same for one plant at a time. Both bypass your native soil entirely.

Learn more about your soil
The specs

Care guide

The numbers that matter, at a glance.

Sunlight
Full sun · 6-8 hrs/day
Water
high
Spacing
8-12 inches
Days to maturity
90-110 days from transplant
Soil pH
6 to 6.8
Container OK?
No
Germination temp
60-90°F
Soil chemistry

Soil pH for popcorn

Preferred
6 to 6.8
Tolerated
5.5 to 7

Corn does best in soil that is slightly acidic to neutral, around a pH of 6.0 to 6.8. Most garden beds are already close; a soil test is the only way to know for sure and to catch soil that is too acidic.A soil pH of 6.0 to 6.8 suits popcorn. Lime an acidic bed to reach that range the season before, and confirm both pH and fertility with a soil test, since corn's heavy feeding rewards a well-limed, well-fed bed.

Verified · 2 sources View
Steady hand on the hose

Watering

When & how much
Frequency
Water regularly so the soil stays evenly moist. Pay the closest attention from the time the tassels appear through when the ears are filling out, which is when corn needs water the most.Water regularly to keep the root zone evenly moist through the season, with the highest demand from tasseling through silking and ear fill.
Amount
Aim for about 1 inch of water a week, and closer to 1.5 inches while the corn is pollinating and filling ears. Water deeply so it soaks down to the roots rather than just wetting the surface.About 1 inch of water per week from rain and irrigation, rising toward 1.5 inches per week across the pollination and ear-fill window; water deeply to wet the full root zone.
Method
Give corn a deep soak rather than frequent light sprinkles. Corn handles overhead watering better than many crops, but watering at the base wastes less and keeps the leaves drier.Deep soaking at intervals suits corn. Overhead watering is tolerated far better than on disease-prone crops, but soaker or furrow watering conserves water and keeps the canopy from staying wet.
Signs of trouble
Too much water
If the soil stays soggy and the lower leaves yellow while the plant stalls, the roots are drowning. Ease off and let it drain.Yellowing lower leaves and stunted, stalled growth in ground that stays wet point to waterlogged, oxygen-starved roots.
Too little water
Leaves that roll up like tubes in the afternoon mean the corn is too dry. If this happens while the tassels and silks are out, you get ears with missing kernels, so keep the water steady then.Leaves that roll or curl at midday, especially near tasseling, signal drought stress; stress in the silking window desiccates silks and pollen and leaves gappy, poorly filled ears.
Feeding rhythm

Feeding

Frequency
high
Type
nitrogen-forward, sidedressed
When to start
starter at planting; sidedress at knee-high and again at tasseling

Corn is hungry, especially for nitrogen. Mix a balanced fertilizer into the soil at planting, then feed again when the plants are about knee-high and once more when the tassels appear at the top. Those are the times corn needs the most food. In sandy soil or after heavy rain, feed a little more often, since the nitrogen washes away.Corn is a heavy nitrogen feeder. Work a balanced starter into the bed at planting, then sidedress nitrogen twice: once when plants are knee-high and again as the tassels form, the two windows when demand peaks. Sandy soils and heavy rain leach nitrogen, so split the sidedressing further where that applies.

Nitrogen-forward

Corn wants plenty of nitrogen. Use a balanced fertilizer at planting, then feed nitrogen again as it grows.Nitrogen-forward feeding: a balanced starter, then nitrogen sidedressings at knee-high and tasseling.

Who grows well together

Companion planting

Corn is the tall centerpiece of the classic Three Sisters planting with beans and squash. The beans feed the soil the corn is so hungry for, and the squash shades the ground below. Keep corn away from tomatoes, since the two share the same ear-and-fruit worm. Corn anchors the traditional Three Sisters trio: beans climb it and fix nitrogen for its heavy demand, and squash sprawls below as a living mulch. The main caution is tomatoes, which share the pest Helicoverpa zea (corn earworm / tomato fruitworm), so a shared planting can concentrate it.

Other
Beans
The Three Sisters partner: beans pull nitrogen from the air and enrich the soil for hungry corn, and can climb the stalks.Pole beans use the cornstalk as a living trellis and fix nitrogen that offsets corn's heavy demand; the pairing is the well-documented Three Sisters polyculture. The benefit is soil-and-structure rather than a measured pest effect. Traditional
Squash
The third Sister: its big sprawling leaves shade the soil around the corn, holding moisture and smothering weeds.Squash rounds out the trio as a ground-covering living mulch that shades soil, conserves moisture, and suppresses weeds around the corn. A soil-and-space benefit; give it room so it does not swamp young corn. Traditional
Keep apart from
Tomatoes Corn and tomatoes are hit by the same worm, called the corn earworm on corn and the tomato fruitworm on tomatoes, so growing them together can build it up.Corn and tomato share Helicoverpa zea (corn earworm on corn, tomato fruitworm on tomato). Interplanting gives the pest two sequential hosts in one spot, so separating them limits the buildup. Well-grounded
Provenance tagged inline · see methodology for the labeling system Key
Harvest signals

When to pick

Popcorn is ready when the ears have dried down on the stalk: the husks are brown and papery, the silks are long dead, and the kernels are hard and glossy, not soft or milky. Leave the ears on the plant to dry as long as the weather stays dry, then pick them, pull back the husks, and finish drying them indoors. It is not truly done until the kernels actually pop well: dry them to about 13 to 14 percent moisture and test-pop a small handful before you shell and store the whole crop.Harvest at full maturity and beyond, when the husks are brown and papery and the kernels are hard and glassy. Unlike sweet corn there is no milk-stage window; the goal is a dry, flinty kernel. Let sound ears field-dry on the stalk in dry weather, or pick at hard-dry and finish under cover, then cure to the popping window of about 13 to 14 percent moisture. Test-pop a sample once or twice a week: kernels that pop up crisp and fluffy are ready to shell and store, chewy or jagged pops mean the corn is still too wet, and a batch that fails to pop has usually been dried too far.

Verified · 2 sources View
Yield

What to expect

Each plant gives about one or two ears, and the small dwarf types can set several little ears each. A 10-foot row in your block yields roughly a dozen to two dozen dried ears, which comes to a few pounds of kernels once you shell them off the cobs.Each stalk yields one to two mature ears of popcorn, and the small-kerneled dwarf types can set several little ears per plant. Home plantings are measured in ears rather than bushels: a 10-foot block row returns roughly a dozen to two dozen dried ears, which shell out to a few pounds of kernels for popping.

There is no rush like there is with sweet corn. The whole block dries down together in fall, you bring it in once, and the dry kernels keep for years, so you harvest it all at once instead of checking it every day.Unlike sweet corn there is no fleeting peak. The whole block matures and dries down together over a few weeks in fall, and the dry kernels then keep for years, so the harvest is a single event rather than a race against the milk stage. Popcorn is not hard to grow, but it needs room and time: a block of several rows and a long, warm season of 90 to 110 days to dry down, then a couple more weeks of drying to get it popping right. The payoff is an easy harvest with no daily checking, and kernels that store for years.Popcorn is easy to grow but demands space, a long season, and patience: it needs a block of several rows for pollination and a full 90 to 110 days to dry down, plus a couple of weeks of curing to reach the popping moisture. Its great advantage over sweet corn is a forgiving, one-shot harvest and kernels that store for years.

What changes yield
Block planting for wind pollination (a single row or a few plants pollinates poorly and gives gappy ears)Strict isolation from all other corn (sweet or dent pollen crossing onto popcorn keeps it from popping)Steady moisture at tasseling and silking (the critical window; drought here is the largest yield loss)A long enough frost-free season to reach dry-down (90 to 110 days; the limiting factor in short-season regions)Curing to the popping window (about 13 to 14 percent moisture; too wet pops poorly, too dry will not pop)
Verified · 2 sources View
Pick your variety

Recommended varieties

There are a few kinds to choose from. Reliable yellow hybrids like the Robust types are the easiest and highest-popping. Mushroom types pop into round balls that hold caramel well. The old heirloom Japanese Hulless is loved for its tender, almost hull-free popped corn, and colorful ornamentals like Strawberry (deep red) and Dakota Black (blue-black) are pretty enough to display and still pop. If your season is short, an early dwarf like Tom Thumb ripens fastest. Whichever you pick, keep it far from all other corn, because pollen from sweet or field corn will ruin its popping.Popcorn choice splits by pop shape and use. Yellow butterfly hybrids like the Robust series are the dependable, high-popping workhorses; mushroom types (Gourmet Mushroom) pop into dense round balls that hold caramel and seasonings; the tender heirloom Japanese Hulless is prized for its nearly hull-free eating; and ornamentals like Strawberry and Dakota Black are grown as much for the jewel-colored ears as for a smaller but respectable pop. Short-season gardeners can reach for an early dwarf like Tom Thumb. Whatever you grow, isolate it from every other corn, sweet or field, since any stray pollen spoils the pop.

Tom Thumb
An early, dwarf popcorn for short seasons and small gardens. The plants stay low and the little ears dry down fast, so it finishes where a full-season type would not. A good pick for northern and cool-summer areas.
Robust R128YH
A dependable modern yellow hybrid with strong disease resistance and high popping expansion. This is the everyday snacking popcorn, a butterfly-flake type; grow it in a block and let the ears dry down before you test-pop and shell.
Gourmet Mushroom
A mushroom-type hybrid whose kernels pop into dense, round balls rather than winged flakes, so they hold caramel and coatings without shattering. Grown like any popcorn and cured to 13 to 14 percent moisture for the best pop.
Strawberry De-Lite
An ornamental strawberry popcorn with small, plump, deep-red strawberry-shaped ears that are as decorative as they are edible and still pop into small, tender flakes. Dry the little ears fully, then shell and test-pop.
Off the vine

Storing your harvest

Room temp
Once the kernels are fully dry and shelled off the cob, popcorn keeps at room temperature in a sealed jar. Airtight storage matters, because it holds the kernels at the right moisture for popping. Kept sealed in a cool, dry spot, popcorn stays good for years.Fully dried, shelled popcorn stores at room temperature in an airtight container. The trick with popcorn is to lock in its moisture at about 13 to 14 percent: a sealed jar keeps the kernels from drying out any further, since over-dry popcorn pops poorly or not at all. Keep the jars somewhere cool, dry, and dark.
Fridge
You do not need to refrigerate popcorn, but putting the shelled kernels in the fridge or freezer for a few days first is a good way to kill any tiny insects. Put them back in a sealed jar so they stay at the right dryness.Refrigeration is not needed. Chilling or freezing the shelled kernels for a few days before storage is a simple way to kill any weevils or grain-moth eggs; return them to a sealed jar afterward so they neither pick up nor lose moisture.
Freezer
The freezer is a great place to keep popcorn for a long time in a sealed jar. Before you open a cold jar, let it warm up to room temperature first, so moisture from the air does not settle on the kernels.For long keeping, seal fully dried kernels airtight and freeze them; popcorn holds its popping quality for years this way. Let a jar come back to room temperature before you open it, so condensation does not wet the kernels.
Verified · 2 sources View
When something goes wrong

Common problems

Ears with bare patches and missing kernelsEars with gaps and missing kernels
01 of 05
What happened The ears came out with bare patches because those silks never got pollinated. This usually happens when the corn was planted in too small a group (a single row or a few plants), or when heat or dry soil during silking ruined the pollen and dried up the silks.The ears filled unevenly with blank patches because pollination failed on those silks. The usual causes are a too-small planting (a single row or a few plants), heat over 95°F or drought during silking that killed pollen and dried the silks, or silks that were never dusted because the block was too sparse. Next season Plant a block of at least four short rows so the wind can pollinate well, and keep the water steady while the tassels and silks are out. Try to time it so silking is not in the hottest part of summer, and in a small patch you can gently shake the tassels at midday to spread pollen.Plant a BLOCK of at least four short rows so wind pollination is thorough, and keep moisture high and steady through tasseling and silking. Time plantings so silking misses the worst summer heat, and hand-shake the tassels at midday in a small planting to help.
Seeds rotted or came up thin and patchySeed rotted or came up in a thin, patchy stand
02 of 05
What happened The seed went into soil that was too cold and wet, so it rotted or was damaged by the cold in the first day or two instead of sprouting.The seed was sown into soil that was too cold and wet, so it sat and rotted or suffered chilling injury in the first day or two after sowing instead of germinating. Next season Wait until the soil has warmed to at least 60°F, since planting early only rots the seed. Plant into warm, well-drained soil instead of a cold, wet spot, and do not keep the seedbed soggy.Wait until soil is at least 60°F at sowing depth; there is no benefit to early sowing. Plant into warm, well-drained ground rather than a cold, wet spot, and do not over-water the seedbed.
Ripe ears eaten overnightRipe ears stripped overnight
03 of 05
What happened The ears were torn open and eaten and the stalks knocked over as the corn filled out. Raccoons (and sometimes deer or birds) raid corn once the kernels start to fill and can clear a small patch in a night or two.The ears were pulled down, husked, and eaten and stalks knocked flat as the kernels filled. Raccoons (and sometimes deer or birds) raid corn from the milk and dough stages on and can strip a small patch in a night or two. Next season The sure fix is to keep them out. Set up a short two-wire electric fence and turn it on before the ears fill out, not after the first raid, because once raccoons find your corn they come back every night.Exclusion is the reliable defense: put up a two-wire electric fence (about 4 and 8 inches high) and energize it BEFORE the ears fill out, since once raccoons find the patch they return nightly.
The popcorn will not popThe kernels will not pop
04 of 05
What happened The ears grew and dried fine, but the kernels pop badly or not at all. Usually it is one of two things. Either the moisture is wrong, kernels that are too wet pop small and chewy and kernels that got too dry will not pop, or the popcorn was cross-pollinated by nearby sweet corn or field corn, which stops it from popping no matter how you dry it.The ears grew and dried, but the shelled kernels pop poorly or not at all. There are two usual causes. First, moisture: kernels still too wet pop small and chewy, while kernels dried past the popping window (about 13 to 14 percent) fail to pop at all. Second, cross-pollination: if sweet corn or field corn pollinated the popcorn, the resulting kernels have altered endosperm and will not pop no matter how they are dried. Next season Dry the kernels to the right point and test-pop a batch before storing the crop, and do not over-dry them. Just as important, keep popcorn well away from all other corn next year, at least 300 feet apart or planted to tassel about two weeks apart, so its pollen is not spoiled.Cure to the popping window and test-pop before storing: dry to about 13 to 14 percent, and stop there rather than over-drying. And isolate the popcorn from every other corn, by at least 300 feet or by staggering tasseling about two weeks, so no sweet or dent pollen reaches the ears.
Ears molded or would not dryEars molded or never dried down
05 of 05
What happened The ears did not dry out properly, or grew moldy, because cool, wet, humid fall weather or an early frost caught the crop before it finished drying. Corn barely dries in cold, damp weather, and ears left out in the wet tend to mold instead of curing.The ears failed to dry to popping moisture, or grew mold on the cob, because the crop ran into cool, wet, humid fall weather or a killing frost before it finished drying down. Field-drying stalls in persistent damp, and ears left out in the wet mold rather than curing. Next season Pick an earlier variety that fits your season and sow as soon as the soil is warm, so the corn dries down with time to spare before fall. In humid areas, bring the ears in and finish drying them indoors in mesh bags with a fan instead of leaving them out in damp weather.Choose an earlier variety matched to your season, sow as early as warm soil allows so the crop dries down with margin before fall, and in humid regions pick the ears at hard-dry and finish drying them indoors in mesh bags with airflow rather than leaving them out in the wet.
Verified · 3 sources View
The usual suspects

Pests & diseases

Pests
Corn earworm
P · 01
Symptoms A fat, striped caterpillar tunneling into the tip of the ear under the husk, leaving chewed kernels and dark droppings. It usually stays near the tip, but the damage can let mold in.Chewed, frass-fouled kernels at the ear tip where a fat, striped caterpillar has fed under the husk; silks may be clipped, and tip damage opens the door to mold. Cause The corn earworm, a caterpillar whose moth lays eggs on the silks. The young caterpillars crawl down the silks into the ear. It is the same pest as the tomato fruitworm.The corn earworm (Helicoverpa zea), whose moths lay eggs on fresh silks; the hatching larvae follow the silks down into the ear tip. It is the same species as the tomato fruitworm. Organic treatment The good news is the worm usually stays at the very tip, so you can just cut that part off. A classic trick is a few drops of vegetable or mineral oil on the silks after they have been pollinated, and an organic spray such as Bt or spinosad works if you time it to fresh silks.Because most feeding is confined to the ear tip, the loss is often cosmetic: cut off the damaged tip at the kitchen. A few drops of mineral oil applied to the silk channel after pollination is a traditional home tactic; a spinosad or Bt product timed to fresh silks is the labeled organic option. Prevention Pick varieties with long, tight husks that make it harder for the worm to get in, and plant early so the ears silk before the moths are at their worst in late summer.Choose varieties with tight, long husk cover, which slows the larvae, and plant early so the crop silks before peak moth flights in late summer.
European corn borer
P · 02
Symptoms Tiny holes in the young leaves, then sawdust-like droppings where the leaves meet the stalk, and small holes bored into the stalk itself. Badly tunneled stalks can break.Small shot-hole feeding in the whorl leaves, then sawdust-like frass at leaf axils and pin-sized entry holes in the stalk and ear shank; tunneled stalks weaken and can snap. Cause The European corn borer, a caterpillar that starts by chewing the young leaves, then tunnels into the stalks, hollowing them out.The European corn borer (Ostrinia nubilalis), a caterpillar that first feeds in the leaf whorl, then bores into stalks and ear shanks, weakening the plant from inside. Organic treatment Check the young leaf whorls and rub out the egg patches and small caterpillars before they tunnel in. An organic Bt spray only works while they are still out on the leaves; once inside the stalk you cannot reach them.Scout the whorls and pick off egg masses and young larvae before they bore in; a Bt product reaches them only while they are still feeding in the open whorl. Once inside the stalk they are protected. Prevention Chop up and dig in the old cornstalks after harvest, because the borer spends the winter inside them, and move your corn to a new spot each year.Shred and turn under cornstalks after harvest, since the borer overwinters in old stalks; rotating away from last year's patch helps too.
Cutworms
P · 03
Symptoms Young corn plants cut off right at the ground overnight, as if with scissors. If you dig near a cut plant, you often find a fat gray caterpillar curled up in the soil.Young seedlings clipped off at or just above the soil line overnight, often toppled and left; a gray, greasy-looking caterpillar curls up just below the surface nearby. Cause Cutworms, fat caterpillars that live in the soil and come out at night to chew through young stems at the base.Cutworms, the soil-dwelling larvae of several night-flying moths, which sever tender seedling stems at the base as they feed after dark. Organic treatment Go out at night with a flashlight and pick them off, or dig around a freshly cut plant to find the culprit. A little collar of cardboard or foil pushed into the soil around each stem keeps them out.Handpick at night or just under the soil around fresh damage; a cardboard or foil collar pushed an inch into the soil around each seedling blocks them. Prevention Clear weeds from the bed before you plant, because the moths lay their eggs in weedy soil, and plant into warm soil so the seedlings grow quickly past the tender stage.Keep the bed weed-free before planting, since cutworm moths lay in weedy ground, and delay sowing until the soil is warm and seedlings grow fast through the vulnerable stage.
Flea beetles
P · 04
Symptoms Tiny dark beetles that hop away when you get close, leaving the young leaves peppered with little pinholes. Bad early damage stunts small plants and can spread a corn disease.Tiny dark beetles that jump when disturbed, leaving fine pinholes and shot-hole pitting in the leaves of young plants; heavy early feeding stunts seedlings and can transmit Stewart's wilt. Cause Small beetles called flea beetles that chew young corn leaves. One kind also carries the germ that causes Stewart's wilt, a corn disease, spreading it as it feeds.Several flea beetle species that feed on corn seedlings; the corn flea beetle also carries the bacterium that causes Stewart's wilt from plant to plant. Organic treatment Small plants usually grow past light damage. If the beetles are thick, cover the young plants with a lightweight row cover, taking it off when the tassels form so the wind can pollinate, and use an organic spinosad spray only if you must.Seedlings usually outgrow light feeding; where beetles are thick, a floating row cover over young plants (removed at tasseling for pollination) protects them, and spinosad is labeled if needed. Prevention Pull weeds that shelter the beetles, plant into warm soil so the corn grows quickly, and pick varieties that resist Stewart's wilt if it is a problem where you live.Control weeds that harbor the beetles, plant after the soil warms so seedlings grow fast, and choose Stewart's-wilt-tolerant varieties where the disease occurs.
Raccoons
P · 05
Symptoms Ears torn open and eaten, and stalks knocked over, appearing overnight right when the corn is ready. Raccoons seem to know the exact night before you plan to harvest.Ears pulled down, husked, and half-eaten overnight as the kernels fill, with stalks knocked flat; the damage can arrive fast once the ears are worth raiding. Cause Raccoons, which raid ripe corn at night and can clear a small patch in a night or two. They are one of the most common reasons a home corn crop is lost.Raccoons, which raid corn from the milk and dough stages on and can strip a patch in a night or two; they are one of the most common causes of a lost home crop. Organic treatment You cannot spray for raccoons; you have to keep them out. A short two-wire electric fence, switched on as the ears get close to ready, is the surest way to protect the patch.There is no spray; exclusion is the answer. A two-wire electric fence (about 4 and 8 inches high) turned on as ears near maturity is the most reliable home defense. Prevention Set up and turn on the fence before the corn is ripe, not after the first raid. Once raccoons find your corn, they come back every night.Put the fence up and energize it before the ears fill out, not after the first raid, since once raccoons find the patch they return nightly.
Diseases
Common smut
D · 01
Symptoms Puffy silver-white growths on the ears or stalks that later burst into a cloud of black powder. On the ear, these galls take the place of kernels. They show up most on stressed or damaged plants.Silvery-white galls on ears, tassels, or stalks that swell, then rupture to release a mass of powdery black spores; ear galls replace kernels and are most common on stressed or injured plants. Cause A fungus that gets in through wounds and silks, especially in hot, dry spells, and forms the galls. Its spores can survive in the soil for years.The fungus Ustilago maydis, which enters through wounds and silks and is favored by hot, dry weather punctuated by injury; its spores survive years in the soil. Organic treatment There is no home spray. Cut off and throw away (do not compost) the galls before they burst, so their spores do not spread into your soil.There is no spray for the home garden; cut off and bag the galls before they rupture and blacken, to keep spores out of the soil. Do not compost them. Prevention Try not to injure the plants while weeding, keep water and feeding steady so the corn is not stressed, move your corn each year, and pick more resistant varieties if smut keeps coming back.Avoid wounding plants during cultivation, keep moisture and fertility steady to reduce stress, rotate away from infected beds, and choose more tolerant varieties where smut recurs.
Common rust
D · 02
Symptoms Small rusty-brown, powdery spots on both sides of the leaves that darken later in the season. A bad case yellows the leaves and can leave the ears less full.Small cinnamon-brown, powdery pustules scattered on both leaf surfaces, darkening toward the season's end; heavy infection yellows and kills leaf tissue and can cut ear fill. Cause A fungus whose spores blow in on the wind and take hold in cool, damp weather. In most gardens it arrives fresh each year rather than surviving the winter in place.The fungus Puccinia sorghi, whose spores blow in on the wind and infect under cool, moist, humid conditions; it does not overwinter in most northern gardens but arrives each year on wind currents. Organic treatment Most gardens can live with a little rust. Pull off the worst lower leaves to slow it and give the plants air. You rarely need to spray in a home garden.Most home crops tolerate rust without treatment; remove badly infected lower leaves to slow spread and improve airflow. A labeled fungicide is rarely needed in a garden. Prevention Pick rust-resistant varieties, which are easy to find, and plant early so the corn is nearly done before rust gets bad late in summer. Water at the base when you can.Choose rust-resistant hybrids, which are widely available, and plant early so the crop matures before rust builds late in the season; avoid overhead watering where practical.
Stewart's wilt
D · 03
Symptoms Long yellow streaks with wavy edges running down the leaves, appearing after flea beetles have been feeding. A bad early case wilts and stunts young plants and can kill them.Long, pale-green to yellow streaks with wavy margins running along the leaves, following flea-beetle feeding scars; severe early infection wilts and stunts seedlings, sometimes killing them. Cause A bacterium spread by the corn flea beetle as it feeds. After a mild winter more beetles survive, so the disease tends to be worse the next year.The bacterium Pantoea stewartii, carried and introduced by the corn flea beetle; mild winters that let more beetles survive drive worse outbreaks the following year. Organic treatment You cannot cure an infected plant; pull and throw away badly affected seedlings. The real control is keeping the flea beetles that spread it in check.There is no cure once a plant is infected; remove and destroy severely affected seedlings. Management is aimed at the flea-beetle vector, not the bacterium itself. Prevention Grow resistant varieties, which is the main defense, and keep flea beetles off young plants with a row cover or an organic treatment so they cannot pass the disease along.Grow resistant or tolerant hybrids, the primary defense, and manage flea beetles on young plants with row cover or a labeled treatment to break the transmission cycle.
Verified · 3 sources View
Seasoned
Where to plant next year

Crop rotation

Move your corn to a new spot each year, on about a two-to-three-year cycle. Planting it where beans or peas grew the year before gives it the extra nitrogen it wants.Rotate corn on a two-to-three-year cycle and place it after a nitrogen-fixing legume where you can, since corn is a heavy nitrogen feeder.

Family
Poaceae (grass)
Years between
2 years
in the same bed
Avoid following
Try not to plant corn in the same spot two years running. Moving it each year keeps corn diseases and pests from building up and gives the soil a rest from its heavy feeding.Avoid following corn with corn in the same bed; rotating breaks the buildup of soil-borne diseases and corn pests, and spreads out the crop's heavy nitrogen demand.
Plant after
Corn follows a legume well: beans or peas leave nitrogen in the soil that this hungry crop puts straight to use.
Verified · 2 sources View
In the app · pre-launch

When plant taps you on the shoulder

The plant app sends a timely reminder at every critical moment of your popcorn season. The wording adjusts to whichever you pick: beginner or seasoned. Here are three you'll see in Zone 9.

p
plant
Last frost arrives
Time to plant popcorn
Plant popcorn right in the garden after the last spring frost, once the soil has warmed to at least 60°F. Plant a block of at least four short rows, 1 to 2 inches deep, so the wind can pollinate it. Keep it well away from sweet corn and field corn.
p
plant
7 weeks after planting
Keep your corn watered now
Your corn is tasseling and silking, which is when it needs water the most. Keep the soil evenly moist and water deeply. Dry soil or heat over 95°F now leaves ears with missing kernels.
p
plant
10 weeks after planting
Let your popcorn dry on the stalk
Popcorn is left to dry out on the plant. Wait for the husks to turn brown and papery and the kernels to get hard and glossy, then pick the ears and finish drying them indoors. There is no rush.
Get personalized alerts.

plant sends the right notification at exactly the right moment, for your zone, your weather, your crops. Founding members lock the rate forever.

Back the Kickstarter →
Ask the gardener

Common questions

Got a question we missed?

We're building this guide with real growers. Got a question we missed? Ask here. We read every one and add the best answers right to this page.

Grown this before?

Share a tip

Learned something the hard way? Pass it on. Real growers' tips make this guide better for the next person, and we credit you by name when yours goes live.

Seasoned
Spot something wrong?

Report a problem

If you've grown this crop and you see a date, a temperature, a companion claim, or a recommendation that doesn't match your experience, tell us. Real growers' corrections make this guide better for the next person.

How we built this guide

Methodology & sources

Every date, temperature, spacing, and recommendation on this page is sourced from university cooperative extension publications, peer-reviewed agricultural research, NOAA climate data, and direct extension calendars. Where claims are softer (traditional gardening wisdom not formally documented), we say so.

Research-backed Documented in cooperative extension publications or peer-reviewed research
Well-grounded A known agronomic principle, but not formally tested for this specific pair
Traditional Time-tested gardening wisdom, limited formal research support
Last reviewed
May 12, 2026
Data version
crops_data_final · v1.0 · schema 2.9
Sources cited on this page
16 publications
Verified entries
Companion-planting claims tagged inline · zone dates verified against 5+ extensions
See all sources cited on this page
  • University of Minnesota Extension umn_ext
  • University of Maryland Extension umd_ext
  • Cornell Cooperative Extension cornell_ext
  • Iowa State University Extension iastate_ext
  • Michigan State University Extension msu_ext
  • NC State Extension ncsu_ext
  • Penn State Extension psu_ext
  • U. of Illinois Urbana-Champaign Extension uiuc_ext
  • UC Davis Postharvest Center ucd_postharvest
  • Texas A&M AgriLife Extension tamu_agrilife
  • Virginia Cooperative Extension 426-331 vce_426_331
  • Piedmont Master Gardeners piedmont_mg
  • UGA Vegetable Garden Calendar uga_calendar
  • Clemson Home & Garden Information Center clemson_hgic
  • UC IPM Statewide IPM Program uc_ipm
  • NOAA 1991-2020 Climate Normals noaa_normals

Growing notes, weekly.

Zone-aware seasonal nudges, what's worth planting now, and the occasional recipe from the harvest. No spam, ever.

Vol. 003 · Popcorn · plant.lifestyle