Today · in your zone
What's happening right now
Off-season for potato in zone 9.
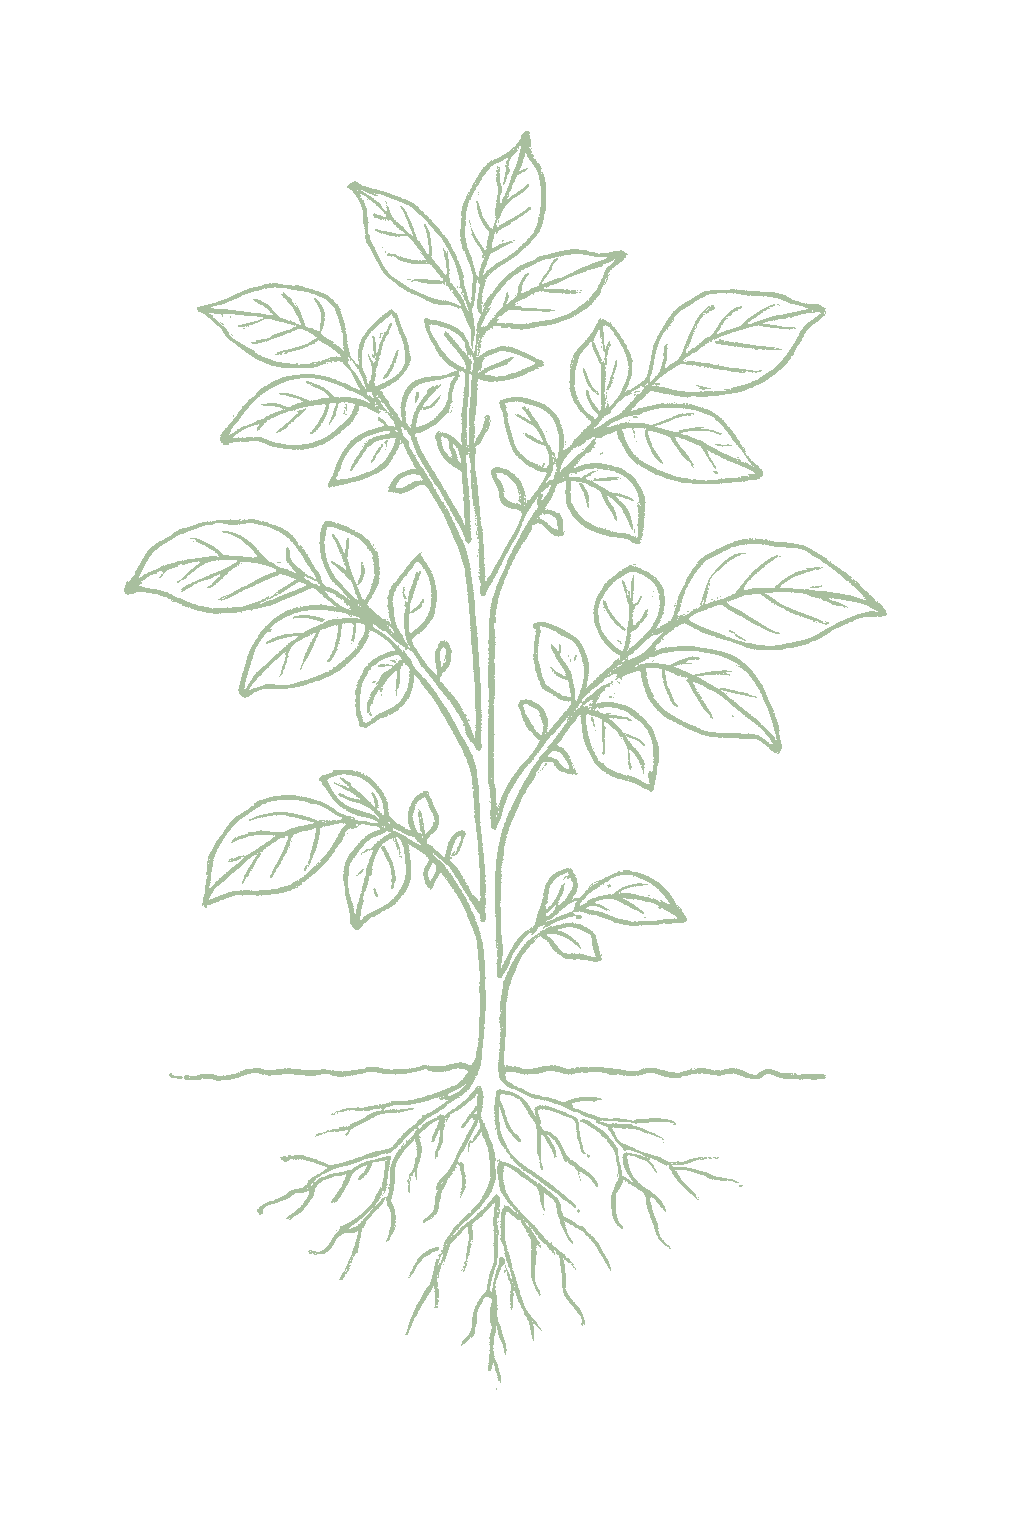
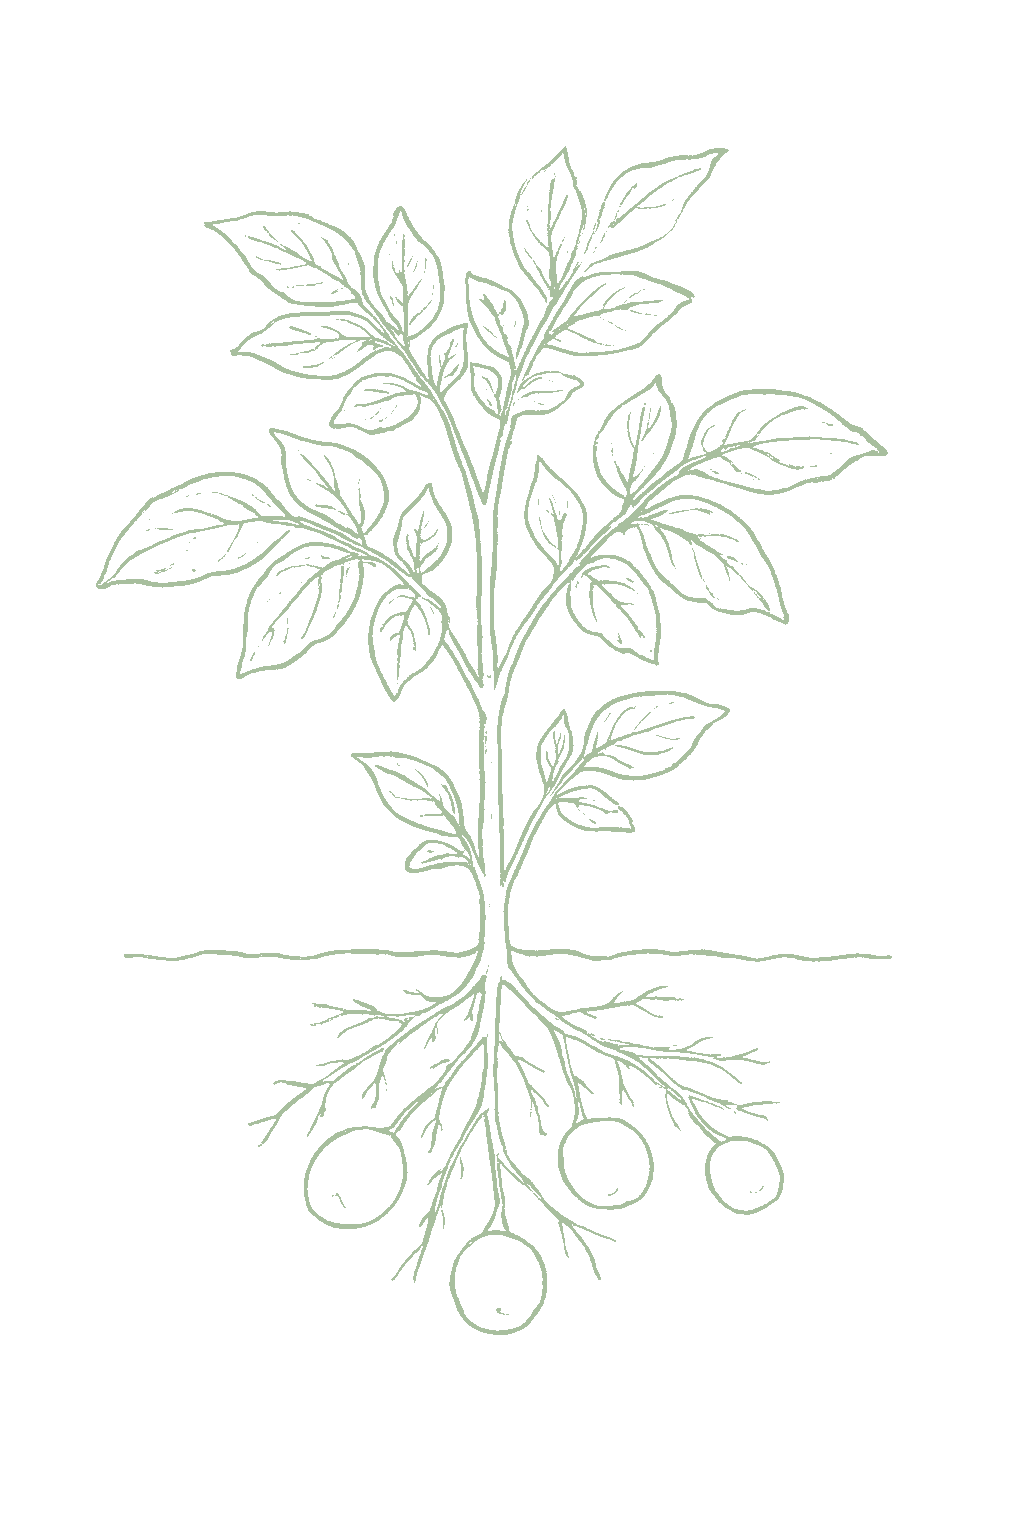
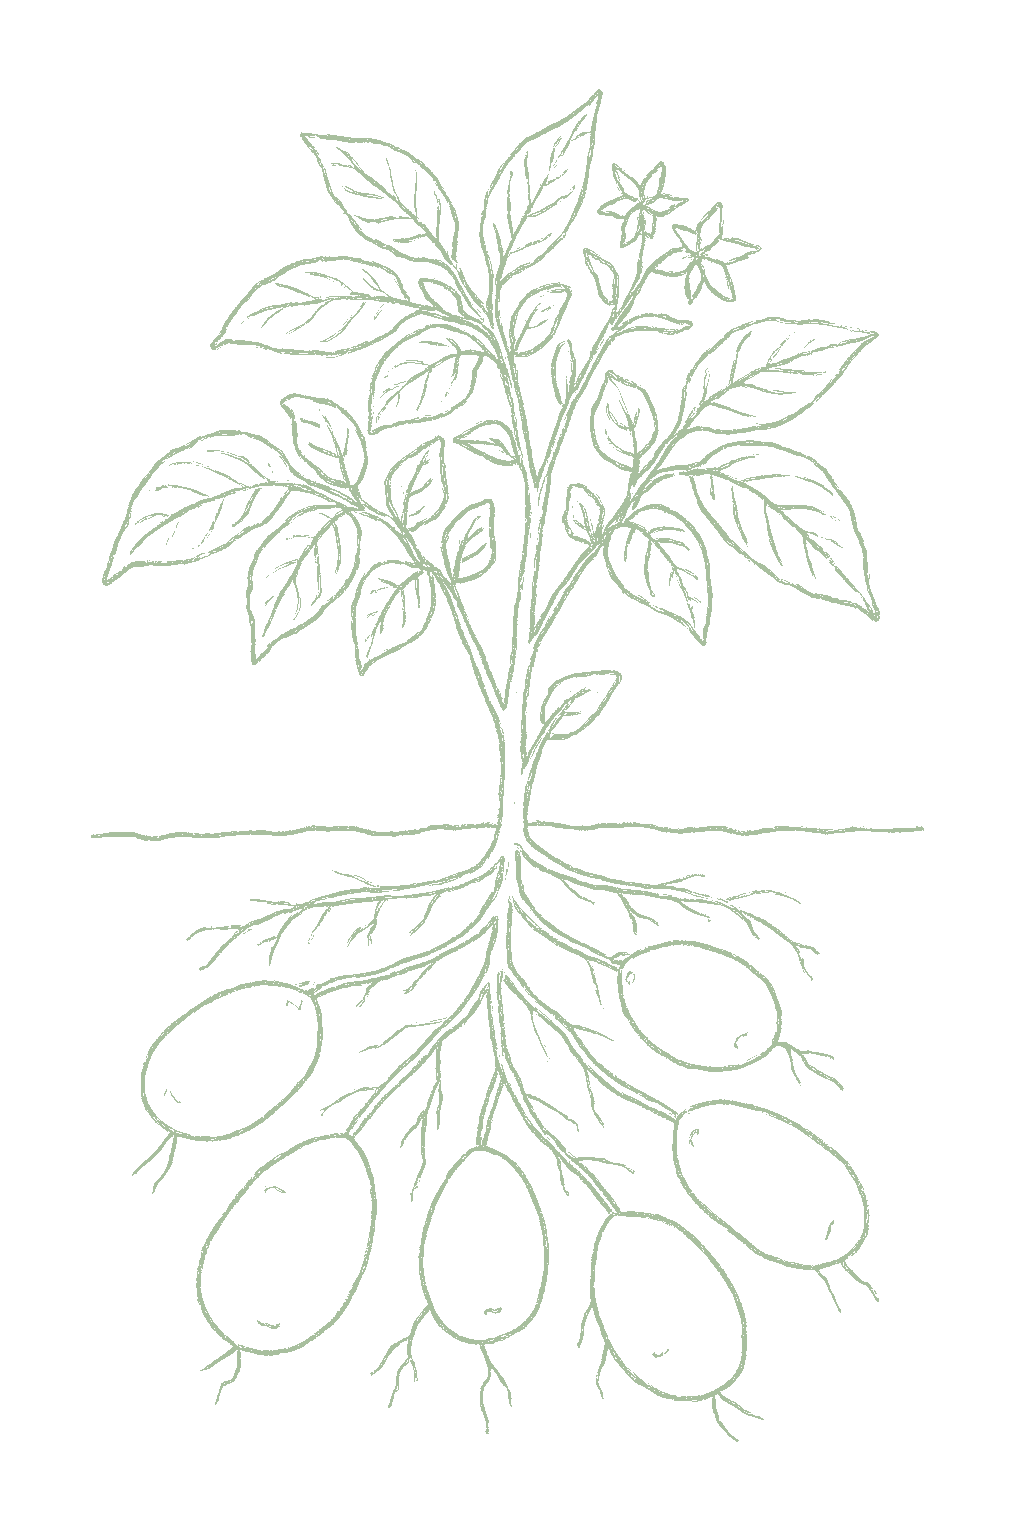
Potatoes are a cool-weather crop grown for the starchy tubers that form underground. You do not grow them from seed: you plant seed potatoes, which are small whole potatoes or cut chunks, each with an eye or two, set right in the soil. The leafy tops are tender and killed by hard frost, so in cold places potatoes are a spring crop, and in warm places they are grown through fall and winter. The key trick is hilling: as the plants grow, you mound soil up over the row. This gives the potatoes room to form and, most importantly, keeps them covered so they do not turn green, because green potatoes are bitter and mildly poisonous. Potatoes grow best in loose, well-drained, slightly acidic soil, and they like cool soil to make tubers, so heat slows them down. They are ready when the tops turn yellow and die back, about 3 to 4 months after planting, and you can dig a few small new potatoes a bit earlier. Keep potatoes away from their cousins (tomatoes, peppers, eggplant), which share the same diseases, especially late blight, the famous one behind the Irish potato famine. Potato (Solanum tuberosum) is a cool-season member of the nightshade family (Solanaceae) grown for its starchy underground tubers. It is planted not from seed but from seed potatoes: small whole tubers or cut pieces, each carrying one or more eyes, set directly in the ground. The foliage is frost tender, so the tops are killed by hard frost even though the crop is grown in the cool season; in cold climates it is a single spring crop, and in mild and hot climates a fall-through-winter crop. The signature practice is hilling: soil is mounded over the row as the plants grow, which expands the zone where tubers form and, critically, keeps them covered and out of the light, since exposed tubers turn green and develop bitter, mildly toxic solanine. Tubers set and bulk best in cool soil, roughly 60 to 70°F, and tuber formation falls off in sustained heat. The crop is ready when the tops yellow and die back, about 90 to 120 days from planting, with thin-skinned new potatoes dug a few weeks earlier. Potatoes prefer loose, well-drained, acidic soil (pH about 5.0 to 6.0, lower than most vegetables) which suppresses common scab, and they are rotated away from their nightshade relatives (tomato, pepper, eggplant) to limit shared disease, above all late blight, the water mold behind the historic Irish potato famine.
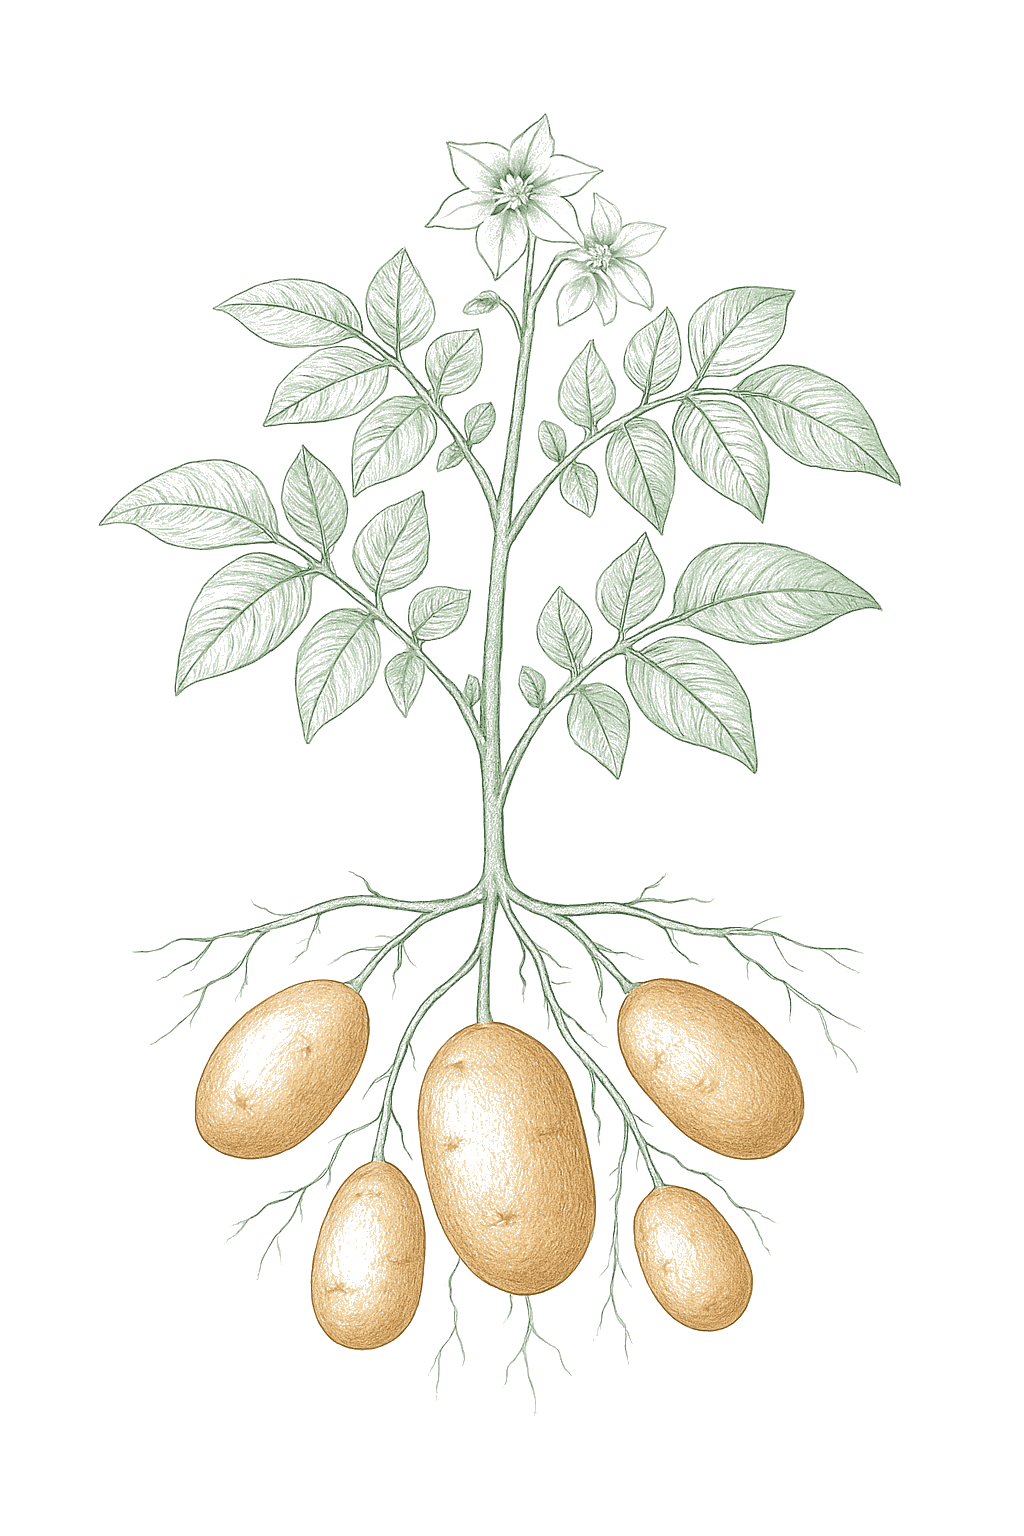
Off-season for potato in zone 9.
Zone 9 averages a last frost around March 1. Within Zone 9, the colder half (9a, winters down to 20°F) runs about a week later. The warmer half (9b, winters down to 25°F) runs about a week earlier. The plant app picks your subzone from your ZIP.
| Subzone | Last spring | First fall | Growing days | Winter min | Fruits reliably |
|---|---|---|---|---|---|
| 9a | Mar 8 | Nov 24 | ~261 | 20-25°F | Yes · two seasons |
| 9b | Feb 28 | Nov 30 | ~275 | 25-30°F | Yes · two seasons |
Averages from 8 weather stations per subzone, drawn from NOAA 1991-2020 Climate Normals. Your actual frost date can vary by up to two weeks based on elevation, proximity to water, and local topography.
In Zone 9, potato can be planted February through March, then again August, skipping the summer heat. Harvest runs May through June.
In Zone 9, potato can be planted January through February, then again September, skipping the summer heat. Harvest runs April through May.
In Zone 9, potato can be planted December through February, skipping the summer heat. Harvest runs March through May.
In Zone 9, potato can be planted February through May. Harvest runs June through August.
In Zone 9, potato can be planted February through August. Harvest runs May through November.
In Zone 9, potato can be planted February through May. Harvest runs April through September.
In Zone 9, potato can be planted February through March, skipping the summer heat. Harvest runs May through June.
In Zone 9, potato can be planted December through January. Harvest runs March through April.
In Zone 9, potato can be planted February through March, skipping the summer heat. Harvest runs May through June.
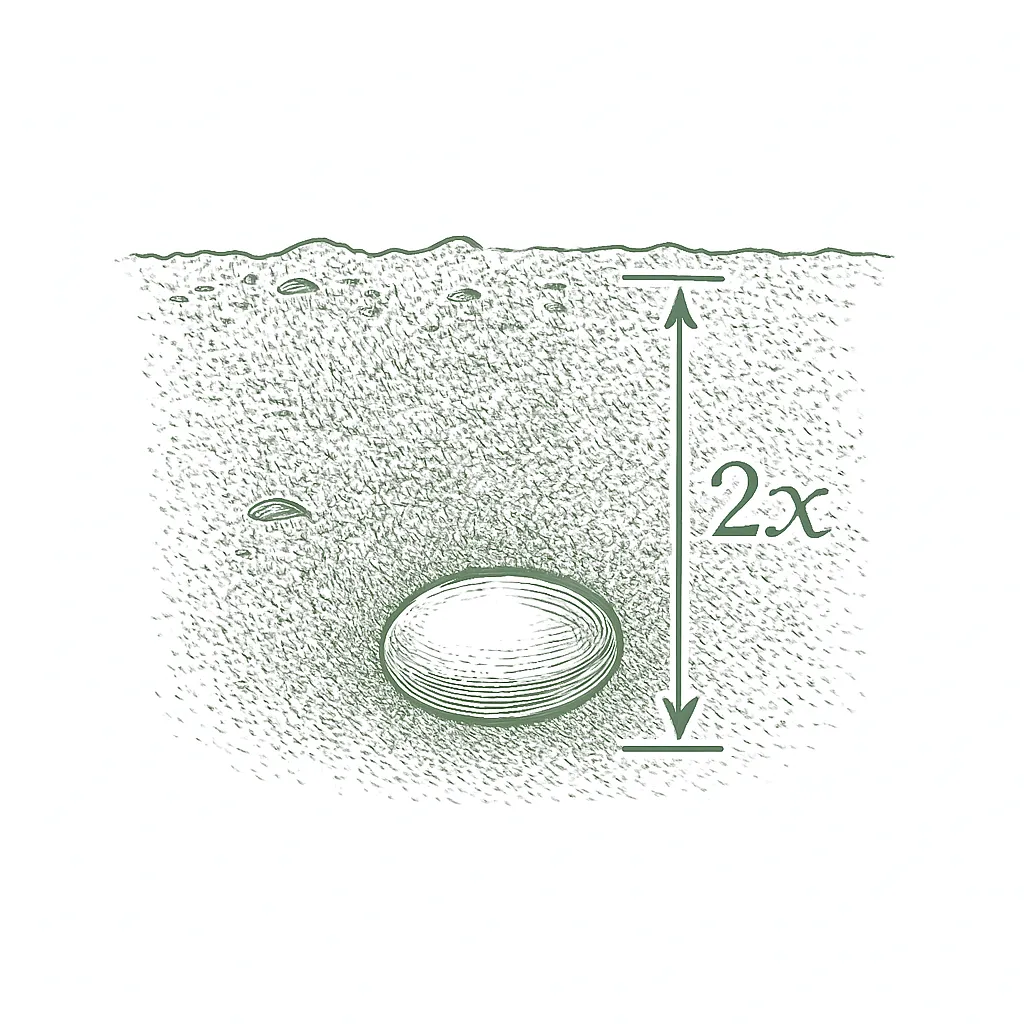
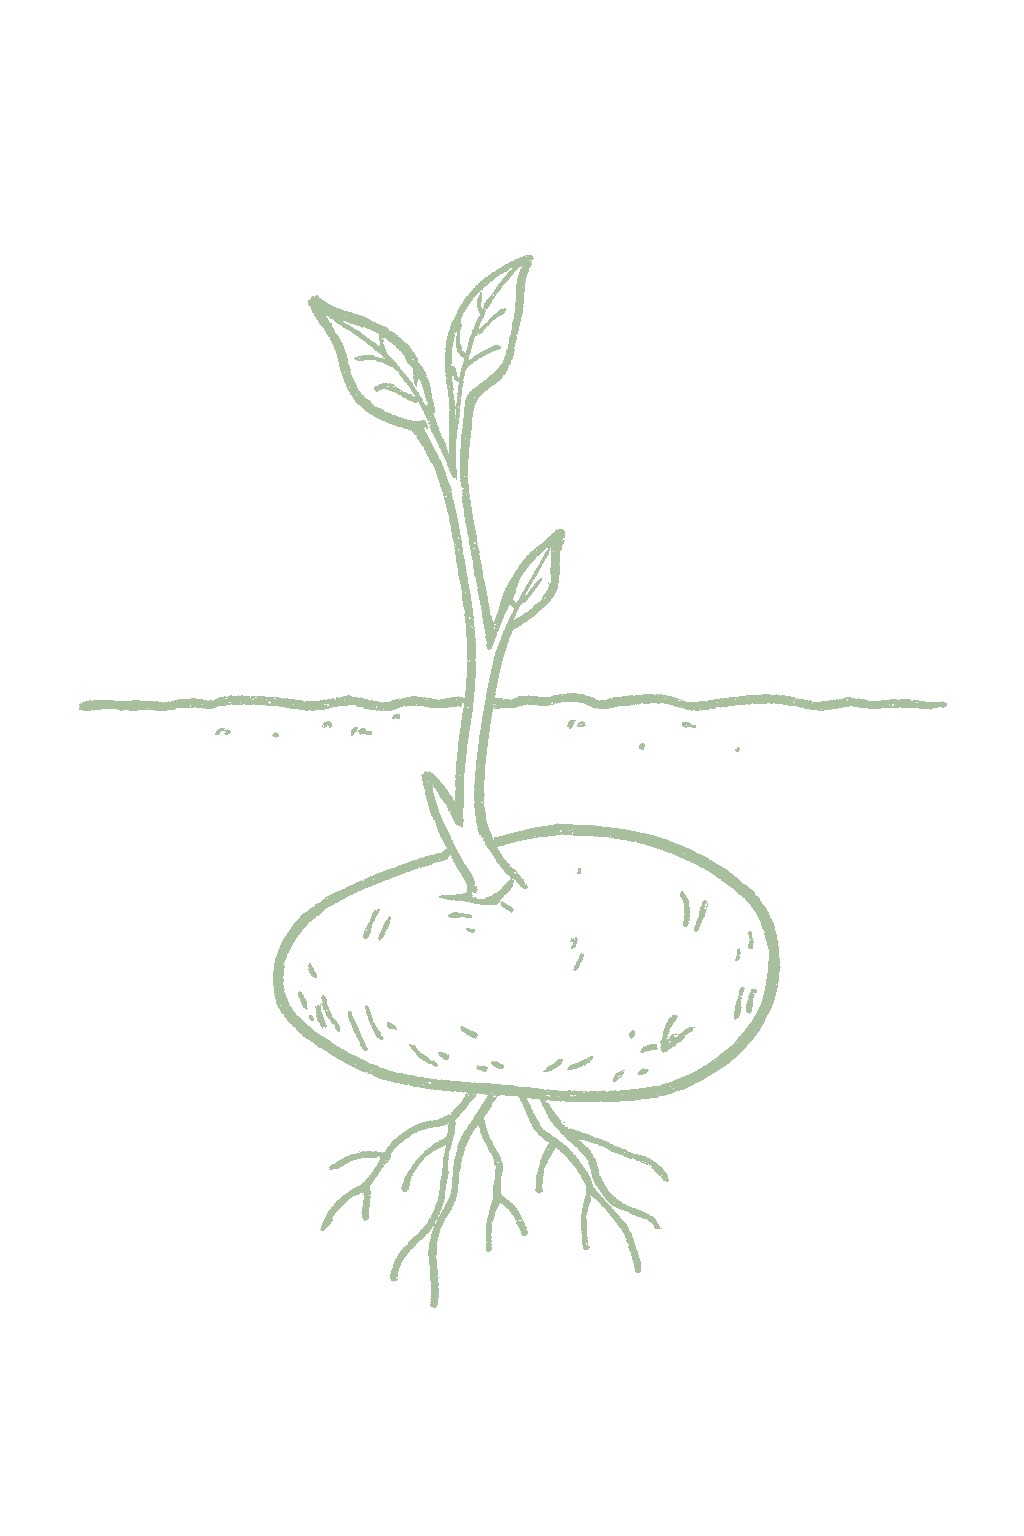
Grow potatoes from seed potatoes, which are small whole potatoes or cut pieces, bought as certified disease-free stock (not from the grocery store, and not from packets of seed). Cut bigger ones into chunky pieces about the size of an egg, each with one or two eyes (the little dimples that sprout), and let the cut sides dry and heal for a few days before planting. Plant the pieces cut-side down about 3 to 5 inches deep, 10 to 12 inches apart, in rows about 3 feet apart, once the soil has warmed to about 50°F. There is nothing to start indoors and nothing to harden off.Plant potatoes from certified seed potatoes, not grocery-store tubers (which may carry disease or be sprout-inhibited) and not true seed. Cut larger seed potatoes into blocky pieces of about 1.5 to 2 ounces, each with at least one or two eyes, and let the cut surfaces heal (suberize) for a few days in a warm, humid spot before planting; small egg-sized tubers can be planted whole. Plant pieces cut-side down about 3 to 5 inches deep in rows 30 to 36 inches apart, spacing the pieces 10 to 12 inches apart, once the soil reaches about 50°F. There is no indoor-start or hardening-off step.

Not sure what soil you have? Grab a small handful of damp soil from your garden bed and squeeze it. If it crumbles apart easily, it's sandy. If it holds together but breaks when you poke it, it's loam (what most vegetables want). If it stays in a hard, slippery ball, it's clay.
Potatoes want loose, well-drained soil that the growing tubers can swell into easily. Light, sandy or loamy soil with plenty of compost works best. Heavy, soggy clay is the main thing to avoid: it holds water and rots the seed pieces and tubers, and it makes the potatoes come out knobby. If your soil is heavy clay, a raised bed or a deep container of loose mix is the easy fix. Keep the soil on the acidic side (pH about 5.0 to 6.0), which also helps prevent scab, the rough corky patches on the skin. Do not add fresh manure, because it makes scab worse.
Mix 2-3 inches of compost into the top 6 inches of your bed before planting. Compost holds moisture (which sandy soil drains too fast) and adds the nutrients sandy soil tends to lack. Repeat each season. Compost breaks down over time.
Mix 2-3 inches of compost AND a few inches of coarse sand or perlite into the top 6 inches of your bed. The compost feeds the plants; the sand breaks up the clay so air and water can move through. Don't add sand without compost. It can compact like concrete.
If amending your soil sounds like too much work, or if your soil is heavy clay, full of rocks, or contaminated, build over it. A raised bed at least 12 inches deep filled with a 50/50 mix of compost and sandy loam gives you ideal growing soil with no battles. A 5-gallon container with quality potting mix does the same for one plant at a time. Both bypass your native soil entirely.
The numbers that matter, at a glance.
Potatoes grow well in containers, which is great if your soil is heavy clay or you are short on space. Use a deep grow bag or tub with drainage holes, start with a few inches of loose mix, set the seed pieces in, and add more soil over the stems as they grow (this is container hilling). Keep the mix evenly moist and tip the bag out to harvest when the tops die back.Potatoes are well suited to containers and a good option on heavy clay or in small spaces. Use a 10 gallon or larger grow bag or tub at least 14 inches deep with drainage holes; start with several inches of loose mix, plant the seed pieces, and add soil over the stems as they grow to mimic hilling and keep tubers covered. Keep moisture even and harvest by tipping out the bag once the foliage dies back.
Ask what your balcony or roof can carry
A balcony or roof can only hold so much weight. Before you set heavy pots there, ask a building architect what it can safely carry.Illinois Extension's guidance is to consult a building architect about weight limits before placing heavy pots on a balcony or rooftop garden. It gives no weight figure.
Never grow food in a container with anything toxic in it
Many kinds of containers can be used. Whatever you choose, keep anything toxic out of it, especially if you are growing food.Colorado State accepts nearly any container material but warns against using a container that holds toxic materials, especially for edible plants. Illinois adds that a vegetable container should be free of chemicals toxic to plants or people, and urges caution with treated lumber when growing food. If you cannot account for what a repurposed container once held, that alone is a reason to keep food out of it.
Secure hanging containers well
Fasten hanging baskets and window or rail boxes securely. Think about what is below them too, since they can drip on people or things underneath.Illinois Extension asks growers to secure hanging containers well and to think through the safety issues of hanging them. Placement matters too, since a hanging container can drip onto people or belongings below.
Soil pH measures how acidic or alkaline your soil is, on a scale from 1 to 14 where 7 is neutral. Potatoes like it on the acidic side, about 5.0 to 6.0, which is lower (more acidic) than most vegetables. There is a good reason: keeping the soil acidic helps prevent scab, the rough corky patches that form on the potato skin. Scab gets worse when the soil is less acidic and dry, so if scab is a problem, aim toward the low end (around 5.0 to 5.3) and keep the soil evenly moist while the tubers are forming. A cheap soil test from your local extension office tells you your number.Potatoes grow best in acidic soil, roughly pH 5.0 to 6.0, lower than most garden vegetables. The acidity is deliberate disease management: common scab (Streptomyces scabies) is suppressed in acidic soil and worsens as pH rises above about 5.5, especially in dry soil. Where scab is a recurring problem, hold the pH between about 5.0 and 5.3 and keep the soil evenly moist for the 4 to 9 weeks after planting when tubers are forming. Potatoes tolerate a wider band (down to about 4.8 and up to 6.5), and they will grow at neutral pH, but scab pressure climbs with pH, so do not lime a potato bed. A soil test removes the guesswork before planting.
Potatoes need a moderate amount of food. Mix a balanced fertilizer like 10-10-10 into the row when you plant, then feed lightly again about a month later as the plants grow. Do not pile on high-nitrogen fertilizer or fresh manure: too much nitrogen grows big leafy tops but fewer potatoes, and manure makes scab worse. Compost mixed into the bed is the safe way to enrich the soil.Potatoes are moderate feeders. Work a balanced fertilizer such as 10-10-10 into the row at planting (UGA suggests about 1.5 pounds per 100 square feet), then side-dress lightly about 4 weeks later as the tops fill in and again as the vines spread. Favor balanced feeding over heavy nitrogen: excess nitrogen grows lush vines and delays tuber formation, and fresh manure encourages scab, so use only well-finished compost. Adequate potassium supports tuber quality.
The three numbers on a fertilizer bag are nitrogen, phosphorus, and potassium (N-P-K). Potatoes do best with a balanced fertilizer like 10-10-10, not a high-nitrogen one. Too much of the first number grows leaves instead of potatoes, and fresh manure brings on scab, so use compost and a balanced feed.Potatoes are moderate feeders that want balanced nutrition with good potassium and only modest nitrogen. A balanced blend such as 10-10-10 worked into the row at planting covers most home soils. Too much nitrogen drives vines instead of tubers, and fresh manure encourages scab, so lean on compost and a balanced fertilizer rather than a high-nitrogen feed.
Potatoes are easygoing with most neighbors. Beans and peas are a classic match because they add nitrogen to the soil, and bush beans are said to help keep the Colorado potato beetle down. The plants to keep well away are potato's nightshade relatives, tomato, pepper, and eggplant, because they share the same diseases, especially late blight, and the same soil pests. Do not trust every companion chart online; many of their claims have never been tested. Potatoes mix easily into the garden. The best-grounded pairings are with legumes (beans, peas), which fix nitrogen and are traditionally credited with deterring the Colorado potato beetle. The clearest avoids are potato's own family, the nightshades: tomato, pepper, and eggplant share late blight and other soilborne diseases and pests, so keep them apart and rotate among them on a multi-year cycle. Most other companion-chart claims for potato are folklore; treat them with healthy skepticism, since university reviews find little evidence behind most of them.
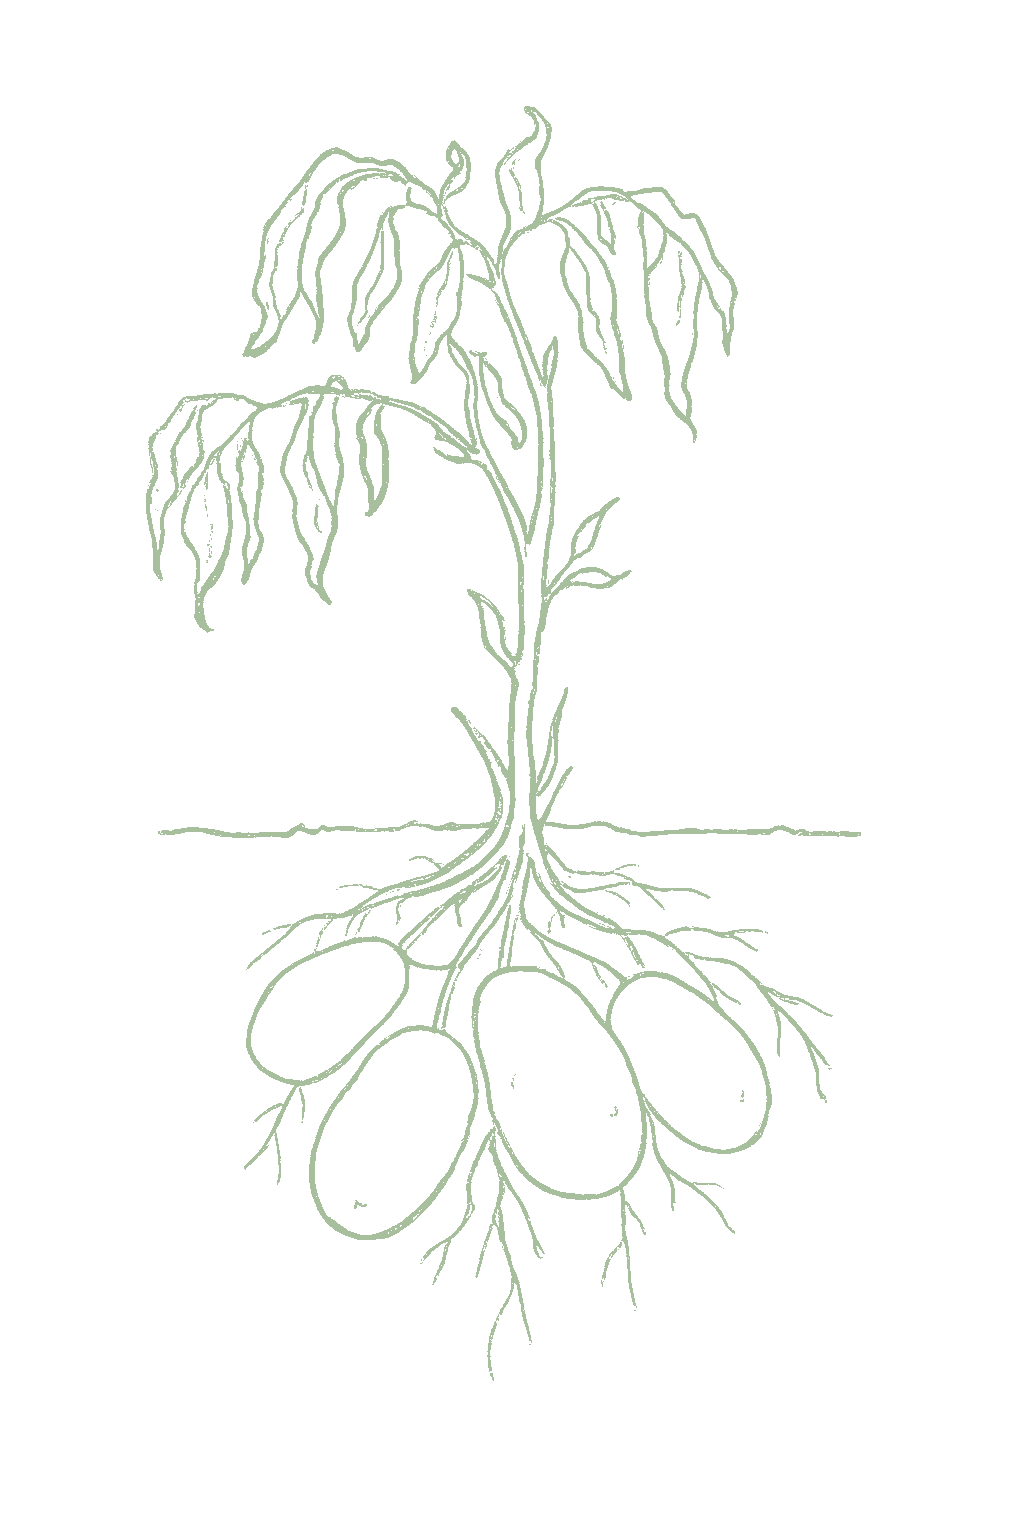
You can tell potatoes are ready by the plants, not a set date. Small new potatoes can be dug gently at the side of a plant from about 7 to 8 weeks after planting, and are best eaten fresh. The main crop is ready when the tops turn yellow and die down, about 3 to 4 months after planting. If you want to store them, leave them in the ground about two weeks after the tops die so the skins toughen, then dig on a dry day with a fork, pushing it in well away from the plant so you do not stab the potatoes. Let them dry off out of the sun, brush off the dirt (do not wash them), and keep them in the dark. Always keep potatoes covered and out of the light, because light turns them green and bitter, and green potatoes are mildly poisonous.Potatoes are ready to harvest based on the foliage, not a fixed date. New potatoes, thin-skinned and best used fresh, can be dug carefully at the edge of a hill from about 7 to 8 weeks after planting. The main crop is mature when the tops yellow and die back, roughly 90 to 120 days from planting. For storage potatoes, leave them in the ground about two weeks after the vines die so the skins set and toughen, then dig on a dry day, pushing a fork in well outside the hill so you do not spear tubers. Lift, let them dry briefly out of direct sun, brush off soil (do not wash), and cure in the dark at about 50 to 60°F for two weeks before storing. Keep tubers covered and shaded at every stage, since light greens them and produces bitter, mildly toxic solanine.
About 5 to 10 potatoes, roughly 1 to 2 pounds, from each plant when things go well, though it varies a lot. By the row, expect something like 20 to 30 pounds from a 10-foot row.Roughly 5 to 10 tubers, about 1 to 2 pounds, per plant in good conditions, varying widely with variety, season length, and care. Yield is best thought of by row: Iowa State puts a home crop at about 20 to 30 pounds per 10 feet of row.
A potato planting is ready all at once, about 3 to 4 months after planting, and you dig it when the tops die back (with a few early new potatoes from about 7 to 8 weeks). It does not keep producing after that, so store the cured crop for a longer supply.A potato planting matures over a single window, about 90 to 120 days, and is dug once when the vines die back, with optional earlier new-potato digs from about 7 to 8 weeks. It is not a repeat-harvest crop; for a longer supply, stagger plantings where the season allows, or store the cured main crop. Potatoes are grown fresh each year from seed pieces, so your first crop can do as well as any later one. What matters is good seed, loose well-drained soil, steady water, and finishing in cool weather.Potatoes are grown fresh from seed pieces each season, so there is no first-year-versus-later difference as with perennials; results depend on certified seed, loose well-drained soil, even moisture, and finishing in cool weather.
Pick a variety for your area and how soon you want potatoes. Early kinds like Yukon Gold and Irish Cobbler are ready fastest and are good where summers turn hot. Later kinds like Kennebec and Russet Burbank give bigger harvests and store longer. In the South, grow thin-skinned reds and golds (Red Pontiac, Yukon Gold) rather than thick brown russets. If scab or blight is a problem in your garden, choose a resistant variety. Always buy certified disease-free seed potatoes, not grocery-store ones.Choose by maturity and your climate. Early varieties (Irish Cobbler, Yukon Gold) finish fastest and suit short seasons and hot-summer regions where the crop must beat the heat; mid and late varieties (Kennebec, Russet Burbank) yield more and store better where the season is long. In the South, thin-skinned reds and whites (Red Pontiac, Yukon Gold) outperform thick russets, which size up poorly there. Where scab or late blight recurs, lean on resistant or tolerant varieties (Russet Burbank or Superior for scab; Kennebec or Sebago for late blight). Always start from certified disease-free seed potatoes.
The ladder troubleshoots from the gentlest solution to the strongest. Start with the gentlest option and only move on when and if it doesn't work.
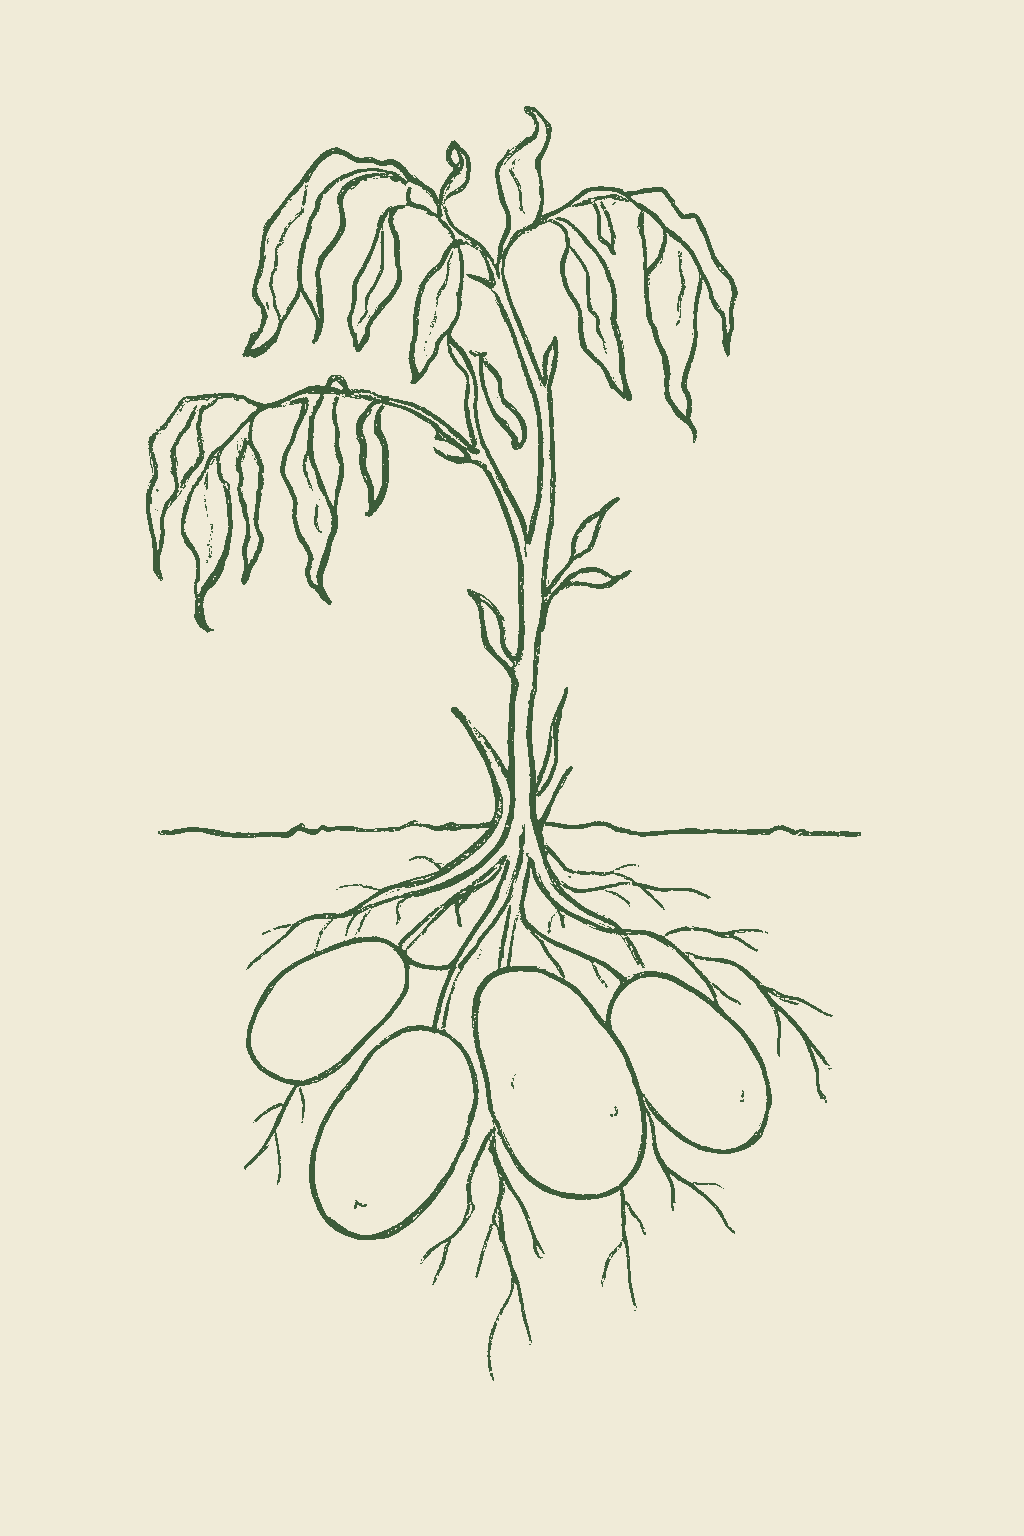
Move potatoes to a bed well away from where potatoes or eggplant grew last year. The beetles pass the winter in the soil right where those plants stood, then walk onto the first shoots they find in spring.Overwintered adults sit 5 to 10 inches down in and around last season's potatoes and emerge onto whatever is nearest, so distance from the previous nightshade ground lowers how many reach the new planting at emergence. It also hosts on eggplant and other nightshades, so count those beds too.
Lay floating row cover, a light fabric that lets in sun and water while keeping insects off, over the bed as the shoots come through. Take it off when the growing plants need the room.Cover from emergence excludes the colonizing adults through the window when the canopy is smallest; it comes off for the developing plants rather than at a fixed date, so it protects the early stretch rather than the season. Pair it with the rotation step above, and see this method's caution about covering ground that carried the same family last year.
Knock the striped adults and the fat pinkish grubs into a pail of soapy water, and crush the bright orange egg clusters on the undersides of the leaves. Walk the row every couple of days, because there is no quick spray to fall back on here.Handpicking adults and larvae with egg-mass crushing is the workhorse control here: this beetle has developed resistance to many insecticides, so steady removal does the work a spray would otherwise be asked for. Crushing the first clusters takes out a generation before the last-stage larvae, which cause most of the defoliation, ever feed. Potatoes tolerate up to about 30 percent defoliation before flowering but only about 10 percent once tubers are sizing, so the scouting interval tightens as the crop bulks.
No spray for this one. Prevention is the control.
The ladder troubleshoots from the gentlest solution to the strongest. Start with the gentlest option and only move on when and if it doesn't work.
Move the crop off last year's nightshade bed, the ground that grew potatoes, tomatoes, peppers, or eggplant. The beetles winter over nearby and go straight for young plants in spring.Rotating away from last season's solanaceous ground lowers the number of overwintered adults arriving while the plants are small, which is the stage where shot-hole feeding actually costs growth.
Clear weeds and old crop debris out of the bed and its edges. That litter is the shelter the beetles winter in, so taking it away leaves them fewer places to wait.Removing weedy cover and crop residue strips the overwintering shelter that feeds the spring move onto young foliage. It is a between-seasons step, and what it buys shows up as lighter early pressure rather than as a change in the plants you are looking at now.
Cover young plants with floating row cover, a light fabric that keeps insects off while letting light and water through, and leave it on through the vulnerable early weeks. Take it off once the plants are established.Exclusion covers the window when leaf area is smallest and feeding sets plants back; established, vigorous plants usually outgrow light feeding, which is why the cover comes off instead of staying on all season. Check this method's caution before laying it over ground that carried the same family last year.
No spray for this one. Prevention is the control.
The ladder troubleshoots from the gentlest solution to the strongest. Start with the gentlest option and only move on when and if it doesn't work.
Keep weeds down in the bed and along its edges. Nearby weeds can host both the aphids and the potato viruses they carry, so clearing them lowers what moves into the row.Weedy hosts around the planting hold aphid colonies and act as virus reservoirs, so clearing before the crop is up and keeping the margins clear works on the transmission side, which is the half of this problem that costs yield.
Pull out any plant showing clear virus symptoms, the mottled, curled, or rolled leaves, and get rid of it. An infected plant does not recover, and leaving it standing gives the aphids something to carry away.Rogue symptomatic plants promptly: infection is not reversible, so a virus-positive plant is a source rather than a patient, and taking it out early keeps one plant from starting a wider spread.
Where aphids are clustered thick on the growing tips, knock them off with a strong jet of water. Go early in the day, so the foliage has time to dry off.A forceful jet dislodges heavy colonies on sturdy stems and is the physical knock-back to try before reaching for a spray. Keep to the early-in-the-day timing in this method's caution, since long leaf wetness favors foliar disease.
A few aphids are fine. Ladybugs, lacewings, and small parasitic wasps usually keep them in check on their own, so skip the harsh broad sprays that would take out those helpers along with the pest.Tolerate light populations and conserve the resident predator and parasitoid complex; broad-spectrum material removes the natural enemies doing the suppression, which is the argument for keeping the response soft on a pest whose feeding damage is minor.
For heavy clusters the softer steps have not held, insecticidal soap sprayed straight onto them works on contact. It also hits soft-bodied helpers it wets, so treat the clusters and leave the rest of the plant alone, and skip it on a plant short of water or when it is above 90°F.Contact soap knocks down established colonies; coverage is the entire mechanism, so it reaches only what it wets, beneficials included. Observe the heat and water-stress cautions, and note UC IPM's moderate acute rating for potassium salts of fatty acids when mixing and spraying.
The bottom rungs are products with label rules: timing, pollinators, and days to wait before harvest. Before you spray →
The ladder troubleshoots from the gentlest solution to the strongest. Start with the gentlest option and only move on when and if it doesn't work.
Keep potatoes out of a bed that was lawn or pasture in the last year or two, where wireworms are worst, and move the crop to other ground if a bed turns out to be full of them.Numbers run highest in ground recently in sod or grass, and the larvae live in the soil for several years, so this is a multi-season siting decision rather than something that helps the crop already planted.
Keep the bed worked rather than leaving the soil undisturbed between crops. See this method's cautions if you garden no-dig, since working the soil has costs of its own.Cultivation of an infested bed is one of the few levers available against a larva that gives no useful aboveground signal until harvest. Weigh it against the soil-structure cost in this method's cautions where the damage has been light.
Dig the potatoes as soon as the crop is ready. Every extra week in infested soil is more time for the worms to bore in.Lift at maturity rather than holding tubers in infested ground, where the tunneling accumulates. The injury is found at harvest, so shortening the exposure is the only in-season lever this problem offers.
No spray for this one. Prevention is the control.
The ladder troubleshoots from the gentlest solution to the strongest. Start with the gentlest option and only move on when and if it doesn't work.
Start with certified disease-free seed potatoes rather than tubers you saved. The disease rides over from one year to the next inside infected potatoes, so clean seed keeps it from arriving with the planting.Certified seed closes the tuber-borne carryover route: Phytophthora infestans survives between seasons in infected tubers and cull piles, which makes what goes into the ground the first decision that matters.
Where late blight turns up in your area, choose a resistant variety such as Kennebec or Sebago. The spores travel on wind and splashing water, so resistance is working for you before anything shows up in the row.Kennebec and Sebago are the resistant cultivars this crop's guidance names. Against a pathogen that arrives on wind and splash and can collapse the foliage within days, resistance chosen at seed-buying time is the highest-leverage decision available.
Give the plants enough room that air moves between them and wet leaves dry sooner. This disease gets going in cool, wet, humid weather, and a canopy that dries faster is harder for it to hold.Spacing for air movement shortens the leaf-wetness periods the pathogen needs to establish. It is a standing structural defense set at planting, not a response available once lesions are running.
Water at the soil in the morning instead of over the tops of the plants, so the foliage stays dry.Base watering in the morning removes the leaf wetness you control; splashing water is one of the two dispersal routes named for this pathogen, alongside wind.
Pull and destroy infected plants quickly, and keep them out of the compost. Clear away volunteer potatoes and cull piles too, and cut and remove infected vines before you dig, so spores do not reach the potatoes underneath. Get rid of every infected tuber instead of saving it.There is no home cure once a plant is badly infected, so removal is the response rather than a treatment: destroy infected foliage and tubers rather than composting them, clear the volunteers and cull piles that carry the pathogen between seasons, and take the vines off before lifting so tubers are not harvested through sporulating tissue.
In a wet season a copper fungicide started early and repeated can hold it back, though it will not rescue a plant that is already going down. Follow the label rate, keep spray and runoff away from ponds and streams, since copper is highly to very highly toxic to fish and aquatic life, and go easy on repeat use over the years, because copper builds up in the soil.Copper is a preventive suppressant here: applied early and repeated through wet weather it slows establishment while the cultural steps carry the real defense. Read the active ingredient rather than the brand name, since the acute hazard band differs by copper compound, and mind the aquatic toxicity and the surface accumulation that comes with repeat use.
The bottom rungs are products with label rules: timing, pollinators, and days to wait before harvest. Before you spray →
The ladder troubleshoots from the gentlest solution to the strongest. Start with the gentlest option and only move on when and if it doesn't work.
Keep potatoes, and tomatoes and peppers with them, out of the same bed for several years. The fungus survives in the soil and on old crop debris, so coming back to the same ground feeds it.Alternaria solani carries over in soil and residue, so a multi-year rotation away from potatoes and the other nightshades is the between-seasons reset for a disease that builds where the family repeats.
Begin with clean, certified seed potatoes so the planting does not start out carrying the fungus.Clean seed removes one introduction route; the other reservoirs, soil and crop residue, are what the rotation and sanitation steps are for.
Pick a variety with some resistance where early blight shows up most years. It takes pressure off the rest of the list rather than doing the job on its own.This crop's guidance names resistant varieties alongside clean seed. The choice is made once, at seed-buying time, and it carries through the warm, humid stretches when the fungus moves.
Space the plants so air moves through the row and the leaves dry quickly after rain or dew. The fungus spreads in warm, damp weather while the foliage is wet.Spacing for canopy drying works against the warm, humid, wet-leaf conditions the fungus needs, and it is set at planting rather than adjusted once the lower canopy is spotted.
Water at the soil rather than over the plants, and water in the morning so the leaves dry fast. Overhead watering is the habit to drop here.Base watering in the morning cuts the foliar wetness the fungus needs; overhead irrigation is the practice this crop's guidance names to avoid.
Pick off the worst spotted lower leaves as you find them, and clear old plant debris out of the bed at the end of the season, since the fungus lives on that debris into the next year.Removing the most heavily spotted lower leaves lowers the spore source driving the climb up the canopy, and end-of-season debris removal closes the overwintering reservoir. See this method's caution on destroying diseased material rather than leaving or burying it.
A copper fungicide can slow the spread if you start it early in a wet spell, but keeping the plants unstressed and the leaves dry does most of the work. Follow the label rate, and keep spray and runoff out of ponds and streams, since copper is highly to very highly toxic to fish and aquatic life.Copper is protectant rather than curative: begun early in a wet season it slows spread while the cultural steps do the structural work on what is a slow, stress-related decline. Read the active ingredient, since the acute hazard band differs by copper compound, and observe the aquatic-toxicity and accumulation cautions.
The bottom rungs are products with label rules: timing, pollinators, and days to wait before harvest. Before you spray →
The ladder troubleshoots from the gentlest solution to the strongest. Start with the gentlest option and only move on when and if it doesn't work.
Hold off on lime in a potato bed and keep the soil on the acidic side, around pH 5.0 to 5.3 where scab is a problem. Scab does better as soil moves up toward neutral, so the useful move is adding nothing that raises the pH.The lever is restraint rather than an application: skip lime and wood ashes on this bed, since the organism is favored above roughly pH 5.5. Test before changing anything, and hold the low range for the potato bed rather than acidifying the whole garden.
Keep the bed evenly moist while the potatoes are forming, roughly the 4 to 9 weeks after planting. It is dry soil while the tubers are sizing that gives scab its opening.Tuber initiation and bulking, roughly weeks 4 to 9 from planting, is when the developing skin is vulnerable, and it is dryness across that stretch that favors infection. Soil pH is settled before anything goes in the ground; irrigation is the part of scab management still in the gardener's hands after planting, and it is decided week by week.
If scab keeps coming back in the same ground, plant a scab-resistant variety such as Russet Burbank or Superior next time.Russet Burbank and Superior are the scab-resistant cultivars this crop's guidance names, worth choosing where the disease recurs, since the soil population persists for years.
Rotate the potato bed on a 3 to 4 year cycle. The germ lives in the soil for years and on many other plants, so moving the crop lowers the odds rather than settling the problem. Scabbed potatoes are still fine to eat once peeled.A 3 to 4 year rotation reduces recurrence without clearing the bed: Streptomyces scabies persists for years in soil and on many hosts, which is why rotation sits alongside the pH and moisture steps rather than in place of them. There is no in-season rescue and no spray for this one; affected tubers stay edible after peeling, and the loss is skin quality and storage.
No spray for this one. Prevention is the control.
The ladder troubleshoots from the gentlest solution to the strongest. Start with the gentlest option and only move on when and if it doesn't work.
Buy certified seed potatoes rather than planting saved or bargain tubers, since this one often arrives on an infected seed piece. Planting whole small seed potatoes, instead of cut pieces, is another way to skip the cut surface altogether.The bacteria commonly come in on infected or poorly cured seed, so certified stock closes the main introduction route; whole small seed tubers avoid the cut face entirely, which is the wound these organisms enter through.
Choose a bed that drains well and keep it from sitting waterlogged. These bacteria do their worst in wet, poorly drained soil, so ground that sheds water takes away the conditions they like.Wet, poorly drained ground favors both the stem rot and the tuber rot, so drainage is the site decision that carries this problem. On heavy or low-lying ground it is worth correcting before planting rather than after the tops start yellowing.
Pull out plants with a blackened, slimy stem base and get rid of them. There is no cure for a plant that is already infected, so removal is the useful step.Infected plants are not recoverable, so roguing the stunted, yellowed tops with inky stem bases takes a bacterial source out of the bed rather than treating it. Discard the pulled material instead of leaving it in the row.
Dig in dry weather, handle the potatoes gently so they do not get bruised or cut, and cure the crop before it goes into storage. Set aside damaged, soft, or wet tubers to eat first rather than storing them, because one rotting potato spreads to what it touches.The bacteria enter through wounds, so gentle lifting in dry conditions and a proper cure ahead of storage are what keep them out; hold back bruised, cut, or soft tubers to use first. Take the curing and storage figures from this crop's own guidance rather than from another crop's, since those conditions genuinely conflict between crops.
No spray for this one. Prevention is the control.
Move your potatoes to a different spot each year and do not put them (or tomatoes, peppers, and eggplant) back in the same bed for about 3 to 4 years. This keeps diseases and pests from building up. Planting potatoes after beans or peas is great, since those add nitrogen.Rotate potatoes on a 3 to 4 year cycle, keeping them and all other nightshades out of a bed for several seasons. This breaks the buildup of late blight, early blight, scab, Verticillium, and nightshade pests. Following a legume (which adds nitrogen) or a non-host crop is ideal; following a heavily manured crop is not, because residual conditions favor scab.
The plant app sends a timely reminder at every critical moment of your potato season. The wording adjusts to whichever you pick: beginner or seasoned. Here are three you'll see in Zone 9.
plant sends the right notification at exactly the right moment, for your zone, your weather, your crops. Founding members lock the rate forever.
We're building this guide with real growers. Got a question we missed? Ask here. We read every one and add the best answers right to this page.
Learned something the hard way? Pass it on. Real growers' tips make this guide better for the next person, and we credit you by name when yours goes live.
If you've grown this crop and you see a date, a temperature, a companion claim, or a recommendation that doesn't match your experience, tell us. Real growers' corrections make this guide better for the next person.
Every date, temperature, spacing, and recommendation on this page is sourced from university cooperative extension publications, peer-reviewed agricultural research, NOAA climate data, and direct extension calendars. Where claims are softer (traditional gardening wisdom not formally documented), we say so.
Spot a data point that doesn't match your experience? Submit a correction; accepted corrections earn full author credit on the page.
Zone-aware seasonal nudges, what's worth planting now, and the occasional recipe from the harvest. No spam, ever.