The GuideMicrogreens Vol. 012

Microgreens mix

grown indoors, any week of the year

Radish microgreens are baby radish plants that you harvest very young, about a week after planting, when they are just a couple of inches tall. They are one of the easiest and fastest microgreens to grow, which makes them a great first crop: the big seeds sprout strongly without any soaking, need only a day or two in the dark, and are usually ready in about 7 to 12 days. They taste peppery, like a spicy radish, and different kinds have white, pink, or purple stems. You grow them indoors all year with the same steps every time: scatter seeds thickly, cover the tray to keep it dark for a couple of days while they sprout, move it into the light to green up, then snip and eat. There is no outdoor season or weather to worry about, so they grow the same way no matter where you live.Radish microgreens are the young seedlings of the radish (Raphanus sativus), a brassica, harvested at the cotyledon to first-true-leaf stage roughly a week after sowing. They are among the fastest, most vigorous, and most beginner-proof microgreens: the large seed germinates strongly with no presoak, needs only a short dark blackout, and finishes in about 7 to 12 days. The flavor is a distinct peppery, pungent radish bite, and named types range from white-stemmed Daikon through pink China Rose and Red Arrow to deep-purple Rambo and Sango for color. They are grown indoors year-round in the same short cycle every time: a dense even sow on a shallow tray of mix or a fiber mat, a brief blackout to even the stand, then light to green up, then a single cut. Because there is no frost, season, or hardiness zone involved, the tray grows identically on any windowsill.

Radish Microgreens, ready to cut
Fig. 01 · Radish MicrogreensIndoor
Ready in
7-12
days, sow to harvest
Difficulty
Easy
beginner crop
Grows
Indoors
year round, any season
Resow
Weekly
for a steady supply
The cycle, start to finish

Sow, dark, light, harvest, then again

Indoors, every week of the year. Most mixes are ready in 7 to 12 days; start a fresh tray every week for a steady supply.

  1. Step 01 Day 0

    Sow

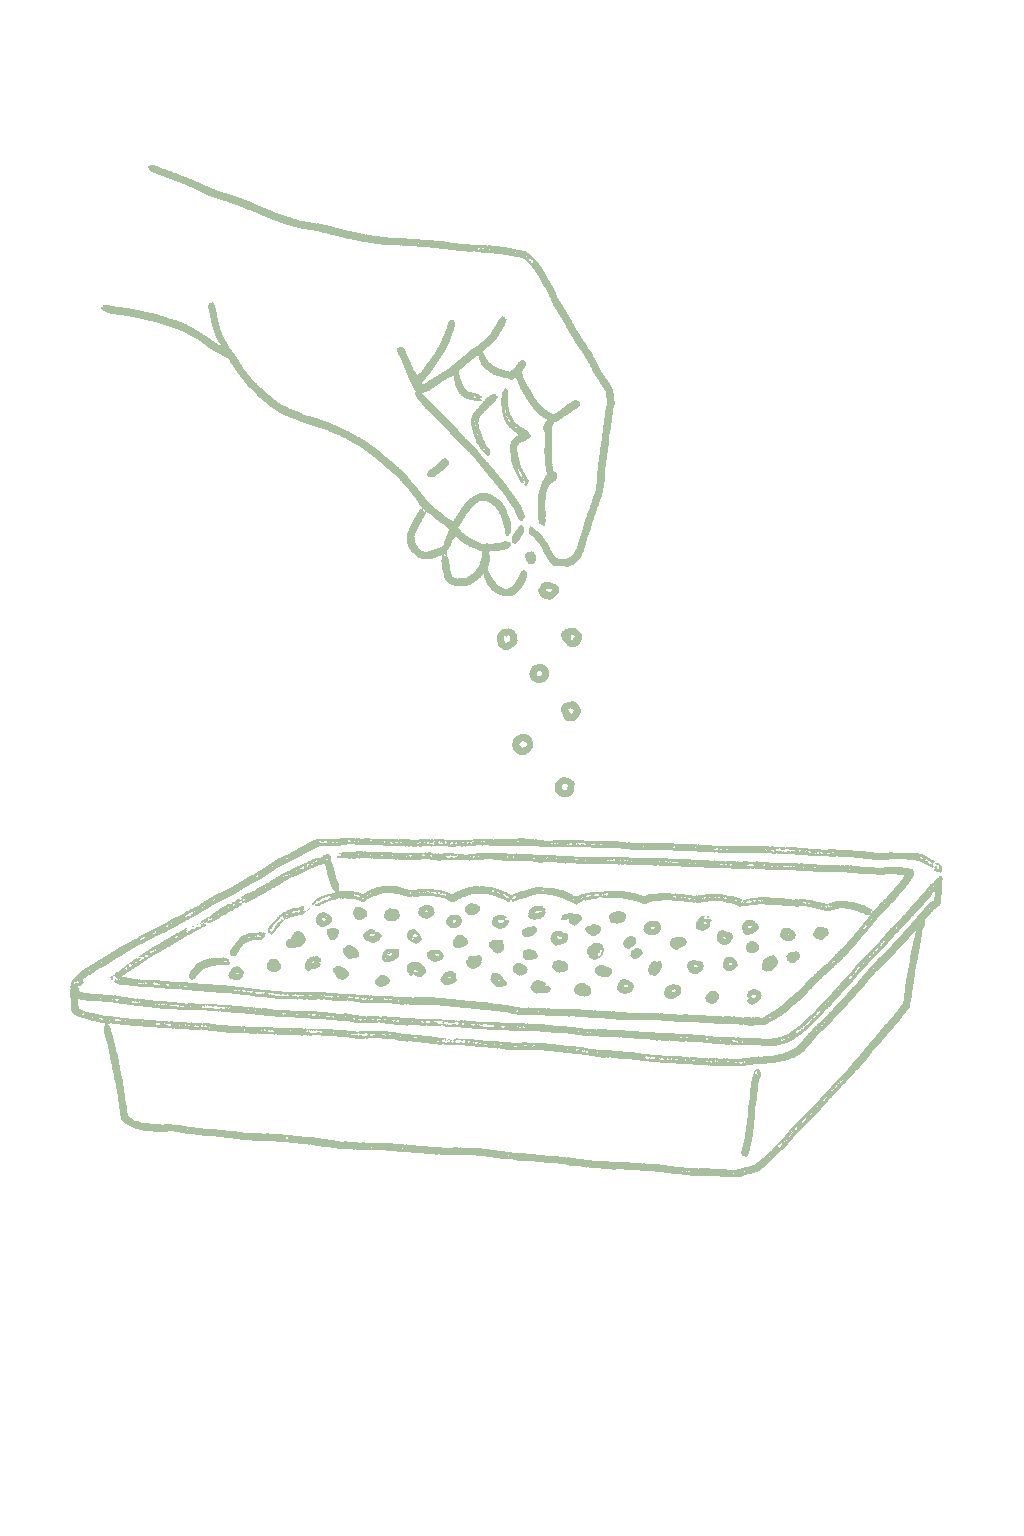
    Big, round seeds spread in a thick, even layer across the whole surface, over evenly damp mix with no pooling water.A dense, even layer of large seed with no gaps on moist medium.

    From plant Dampen the growing medium so it feels like a wrung-out sponge, then scatter radish seeds thickly and evenly. No soaking needed. Press the seeds down so they touch the surface, but do not cover them with medium.Pre-moisten the medium to wrung-sponge feel, then broadcast radish seed densely and evenly, roughly 40 grams per 1020 tray. Radish needs no presoak; sow it dry. Press seed into contact but do not bury it; buried seed greens poorly and traps moisture against the stems.
  2. Step 02 Covered · ~74°F

    Germination

    The big seeds swelling, splitting, and pushing out thick white roots, then sturdy pale stems that lift the cover, usually all at once.Rapid, uniform imbibition; thick radicles and blanched stems lifting the cover.

    From plant Put the cover on and keep the tray warm (around 70 to 75 °F) and dark. Mist lightly so the surface stays damp but not wet. A small weight on the cover helps the roots push down. Radish sprouts fast.Cover the tray and keep it warm (about 70 to 75 °F) and dark. Mist to hold even surface moisture, never soggy. A light weight on the cover keeps the large seed in firm contact so roots drive down rather than lifting the seed. Radish germinates fast and vigorously.
  3. Step 03 1 to 4 days · dark

    Blackout

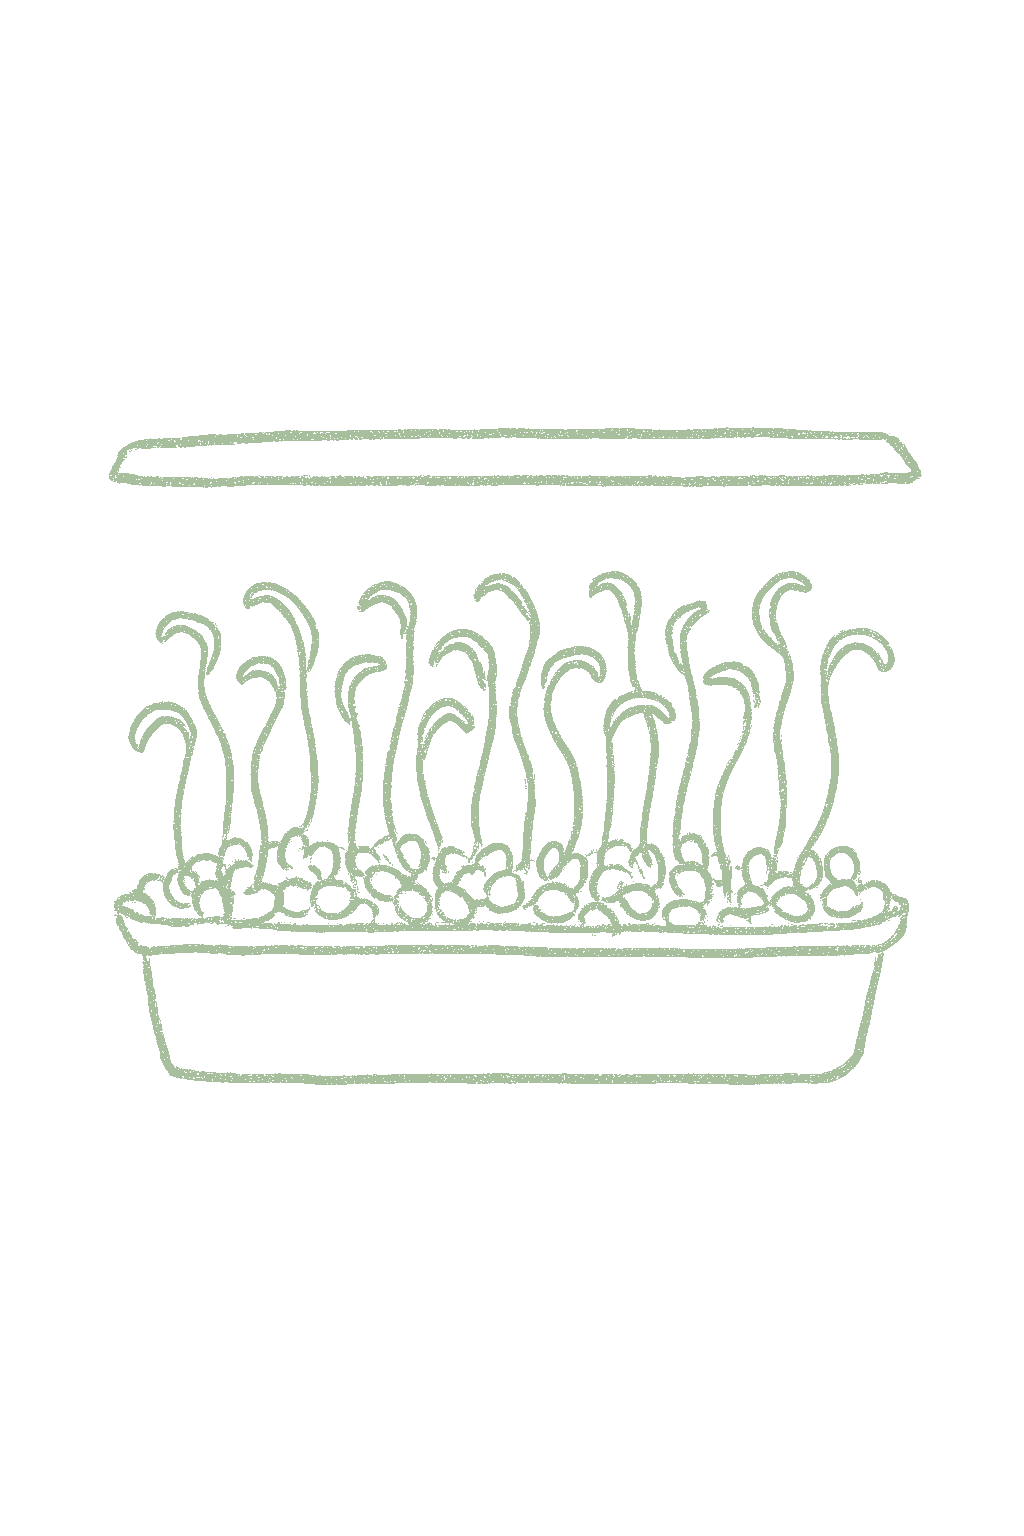
    A thick mat of pale, stretched stems standing tall and lifting the cover. They will be white or pale pink, not green yet.Uniformly elongated, blanched (often pink-tinged) stems lifting the cover.

    From plant Keep the covered tray in the dark for a short time, about 1 to 3 days for radish. The darkness makes the stems grow taller and more even before you give them light. Radish only needs a day or two.Hold the weighted cover in the dark for the short blackout, about 1 to 3 days for radish, then uncover. The brief dark stretch lengthens and evens the stems before greening; radish rarely needs more than a couple of days.
  4. Step 04 18 h light · 68 to 72°F

    Light

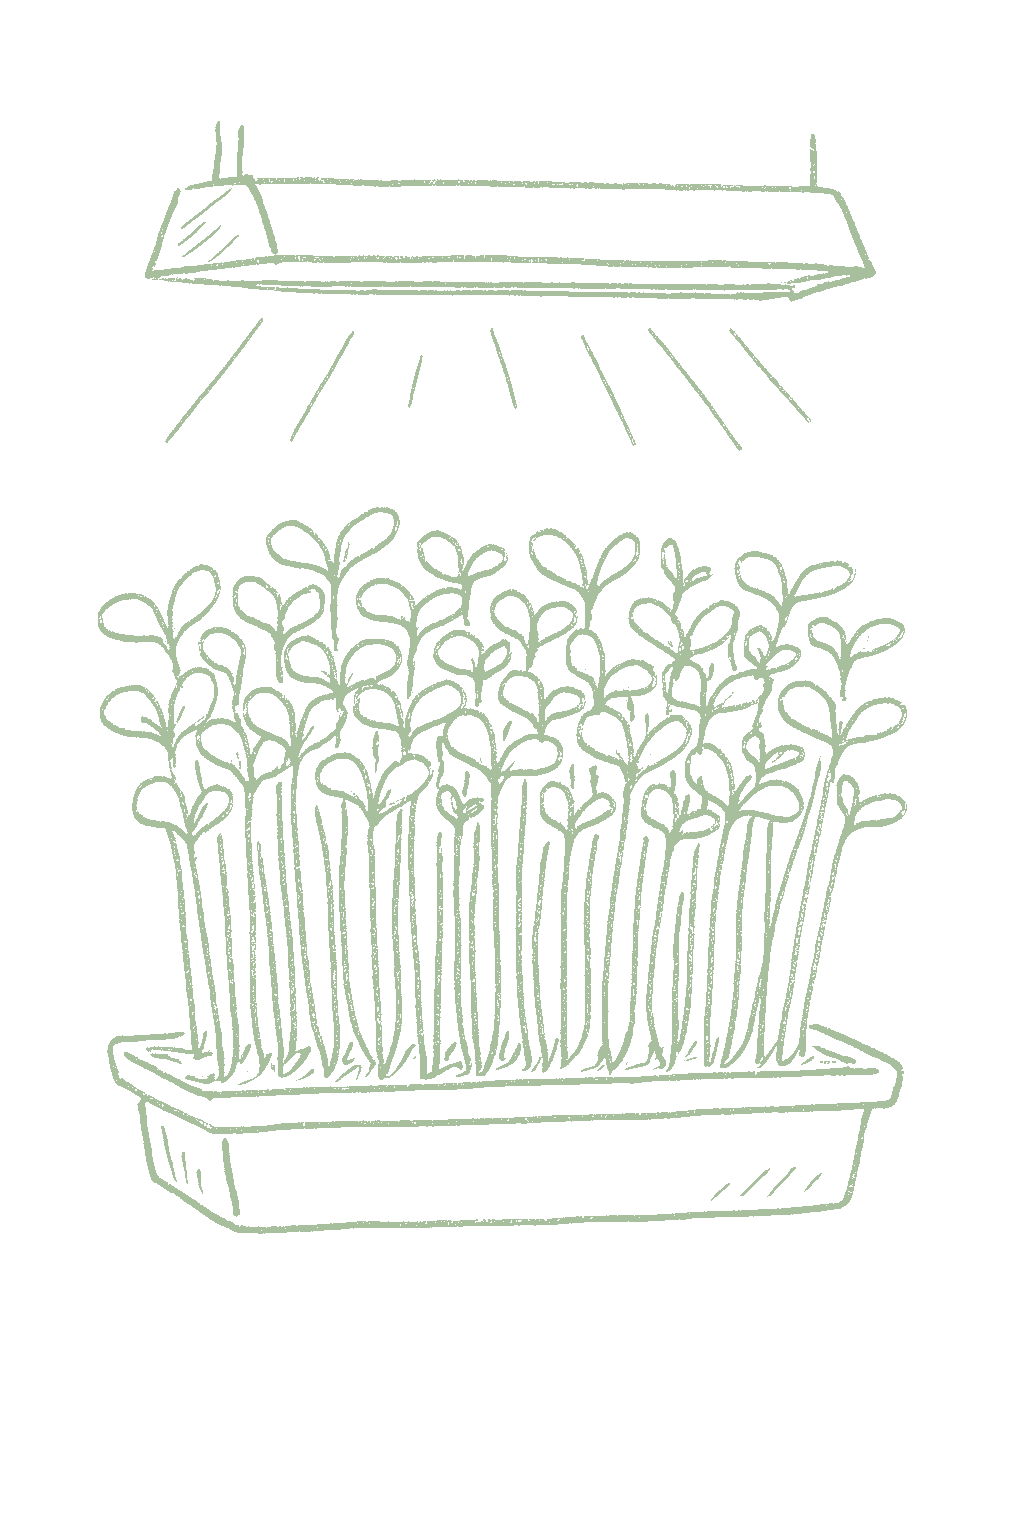
    Seed leaves turning bright green within a day, often over pink or purple stems, and the tray taking on a sharp, spicy smell.Rapid greening of cotyledons over pigmented stems; pungent aroma develops.

    From plant Uncover the tray into bright light for about 18 hours a day at 68 to 72 °F, and start watering from the bottom so the leaves stay dry. Keep a gentle fan going to prevent mold. Cut when the first little leaves are open, usually about a week after planting.Uncover into 18 hours of bright light at about 68 to 72 °F and switch from misting to bottom-watering so foliage stays dry. Run a gentle fan; the dense canopy plus high humidity is the damping-off window. Harvest at cotyledon to first true leaf, often about a week from sowing.
  5. Step 05 Day 7 to 12

    Harvest

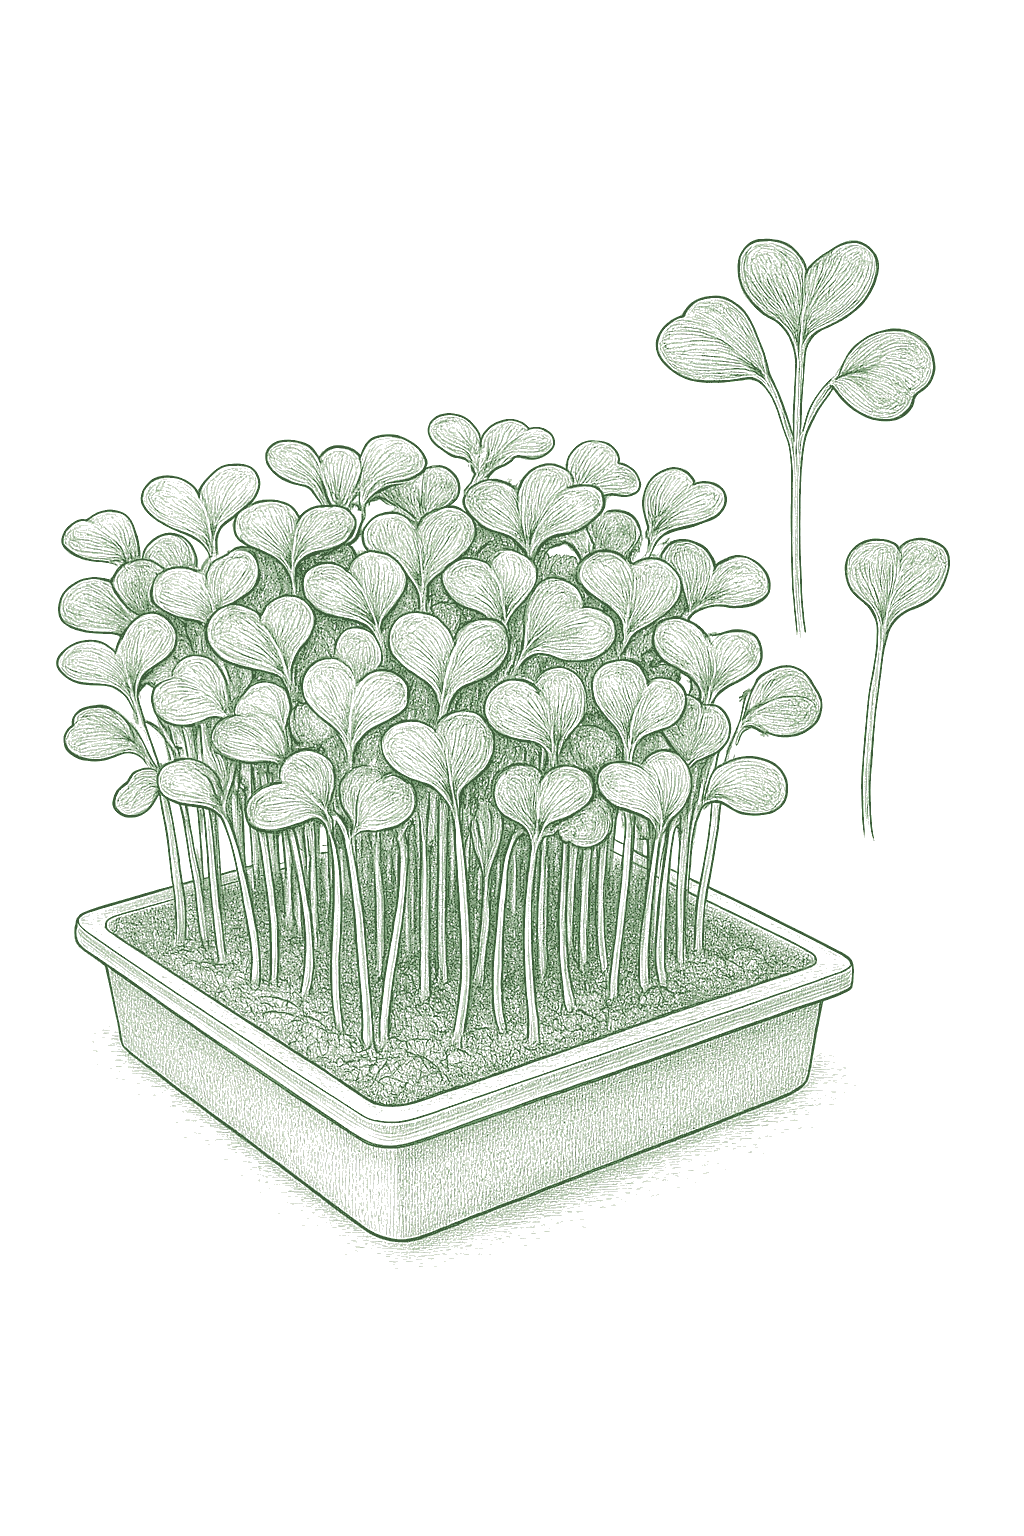
    Open green seed leaves about one to two inches tall, on colorful stems, with a bold peppery bite when you taste one.Cotyledons open at 1-2 in on pigmented stems; sharp, peppery flavor.

Then start again. Sow a fresh tray every week, and there is always a crop a few days out.
The specs

Care guide

The numbers that matter, at a glance.

Sunlight
bright indirect light or a grow light
Water
keep the medium evenly moist; mist during blackout, then bottom-water once greened to keep leaves dry
Days to maturity
7-12 days
Container OK?
Yes
Germination temp
65-75°F
Soil chemistry

Soil pH for radish microgreens

You do not need to worry about soil pH for radish microgreens. The mixes and mats sold for microgreens are already fine as is.pH is not a practical lever for a single short indoor radish cycle on a soilless medium; standard seed-starting mixes and coir sit in a workable range and need no adjustment.

Verified · 1 source View
Steady hand on the hose

Watering

When & how much
Frequency
While the seeds are sprouting, lightly mist the surface once or twice a day so it stays damp. After you move the tray into the light, water from the bottom whenever it starts to dry out.Mist once or twice daily through germination and the brief blackout to hold even surface moisture; once greened, bottom-water as the tray dries.
Amount
Just enough to keep the medium damp like a wrung-out sponge, never soggy. After bottom-watering, tip out any water left sitting in the tray.Enough to keep the medium at wrung-sponge moisture, never saturated; pour off any standing water after bottom-watering.
Method
Mist the top while the seeds are sprouting, then water from the bottom once the leaves are up so the leaves stay dry.Mist during germination and blackout; switch to bottom-watering once the canopy is up so foliage stays dry.
Signs of trouble
Too much water
Water sitting in the tray, a bad smell, fuzzy matted mold, or seedlings flopping over mean it is too wet. Cut back on water and improve airflow.Standing water, a sour smell, fuzzy matted growth on the medium or stems, and collapsed seedlings all signal overwatering and the damping-off that follows it.
Too little water
Limp, curling leaves and medium that has shrunk away from the sides mean it got too dry. Water from the bottom right away.Curling, limp cotyledons and a medium that has pulled away from the tray edges indicate the canopy has dried too far between waterings.
Feeding rhythm

Feeding

Frequency
none
Type
none needed
When to start
not applicable

You do not need to feed radish microgreens. The seed carries enough food to reach harvest, and adding fertilizer just invites algae and odd flavors.Radish microgreens are cut long before they exhaust the seed's own reserves, so no fertilizer is needed for a single cycle on an inert medium or seed-starting mix. Added nutrients mainly raise the risk of algae and off-flavors.

Harvest signals

When to pick

Your radish microgreens are ready when the first little seed-leaves are open and the first true leaf is just showing, usually about a week after sowing (radish is fast). Snip them just above the medium with clean scissors and eat them fresh. They do not grow back, so you start a new tray each time.Cut at the cotyledon to first-true-leaf stage, typically about 7 to 12 days from sowing and often around a week, since radish is one of the fastest microgreens. Snip just above the medium with clean scissors; the stand will not regrow, so the tray is a single cut.

Verified · 1 source View
Yield

What to expect

You measure radish microgreens by the tray, not by each plant. A full tray usually gives you a few good handfuls (about 6 to 12 ounces), and radish is one of the more productive types.Yield is measured per tray, not per plant: a well-sown 1020 tray of radish returns roughly 6 to 12 ounces of cut microgreens, and radish's vigor keeps a heavy sowing productive, though the 6-to-12-ounce figure is a modeled estimate at that density (Penn State's lighter-sown trial recorded about 4 ounces per tray).

Each tray gives one harvest at its best. To keep a steady supply, start new trays every few days.Every tray is a single harvest at peak; continuous supply comes from staggered sowings, not from regrowth. There is no waiting period with radish microgreens. Your very first tray works just like the rest, and radish is one of the easiest to get right on the first try.There is no establishment year; the first tray performs the same as any later tray. Radish is forgiving, so even a first attempt usually succeeds.

What changes yield
seeding density (too sparse wastes the tray; too dense traps moisture and invites mold)even moisture and the mist-to-bottom-water transitionconstant gentle airflowseed freshness (radish germinates strongly when fresh)light intensity and the full 18-hour daily duration
Verified · 1 source View
Pick your variety

Recommended varieties

Radish is one of the easiest and fastest microgreens to grow, which makes it a great first crop. The big seeds sprout strongly without soaking, need only a couple of dark days, and are usually ready in about a week. They taste peppery, like a spicy radish. The named kinds mostly just differ in color: Daikon has white stems and the most bite, China Rose and Red Arrow have pink stems and milder flavor, and Rambo and Sango have striking purple stems. You grow them all the same way. One safety rule for any microgreen: never grow them from tomato, pepper, or eggplant seed, as those baby plants are not safe to eat.Radish is among the fastest, most vigorous, and most beginner-proof microgreens: the large seed germinates strongly with no presoak, needs only a short blackout, and finishes in roughly a week. The signature flavor is the peppery, pungent bite radish is known for, and it is described in extension trials as nutty and spicy. Named types differ mostly in stem color rather than growing method: white-stemmed Daikon runs strongest in spice, pink-stemmed China Rose and Red Arrow are milder and colorful, and purple Rambo or Sango are grown chiefly for their deep color. All are handled identically. Never grow microgreens from solanaceous seed (tomato, pepper, eggplant), whose seedlings carry alkaloids and are not safe to eat raw.

Daikon
White stems, green leaves; peppery with a strong radish bite. Fast and vigorous; no presoak.
China Rose
Bright pink stems; milder, slightly sweet spice. Popular for color; no presoak.
Rambo
Deep purple stems and leaves; mildly spicy. Grown mostly for its color; no presoak.
Sango
Purple-stemmed type similar to Rambo; peppery and colorful. No presoak.
Red Arrow
Bright pink stems, light green leaves; fast and flavorful. No presoak.
Off the vine

Storing your harvest

Room temp
Do not leave cut radish microgreens out on the counter. They go limp fast, so put them in the fridge right after cutting.Do not hold cut radish microgreens at room temperature; they wilt and spoil within hours. Refrigerate immediately after cutting.
Fridge
Keep cut radish microgreens in the fridge in a container with a paper towel to soak up extra moisture. Radish is one of the longer-keeping types and can last close to 2 weeks. Do not wash them before storing, since extra water makes them spoil faster.Refrigerate dry in a vented container lined with a paper towel. Radish is one of the sturdier types and often holds close to 2 weeks, longer than tender greens that keep about 5 to 7 days. Do not wash before storing; surface moisture shortens shelf life.
Freezer
Do not freeze radish microgreens. Freezing turns them mushy. They are meant to be eaten fresh.Not recommended. Freezing collapses the delicate cells and ruins the texture. Radish microgreens are a fresh, cut-and-eat crop.
Verified · 2 sources View
The usual suspects

Pests & diseases

Pests
Fungus gnats
P · 01
What it is Tiny dark flies that show up around constantly damp medium. Their larvae live in the wet mix. They are the main bug you might see, and they usually mean the tray is staying too wet. Radish grows so fast you often cut before they matter.Small dark flies whose larvae live in persistently wet medium and feed on organic matter and tender roots. They are the main indoor microgreen pest and a symptom of an over-wet tray rather than a primary threat; radish's short, vigorous cycle usually finishes before they build up.
Diseases
Damping-off and moldDamping-off (and surface mold)
D · 01
What it is In wet, crowded, stuffy conditions, tiny fungi rot the baby plants at the base, and you often see fuzzy white or gray mold too. Radish is one of the easiest, least problem-prone microgreens, so this usually only happens if the tray is too wet or sown too thickly.Soil-borne fungi (Rhizoctonia, Botrytis, and others) rot seedlings at the base under wet, crowded, still conditions, often alongside fuzzy white or gray surface mold favored by warm, humid air. Radish is one of the least trouble-prone microgreens, so this shows up mainly when a tray is overwatered or sown too thickly.
Verified · 2 sources View
Ask the gardener

Common questions

Got a question we missed?

We're building this guide with real growers. Got a question we missed? Ask here. We read every one and add the best answers right to this page.

Grown this before?

Share a tip

Learned something the hard way? Pass it on. Real growers' tips make this guide better for the next person, and we credit you by name when yours goes live.

Seasoned
Spot something wrong?

Report a problem

If you've grown this crop and you see a date, a temperature, a companion claim, or a recommendation that doesn't match your experience, tell us. Real growers' corrections make this guide better for the next person.

How we built this guide

Methodology & sources

Every date, temperature, spacing, and recommendation on this page is sourced from university cooperative extension publications, peer-reviewed agricultural research, NOAA climate data, and direct extension calendars. Where claims are softer (traditional gardening wisdom not formally documented), we say so.

Research-backed Documented in cooperative extension publications or peer-reviewed research
Well-grounded A known agronomic principle, but not formally tested for this specific pair
Traditional Time-tested gardening wisdom, limited formal research support
Last reviewed
July 2, 2026
Data version
crops_data_final · v1.0 · schema 2.9
Sources cited on this page
16 publications
Verified entries
Companion-planting claims tagged inline · zone dates verified against 5+ extensions
See all sources cited on this page
  • University of Minnesota Extension umn_ext
  • University of Maryland Extension umd_ext
  • Cornell Cooperative Extension cornell_ext
  • Iowa State University Extension iastate_ext
  • Michigan State University Extension msu_ext
  • NC State Extension ncsu_ext
  • Penn State Extension psu_ext
  • U. of Illinois Urbana-Champaign Extension uiuc_ext
  • UC Davis Postharvest Center ucd_postharvest
  • Texas A&M AgriLife Extension tamu_agrilife
  • Virginia Cooperative Extension 426-331 vce_426_331
  • Piedmont Master Gardeners piedmont_mg
  • UGA Vegetable Garden Calendar uga_calendar
  • Clemson Home & Garden Information Center clemson_hgic
  • UC IPM Statewide IPM Program uc_ipm
  • NOAA 1991-2020 Climate Normals noaa_normals

Growing notes, weekly.

Zone-aware seasonal nudges, what's worth planting now, and the occasional recipe from the harvest. No spam, ever.

Vol. 012 · Radish Microgreens · plant.lifestyle