Pick your zone and the dates re-calibrate.
The Guide Berries Vol. 003

Raspberry

in Zone 7, this week

Raspberries are one of the fastest fruits to reward you: plant in spring and you can be picking within a year or two, with a patch that lasts for years. The key thing to understand is the cane. The roots live for years, but each cane lives only two, so how and when you prune depends on whether your type fruits on new canes or year-old canes. They pollinate themselves, handle cold winters, and spread by runners, so a little containment and a stake or trellis go a long way. Raspberries are fast, generous perennial cane fruits: a planting set out this spring can hand you berries within a year or two and keep bearing for a decade. The defining feature is the biennial cane. Roots and crown are permanent, but each cane lives two years, and matching your pruning to whether the type fruits on first-year canes (everbearing) or second-year canes (summer-bearing) is the whole game. They are self-fertile, very cold-hardy, and they sucker freely, so containment and a simple trellis matter as much as feeding.
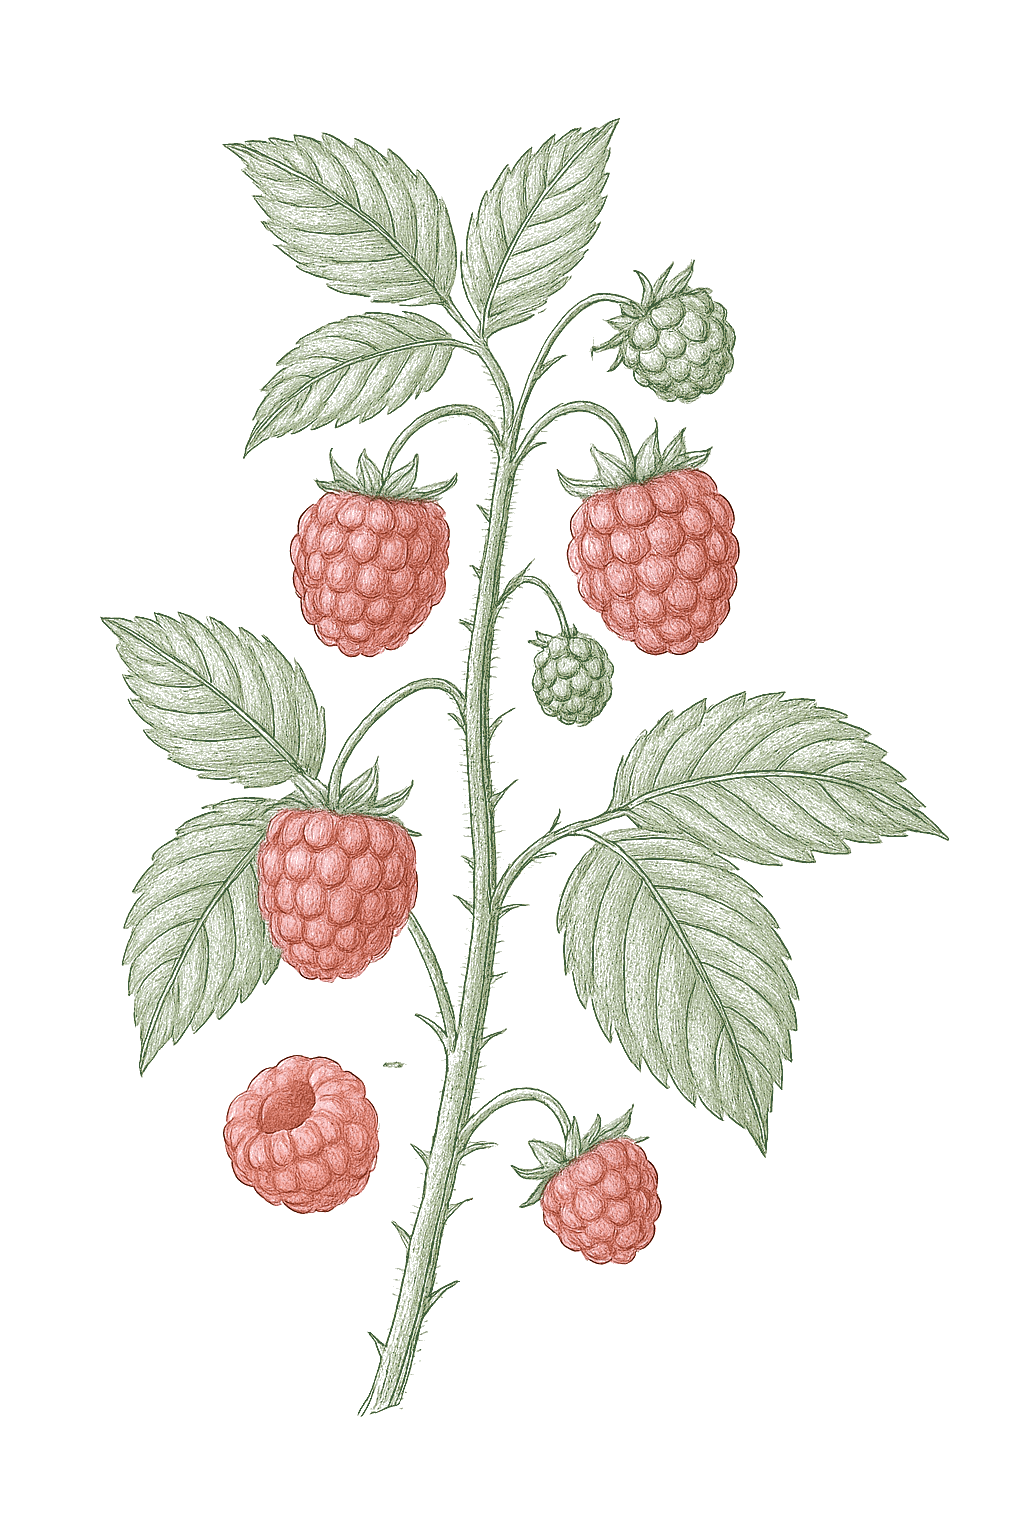
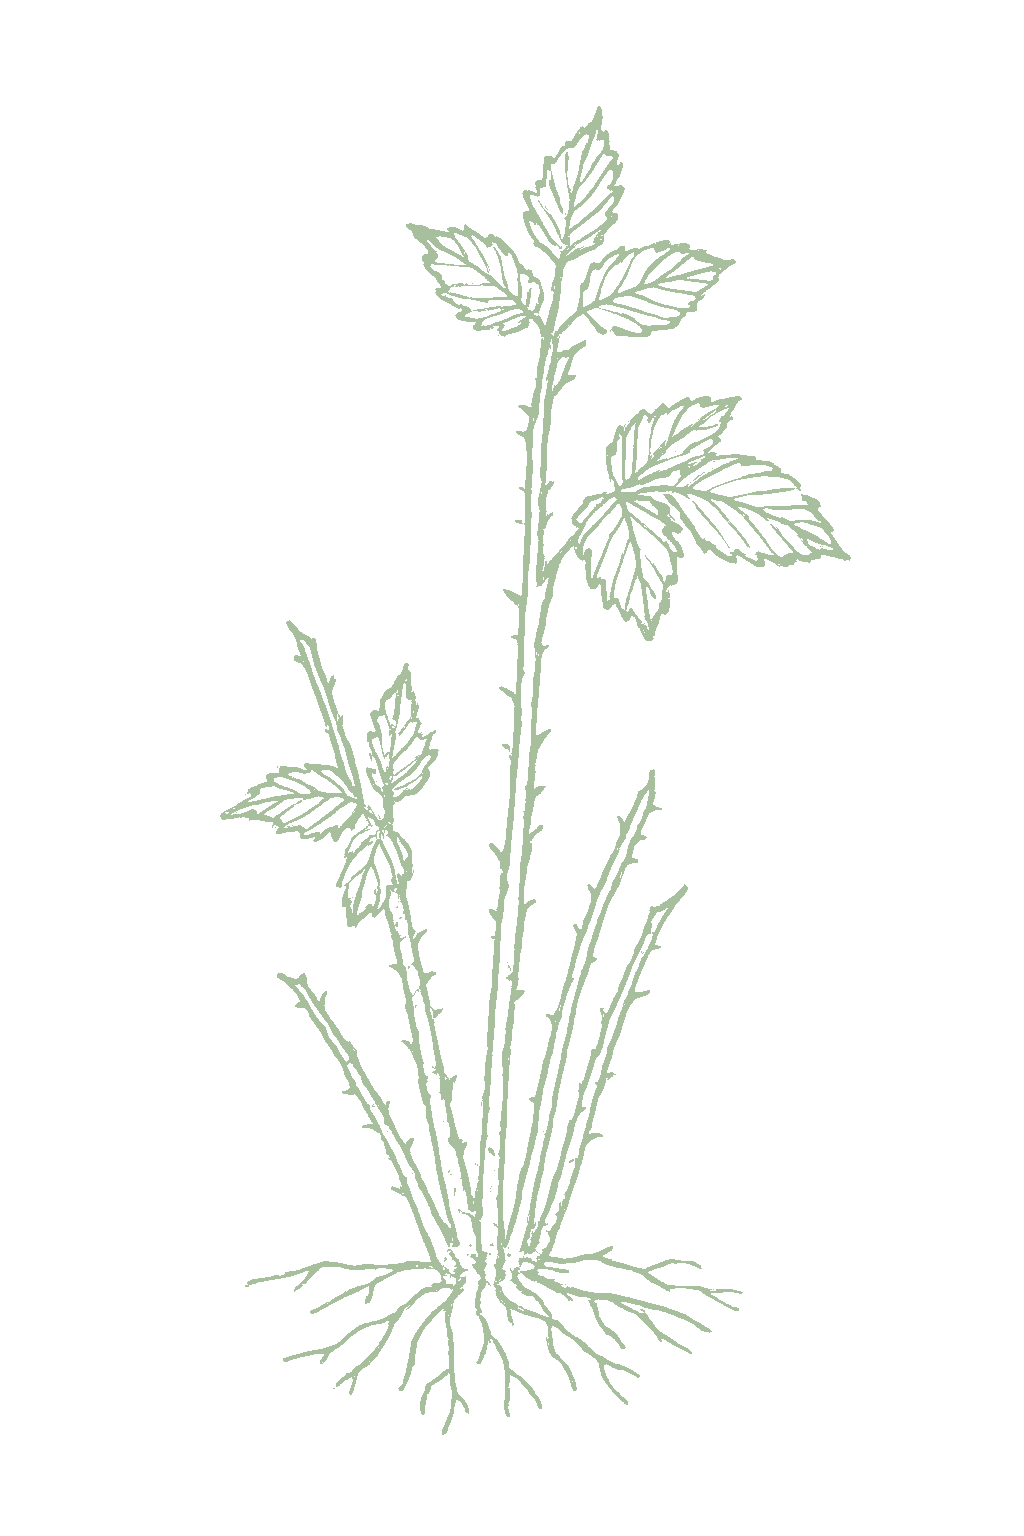
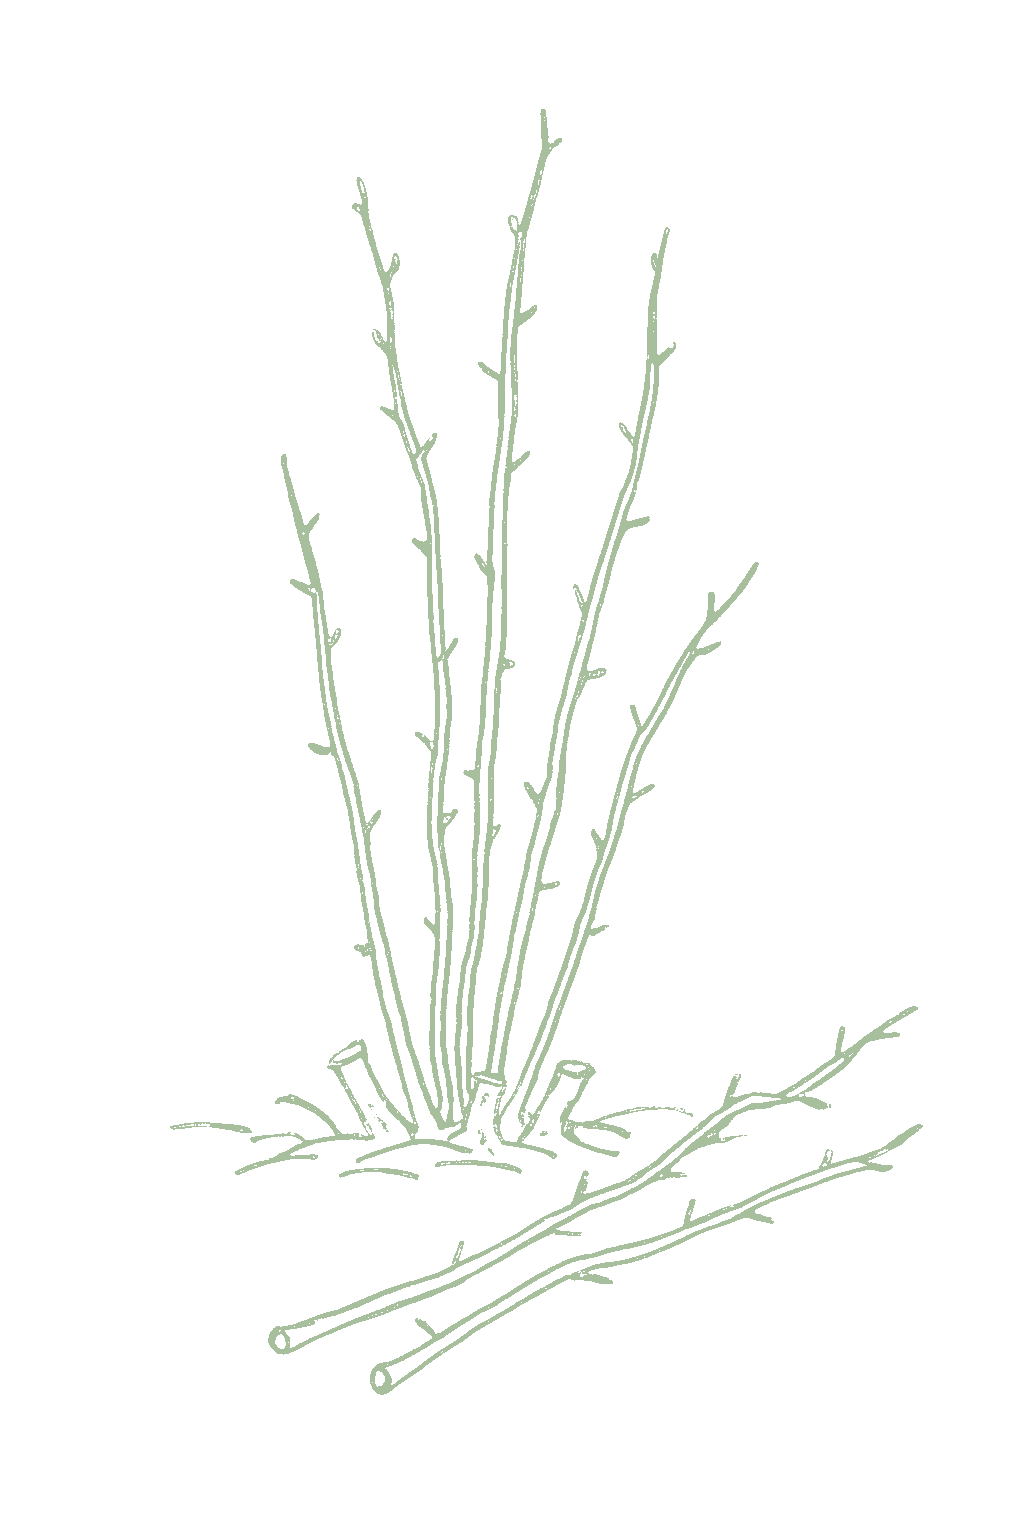
Raspberry mature plant
Fig. 01 · Raspberry, mature Zone 7
Container
15 gal
min 10 gal pot
Sunlight
Full sun
6-8 hrs daily
Water
Moderate
2 inches / week
Spacing
18-24"
between plants
Soil pH
5.6-6.5
slightly acidic
Today · in your zone

What's happening right now

July 24 · Zone 7 · Stage 01 · Planting

Off-season for raspberry in zone 7.

Your climate region in Zone 7
Chill hours

Will your winter chill these blueberries?

Raspberries need a cold winter rest, measured in chill hours (time below about 45°F), before they fruit well. Most red raspberries need a lot of winter cold, which is why they do not grow in warm-winter places. A few special heat-tolerant types need much less. If a type does not get the cold it needs, it barely fruits, so matching the type to your climate matters.Most raspberries need a stretch of winter chill (hours below about 45°F) to break dormancy and fruit normally. Standard red raspberries are high-chill, often needing 800 or more hours, which is why they fail in mild-winter regions; medium-chill types want 400 to 600, and a few heat-bred types such as Dorman Red need only about 300. Too little chill for the type gives weak, erratic budbreak and little fruit, so chill, alongside summer heat tolerance, is the main thing that limits where raspberries grow.

Your winter banks ~700 – 1200 hrs
03136259381250
Summer Bearing Best for your chill
Boyne~800–1000Nova~800Latham~800Killarney~800Tulameen~700–800Jewel~800Bristol~800Royalty~800
Everbearing
Heritage~800Caroline~600Autumn Bliss~600Anne~800Dorman Red~300Bababerry~250
The growing year

Your raspberry year, month by month

Deciduous, drops its leaves in winter Northern Tier, Zone 7

Your raspberry loses its leaves and rests through winter (this rest is called dormancy). The roots live for years, but each cane lives only two: it grows one year, then fruits and dies. You prune in winter, and how you prune depends on the type. Plant once and a patch keeps producing for many years.Raspberry is a deciduous cane fruit everywhere it grows, including here: the canes drop their leaves and rest through winter, banking the chill the plant needs. The perennial crown lives for years while each cane lives only two, growing one year and fruiting the next before dying. You prune in the dormant season, matching the cut to the type. Planted once, a patch fruits for a decade or more.

Once established, your blueberries follow the same yearly rhythm. Choose a cultivar by chill class above, then use this calendar for the season-to-season timing.


Jan
Feb
Mar
Apr
May
Jun
Jul
Aug
Sep
Oct
Nov
Dec
▲ We are here
Bed’s year
rest
prune
bloom
growing
harvest
care
rest
Plant crowns
plant
plant
Winter restBloomGrowingHarvestPruneCare
Plant crowns
March to April
Bloom
April to May
Harvest
late June to July
Protect the blossoms Summer-bearing raspberries bloom in late spring, usually after the last hard frost, but in the coldest zones a late freeze can occasionally nip open bloom. A site with good air drainage helps, and the hardiest cultivars carry buds through tough winters.
From seed to fruit

The growing journey

Stage 01 · Planting
01
Planting
Your new raspberry canes going into the ground in early spring, in loose, well-drained soil with a trellis or stake ready.Dormant bare-root canes or a potted nursery plant going into a prepared, well-drained row with support in place. In most regions this is late winter to early spring, while the plant is dormant.
Plant the canes 1 to 2 inches deep along your row, cut the old cane back to a few inches, water well, and mulch. Set up a stake or trellis. Buy certified virus-free plants.Set the crown so the roots are 1 to 2 inches deep, space plants along the row, cut the old handle cane back to a few inches, water in, and mulch. Put the trellis or support up now. Use certified virus-free stock on ground with no recent nightshade, strawberry, or bramble history.
FROM PLANT · Buy certified virus-free plants and pick a spot that has not grown raspberries, blackberries, tomatoes, or potatoes recently. A clean start matters more than anything.Start with certified virus-free canes on ground that has not grown raspberries, blackberries, or nightshades recently. A clean start is the single biggest factor in how long the planting lives.
FROM PLANT · Plant on a slightly raised row with good drainage, and put up a stake or trellis right away. Raspberries hate soggy soil and fall over without support.Plant on a slightly raised row in well-drained soil and set up the trellis before or right after planting; raspberries rot in wet ground and flop without support.
02
Establishment (year 1)
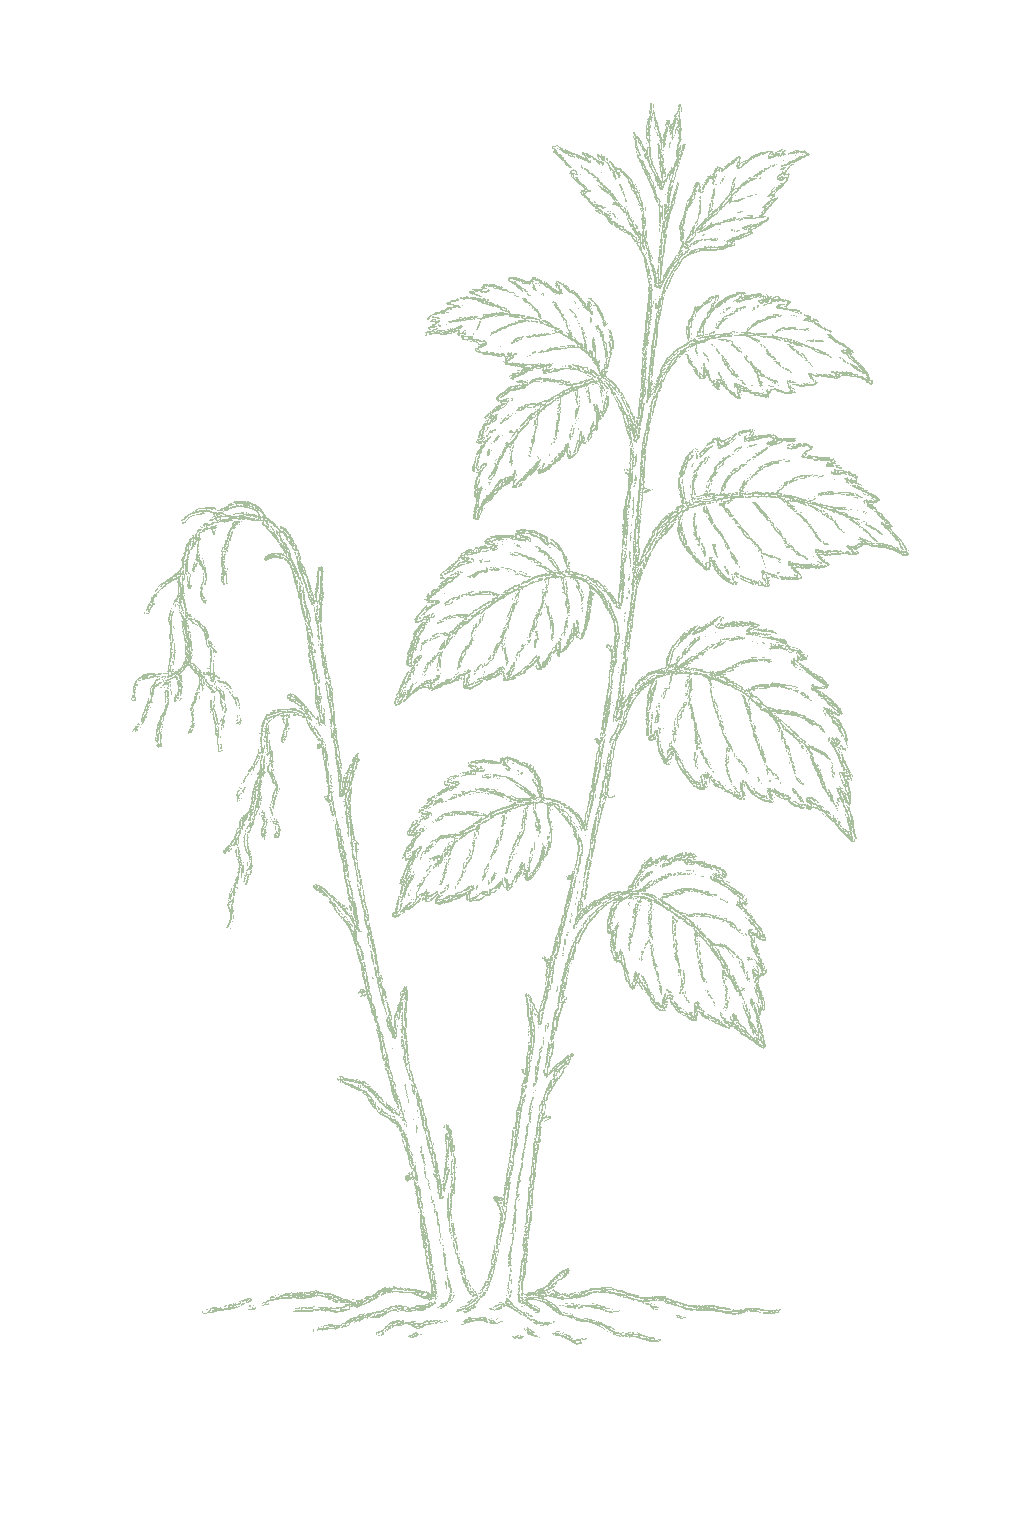
In the first year the new canes grow tall but a summer type makes no real crop yet. A fall-bearing type may give you a few berries this fall.First-year canes (primocanes) growing up from the crown and from spreading root suckers. A summer-bearing planting makes little or no fruit this year; a fall-bearing one can ripen a small crop on the new canes this very fall.
Let the new canes grow and tie them to the support. Pull up any suckers that pop up outside the row to keep it from spreading. Water and mulch. A fall-bearing type may fruit this fall.Let primocanes grow and train them to the support. Keep the row narrow, no wider than about 12 to 18 inches, by removing suckers that wander out of bounds. Water steadily, mulch, and feed lightly in spring. On a fall-bearing type, you can enjoy the first fall crop.
FROM PLANT · Do not expect much fruit the first year from a summer type. A fall-bearing type may give you a few berries this fall. Let the new canes grow strong.Expect little fruit the first year from a summer-bearing planting; a fall-bearing one can give a small crop this fall. Either way, let the new canes build the framework.
FROM PLANT · Start pulling stray shoots right away. Raspberries spread underground and will take over the garden if you let the row get wide.Begin containing suckers immediately. Red and yellow raspberries spread by underground runners, so keep the row no wider than 12 to 18 inches from day one or the patch takes over.
03
Spring growth and budbreak
In spring the overwintered canes leaf out and grow side shoots that will fruit, while brand-new canes push up from the ground.Each spring, overwintered floricanes leaf out and push fruiting laterals, while new primocanes emerge from the crown and from root suckers. Growth is fast now. This is the spring feeding window.
Feed in early spring as growth starts. Tie the fruiting canes to the support, pull out crowded or weak new shoots, and keep the soil damp.Apply the spring feeding as growth begins. Train floricanes to the trellis, thin crowded or weak new primocanes, and keep the row narrow. Keep soil evenly moist as growth accelerates.
FROM PLANT · Feed in early spring when growth starts, and stop by midsummer. Early feeding helps the canes; late feeding makes weak, sickly growth.Feed a balanced fertilizer in early spring as growth begins, banded along the row, and stop by midsummer. Early nitrogen drives the canes; late nitrogen makes soft, disease-prone wood.
04
Bloom
Small white flowers open on the canes, in late spring for summer types and later in summer for fall types. Bees visit them, but raspberries can pollinate themselves.Small white five-petaled flowers open on the fruiting laterals: in late spring on the floricanes of summer-bearing types, in mid to late summer on the primocane tips of fall-bearing types. Raspberries are self-fertile, but bees boost fruit set.
Let the bees do their work. You do not need a second variety. If a frosty night is coming while the early flowers are open, cover the plants that evening.Let pollinators work the flowers; no second variety is needed since raspberries are self-fertile. If a late frost threatens open bloom on an early type, cover the planting overnight.
FROM PLANT · Raspberries pollinate themselves, so you do not need two varieties. Just let the bees visit and avoid spraying while the flowers are open.You do not need a second variety: raspberries are self-fertile and pollinate themselves with help from bees. Avoid spraying anything that harms pollinators during bloom.
05
Fruit set and sizing
The flowers turn into tiny green berries that grow and color up over the next few weeks. Net for birds and start watching for fruit flies.Pollinated flowers set small green druplets that swell into the familiar aggregate berry over a few weeks. This is the most water-sensitive window. Net for birds and begin scouting for spotted-wing drosophila as fruit nears color.
Keep the soil evenly damp while the berries grow, or they will be small and crumbly. Net the plants before the berries turn color and set out a vinegar trap to watch for fruit flies.Keep moisture steady and consistent while berries size; drought now means small, seedy, crumbly fruit. Put up bird netting before berries color, and start spotted-wing drosophila monitoring with vinegar traps.
FROM PLANT · Cover the plants with bird netting before the berries color, and set out a vinegar trap to watch for fruit flies. Picking often is the best defense.Net before berries color and start SWD monitoring now. Spotted-wing drosophila is the major modern raspberry pest, and an open, well-pruned canopy plus a tight harvest schedule is the best defense.
FROM PLANT · Keep the soil evenly damp while the berries grow, or they will be small and crumbly.Keep moisture steady while berries size. Drought during fruit development is the usual cause of small, seedy, crumbly raspberries.
06
Ripening and harvest
Ripe berries pull off easily, leaving a hollow center. They ripen a few at a time over a couple of weeks, so you pick every two or three days. Picking often also fights the fruit-fly maggots.Berries color fully and slip free of the white central core (receptacle), leaving the hollow, thimble-shaped fruit. They ripen a few at a time over a window of two to several weeks, picked over every two to three days. Frequent, complete picking is the front line against spotted-wing drosophila.
Pick berries that come off easily into a shallow container, every two or three days, in the morning. Throw away any overripe ones (sealed in a bag). Refrigerate right away. Keep the netting on.Pick berries that detach with a gentle tug, every two to three days, in the cool morning after dew dries. Remove and destroy overripe and culled fruit. Refrigerate promptly; raspberries are extremely perishable. Keep netting on through the season.
FROM PLANT · A ripe raspberry pulls off easily and leaves a hollow center. Pick every couple of days into a shallow container and refrigerate right away.Pick berries that slip off the core into your hand, leaving the hollow center; a berry that resists is not ripe. Harvest every two to three days into a shallow container and refrigerate fast.
FROM PLANT · Pick all the ripe and overripe berries every day or two. Clearing the plants completely is the best way to keep fruit-fly maggots down.Harvest completely and often: removing every ripe and overripe berry on a 1-to-3-day cycle is the front-line control for spotted-wing drosophila, far more so than any spray in a home garden.
07
Post-harvest and spent-cane removal
The canes that just fruited die after harvest, while this year's new canes keep growing for next year. Fall-bearing types get cut to the ground later in winter.Floricanes that fruited now die; their leaves brown and the canes turn brittle. Meanwhile this year's primocanes keep growing to carry next year's crop. On a fall-bearing planting managed for one crop, the canes will be mowed off later in dormancy.
On summer types, cut out the canes that just fruited (they are dying) right after harvest, leaving the fresh new canes. Keep watering, and stop feeding by late summer.On summer-bearing types, cut the spent fruited floricanes to the ground right after harvest and remove them to reduce disease, leaving the new primocanes. Keep watering and managing suckers; stop feeding by late summer so canes harden before winter.
FROM PLANT · On summer types, cut out the canes that just fruited right after harvest. They are dying, and removing them helps the new canes stay healthy.On summer-bearing types, cut the spent fruited floricanes to the ground right after harvest. They are dying anyway, and removing them opens the row and cuts disease for the new canes.
08
Winter dormancy and chilling
In winter the canes lose their leaves and rest, soaking up the cold they need to fruit well next year. Raspberries handle hard winters, but late or early freezes can nip the buds.Canes drop their leaves and go fully dormant, banking the winter chill the plant needs to break bud and fruit normally. Raspberries are very cold-hardy, but open floral buds and tender primocane tips can be injured by hard late or early freezes.
Not much to do in winter. Keep mulch on, do not let the roots sit in soggy soil, and protect potted plants from deep freezes.Little is needed: avoid waterlogging dormant roots and keep mulch in place. In the coldest regions, a layer of mulch or snow cover protects the canes; container plants need root protection while still getting their chill.
FROM PLANT · Let the canes rest and lose their leaves over winter so they get the cold they need. Keep mulch on and do not let the roots stay soggy.Let canes go fully dormant over winter to bank their chill; most raspberries need a real cold rest to fruit well. Keep mulch in place and do not waterlog the dormant roots.
09
Dormant-season pruning and training
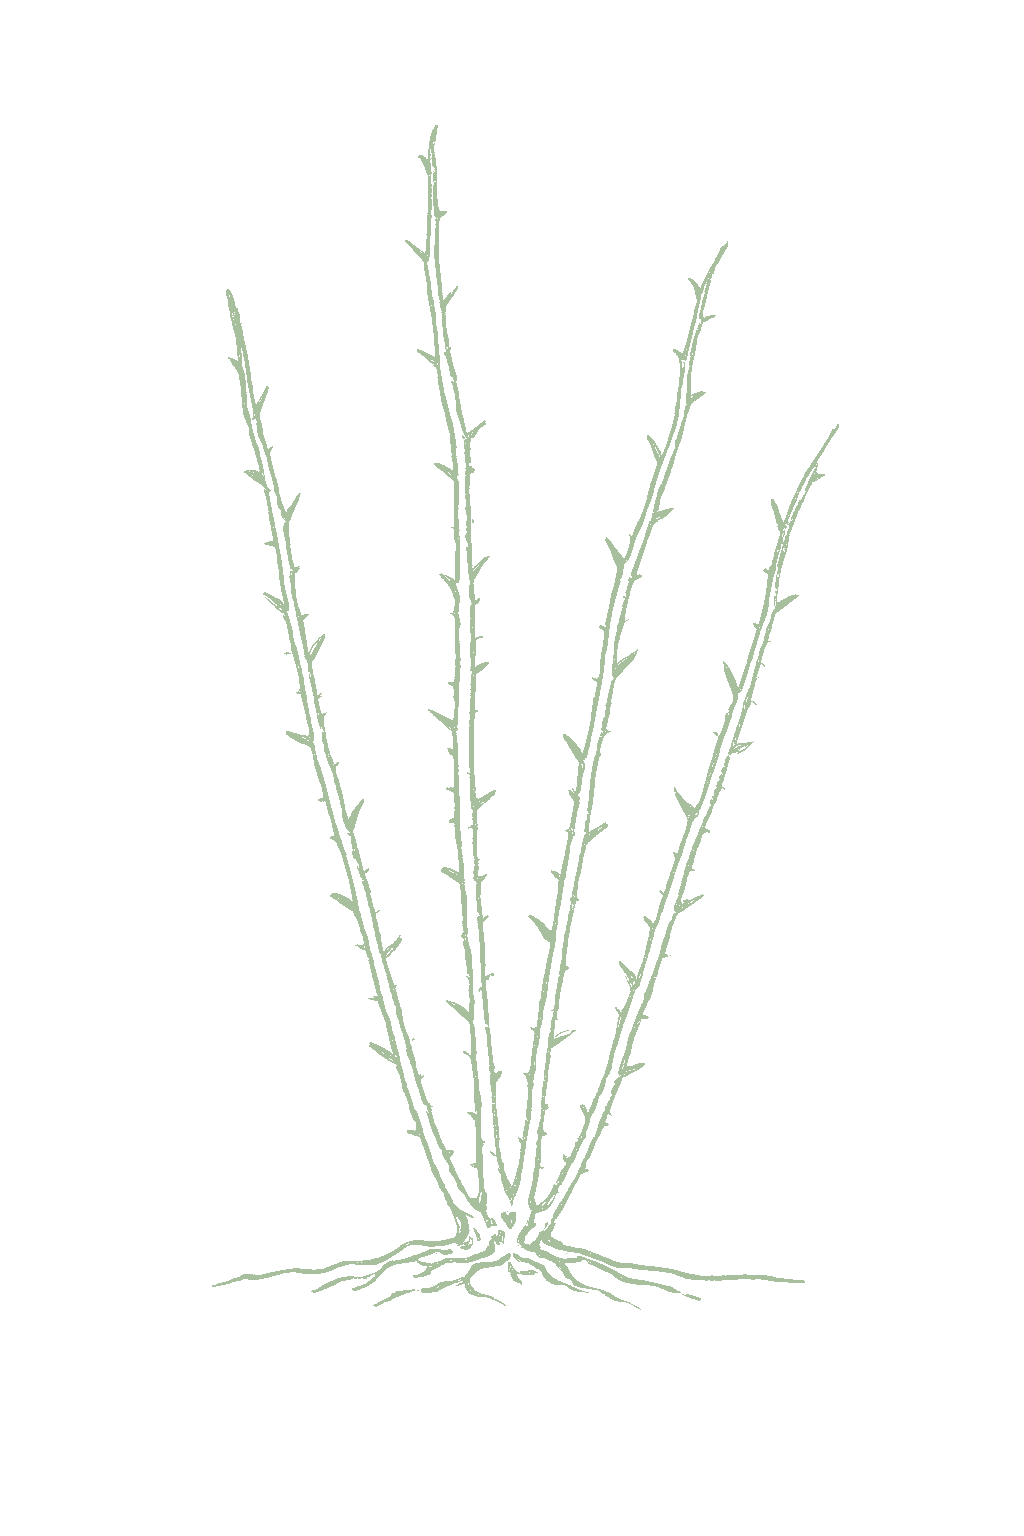
In late winter you do the key pruning. For summer types, thin the canes to a few strong ones per foot. For fall types, just mow every cane to the ground. Then tie the kept canes to the support.Late in the dormant season, the annual pruning that defines a raspberry's productivity: on summer-bearing types remove any remaining spent floricanes and thin the surviving canes to 4 to 6 per foot of row; on fall-bearing types managed for a single crop, mow every cane to the ground. Then narrow the row and tie the kept canes to the trellis.
In late winter, for summer types cut out dead and old canes and leave 4 to 6 strong ones per foot, then tie them up. For fall types, just cut every cane to the ground. Keep the row about a foot wide.Prune in late winter before growth starts. Summer-bearing: remove dead and spent canes, thin to 4 to 6 sturdy canes per foot of row, narrow the row to about a foot wide, and top the canes. Fall-bearing for a single fall crop: cut all canes to the ground. Tie the remaining canes to the trellis.
FROM PLANT · Prune by type in late winter. For summer types, keep 4 to 6 strong canes per foot. For fall types, cut every cane to the ground. Getting this backwards is the most common raspberry mistake.Match the pruning to the type: thin summer-bearing canes to 4 to 6 per foot and remove spent ones; mow fall-bearing canes to the ground for a single fall crop. Cutting the wrong type wrong is the most common raspberry mistake.
FROM PLANT · Keep the row about a foot wide and tie the canes to the support as you prune. An open, airy row gives bigger berries and fewer pests and diseases.Narrow the row to about a foot wide as you prune and tie the kept canes to the trellis. An open, well-supported row gets light and air, which means bigger fruit and less disease and SWD.
Beginner
Know your soil

Your soil

Identify yours

Not sure what soil you have? Grab a small handful of damp soil from your garden bed and squeeze it. If it crumbles apart easily, it's sandy. If it holds together but breaks when you poke it, it's loam (what most vegetables want). If it stays in a hard, slippery ball, it's clay.

What this crop wants

Raspberries want loose, well-drained soil rich in organic matter, anywhere from slightly acidic to neutral. Their shallow roots rot in soggy ground, so drainage is everything. Mixing in compost and planting on a slightly raised row before planting helps a lot.

If your soil doesn't match

You have sandy soil

Mix 2-3 inches of compost into the top 6 inches of your bed before planting. Compost holds moisture (which sandy soil drains too fast) and adds the nutrients sandy soil tends to lack. Repeat each season. Compost breaks down over time.

You have clay soil

Mix 2-3 inches of compost AND a few inches of coarse sand or perlite into the top 6 inches of your bed. The compost feeds the plants; the sand breaks up the clay so air and water can move through. Don't add sand without compost. It can compact like concrete.

Containers and raised beds

If amending your soil sounds like too much work, or if your soil is heavy clay, full of rocks, or contaminated, build over it. A raised bed at least 12 inches deep filled with a 50/50 mix of compost and sandy loam gives you ideal growing soil with no battles. A 5-gallon container with quality potting mix does the same for one plant at a time. Both bypass your native soil entirely.

Learn more about your soil
The specs

Care guide

The numbers that matter, at a glance.

Sunlight
Full sun · 6-8 hrs/day
Water
moderate
Spacing
18-24 inches
Soil pH
5.6 to 6.5
Container OK?
Yes · 10+ gal pot
Soil chemistry

Soil pH for raspberry

Preferred
5.6 to 6.5
Tolerated
5.5 to 7

Raspberries like soil that is slightly acidic to neutral, about pH 5.6 to 6.5, which is what most gardens already have. Unlike blueberries, they need no special acidic soil. If your soil is very alkaline and the leaves yellow between the veins, work in compost and use a chelated-iron product.Raspberries prefer a slightly acidic to neutral soil, roughly pH 5.6 to 6.5, and tolerate 5.5 to 7.0. This is far less demanding than a blueberry and close to what most vegetable gardens already have, so no special acidification is needed. In very alkaline soils above about 7.5 the plants can develop iron chlorosis (yellowing between the veins), corrected with chelated iron and added organic matter rather than by drastic pH change.

Verified · 2 sources View
Steady hand on the hose

Watering

When & how much
Frequency
Water regularly so the soil stays evenly moist but never soggy, roughly 1 to 2 inches a week, and more during hot, dry spells.Keep the soil consistently moist, about 1 to 2 inches of water per week, more in heat. The most water-sensitive window runs from bloom through harvest, when the developing berries need steady moisture.
Amount
About 1 to 2 inches a week, including rain, and more often in the heat.1 to 2 inches per week, adjusted for rainfall, heat, and soil drainage; twice-weekly watering may be needed in summer heat.
Method
A soaker hose or drip line at the base works best and keeps the leaves and berries dry. A mulch layer along the row holds moisture between waterings.Drip or soaker irrigation keeps the shallow root zone evenly moist without wetting the canes and fruit, which reduces fruit rot and cane disease. Mulch along the row to hold moisture and keep roots cool.
Signs of trouble
Too much water
If the leaves yellow and wilt while the soil stays wet and heavy, the roots may be drowning. Raspberries hate soggy soil.Yellowing, wilting despite wet soil, and collapsing canes point to overwatering or poor drainage; raspberries will not tolerate saturated soil and quickly develop root rot.
Too little water
Small, dry, crumbly berries and crispy leaf edges mean the plant is too dry, especially while the fruit is forming.Drought stress shows as small, seedy, crumbly berries and scorched leaf margins; berry size and number suffer most during the bloom-to-harvest window.
Feeding rhythm

Feeding

Frequency
Once or twice per year
Type
Balanced, nitrogen-forward in spring
When to start
early spring as growth begins, with an optional second feeding after fruit set

Feed raspberries lightly in early spring when growth starts, using a balanced fertilizer or some composted manure spread along the row. That spring feeding fuels the new canes. Avoid feeding late in the season, which makes weak, floppy canes that get diseased.Raspberries are moderate feeders. Apply a balanced fertilizer or well-rotted manure in early spring as new growth begins, banded along the row rather than against the crowns. Nitrogen drives the primocane growth that carries next year's (or this fall's) crop, but too much late in the season produces soft, disease-prone canes, so feed early and stop by midsummer. A soil test guides the rate.

N · P · K = 10-10-10

Use a balanced fertilizer such as 10-10-10, or composted manure.A balanced complete fertilizer with enough nitrogen to drive primocane growth; roughly a 10-10-10 or composted manure.

Try a balanced 10-10-10, or composted manure worked in along the row
Who grows well together

Companion planting

Raspberries do not need companion plants to do well. The important rules are what to avoid: do not plant them where tomatoes, potatoes, peppers, eggplant, or strawberries grew recently (they share a soil disease called Verticillium wilt), and pull out any wild brambles nearby, which spread viruses. If you want neighbors, garlic along the edge and clover between rows are easy, low-risk choices. Raspberry is not a heavy-companion crop; the siting rules that matter most are about what to keep it away from. Do not plant it where tomatoes, potatoes, peppers, eggplant, or strawberries have grown in the last few years, because all share Verticillium wilt, and clear out nearby wild brambles that carry viruses and spotted-wing drosophila. Good neighbors are modest: traditional allium edges and a mowed legume cover in the row middles for soil and weeds. The bigger gains come from spacing, drainage, and a clean start, not from companions.

Other
Garlic and onions
Alliums like garlic and onions are a traditional raspberry neighbor, thought to help mask the planting from some pests, and they take up little room along the row.Garlic and onions are a traditional companion along a raspberry row, valued by many growers for pungent foliage thought to confuse or deter some browsing and sucking pests. The benefit is folk practice rather than a measured yield gain, but alliums are shallow, undemanding, and easy to tuck along the planting edge without competing with the brambles, so there is little downside to trying them. Traditional
Soil
Clover or low legume cover
A low living mulch of clover in the row middles fixes a little nitrogen, holds soil, and suppresses the weeds that otherwise compete with shallow raspberry roots. Keep it mowed and out of the crop row so it does not invade the crowns. Well-grounded
anytime
Keep apart from
Tomatoes, potatoes, peppers, eggplant, and strawberries Keep raspberries away from current or recent plantings of tomato, potato, pepper, eggplant, and strawberry. All host Verticillium wilt, a soil fungus that also kills raspberries; planting brambles on ground that grew nightshades or strawberries within the last few years carries the disease into the new planting. Research-backed
Wild brambles and old raspberry or blackberry plantings Remove nearby wild raspberries, blackberries, and abandoned brambles before planting. They harbor the aphid-spread mosaic viruses, crown gall, and spotted-wing drosophila that move straight into a new planting; wild Rubus is the single biggest reservoir for the diseases that shorten a raspberry patch's life. Research-backed
Provenance tagged inline · see methodology for the labeling system Key
Harvest signals

When to pick

A raspberry is ready when it is fully colored and pulls off easily into your hand, leaving a hollow center. If it does not slip off, it is not ripe, and it will not get sweeter after picking. Pick every two or three days in the cool morning, be gentle, and refrigerate right away.A ripe raspberry takes on full color and slips free of its white core with a light tug, leaving the hollow, thimble-shaped fruit; one that resists is not ready and will not sweeten off the plant. Pick over the planting every two to three days in the cool morning after dew dries, handling the soft fruit as little as possible, and refrigerate at once.

Yield

What to expect

Each raspberry plant gives about 1 to 2 quarts (roughly 1 to 2 pounds) a season once established, and a full row makes about a pound for every foot of row. A few plants quickly add up to plenty of berries.A mature raspberry plant yields roughly 1 to 2 quarts (about 1 to 2 pounds) of fruit per season, and a well-managed row produces on the order of 1 pound per linear foot. Fall-bearing types give a single concentrated fall crop; summer-bearing types give one heavy early-summer crop. Yields build as the planting fills in.

Raspberries produce fast. A fall-bearing type can give berries the first fall; a summer type fruits the second year. Both hit full swing around years 3 to 4 and keep producing for 10 to 15 years if you prune and care for them.Raspberries crop quickly compared with tree fruit. A fall-bearing planting can fruit its first fall; a summer-bearing one fruits in its second year. Both reach full production around years 3 to 4, then stay productive for about 10 to 15 years for reds and yellows, less for blacks, with steady pruning and renewal. Whether you get fruit the first year depends on the type. Summer-bearing raspberries make no fruit the first year and start the next summer. Fall-bearing raspberries planted in spring can give you a small crop that same fall, so they are the quickest to your first berries.What you get the first year depends on type. A summer-bearing (floricane) planting makes essentially no fruit the first year, since it fruits on second-year canes; expect the first real crop the following summer. A fall-bearing (primocane) planting set out in spring can ripen a modest crop on its new canes that very fall, which is why fall-bearing types are the fast route to a first harvest.

What changes yield
Cane type: fall-bearing gives a fast first crop; summer-bearing gives a heavier single early-summer crop on second-year canes.Pruning by type: thinning summer-bearing canes and mowing fall-bearing canes at the right time is the biggest lever on yield.Spacing and row width: keeping the row narrow and open for light and air sustains fruit size and cuts disease and SWD losses.Drainage and water: shallow roots need steady moisture but rot in wet soil, so both drought and waterlogging cut yield.Pest and disease pressure: spotted-wing drosophila, cane and crown borers, and the mosaic virus complex all reduce harvest and planting life.Clean stock and site: starting with certified virus-free plants away from wild brambles preserves yield over the planting's life.
Verified · 3 sources View
Pick your variety

Recommended varieties

Pick by type first. Summer-bearing red raspberries give one big crop in early summer and include the toughest, most cold-hardy varieties. Everbearing (fall-bearing) types fruit in late summer or fall on new canes, and you can just mow all the canes down each winter, which makes pruning easy. Black and purple raspberries are sweeter and grown a bit differently but are less hardy. In the hot South, only special heat-tolerant kinds like Dorman Red will grow. Whatever you pick, buy certified virus-free plants.Choose first by cane type, then by hardiness and season. Summer-bearing (floricane) reds give one big early-summer crop on second-year canes and include the hardiest varieties for cold regions; everbearing (primocane) types fruit on first-year canes in late summer or fall and can be mowed to the ground each winter for the simplest pruning and a clean, single fall crop. Black and purple raspberries are summer-bearing, do not sucker, and are less hardy and more disease-prone than reds. In the hot, humid South, standard raspberries fail, and only heat-tolerant low-chill types such as Dorman Red are worth trying. Always start with certified virus-free stock.
Boyne
fresh, jam, and freezing
Nova
fresh and freezing
Latham
fresh, jam, and freezing
Killarney
fresh and freezing
Tulameen
fresh
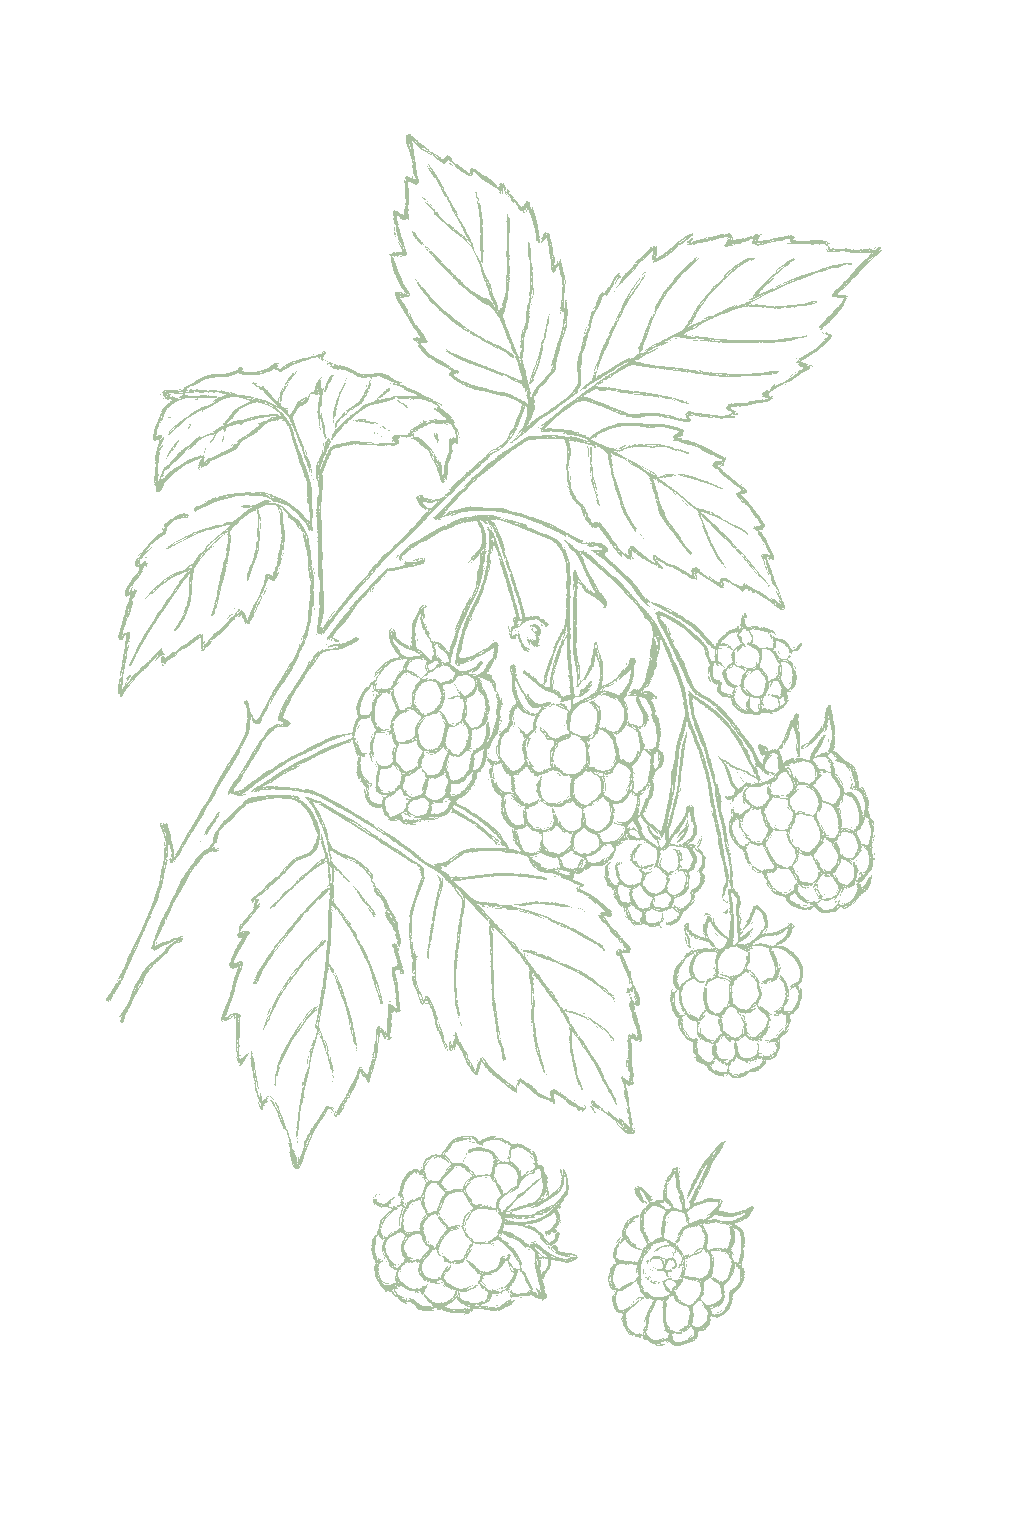
Jewel illustration
Jewel
fresh and jam
Bristol
fresh and jam
Royalty
fresh, jam, and freezing
Heritage
fresh, jam, and freezing
Caroline
fresh and freezing
Autumn Bliss
fresh
Anne
fresh
Dorman Red
jam, jelly, and pies
Bababerry
fresh
Off the vine

Storing your harvest

Room temp
Raspberries do not last on the counter; they are extremely delicate and mold fast. Leave them out only while you are eating them and refrigerate the rest right away. They will not get sweeter sitting out.Raspberries are among the most perishable of all fruits; their soft, hollow structure bruises and molds within a day at room temperature. Hold them out only briefly for serving and refrigerate the rest at once. They do not ripen further after picking, so warmth buys nothing.
Fridge
In the fridge, raspberries keep just a few days, about 3 to 5. Leave them unwashed and dry in a shallow vented container, chill them right after picking, and pick out any mushy ones. Rinse only just before eating.Refrigerated, well-handled raspberries keep only about 3 to 5 days. Store them dry and unwashed in a shallow, vented container so they are not crushed, refrigerate immediately after picking, and sort out any soft or moldy berries that spread decay fast. Wash only just before eating.
Freezer
Raspberries freeze beautifully. Spread them on a tray (do not wash first), freeze until hard, then pour into a freezer bag. They get soft once thawed, so use frozen berries in baking, smoothies, or jam. They keep about a year.Raspberries freeze well and are easy to put up. Dry-pack them whole without washing: spread on a tray, freeze until solid, then bag and seal with the air pressed out. Freezing loose keeps them from clumping. Texture softens on thawing, so use thawed berries in baking, smoothies, jam, and sauces; they keep good quality for about a year.
Verified · 2 sources View
When something goes wrong

Common problems

Little or no fruit (often a pruning mistake)
01 of 05
What happened The canes grew fine but you got almost no berries. Usually this is a pruning mistake: cutting a summer type to the ground takes off the canes that fruit. Too much shade, the wrong type for your climate, or a virus can also cause it.The canes grew well but produced few or no berries. The most common cause is pruning the wrong way for the type: cutting a summer-bearing planting to the ground removes the very floricanes that would have fruited, and over-thinning or removing primocanes at the wrong time loses the crop. Too little sun, too little winter chill for the type, or virus can also be at fault. Next season Find out which type you have. For summer types, only cut out the canes that already fruited, never all of them. For fall types, you can cut everything to the ground. Plant in full sun and use certified virus-free plants.Identify your type first. Summer-bearing fruits on second-year canes, so only remove canes that have already fruited and never cut everything down. Fall-bearing fruits on first-year canes and can be mowed to the ground for one fall crop. Give the planting full sun and start with certified virus-free stock.
Crumbly berries that fall apart
02 of 05
What happened The berries fell apart into bits when you picked them instead of staying whole. This is usually a virus or poor pollination. A virused plant slowly gets worse and will not recover.Berries came apart into loose, dry segments at picking instead of holding together as a whole fruit. This crumbly-berry symptom usually means a virus (the mosaic complex) or poor pollination; with virus, the plant also stunts and declines year over year and never recovers. Next season If it was a cold, wet spring, it may just be poor pollination that year. But if plants also look weak and worsen, it is a virus: pull them out, control aphids, remove wild brambles nearby, and replant with certified virus-free plants somewhere fresh.Poor pollination from cold, wet bloom weather is a one-season fluke. But persistent crumbly fruit with declining vigor means virus: remove and destroy affected plants, control aphids that spread it, clear nearby wild brambles, and replant with certified virus-free stock on fresh ground.
Canes wilting, dying back, or snapping
03 of 05
What happened Canes wilted, died, or snapped off, sometimes with dark cankers or tunnels inside. This is usually borers tunneling in the canes or a cane disease, both worse in crowded, damp plantings.Individual canes wilted, died back, or snapped off, sometimes with cankers or hollowed, tunneled centers. The usual culprits are cane borers and crown borers tunneling inside the wood, or cane and spur blight cankering the canes, all of which are worse in crowded, damp, over-fertilized rows. Next season Cut out and throw away damaged canes, cleaning your pruners between cuts. Keep the row thin and airy, prune in dry weather, and go easy on fertilizer. If the crown is tunneled, start fresh with healthy plants on a new spot.Cut out and destroy affected canes below the damage, disinfecting tools between cuts. Keep the row narrow and open for air, prune only in dry weather, avoid excess nitrogen, and remove wild brambles. For crown borer, start clean plants on a fresh site.
Plants declining in wet soil
04 of 05
What happened Plants yellowed, stunted, and died, especially in soggy spots, and the roots were brown and rotten. This is root rot from soil that stays too wet.Whole plants yellowed, stunted, and collapsed, worst in low or poorly drained areas, with brown, rotted roots when dug. This is the classic picture of Phytophthora root rot, the most common cause of raspberry planting failure, brought on by waterlogged soil. Next season You cannot save rotted roots, so focus on drainage next time: plant on raised rows, keep water draining away, and never let the soil stay soggy.Root rot cannot be reversed, so move to prevention: replant on tall raised beds or ridges in well-drained soil, divert surface water, choose more tolerant cultivars, and never let raspberries sit in saturated ground.
Fruit disappearing or full of maggots
05 of 05
What happened Berries disappeared as they ripened, or the ones you picked had tiny maggots inside. Birds eat unprotected fruit, and a fruit fly (SWD) lays eggs in good ripe berries.Ripening berries vanished from the canes, or picked berries turned out to be soft with tiny white maggots inside. Birds strip unprotected ripe fruit fast, and spotted-wing drosophila lays eggs in sound ripe berries so the maggots are found only after picking. Next season Cover the plants with bird netting before the berries color. For the maggots, pick all ripe and overripe berries every day or two, keep the planting open and airy, and grow earlier varieties when you can.Net the planting before berries color to stop birds. For SWD, harvest completely every one to three days, remove and destroy culls, open the canopy by pruning, and use fine exclusion netting and vinegar monitoring traps; choose early cultivars to dodge peak pressure.
Verified · 5 sources View
The usual suspects

Pests & diseases

Pests
Spotted-wing drosophila (SWD)
P · 01
Symptoms Tiny maggots inside ripe berries, with the fruit going soft and mushy. The adult is a small fly with a spot on each wing.Small white maggots inside ripe and ripening berries; fruit softens, collapses, and leaks when squeezed. The adult is a tiny vinegar-fly-like insect, the male with a dark spot near each wingtip. Fall-bearing and late crops are hit hardest. Cause An invasive fruit fly that lays eggs in good, ripe berries (not just rotten ones), and the maggots feed inside.Spotted-wing drosophila (Drosophila suzukii), an invasive vinegar fly whose females cut into healthy ripe fruit to lay eggs, unlike common fruit flies that use only rotting fruit. It is the major modern raspberry pest. Organic treatment Pick ripe berries every day or two and clean up any fallen or overripe ones (seal them in a bag, do not compost). Keep the planting open and airy. A cup of apple cider vinegar makes a simple monitoring trap.Harvest completely and often, every one to two days, so no ripe fruit is left on the cane, and remove and destroy overripe or fallen berries (bag them, do not compost). Open the canopy by pruning to reduce the cool, humid shelter the fly favors. Fine exclusion netting under 1 mm mesh and apple-cider-vinegar monitoring traps help. Prevention Grow earlier varieties when you can, keep the row narrow and clean, and pick often. Clear out wild brambles nearby.Choose early-ripening cultivars to dodge peak fly pressure, keep the planting narrow and open, and harvest on a tight schedule. Remove nearby wild brambles that host the fly.
Raspberry cane borer
P · 02
Symptoms The tip of a new cane wilts and bends over, with two rings of tiny punctures just below it. A small beetle causes it.The tip of a primocane suddenly wilts and the top 6 inches droop, with two rings of punctures girdling the cane about an inch apart just below the wilted tip. A small long-horned beetle does the girdling; its larva tunnels down inside the cane. Cause A small beetle that girdles new cane tips and lays an egg there; the grub then tunnels down inside the cane.Raspberry cane borer (Oberea species), a slender black-and-yellow long-horned beetle. The female girdles the cane tip with two rows of punctures and lays an egg between them; the larva bores downward through the cane. Organic treatment As soon as a tip wilts, snip it off a few inches below the puncture rings and throw it away to remove the grub. Pick off any beetles you see.Cut and destroy each wilted tip a few inches below the lower ring of punctures as soon as you see it, removing the egg or young larva before it tunnels deep. Hand-pick the adult beetles. No spray is usually needed in a home planting. Prevention Check new cane tips in early summer and cut off any that wilt. Remove wild brambles nearby.Scout primocane tips through early summer and prune out wilted tips promptly; clean up wild brambles that harbor the beetle.
Raspberry crown borer
P · 03
Symptoms Canes weaken, the leaves redden and wilt, and canes snap off at the base. The crown is tunneled inside. Plants slowly die.Whole canes weaken, leaves redden and wilt, and canes break off easily at the base; the crown and lower cane show tunneling and sawdust-like frass. Plants decline over two seasons and can die. A clearwing moth that mimics a yellowjacket is the adult. Cause A wasp-mimic moth whose grubs tunnel into the crown and base of the canes over two years, killing the plant from below.Raspberry crown borer (Pennisetia marginata), a clearwing moth whose larvae bore into the crown and lower canes over a two-year life cycle, destroying the base of the plant. Organic treatment Dig out and destroy badly infested plants, because the grubs are hidden inside the crown. Start new plantings with healthy plants on clean ground.Dig and destroy infested crowns, since the larvae are protected inside and hard to reach. Starting with clean nursery stock on a fresh site is the most effective control; keep plants vigorous so they outgrow light injury. Prevention Buy healthy plants, choose a spot with no old brambles, and dig out any plants that get infested.Plant certified, borer-free stock on ground without a recent bramble history, remove wild brambles nearby, and remove and destroy infested crowns to break the two-year cycle.
Japanese beetle
P · 04
Symptoms Leaves chewed down to lace and berries nibbled, by shiny green-and-copper beetles that feed in groups on warm days.Leaves skeletonized to a lace of veins, and ripening berries chewed, often by clusters of metallic green-and-copper beetles feeding in the open on warm days from early to midsummer. Cause An introduced beetle whose adults eat the leaves and berries; its grubs live in lawns nearby.Japanese beetle (Popillia japonica), an introduced scarab whose adults feed on raspberry foliage and fruit; grubs develop in nearby turf. Organic treatment Knock the beetles into a jar of soapy water in the morning while they are slow. Do not use the bag traps, which attract even more. Net the fruit as it ripens.Hand-pick beetles into soapy water in the cool morning when they are sluggish, the most effective home control. Skip pheromone traps, which draw in more beetles than they catch. Protect ripening fruit with netting. Prevention Pick beetles off regularly while they are active, and keep plants healthy so they shrug off the damage.Keep plants vigorous, hand-pick consistently during the flight, and manage grubs in adjacent lawn areas if pressure is high.
Aphids
P · 05
Symptoms Tiny soft bugs on new shoots and under leaves, sometimes with sticky residue. The bigger risk is the viruses they spread.Small soft-bodied insects clustered on shoot tips and leaf undersides, sometimes curling new growth and leaving sticky honeydew. Their real danger is spreading raspberry mosaic and leaf-curl viruses, not the feeding itself. Cause Small sap-sucking insects whose main threat is carrying plant viruses from one raspberry to another.Several aphid species feed on raspberry sap; the large raspberry aphid in particular transmits the mosaic virus complex that causes incurable, crop-shortening decline. Organic treatment Spray them off with water, let ladybugs help, or use insecticidal soap if there are many. Do not over-fertilize.Knock light infestations off with a strong spray of water, support ladybugs and other natural enemies, and use insecticidal soap if needed. Avoid heavy nitrogen, which fuels the soft growth aphids prefer. Prevention Buy certified virus-free plants, pull out wild brambles and any sickly plants nearby, and encourage helpful bugs.Start with certified virus-free plants, remove nearby wild brambles and any virus-symptomatic plants, support beneficial insects, and avoid excess nitrogen.
Diseases
Phytophthora root rot
D · 01
Symptoms Canes are weak, leaves yellow and wilt, and plants die in soggy spots. The roots are brown and rotten.Canes are weak and stunted, leaves yellow or scorch and wilt, and whole canes collapse, worst in low or poorly drained spots. Dug roots are brown to black and rotted, with a reddish-brown discoloration into the crown. Cause A soil disease that rots the roots when the soil stays too wet; the most common reason raspberry plantings fail.Soilborne Phytophthora water molds that attack roots in wet, poorly drained soil; the most damaging and common cause of raspberry decline, especially red raspberries on heavy ground. Organic treatment You cannot fix rotted roots, so it is all about drainage: plant on raised rows, keep water moving away, and replace dead plants on a drier spot.There is no cure once roots rot, so the response is drainage. Plant on tall raised beds or ridges, divert surface water, and replace dead plants with clean stock on a better-drained site. Prevention Plant on raised rows with good drainage, never let the soil stay soggy, and buy healthy plants.Plant only on well-drained ground or raised beds, choose more tolerant cultivars, never let raspberries sit in saturated soil, and start with disease-free plants.
Anthracnose
D · 02
Symptoms Small purple spots on the canes that grow into gray, sunken pits with purple edges, plus spots on the leaves.Small purplish spots on young canes that enlarge into gray-centered, purple-bordered pits; spots also appear on leaves and can crack the bark. Severe infections weaken canes and reduce yield, worst in wet springs. Cause A fungus that lives on old canes and infects new growth in wet weather, leaving sunken spots, worst on black raspberries.The fungus Elsinoe veneta (anthracnose), which overwinters on old canes and infects new growth during wet weather; black raspberries are especially susceptible. Organic treatment Cut out old and badly spotted canes, keep the planting open and airy, and water at the base, not over the leaves.Prune out and destroy old fruited canes and the most spotted primocanes, open the canopy for air movement, and avoid overhead watering. A dormant lime-sulfur application before bud break helps in bad cases. Prevention Use healthy plants, keep the row open, remove old canes yearly, and water low. Pick resistant varieties.Start with clean plants, keep rows narrow and open, prune out spent canes each year, and avoid wetting the foliage. Resistant cultivars reduce pressure.
Cane blight and spur blight
D · 03
Symptoms Dark cankers on the canes that make them wilt or snap, and brown patches at the leaf joints that weaken next year's fruiting side shoots.Cane blight: dark brown to purple cankers spread from pruning wounds, and canes wilt or die back above them, often snapping at the canker. Spur blight: brown-to-purple blotches at the leaf nodes of red raspberry that girdle the buds, so fruiting laterals are weak or fail next year. Cause Fungi that get into the canes through wounds and crowded growth, causing cankers and weak side shoots.Fungal canker pathogens (Leptosphaeria for cane blight, Didymella for spur blight) that enter through wounds and injured or crowded wood; both are worse in dense, wet, over-fertilized plantings. Organic treatment Cut out cankered canes well below the damage, clean your pruners between cuts, and thin the canes so air moves through.Prune out and destroy infected canes well below the canker, disinfecting tools between cuts, and thin canes for air movement. Avoid wounding canes and do not over-fertilize with nitrogen. Prevention Keep the row thin and airy, prune in dry weather, go easy on fertilizer, and remove old fruited canes right after harvest.Keep rows narrow and open, thin to the recommended cane density, prune only in dry weather, avoid excess nitrogen, and remove spent floricanes promptly after harvest.
Orange rust
D · 04
Symptoms Weak, spindly new shoots in spring with bright orange powder coating the undersides of the leaves. The whole plant is infected for good.In spring, new shoots are spindly, pale, and bunchy, and the undersides of the leaves are covered with bright orange, powdery pustules. Affected plants never recover; the fungus is systemic in the whole plant. Cause A rust fungus that infects the whole plant for life, worst on black and purple raspberries and wild brambles.A systemic rust fungus (Arthuriomyces or Gymnoconia) that permanently infects the entire plant, most serious on black and purple raspberries and wild brambles. Organic treatment There is no fixing it. Dig up and destroy any plant showing the orange powder, roots and all, before it spreads. Pull out wild brambles nearby.There is no cure: dig out and destroy infected plants, roots and all, as soon as the orange pustules appear, before they shed spores onto healthy plants. Remove nearby wild brambles that carry it. Prevention Buy healthy plants, check new shoots each spring and remove any infected ones right away, and clear out wild brambles.Start with clean nursery stock, inspect new shoots each spring and rogue out any with orange rust immediately, remove wild brambles, and favor red raspberries (more resistant) over black where rust is common.
Raspberry mosaic virus complex
D · 05
Symptoms Mottled, puckered leaves and a slow loss of vigor, with small crumbly berries that fall apart when you pick them. Plants only get worse.Leaves are mottled light and dark green, sometimes puckered or curled, and plants gradually stunt; berries become small, seedy, and crumbly, falling apart at picking. Decline worsens year over year with no recovery. Cause A group of viruses spread by aphids that infect the plant for good, carried in by aphids, infected plants, and wild brambles.A complex of aphid-transmitted viruses (raspberry mosaic) that permanently infect the plant; spread by the large raspberry aphid and carried in infected planting stock and wild brambles. Organic treatment There is no fixing a virused plant. Pull out and destroy any plant with mottled leaves and crumbly fruit, and keep aphids and wild brambles in check.There is no cure. Remove and destroy symptomatic plants promptly so they do not seed the aphids that spread it, and manage aphids and wild brambles around the planting. Prevention Start with certified virus-free plants, keep them away from wild brambles, control aphids, and replace an old declining patch with new plants on fresh ground.The whole defense is prevention: plant certified virus-free stock, site new plantings away from old or wild brambles, control aphids, and replace a declining patch on fresh ground rather than from your own suckers.
Verified · 5 sources View
Seasoned
Where to plant next year

Crop rotation

You do not rotate raspberries each year like vegetables, because a patch lives for many years. What matters is the starting spot: do not plant where tomatoes, potatoes, peppers, eggplant, or strawberries grew recently, and avoid old bramble patches. When a patch wears out, plant the new one somewhere fresh.Crop rotation in the annual sense does not apply, since a raspberry planting stays in place for a decade or more. But site history matters at planting: avoid ground that recently grew Verticillium hosts (tomato, potato, pepper, eggplant, strawberry) or old or wild brambles, which leave behind soil disease and virus reservoirs. When a planting declines, start the new one on fresh ground rather than replanting the same spot.

Avoid following
Do not plant raspberries where tomatoes, potatoes, peppers, eggplant, or strawberries grew in the last few years. They share a soil disease (Verticillium wilt) that can kill raspberries. Pick a fresh spot instead.Do not plant raspberries where tomato, potato, pepper, eggplant, or strawberry has grown in the last three to five years. All host Verticillium wilt, a soil fungus that also kills raspberries, and the disease persists in the soil. Choose a fresh site with no recent nightshade, strawberry, or bramble history.
Verified · 2 sources View
In the app · pre-launch

When plant taps you on the shoulder

The plant app sends a timely reminder at every critical moment of your raspberry season. The wording adjusts to whichever you pick: beginner or seasoned. Here are three you'll see in Zone 7.

p
plant
0 days after planting
Put up a trellis or stake when you plant
Raspberry canes need support or they bend over and snap. Put in a stake or simple trellis when you plant, before the roots fill in, so you are not disturbing them later.
p
plant
0 days after first growth
Feed your raspberries in early spring
When growth starts in spring, scatter a balanced fertilizer or some composted manure along the row. Do not feed late in the season.
p
plant
0 days after establishment
Pull suckers to keep the row from spreading
Raspberries send up new shoots from their roots and spread fast. Pull or mow any that come up outside your row to keep the patch about a foot wide and under control.
Get personalized alerts.

plant sends the right notification at exactly the right moment, for your zone, your weather, your crops. Founding members lock the rate forever.

Back the Kickstarter →
Ask the gardener

Common questions

Got a question we missed?

We're building this guide with real growers. Got a question we missed? Ask here. We read every one and add the best answers right to this page.

Grown this before?

Share a tip

Learned something the hard way? Pass it on. Real growers' tips make this guide better for the next person, and we credit you by name when yours goes live.

Seasoned
Spot something wrong?

Report a problem

If you've grown this crop and you see a date, a temperature, a companion claim, or a recommendation that doesn't match your experience, tell us. Real growers' corrections make this guide better for the next person.

How we built this guide

Methodology & sources

Every date, temperature, spacing, and recommendation on this page is sourced from university cooperative extension publications, peer-reviewed agricultural research, NOAA climate data, and direct extension calendars. Where claims are softer (traditional gardening wisdom not formally documented), we say so.

Research-backed Documented in cooperative extension publications or peer-reviewed research
Well-grounded A known agronomic principle, but not formally tested for this specific pair
Traditional Time-tested gardening wisdom, limited formal research support
Last reviewed
June 30, 2026
Data version
crops_data_final · v1.0 · schema 2.9
Sources cited on this page
16 publications
Verified entries
Companion-planting claims tagged inline · zone dates verified against 5+ extensions
See all sources cited on this page
  • University of Minnesota Extension umn_ext
  • University of Maryland Extension umd_ext
  • Cornell Cooperative Extension cornell_ext
  • Iowa State University Extension iastate_ext
  • Michigan State University Extension msu_ext
  • NC State Extension ncsu_ext
  • Penn State Extension psu_ext
  • U. of Illinois Urbana-Champaign Extension uiuc_ext
  • UC Davis Postharvest Center ucd_postharvest
  • Texas A&M AgriLife Extension tamu_agrilife
  • Virginia Cooperative Extension 426-331 vce_426_331
  • Piedmont Master Gardeners piedmont_mg
  • UGA Vegetable Garden Calendar uga_calendar
  • Clemson Home & Garden Information Center clemson_hgic
  • UC IPM Statewide IPM Program uc_ipm
  • NOAA 1991-2020 Climate Normals noaa_normals

Growing notes, weekly.

Zone-aware seasonal nudges, what's worth planting now, and the occasional recipe from the harvest. No spam, ever.

Vol. 003 · Raspberry · plant.lifestyle