Today · in your zone
What's happening right now
Off-season for snow peas in zone 11.
Tap to switch. plant calibrates to where you are in the journey.
Snow peas are the flat, tender peas you eat pod and all, stir-fried or raw, picked while the pods are still flat and the peas inside are tiny. They are a cool-weather crop: you plant the seeds straight in the garden as soon as the soil can be worked in spring, and again in late summer for fall, not in the heat of summer. Young plants handle frost, but the vines fade once it gets hot. Tall kinds need a trellis to climb; short kinds hold each other up. They go from seed to harvest in about two months and, like all peas, feed the soil with nitrogen. They are a close cousin of the plumper sugar snap pea. Snow peas (Pisum sativum) are a cool-season, frost-hardy legume grown for their flat, edible immature pods, picked young before the seeds swell (the mangetout type). Unlike warm-season beans, peas are sown as early as the soil can be worked in spring and again in fall, and they decline once summer heat passes about 80°F, so the season runs opposite a bean's. Climbing types need a trellis while bush types stand together; as a legume the crop fixes much of its own nitrogen and asks little feeding, reaching a flat, sweet pod in about 55 to 70 days. They are distinct from the sugar-snap pea, a cousin grown for plump, rounded pods eaten whole when filled.
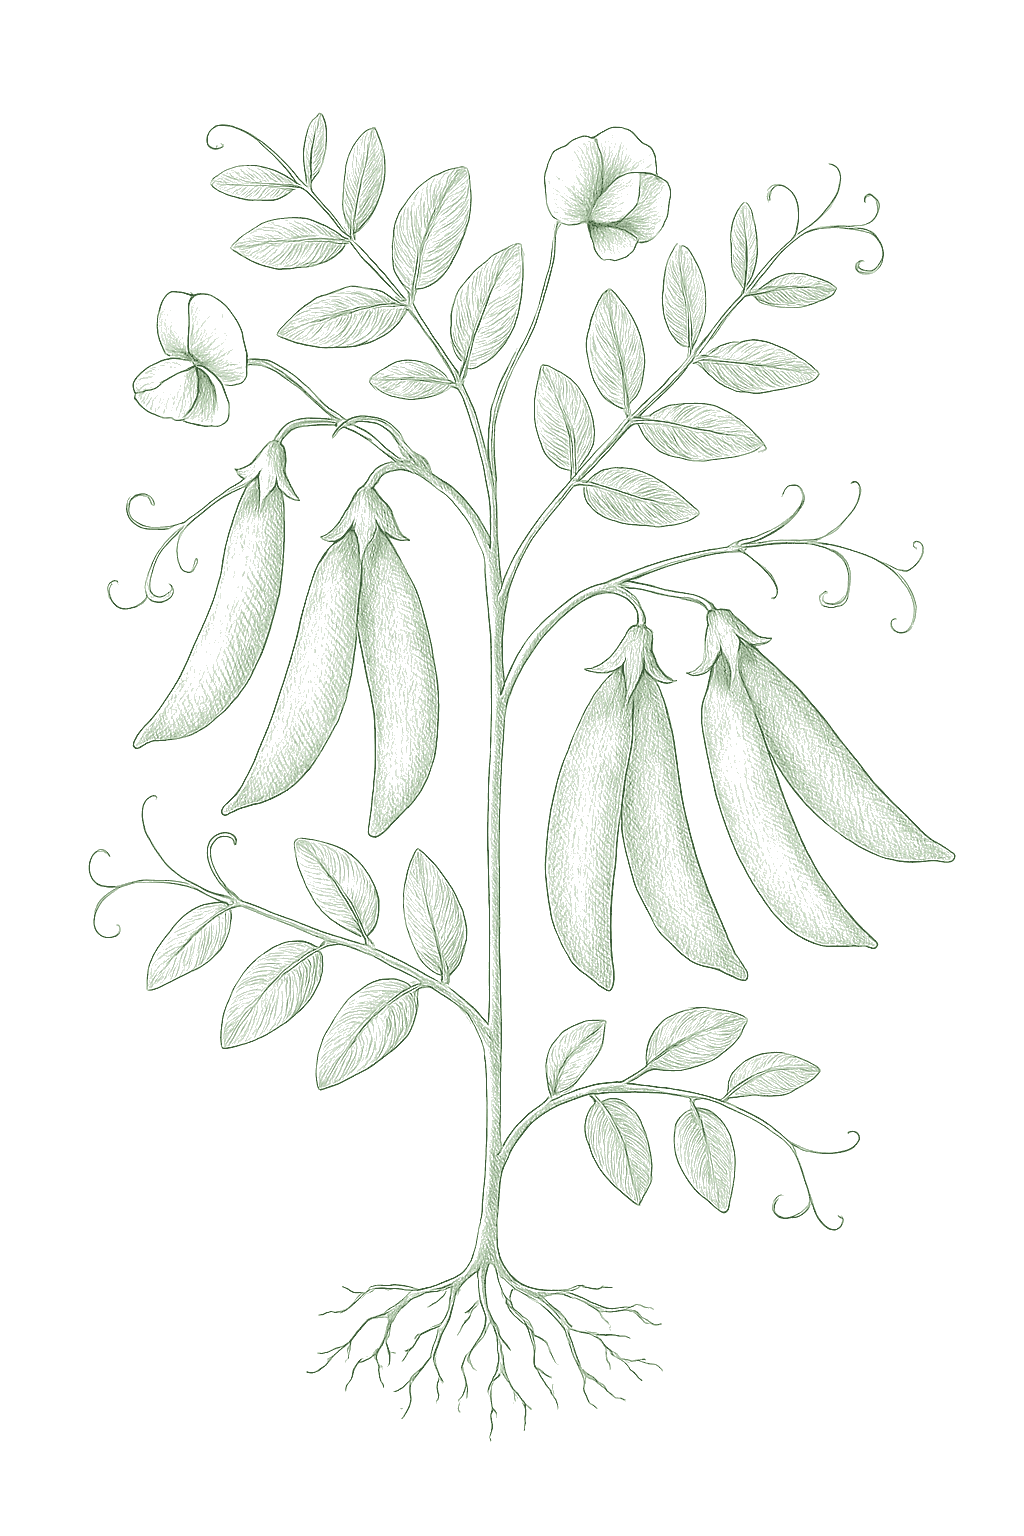
Off-season for snow peas in zone 11.
In Zone 11, snow peas can be planted October through November, skipping the summer heat. Harvest runs December through March.
Plant a little patch of snow peas every week or two instead of all at once, so you get a steady supply before the heat ends them. Do this through cool spring, and again in late summer for fall where it works. In hot areas, skip summer and keep sowing through the cool months.Snow peas crop over a short window and then decline in the heat, so sow small batches a week or two apart through the cool spring window rather than all at once, and again for fall where summers allow. In hot regions skip summer entirely and succession-sow through the cool fall, winter, and early spring.
In Zone 11, snow peas can be planted October through November, skipping the summer heat. Harvest runs December through April.
Plant a little patch of snow peas every week or two instead of all at once, so you get a steady supply before the heat ends them. Do this through cool spring, and again in late summer for fall where it works. In hot areas, skip summer and keep sowing through the cool months.Snow peas crop over a short window and then decline in the heat, so sow small batches a week or two apart through the cool spring window rather than all at once, and again for fall where summers allow. In hot regions skip summer entirely and succession-sow through the cool fall, winter, and early spring.
In Zone 11, snow peas can be planted March through May, then again September through October, skipping the summer heat. Harvest runs November through May.
Plant a little patch of snow peas every week or two instead of all at once, so you get a steady supply before the heat ends them. Do this through cool spring, and again in late summer for fall where it works. In hot areas, skip summer and keep sowing through the cool months.Snow peas crop over a short window and then decline in the heat, so sow small batches a week or two apart through the cool spring window rather than all at once, and again for fall where summers allow. In hot regions skip summer entirely and succession-sow through the cool fall, winter, and early spring.
In Zone 11, snow peas can be planted October through November, skipping the summer heat. Harvest runs December through March.
Plant a little patch of snow peas every week or two instead of all at once, so you get a steady supply before the heat ends them. Do this through cool spring, and again in late summer for fall where it works. In hot areas, skip summer and keep sowing through the cool months.Snow peas crop over a short window and then decline in the heat, so sow small batches a week or two apart through the cool spring window rather than all at once, and again for fall where summers allow. In hot regions skip summer entirely and succession-sow through the cool fall, winter, and early spring.
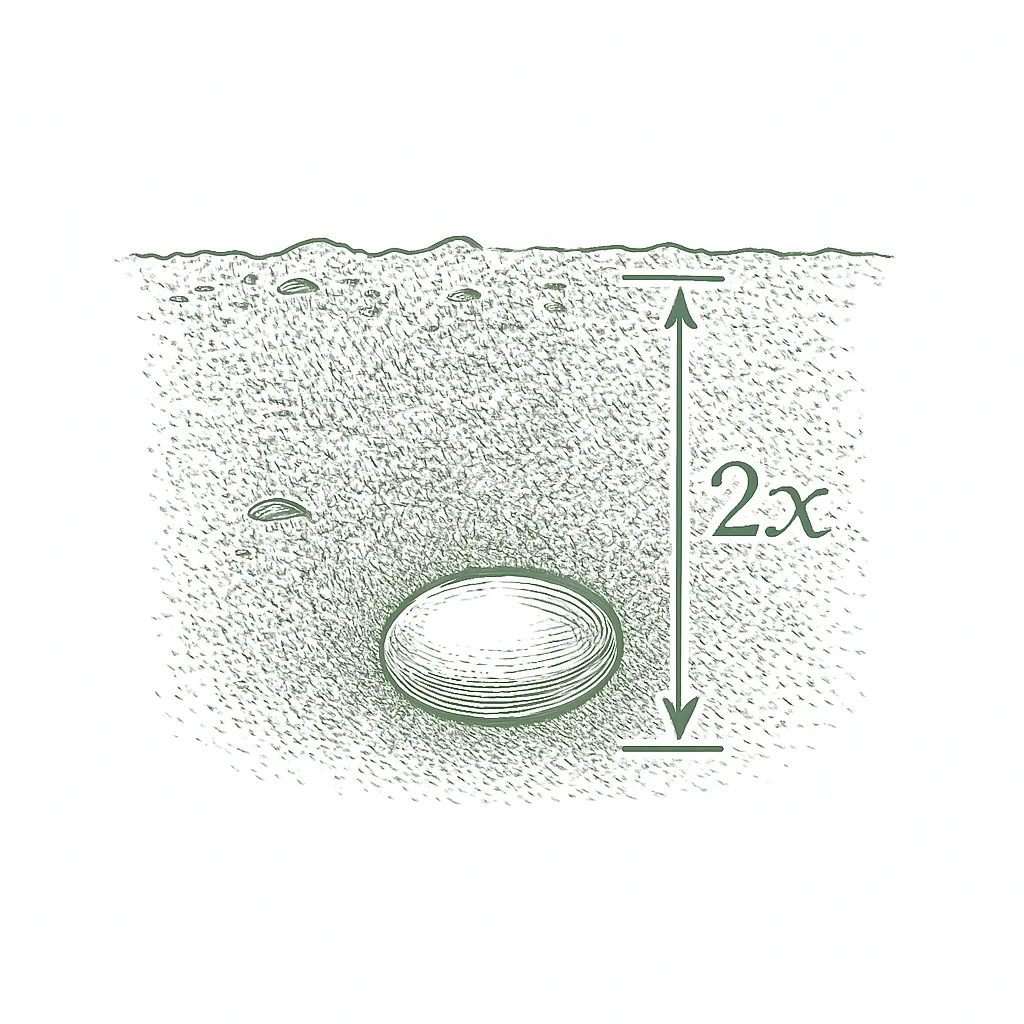
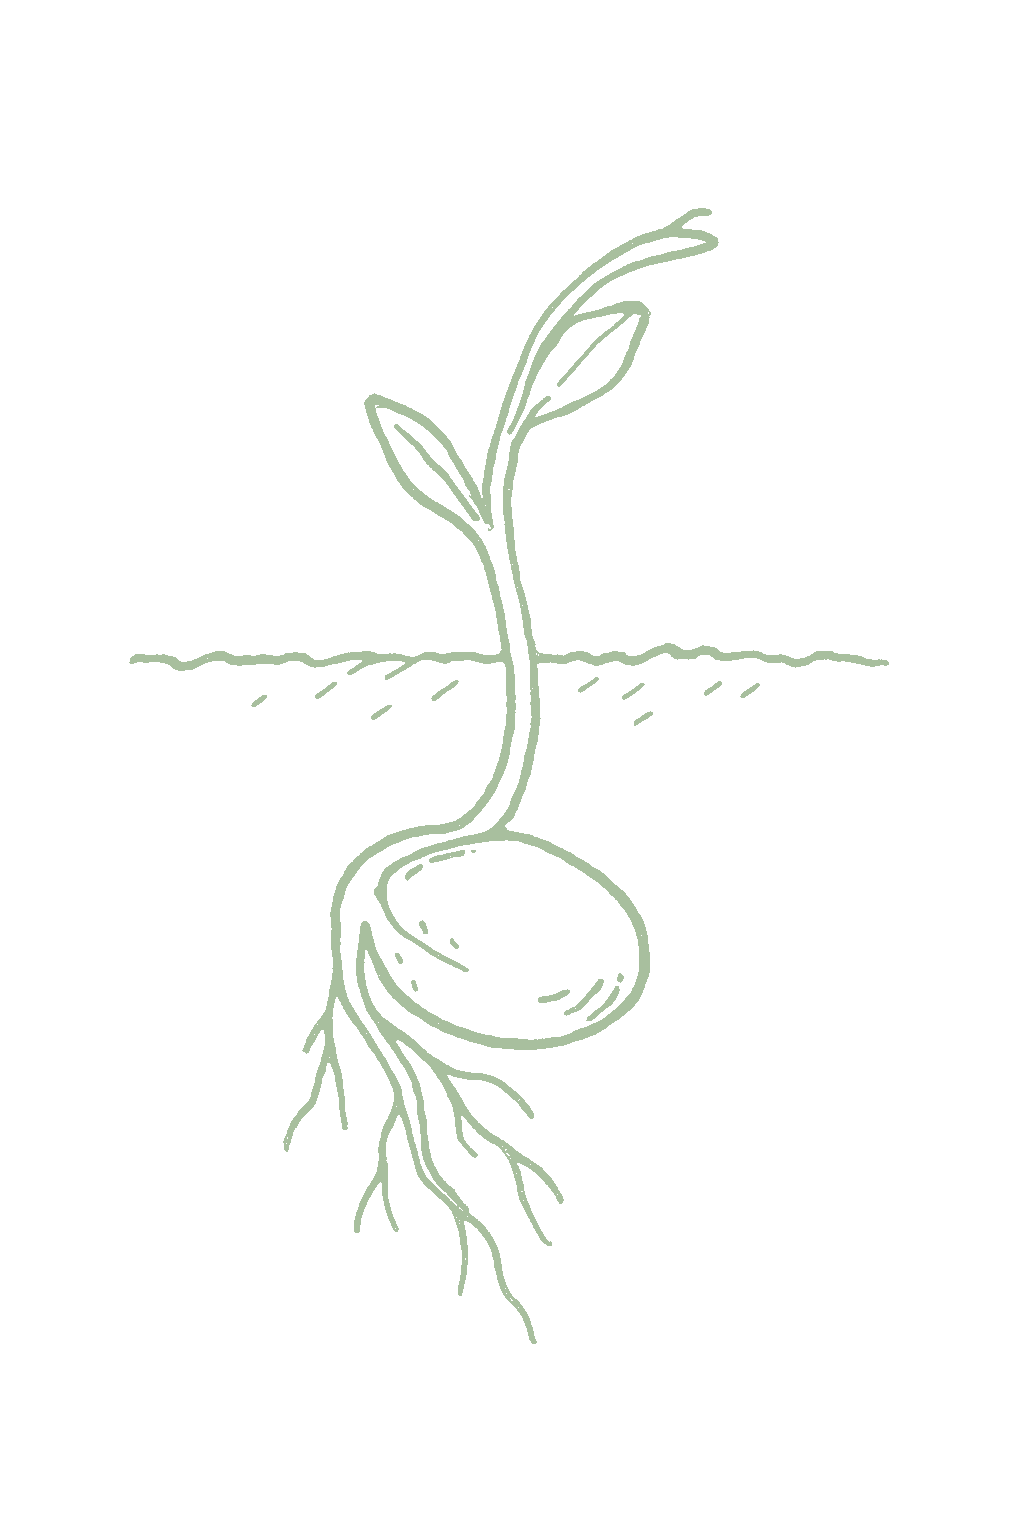
Plant pea seeds right where they will grow, as soon as the soil can be worked in spring and again in late summer for fall. Peas do not like their roots disturbed, so skip starting them indoors. Plant about 1 to 1.5 inches deep.Direct-sow into cool, workable soil as early as the ground can be prepared in spring, and again for a fall crop. Peas resent root disturbance and germinate readily in cool soil, so transplanting offers no advantage. Sow about 1 to 1.5 inches deep; some growers presoak seed overnight to speed emergence.





Not sure what soil you have? Grab a small handful of damp soil from your garden bed and squeeze it. If it crumbles apart easily, it's sandy. If it holds together but breaks when you poke it, it's loam (what most vegetables want). If it stays in a hard, slippery ball, it's clay.
Peas like loose, fertile soil that drains well, with some compost mixed in. The main thing they care about is good drainage, because peas planted in cold, soggy soil tend to rot before they sprout. If water sits on your bed for a long time after rain, work in compost or plant on a raised bed first.
Mix 2-3 inches of compost into the top 6 inches of your bed before planting. Compost holds moisture (which sandy soil drains too fast) and adds the nutrients sandy soil tends to lack. Repeat each season. Compost breaks down over time.
Mix 2-3 inches of compost AND a few inches of coarse sand or perlite into the top 6 inches of your bed. The compost feeds the plants; the sand breaks up the clay so air and water can move through. Don't add sand without compost. It can compact like concrete.
If amending your soil sounds like too much work, or if your soil is heavy clay, full of rocks, or contaminated, build over it. A raised bed at least 12 inches deep filled with a 50/50 mix of compost and sandy loam gives you ideal growing soil with no battles. A 5-gallon container with quality potting mix does the same for one plant at a time. Both bypass your native soil entirely.
The numbers that matter, at a glance.
Peas grow best in soil from about 6.0 to 7.0, which is slightly acidic to neutral. They do poorly in strongly acidic soil below 6.0, so if a soil test reads low, mix in some lime before planting. Most garden beds are already in a good range.Aim for a soil pH of about 6.0 to 7.0. Clemson recommends a 6.0 to 6.5 target, and growth is inhibited on acid soils at pH 6.0 and below, so lime an acid plot the season before sowing. Peas tolerate up to roughly 7.5, and a soil test is the reliable way to confirm both pH and fertility before the season starts.
Peas make much of their own food from the air, so they barely need fertilizer. Mix a little compost or balanced fertilizer into the bed before you plant and that is enough. Too much fertilizer gives you big leafy vines but fewer pods. If you like, you can coat the seed with a pea inoculant powder, which helps the roots make nitrogen, but it is optional.Snow peas are light feeders. As legumes they fix much of their own nitrogen through root nodules, so heavy nitrogen drives leafy vine growth at the expense of pods. Without a soil test, work a little balanced fertilizer or compost into the bed before sowing; that is usually all peas need. An inoculant of the right Rhizobium bacteria is optional and can help nodulation where peas have not been grown before. Avoid high-nitrogen feeds, which delay flowering and cut pod set.
A balanced vegetable fertilizer like 5-10-10 mixed into the bed before planting is plenty.A balanced 5-10-10 worked in before sowing if no soil test is available; skip extra nitrogen, which peas supply themselves.
Peas get along with most cool-season vegetables. They grow happily beside carrots, radishes, and lettuce, and because they leave nitrogen in the soil, they are a good crop to grow before a leafy green. The pairing to avoid is planting peas right next to onions or garlic. As a nitrogen-fixing legume, peas leave the soil richer for what follows and sit comfortably among the other cool-season crops grown in the same early-spring and fall windows: carrots, radishes, and lettuce are classic bed-mates. The long-standing caution is to keep peas away from the alliums (onion, garlic), which are widely held to suppress legumes through the same root-bacteria interference seen with beans.
Snow peas are ready when the pods are flat, bright green, and tender, before you can see the peas swelling inside, about a week after the flowers open. Pick every few days to keep more pods coming.Pick snow peas while the pods are flat, bright, and tender, before the seeds inside begin to swell, about a week after flowering. Harvesting every couple of days keeps the vines producing and catches the pods at peak sweetness.
Each pea plant gives only a modest amount, so peas are grown in rows, not one at a time. A 10-foot row of snow peas gives about 3 to 4 pounds of pods over its picking weeks.Snow peas yield modestly per plant, so they are grown in rows or blocks rather than singly. Utah State puts a snow or snap pea crop at about 3 to 4 pounds of pods per 10 feet of row over its cropping window; a trellised double row in a small bed gives a steady picking for several weeks.
Snow peas crop for a few weeks, then slow down as it heats up. Most of the harvest comes in that stretch, so planting a second short row a week or two later, and a fall crop where it works, keeps peas coming longer.Snow peas come on over a few weeks and then decline as the weather warms. Most of a sowing's crop arrives in that window, which is why a couple of succession sowings a week or two apart, and a separate fall crop where summers allow, are the way to stretch the supply. Snow peas are a great first-year crop. You plant the seed straight into cool spring soil, and in about two months you are picking flat, sweet pods. The main things that affect your harvest are planting early before the heat, giving the vines a trellis, and picking often while the pods are flat.Snow peas are a rewarding first-year crop: cold-hardy seed sown straight into early-spring soil, quick to a flat, sweet pod in about 55 to 70 days, and forgiving of cool weather. The main levers on yield are sowing early enough to beat the heat, giving the vines support, and picking often while the pods are flat.
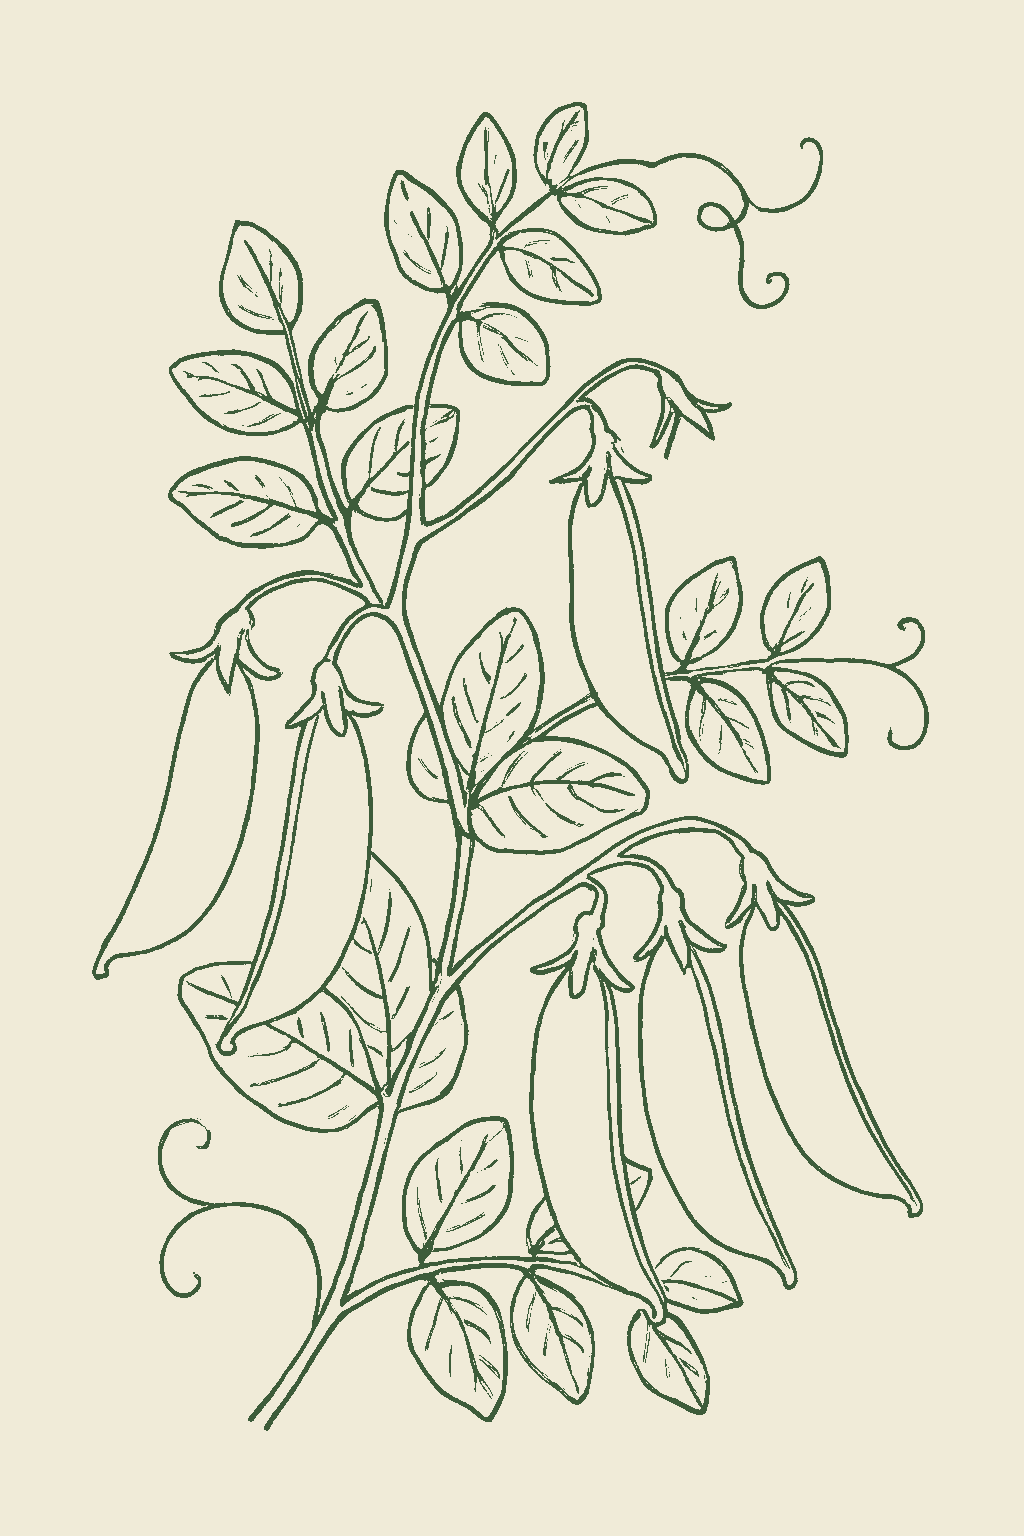
These are snow peas, the flat kind you eat pod and all while the pods are still flat and the peas inside are tiny. They are different from sugar snap peas, which are plump and rounded and eaten when filled out. Oregon Sugar Pod II and Dwarf Gray Sugar are easy, dependable choices; pick a short bush type if you do not want to build a tall trellis.These are flat-podded snow (mangetout) peas, picked young while the pods are flat and the seeds barely formed. Do not confuse them with sugar snap peas, a separate edible-pod type bred for plump, rounded pods eaten whole once filled. Lean to powdery-mildew- and wilt-resistant varieties such as Oregon Sugar Pod II where those diseases recur, and match the variety's height to your support: bush types stand alone, tall types need a trellis.
Move your peas to a new spot each year, on about a three-year rotation, and longer if you have had disease trouble. Because peas feed the soil with nitrogen, whatever you plant there next will benefit.Rotate peas on a roughly three-year cycle, longer where Ascochyta blight or root rot have shown up. Their nitrogen-fixing habit makes them a good predecessor for nitrogen-hungry crops.
The plant app sends a timely reminder at every critical moment of your snow peas season. The wording adjusts to whichever you pick: beginner or seasoned. Here are three you'll see in Zone 11.
plant sends the right notification at exactly the right moment, for your zone, your weather, your crops. Founding members lock the rate forever.
We're building this guide with real growers. Got a question we missed? Ask here. We read every one and add the best answers right to this page.
Learned something the hard way? Pass it on. Real growers' tips make this guide better for the next person, and we credit you by name when yours goes live.
If you've grown this crop and you see a date, a temperature, a companion claim, or a recommendation that doesn't match your experience, tell us. Real growers' corrections make this guide better for the next person.
Every date, temperature, spacing, and recommendation on this page is sourced from university cooperative extension publications, peer-reviewed agricultural research, NOAA climate data, and direct extension calendars. Where claims are softer (traditional gardening wisdom not formally documented), we say so.
Spot a data point that doesn't match your experience? Submit a correction; accepted corrections earn full author credit on the page.
Zone-aware seasonal nudges, what's worth planting now, and the occasional recipe from the harvest. No spam, ever.