Today · in your zone
What's happening right now
Off-season for snow peas in zone 9.
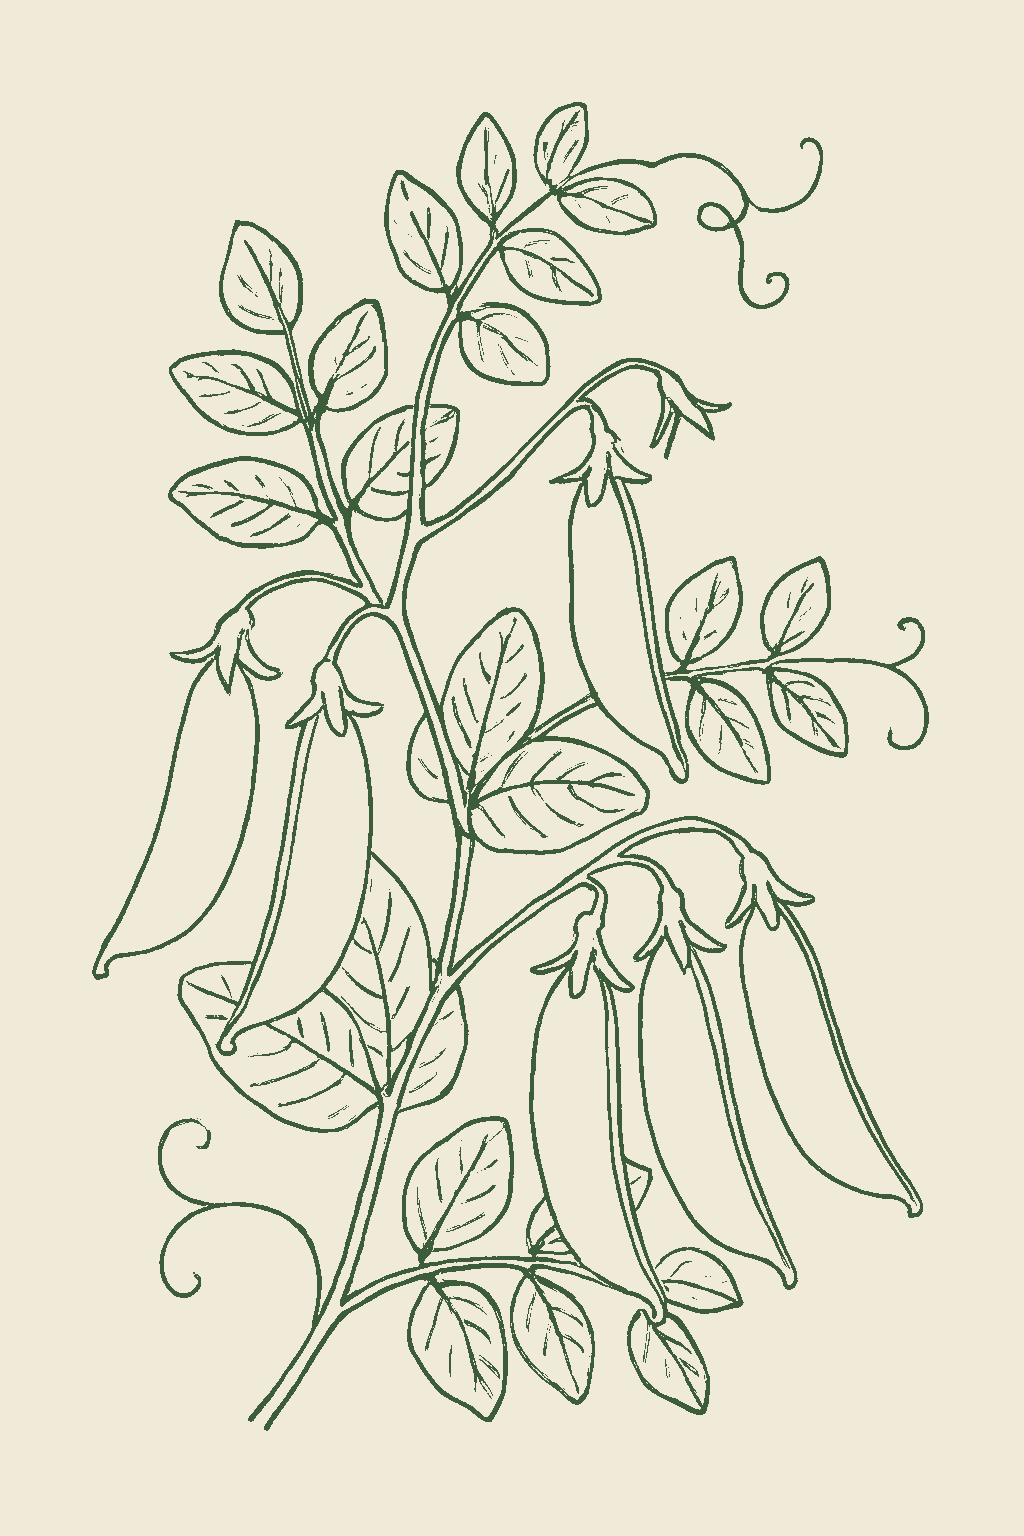
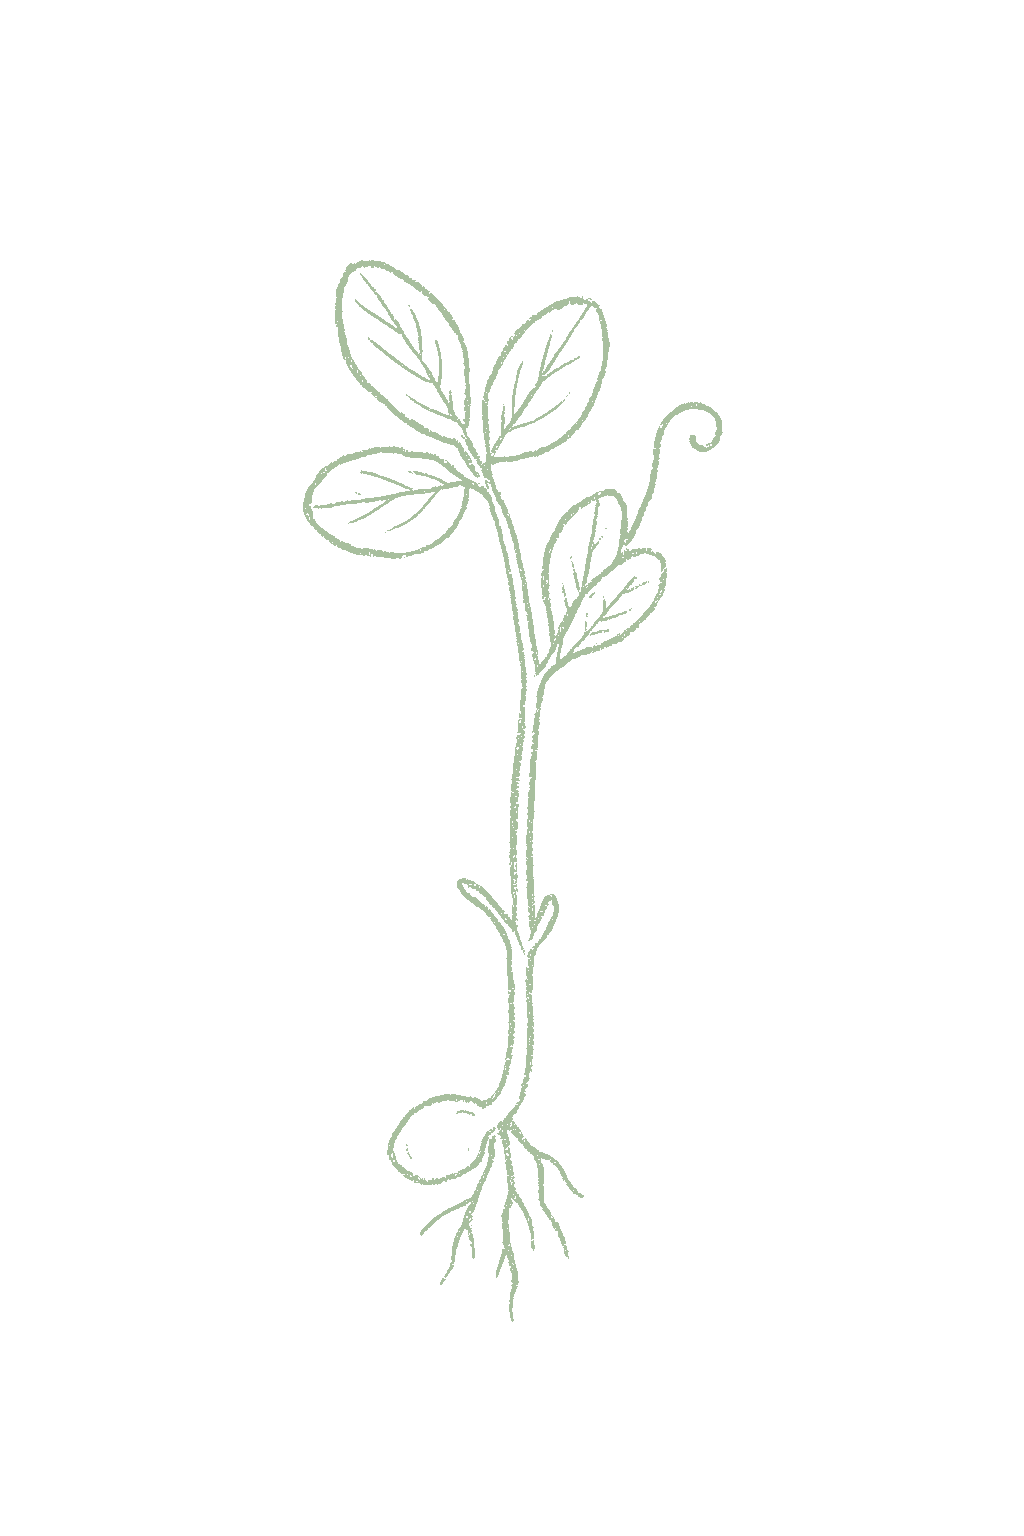
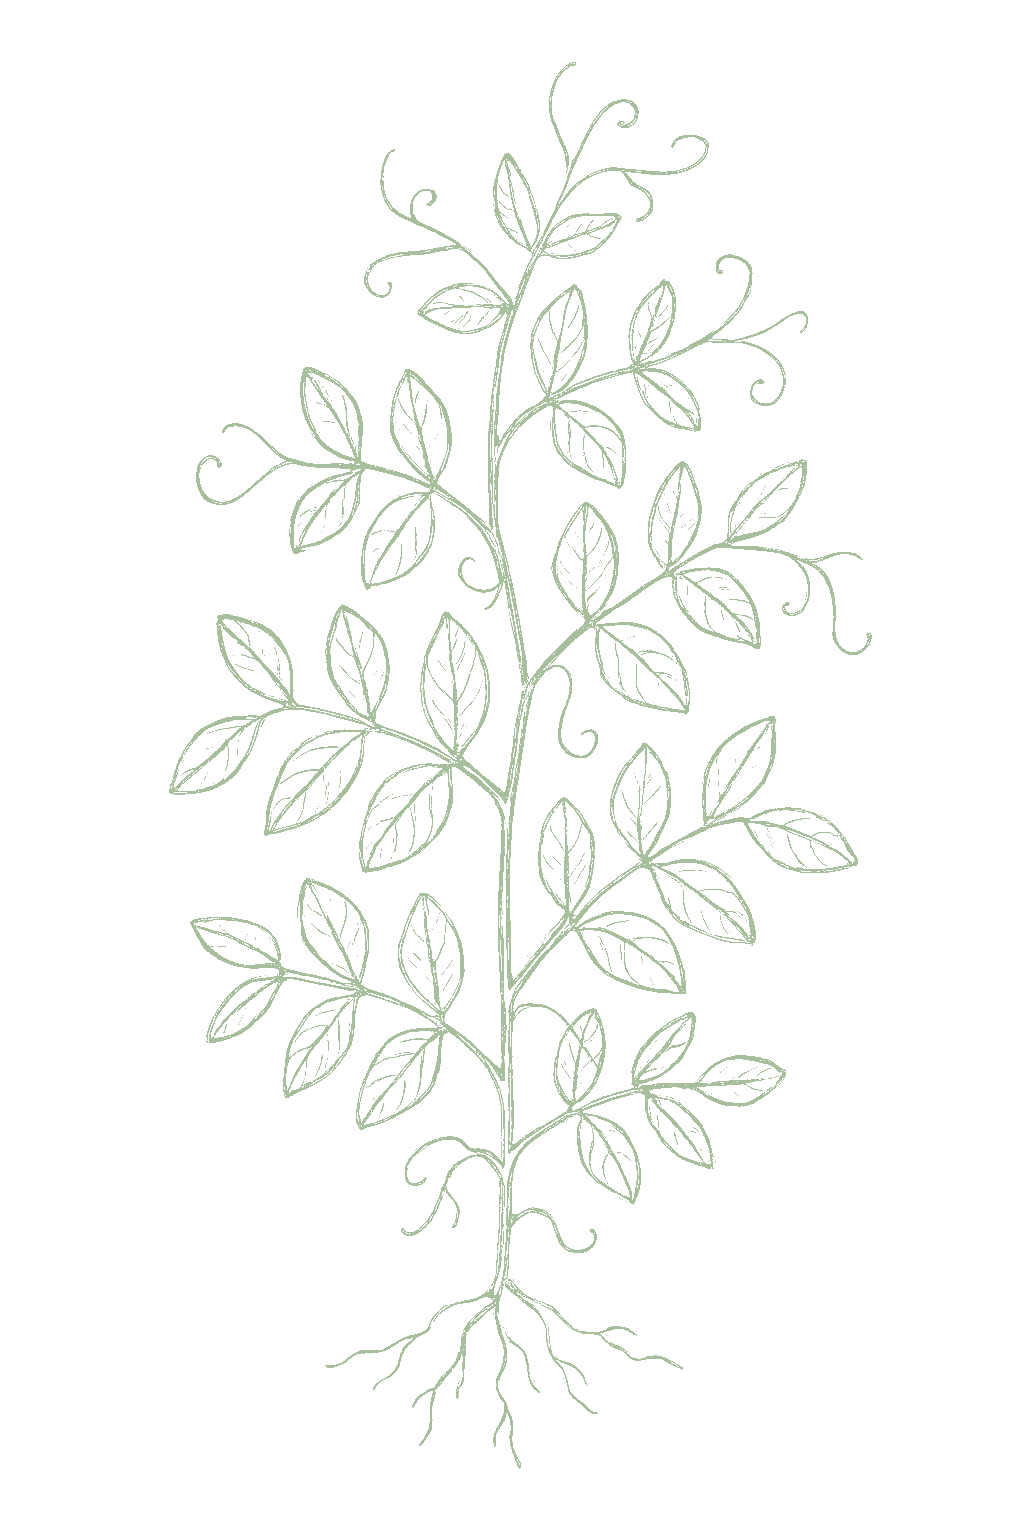
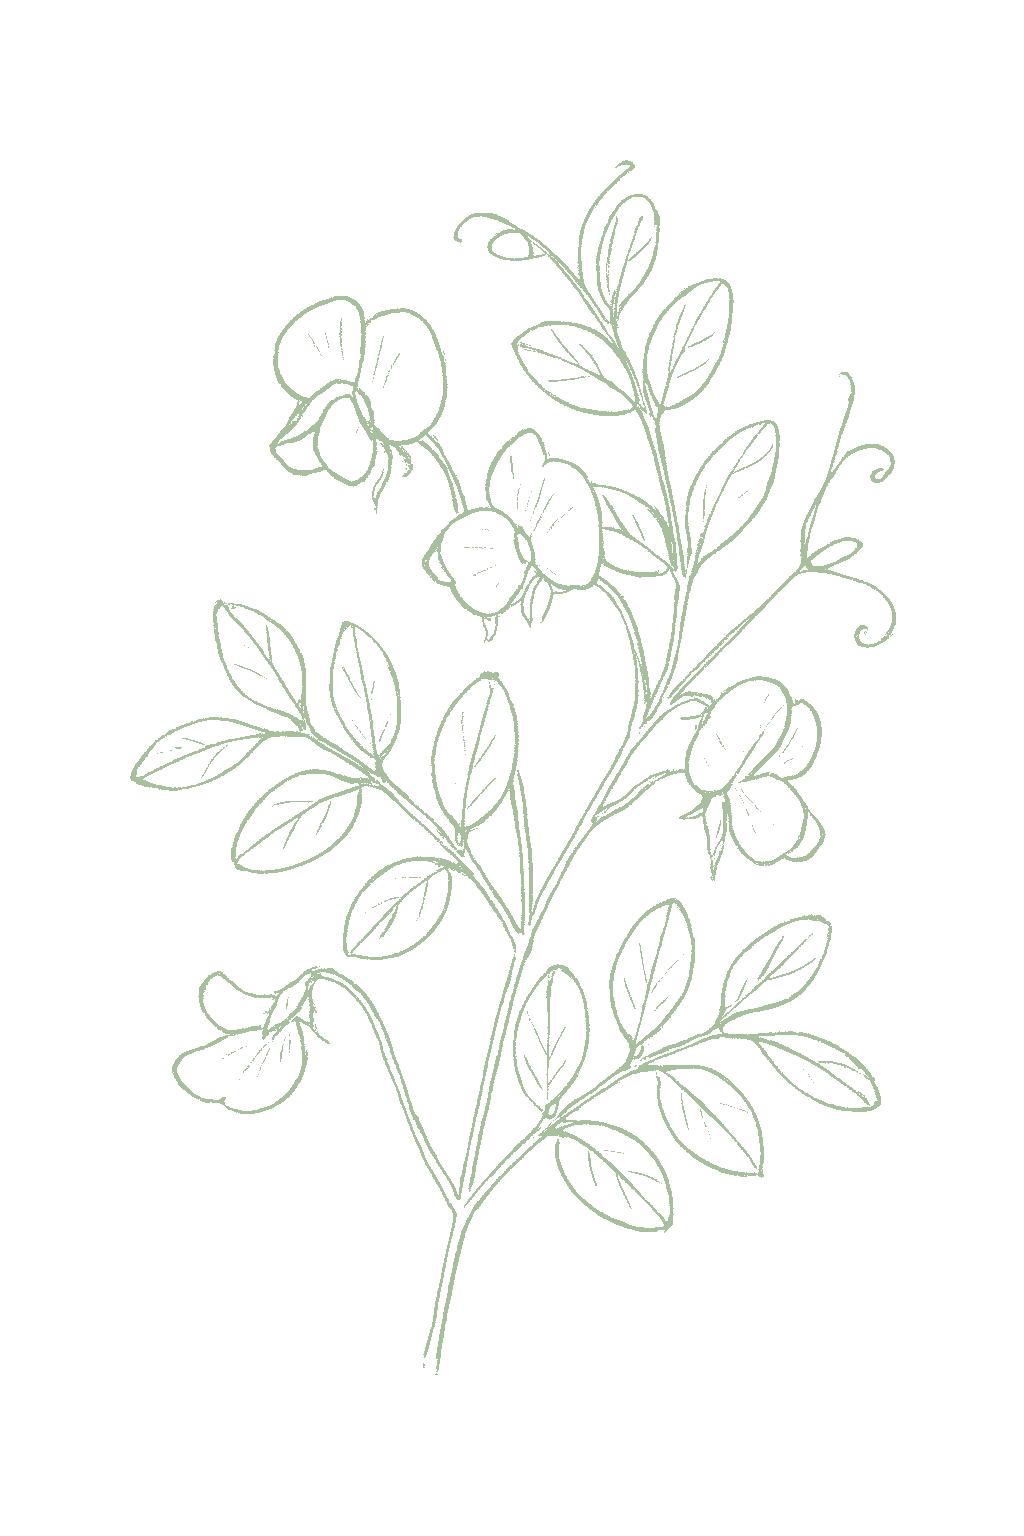
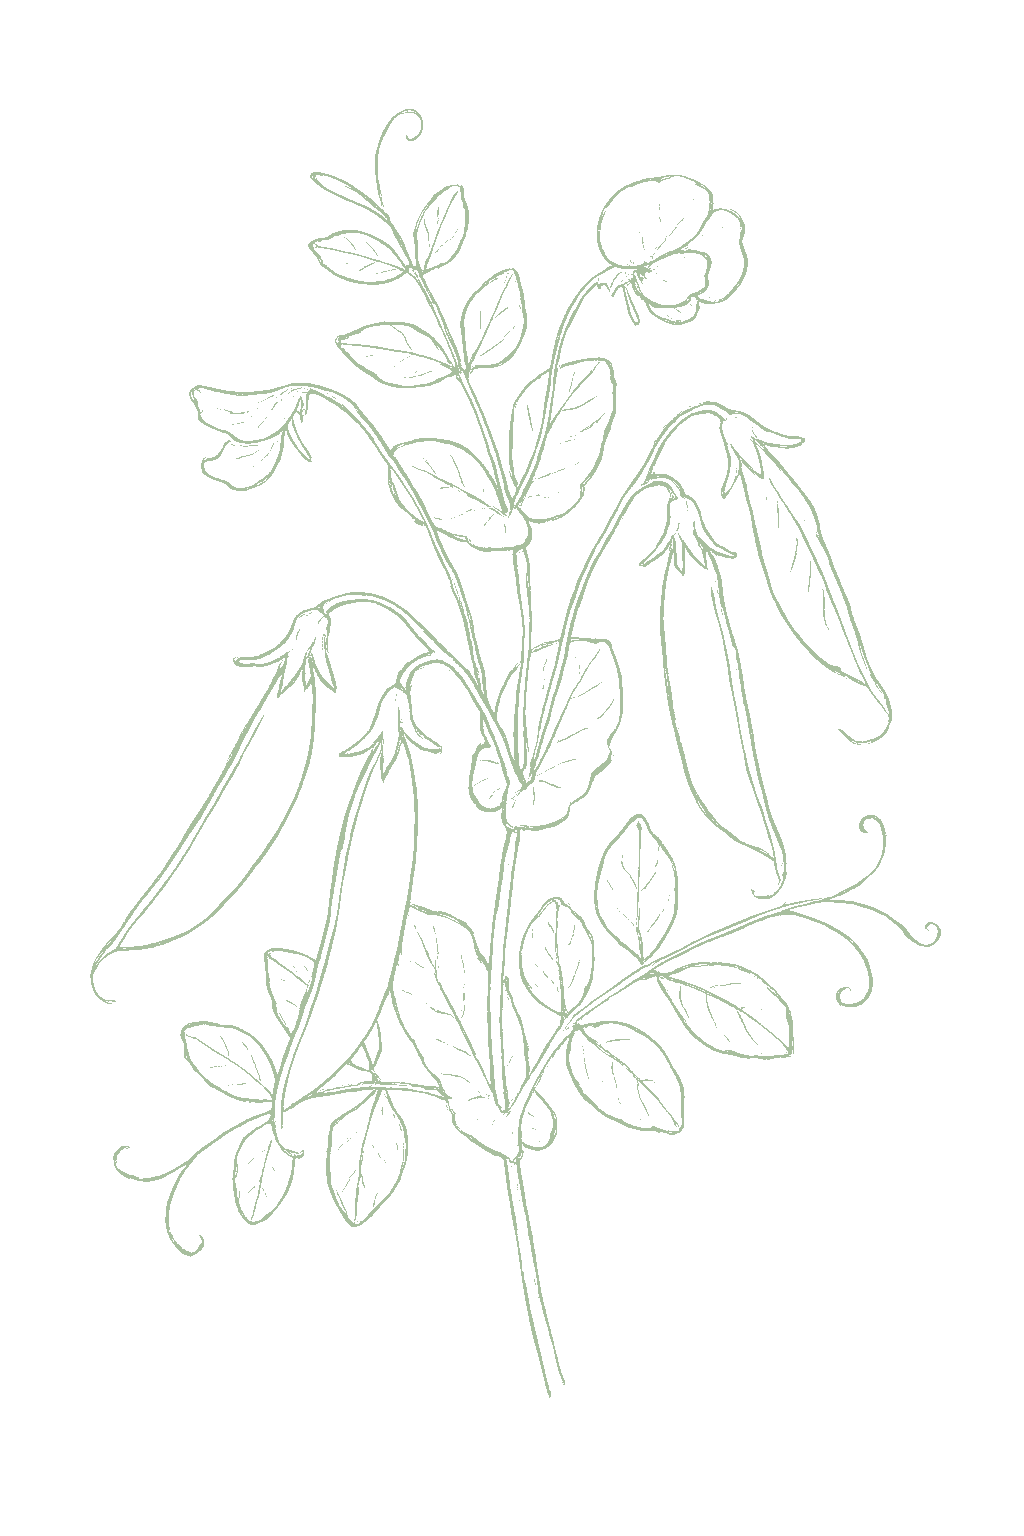
Snow peas are the flat, tender peas you eat pod and all, stir-fried or raw, picked while the pods are still flat and the peas inside are tiny. They are a cool-weather crop: you plant the seeds straight in the garden as soon as the soil can be worked in spring, and again in late summer for fall, not in the heat of summer. Young plants handle frost, but the vines fade once it gets hot. Tall kinds need a trellis to climb; short kinds hold each other up. They go from seed to harvest in about two months and, like all peas, feed the soil with nitrogen. They are a close cousin of the plumper sugar snap pea. Snow peas (Pisum sativum) are a cool-season, frost-hardy legume grown for their flat, edible immature pods, picked young before the seeds swell (the mangetout type). Unlike warm-season beans, peas are sown as early as the soil can be worked in spring and again in fall, and they decline once summer heat passes about 80°F, so the season runs opposite a bean's. Climbing types need a trellis while bush types stand together; as a legume the crop fixes much of its own nitrogen and asks little feeding, reaching a flat, sweet pod in about 55 to 70 days. They are distinct from the sugar-snap pea, a cousin grown for plump, rounded pods eaten whole when filled.
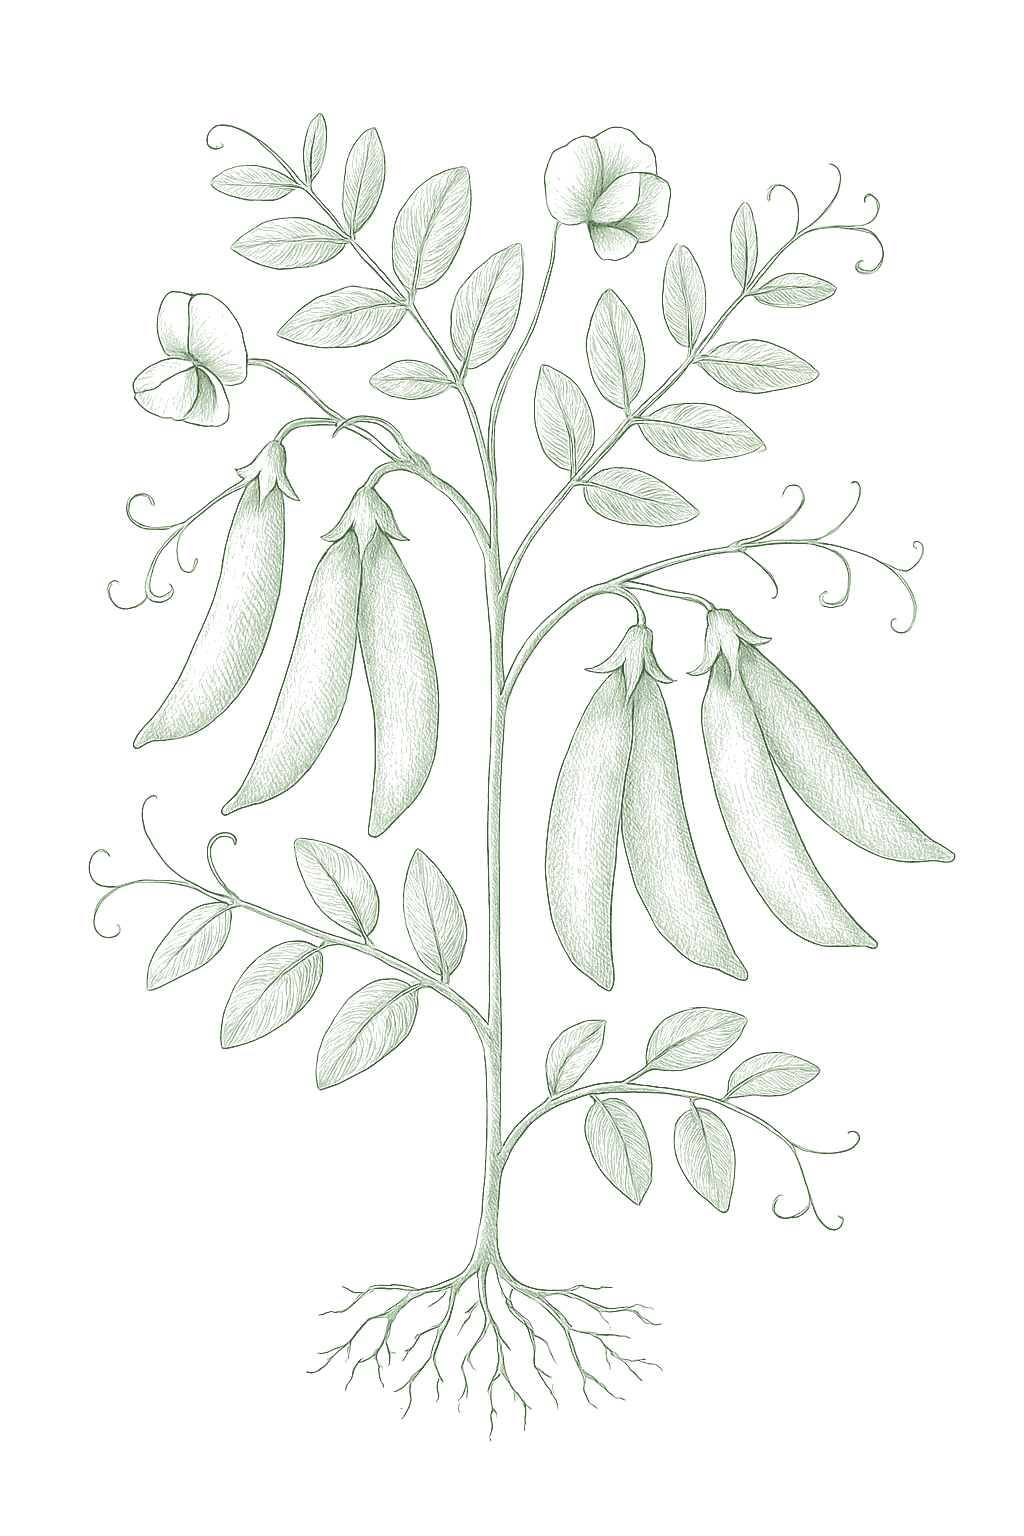
Off-season for snow peas in zone 9.
Zone 9 averages a last frost around March 1. Within Zone 9, the colder half (9a, winters down to 20°F) runs about a week later. The warmer half (9b, winters down to 25°F) runs about a week earlier. The plant app picks your subzone from your ZIP.
| Subzone | Last spring | First fall | Growing days | Winter min | Fruits reliably |
|---|---|---|---|---|---|
| 9a | Mar 8 | Nov 24 | ~261 | 20-25°F | Yes · two seasons |
| 9b | Feb 28 | Nov 30 | ~275 | 25-30°F | Yes · two seasons |
Averages from 8 weather stations per subzone, drawn from NOAA 1991-2020 Climate Normals. Your actual frost date can vary by up to two weeks based on elevation, proximity to water, and local topography.
In Zone 9, snow peas can be planted February through May, then again October, skipping the summer heat. Harvest runs November through May.
Plant a little patch of snow peas every week or two instead of all at once, so you get a steady supply before the heat ends them. Do this through cool spring, and again in late summer for fall where it works. In hot areas, skip summer and keep sowing through the cool months.Snow peas crop over a short window and then decline in the heat, so sow small batches a week or two apart through the cool spring window rather than all at once, and again for fall where summers allow. In hot regions skip summer entirely and succession-sow through the cool fall, winter, and early spring.
In Zone 9, snow peas can be planted October through December, skipping the summer heat. Harvest runs January through April.
Plant a little patch of snow peas every week or two instead of all at once, so you get a steady supply before the heat ends them. Do this through cool spring, and again in late summer for fall where it works. In hot areas, skip summer and keep sowing through the cool months.Snow peas crop over a short window and then decline in the heat, so sow small batches a week or two apart through the cool spring window rather than all at once, and again for fall where summers allow. In hot regions skip summer entirely and succession-sow through the cool fall, winter, and early spring.
In Zone 9, snow peas can be planted October through November, skipping the summer heat. Harvest runs December through April.
Plant a little patch of snow peas every week or two instead of all at once, so you get a steady supply before the heat ends them. Do this through cool spring, and again in late summer for fall where it works. In hot areas, skip summer and keep sowing through the cool months.Snow peas crop over a short window and then decline in the heat, so sow small batches a week or two apart through the cool spring window rather than all at once, and again for fall where summers allow. In hot regions skip summer entirely and succession-sow through the cool fall, winter, and early spring.
In Zone 9, snow peas can be planted February through September. Harvest runs October through June.
Plant a little patch of snow peas every week or two instead of all at once, so you get a steady supply before the heat ends them. Do this through cool spring, and again in late summer for fall where it works. In hot areas, skip summer and keep sowing through the cool months.Snow peas crop over a short window and then decline in the heat, so sow small batches a week or two apart through the cool spring window rather than all at once, and again for fall where summers allow. In hot regions skip summer entirely and succession-sow through the cool fall, winter, and early spring.
In Zone 9, snow peas can be planted March through May, then again September through October, skipping the summer heat. Harvest runs November through May.
Plant a little patch of snow peas every week or two instead of all at once, so you get a steady supply before the heat ends them. Do this through cool spring, and again in late summer for fall where it works. In hot areas, skip summer and keep sowing through the cool months.Snow peas crop over a short window and then decline in the heat, so sow small batches a week or two apart through the cool spring window rather than all at once, and again for fall where summers allow. In hot regions skip summer entirely and succession-sow through the cool fall, winter, and early spring.
In Zone 9, snow peas can be planted January through August. Harvest runs February through October.
Plant a little patch of snow peas every week or two instead of all at once, so you get a steady supply before the heat ends them. Do this through cool spring, and again in late summer for fall where it works. In hot areas, skip summer and keep sowing through the cool months.Snow peas crop over a short window and then decline in the heat, so sow small batches a week or two apart through the cool spring window rather than all at once, and again for fall where summers allow. In hot regions skip summer entirely and succession-sow through the cool fall, winter, and early spring.
In Zone 9, snow peas can be planted February through March, then again September through October, skipping the summer heat. Harvest runs April through May.
Plant a little patch of snow peas every week or two instead of all at once, so you get a steady supply before the heat ends them. Do this through cool spring, and again in late summer for fall where it works. In hot areas, skip summer and keep sowing through the cool months.Snow peas crop over a short window and then decline in the heat, so sow small batches a week or two apart through the cool spring window rather than all at once, and again for fall where summers allow. In hot regions skip summer entirely and succession-sow through the cool fall, winter, and early spring.
In Zone 9, snow peas can be planted October through November. Harvest runs November through January.
Plant a little patch of snow peas every week or two instead of all at once, so you get a steady supply before the heat ends them. Do this through cool spring, and again in late summer for fall where it works. In hot areas, skip summer and keep sowing through the cool months.Snow peas crop over a short window and then decline in the heat, so sow small batches a week or two apart through the cool spring window rather than all at once, and again for fall where summers allow. In hot regions skip summer entirely and succession-sow through the cool fall, winter, and early spring.
In Zone 9, snow peas can be planted March through April, then again September through October, skipping the summer heat. Harvest runs November through April.
Plant a little patch of snow peas every week or two instead of all at once, so you get a steady supply before the heat ends them. Do this through cool spring, and again in late summer for fall where it works. In hot areas, skip summer and keep sowing through the cool months.Snow peas crop over a short window and then decline in the heat, so sow small batches a week or two apart through the cool spring window rather than all at once, and again for fall where summers allow. In hot regions skip summer entirely and succession-sow through the cool fall, winter, and early spring.
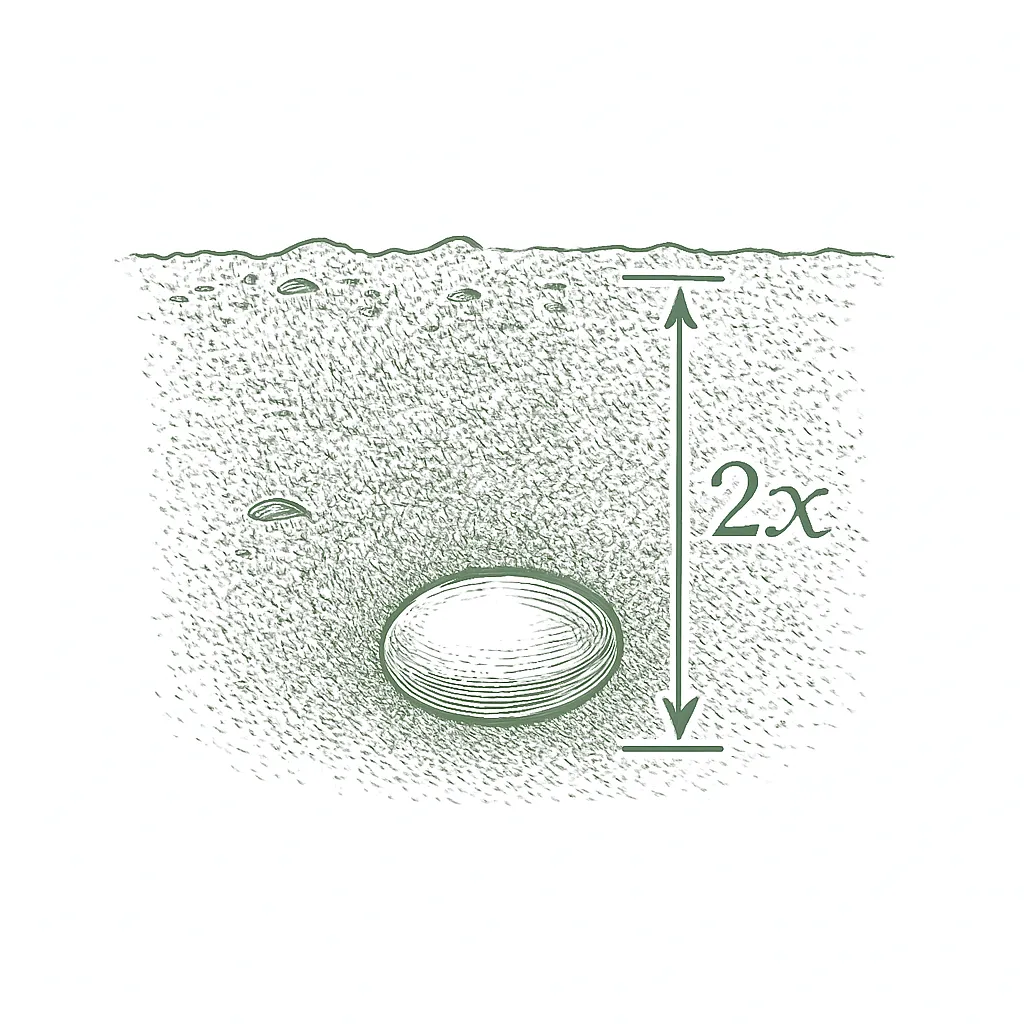
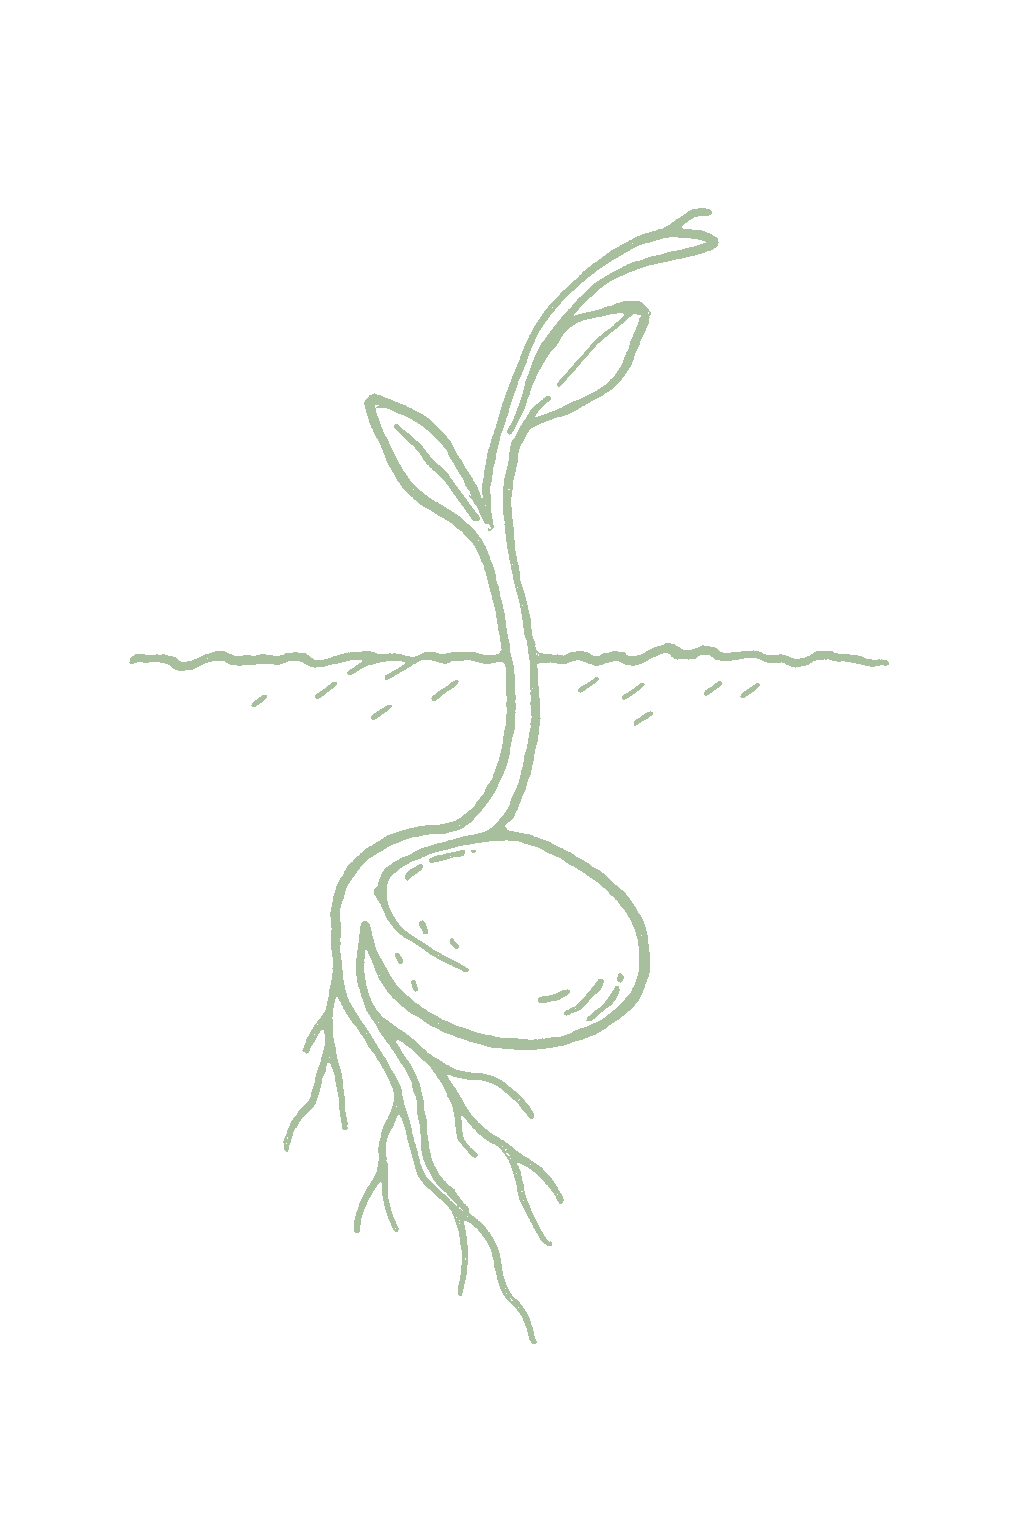
Plant pea seeds right where they will grow, as soon as the soil can be worked in spring and again in late summer for fall. Peas do not like their roots disturbed, so skip starting them indoors. Plant about 1 to 1.5 inches deep.Direct-sow into cool, workable soil as early as the ground can be prepared in spring, and again for a fall crop. Peas resent root disturbance and germinate readily in cool soil, so transplanting offers no advantage. Sow about 1 to 1.5 inches deep; some growers presoak seed overnight to speed emergence.



Not sure what soil you have? Grab a small handful of damp soil from your garden bed and squeeze it. If it crumbles apart easily, it's sandy. If it holds together but breaks when you poke it, it's loam (what most vegetables want). If it stays in a hard, slippery ball, it's clay.
Peas like loose, fertile soil that drains well, with some compost mixed in. The main thing they care about is good drainage, because peas planted in cold, soggy soil tend to rot before they sprout. If water sits on your bed for a long time after rain, work in compost or plant on a raised bed first.
Mix 2-3 inches of compost into the top 6 inches of your bed before planting. Compost holds moisture (which sandy soil drains too fast) and adds the nutrients sandy soil tends to lack. Repeat each season. Compost breaks down over time.
Mix 2-3 inches of compost AND a few inches of coarse sand or perlite into the top 6 inches of your bed. The compost feeds the plants; the sand breaks up the clay so air and water can move through. Don't add sand without compost. It can compact like concrete.
If amending your soil sounds like too much work, or if your soil is heavy clay, full of rocks, or contaminated, build over it. A raised bed at least 12 inches deep filled with a 50/50 mix of compost and sandy loam gives you ideal growing soil with no battles. A 5-gallon container with quality potting mix does the same for one plant at a time. Both bypass your native soil entirely.
The numbers that matter, at a glance.
Bush and dwarf snow peas grow well in a pot at least 5 gallons and 8 inches deep. Push a few short twiggy branches or a small trellis into the pot for the tendrils to climb, plant several seeds, and keep the mix evenly moist.Dwarf and bush snow pea types suit containers well; tall climbing varieties are awkward in pots because of their trellis height. A pot of at least 5 gallons and 8 inches deep, planted with several seeds and given a few twiggy branches or a small trellis for support, performs well with even moisture.
Oregon Sugar Pod IIThe standard home-garden snow pea: semi-dwarf vines around 30 inches, heavy yields of large flat pods, and broad disease resistance including powdery mildew and Fusarium wilt. The most widely recommended choice.
Dwarf Gray SugarCompact heirloom around 24 to 30 inches with attractive purple flowers; an early, space-saving snow pea that resists Fusarium wilt and suits containers and small beds.
SnowbirdEarly, bush-type snow pea around 18 inches that bears pods in clusters of two or three for easy picking; a good quick, self-supporting choice.
Ask what your balcony or roof can carry
A balcony or roof can only hold so much weight. Before you set heavy pots there, ask a building architect what it can safely carry.Illinois Extension's guidance is to consult a building architect about weight limits before placing heavy pots on a balcony or rooftop garden. It gives no weight figure.
Never grow food in a container with anything toxic in it
Many kinds of containers can be used. Whatever you choose, keep anything toxic out of it, especially if you are growing food.Colorado State accepts nearly any container material but warns against using a container that holds toxic materials, especially for edible plants. Illinois adds that a vegetable container should be free of chemicals toxic to plants or people, and urges caution with treated lumber when growing food. If you cannot account for what a repurposed container once held, that alone is a reason to keep food out of it.
Secure hanging containers well
Fasten hanging baskets and window or rail boxes securely. Think about what is below them too, since they can drip on people or things underneath.Illinois Extension asks growers to secure hanging containers well and to think through the safety issues of hanging them. Placement matters too, since a hanging container can drip onto people or belongings below.
Peas grow best in soil from about 6.0 to 7.0, which is slightly acidic to neutral. They do poorly in strongly acidic soil below 6.0, so if a soil test reads low, mix in some lime before planting. Most garden beds are already in a good range.Aim for a soil pH of about 6.0 to 7.0. Clemson recommends a 6.0 to 6.5 target, and growth is inhibited on acid soils at pH 6.0 and below, so lime an acid plot the season before sowing. Peas tolerate up to roughly 7.5, and a soil test is the reliable way to confirm both pH and fertility before the season starts.
Peas make much of their own food from the air, so they barely need fertilizer. Mix a little compost or balanced fertilizer into the bed before you plant and that is enough. Too much fertilizer gives you big leafy vines but fewer pods. If you like, you can coat the seed with a pea inoculant powder, which helps the roots make nitrogen, but it is optional.Snow peas are light feeders. As legumes they fix much of their own nitrogen through root nodules, so heavy nitrogen drives leafy vine growth at the expense of pods. Without a soil test, work a little balanced fertilizer or compost into the bed before sowing; that is usually all peas need. An inoculant of the right Rhizobium bacteria is optional and can help nodulation where peas have not been grown before. Avoid high-nitrogen feeds, which delay flowering and cut pod set.
A balanced vegetable fertilizer like 5-10-10 mixed into the bed before planting is plenty.A balanced 5-10-10 worked in before sowing if no soil test is available; skip extra nitrogen, which peas supply themselves.
Peas get along with most cool-season vegetables. They grow happily beside carrots, radishes, and lettuce, and because they leave nitrogen in the soil, they are a good crop to grow before a leafy green. The pairing to avoid is planting peas right next to onions or garlic. As a nitrogen-fixing legume, peas leave the soil richer for what follows and sit comfortably among the other cool-season crops grown in the same early-spring and fall windows: carrots, radishes, and lettuce are classic bed-mates. The long-standing caution is to keep peas away from the alliums (onion, garlic), which are widely held to suppress legumes through the same root-bacteria interference seen with beans.
Snow peas are ready when the pods are flat, bright green, and tender, before you can see the peas swelling inside, about a week after the flowers open. Pick every few days to keep more pods coming.Pick snow peas while the pods are flat, bright, and tender, before the seeds inside begin to swell, about a week after flowering. Harvesting every couple of days keeps the vines producing and catches the pods at peak sweetness.
Each pea plant gives only a modest amount, so peas are grown in rows, not one at a time. A 10-foot row of snow peas gives about 3 to 4 pounds of pods over its picking weeks.Snow peas yield modestly per plant, so they are grown in rows or blocks rather than singly. Utah State puts a snow or snap pea crop at about 3 to 4 pounds of pods per 10 feet of row over its cropping window; a trellised double row in a small bed gives a steady picking for several weeks.
Snow peas crop for a few weeks, then slow down as it heats up. Most of the harvest comes in that stretch, so planting a second short row a week or two later, and a fall crop where it works, keeps peas coming longer.Snow peas come on over a few weeks and then decline as the weather warms. Most of a sowing's crop arrives in that window, which is why a couple of succession sowings a week or two apart, and a separate fall crop where summers allow, are the way to stretch the supply. Snow peas are a great first-year crop. You plant the seed straight into cool spring soil, and in about two months you are picking flat, sweet pods. The main things that affect your harvest are planting early before the heat, giving the vines a trellis, and picking often while the pods are flat.Snow peas are a rewarding first-year crop: cold-hardy seed sown straight into early-spring soil, quick to a flat, sweet pod in about 55 to 70 days, and forgiving of cool weather. The main levers on yield are sowing early enough to beat the heat, giving the vines support, and picking often while the pods are flat.
These are snow peas, the flat kind you eat pod and all while the pods are still flat and the peas inside are tiny. They are different from sugar snap peas, which are plump and rounded and eaten when filled out. Oregon Sugar Pod II and Dwarf Gray Sugar are easy, dependable choices; pick a short bush type if you do not want to build a tall trellis.These are flat-podded snow (mangetout) peas, picked young while the pods are flat and the seeds barely formed. Do not confuse them with sugar snap peas, a separate edible-pod type bred for plump, rounded pods eaten whole once filled. Lean to powdery-mildew- and wilt-resistant varieties such as Oregon Sugar Pod II where those diseases recur, and match the variety's height to your support: bush types stand alone, tall types need a trellis.
The ladder troubleshoots from the gentlest solution to the strongest. Start with the gentlest option and only move on when and if it doesn't work.
Where pea viruses are a known problem in your area, start at the seed rack. Oregon Sugar Pod II is one snow pea sold with virus resistance, and choosing it costs you nothing at planting time.The aphid's real cost on peas is what it transmits rather than what it eats, so variety choice is the step with the most leverage; Oregon Sugar Pod II carries virus resistance and is worth specifying where pea viruses have a local history.
Lay reflective mulch, a silvery plastic or foil sheet spread on the soil, while the plants are still small. It confuses aphids looking for somewhere to land, so fewer settle in and fewer viruses move around with them.Reflective film disorients incoming aphids, cutting feeding pressure and the virus spread that matters more here; lay it early while the crop is short enough for the film to still show.
Pull the weeds and clover growing near the bed. Aphids shelter in them and move across onto the peas from there.Nearby weeds and clover harbor pea aphids between crops, so clearing that ground before sowing and keeping the edges clean removes the bridge into the planting.
Go easy on the fertilizer. Heavy feeding pushes out soft, sappy new growth, which is the growth aphids do best on.Overfeeding nitrogen produces the lush, succulent flush pea aphid colonies build on fastest, so hold the feeding back rather than pushing growth.
Knock the clusters off with a strong jet from the hose as soon as you find them, while there are still only a few. It is the first thing to reach for, before any spray.A forceful water knock-down on the growing tips and flower stalks buys time while natural enemies catch up; given the virus risk, do it at first detection rather than waiting for visible damage.
Ladybugs, lacewings and tiny parasitic wasps (wasps whose young develop inside aphids) usually bring the numbers down on their own. Give them a chance before you spray anything.Ladybugs, lacewings and parasitic wasps usually pull pea aphid populations down unaided; the gap is early in the cool weather, when the aphid's reproduction outruns them, and that gap is what the physical steps cover.
If colonies keep building, insecticidal soap works on contact, so it has to land on the aphids themselves. Spray while numbers are low and cover the growing tips, the flower stems and the undersides of the leaves.Soap kills on contact, so coverage of tips, flower stalks and leaf undersides decides the outcome; begin at the first colonies rather than after curling and yellowing have set in.
The bottom rungs are products with label rules: timing, pollinators, and days to wait before harvest. Before you spray →
The ladder troubleshoots from the gentlest solution to the strongest. Start with the gentlest option and only move on when and if it doesn't work.
Clear out and destroy the old pea plants once the last pods are picked. The beetles sit out the winter in that debris, so taking it away leaves them nowhere to shelter.Adults overwinter in pea trash, so destroying the residue after harvest strips the shelter that carries the single annual generation through to spring.
Move the peas to a different part of the garden each year instead of sowing them where last year's crop stood.Rotating off last season's pea ground puts distance between emerging adults and the only crop they can use, since this weevil's host range is peas alone.
Where this beetle is established, sowing early helps: if the pods finish filling before the adults get busy, the crop slips past the worst of it.An early sowing that completes pod fill ahead of peak adult activity escapes the heaviest egg-laying; a timing lever rather than a control, and it depends on locally observed adult activity.
Watch the plants while they are in flower, which is when the beetles arrive to lay eggs, and pick off any adults you find on the blossoms.Scout at bloom, when egg-laying begins, and take adults off the flowers by hand; in a home patch that reduces the eggs laid on the young pods.
Drape a light row cover over the planting once flowering starts, so the beetles cannot reach the young pods to lay on them.Cover applied at flowering excludes adults during the window when they move into the crop to lay on young pods; it is the exclusion half of the same bloom-timed step as handpicking.
No spray for this one. Prevention is the control.
The ladder troubleshoots from the gentlest solution to the strongest. Start with the gentlest option and only move on when and if it doesn't work.
Clear weeds and tall grass out of the bed and along its edges before you sow, and keep the edges clean through the season. The moths lay eggs in that cover, so removing it takes out caterpillars before they hatch.These caterpillars move in from weedy and grassy ground, so stripping that cover before sowing and holding the row edges clean removes egg-laying sites right next to the crop.
Turn the bed over a couple of weeks before you sow. That brings the caterpillars already living in the soil up to the surface, where they dry out.Working the empty bed a couple of weeks ahead of sowing exposes resident larvae and dries them out; it is the one step that reaches the stage sheltering in the soil.
Go out at dusk or first thing in the morning, when they feed, and pick the caterpillars off. If a seedling has toppled, scrape the soil beside it and you will often turn up the curled cutworm that cut it.Both feed at night and shelter in soil or debris by day, so evening and early-morning scouting is when handpicking pays; a toppled seedling marks a larva resting in the soil beside it.
Slip a collar of cardboard or foil around each young plant so a cutworm cannot reach the stem at soil level. It is fiddly, but at the scale of a home row it works.A cardboard or foil collar set at the soil line blocks the cut itself, which is the damage that matters at the seedling stage; practical in a small planting.
A light row cover over the seedlings keeps the moths from laying on the planting in the first place. Worth putting on from the start if these caterpillars turn up most years where you garden.Cover keeps egg-laying moths off the bed and protects the seedling stage, which is where the loss happens; the step to default to where cutworm or armyworm pressure is a known annual.
Bt (Bacillus thuringiensis, a naturally occurring bacterium sold as a caterpillar spray) on the foliage controls young armyworms. Time it to small caterpillars, when the chewing first shows.Bt is the foliar answer for armyworms and works on early instars, so time it to the first chewing rather than to a stripped row; it is aimed at foliage feeders, not at cutworms severing stems at the soil line, which the collars cover.
The bottom rungs are products with label rules: timing, pollinators, and days to wait before harvest. Before you spray →
The ladder troubleshoots from the gentlest solution to the strongest. Start with the gentlest option and only move on when and if it doesn't work.
Pull the weeds near the bed, since thrips shelter in them and move onto the peas from there.Weedy ground is where thrips hold and build before moving into the crop, so clearing it ahead of the warm, dry stretch late in the pea season removes the reservoir.
Reflective mulch, a silvery sheet laid on the soil, confuses thrips looking for the plants and cuts the viruses they can carry.Reflective film disorients incoming thrips and reduces virus movement; lay it at sowing while the crop is still small.
If the numbers do climb, a strong spray of water knocks them back. Most home pea crops are finished before thrips reach that point.A forceful water knock-down is the first response where numbers climb; on a spring crop the season usually ends before thrips reach a level that justifies more.
Minute pirate bugs, lacewings and other helpful insects pitch in on their own, and light feeding usually needs no treatment at all.Minute pirate bugs and lacewings work this pest unaided in most seasons, and peas generally outgrow light feeding, so the bar for intervening should stay high.
Where thrips do build up, insecticidal soap reduces them. It works on contact, so aim at the new growth, where the twisting and scarring show first.Soap backs up the water knock-down where numbers keep climbing; contact-only, so coverage of the distorted new growth and the silvered pods decides it.
The bottom rungs are products with label rules: timing, pollinators, and days to wait before harvest. Before you spray →
The ladder troubleshoots from the gentlest solution to the strongest. Start with the gentlest option and only move on when and if it doesn't work.
Start with a resistant variety. It is the strongest single move against this one: Oregon Sugar Pod II and many newer snow peas carry powdery mildew resistance.Resistance is the highest-leverage step here, since the disease moves fast once established and the window it arrives in is short; Oregon Sugar Pod II and many modern snow peas carry it.
Sow as early as the ground can be worked so the crop finishes before the mildew weather arrives, which is this crop's guidance along with the resistant variety this ladder starts with. Mildew tends to build late, so an early sowing simply finishes ahead of it; this method's cautions carry the cold-soil trade that comes with the early date.An early sowing lets the crop finish pod fill before the late-season mildew weather, which is this crop's guidance, and it works because the pressure is seasonal: mildew builds late, and spring sowings mostly finish ahead of it. It sits beside the resistant varieties at the front of the ladder, a when beside their what. The early edge has its own cost in cold, wet soil, and this method's cautions carry it.
Give the plants room and put up a trellis so air moves through the vines instead of sitting still in a dense tangle.Spacing and a trellis are set at sowing and cannot be retrofitted; an open, trained canopy is also what makes pulling the first affected leaves practical at all.
Pick off the worst leaves as soon as you spot the white dusting. If the spring crop is close to finished anyway, picking what is ready and pulling the plants is often the simplest answer.Stripping the most affected leaves early keeps the first spots from seeding the rest of the planting; on a spring crop near the end of its run, harvesting off and pulling the vines is often the practical call instead of a spray program.
A labeled biofungicide (a spray built on a living organism rather than a chemical) can suppress it if you start at the first spots and repeat as the label directs.A labeled biofungicide begun at the first colonies and repeated on label interval suppresses rather than cures; the value is entirely in starting before the leaves are covered.
Sulfur started early and repeated on the label schedule helps hold it back. Once the powder covers the leaves and they begin yellowing, spraying is unlikely to turn it around.Sulfur is the stronger of the two spray options here and works preventively: begun at first signs and repeated per label it suppresses, while a start made after the canopy is coated and yellowing is unlikely to recover the crop.
The bottom rungs are products with label rules: timing, pollinators, and days to wait before harvest. Before you spray →
The ladder troubleshoots from the gentlest solution to the strongest. Start with the gentlest option and only move on when and if it doesn't work.
Plant a wilt-resistant variety. Most modern snow peas are, and Oregon Sugar Pod II, Dwarf Gray Sugar and Mammoth Melting Sugar all carry the resistance.Resistance is the primary management, since the fungus persists in soil for years and infected plants cannot be treated; Oregon Sugar Pod II, Dwarf Gray Sugar and Mammoth Melting Sugar all carry wilt resistance. Several races of the pathogen exist.
Move peas onto different ground on a three-to-four-year cycle, so the bed where the wilt appeared gets a long break from peas.A three to four year rotation away from infested ground is the companion to resistance; it does not clear a fungus that persists for years, but it keeps a susceptible planting off the worst of the inoculum.
Improve the drainage in the bed before you sow. It is one of the standard preventive steps for this wilt, and it does nothing for plants that are already infected.Drainage work is a preventive site step only; an infested bed cannot be cleared of the fungus, so nothing at this rung recovers a symptomatic plant.
Pull the affected plants and get rid of them rather than composting them. There is no cure once a plant is infected, and leaving it in place adds to what is in the soil.Roguing symptomatic plants and destroying them limits further buildup; it is damage control rather than treatment, since the pathogen is already resident in the bed.
No spray for this one. Prevention is the control.
The ladder troubleshoots from the gentlest solution to the strongest. Start with the gentlest option and only move on when and if it doesn't work.
Sow into well-drained ground or a raised bed rather than a cold, low, wet corner of the garden. Soggy soil is what makes this one bad.Site and drainage carry most of the weight: cold, saturated ground slows germination and holds seedlings in the vulnerable window, which is where the Pythium and Aphanomyces end of the complex does its damage.
Wait for the soil to warm and drain before you sow, and do not put seed into soggy ground. Handle the roots gently at planting, since damaged roots are an opening for these organisms.Sowing conditions decide this one: seed sitting in cold, wet soil is the setup, and root injury at planting is the second door in. There is no rescue for seed or seedlings that have already rotted, so a replant goes in once the bed has warmed and dried.
Move peas around the garden on a three-to-four-year cycle. Growing them in the same spot year after year is what lets these organisms build up.The three to four year rotation is aimed at Aphanomyces in particular, which builds in beds cropped to peas too often and can kill plants outright where infection is severe.
Clear the old pea plants out of the bed after harvest, and pull affected plants during the season instead of leaving them in the row.Clearing crop debris after harvest and removing affected plants limits further loss, but the organisms are already resident in the soil, so this is containment rather than a fix.
Some varieties offer partial tolerance to root rot, so it is worth reading the seed description. Treat it as a bit of extra margin, not as something that carries the crop on its own.Partial root-rot tolerance exists in some varieties; take it as margin on top of drainage and rotation rather than a substitute for either.
No spray for this one. Prevention is the control.
The ladder troubleshoots from the gentlest solution to the strongest. Start with the gentlest option and only move on when and if it doesn't work.
Buy certified disease-free seed, and do not save seed from a crop that had this blight. The fungus rides inside the seed, so a clean start matters more here than anything you can do later.The complex is seed-borne, so certified clean seed is the first control; saved seed off an infected crop reintroduces it directly, and the sunken pod lesions are the route the fungus takes into the seed.
Pull and get rid of affected plants, and clear every scrap of old pea debris after harvest instead of composting it. Nothing will bring infected tissue back, so removal is the job.Rogue affected plants and strip all pea residue after harvest; with no curative option and a debris-borne carryover, removal is the control.
Once you have had it, keep peas off that ground for at least three to four years.A minimum three to four year break off infested ground is the debris-side half of the control, since these fungi carry over on pea residue in the soil.
Water at the soil rather than over the top of the plants. Drops hitting infected leaves splash the fungus onto clean ones.Overhead irrigation is a dispersal mechanism here; watering at the base removes the splash that carries the fungus from infected tissue to clean.
Keep out of the patch while the vines are wet. Brushing past wet plants carries the fungus down the row with you.Working the planting while the foliage is wet moves the fungus by splash and contact, so when you trellis, pick or weed is itself a control decision.
No spray for this one. Prevention is the control.
Move your peas to a new spot each year, on about a three-year rotation, and longer if you have had disease trouble. Because peas feed the soil with nitrogen, whatever you plant there next will benefit.Rotate peas on a roughly three-year cycle, longer where Ascochyta blight or root rot have shown up. Their nitrogen-fixing habit makes them a good predecessor for nitrogen-hungry crops.
The plant app sends a timely reminder at every critical moment of your snow peas season. The wording adjusts to whichever you pick: beginner or seasoned. Here are three you'll see in Zone 9.
plant sends the right notification at exactly the right moment, for your zone, your weather, your crops. Founding members lock the rate forever.
We're building this guide with real growers. Got a question we missed? Ask here. We read every one and add the best answers right to this page.
Learned something the hard way? Pass it on. Real growers' tips make this guide better for the next person, and we credit you by name when yours goes live.
If you've grown this crop and you see a date, a temperature, a companion claim, or a recommendation that doesn't match your experience, tell us. Real growers' corrections make this guide better for the next person.
Every date, temperature, spacing, and recommendation on this page is sourced from university cooperative extension publications, peer-reviewed agricultural research, NOAA climate data, and direct extension calendars. Where claims are softer (traditional gardening wisdom not formally documented), we say so.
Spot a data point that doesn't match your experience? Submit a correction; accepted corrections earn full author credit on the page.
Zone-aware seasonal nudges, what's worth planting now, and the occasional recipe from the harvest. No spam, ever.