Care guide
The numbers that matter, at a glance.
Tap to switch. plant calibrates to where you are in the journey.
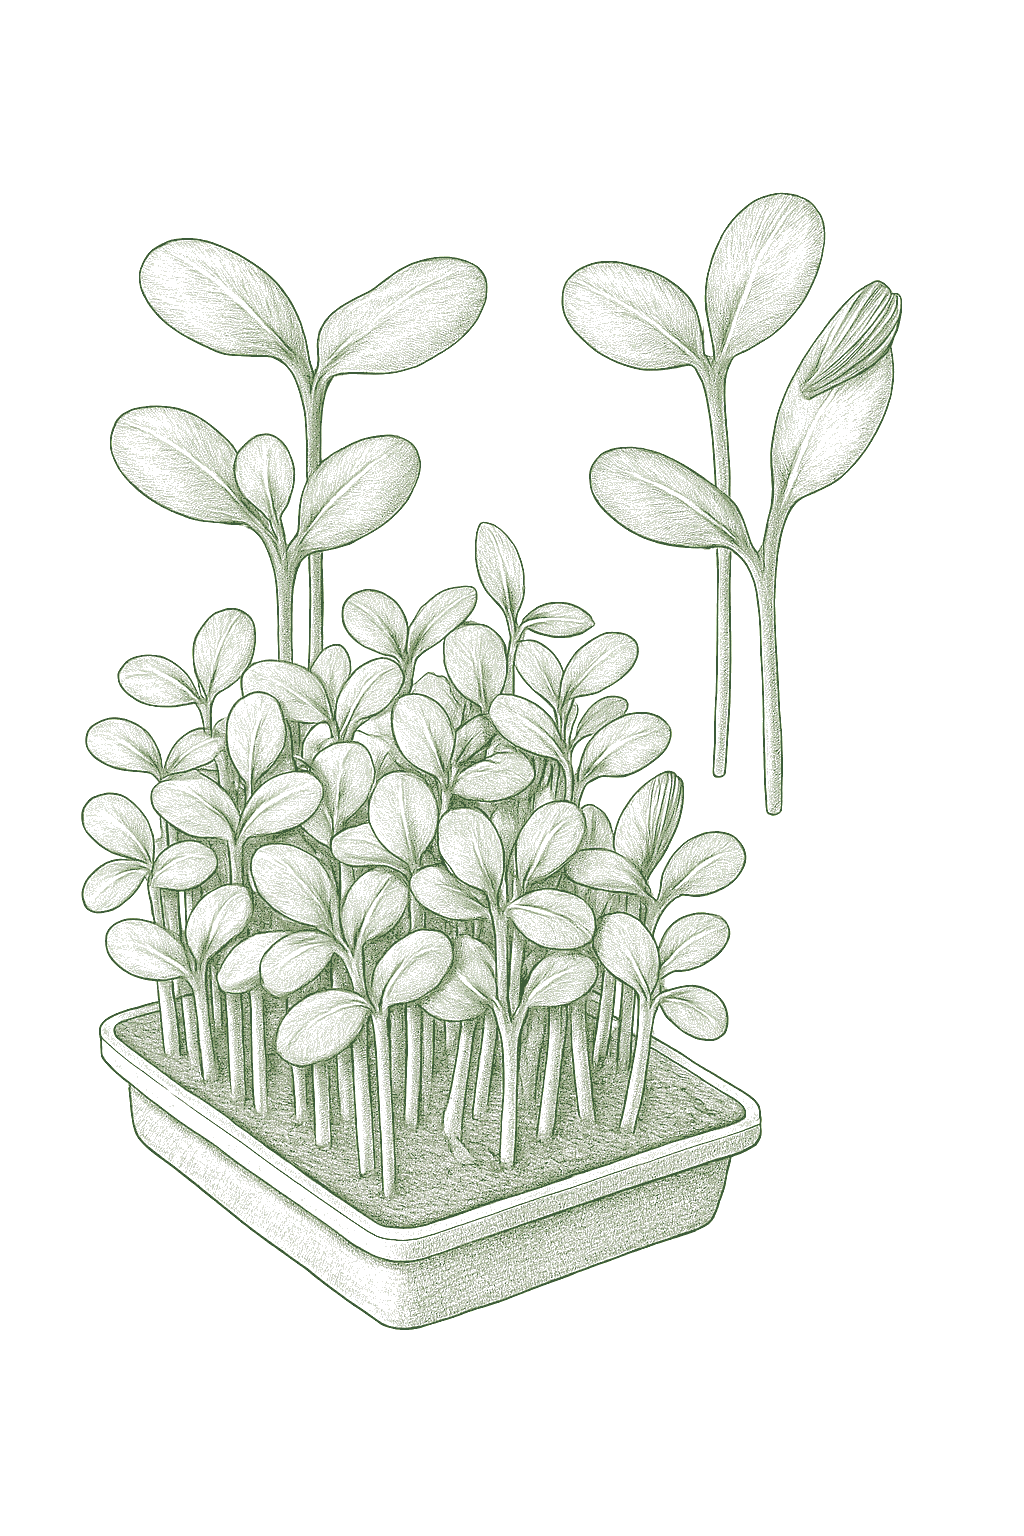
Sunflower sprouts, usually called sunflower shoots, are baby sunflower plants you grow indoors from black oil sunflower seed and cut young, about 8 to 14 days after planting. The steps are always the same: soak the seed for 8 to 12 hours, scatter it thickly on a shallow tray of coconut coir or seed-starting mix, cover the tray with a weight to keep it dark for a few days while it sprouts, then uncover it into bright light to green up, then snip and eat. Sunflower has two quirks compared with leafy microgreens: the big seed needs a soak, and the black shells stick to the leaves, so you press the tray with a weight to help them fall off and rub or rinse off any that remain. In return you get a nutty, crunchy, filling shoot that is a favorite for its texture. There is no outdoor season or weather to worry about, so they grow the same way no matter where you live.Sunflower sprouts, better called sunflower shoots, are the young seedlings of Helianthus annuus grown indoors from black oil sunflower seed and cut at the plump-cotyledon stage, roughly 8 to 14 days after sowing. The cycle is a short, repeatable indoor one: presoak the seed 8 to 12 hours, sow it densely on a shallow tray of coir or seed-starting mix, germinate under a covered, weighted tray in the dark for about 3 to 4 days, then uncover into light to green up and cut. Two things set sunflower apart from leafier microgreens: the large seed must be soaked, and the black hulls cling to the cotyledons, so growers weight the tray to help them shed and rub or rinse the stragglers off before harvest. The payoff is a nutty, crunchy, substantial shoot that many growers keep for texture alone. Because there is no frost, season, or hardiness zone involved, the same tray grows identically on a windowsill anywhere.
Indoors, every week of the year. Most mixes are ready in 8 to 14 days; start a fresh tray every week for a steady supply.
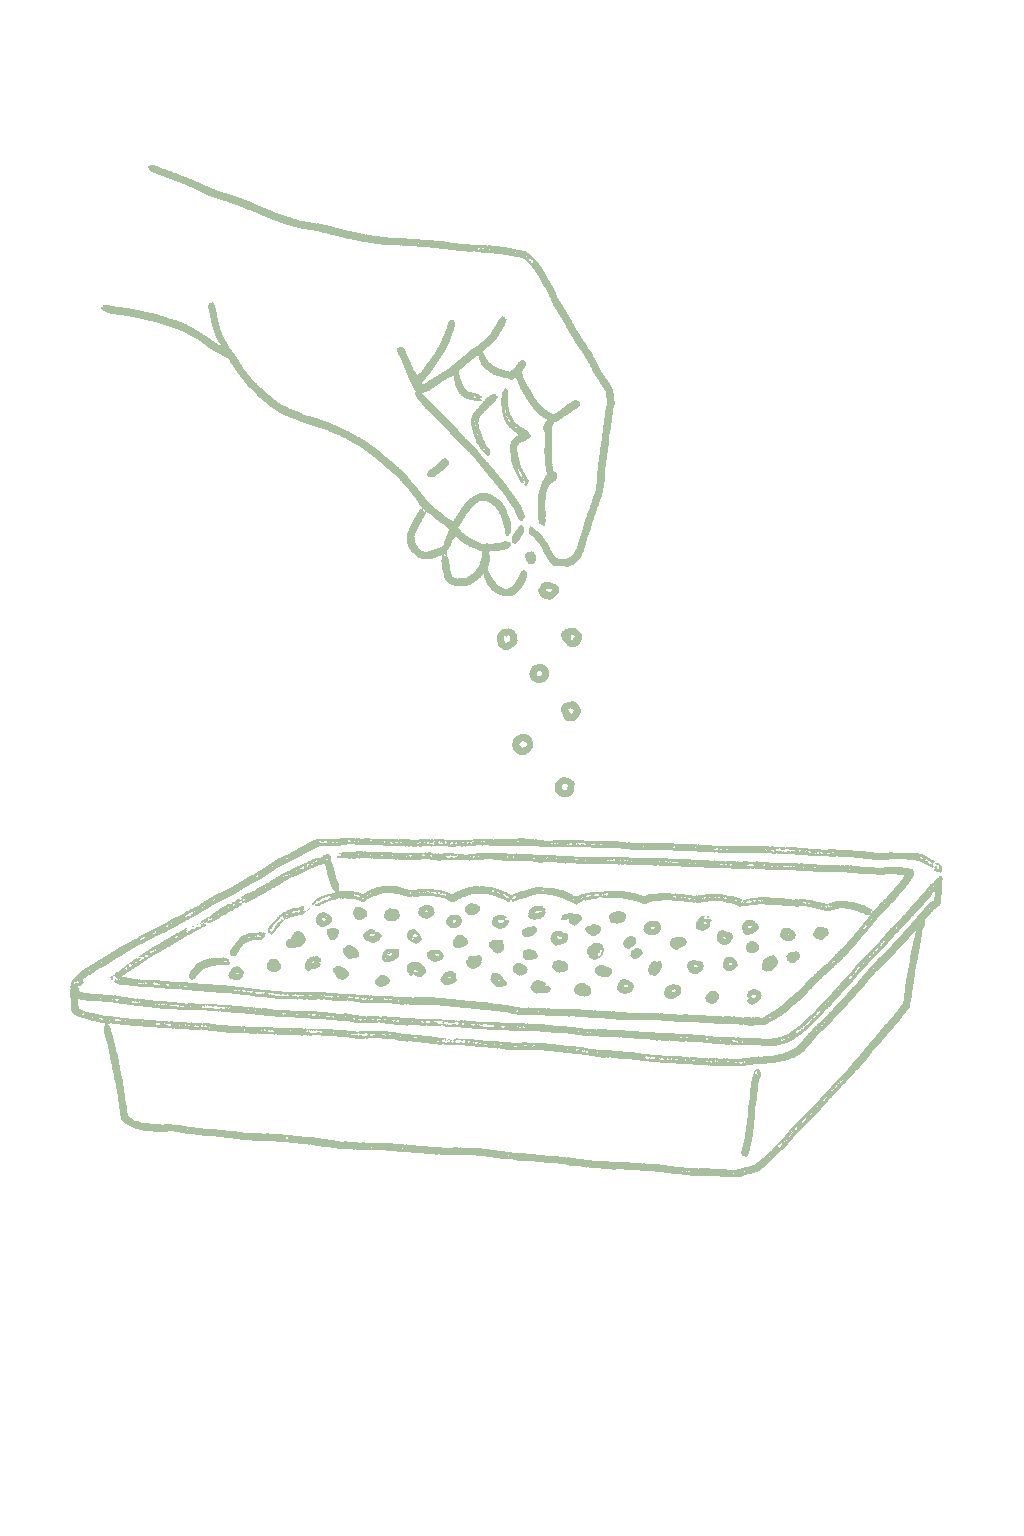
Plump, swollen seeds spread in a thick, even layer across the surface, over damp mix with no standing water.Fully imbibed, swollen seed in a dense even layer on moist, well-drained medium.
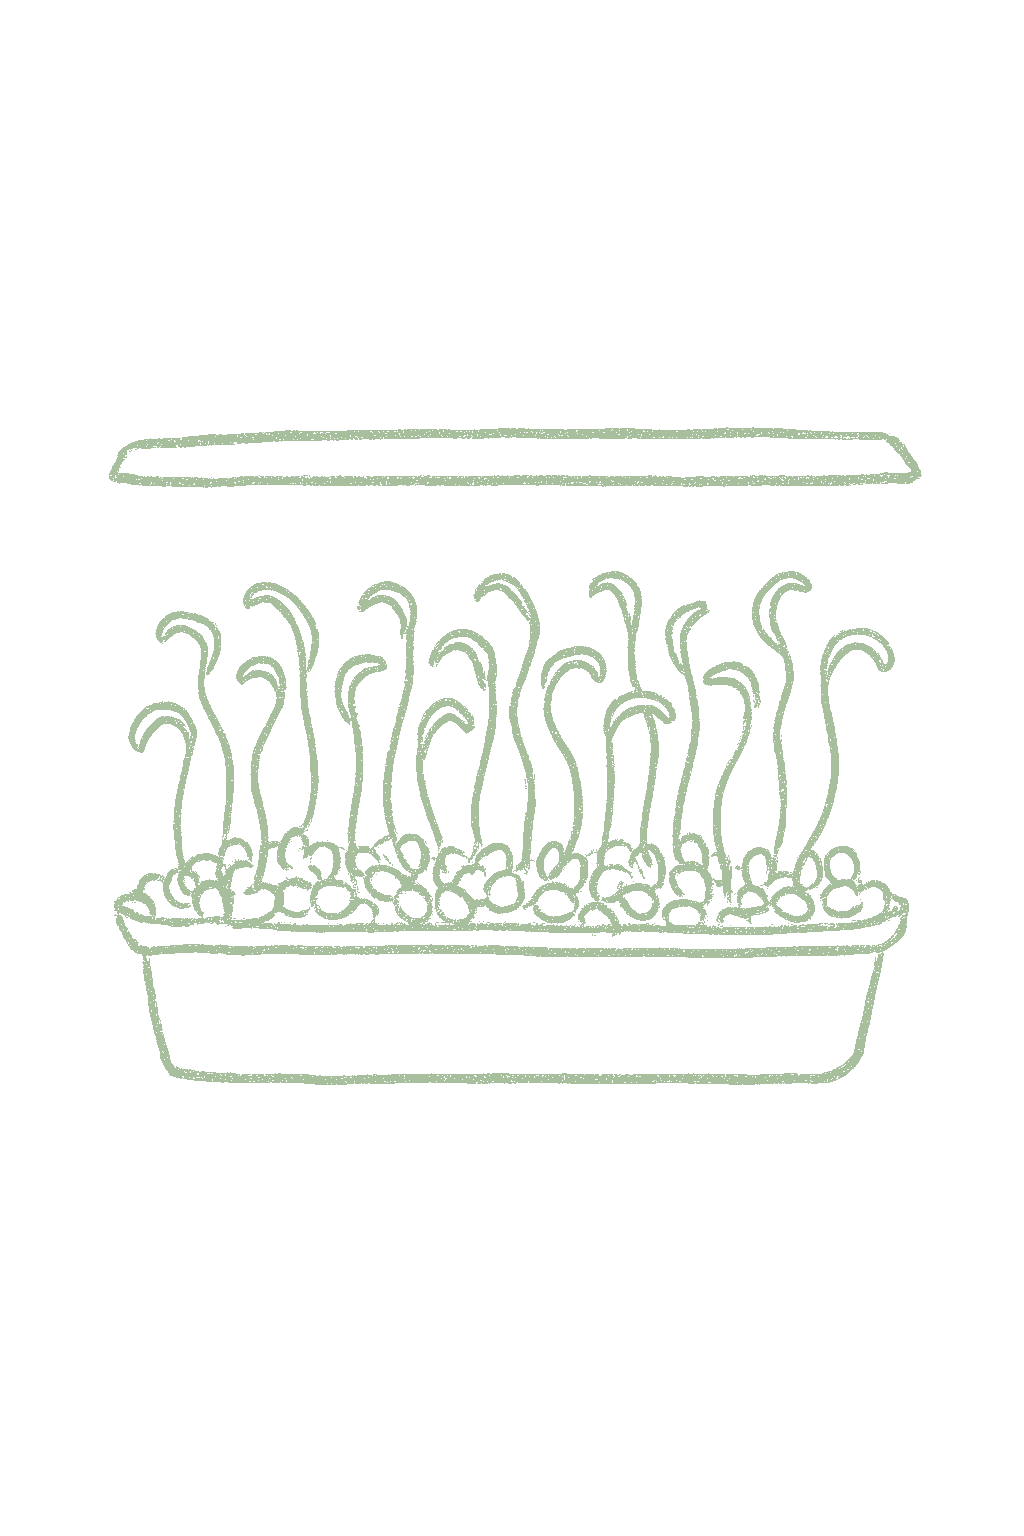
Seeds splitting and pushing out thick white roots, then sturdy pale stems, many still wearing their black-and-white seed coats like little helmets.Radicles emerge and thick blanched stems lift the cover; many hypocotyls still bearing pericarps (hulls).
Tall, pale, sturdy stems lifting the weighted cover together, many shedding or ready to shed their seed coats. Still pale, not green.Uniformly elongated blanched stems lifting the weight; hulls loosening or dropping from cotyledons.
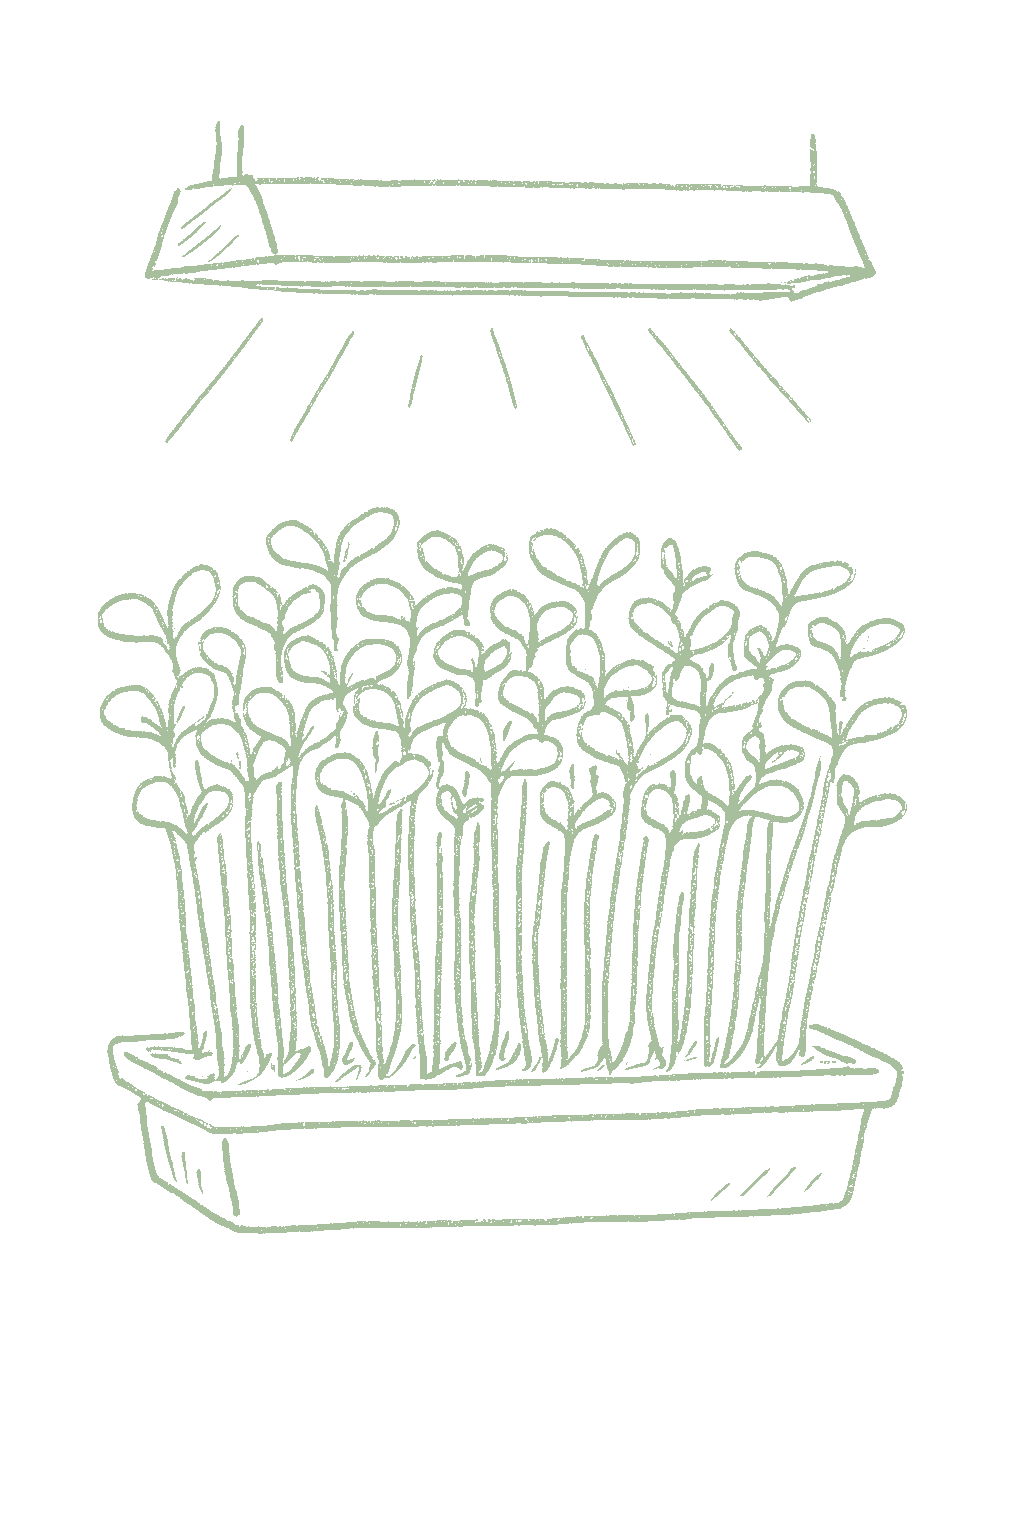
Thick, plump seed leaves turning deep green, standing on crisp white stems, with the last black seed coats brushing off easily.Cotyledons greening and thickening; residual hulls shed; crisp white hypocotyls.
Fat, green seed leaves on thick crunchy stems two to four inches tall, with no true leaves showing yet. They should taste nutty and fresh, not bitter.Plump green cotyledons on thick stems, pre-true-leaf; nutty, crunchy, not yet bitter.
The numbers that matter, at a glance.
You do not need to worry about soil pH for sunflower shoots. The mixes and coir sold for growing them are already fine as is.pH is not a practical lever for a single short indoor cycle on a soilless medium; seed-starting mix and coir sit in a workable range and need no adjustment.
You do not need to feed sunflower shoots. The large seed carries plenty of food to get to harvest, and adding fertilizer just invites algae, odd flavors, and mold.Sunflower shoots are cut long before they exhaust the seed's own reserves, so no fertilizer is needed for a single cycle on coir or seed-starting mix. Added nutrients mainly raise the risk of algae, off-flavors, and mold in the dense mat.
Your sunflower shoots are ready when the seed leaves are full and open and before the first true leaves start to show, usually about 9 to 12 days after planting. Brush or rinse off any leftover black shells, then snip the shoots at the base with clean scissors and eat them fresh. They do not grow back, so start a new tray each time.Cut at the plump-cotyledon stage, typically about 9 to 12 days from sowing (the workable window runs 8 to 14), before the first true leaves expand and the stems fiber up. Snip at the base with clean scissors; the stand will not regrow, so the tray is a single cut. Rub or rinse off any clinging black hulls first.
You measure sunflower shoots by the tray, not by each plant. Because the seedlings are big and hearty, a full tray gives a generous handful, more than most microgreens.Yield is measured per tray, not per plant: sunflower shoots are among the heavier-yielding microgreens because the seedlings are large and substantial, so a well-sown 1020 tray returns a generous single cut.
Each tray gives one harvest at its best. To keep a steady supply, start new trays every few days.Every tray is a single harvest at peak; continuous supply comes from staggered sowings, not from regrowth. There is no waiting period. Your very first tray works just like the rest; you will just get a feel for the soak, how much to sow, and how much weight to use after a few tries.There is no establishment year; the first tray performs the same as any later tray. Expect to dial in the presoak, seeding rate, and blackout weight over the first few cycles.
Use raw black oil sunflower seed sold for sprouting or growing, not the roasted or salted kind and not treated bird or field seed. Black oil is the go-to because it sprouts well and makes a nutty, crunchy shoot. Soak the seed 8 to 12 hours, then grow it under a weight, which helps the black shells fall off. Cut when the seed leaves are full and before the first true leaves appear.Grow from raw black oil sunflower seed sold for sprouting or growing, not roasted, salted, or seasoned snack seed and not treated field seed. Black oil is the standard because the thin hull, high germination, and vigorous shoot make for a reliable, nutty, crunchy stand. Presoak 8 to 12 hours, then germinate under weight; the weighted blackout is what drives even rooting and helps the clinging hulls release. Cut at the plump-cotyledon stage before the first true leaves expand.
We're building this guide with real growers. Got a question we missed? Ask here. We read every one and add the best answers right to this page.
Learned something the hard way? Pass it on. Real growers' tips make this guide better for the next person, and we credit you by name when yours goes live.
If you've grown this crop and you see a date, a temperature, a companion claim, or a recommendation that doesn't match your experience, tell us. Real growers' corrections make this guide better for the next person.
Every date, temperature, spacing, and recommendation on this page is sourced from university cooperative extension publications, peer-reviewed agricultural research, NOAA climate data, and direct extension calendars. Where claims are softer (traditional gardening wisdom not formally documented), we say so.
Spot a data point that doesn't match your experience? Submit a correction; accepted corrections earn full author credit on the page.
Zone-aware seasonal nudges, what's worth planting now, and the occasional recipe from the harvest. No spam, ever.