Today · in your zone
What's happening right now
Off-season for sweet pea in zone 9.
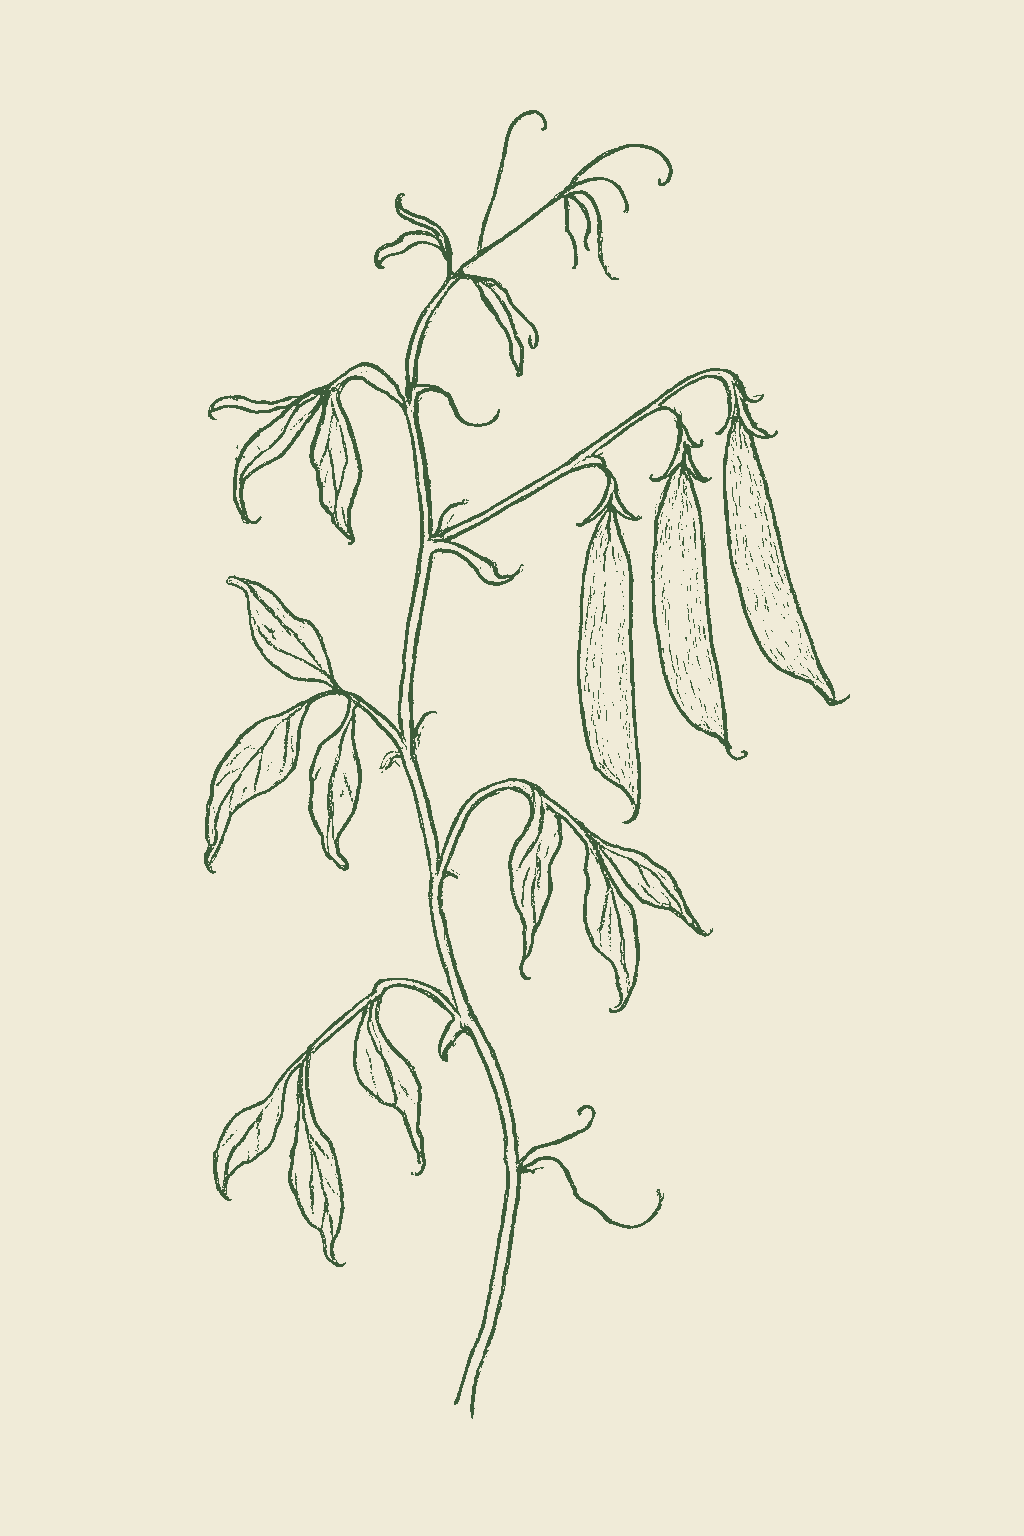
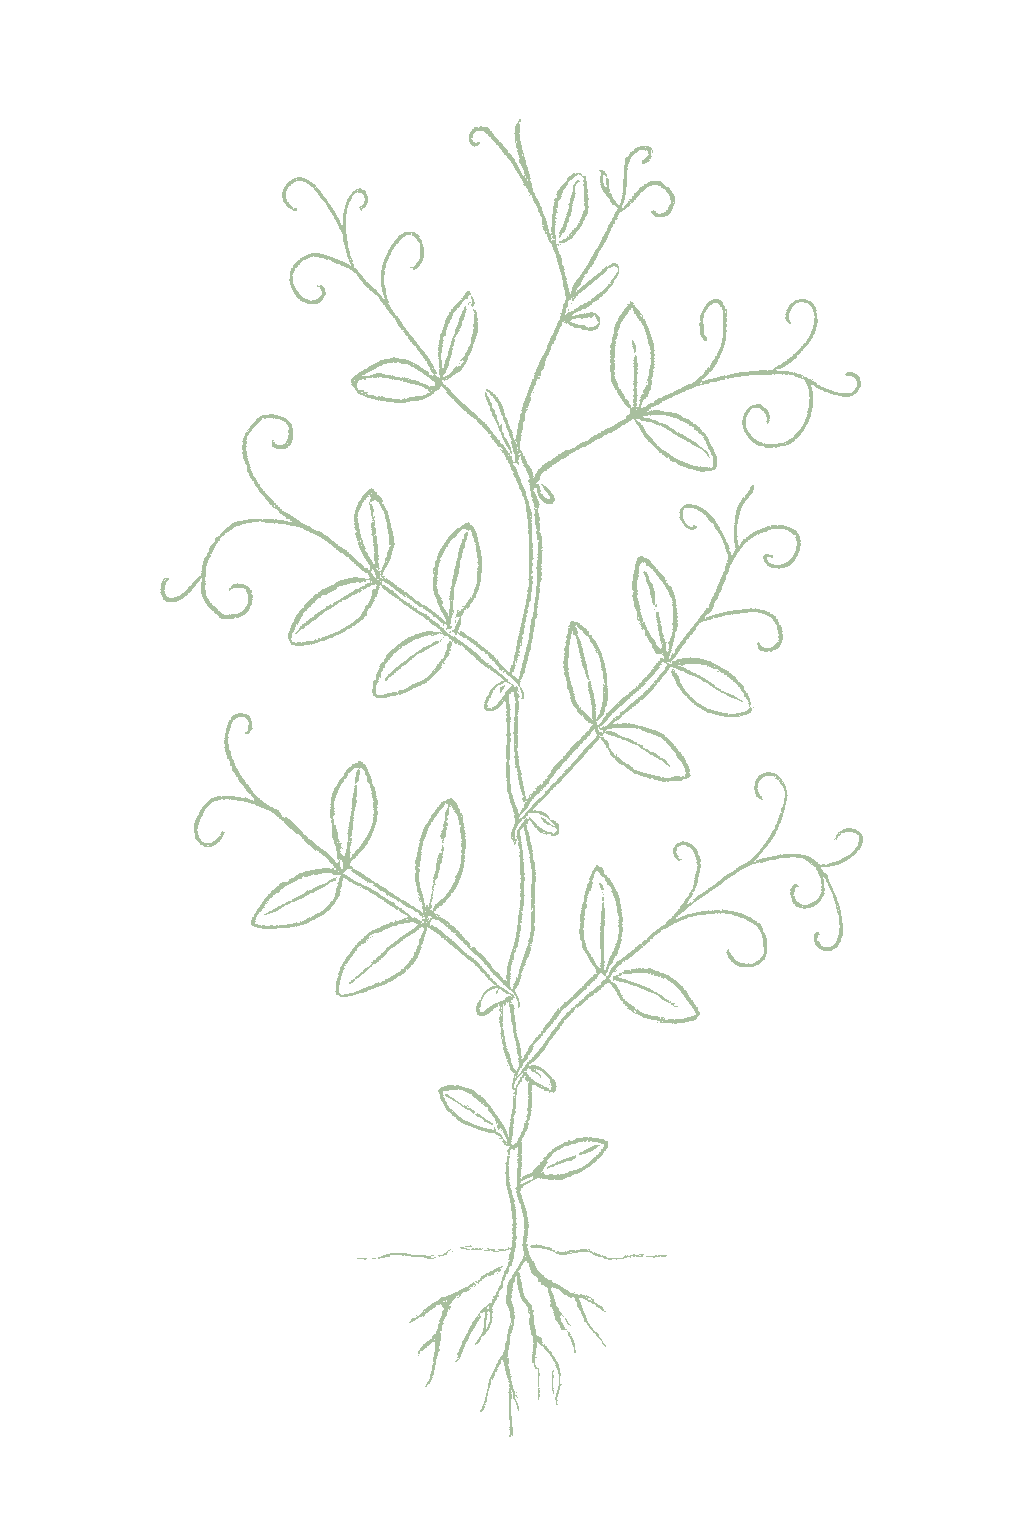
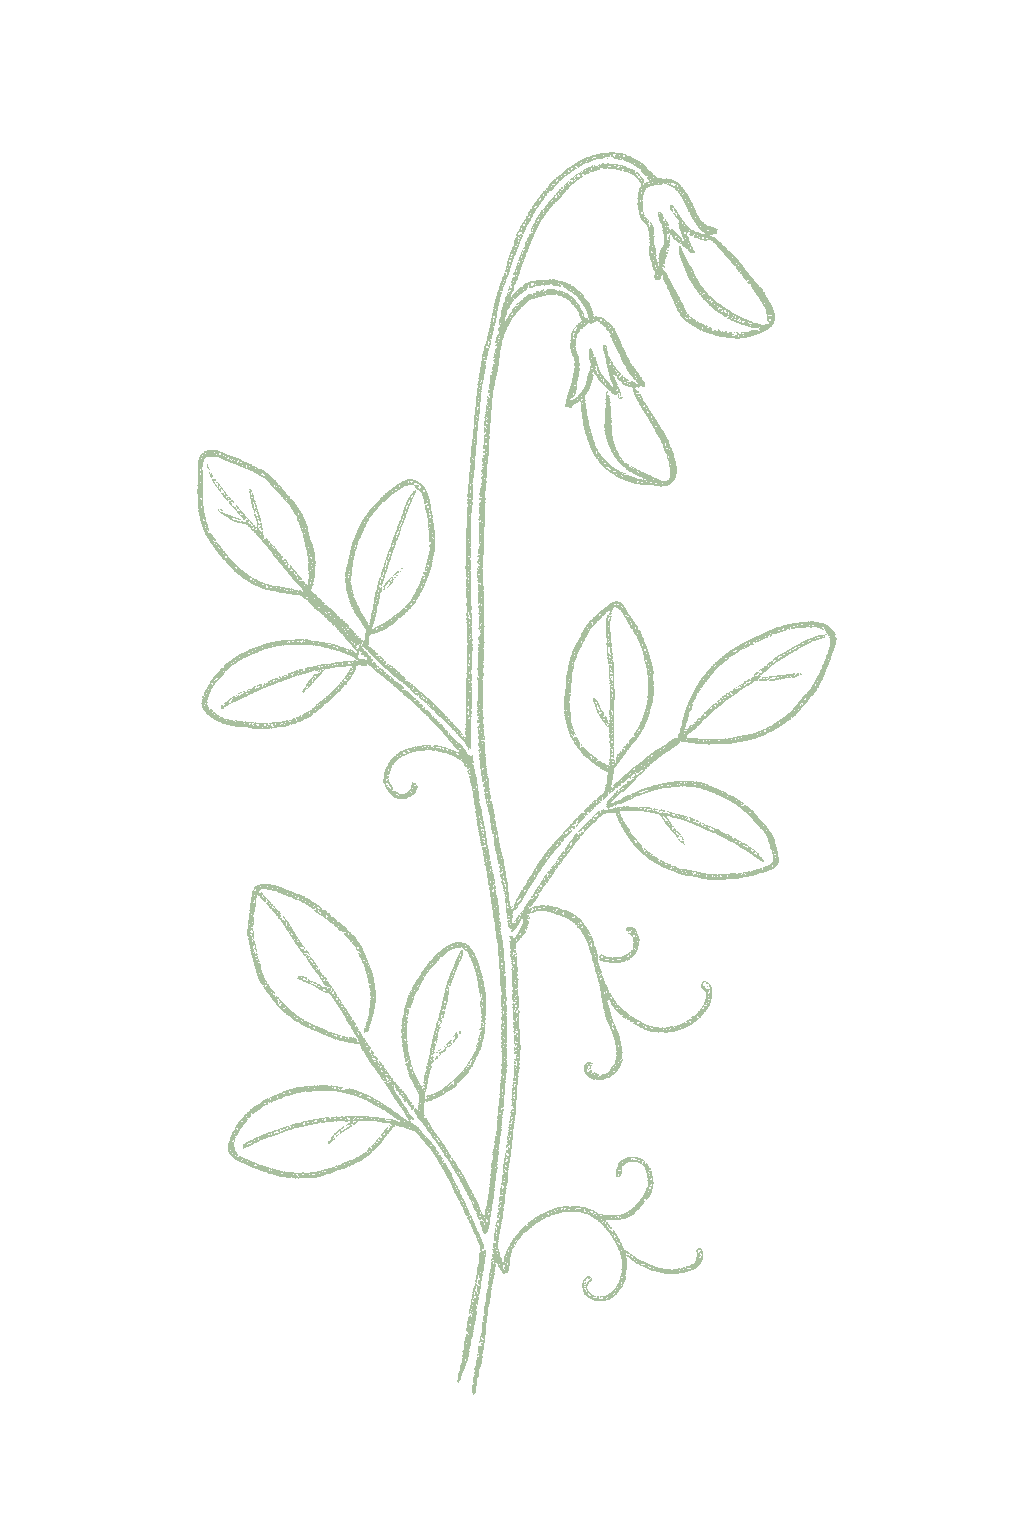
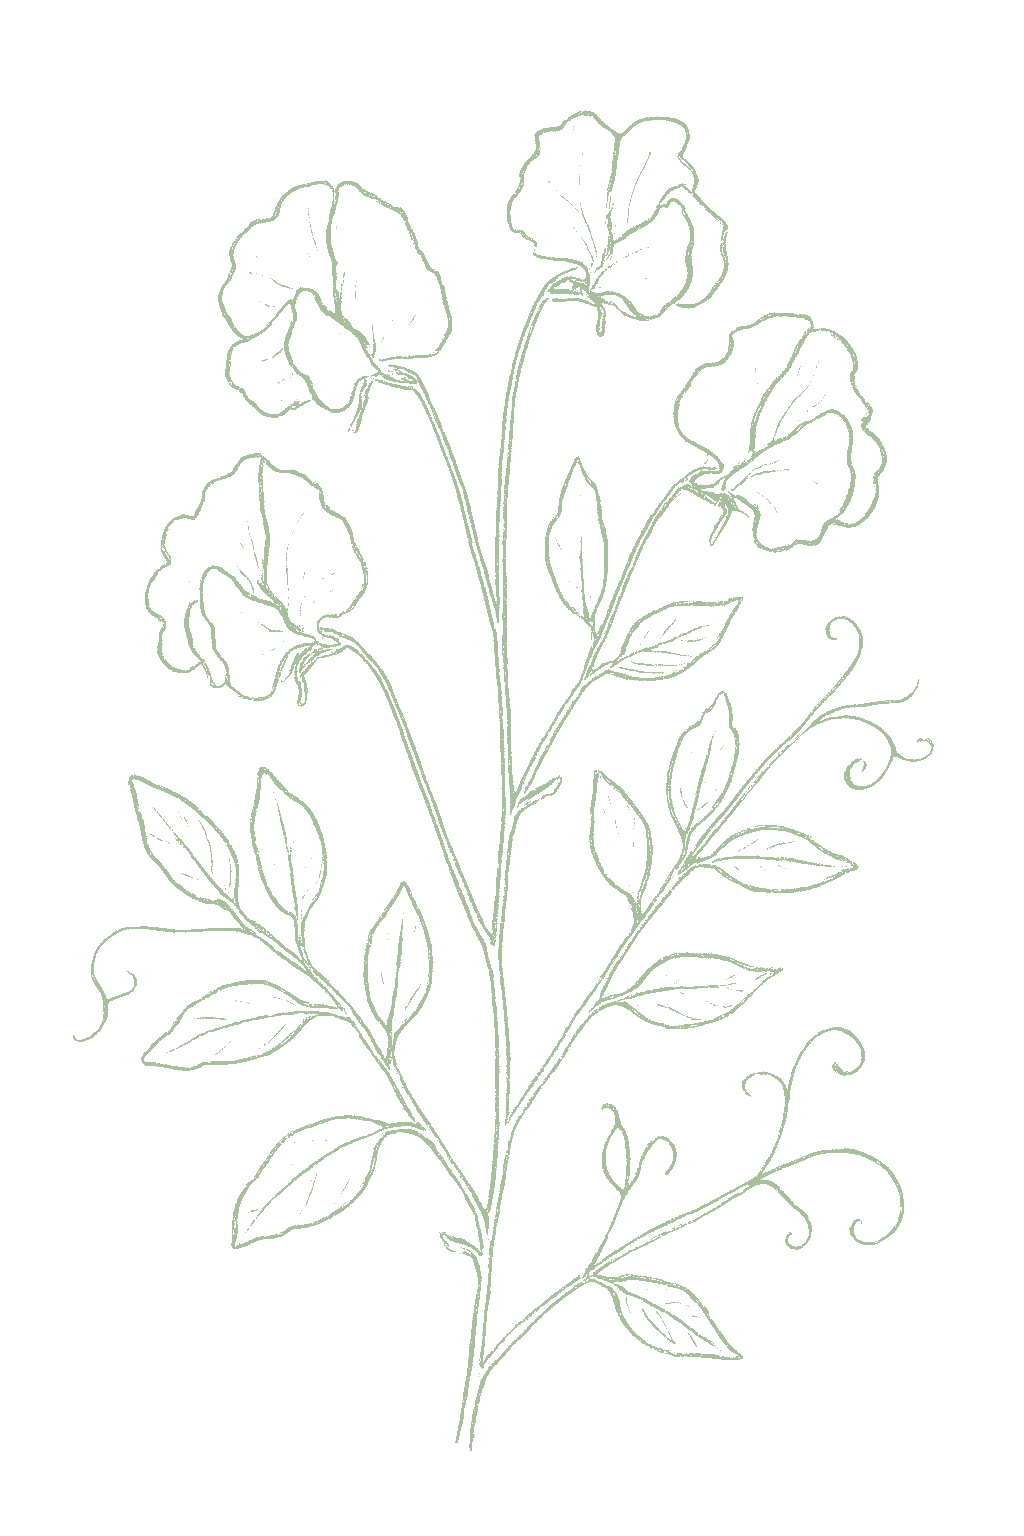
Sweet peas are climbing flowers loved for their sweet, strong perfume and their soft, ruffly blooms in white, pink, purple, blue, and red. Most kinds climb 5 to 8 ft up a trellis, netting, or strings, holding on with curly tendrils, though there are short bushy types that need no support. They like cool weather, so you plant them very early, as soon as the ground can be worked in late winter or early spring, or in fall where winters are mild. Young plants shrug off frost, but the plants tire out and stop blooming once hot summer weather arrives. One important safety note: sweet peas are only for looks. The seeds and pods are poisonous, and this is not the edible pea you cook with, so never eat any part and keep it away from your vegetable peas. They make wonderful, fragrant cut flowers for a vase. Sweet pea (Lathyrus odoratus) is a cool-season annual climber in the legume family (Fabaceae), grown for intensely fragrant, pea-like flowers in white, pink, lavender, blue, and crimson. Climbing types scramble 5 to 8 ft up a trellis, netting, or strings by curling leaf tendrils, while dwarf and bush types stay under 2 to 3 ft and need no support. It is sown very early: as soon as the soil can be worked in late winter or early spring in most of the country, or in fall in mild-winter regions, because young plants tolerate frost and the plant flowers best in cool weather and fades fast once summer heat sets in. Despite its name and pea-like pods, sweet pea is strictly ornamental: its seeds and pods are poisonous, it is not the edible garden pea (Pisum sativum), and it should not be planted where the pods could be mistaken for food. It is prized above all as a cut flower, with the strongest scent from heirloom and Grandiflora types.
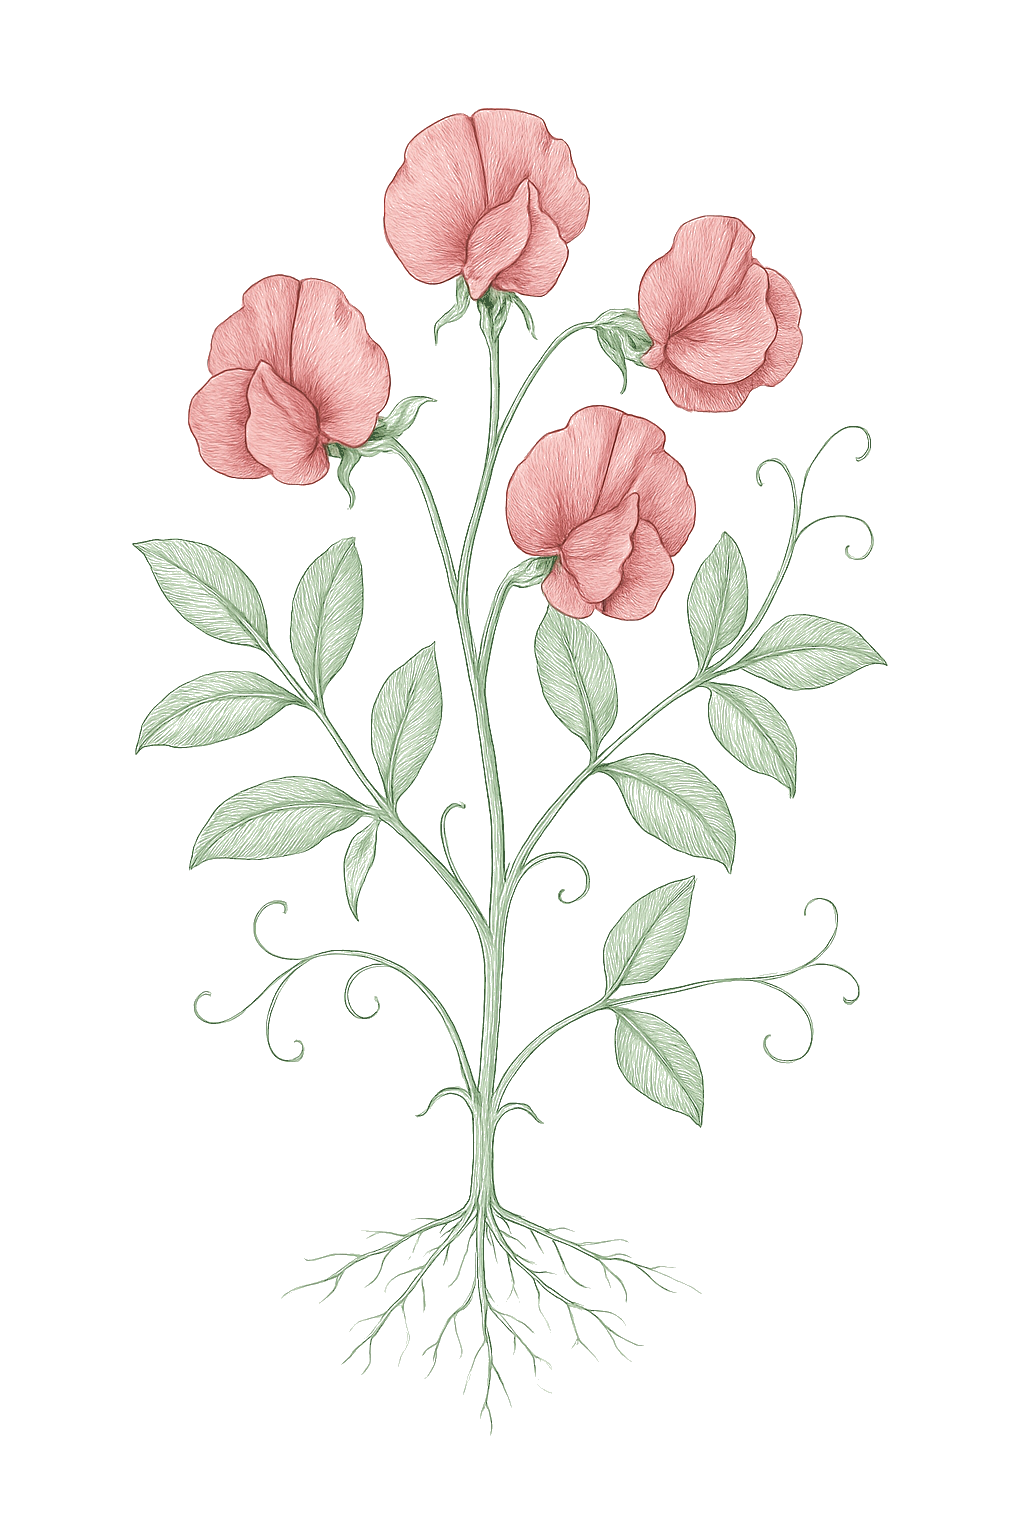
Off-season for sweet pea in zone 9.
Zone 9 averages a last frost around March 1. Within Zone 9, the colder half (9a, winters down to 20°F) runs about a week later. The warmer half (9b, winters down to 25°F) runs about a week earlier. The plant app picks your subzone from your ZIP.
| Subzone | Last spring | First fall | Growing days | Winter min | Fruits reliably |
|---|---|---|---|---|---|
| 9a | Mar 8 | Nov 24 | ~261 | 20-25°F | Yes · two seasons |
| 9b | Feb 28 | Nov 30 | ~275 | 25-30°F | Yes · two seasons |
Averages from 8 weather stations per subzone, drawn from NOAA 1991-2020 Climate Normals. Your actual frost date can vary by up to two weeks based on elevation, proximity to water, and local topography.
In Zone 9, sweet pea can be planted October through November, skipping the summer heat. In bloom December through April.
You can sow sweet peas a couple of times a few weeks apart during the cool planting window to spread out the flowers, but there is no long succession like lettuce, because summer heat ends them. In mild-winter areas, plant once in fall and again in late winter; in cold areas, one early-spring sowing is usually it.Sweet pea is largely a single-cohort crop, but a couple of successive sowings across the cool window (early plus late in the sowing season) stretch the cut-flower supply, since the plant is undone by heat rather than tired plantings. In mild-winter regions the two real windows are fall and late winter; in cold regions, one early-spring sowing (optionally split by a few weeks) is the practical maximum before summer heat closes the season.
In Zone 9, sweet pea can be planted October through November, skipping the summer heat. In bloom December through March.
You can sow sweet peas a couple of times a few weeks apart during the cool planting window to spread out the flowers, but there is no long succession like lettuce, because summer heat ends them. In mild-winter areas, plant once in fall and again in late winter; in cold areas, one early-spring sowing is usually it.Sweet pea is largely a single-cohort crop, but a couple of successive sowings across the cool window (early plus late in the sowing season) stretch the cut-flower supply, since the plant is undone by heat rather than tired plantings. In mild-winter regions the two real windows are fall and late winter; in cold regions, one early-spring sowing (optionally split by a few weeks) is the practical maximum before summer heat closes the season.
In Zone 9, sweet pea can be planted October through November, skipping the summer heat. In bloom February through July.
You can sow sweet peas a couple of times a few weeks apart during the cool planting window to spread out the flowers, but there is no long succession like lettuce, because summer heat ends them. In mild-winter areas, plant once in fall and again in late winter; in cold areas, one early-spring sowing is usually it.Sweet pea is largely a single-cohort crop, but a couple of successive sowings across the cool window (early plus late in the sowing season) stretch the cut-flower supply, since the plant is undone by heat rather than tired plantings. In mild-winter regions the two real windows are fall and late winter; in cold regions, one early-spring sowing (optionally split by a few weeks) is the practical maximum before summer heat closes the season.
In Zone 9, sweet pea can be planted October through November, skipping the summer heat. In bloom December through May.
You can sow sweet peas a couple of times a few weeks apart during the cool planting window to spread out the flowers, but there is no long succession like lettuce, because summer heat ends them. In mild-winter areas, plant once in fall and again in late winter; in cold areas, one early-spring sowing is usually it.Sweet pea is largely a single-cohort crop, but a couple of successive sowings across the cool window (early plus late in the sowing season) stretch the cut-flower supply, since the plant is undone by heat rather than tired plantings. In mild-winter regions the two real windows are fall and late winter; in cold regions, one early-spring sowing (optionally split by a few weeks) is the practical maximum before summer heat closes the season.
In Zone 9, sweet pea can be planted March through April. Start indoors Feb 15 - Mar 1. In bloom May through November.
You can sow sweet peas a couple of times a few weeks apart during the cool planting window to spread out the flowers, but there is no long succession like lettuce, because summer heat ends them. In mild-winter areas, plant once in fall and again in late winter; in cold areas, one early-spring sowing is usually it.Sweet pea is largely a single-cohort crop, but a couple of successive sowings across the cool window (early plus late in the sowing season) stretch the cut-flower supply, since the plant is undone by heat rather than tired plantings. In mild-winter regions the two real windows are fall and late winter; in cold regions, one early-spring sowing (optionally split by a few weeks) is the practical maximum before summer heat closes the season.
In Zone 9, sweet pea can be planted October through November, skipping the summer heat. In bloom December through April.
You can sow sweet peas a couple of times a few weeks apart during the cool planting window to spread out the flowers, but there is no long succession like lettuce, because summer heat ends them. In mild-winter areas, plant once in fall and again in late winter; in cold areas, one early-spring sowing is usually it.Sweet pea is largely a single-cohort crop, but a couple of successive sowings across the cool window (early plus late in the sowing season) stretch the cut-flower supply, since the plant is undone by heat rather than tired plantings. In mild-winter regions the two real windows are fall and late winter; in cold regions, one early-spring sowing (optionally split by a few weeks) is the practical maximum before summer heat closes the season.
In Zone 9, sweet pea can be planted October through November. Start indoors Sep 3 - Sep 24. In bloom January through March.
You can sow sweet peas a couple of times a few weeks apart during the cool planting window to spread out the flowers, but there is no long succession like lettuce, because summer heat ends them. In mild-winter areas, plant once in fall and again in late winter; in cold areas, one early-spring sowing is usually it.Sweet pea is largely a single-cohort crop, but a couple of successive sowings across the cool window (early plus late in the sowing season) stretch the cut-flower supply, since the plant is undone by heat rather than tired plantings. In mild-winter regions the two real windows are fall and late winter; in cold regions, one early-spring sowing (optionally split by a few weeks) is the practical maximum before summer heat closes the season.
In Zone 9, sweet pea can be planted October through November, skipping the summer heat. In bloom December through April.
You can sow sweet peas a couple of times a few weeks apart during the cool planting window to spread out the flowers, but there is no long succession like lettuce, because summer heat ends them. In mild-winter areas, plant once in fall and again in late winter; in cold areas, one early-spring sowing is usually it.Sweet pea is largely a single-cohort crop, but a couple of successive sowings across the cool window (early plus late in the sowing season) stretch the cut-flower supply, since the plant is undone by heat rather than tired plantings. In mild-winter regions the two real windows are fall and late winter; in cold regions, one early-spring sowing (optionally split by a few weeks) is the practical maximum before summer heat closes the season.
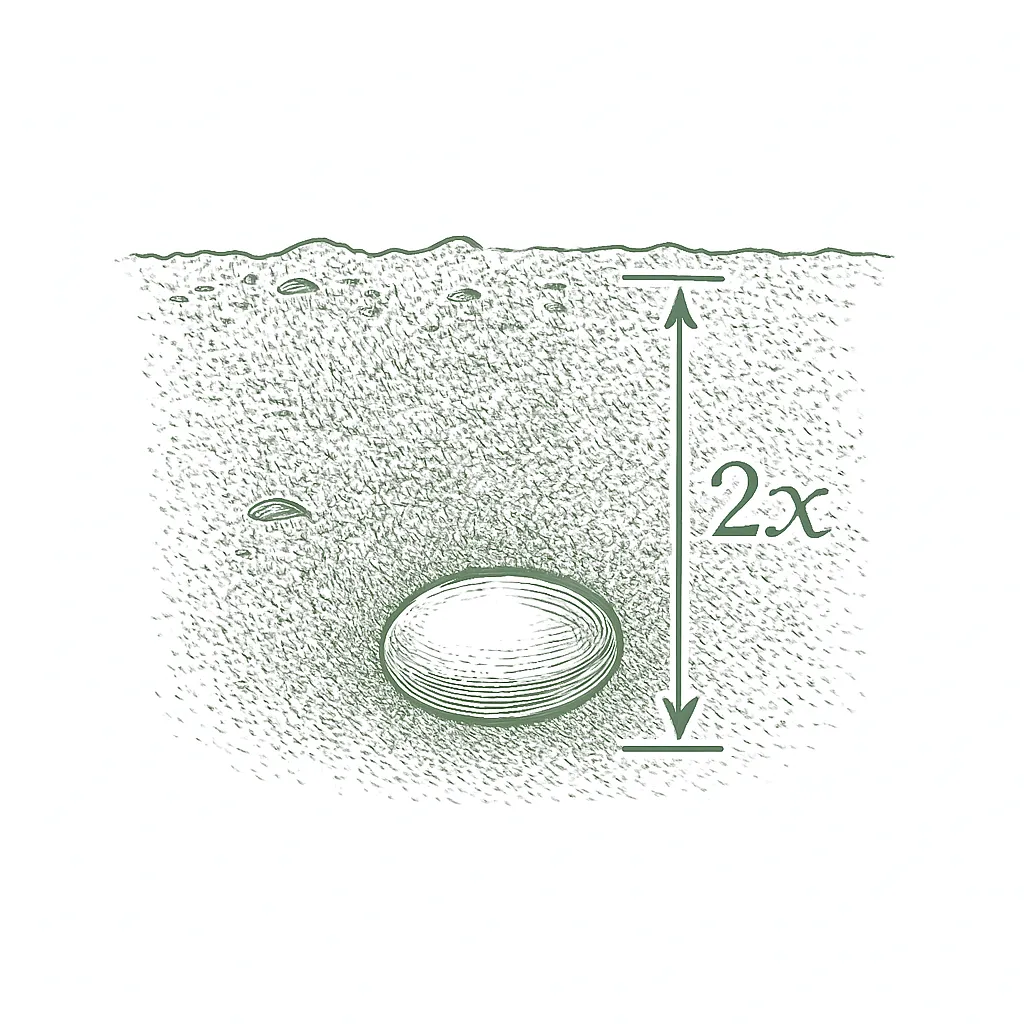
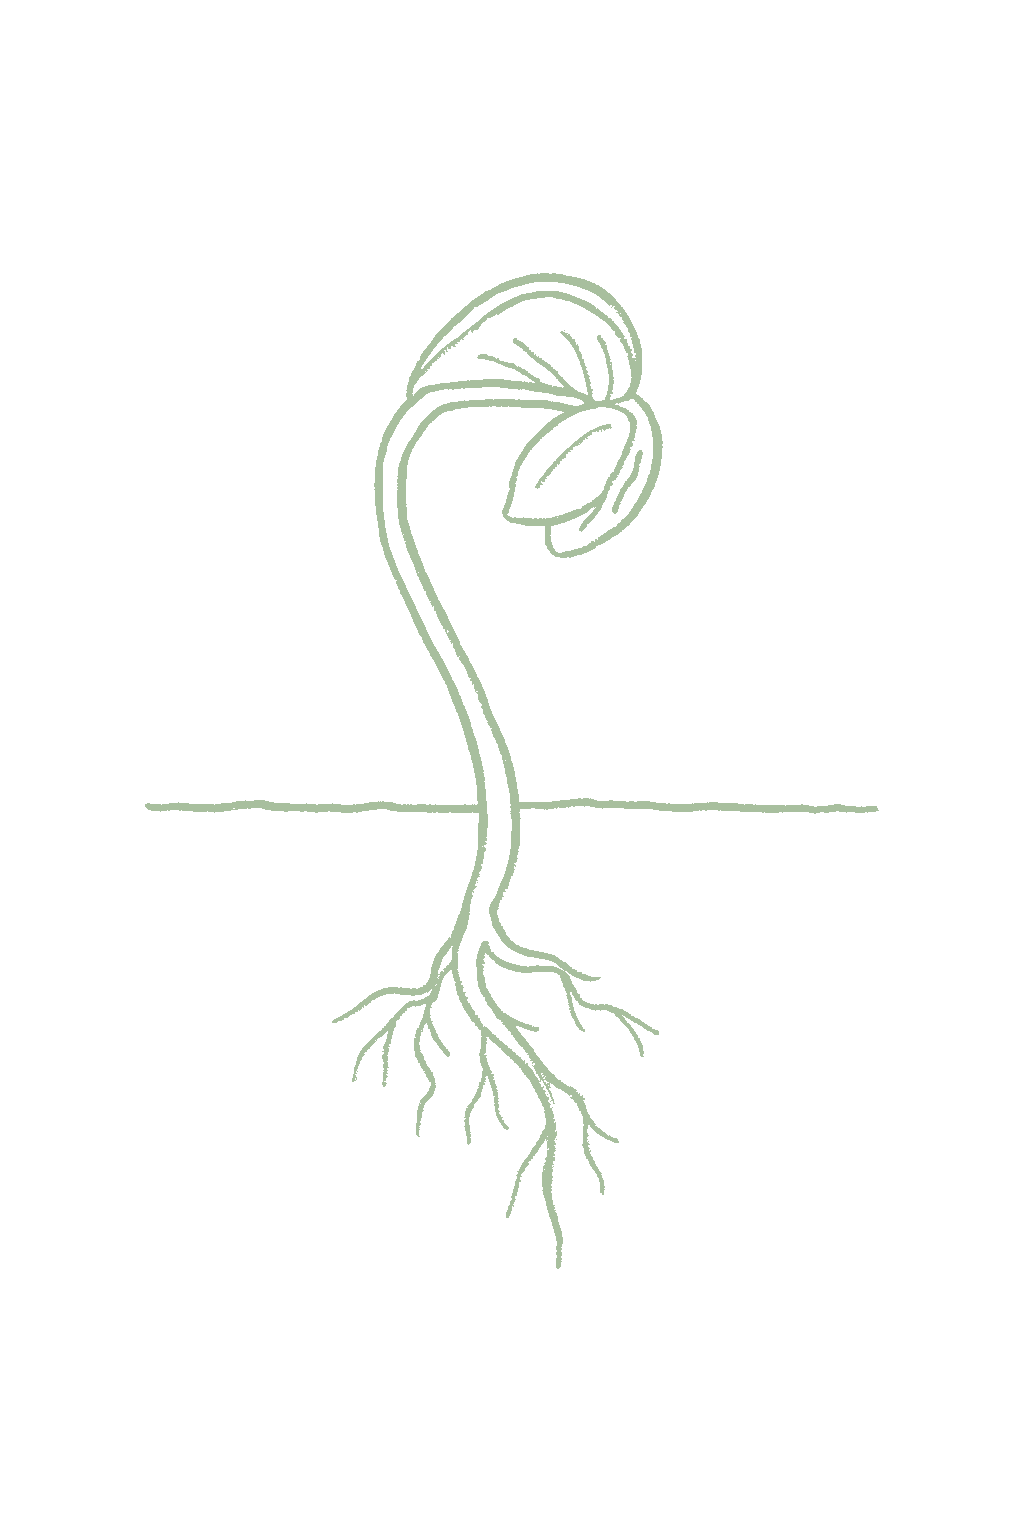
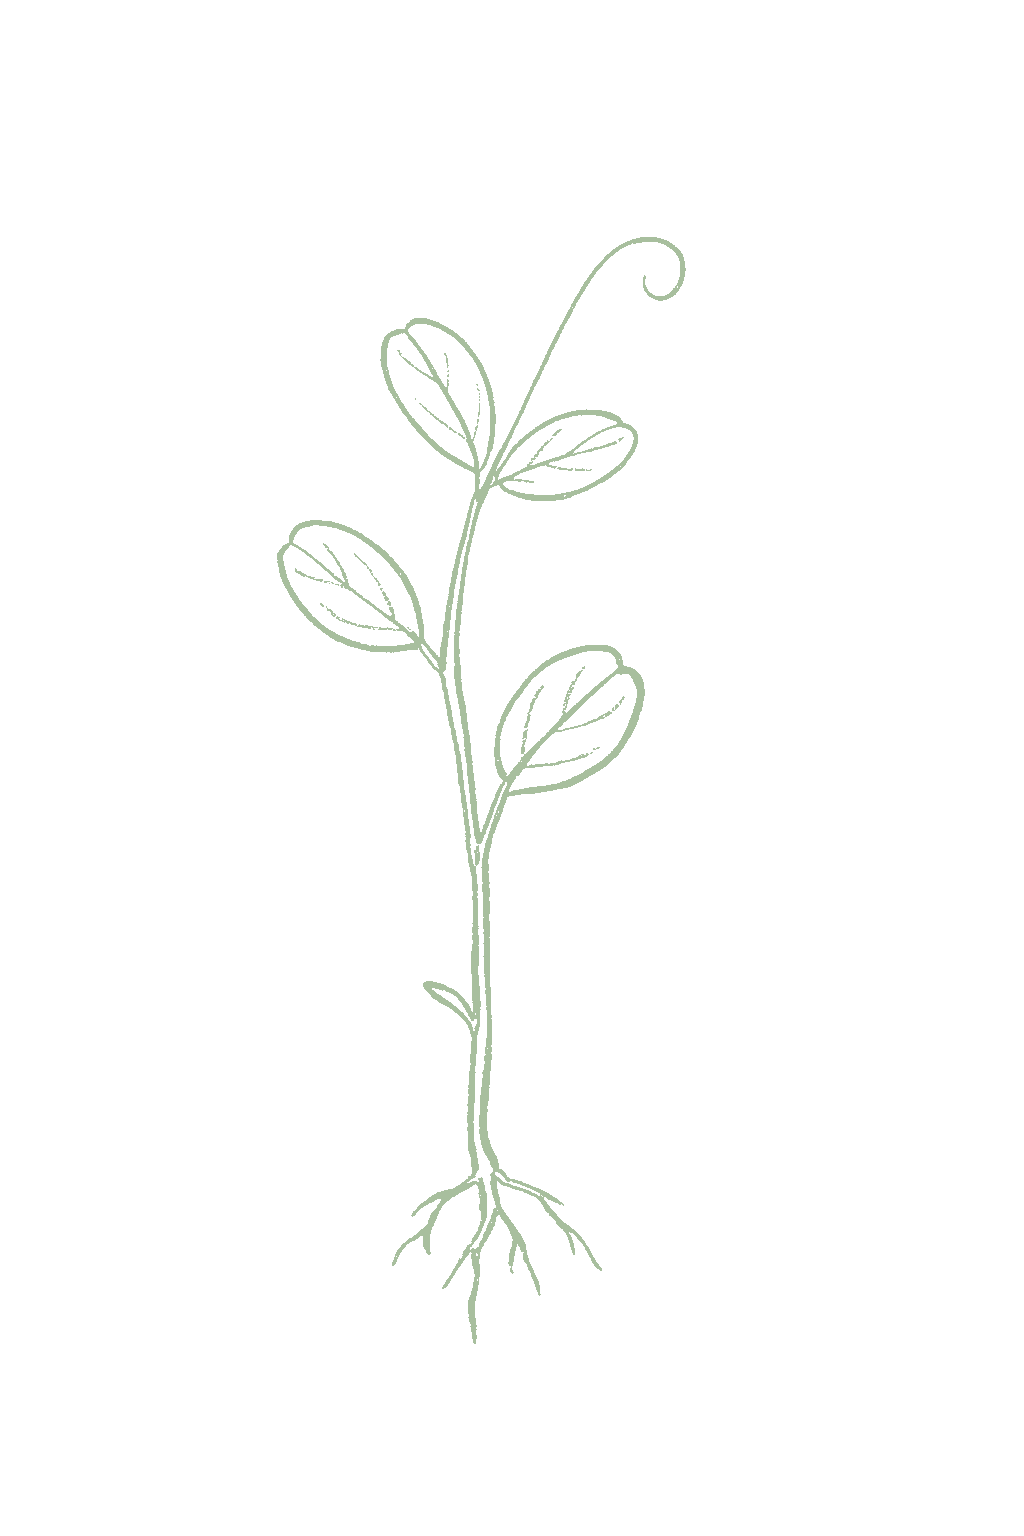
You can plant seeds straight in the ground or start them indoors. Direct-sow as soon as you can work the soil in late winter or spring (or in fall where winters are mild), or start seeds indoors about 6 weeks earlier in deep pots. Soak the hard seeds overnight first; if any have not swelled, carefully nick the hard coat with a file to help them sprout, which takes 10 to 21 days. Plant about 1 in deep, and when seedlings are a few inches tall pinch out the tip to make them bushier. Put the trellis up when you plant.Both methods work. Direct-sow as soon as the soil is workable in late winter or early spring (fall in mild-winter zones), or start indoors about 6 weeks earlier in deep cells or root-trainers for an earlier, stronger start. Soak the hard seed overnight; for dark, hard-coated seed that has not swelled, nick the coat opposite the eye with a knife or file to speed the 10 to 21 day germination near 60 °F. Sow about 1 in deep, and pinch seedlings above the second or third leaf pair to force basal branching. Provide the climbing support at or before planting.




Not sure what soil you have? Grab a small handful of damp soil from your garden bed and squeeze it. If it crumbles apart easily, it's sandy. If it holds together but breaks when you poke it, it's loam (what most vegetables want). If it stays in a hard, slippery ball, it's clay.
Sweet peas like deep, rich, well-drained soil with plenty of compost or organic matter mixed in, because they grow a deep root system and are hungry, thirsty plants. Dig the bed over and work in compost before planting. A pH that is neutral to slightly alkaline is ideal; if your soil is acidic, a little garden lime helps. The one thing to avoid is soil that stays soggy, which rots the roots.
Mix 2-3 inches of compost into the top 6 inches of your bed before planting. Compost holds moisture (which sandy soil drains too fast) and adds the nutrients sandy soil tends to lack. Repeat each season. Compost breaks down over time.
Mix 2-3 inches of compost AND a few inches of coarse sand or perlite into the top 6 inches of your bed. The compost feeds the plants; the sand breaks up the clay so air and water can move through. Don't add sand without compost. It can compact like concrete.
If amending your soil sounds like too much work, or if your soil is heavy clay, full of rocks, or contaminated, build over it. A raised bed at least 12 inches deep filled with a 50/50 mix of compost and sandy loam gives you ideal growing soil with no battles. A 5-gallon container with quality potting mix does the same for one plant at a time. Both bypass your native soil entirely.
The numbers that matter, at a glance.
Sweet peas grow well in a large, deep pot, especially the dwarf and bush types that do not need a trellis. For climbing types, use a big pot with a tall support pushed firmly into the soil. Keep the mix rich and evenly moist, feed regularly, and give them sun. The main challenge in pots is keeping up with watering.Sweet pea containers well if the pot is deep and never allowed to dry out. Dwarf and bush selections ('Bijou', 'Little Sweetheart', 'Cupid') are the natural fit for pots and baskets, needing no support; climbing types require a tall, well-anchored trellis or obelisk set in a large, deep container. Use a rich, moisture-retentive mix, feed regularly, and site in full sun with steady water. The limiting factor is moisture: pots dry fast, and sweet pea punishes drought with short stems and bud drop.
Ask what your balcony or roof can carry
A balcony or roof can only hold so much weight. Before you set heavy pots there, ask a building architect what it can safely carry.Illinois Extension's guidance is to consult a building architect about weight limits before placing heavy pots on a balcony or rooftop garden. It gives no weight figure.
Never grow food in a container with anything toxic in it
Many kinds of containers can be used. Whatever you choose, keep anything toxic out of it, especially if you are growing food.Colorado State accepts nearly any container material but warns against using a container that holds toxic materials, especially for edible plants. Illinois adds that a vegetable container should be free of chemicals toxic to plants or people, and urges caution with treated lumber when growing food. If you cannot account for what a repurposed container once held, that alone is a reason to keep food out of it.
Secure hanging containers well
Fasten hanging baskets and window or rail boxes securely. Think about what is below them too, since they can drip on people or things underneath.Illinois Extension asks growers to secure hanging containers well and to think through the safety issues of hanging them. Placement matters too, since a hanging container can drip onto people or belongings below.
Sweet peas prefer soil that is neutral to slightly alkaline, roughly 6.5 to 7.5. Unlike most flowers they tolerate a touch of lime, so if your soil is quite acidic, mixing in a little garden lime before planting helps. You usually do not need to make it more acidic.Sweet pea favors a near-neutral to slightly alkaline soil, about 6.5 to 7.5, and tolerates a mildly acidic to mildly alkaline band. It is one of the flowers that responds to a light liming of acid soils. pH matters less than depth, fertility, and steady moisture, but a very acidic soil is worth correcting before sowing.
Sweet peas grow in rich soil and like regular, gentle feeding, unlike some flowers that prefer poor soil. Mix compost into the bed before planting, then feed every few weeks while they are growing and flowering. Do not overdo nitrogen (the first number on the label), because too much gives you lots of leaves and few flowers. A general flower food, or one aimed at blooms, works well.Sweet pea is a moderate feeder grown in rich soil, not a lean-soil flower. Work compost or well-rotted manure into the bed before sowing, then feed roughly every 3 to 4 weeks through active growth and bloom. Because it is a legume that fixes some of its own nitrogen, go easy on high-nitrogen feeds: excess nitrogen pushes leafy vines at the expense of flowers. A balanced feed early shifting to one higher in phosphorus and potassium as buds form supports the longest, strongest flush of bloom.
The three numbers on fertilizer (N-P-K) are nitrogen, phosphorus, and potassium. For sweet peas, avoid a high first number (nitrogen), which gives leaves instead of flowers. A balanced or bloom-type food, with compost worked in at planting, is ideal.Compost-enriched soil plus a balanced feed early, shifting to a lower-nitrogen, higher phosphorus and potassium feed at budding. Avoid heavy nitrogen: as a legume, sweet pea needs little added N and over-feeding it suppresses bloom.
With sweet peas, picking the flowers is how you keep them blooming. Cut stems often for the vase, and snip off any little seed pods you see forming. If the plant is allowed to make seeds, it thinks its job is done and quits flowering. So the trick is simple: keep cutting the flowers and never let pods develop, and the plant keeps making more blooms until summer heat stops it. Only leave a few pods to dry at the very end if you want to collect seeds for next year.For sweet pea, cutting and deadheading are the same job and the single biggest lever on bloom length. Harvest flowers for the vase while the lowest one or two blooms on a stem are just opening, and remove any developing seed pods promptly: once the plant sets seed it reads the season as finished and stops flowering. Keep every stem picked and no pods maturing, and a healthy plant flowers for weeks longer before summer heat ends it. Leave a few pods to ripen and dry only if you deliberately want to save seed at the end of the season.
Sweet peas are grown for their flowers and scent, not as a companion or pest-control plant, so there is not much proven companion science here. Their open, nectar-rich flowers do draw bees and other pollinators to the garden, and as a legume they fix a little nitrogen in the soil. The most useful and best-supported rule is a keep-away one: do not plant sweet peas next to your edible garden peas. They share pests and diseases such as aphids, viruses, and root rots, and because sweet pea pods are poisonous, keeping the two apart avoids any dangerous mix-up. Grow sweet peas up their own trellis, fence, or obelisk where the scent can be enjoyed. Sweet pea's garden value is ornamental (fragrance and cut flowers) plus modest pollinator draw and light nitrogen fixation as a legume; it is not a documented trap or repellent companion, so its pairings are best framed honestly rather than as pest control. The one well-grounded, load-bearing guidance is separation from edible peas (Pisum sativum): the two share aphids, aphid-borne viruses, and soilborne root rots, and sweet pea's poisonous pods should never be grown intermingled where they could be confused with an edible crop. Site it on its own support, and rotate it away from ground that recently grew peas, beans, or sweet pea to limit soilborne carryover.
Sweet peas are picked for their flowers and scent, not to eat. Cut the stems in the morning when the bottom one or two flowers on the stem have just opened. They last about 5 days in a vase. The more you cut, the more the plant blooms, so pick often and pull off any seed pods you find. Never eat any part of the plant: the seeds and pods are poisonous.Sweet pea is harvested as a cut flower, not a food. Cut stems in the cool of the morning when the lowest one or two florets on the stem have just opened and the upper buds still show color; stems are typically 10 to 14 in long. Plunge them straight into water and expect a vase life of about 5 days. Cut daily at peak: frequent cutting, plus removing any seed pods, is what keeps the plant producing. Every part is inedible and the seeds and pods are poisonous, so this is a vase crop only.
A healthy climbing sweet pea gives you lots of sweet-smelling flowers for cutting over several weeks in the cool part of the season, then slows and stops in the heat. Keep cutting and remove seed pods for the most flowers. Dwarf and bush types make fewer flowers over a shorter time, but are great in pots.A well-grown climbing sweet pea yields many fragrant, cuttable stems over a concentrated cool-season run, heaviest in spring or the mild months, tapering as heat arrives. Kept cut and pod-free, a plant produces for several weeks; let it set seed or hit heat and production falls off quickly. Dwarf and bush types give a shorter, lower flush suited to containers and edging rather than steady cutting.
Sweet peas flower the same year you plant them, usually about three months after sowing, with no waiting year. Planting early, while it is cool, gives you more and earlier flowers.Sweet pea flowers in its single season from seed, reaching first bloom in roughly 10 to 14 weeks and cutting for several weeks after; there is no establishment year. A very early or fall sowing that builds a strong root system in cool weather gives the earliest and most abundant bloom.
Pick a type for your goal. For big, ruffly, long-stemmed cut flowers, choose Spencer types, but check that the variety is described as fragrant, since scent varies. For the strongest perfume, and for hot-summer gardens, choose old-fashioned or heirloom kinds like 'Old Spice' or the original 'Cupani', which smell wonderful and take heat a bit better. If you do not want to put up a trellis, grow dwarf or bush types like 'Bijou' or 'Little Sweetheart' in a pot or along an edge. All types are for looks only, and the seeds and pods are poisonous.Choose by habit, fragrance, and heat timing. Spencer types give the largest, most ruffled, longest-stemmed flowers and are the florist and show standard, but fragrance varies by cultivar. For scent and for gardens where heat comes early, the Grandiflora and old-fashioned heirlooms (notably 'Old Spice', and the original 'Cupani' / 'Matucana') carry the strongest perfume and better heat tolerance, trading some flower size. Dwarf and bush selections ('Bijou', 'Little Sweetheart', 'Cupid') stay compact and self-supporting for pots and edging, needing no trellis. All are ornamental only, with poisonous seeds and pods.
Sweet peas are a fresh cut flower and nothing more: pick them young, keep them cool, and enjoy the scent for their few days in the vase. No part is edible, and the seeds and pods are poisonous. If you save seeds to replant, label them and keep them well away from food and children.Handle sweet pea as the delicate, fragrant cut flower it is: cut young, condition cool, and expect only about 5 days in the vase. There is no edible or preserved form; every part is inedible and the seeds and pods are poisonous. Save dried seed only for planting, clearly labeled and kept away from food and children.
The ladder troubleshoots from the gentlest solution to the strongest. Start with the gentlest option and only move on when and if it doesn't work.
A hard spray of water knocks aphid clusters off new shoots and buds. Start here as soon as you spot them, because on sweet pea aphids matter most for the virus diseases they can spread.Strong water sprays early in a colonization are the first knock-back. On sweet pea the sap feeding is the lesser issue; the point is denying pea aphid, potato aphid, and the other species time to move mosaic viruses through the planting.
Ladybugs and hoverflies are natural enemies, insects that eat aphids for you. Encourage them, and avoid sprays that would kill them along with the pests.Conserving ladybugs, hoverflies, and the other resident natural enemies does steady work against the several aphid species that colonize shoots and buds; lean on them before reaching for any spray.
Insecticidal soap, a mild spray that kills soft-bodied insects it touches, works on clusters you can coat directly. Treat early, before numbers build.Soap applied early, with thorough coverage of shoots, buds, and leaf undersides, checks colonies before they take off. Timing is the whole game here: heavy aphid pressure plus virus is a common way a sweet pea planting gets ruined.
Horticultural oil, a refined oil spray that smothers small insects, is another gentle option if aphids keep building. Coat the clusters directly.Oil is the parallel contact option to soap for shoot and bud colonies. Either way, act while the infestation is young rather than after the aphids have had time to spread virus.
The bottom rungs are products with label rules: timing, pollinators, and days to wait before harvest. Before you spray →
The ladder troubleshoots from the gentlest solution to the strongest. Start with the gentlest option and only move on when and if it doesn't work.
Cut out badly scarred shoots and flowers, and pull any plant showing virus streaking or distortion, since thrips can spread spotted-wilt virus as they feed.Remove heavily scarred growth and rogue virus-symptomatic plants promptly. On sweet pea the rasping damage itself is the lesser problem; it is the spotted wilt and necrotic spot viruses thrips seed that turn an infestation serious.
If numbers build, insecticidal soap, a mild spray that works on contact, helps knock thrips back. Coverage matters, since they tuck into flowers and folded growth.Treat build-ups with soap, aiming for thorough contact in the blooms and growing tips where thrips shelter. Keep an eye on the flowers themselves so you catch a rise early rather than after the silvering spreads.
Spinosad, a stronger organic spray, is the step up if soap has not held the thrips.Spinosad is the stronger rescue for thrips pressure soap has not checked. On a planting grown for its flowers and the pollinators they draw, timing and targeting to spare bees is part of the decision, not an afterthought.
The bottom rungs are products with label rules: timing, pollinators, and days to wait before harvest. Before you spray →
The ladder troubleshoots from the gentlest solution to the strongest. Start with the gentlest option and only move on when and if it doesn't work.
Keep the soil evenly moist, since spider mites build up fastest on plants left dry and stressed in hot weather.Steady moisture at the base, and a little added humidity around the planting, blunt the hot, dry, dusty conditions mites favor; a drought-stressed plant late in the run is exactly where they take off.
A regular spray of water over the leaves, undersides included, washes mites off and breaks up the dry, dusty conditions they like.Hosing the foliage knocks mites back and cuts the dustiness that favors them; it pairs naturally with steadier watering as the first response to fine speckling.
Insecticidal soap, a mild spray that works on contact, helps if mites build up; wet the leaf undersides where they feed.Soap checks a building infestation with thorough underside coverage. Mite flare-ups often coincide with the plant's own heat decline, so weigh how much of the cool-season display is left before spraying.
Horticultural oil, a refined oil spray that smothers mites, is the other gentle option; coat the speckled, webbed foliage well.Oil is the parallel contact option to soap for stippling, bronzing, and webbing. As with soap, coverage decides the result, and a planting already fading in the heat may not repay the effort.
The bottom rungs are products with label rules: timing, pollinators, and days to wait before harvest. Before you spray →
The ladder troubleshoots from the gentlest solution to the strongest. Start with the gentlest option and only move on when and if it doesn't work.
Clear boards, debris, and leafy hiding places near young sweet peas so slugs and snails have fewer daytime shelters.Reducing debris and shelter around emerging and newly set plants lowers the resident population before the cool, damp spring nights that put seedlings most at risk.
Go out after dark with a flashlight and pick off slugs and snails, especially around seedlings, which they can devour overnight in damp weather.Night patrols during cool, damp spring weather are the direct defense while plants are small; a single bad night can strip a stand of seedlings, so check often at that stage.
Iron phosphate bait, a slug bait regarded as lower risk in home gardens, can protect young plants; scatter it on the soil around them, not on the plants.Ring emerging seedlings and newly set plants with iron phosphate bait when picking and cleanup are not keeping up; the establishment window is where the protection pays most.
The bottom rungs are products with label rules: timing, pollinators, and days to wait before harvest. Before you spray →
The ladder troubleshoots from the gentlest solution to the strongest. Start with the gentlest option and only move on when and if it doesn't work.
Pick off and dispose of leaves with pale winding trails, the mark of leafminers feeding inside the leaf.Removing mined foliage takes the leafminer larvae with it. On a vigorous plant the damage is usually cosmetic, so removal is often the whole program.
Pick caterpillars off leaves and buds when you see them; on sweet pea their numbers are usually low.Handpicking covers the occasional foliage feeders, corn earworm among them, that chew leaves, buds, and flowers. Scout the buds, where the damage costs the most bloom.
Bt, a bacterial spray that acts on caterpillars, works on the young ones if picking is not keeping up.Bt handles a heavier run of caterpillars; spray while larvae are young. Keep the application targeted to the sweet peas themselves, since this is a planting grown to feed a flower border, not to be blanketed.
Spinosad, a stronger organic spray, covers both caterpillars and leafminers if the damage keeps up.Spinosad reaches both the caterpillars and the vegetable leafminers if pressure ever justifies a spray; on this plant it rarely does, and bloom-time bee caution applies.
The bottom rungs are products with label rules: timing, pollinators, and days to wait before harvest. Before you spray →
The ladder troubleshoots from the gentlest solution to the strongest. Start with the gentlest option and only move on when and if it doesn't work.
Give plants room and support at planting so air moves through them; powdery mildew, a white coating fungus, is worst in crowded plantings.Space and support the planting for air movement from the start. Mildew is the common late-season foliar disease on sweet pea, and an open canopy slows the coating as the weather warms.
Water at the base, and do not let the roots go bone dry; crowded plantings with dry roots get mildew worst.Keep roots evenly moist but foliage dry, watering early and at the base. Drought stress in warming weather is part of what invites the disease, so the moisture side matters as much as the dry leaves.
Remove whitened, shriveling leaves as they appear to slow the spread.Pull coated leaves promptly. Cultural care is the whole program here, and once mildew runs, it often marks the natural end of the cool-season display.
No spray for this one. Prevention is the control.
The ladder troubleshoots from the gentlest solution to the strongest. Start with the gentlest option and only move on when and if it doesn't work.
Start in clean soil or fresh mix, set plants with the crown, the point where stem meets roots, at the surface rather than buried, and water with restraint while seedlings establish. Damping-off, a rot that topples seedlings, gets its start in wet, sloppy beginnings.Clean soil, correct depth with the crown left unburied, and restrained early watering are the sowing-time levers against damping-off and the later crown rots. There is no rescue treatment once the complex is established, so this is where the outcome is decided.
Plant in ground that drains well and avoid waterlogged spots; wilting and browning at the base usually mean the rot is already in, and there is no cure at that point.Drainage is the standing defense: Rhizoctonia, Pythium, and Fusarium all run in wet, poorly drained ground, so fix the site and the overwatering habit before planting rather than after wilting begins.
If sweet peas collapsed in a spot before, move them to fresh ground the next season.Rotate off ground that recently carried peas, beans, or sweet peas; the rot fungi persist where legumes have grown, and reused or legume-cropped soil is a common source of the problem.
No spray for this one. Prevention is the control.
The ladder troubleshoots from the gentlest solution to the strongest. Start with the gentlest option and only move on when and if it doesn't work.
There is no cure for these viruses. Pull and destroy plants showing mottled, streaked, ring-spotted, or distorted growth so they cannot serve as a source for the rest.Rogue symptomatic plants promptly. With no treatment for the mosaics or spotted wilt, management comes down to removing infected plants and keeping the aphids and thrips that carry them in check through those pests' own ladders.
No spray for this one. Prevention is the control.
The ladder troubleshoots from the gentlest solution to the strongest. Start with the gentlest option and only move on when and if it doesn't work.
Start with healthy seed from a reliable supplier, since these spotting fungi can ride in on seed.Clean seed is the entry-point control; anthracnose and some of the leaf-spot fungi are at times seed-carried, so sourcing matters before any of the in-season steps do.
Space plants for airflow, since these leaf spots spread fastest on crowded growth in wet weather.An open, well-supported canopy dries quickly after rain, and wet tissue is what these fungi need to move; airflow is the standing cultural check on lesions spreading up stems and flower stalks.
Water at the base so the leaves stay dry.Base watering keeps foliage and flower stalks dry and limits spread during the wet spells that drive these lesions.
Pick off spotted leaves and shoots as they appear, and clear affected material out of the planting.Remove lesioned tissue promptly, and favor clean soil where you have the choice. On sweet pea these spots usually run secondary to mildew and the rots, so removal plus the other cultural steps is generally enough.
No spray for this one. Prevention is the control.
The ladder troubleshoots from the gentlest solution to the strongest. Start with the gentlest option and only move on when and if it doesn't work.
Space plants for airflow; downy mildew, a grayish moldy growth on the undersides of leaves, favors cool, damp, still conditions.Airflow is the mainstay: the pathogen sporulates on leaf undersides in cool, humid spells, and an open canopy that dries quickly is the main check.
Keep the leaves dry by watering at the base.Dry foliage denies the disease the cool, wet leaf surface it needs; base watering is the simple lever, alongside airflow.
Remove leaves showing the gray growth underneath and yellowing on top.Sanitation rounds out the cultural program. This is a minor, weather-driven problem next to powdery mildew and the rots, so removal plus airflow generally suffices.
No spray for this one. Prevention is the control.
Because sweet peas are related to peas and beans, plant them after non-legume crops like leafy greens, cabbage-family plants, or onions, and not right after peas or beans. This helps avoid the soil diseases that legumes share. Each year, give them a fresh spot, and their own trellis where you can enjoy the scent.Rotate sweet pea like the legume it is: follow non-legumes such as leafy greens, brassicas, or alliums, and avoid replanting it after peas, beans, or sweet pea to limit soilborne root rot and virus carryover. Because it is grown ornamentally, siting is also about the support structure and where the fragrance is enjoyed, but the disease-driven rotation away from recent legume ground is the substantive rule.
The plant app sends a timely reminder at every critical moment of your sweet pea season. The wording adjusts to whichever you pick: beginner or seasoned. Here are three you'll see in Zone 9.
plant sends the right notification at exactly the right moment, for your zone, your weather, your crops. Founding members lock the rate forever.
We're building this guide with real growers. Got a question we missed? Ask here. We read every one and add the best answers right to this page.
Learned something the hard way? Pass it on. Real growers' tips make this guide better for the next person, and we credit you by name when yours goes live.
If you've grown this crop and you see a date, a temperature, a companion claim, or a recommendation that doesn't match your experience, tell us. Real growers' corrections make this guide better for the next person.
Every date, temperature, spacing, and recommendation on this page is sourced from university cooperative extension publications, peer-reviewed agricultural research, NOAA climate data, and direct extension calendars. Where claims are softer (traditional gardening wisdom not formally documented), we say so.
Spot a data point that doesn't match your experience? Submit a correction; accepted corrections earn full author credit on the page.
Zone-aware seasonal nudges, what's worth planting now, and the occasional recipe from the harvest. No spam, ever.