Today · in your zone
What's happening right now
Off-season for sweet potato in zone 9.
Sweet potatoes are a warm-weather crop grown for the sweet, starchy roots that form underground. Despite the name, they are not related to regular potatoes; they belong to the morning glory family. You do not grow them from seed or from tubers. Instead you plant slips, which are rooted sprouts, set out only after all frost is past and the soil is warm. The plants send out long, trailing vines that cover the ground, so they are grown on ridges or mounds with plenty of room. Sweet potatoes need a long, hot summer (about 3 to 4 months of warm, frost-free weather) and they love heat, so the warm South, Gulf, Florida, and the desert Southwest are the best places to grow them, while cooler northern gardens are a stretch and use black plastic and fast varieties. Go easy on fertilizer, especially nitrogen, or you get lots of vine and few sweet potatoes. Dig the crop before the first frost, which kills the vines, then cure the roots somewhere warm and humid for a week or two, which heals the skins and makes them sweet, and store them warm, around 55 to 60°F. Never put sweet potatoes in the fridge or anywhere cold, which ruins them. This is the opposite of how you store regular potatoes. The young leaves are also good to eat as a cooked green. Sweet potato (Ipomoea batatas) is a warm-season, frost-tender member of the morning glory family (Convolvulaceae), not a nightshade and unrelated to the ordinary potato despite the shared name. It is grown for its swollen storage roots and planted not from seed or tubers but from slips: rooted sprouts pulled from a bedded seed root and set out only after all frost danger has passed and the soil is warm, above about 65°F. The plant is a vigorous, sprawling groundcover, running long vines that root at the nodes, and it is grown on raised ridges or mounds that drain well and give the roots room to expand. The crop needs a long, hot season, roughly 90 to 120 frost-free days, and it relishes the summer heat that stalls many other vegetables, so the warm South, Gulf, Florida, and the low deserts are its stronghold while short-season northern gardens are marginal and lean on black plastic and fast varieties. Feed sparingly and keep nitrogen low, since rich ground grows rampant vine and few roots. The crop is dug before the first frost, which kills the vines, then cured warm and humid (about 80 to 85°F at high humidity for one to two weeks) to heal the skins and turn starch to sugar, and stored warm, near 55 to 60°F. Sweet potatoes are damaged by cold and must never be refrigerated or stored below about 50 to 55°F, the opposite of white potato storage. The young leaves and shoots are also edible as a cooked green.
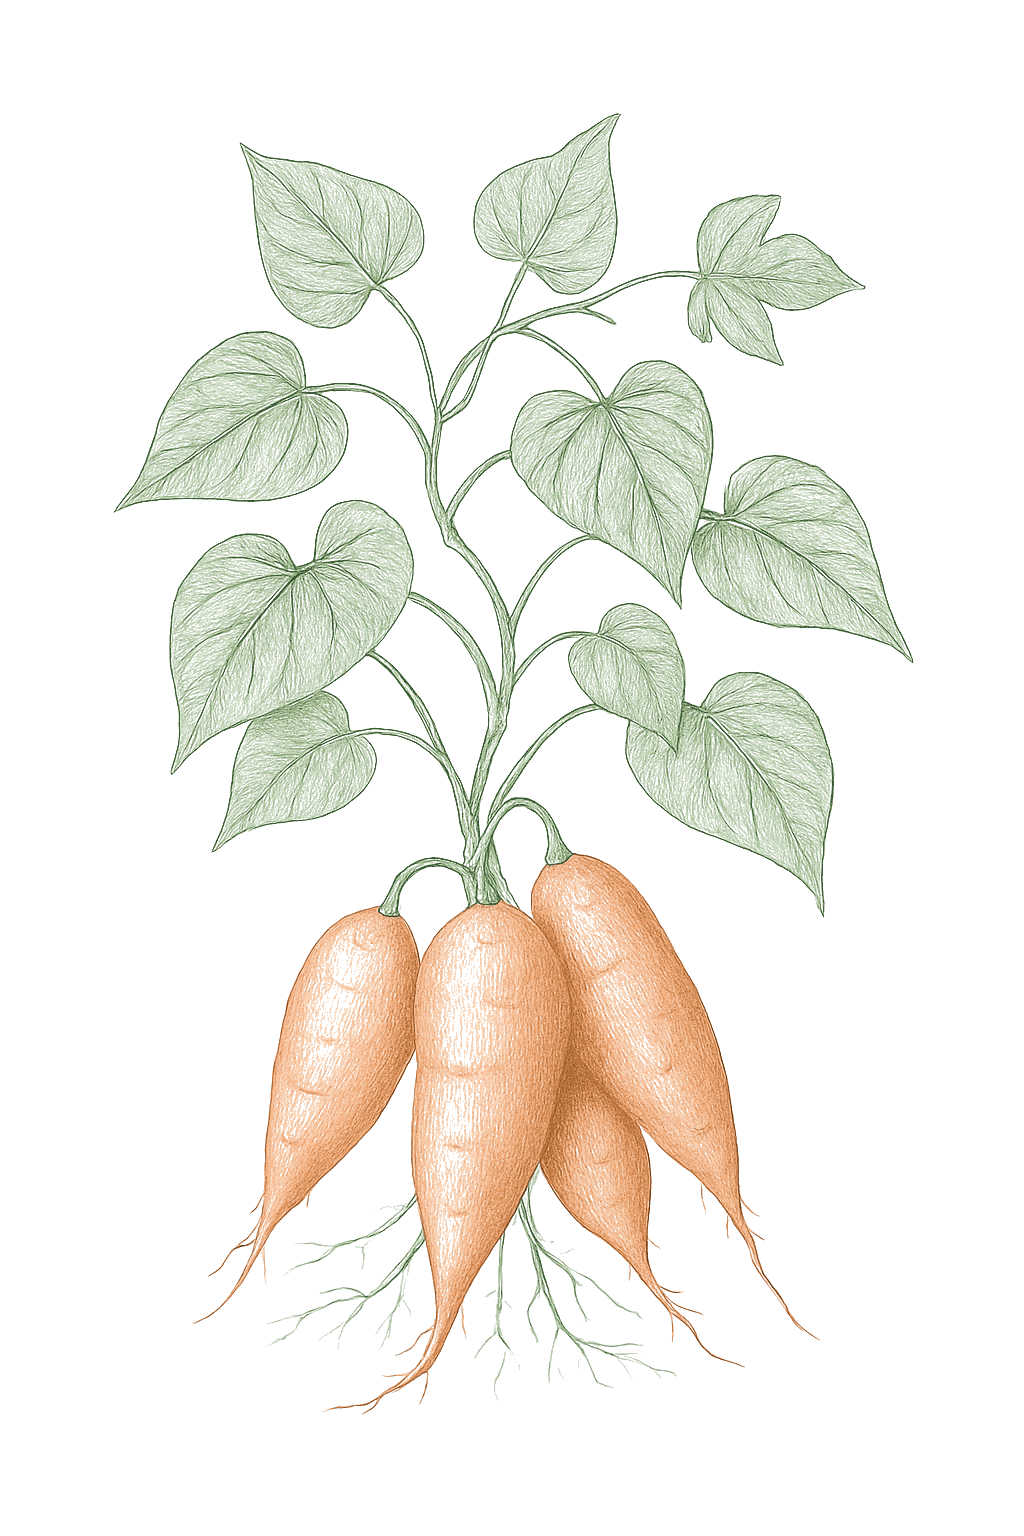
Off-season for sweet potato in zone 9.
Zone 9 averages a last frost around March 1. Within Zone 9, the colder half (9a, winters down to 20°F) runs about a week later. The warmer half (9b, winters down to 25°F) runs about a week earlier. The plant app picks your subzone from your ZIP.
| Subzone | Last spring | First fall | Growing days | Winter min | Fruits reliably |
|---|---|---|---|---|---|
| 9a | Mar 8 | Nov 24 | ~261 | 20-25°F | Yes · two seasons |
| 9b | Feb 28 | Nov 30 | ~275 | 25-30°F | Yes · two seasons |
Averages from 8 weather stations per subzone, drawn from NOAA 1991-2020 Climate Normals. Your actual frost date can vary by up to two weeks based on elevation, proximity to water, and local topography.
In Zone 9, sweet potato can be planted April through June. Harvest runs August through November.
In Zone 9, sweet potato can be planted March through April. Harvest runs July through November.
In Zone 9, sweet potato can be planted March through April. Harvest runs July through November.
In Zone 9, sweet potato can be planted June. Harvest runs September through October.
In Zone 9, sweet potato can be planted May through June. Harvest runs August through October.
In Zone 9, sweet potato can be planted June. Harvest runs September through November.
In Zone 9, sweet potato can be planted April through May. Harvest runs July through November.
In Zone 9, sweet potato can be planted March through April. Harvest runs July through December.
In Zone 9, sweet potato can be planted April through June. Harvest runs August through December.
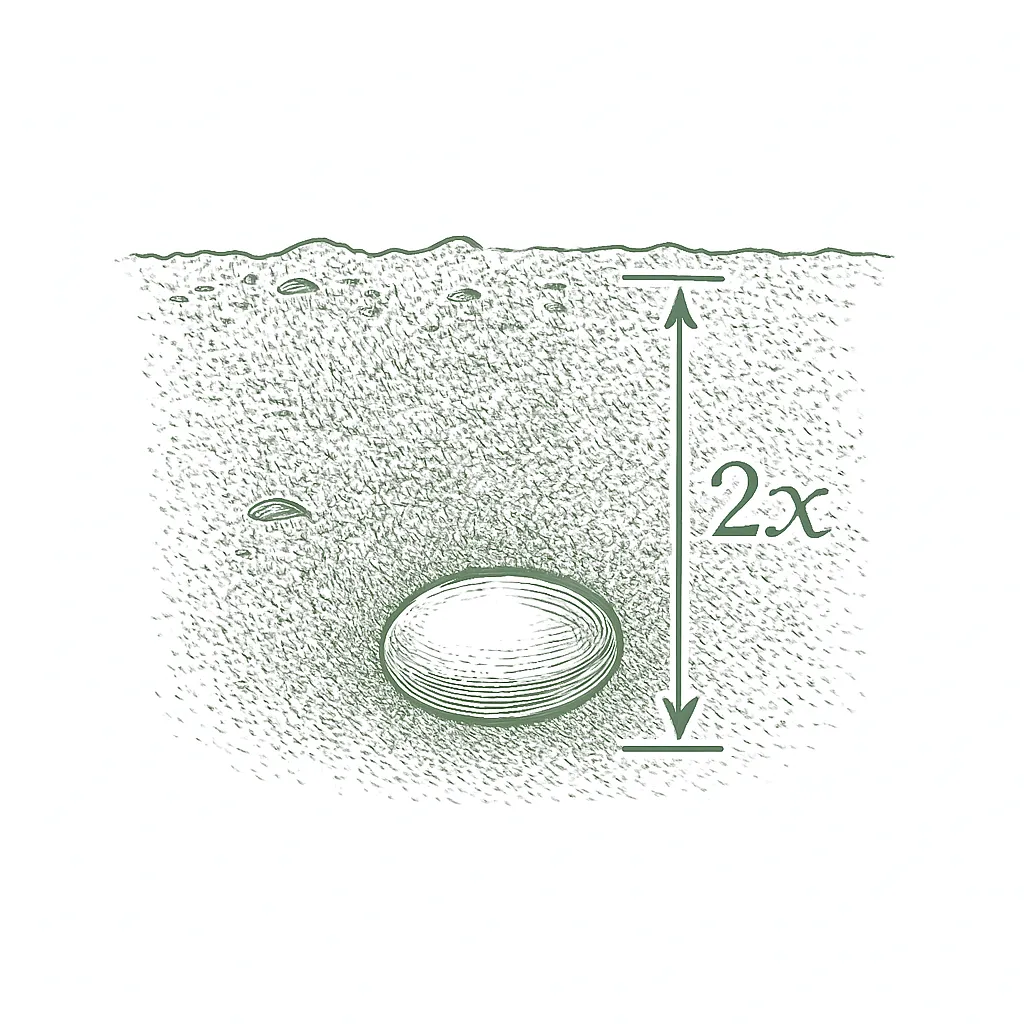
Grow sweet potatoes from slips, which are rooted sprouts. You can buy them as certified disease-free plants, or grow your own by half-burying a healthy sweet potato in warm, damp soil about 6 weeks ahead and pulling off the sprouts once they have roots. Plant the slips 3 to 4 inches deep, with a couple of the leaf joints buried, spacing them 12 to 14 inches apart along ridges or mounds in rows about 3 feet apart. Wait until all frost is past and the soil has warmed to about 65°F. There is nothing to start from seed indoors. In cool-summer areas, laying down black plastic warms the soil and gives you extra time.Sweet potatoes are grown from slips: rooted sprouts pulled from a bedded seed root, not from seed and not from seed-potato-style pieces. Buy certified, disease-free and weevil-free slips, or bed a healthy root in warm, moist medium about 6 weeks ahead and pull the sprouts once they have roots. Set slips 3 to 4 inches deep with two or more nodes buried, spacing them 12 to 14 inches apart on ridges or mounds in rows about 3 feet apart, once all frost danger has passed and the soil is above about 65°F (70 to 80°F is better). There is no indoor seed-starting step; the slip itself is the transplant. In short-season areas, planting through black plastic warms the soil and buys extra growing days.
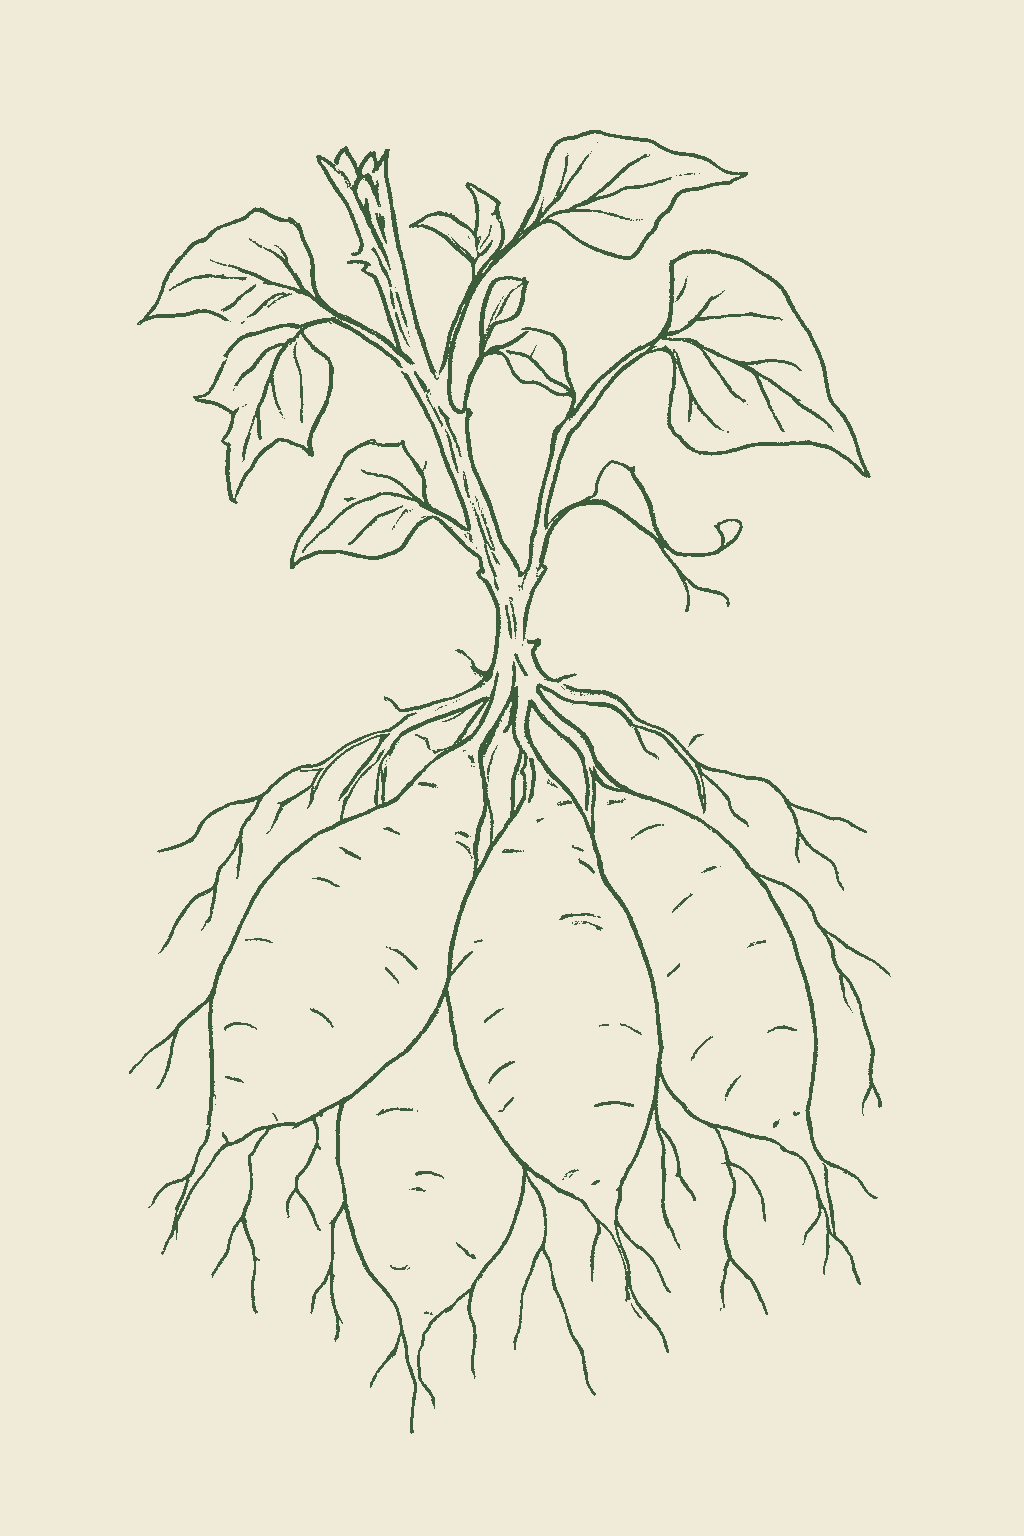
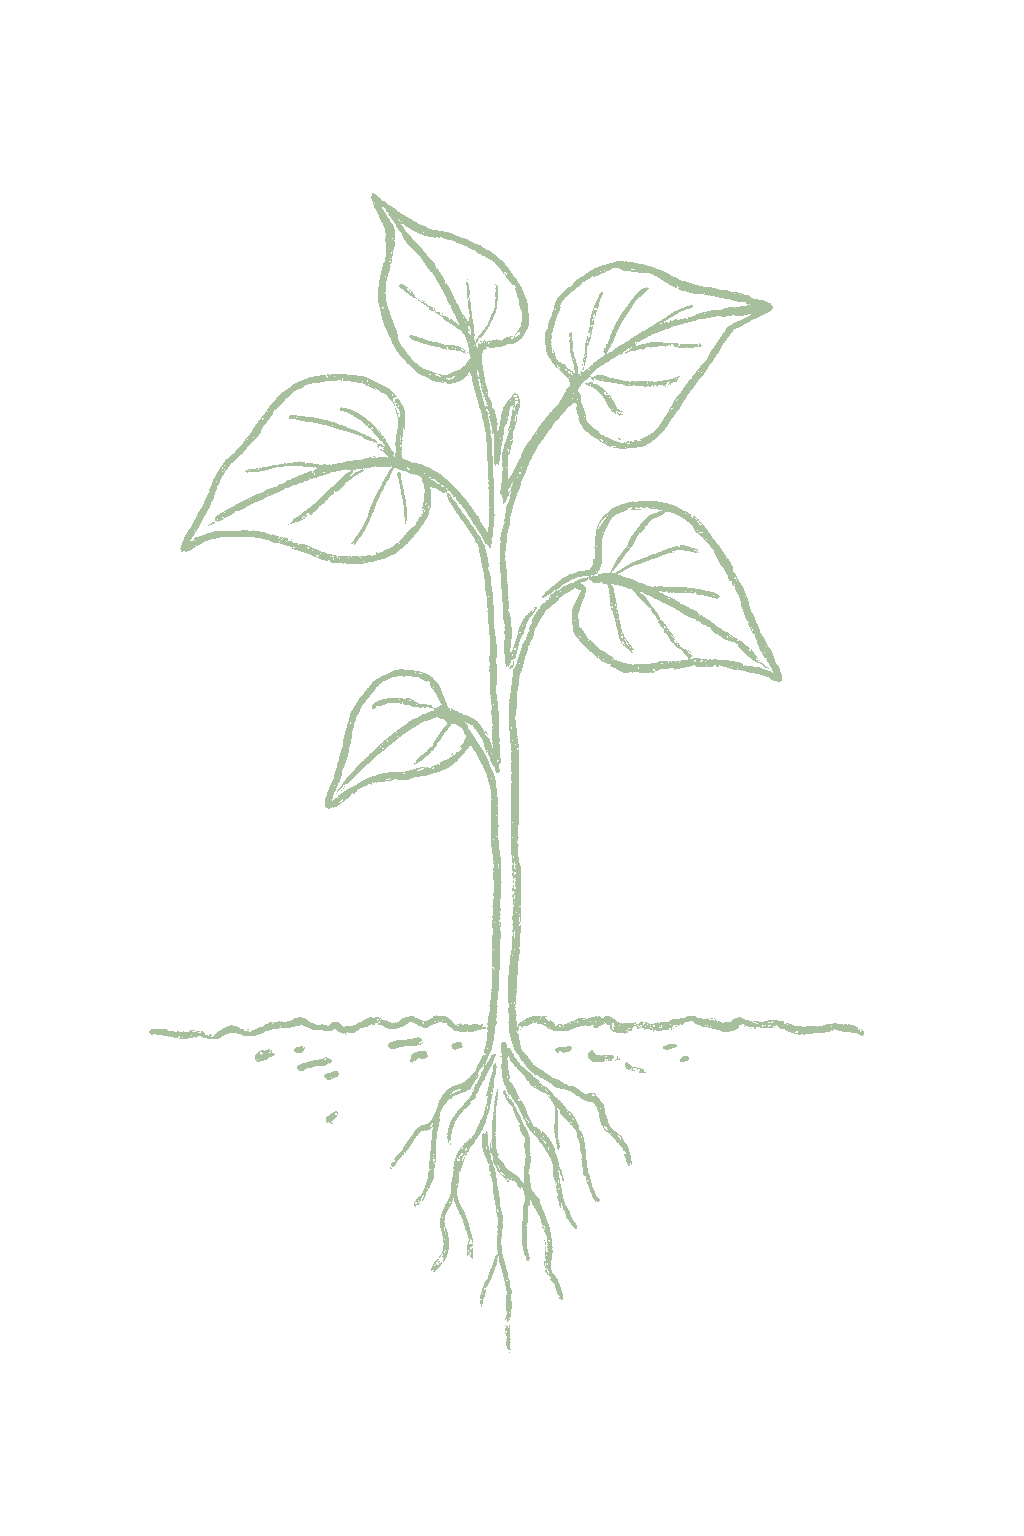




Not sure what soil you have? Grab a small handful of damp soil from your garden bed and squeeze it. If it crumbles apart easily, it's sandy. If it holds together but breaks when you poke it, it's loam (what most vegetables want). If it stays in a hard, slippery ball, it's clay.
Sweet potatoes want loose, well-drained, sandy or loamy soil that the swelling storage roots can push through easily. Light soil on raised ridges or mounds is ideal, because it drains well and gives the roots room to grow smooth and long. Heavy, wet clay is the thing to avoid: it stays soggy, rots the roots, and forces them into short, knobby shapes. If your soil is heavy, build up a ridge or a raised bed of loose mix, which also warms up faster in spring. Keep the soil slightly acidic, about pH 5.8 to 6.5. Go easy on nitrogen and fresh manure, which grow lots of leafy vine and few roots.
Mix 2-3 inches of compost into the top 6 inches of your bed before planting. Compost holds moisture (which sandy soil drains too fast) and adds the nutrients sandy soil tends to lack. Repeat each season. Compost breaks down over time.
Mix 2-3 inches of compost AND a few inches of coarse sand or perlite into the top 6 inches of your bed. The compost feeds the plants; the sand breaks up the clay so air and water can move through. Don't add sand without compost. It can compact like concrete.
If amending your soil sounds like too much work, or if your soil is heavy clay, full of rocks, or contaminated, build over it. A raised bed at least 12 inches deep filled with a 50/50 mix of compost and sandy loam gives you ideal growing soil with no battles. A 5-gallon container with quality potting mix does the same for one plant at a time. Both bypass your native soil entirely.
The numbers that matter, at a glance.
Sweet potatoes grow well in large containers, which is handy if your soil is heavy clay or you are short on space. Use a deep tub or grow bag of at least 15 gallons with drainage holes, fill it with loose mix, plant a slip or two of a compact bush variety, and let the vines trail. Keep the mix evenly moist but never soggy, feed lightly, and tip the container out to harvest when the leaves yellow or frost threatens.Sweet potatoes are well suited to a large container and a good option on heavy clay or in small spaces. Use a 15 gallon or larger tub or grow bag at least 12 inches deep with drainage holes, filled with a loose, free-draining mix; plant one or two slips of a compact bush variety (Vardaman, bush Porto Rico) and let the vines trail over the sides. Keep moisture even but never waterlogged, feed only lightly to avoid all-vine growth, and harvest by tipping out the container when foliage yellows or frost approaches.
Ask what your balcony or roof can carry
A balcony or roof can only hold so much weight. Before you set heavy pots there, ask a building architect what it can safely carry.Illinois Extension's guidance is to consult a building architect about weight limits before placing heavy pots on a balcony or rooftop garden. It gives no weight figure.
Never grow food in a container with anything toxic in it
Many kinds of containers can be used. Whatever you choose, keep anything toxic out of it, especially if you are growing food.Colorado State accepts nearly any container material but warns against using a container that holds toxic materials, especially for edible plants. Illinois adds that a vegetable container should be free of chemicals toxic to plants or people, and urges caution with treated lumber when growing food. If you cannot account for what a repurposed container once held, that alone is a reason to keep food out of it.
Secure hanging containers well
Fasten hanging baskets and window or rail boxes securely. Think about what is below them too, since they can drip on people or things underneath.Illinois Extension asks growers to secure hanging containers well and to think through the safety issues of hanging them. Placement matters too, since a hanging container can drip onto people or belongings below.
Soil pH measures how acidic or alkaline your soil is, on a scale from 1 to 14 where 7 is neutral. Sweet potatoes like it slightly acidic, about 5.8 to 6.5, which is close to what most vegetables want. They are not fussy and will grow from about 5.0 up to nearly neutral, so you rarely need to change your soil much. A cheap soil test from your local extension office tells you your number, and if your soil is very alkaline, mixing in compost helps. Do not overdo lime.Sweet potatoes grow best in slightly acidic soil, roughly pH 5.8 to 6.5 (University of Georgia gives 6.0 to 6.5). They are adaptable and will crop from about 5.0 up toward neutral, so pH is rarely the limiting factor. Where soil pox and Streptomyces soil rot are a problem on susceptible varieties, growers avoid pushing the pH high and lean on resistant cultivars rather than heavy liming. Amend very alkaline ground with organic matter and confirm your starting point with a soil test before planting.
Sweet potatoes do not need much feeding, and too much of the wrong kind backfires. Mix a low-nitrogen fertilizer like 5-10-10 into the ridge before you plant, then feed once more about a month after setting the slips. Do not pile on high-nitrogen fertilizer or fresh manure: that grows a jungle of leafy vine and hardly any sweet potatoes underneath. A little compost worked into the bed is the safe way to enrich it.Sweet potatoes are light feeders and specifically want restrained nitrogen. University of Georgia suggests working in about 30 pounds of 5-10-10 per 1,000 square feet before planting, then side-dressing roughly 4 pounds of 5-10-10 per 100 feet of row about 4 to 6 weeks after transplanting. Favor a low-nitrogen, higher-potassium ratio: too much nitrogen (and fresh manure) grows lush, sprawling vine and few storage roots, while adequate potassium supports root sizing and quality.
The three numbers on a fertilizer bag are nitrogen, phosphorus, and potassium (N-P-K). Sweet potatoes do best with a low first number, like 5-10-10, not a high-nitrogen feed. Too much nitrogen grows leaves and vines instead of sweet potatoes, so use a low-nitrogen fertilizer and some compost.Sweet potatoes are light feeders that want low nitrogen and good potassium. A blend such as 5-10-10 worked into the ridge before planting covers most home soils. Excess nitrogen drives vine at the expense of roots, and fresh manure has the same effect, so lean on a low-nitrogen fertilizer and compost rather than a balanced or high-nitrogen feed.
Sweet potatoes are easygoing and take up a lot of ground with their sprawling vines, so companions are mostly about using the edges of the bed. Bush beans and other legumes are a sensible neighbor because they add nitrogen to the soil. The main thing to avoid is crowding them next to other sprawling vine crops like squash and pumpkins, which fight for the same space and sunlight. Do not trust every companion chart online; many of their claims have never been tested. Sweet potatoes are undemanding neighbors but greedy for space, since a single plant can run vines many feet in every direction. The best-grounded pairing is with legumes (bush beans, southern peas), which fix nitrogen and share the bed without heavy competition. Aromatic herbs are a traditional edge planting. The clearest practical avoids are other rampant vine crops, squash, pumpkins, and melons, which compete for the same ground and light. Most companion-chart claims for sweet potato are folklore; treat them with healthy skepticism, since university reviews find little evidence behind most of them.
You harvest sweet potatoes by the calendar and, most importantly, before frost, not by watching the tops die back. They are usually ready about 3 to 4 months after planting, when the roots are full size; the older leaves may yellow, but unlike regular potatoes the vines do not obviously die down. Dig before the first fall frost, because frost kills the vines and cold soil hurts the roots. Loosen the soil with a fork well away from the plant so you do not stab the sweet potatoes, lift them gently, and handle them carefully because they bruise easily and the skins are thin at first. Let them dry off out of the sun, do not wash them, then cure them somewhere warm and humid for a week or two before storing. If frost hits the vines, cut them off and dig within a day or two.Sweet potatoes are harvested by days-to-maturity and, above all, before frost, not by a die-back signal. The crop is usually ready about 90 to 120 days from transplanting slips, when the roots have reached full size; the oldest leaves may yellow, but the vines do not clearly die back the way potato tops do. Dig before the first fall frost, since frost kills the vines and cold soil damages the roots and shortens storage. Loosen the soil with a fork well outside the plant so you do not spear or bruise the roots, lift them gently, and handle them carefully, since sweet potatoes bruise easily and skins are thin at harvest. Let them dry briefly out of direct sun, do not wash them, then cure warm and humid, about 80 to 85°F for one to two weeks, before storing. If a frost catches the vines, cut them off and dig within a day or two so rot does not travel down into the roots.
About 3 to 6 sweet potatoes, roughly 1 to 2 pounds, from each plant when things go well, though it varies a lot with the variety and the season. A row gives you something like a pound or more per foot on a good site.Roughly 3 to 6 storage roots, about 1 to 2 pounds, per plant in good conditions, varying widely with variety, season length, and care. By the row, a home crop often runs about 1 to 1.5 pounds per foot of row on a good site.
A sweet potato planting is ready all at once, about 3 to 4 months after planting, and you dig it when the roots are sized and before frost. It does not keep producing after that, so cure and store the crop, which lasts for months.A sweet potato planting matures over a single window, about 90 to 120 days, and is dug once when the roots reach size and before frost. It is not a repeat-harvest crop; for a longer supply, cure and store the crop, which keeps for months, or in frost-free regions stagger plantings. Sweet potatoes are grown fresh each year from slips, so your first crop can do as well as any later one. What matters is good slips, a long warm season, loose well-drained ridges, steady water, and going easy on nitrogen.Sweet potatoes are grown fresh from slips each season, so there is no first-year-versus-later difference as with perennials; results depend on certified slips, a long warm season, loose well-drained ridges, even moisture, and restrained nitrogen.
Pick a variety for your area and how long your season is. In cooler, shorter-season gardens, choose the fastest kinds (Georgia Jet, Beauregard, Centennial) and warm the soil with black plastic. Where summers are long, bigger keepers like Jewel and Covington do well and store for months. If nematodes are a problem, pick a resistant variety like Covington or Centennial. For a pot or a small bed, the compact bush type Vardaman is ideal. There are also white, purple-skinned Japanese, and purple-fleshed types to try. Always buy certified disease-free slips, not sprouts off a grocery-store sweet potato.Choose by maturity and your climate. In short-season and northern gardens, lean on the fastest orange types (Georgia Jet, Beauregard, Centennial) and warm the soil with black plastic. Where the season is long, higher-yielding keepers like Jewel and Covington size up and store well. Covington and Centennial carry useful root-knot nematode resistance, and Sumor is a Fusarium-wilt-resistant option where that disease occurs. For containers or tight beds, the compact bush type Vardaman saves space. Beyond the standard orange types, there are pale-fleshed heirlooms, purple-skinned Japanese types (Murasaki), and deep-purple-fleshed varieties. Always start from certified disease-free and weevil-free slips.

The ladder troubleshoots from the gentlest solution to the strongest. Start with the gentlest option and only move on when and if it doesn't work.
After you dig, go back over the bed and collect the roots you missed, the culls you set aside, and any volunteers, meaning plants that sprout on their own from a root left behind. Destroy the lot rather than leaving it in the ground, because the weevil keeps living and breeding in those roots between crops. Sweet potatoes that are already tunneled cannot be salvaged, so they go out with them.Left-behind, cull and volunteer roots are the reservoir that carries this weevil from one crop to the next, so stripping them out is most of the control that is actually available. Tunneled roots have no rescue: larval mining induces the bitter terpenes even at low feeding levels, so grade them out and destroy them rather than holding them back.
Put the new patch on fresh ground, away from last season's bed and away from wherever you keep sweet potatoes stored. The weevil travels only short distances on its own, so distance from both of those sources buys you real protection. Where it is a bad problem locally, keep to a strict rotation and give the ground a fallow break.Site the planting at a distance from both the previous bed and any sweet potato storage, since the adult disperses only short distances and spreads mainly on infested slips and in roots left in the soil. Under heavy regional pressure the guidance is a strict rotation with a fallow break rather than a one-bed shuffle.
Dig the crop as soon as it is mature instead of letting it sit in the ground. Each extra week in infested soil is more time for the grubs to bore into roots you meant to eat.Lift at maturity rather than holding the crop in the bed. Feeding accumulates for as long as the roots stay in infested soil, and the weevil breeds continuously in warm climates, so the length of that exposure is the variable you control.
No spray for this one. Prevention is the control.
The ladder troubleshoots from the gentlest solution to the strongest. Start with the gentlest option and only move on when and if it doesn't work.
Keep sweet potatoes out of a bed that was lawn, pasture, or corn in the last year or two. That is where wireworms, the hard shiny larvae of click beetles, are thickest, and the grubs of cucumber beetles and flea beetles chew the roots in much the same way. Rotate the patch around the garden, and if one bed keeps giving you scarred roots, grow the crop elsewhere or in a raised bed of clean soil.Wireworm populations peak in ground recently out of sod, pasture or corn, so lengthen the interval between grass and a root crop instead of following one with the other. Diabrotica and Systena larvae work the same roots alongside them. Where a bed has a bad history, move the planting off it or use clean raised-bed soil.
Pull the grassy weeds in the bed and along its edges. Grass is the cover these soil grubs favor, so taking it out makes the ground less hospitable to them.Grassy weeds sustain the habitat this larval complex prefers, so clearing them from the bed and its margins removes standing cover next to the developing roots.
Dig on time rather than leaving the crop in the ground to size up a little more. The boring keeps adding up for as long as the roots sit in soil that holds these grubs, and pitted roots do not keep well afterward.Damage accumulates with time in infested ground, so lifting at maturity caps it. It also matters for what follows, since the punctures and grooves are openings the storage rots use.
Work the bed over once the crop is out, and keep working it in the seasons that follow. Wireworms stay down in the soil for years, so treat this as something you do repeatedly rather than a single pass that settles it. Working the soil has costs of its own, so see this method's cautions before making it a habit in a no-dig bed.Cultivation breaks up the soil habitat these larvae occupy. Wireworms persist in the ground across several years, so this is a multi-season lever, and it works alongside keeping the grassy cover down rather than in place of it.
No spray for this one. Prevention is the control.
The ladder troubleshoots from the gentlest solution to the strongest. Start with the gentlest option and only move on when and if it doesn't work.
Start the patch somewhere other than last year's sweet potato bed. These beetles pass the winter close to where they fed, so fresh ground means fewer of them finding your slips in spring.Adults overwinter nearby and move onto young foliage in spring and early summer, so siting the planting away from the previous bed lowers the number arriving on freshly set slips.
Clear the spent vines and old crop debris out at the end of the season. That leftover growth is what the beetles shelter in over winter.Crop residue left standing in the bed is overwintering shelter, so a clean-up once the vines are finished cuts how many adults are on hand when the next planting goes out.
Keep the weeds down in the bed and around its edges through the season. Weedy cover gives flea beetles somewhere to hole up, so a clean edge makes the patch less inviting.Weeds are named alongside crop debris as the shelter this pest carries over in, so clear the ground before slips go in and hold the margins clean afterward.
Cover freshly set slips with a floating row cover, a light fabric that lets sun and rain through while keeping insects off. Leave it on through the first weeks, when the peppering of small round holes does the most harm to a small plant, and take it off as the vines start to sprawl. Slips kept well watered and growing strongly tend to shrug off the leaf feeding once they are running.Cover at transplanting and hold it through establishment, the window when shot-hole feeding on limited leaf area actually stunts the plant, then pull it as the vines begin to run. Vigorous, evenly watered transplants tolerate the same beetle numbers far better than stressed ones, which is why the cover is a temporary measure. Avoid laying it over ground that carried a crop from the same family last season, or emerging soil pests can be trapped underneath with the planting.
No spray for this one. Prevention is the control.
The ladder troubleshoots from the gentlest solution to the strongest. Start with the gentlest option and only move on when and if it doesn't work.
Clear the weeds around the patch and keep the edges tidy. Weeds nearby can hold both whiteflies and the plant viruses they carry, so removing them takes away the launching pad.Nearby weeds host the vector and the viruses together, so clearing them and holding the margins clean reduces the reservoir feeding new introductions into the planting.
When a plant clearly has a virus, with mottled, curled leaves and stunted growth, pull it out promptly and get rid of it. A plant that has picked up a virus does not recover, so leaving it in the row just gives the whiteflies something to carry the virus away from.Rogue symptomatic plants without waiting. Infected plants do not recover, so one left standing is a source the vector can acquire from and move down the row.
Where the whiteflies have built into heavy clusters, a strong jet of water aimed under the leaves knocks them off. Do it early in the day so the foliage dries again.A forceful spray directed at leaf undersides dislodges dense colonies where they sit and costs nothing; light numbers are worth leaving alone. Spray early enough for the foliage to dry, since a long wet period favors disease.
Put up with a few whiteflies. Helpful insects usually hold their numbers down on their own, and the harsh sprays that would wipe out the whiteflies take those helpers with them.Resident natural enemies commonly keep whitefly numbers below the level worth acting on, so tolerate light populations and stay off broad-spectrum materials, which remove the predators doing that work.
For heavy clusters the water jet has not handled, insecticidal soap is the next step. It only acts on what it wets, so coat the undersides of the leaves directly. Keep it off drought-stressed plants and do not spray it above 90°F.Contact soap works on dense colonies on the leaf undersides, so coverage decides the result and it does nothing to what it misses. It also kills soft-bodied beneficials it wets directly, so treat the infested foliage rather than the whole patch, and avoid it on water-stressed plants or above 90°F. Note UC IPM's moderate acute rating for potassium salts of fatty acids, and wear gloves, long sleeves and eye protection when mixing and spraying, since many consumer labels do not print it.
The bottom rungs are products with label rules: timing, pollinators, and days to wait before harvest. Before you spray →
The ladder troubleshoots from the gentlest solution to the strongest. Start with the gentlest option and only move on when and if it doesn't work.
Buy certified, disease-free slips. This fungus rides in on infected slips, so the planting material is the piece you settle before anything reaches the bed. If a patch wilted on you, do not save slips off it for next year.Certified slips close the route into ground that is still clean, since the pathogen travels on planting material as well as surviving in soil. Propagating from a patch that showed wilt carries it forward, so that stock is not worth keeping.
Where the wilt has turned up before, grow a variety bred to resist it, such as Sumor. There is no spray that fixes this one, so the variety you pick at buying time does more than anything you can do later in the season.Wilt-resistant releases such as Sumor are the durable lever on ground where the fungus is established. With no curative material available, cultivar choice and clean stock carry the program between them.
Avoid growing sweet potatoes in the same bed season after season, which is how the fungus builds up. Once a bed is infected, keep the crop off it for several years before you come back.The fungus survives for years in soil and accumulates under repeated sweet potato cropping, so an infected bed wants a multi-year break rather than a single season off.
There is no way to cure a plant once it is wilting, so pull it, take it out of the garden, and bin it instead of composting it.An infected plant does not recover, so lift and destroy it rather than composting. That keeps infected tissue out of what returns to the bed, though it does not clear a soil population already there.
No spray for this one. Prevention is the control.
The ladder troubleshoots from the gentlest solution to the strongest. Start with the gentlest option and only move on when and if it doesn't work.
Begin with certified, clean slips. Root-knot nematodes are microscopic worms that live in the soil, and clean planting material keeps you from importing a fresh population into a bed that does not have one yet.Certified slips keep a new Meloidogyne population from arriving on planting material, which is the introduction route settled at purchase rather than in the bed.
Grow a variety with root-knot resistance, such as Centennial or Covington. In sandy soil and a warm region, where the cracking and knotting run worst, this choice does the most work.Resistant releases such as Centennial and Covington are the leading lever, and they matter most in the sandy soils and warm regions where southern root-knot nematode pressure and the resulting galled, split roots are heaviest.
Rotate the bed so sweet potatoes and the other crops these worms feed on are not sitting in the same ground each year, and work cover crops into the sequence, which can bring numbers down over time. They feed on many kinds of plants, so rotation lowers the pressure rather than clearing the bed.Rotate to non-host or less susceptible crops on a multi-year cycle. The wide host range is why a short rotation returns little, and cover cropping through the off years contributes to a gradual decline rather than a reset.
In a hot climate, cover the moist, cleared bed with clear plastic through the summer months. The trapped heat drives the numbers down in ground you already know is infested. It needs a genuinely hot, sunny stretch to accomplish anything.Solarizing infested ground through the hot months is the in-soil knockdown available here, run between crops rather than as routine practice. It depends on a sustained hot, sunny stretch; under cool or cloudy conditions the soil may not reach working temperatures.
No spray for this one. Prevention is the control.
The ladder troubleshoots from the gentlest solution to the strongest. Start with the gentlest option and only move on when and if it doesn't work.
Buy certified, disease-free slips from clean stock. This fungus travels on infected slips, so what you plant is the first place to stop it.Ceratocystis fimbriata moves on infected slips as well as persisting in soil and debris, so certified stock shuts the route that arrives with the planting material.
Move the crop off a bed where black rot has shown up. The fungus survives in the soil and in old plant debris, so replanting in the same ground sets the new crop straight back down on it.The fungus carries over in soil and crop residue, so rotate off an affected bed rather than planting back into standing inoculum.
Gather up the culls and any volunteer sweet potatoes left in the bed after digging and destroy them, since they are what carries the fungus over to the next crop.Cull and volunteer roots hold the fungus over alongside soil and residue, so remove and destroy them rather than leaving or turning them under.
Handle the roots gently as you dig and carry them, because this fungus gets in through cuts and bruises, so a rough harvest opens the door for it. Cure the crop right after digging, pack it into clean containers, and keep blemished roots out of storage, since the rot goes on developing on sweet potatoes in the bin.Wounds are the infection court, so gentle lifting and handling are the operative control, followed by prompt curing. Warmth and moisture favor the fungus and it continues to develop on stored roots, so keep damaged or spotted ones out of the bin and use clean containers. Take the curing and storage conditions from sweet potato guidance rather than from another root or bulb crop.
No spray for this one. Prevention is the control.
The ladder troubleshoots from the gentlest solution to the strongest. Start with the gentlest option and only move on when and if it doesn't work.
Plant certified, scurf-free slips. Scurf is a skin fungus that arrives on infected slips and then stays in the soil, so clean planting material is where you head it off.Monilochaetes infuscans is carried on slips and persists in soil, so certified scurf-free stock is what keeps it out of a bed that is still clean.
Rotate out of a bed where scurf has appeared, because the fungus stays behind in that soil.Rotate off infested ground. With the fungus soil-resident and confined to the skin, rotation and clean stock are the two levers that act before the crop is ever lifted.
Be gentle digging and carrying the roots, because bruises and cuts are where the soft rots get in. Cure them warm and humid right after digging so the skins heal over, then keep them somewhere warm rather than cold or wet; a refrigerator is too cold for sweet potatoes, and chilled roots break down into soft rot. Set bruised or spotted ones aside to eat first instead of storing them, since one rotting root spreads to what it touches. Scurf blotches sit on the skin, so peeling takes care of them.Curing warm and humid straight after harvest heals the wounds the soft rots enter through; hold the cured crop warm rather than cold afterward, since chilling and wet are what tip a bruised root into a soft breakdown. Take the temperatures from sweet potato guidance rather than from an onion or garlic crop, where cold storage is right and would injure this one. Grade out bruised, cut and spotted roots to use first rather than binning them. Scurf itself stays superficial, costing skin quality and moisture loss in storage rather than the flesh.
No spray for this one. Prevention is the control.
Move your sweet potatoes to a different spot each year and do not put them back in the same bed for about 3 to 4 years. This keeps soil diseases, nematodes, and the sweet potato weevil from building up. Planting after beans or peas is great, since those add nitrogen. Avoid beds that were just lawn, grass, or corn, where wireworms live.Rotate sweet potatoes on a 3 to 4 year cycle, keeping them out of a bed for several seasons to break the buildup of Fusarium wilt, black rot, scurf, root-knot nematode, and the sweet potato weevil. Following a legume (which adds nitrogen) or a clean, non-host crop is ideal. Avoid planting into ground recently in sod, grass, or corn, which harbors wireworms, and avoid heavily manured beds, which favor rampant vine and soft rots.
The plant app sends a timely reminder at every critical moment of your sweet potato season. The wording adjusts to whichever you pick: beginner or seasoned. Here are three you'll see in Zone 9.
plant sends the right notification at exactly the right moment, for your zone, your weather, your crops. Founding members lock the rate forever.
We're building this guide with real growers. Got a question we missed? Ask here. We read every one and add the best answers right to this page.
Learned something the hard way? Pass it on. Real growers' tips make this guide better for the next person, and we credit you by name when yours goes live.
If you've grown this crop and you see a date, a temperature, a companion claim, or a recommendation that doesn't match your experience, tell us. Real growers' corrections make this guide better for the next person.
Every date, temperature, spacing, and recommendation on this page is sourced from university cooperative extension publications, peer-reviewed agricultural research, NOAA climate data, and direct extension calendars. Where claims are softer (traditional gardening wisdom not formally documented), we say so.
Spot a data point that doesn't match your experience? Submit a correction; accepted corrections earn full author credit on the page.
Zone-aware seasonal nudges, what's worth planting now, and the occasional recipe from the harvest. No spam, ever.