Today · in your zone
What's happening right now
Off-season for tomatillo in zone 9.
Tomatillos are the tart little green fruits in a papery husk that make salsa verde. You grow them almost exactly like tomatoes: start seeds indoors, then plant them out after the last frost. Three things make them different. You must grow at least two plants, because a single tomatillo cannot pollinate itself and will give you empty husks. The plants get big and sprawling, 3 to 4 feet across, so give them room and a cage or stake to lean on. And they shrug off summer heat and dry spells better than tomatoes, with fewer disease problems. Pick the fruit when it fills out its husk and the husk starts to split. They are very productive, and any fruit that drops will often sprout on its own next spring. The tomatillo (Physalis philadelphica) is a warm-season Solanaceae grown for its tart, husk-covered fruit, the green base of salsa verde. Culture mirrors tomato, started indoors and transplanted after frost, with three differences worth knowing. First, it is self-incompatible: a single plant sets almost no fruit, so grow at least two for cross-pollination. Second, the plant is large, sprawling, and vigorous, reaching 3 to 4 feet tall and wide, so it needs a sturdy cage or stake and wide spacing. Third, it tolerates summer heat and drought better than tomato and is notably less disease-prone, which makes it forgiving across hot regions. Fruit is ready when it swells to fill, and often split, its papery husk. Plants are heavy bearers and self-seed readily from dropped fruit, so expect volunteers the following spring.
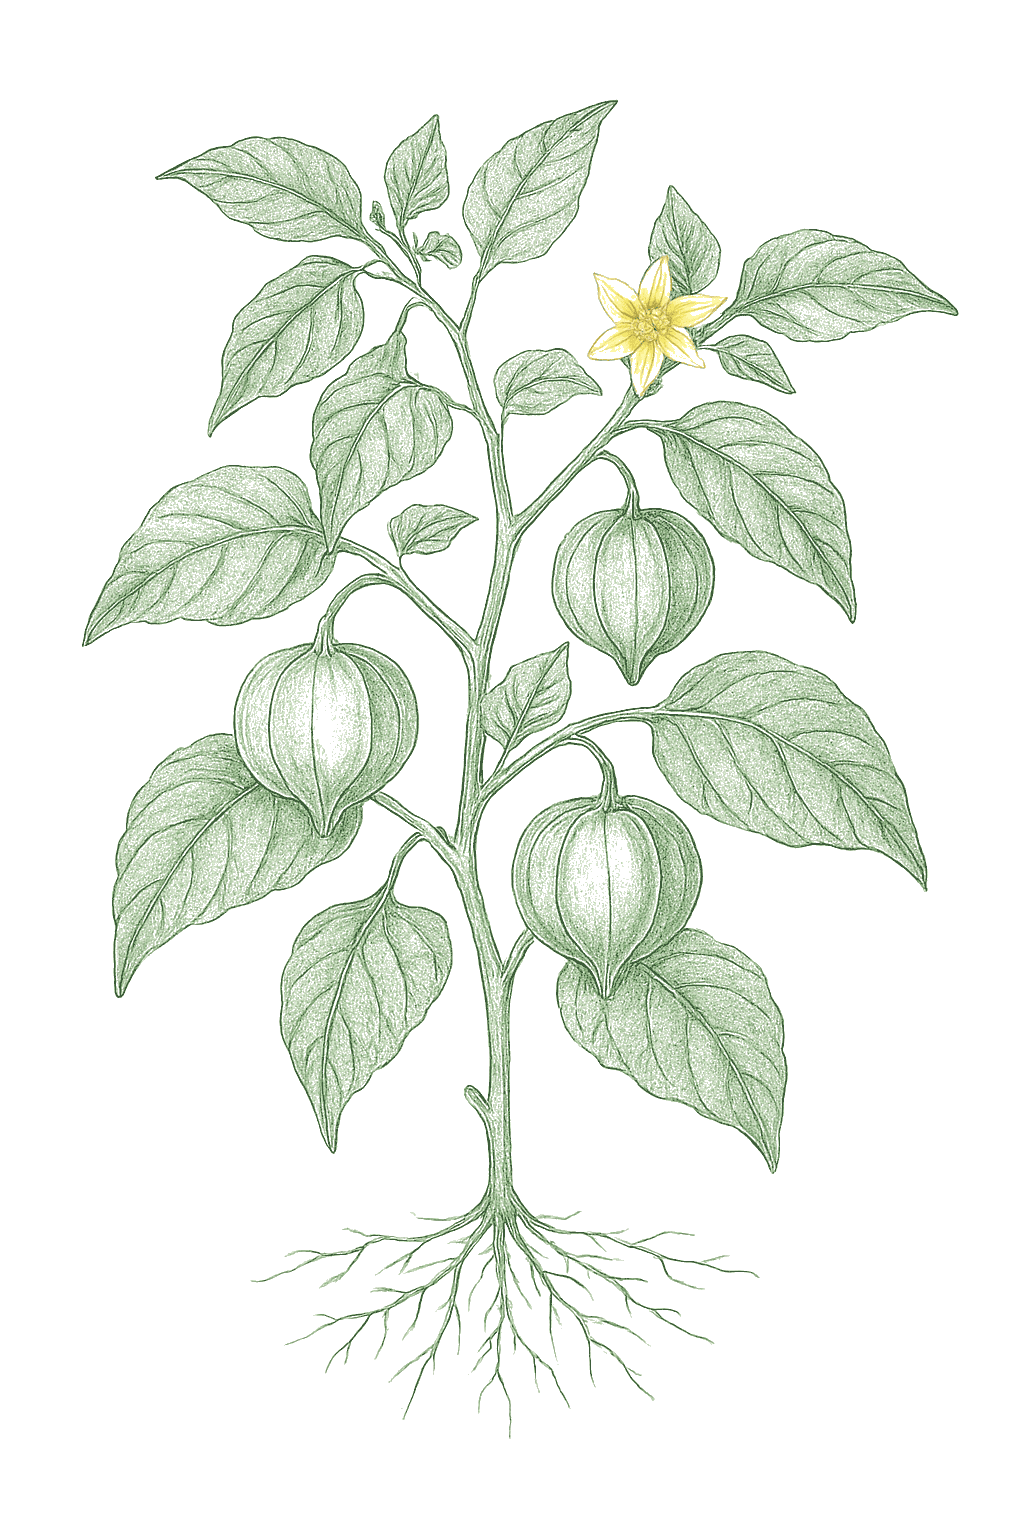
Off-season for tomatillo in zone 9.
Zone 9 averages a last frost around March 1. Within Zone 9, the colder half (9a, winters down to 20°F) runs about a week later. The warmer half (9b, winters down to 25°F) runs about a week earlier. The plant app picks your subzone from your ZIP.
| Subzone | Last spring | First fall | Growing days | Winter min | Fruits reliably |
|---|---|---|---|---|---|
| 9a | Mar 8 | Nov 24 | ~261 | 20-25°F | Yes · two seasons |
| 9b | Feb 28 | Nov 30 | ~275 | 25-30°F | Yes · two seasons |
Averages from 8 weather stations per subzone, drawn from NOAA 1991-2020 Climate Normals. Your actual frost date can vary by up to two weeks based on elevation, proximity to water, and local topography.
In Zone 9, tomatillo can be planted March through May. Start indoors Feb 15 - Mar 10. Harvest runs June through November.
In Zone 9, tomatillo can be planted February, then again September, skipping the summer heat. Start indoors Jan 1 - Jan 20. Harvest runs April through May.
One planting produces tomatillos all season until frost, no need to replant. In hot regions (the low desert, South Florida) growers run a separate spring crop and fall crop around the worst summer heat, but in most gardens it is one long crop.Not a succession crop: one indeterminate planting bears continuously until frost. Desert and tropical regions split into spring and fall crops around a summer heat pause.
In Zone 9, tomatillo can be planted February, then again September, skipping the summer heat. Start indoors Jan 1 - Jan 20. Harvest runs April through May.
One planting produces tomatillos all season until frost, no need to replant. In hot regions (the low desert, South Florida) growers run a separate spring crop and fall crop around the worst summer heat, but in most gardens it is one long crop.Not a succession crop: one indeterminate planting bears continuously until frost. Desert and tropical regions split into spring and fall crops around a summer heat pause.
In Zone 9, tomatillo can be planted May. Start indoors Mar 15 - Apr 15. Harvest runs July through October.
In Zone 9, tomatillo can be planted April through June. Start indoors Feb 15 - Apr 1. Harvest runs June through November.
In Zone 9, tomatillo can be planted May through June. Start indoors Mar 23 - May 22. Harvest runs July through October.
In Zone 9, tomatillo can be planted March, skipping the summer heat. Start indoors Feb 1 - Feb 15. Harvest runs June through June.
In Zone 9, tomatillo can be planted February through March, then again September through October. Start indoors Jan 10 - Feb 13. Harvest runs April through June.
One planting produces tomatillos all season until frost, no need to replant. In hot regions (the low desert, South Florida) growers run a separate spring crop and fall crop around the worst summer heat, but in most gardens it is one long crop.Not a succession crop: one indeterminate planting bears continuously until frost. Desert and tropical regions split into spring and fall crops around a summer heat pause.
In Zone 9, tomatillo can be planted March. Start indoors Jan 25 - Feb 15. Harvest runs May through November.
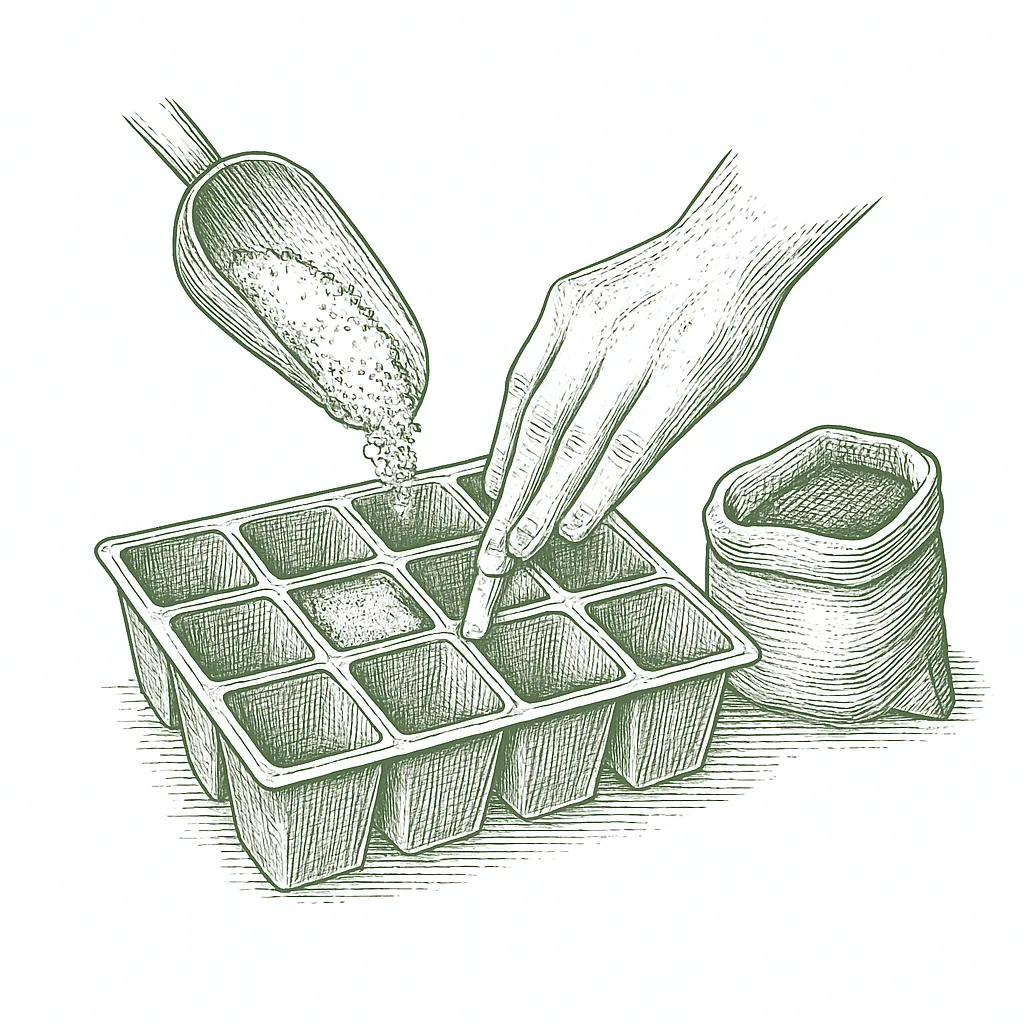
Start seeds indoors about 4 to 5 weeks before your last frost, roughly a week or two after you would start tomatoes. They germinate fast in warm soil (75 to 85°F). When you transplant, you can bury the stem a little deeper than it sat in the pot to encourage extra roots. Remember to start at least two plants so they can pollinate each other.Start indoors 4 to 5 weeks before last frost (about 1 to 2 weeks after tomato). Germinate at 75 to 85°F. Harden off 7 to 10 days; transplant after frost once nights hold above 55°F. Plant slightly deep to encourage adventitious roots. Always set out two or more plants for cross-pollination.
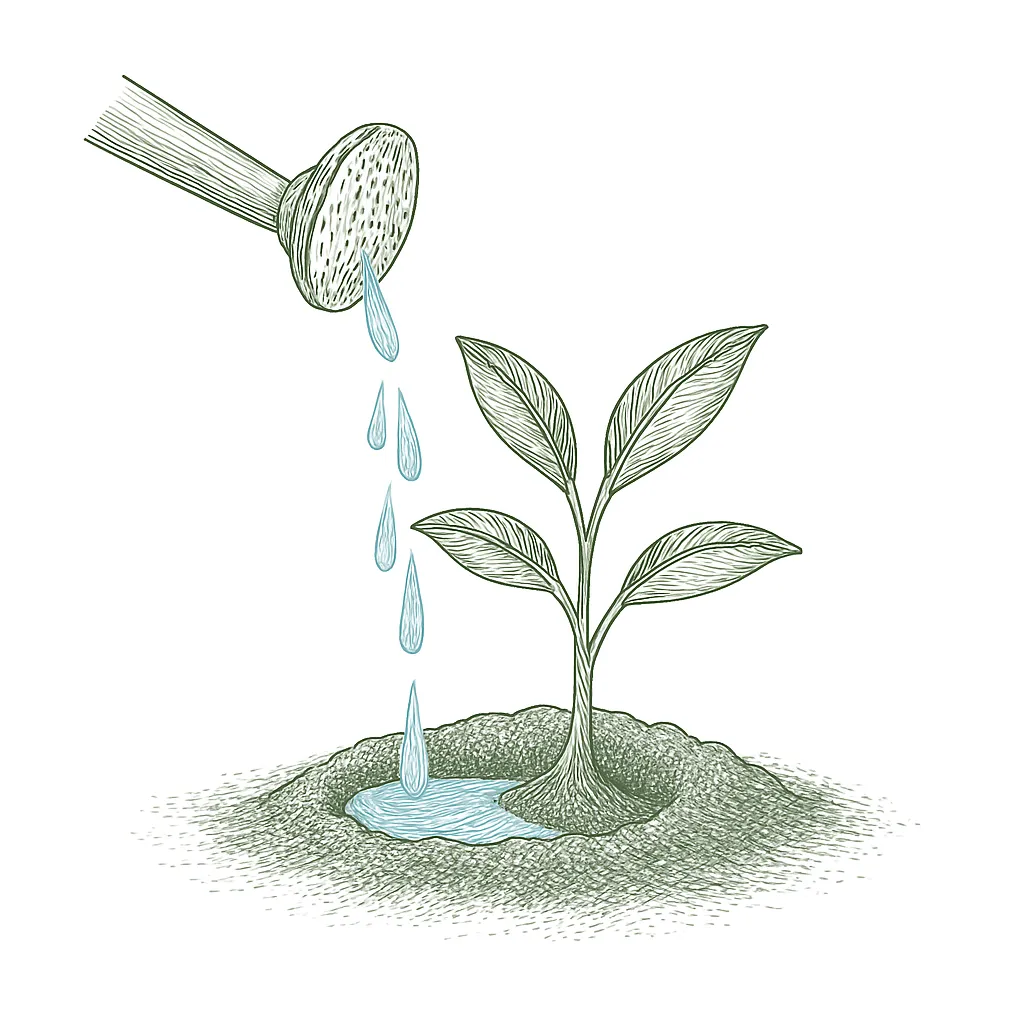









Not sure what soil you have? Grab a small handful of damp soil from your garden bed and squeeze it. If it crumbles apart easily, it's sandy. If it holds together but breaks when you poke it, it's loam (what most vegetables want). If it stays in a hard, slippery ball, it's clay.
Tomatillos want soil that drains well and has some compost worked in, but they are not fussy and will do fine in poorer, drier ground than tomatoes tolerate. If water pools on your bed after rain or stays soggy, fix the drainage first, because soggy roots rot. Digging in 2 to 3 inches of compost before planting is plenty. Avoid piling on rich manure or heavy nitrogen, which pushes big leafy plants with little fruit.
Mix 2-3 inches of compost into the top 6 inches of your bed before planting. Compost holds moisture (which sandy soil drains too fast) and adds the nutrients sandy soil tends to lack. Repeat each season. Compost breaks down over time.
Mix 2-3 inches of compost AND a few inches of coarse sand or perlite into the top 6 inches of your bed. The compost feeds the plants; the sand breaks up the clay so air and water can move through. Don't add sand without compost. It can compact like concrete.
If amending your soil sounds like too much work, or if your soil is heavy clay, full of rocks, or contaminated, build over it. A raised bed at least 12 inches deep filled with a 50/50 mix of compost and sandy loam gives you ideal growing soil with no battles. A 5-gallon container with quality potting mix does the same for one plant at a time. Both bypass your native soil entirely.
The numbers that matter, at a glance.
Tomatillos can grow in large containers, but they get big and sprawling, so use a 10-gallon pot with a sturdy cage. The catch: you need at least two plants for them to set fruit, so you will need two pots placed close together. In hot weather container plants dry out fast.Workable in 10-gallon-plus containers with a robust cage, but the obligate cross-pollination requirement means a single pot will not fruit, run two pots side by side. Large plant size makes containers more demanding than for compact crops.
Purple De Milpa
Toma Verde
Ask what your balcony or roof can carry
A balcony or roof can only hold so much weight. Before you set heavy pots there, ask a building architect what it can safely carry.Illinois Extension's guidance is to consult a building architect about weight limits before placing heavy pots on a balcony or rooftop garden. It gives no weight figure.
Never grow food in a container with anything toxic in it
Many kinds of containers can be used. Whatever you choose, keep anything toxic out of it, especially if you are growing food.Colorado State accepts nearly any container material but warns against using a container that holds toxic materials, especially for edible plants. Illinois adds that a vegetable container should be free of chemicals toxic to plants or people, and urges caution with treated lumber when growing food. If you cannot account for what a repurposed container once held, that alone is a reason to keep food out of it.
Secure hanging containers well
Fasten hanging baskets and window or rail boxes securely. Think about what is below them too, since they can drip on people or things underneath.Illinois Extension asks growers to secure hanging containers well and to think through the safety issues of hanging them. Placement matters too, since a hanging container can drip onto people or belongings below.
Soil pH is a measure of acidity on a scale from 1 to 14, where 7 is neutral. Tomatillos do well across a fairly wide band, from about 6.0 to 7.0, and tolerate soils a little outside that. That makes them easier to place than many crops. Soils in the interior West (Arizona, Nevada, Utah) often run alkaline (above 7); tomatillos handle the upper end better than most vegetables, but a cheap soil test from your extension office tells you where you stand.Tomatillos are adaptable across roughly pH 6.0 to 7.0 and tolerate the 5.5 to 7.3 margins better than tomato, one reason they succeed in the alkaline soils of the interior West. As with other Solanaceae, the slightly-acidic-to-neutral band keeps phosphorus, calcium, and magnesium available; strongly acidic soil (below 5.5) raises blossom-end-rot risk through impaired calcium uptake. Most eastern and midwestern soils sit naturally in range.
Tomatillos are light feeders compared with tomatoes. Mix a little balanced fertilizer into the bed at planting, then sprinkle a small dose around each plant about a month and two months after transplanting. Go easy on nitrogen (the first number on the bag): too much makes a giant leafy plant with few fruit. Once the plant is loaded with fruit, you can stop feeding.A modest feeder. Incorporate a balanced fertilizer at planting, then side-dress lightly at about 4 and 8 weeks. Utah State suggests roughly 1 tablespoon of a nitrogen source per plant at those intervals. Excess nitrogen drives rank vegetative growth and delays fruiting, so keep N moderate and lean toward potassium once flowering begins.
Look for the three numbers on the bag (the NPK ratio). A balanced or slightly-higher-potassium blend such as 10-10-10 or 5-10-10 is ideal. Avoid high-nitrogen lawn-style fertilizers, which give you leaves instead of fruit.balanced to high-K, e.g. 10-10-10 or 5-10-10; avoid high-N
Tomatillos get along with the same companions as tomatoes. Basil, marigolds, and nasturtiums are popular neighbors and may help with pests. The most important 'companion' is simply a second tomatillo plant, since they need each other to set fruit. Keep them away from other nightshades (tomatoes, peppers, potatoes), which share their diseases. Tomatillo companion guidance is largely inherited from tomato tradition with little crop-specific extension testing. The marigold/nematode and basil/aromatic-deterrent pairings are the usual suggestions, honestly labeled here as traditional or mechanistic rather than proven for this crop. The one evidence-backed rule is rotational: keep tomatillos away from other Solanaceae to avoid shared disease. And remember the obligate need for a second plant for pollination.
Watch the husk. A tomatillo is ready when the fruit grows big enough to fill the papery husk and the husk starts to split open and turn tan. For the tart green flavor you want in salsa, pick while the fruit is still firm and green; if you wait too long it turns yellow and goes soft and mild. Ripe fruit comes off easily, and a lot of it simply falls to the ground, where the husk keeps it fresh for a few days. Check your plants about once a week and pick as the fruit fills out.Pick when the fruit swells to fill its papery husk and the husk begins to split, turning from green toward tan. For bright, tart fruit (the classic salsa-verde flavor) harvest while the fruit is still firm and green; left longer it turns yellow, soft, and blandly sweet. Ripe fruit detaches easily and often drops to the ground on its own, where it keeps for days inside the protective husk. Harvest over the whole season as fruit fills out, roughly weekly at peak.
Expect roughly 2 to 3 pounds of fruit per plant, often more in a long warm season. They keep producing right up until frost. Just remember: a single plant yields almost nothing, so the per-plant figure assumes you have at least two.About 2 to 3 pounds of fruit per plant over the season, and a vigorous plant in a long-season climate can exceed that. Production is continuous from first set until frost. Remember the yield is zero without a second plant for cross-pollination.
At their peak, two tomatillo plants can bury you in fruit, gardeners are famous for having too many. Pick about once a week, and gather the ones that drop, since the husk keeps them good for days.At peak a healthy plant sets fruit faster than you can use it, hence the tomatillo's reputation for overwhelming the gardener. Pick weekly; fallen fruit holds in its husk. Your first year, the biggest factor in success is simply planting two or more plants so they pollinate, after that, tomatillos are forgiving. Give them full sun, room to sprawl, and a cage, and you will likely have plenty.First-season yield hinges far more on having multiple plants for cross-pollination than on fine-tuning culture; tomatillos are otherwise low-maintenance and heat-tolerant. Full sun, wide spacing, and support carry the crop.
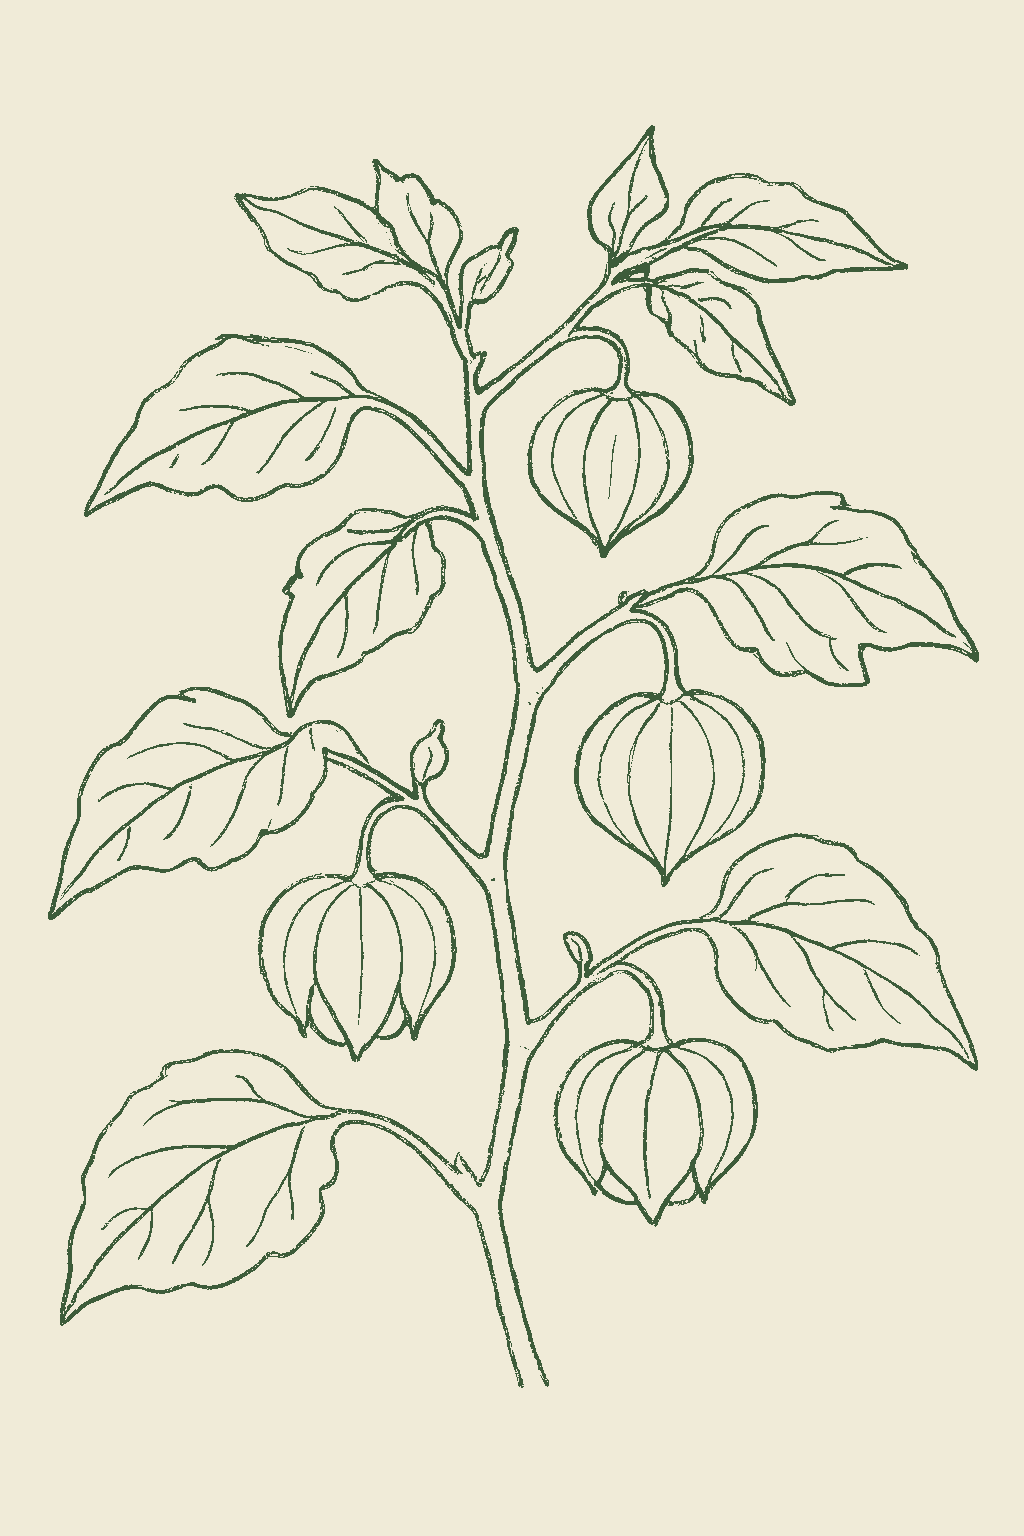
Most tomatillos you will see are green types like Toma Verde, which are tart and perfect for salsa verde. Purple kinds (Purple De Milpa) are a bit smaller and tangier and turn purple in the husk. Whatever you pick, remember to grow at least two plants, and growing two different varieties together actually improves how much fruit you get.Green market types (Toma Verde, Verde Puebla) are the salsa-verde standard. Purple De Milpa is smaller, tangier, and an aggressive self-seeder. Because tomatillos are self-incompatible, interplanting two different varieties improves cross-pollination and yield. Note that 'pineapple ground cherry' (Physalis pruinosa/peruviana) is a sweeter, smaller relative grown the same way but is botanically distinct from the tart tomatillo.
The ladder troubleshoots from the gentlest solution to the strongest. Start with the gentlest option and only move on when and if it doesn't work.
Plant tomatillos in a fresh spot each year. Some of these beetles ride out the winter near the old bed, and moving the crop means fewer of them find it in spring.Rotation trims the overwintering carryover that would otherwise reload the bed each spring; it lowers early pressure rather than removing it.
Pull the nightshade weeds growing near the garden. They are relatives of tomatillo that this beetle also feeds on, called alternate hosts, so clearing them takes away the plants it builds up on.Nightshade weeds and volunteer solanums are the alternate hosts this Solanaceae specialist moves in from; eliminating them removes the reservoir feeding reinfestation.
Pick the adults and the humpbacked larvae off by hand and drop them into soapy water, and knock the egg clusters off the undersides of the leaves. In a home garden this is the control that works best, so check the plants early and often and get the first beetles before they multiply.Drop adults, larvae, and the orange egg clusters into soapy water on an early, frequent scouting pass, leaf undersides included. Destroying first arrivals and egg masses before populations build is the highest-value move on a crop this beetle prefers.
Keep the plants under floating row cover, a light fabric that lets in sun and water while keeping beetles off, from planting until the flowers open. Then take it off so pollinators can reach the blooms.Row cover excludes colonizing adults through establishment; remove at bloom so pollinators can work the flowers.
If the larvae get ahead of your picking, neem oil, a plant-based spray, helps bring heavy larval numbers down.Neem is one of the two materials the guidance reserves for heavy larval pressure; it backs up handpicking rather than replacing it.
Spinosad, an organic spray derived from a soil bacterium, is the other option when larvae are heavy and picking cannot keep up.Spinosad is the alternative material for heavy larval populations, held for genuine outbreaks rather than routine use.
The bottom rungs are products with label rules: timing, pollinators, and days to wait before harvest. Before you spray →
The ladder troubleshoots from the gentlest solution to the strongest. Start with the gentlest option and only move on when and if it doesn't work.
Once the plants come out in fall, turn the bed over. Hornworms spend winter underground as pupae, the resting stage between caterpillar and moth, and tilling breaks that cycle up.Fall tillage destroys soil-dwelling pupae, trimming the local carryover into the next summer's moth flight.
Pick the caterpillars off by hand. They blend into the plant, so look for the dark pellets of droppings on the leaves below and search just above them; at night a UV flashlight makes the caterpillars glow.Handpicking holds at home-garden scale; scout by frass below the feeding sites, since the damage usually shows before the camouflaged larva does, and a nighttime UV lamp fluoresces larvae the eye misses.
If you find a hornworm covered in small white cocoons, leave it right where it is. Those are parasitic wasps already killing it, and they will go on to attack the others. Flowering plants nearby help keep those wasps around.Spare wasp-parasitized larvae as a biocontrol reservoir; the emerging Cotesia parasitoids keep working the population, and insectary plantings support them between outbreaks.
Bt, short for Bacillus thuringiensis, is an organic spray that works well on hornworms while they are still small. Deal with the big ones by hand.Bt kurstaki is effective on early instars, so time it to young larvae; full-grown hornworms are more reliably removed by hand.
The bottom rungs are products with label rules: timing, pollinators, and days to wait before harvest. Before you spray →
The ladder troubleshoots from the gentlest solution to the strongest. Start with the gentlest option and only move on when and if it doesn't work.
Clear away old plant debris and nightshade weeds around the bed. The adult beetles spend winter sheltering in that litter and come out aimed at your youngest plants.Adults overwinter in debris and field margins, so weed and residue sanitation lowers the spring population that lands on transplants.
Drape floating row cover, a light fabric that lets light and water through, over young transplants, which is when these beetles do real harm. Once tomatillos are established they mostly shrug the holes off.Cover through establishment, the stage where shot-holing actually costs the plant; thresholds matter mainly on seedlings, and a vigorous established plant tolerates moderate feeding.
Kaolin clay, a fine white mineral powder you mix with water and spray on, leaves a film on the leaves that discourages the beetles from feeding.A kaolin particle film is the other physical option for young plantings, used alongside or after covering.
Spinosad, an organic spray derived from a soil bacterium, is worth reaching for only when the pressure on young plants is heavy. Most established plants outgrow the damage and need no treatment.Reserve spinosad for heavy pressure on young plants; the guidance is explicit that established tomatillos generally need no treatment at all.
The bottom rungs are products with label rules: timing, pollinators, and days to wait before harvest. Before you spray →
The ladder troubleshoots from the gentlest solution to the strongest. Start with the gentlest option and only move on when and if it doesn't work.
Clear weeds and old crop debris out of the bed before you plant. That cover is where these caterpillars shelter.Pre-plant weed and residue removal strips the cover the larvae shelter in, ahead of the establishment window when they sever transplants.
Put a collar of cardboard or foil around each transplant, pushed about an inch into the soil, so nothing can chew through the stem at ground level.Collar every transplant, set an inch into the soil; the exposure runs through establishment, when larvae cut stems at the soil line overnight.
Go out after dark and pick the caterpillars off. They feed at night and hide in the soil by day, so an evening pass is when you will actually find them.Evening handpicking targets the nocturnal feeding window; daytime searches miss larvae holed up in the soil.
Bt, short for Bacillus thuringiensis, an organic spray that targets caterpillars, helps when applied around the stems.Bt around the stems supplements collars and picking; the guidance lists it as a helper, not the primary control.
The bottom rungs are products with label rules: timing, pollinators, and days to wait before harvest. Before you spray →
The ladder troubleshoots from the gentlest solution to the strongest. Start with the gentlest option and only move on when and if it doesn't work.
Go easy on nitrogen fertilizer. Too much pushes out the soft, tender growth aphids like best, so a moderately fed plant is a less inviting target.Excess nitrogen drives the succulent growth colonies flush on in warm weather; restraint in feeding slows buildup at the tips.
Knock the clusters off with a strong jet of water from the hose, aiming at the growing tips and the undersides of the leaves.A forceful water jet dislodges colonies from tips and undersides; on this crop populations seldom overwhelm a healthy plant, so knock-back plus natural enemies usually carries it.
Let ladybugs and lacewings do the eating. Planting marigolds and nasturtiums nearby helps draw these aphid-eating helpers into the bed.Conserve ladybugs and lacewings, and use marigold and nasturtium interplantings to draw aphid-eating beneficials; on a pest this minor, conservation is most of the program.
For colonies that hang on after hosing, spray insecticidal soap right onto the insects; it works only where it lands on them.Soap is one of the two materials the guidance holds for stubborn colonies; being contact-only, coverage of the undersides governs the result.
Neem oil, a plant-based spray, is the other choice for stubborn colonies.Neem is the alternative material for persistent colonies; soap or neem is as far up the ladder as this crop's guidance goes.
The bottom rungs are products with label rules: timing, pollinators, and days to wait before harvest. Before you spray →
The ladder troubleshoots from the gentlest solution to the strongest. Start with the gentlest option and only move on when and if it doesn't work.
Give the plants full sun and plenty of room, and stake them so air moves through the leaves. Good air movement is the main defense against this one, and it rarely does much harm to a vigorous plant anyway.Full sun, wide spacing, and staking are the core controls; a warm, sunny exposure suppresses this mildew, while dense, shaded plantings favor it.
Pick off the worst-coated leaves when you see them to slow the spread.Prune out the most affected foliage; the disease is generally low-impact on this crop, so leaf removal plus airflow usually holds it.
If the white coating keeps spreading despite better airflow, a sulfur spray helps.Sulfur is a material the guidance holds for spread the cultural steps have not checked; on a vigorous tomatillo that point rarely arrives.
The bottom rungs are products with label rules: timing, pollinators, and days to wait before harvest. Before you spray →
The ladder troubleshoots from the gentlest solution to the strongest. Start with the gentlest option and only move on when and if it doesn't work.
Keep tomatillos, tomatoes, and their relatives out of this bed for three years. The fungus lives on in the soil and old plant debris.A 3-year rotation off Solanaceae lets soilborne Alternaria inoculum decline before the family returns to the ground.
Lay mulch under the plants so rain cannot splash soil, and the fungus in it, up onto the lower leaves.Mulch interrupts the soil-to-leaf splash path this pathogen rides; lesions start on the older foliage nearest the ground.
Water the soil at the base of the plant instead of wetting the leaves. Warm, wet foliage is what this disease runs on.Base watering removes the overhead moisture that favors Alternaria and cuts splash onto the lower canopy; pair it with staking to keep foliage off the ground.
Pull off spotted leaves and put them in the trash, not the compost, so the fungus does not cycle back into the garden.Remove and discard infected leaves rather than composting them; sanitation lowers in-season spread and the carryover on debris.
Where this disease hits hard every year, copper sprays applied before symptoms can help protect the leaves. On tomatillo it is usually less common and less damaging than on tomato, so many gardens will not need this step.Preventive copper is the material reserved for high pressure; incidence on tomatillo runs below tomato, so most plantings stop at the cultural rungs.
The bottom rungs are products with label rules: timing, pollinators, and days to wait before harvest. Before you spray →
The ladder troubleshoots from the gentlest solution to the strongest. Start with the gentlest option and only move on when and if it doesn't work.
Start with healthy plants from a reliable source. A virus can arrive already inside a transplant, and there is no cure once a plant has one.Clean, symptom-free transplants are the entry control; with no curative option downstream, exclusion at purchase carries real weight.
Pull any plant with mottled, puckered leaves and get it out of the garden. It will not recover, and insects feeding on it can carry the virus to your healthy plants. Wash your hands and tools between plants, and keep tobacco products away, since some of these viruses travel on hands and tools.Rogue symptomatic plants promptly; they are the standing source aphid vectors move virus from. The tobamoviruses also transmit mechanically, so hand and tool hygiene and a no-tobacco rule belong in the same rung.
No spray for this one. Prevention is the control.
The ladder troubleshoots from the gentlest solution to the strongest. Start with the gentlest option and only move on when and if it doesn't work.
Plant in well-drained soil or a raised bed and do not let the ground stay soggy; go easy on the watering too, since tomatillos prefer things on the dry side. This is the most avoidable tomatillo disease, because it comes from waterlogged soil.Well-drained or raised beds plus moderate irrigation deny the soilborne rot complex the saturated conditions it needs; the crop is drought-adapted, so err dry.
Move tomatillos to fresh ground rather than replanting where a plant has rotted before.Rotate away from Solanaceae on ground with a rot history; the pathogens are soilborne, so the bed itself is the risk.
Once a plant wilts and collapses there is no saving it. Pull it out and remove it from the bed.Rogue collapsed plants; with no cure available, removal plus the drainage fix is the whole in-season response.
No spray for this one. Prevention is the control.
Keep a 3-year gap before planting any nightshade in the same spot. One quirk: tomatillos drop fruit that sprouts on its own next spring, so you may get surprise seedlings in last year's bed. Pull them if you are trying to rotate.Rotate on a 3-year cycle away from all Solanaceae. Note that tomatillos self-seed freely from dropped fruit, so last year's bed often sprouts volunteers, pull them if they violate your rotation.
The plant app sends a timely reminder at every critical moment of your tomatillo season. The wording adjusts to whichever you pick: beginner or seasoned. Here are three you'll see in Zone 9.
plant sends the right notification at exactly the right moment, for your zone, your weather, your crops. Founding members lock the rate forever.
We're building this guide with real growers. Got a question we missed? Ask here. We read every one and add the best answers right to this page.
Learned something the hard way? Pass it on. Real growers' tips make this guide better for the next person, and we credit you by name when yours goes live.
If you've grown this crop and you see a date, a temperature, a companion claim, or a recommendation that doesn't match your experience, tell us. Real growers' corrections make this guide better for the next person.
Every date, temperature, spacing, and recommendation on this page is sourced from university cooperative extension publications, peer-reviewed agricultural research, NOAA climate data, and direct extension calendars. Where claims are softer (traditional gardening wisdom not formally documented), we say so.
Spot a data point that doesn't match your experience? Submit a correction; accepted corrections earn full author credit on the page.
Zone-aware seasonal nudges, what's worth planting now, and the occasional recipe from the harvest. No spam, ever.