Today · in your zone
What's happening right now
Off-season for arugula in zone 9.
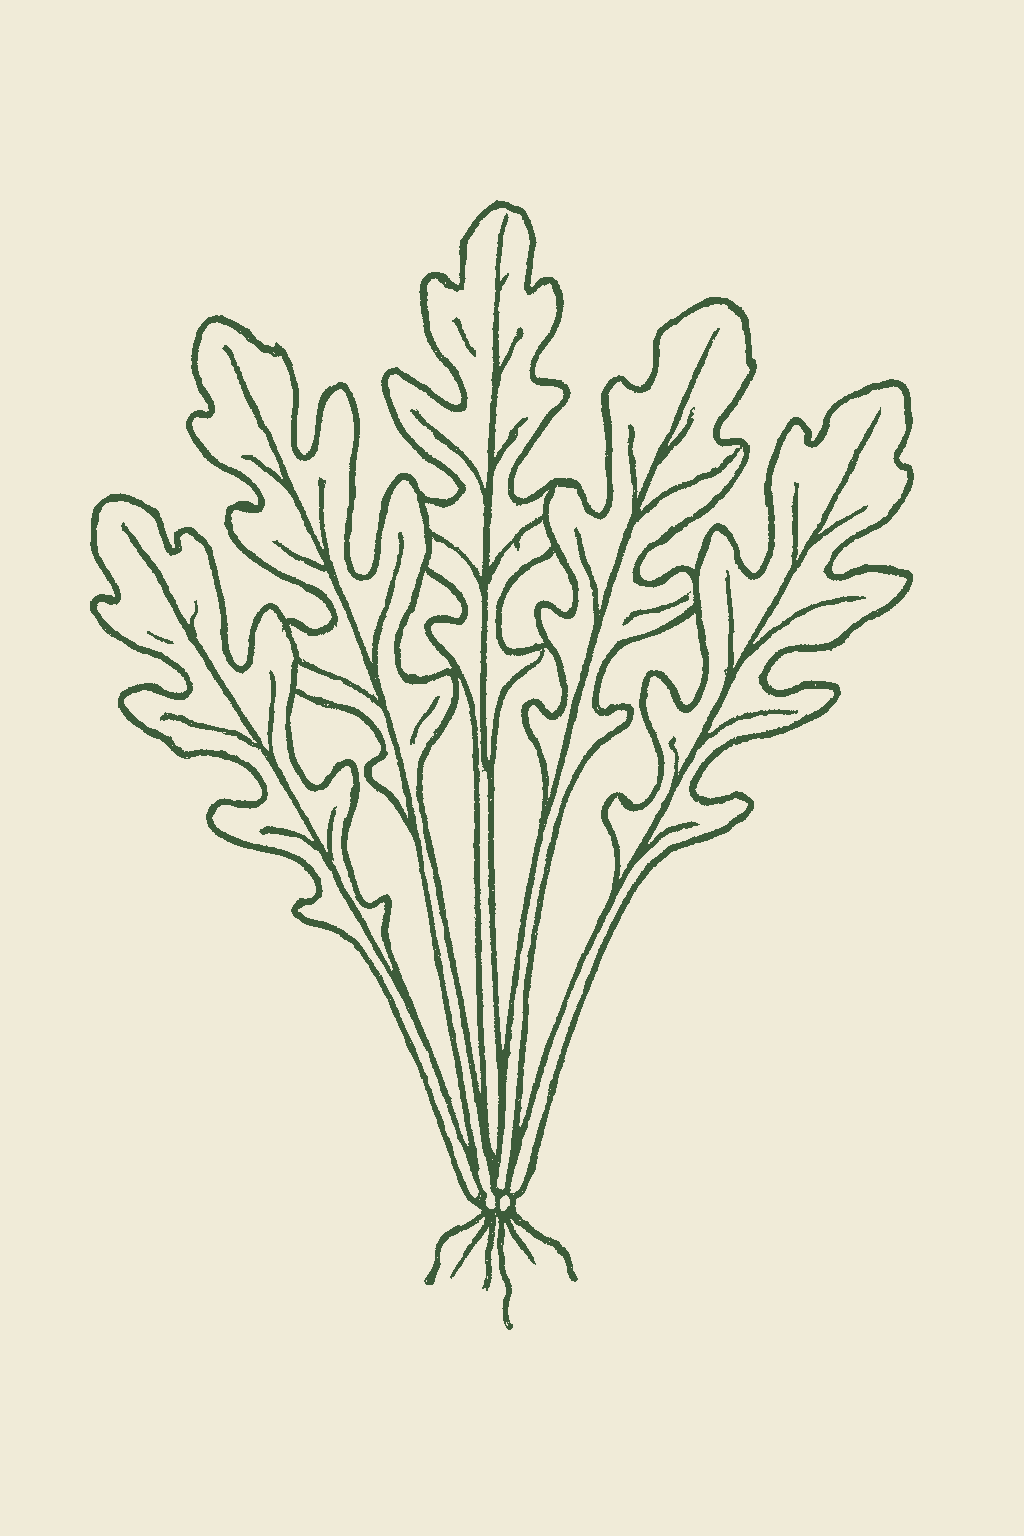
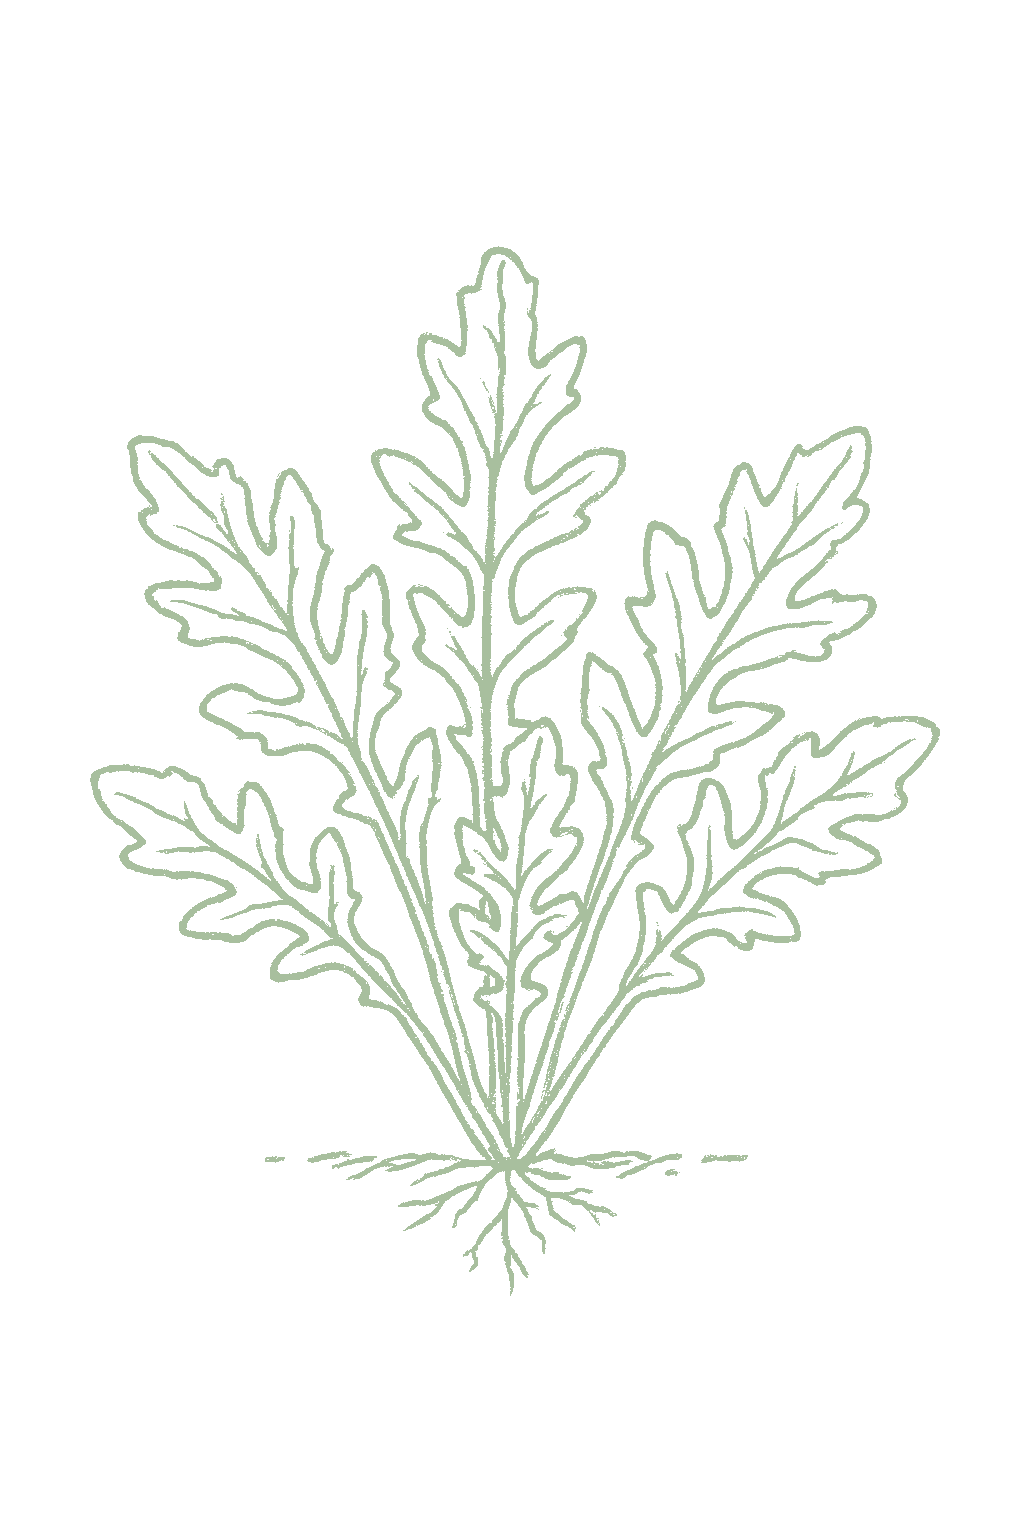
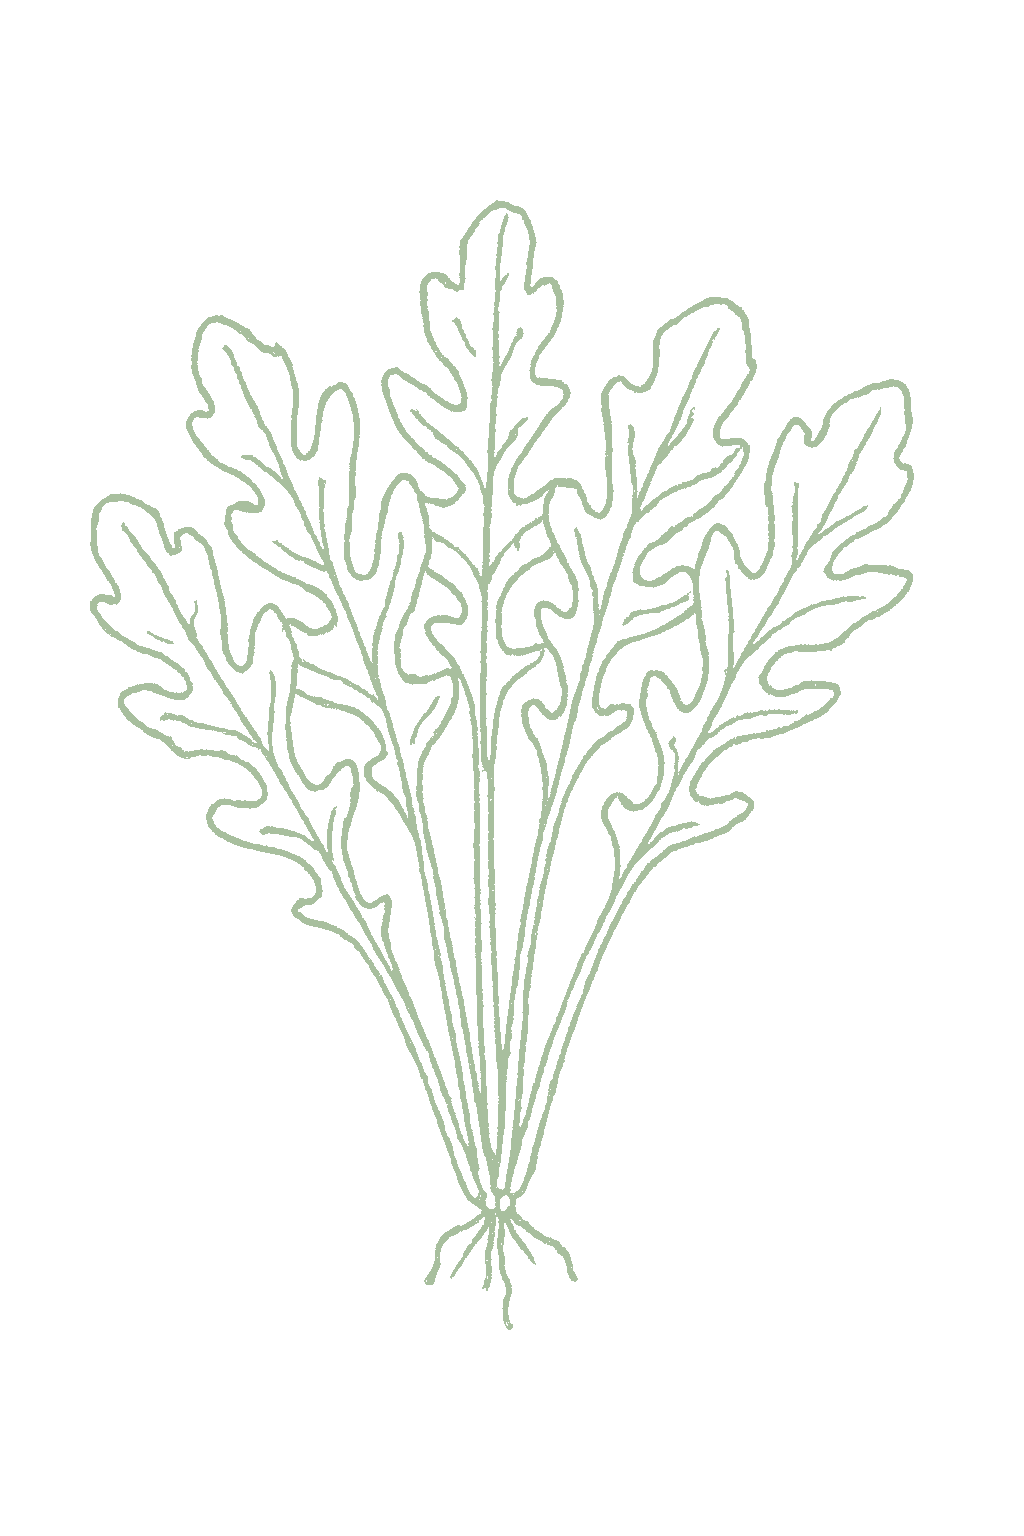
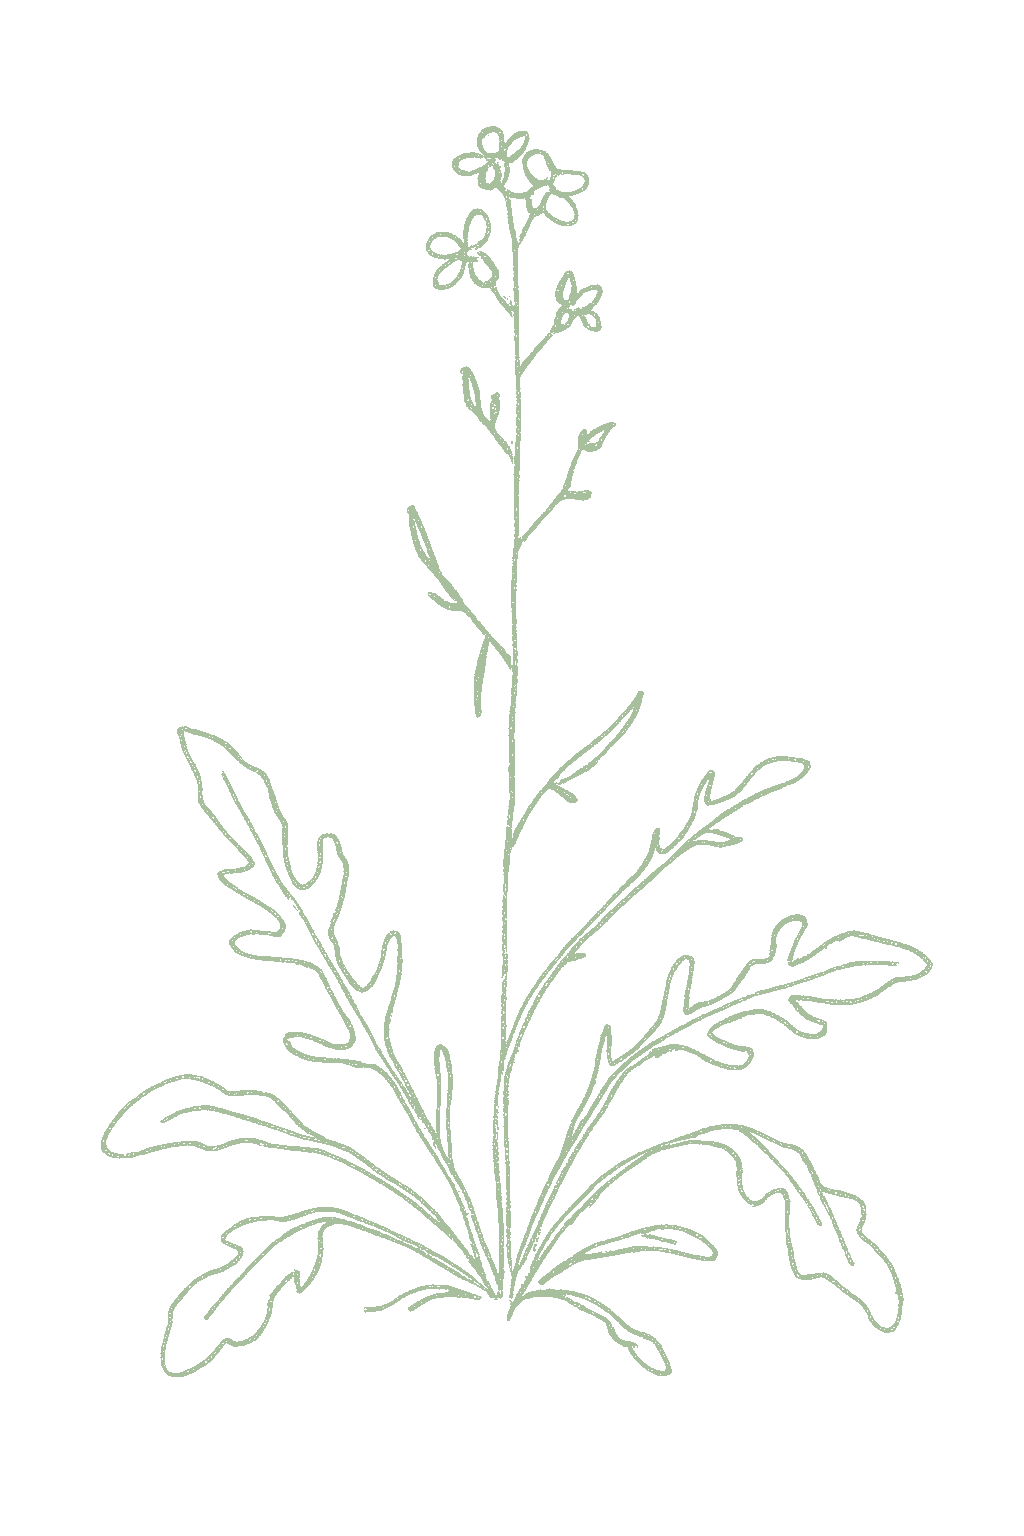
Arugula is a fast-growing, cool-season salad green with a peppery, mustardy flavor. It is one of the quickest things you can grow, giving baby leaves in about 3 weeks, and it handles frost and even grows through winter in mild areas. Its main quirk is that it bolts (sends up a flower stalk) very fast in heat and long days, and the leaves turn sharply hot and bitter when it does. So it grows best in the cool parts of the year, especially fall, and in hot places it is a fall-to-spring crop. Sow a little every couple of weeks for a steady supply. It is easy and beginner-friendly; the main pest to watch is the flea beetle, which chews tiny holes in the leaves. There is also a wild kind of arugula that is slower to bolt and even more peppery. Arugula (Eruca sativa), also called salad rocket or roquette, is a fast, cool-season leafy green in the mustard family (Brassicaceae), grown for its tender, peppery leaves. It is one of the quickest crops in the garden, giving baby leaves in about 3 weeks and full leaves in around a month, and it germinates readily even in cool soil and tolerates frost, so it can be sown very early and overwinters in mild zones. Its defining habit is how fast it bolts: heat above about 75°F and lengthening days send it to seed quickly, and the leaves turn sharply hot and bitter as it does, so the spring window is short, fall is the main crop, and in hot regions it is grown through the cool fall, winter, and spring. A separate wild or perennial rocket (Diplotaxis tenuifolia, sold as Sylvetta) is slower, more pungent, and far slower to bolt. Arugula is easy, succession-sown every 2 to 3 weeks, and a strong first-season choice, though flea beetles are its signature pest.
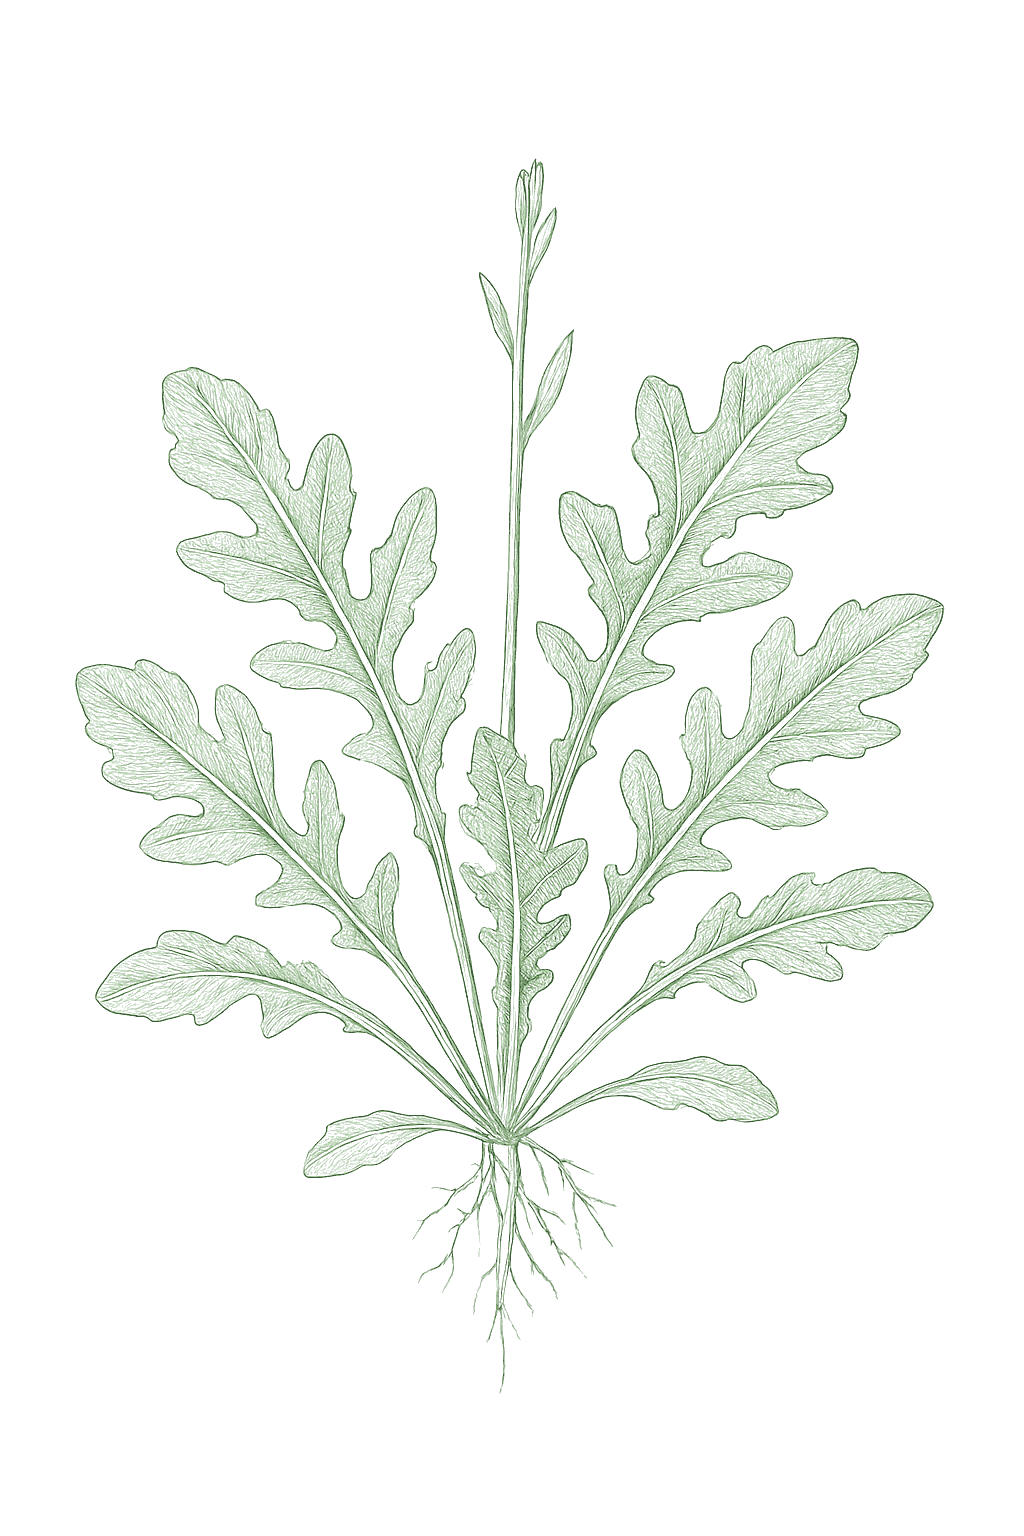
Off-season for arugula in zone 9.
Zone 9 averages a last frost around March 1. Within Zone 9, the colder half (9a, winters down to 20°F) runs about a week later. The warmer half (9b, winters down to 25°F) runs about a week earlier. The plant app picks your subzone from your ZIP.
| Subzone | Last spring | First fall | Growing days | Winter min | Fruits reliably |
|---|---|---|---|---|---|
| 9a | Mar 8 | Nov 24 | ~261 | 20-25°F | Yes · two seasons |
| 9b | Feb 28 | Nov 30 | ~275 | 25-30°F | Yes · two seasons |
Averages from 8 weather stations per subzone, drawn from NOAA 1991-2020 Climate Normals. Your actual frost date can vary by up to two weeks based on elevation, proximity to water, and local topography.
In Zone 9, arugula can be planted October through March, skipping the summer heat. Harvest runs April through January.
Sow a little arugula every 2 to 3 weeks instead of all at once, so you always have fresh, mild leaves before it bolts. Do this in spring and again in late summer for fall. In hot areas, skip summer and keep sowing through the cool months.Arugula is one of the best succession crops: it matures so fast and bolts so readily that one sowing is gone in a few weeks. Sow a short row every 2 to 3 weeks through the cool windows, spring until heat and long days set in, and again from late summer through fall, which is the longer, more reliable run. In hot regions skip summer and succession-sow through the cool fall, winter, and spring.
In Zone 9, arugula can be planted October through January, skipping the summer heat. Harvest runs February through March.
Sow a little arugula every 2 to 3 weeks instead of all at once, so you always have fresh, mild leaves before it bolts. Do this in spring and again in late summer for fall. In hot areas, skip summer and keep sowing through the cool months.Arugula is one of the best succession crops: it matures so fast and bolts so readily that one sowing is gone in a few weeks. Sow a short row every 2 to 3 weeks through the cool windows, spring until heat and long days set in, and again from late summer through fall, which is the longer, more reliable run. In hot regions skip summer and succession-sow through the cool fall, winter, and spring.
In Zone 9, arugula can be planted October through January, skipping the summer heat. Harvest runs February through April.
Sow a little arugula every 2 to 3 weeks instead of all at once, so you always have fresh, mild leaves before it bolts. Do this in spring and again in late summer for fall. In hot areas, skip summer and keep sowing through the cool months.Arugula is one of the best succession crops: it matures so fast and bolts so readily that one sowing is gone in a few weeks. Sow a short row every 2 to 3 weeks through the cool windows, spring until heat and long days set in, and again from late summer through fall, which is the longer, more reliable run. In hot regions skip summer and succession-sow through the cool fall, winter, and spring.
In Zone 9, arugula can be planted February through September. Harvest runs April through January.
Sow a little arugula every 2 to 3 weeks instead of all at once, so you always have fresh, mild leaves before it bolts. Do this in spring and again in late summer for fall. In hot areas, skip summer and keep sowing through the cool months.Arugula is one of the best succession crops: it matures so fast and bolts so readily that one sowing is gone in a few weeks. Sow a short row every 2 to 3 weeks through the cool windows, spring until heat and long days set in, and again from late summer through fall, which is the longer, more reliable run. In hot regions skip summer and succession-sow through the cool fall, winter, and spring.
In Zone 9, arugula can be planted September through April, skipping the summer heat. Harvest runs May through February.
Sow a little arugula every 2 to 3 weeks instead of all at once, so you always have fresh, mild leaves before it bolts. Do this in spring and again in late summer for fall. In hot areas, skip summer and keep sowing through the cool months.Arugula is one of the best succession crops: it matures so fast and bolts so readily that one sowing is gone in a few weeks. Sow a short row every 2 to 3 weeks through the cool windows, spring until heat and long days set in, and again from late summer through fall, which is the longer, more reliable run. In hot regions skip summer and succession-sow through the cool fall, winter, and spring.
In Zone 9, arugula can be planted March through September. Harvest runs April through October.
Sow a little arugula every 2 to 3 weeks instead of all at once, so you always have fresh, mild leaves before it bolts. Do this in spring and again in late summer for fall. In hot areas, skip summer and keep sowing through the cool months.Arugula is one of the best succession crops: it matures so fast and bolts so readily that one sowing is gone in a few weeks. Sow a short row every 2 to 3 weeks through the cool windows, spring until heat and long days set in, and again from late summer through fall, which is the longer, more reliable run. In hot regions skip summer and succession-sow through the cool fall, winter, and spring.
In Zone 9, arugula can be planted February through March, then again September through October, skipping the summer heat. Harvest runs March through April.
Sow a little arugula every 2 to 3 weeks instead of all at once, so you always have fresh, mild leaves before it bolts. Do this in spring and again in late summer for fall. In hot areas, skip summer and keep sowing through the cool months.Arugula is one of the best succession crops: it matures so fast and bolts so readily that one sowing is gone in a few weeks. Sow a short row every 2 to 3 weeks through the cool windows, spring until heat and long days set in, and again from late summer through fall, which is the longer, more reliable run. In hot regions skip summer and succession-sow through the cool fall, winter, and spring.
In Zone 9, arugula can be planted October through November. Harvest runs October through December.
Sow a little arugula every 2 to 3 weeks instead of all at once, so you always have fresh, mild leaves before it bolts. Do this in spring and again in late summer for fall. In hot areas, skip summer and keep sowing through the cool months.Arugula is one of the best succession crops: it matures so fast and bolts so readily that one sowing is gone in a few weeks. Sow a short row every 2 to 3 weeks through the cool windows, spring until heat and long days set in, and again from late summer through fall, which is the longer, more reliable run. In hot regions skip summer and succession-sow through the cool fall, winter, and spring.
In Zone 9, arugula can be planted September through March, skipping the summer heat. Harvest runs April through February.
Sow a little arugula every 2 to 3 weeks instead of all at once, so you always have fresh, mild leaves before it bolts. Do this in spring and again in late summer for fall. In hot areas, skip summer and keep sowing through the cool months.Arugula is one of the best succession crops: it matures so fast and bolts so readily that one sowing is gone in a few weeks. Sow a short row every 2 to 3 weeks through the cool windows, spring until heat and long days set in, and again from late summer through fall, which is the longer, more reliable run. In hot regions skip summer and succession-sow through the cool fall, winter, and spring.
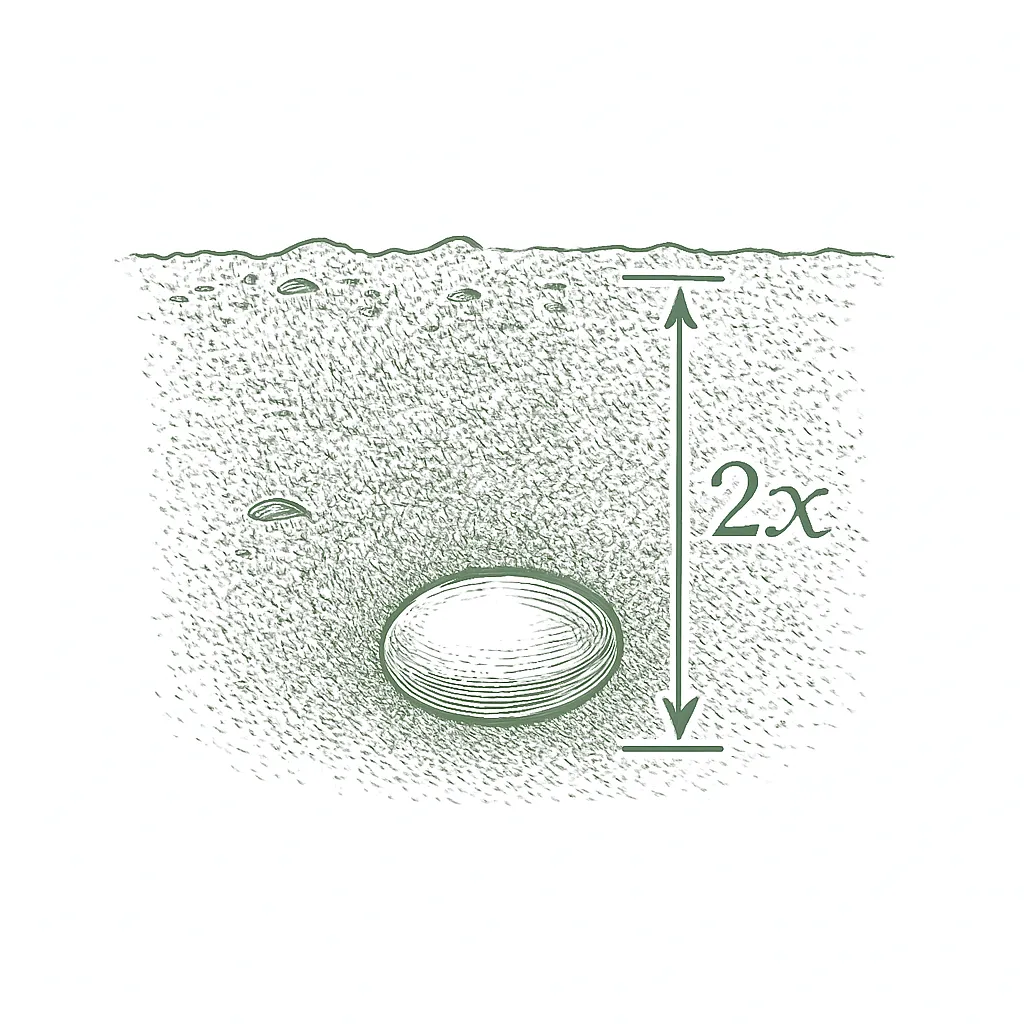
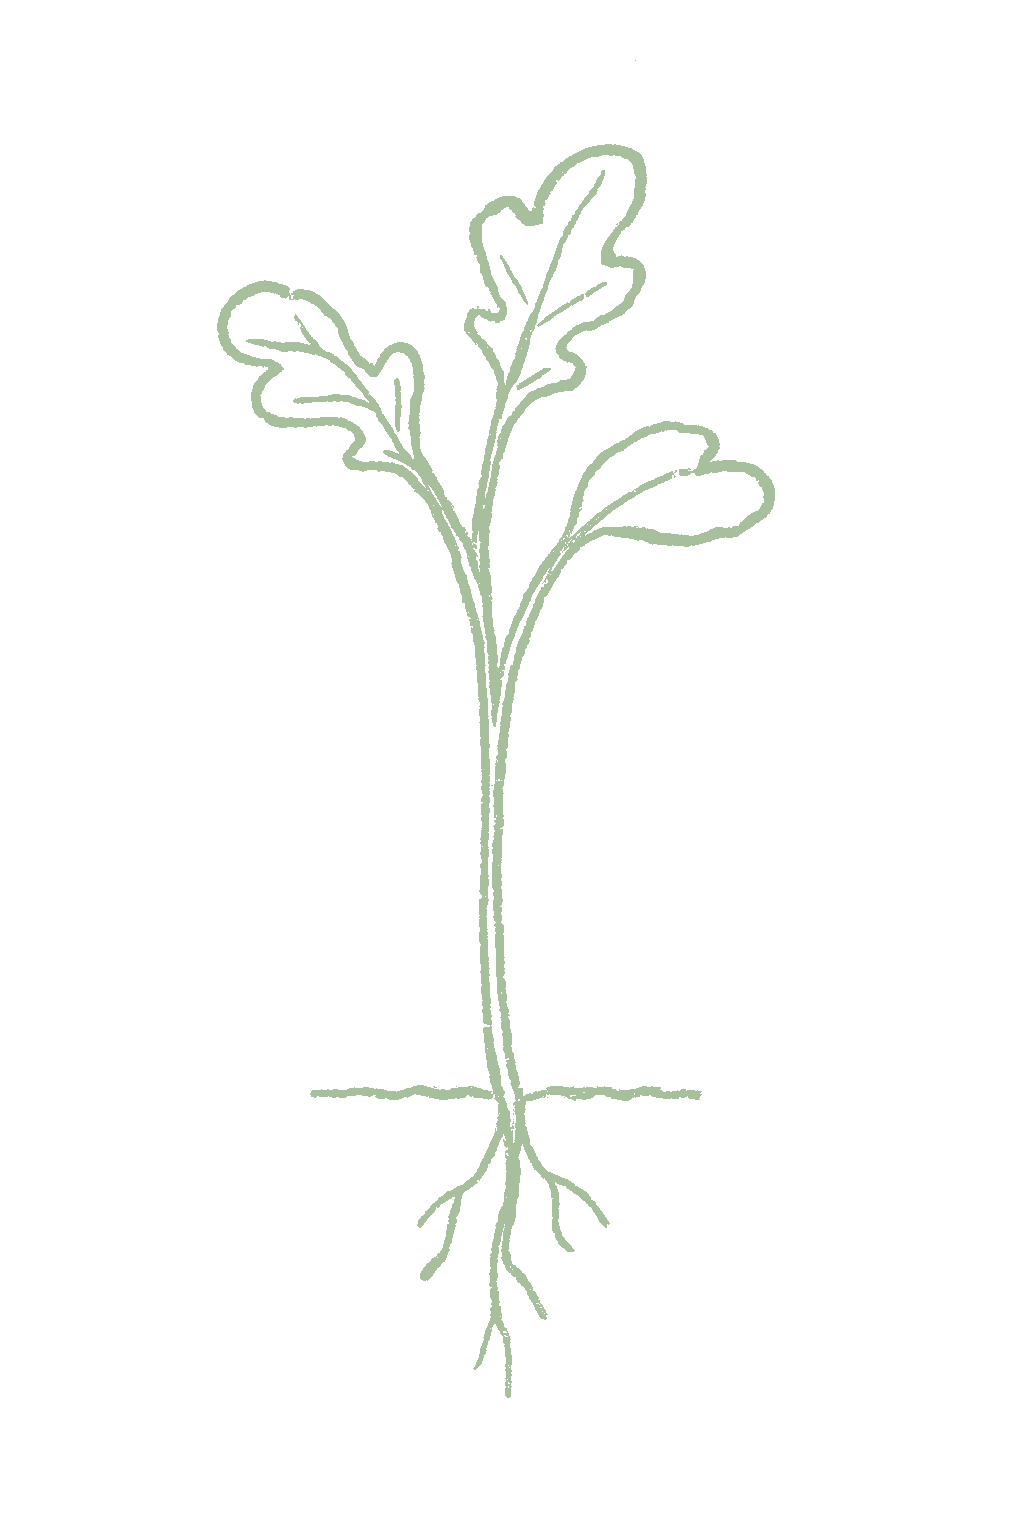
Arugula is best planted straight in the garden from seed, because it grows so fast and does not like having its roots disturbed. Sow the seeds about a quarter to half an inch deep as soon as the soil can be worked in spring, since they sprout even in cold soil and the plants handle frost. Sow again every couple of weeks, and in hot areas plant in fall through spring instead of summer, because heat keeps the seeds from sprouting well and makes the plants bolt.Arugula is almost always direct-sown, since it grows fast and resents root disturbance. Sow seed about 0.25 to 0.5 inch deep as soon as the soil can be worked in spring; it germinates readily even in cool soil, often in 5 to 7 days, and tolerates frost, so it can go in several weeks before the last frost. Sow a little more thickly than the final stand and thin to taste, eating the thinnings. In hot regions, shift sowing to fall through spring, since warm soil above about 80°F cuts germination and lengthening warm days bolt the crop.






Not sure what soil you have? Grab a small handful of damp soil from your garden bed and squeeze it. If it crumbles apart easily, it's sandy. If it holds together but breaks when you poke it, it's loam (what most vegetables want). If it stays in a hard, slippery ball, it's clay.
Arugula likes loose, rich soil with plenty of compost that holds moisture but still drains well. It is not fussy and grows in most garden soils, but steady moisture keeps the leaves mild and tender; dry, hard soil makes them hot and tough and pushes the plant to flower.
Mix 2-3 inches of compost into the top 6 inches of your bed before planting. Compost holds moisture (which sandy soil drains too fast) and adds the nutrients sandy soil tends to lack. Repeat each season. Compost breaks down over time.
Mix 2-3 inches of compost AND a few inches of coarse sand or perlite into the top 6 inches of your bed. The compost feeds the plants; the sand breaks up the clay so air and water can move through. Don't add sand without compost. It can compact like concrete.
If amending your soil sounds like too much work, or if your soil is heavy clay, full of rocks, or contaminated, build over it. A raised bed at least 12 inches deep filled with a 50/50 mix of compost and sandy loam gives you ideal growing soil with no battles. A 5-gallon container with quality potting mix does the same for one plant at a time. Both bypass your native soil entirely.
The numbers that matter, at a glance.
Arugula is an easy, fast container crop. Use a wide, shallow pot at least 6 inches deep, sow the seed thickly, and snip baby leaves cut-and-come-again. Keep it watered and in the cool seasons, and give it some afternoon shade in warm weather to slow bolting.Arugula is one of the best container salad crops: shallow-rooted, fast, and happy sown densely for cut-and-come-again baby leaf in a broad container at least 6 inches deep. Keep moisture even, since shallow pots dry fast and drought triggers bolting, grow it in the cool seasons, and give afternoon shade in warm spells. A pot is also the easiest way to move the crop into shade or shelter as the weather turns.
AstroA fast, broad-leaved salad rocket with a milder, less aggressive bite and good cold tolerance; quick to baby leaf and a dependable beginner choice.
Sylvetta (wild rocket)Wild or perennial rocket, a different species (Diplotaxis tenuifolia) with small, finely cut leaves, an intense pungent flavor, slower growth, and much slower bolting; short-lived perennial in mild climates and the best pick for heat and longevity.
SurreyA uniform cut-leaf salad rocket selected for baby-leaf production, with good regrowth for repeated cuttings.
Roquette
In mild areas, a pot of fall-sown arugula can keep going through winter in a sheltered, sunny spot. In cold areas, move the pot against the house or into a cold frame, or cover it during hard freezes, and it will often resume in spring.Arugula is cold-hardy, so a fall-sown container can overwinter in mild zones, holding through winter in a sheltered spot and resuming in spring. In cold zones the limited root volume freezes harder than open ground, so sink the pot, move it to a cold frame or unheated structure, or cover it during hard freezes; an overwintered pot then yields the earliest spring picking.
Ask what your balcony or roof can carry
A balcony or roof can only hold so much weight. Before you set heavy pots there, ask a building architect what it can safely carry.Illinois Extension's guidance is to consult a building architect about weight limits before placing heavy pots on a balcony or rooftop garden. It gives no weight figure.
Never grow food in a container with anything toxic in it
Many kinds of containers can be used. Whatever you choose, keep anything toxic out of it, especially if you are growing food.Colorado State accepts nearly any container material but warns against using a container that holds toxic materials, especially for edible plants. Illinois adds that a vegetable container should be free of chemicals toxic to plants or people, and urges caution with treated lumber when growing food. If you cannot account for what a repurposed container once held, that alone is a reason to keep food out of it.
Secure hanging containers well
Fasten hanging baskets and window or rail boxes securely. Think about what is below them too, since they can drip on people or things underneath.Illinois Extension asks growers to secure hanging containers well and to think through the safety issues of hanging them. Placement matters too, since a hanging container can drip onto people or belongings below.
Arugula grows best in slightly acidic to neutral soil, about 6.0 to 7.0. A simple soil test tells you where you stand. Keeping the soil from getting too acidic also helps prevent clubroot, a cabbage-family soil disease.Aim for a soil pH of about 6.0 to 7.0; arugula is forgiving and still does fine across roughly 5.5 to 7.5. Clemson lists 6.0 to 6.5 for the leafy greens in its arugula fact sheet. As with other brassicas, holding the soil toward neutral rather than strongly acidic also helps suppress clubroot, so a grower with clubroot history should lean to the high end.
Arugula grows fast and likes a little nitrogen for tender green leaves. Mix some compost or fertilizer into the soil before planting, then give it one light feeding a couple of weeks after the seeds come up. Because the crop is so quick, you usually do not need to feed it again.Arugula is a fast leafy brassica that runs on nitrogen, but the crop is so quick that one light feeding is usually plenty. Work compost or a balanced fertilizer in before sowing, then side-dress lightly with nitrogen about 2 to 3 weeks after the seedlings emerge to push tender, mild leaves. Avoid heavy nitrogen late, since lush growth draws aphids and flea beetles and does not improve a crop you will cut within a few weeks.
Use a nitrogen-rich feed such as blood meal or a 21-0-0 fertilizer once, when the plants are a couple of weeks old.High N for fast leafy growth; a light side-dress of 21-0-0 or blood meal 2 to 3 weeks after emergence. No phosphorus or potassium needed beyond a soil-test baseline; do not overfeed a 3-to-4-week crop.
Arugula is small, fast, and easygoing, so it tucks in between slower crops. It grows well next to lettuce and other quick greens, bush beans, and aromatic herbs like dill, and alliums such as onions. The main thing is to keep it away from other cabbage-family plants, which share its pests and diseases, and to watch for flea beetles, which love it. Most arugula companion pairings rest on space, timing, and tradition rather than measured effects. The practical ones are structural: arugula is quick and shallow-rooted, so it interplants with lettuce and other fast greens and tucks beside legumes and aromatic herbs. Aromatic herbs and alliums are the traditional scent-based deterrents for the cabbage-family pests arugula shares. The well-grounded caution is to separate arugula from other brassicas, which share clubroot and the whole cole-crop pest complex, a rotation and disease principle more than a tested adjacency effect; arugula is also a flea-beetle magnet, sometimes deliberately used as a trap crop near choicer brassicas.
Arugula is ready to pick as soon as the leaves are big enough, often baby leaves in about 3 weeks and full leaves in around a month. Take the outer leaves a few at a time, or cut the whole patch about an inch above the soil so it grows back. Pick young and in the cool morning, and harvest it all before it flowers (bolts), because the leaves get very sharp and bitter then.Arugula is ready as soon as the leaves are big enough to use, often baby leaf at 2 to 3 weeks and full leaf around 30 to 40 days. Cut the outer leaves cut-and-come-again, or shear the whole patch about an inch above the crown and let it regrow for a second or third cutting. Pick young and in the cool morning, and crop fast as the weather warms, since the leaves turn sharply hot and bitter once the plant bolts.
Each arugula plant gives a small bunch of leaves, so it is grown in patches or rows rather than as one big plant. A patch gives a few cuttings before it bolts, so sow more every couple of weeks.A single arugula plant yields a small rosette of leaves over a few weeks, so the crop is grown in dense patches or rows rather than per plant. Cut as baby leaf or cut-and-come-again, a bed gives two or three cuttings before heat or bolt ends it; the productive window is bounded by temperature, not a fixed calendar.
Arugula produces the most in the cool weather of fall and early spring. A spring patch gives a couple of good weeks and then bolts, but a fall crop lasts longer and can carry into winter under a cover.Production peaks in the cool weeks of fall and early spring. A spring patch produces hard for a couple of weeks and then ends abruptly at bolt, while the fall crop, under cooling weather and shortening days, holds longer and, with cover, into winter. Arugula is one of the easiest, fastest crops for a beginner, with baby leaves in about 3 weeks. The trick is to sow a little every couple of weeks, pick it young, and grow it in cool weather, especially fall, so it does not bolt before you get to eat it.Arugula is one of the fastest, most forgiving crops for a first season: baby leaves in about 3 weeks from sowing and almost nothing to go wrong if you sow into cool weather. The key to total yield is frequent succession sowing and picking young, and leaning on the fall crop, since a spring patch sown too late bolts before it produces much.
For a quick, peppery salad green, grow standard salad arugula like Roquette or the milder Astro, which are fast but flower quickly in heat. For hot weather or a longer-lasting patch, try wild arugula (sold as Sylvetta), which is slower to bolt, more intense in flavor, and can come back year after year in mild areas. Cut-leaf kinds like Surrey are great for snipping baby leaves again and again.Match the type to the slot. Standard salad rocket (Eruca sativa, Roquette and the like) is fastest and most pungent but bolts quickly in heat, so it suits the cool shoulders and baby-leaf cutting. Milder, broad-leaf selections like Astro give a gentler bite and quick baby leaf. For warm weather and a longer stand, wild or perennial rocket (Diplotaxis tenuifolia, sold as Sylvetta or wild arugula) is slower-growing, far slower to bolt, and more intensely flavored, and it can persist as a short-lived perennial in mild climates. Cut-leaf types like Surrey and Esmee are bred for tidy, regrowing baby-leaf patches.
Salads · 10m · Serves 2
The ladder troubleshoots from the gentlest solution to the strongest. Start with the gentlest option and only move on when and if it doesn't work.
Clear out leftover plant debris near your arugula at the end of the season. The beetles spend the winter sheltering in old debris, so a clean bed gives next spring's attack a slower start.Crop-debris removal deprives the overwintering adults of shelter; pressure on the earliest sowings tracks what the bed carried through winter.
Keep the ground near your arugula clear of cabbage-family weeds. Those weedy relatives feed the beetles between crops, so removing them cuts off the bridge.Clear crucifer weeds around the planting and keep the edges clean; weedy brassica relatives sustain the beetles between crops and reseed the pressure on each new sowing.
Try sowing at a time of year when flea beetles are less active in your area. The overwintered beetles come out in spring and hit the earliest, smallest seedlings hardest.Overwintered adults emerge onto the season's first, smallest plantings, so shifting a sowing away from peak activity lowers pressure; activity windows vary by region and season, so confirm the timing locally.
Sow a small sacrificial patch of arugula or mustard off to one side, ahead of the main sowing, so the first beetles find it instead of your salad row. Read this method's cautions for when to pull the patch out, because taking it out on time is what keeps it working.An early sacrificial sowing of arugula or mustard diverts the spring flush off the main stand, which is worth most while the seedlings are small enough that feeding sets them back. The removal timing sits in this method's cautions; a patch left standing once loaded turns the diversion into local population growth.
Put a light row cover over the bed on the day you sow and keep the edges tucked in. This is the best single defense you have: it keeps beetles off while the seedlings grow big enough to shrug off damage.Cover from sowing, not later; exclusion through the seedling window is the most effective tool here, and the whole aim is rapid establishment past the stage where beetles can stunt or kill a plant.
If beetles are heavy despite the cover, coat the plants with kaolin clay, a fine white clay spray that leaves a film beetles do not like to land and feed on. Reapply to keep the coating fresh.A kaolin particle film can help under heavy pressure by deterring feeding on coated foliage; maintain coverage on new growth while the planting pushes past the vulnerable stage.
If beetles are still thick enough to riddle the seedlings, use a spinosad spray. It is toxic to bees while wet and for about a day after, so spray at dusk and keep it off anything in flower.Reserve spinosad for heavy pressure the cover has not held, aimed at carrying seedlings through establishment; apply at dusk and away from bloom to spare bees.
The bottom rungs are products with label rules: timing, pollinators, and days to wait before harvest. Before you spray →
The ladder troubleshoots from the gentlest solution to the strongest. Start with the gentlest option and only move on when and if it doesn't work.
Go easy on nitrogen fertilizer. Aphids breed fastest on the soft, lush growth that heavy feeding pushes out.Excess nitrogen produces the tender flush growth colonies multiply on; restrained feeding is the preventive baseline on a fast leaf crop.
A row cover over the bed keeps aphids from settling in, and it doubles as your flea beetle defense on arugula.Row cover excludes colonizers from a short-season planting and pairs with the cover already justified against flea beetles.
Knock aphids off with a strong jet of water, aiming at the undersides of the leaves and the new growth where they cluster. Come back and do it again every few days until you stop finding them.A hard water jet dislodges colonies from leaf undersides and growing tips; the waxy gray-green cabbage aphid lodged in sheltered leaf folds is the hardest to dislodge, so make repeat passes every few days.
Welcome the helpful bugs. Ladybugs and lacewings eat aphids and can keep small clusters from becoming big ones, as long as you avoid sprays that kill them too.Conserve ladybugs, lacewings, and parasitoid wasps; broad-spectrum sprays remove them along with the aphids, so lean on natural enemies before reaching for any spray.
For clusters that keep coming back, spray insecticidal soap directly onto the aphids, coating the undersides of the leaves. It only works where it lands, so coverage matters; repeat every few days.Soap controls the aphids it directly wets, so direct it into the leaf undersides and the folds where cabbage aphid shelters, repeating at short intervals; it takes out soft-bodied beneficials it hits, so keep it off clean growth.
Neem oil is another option for stubborn aphids. Coat the leaf undersides where they gather and repeat every few days; keep it off anything in flower and skip it in heat above 90°F.Neem is a low-residue alternative to soap for colonies on the undersides; avoid applications above 90°F, on drought-stressed plants, or where drift can reach open bloom or water bees drink.
The bottom rungs are products with label rules: timing, pollinators, and days to wait before harvest. Before you spray →
The ladder troubleshoots from the gentlest solution to the strongest. Start with the gentlest option and only move on when and if it doesn't work.
Pull out old cabbage-family plants and weeds once a crop is done. Leftover brassicas give the moths and butterflies somewhere to keep breeding nearby.Brassica debris and weed hosts carry the pest complex between plantings; clearing them removes the reservoir feeding each new generation.
Keep a row cover over the bed so the white butterflies and moths cannot reach the leaves to lay their eggs. Seal the edges well.Exclusion blocks egg-laying by the adults outright, which prevents the problem rather than treating it; keep the edges sealed.
Check the undersides of the leaves for eggs and small green caterpillars, and pick them off by hand. On a small patch this can keep up on its own.Scout leaf undersides for eggs and early instars on a routine walk and remove what you find; catching larvae young matters on a crop where even light feeding downgrades the harvest.
Spray Bt, a bacterial insecticide that acts on caterpillars rather than on insects in general and is low in toxicity to people, pets, and bees. It cannot tell a pest caterpillar from a butterfly's, so treat only the plants that have a problem, and spray again after rain washes it off.Bt (Bacillus thuringiensis) is selective for caterpillars; target young larvae and reapply after rain, and keep it off butterfly host plants, since it acts on caterpillars as a group.
If Bt and handpicking are not keeping up, spinosad is a stronger organic spray for caterpillars. Apply it at dusk when bees are not flying and keep it off flowers.A stronger organic rescue when the softer rungs have not held, again aimed at young larvae; time it to dusk and away from bloom, since it is toxic to bees while wet and for about a day after.
The bottom rungs are products with label rules: timing, pollinators, and days to wait before harvest. Before you spray →
The ladder troubleshoots from the gentlest solution to the strongest. Start with the gentlest option and only move on when and if it doesn't work.
Clear damp debris from around the plants and keep mulch light and away from them. Slugs hide in cool, moist cover by day and come out to feed at night, so fewer hiding spots means fewer slugs.Shelter removal is the base move: keep mulch light and off the crowns and clear moist debris, since populations build where daytime cover and dampness persist.
Go out at night or right after rain and pick slugs off by hand. That is when they are out feeding on the leaves.Collect after dark or following rain, timed to when they are actively feeding on the foliage.
Set shallow traps near the plants to draw slugs in, and empty them regularly.Shallow traps knock numbers down alongside handpicking and shelter removal; they support the cultural work rather than replace it.
If traps and picking are not enough, scatter an iron phosphate slug bait on the soil, not on the plants. It carries less risk around pets than the older metaldehyde baits, but it is still a pesticide, so follow the label.Iron phosphate bait backs up the physical controls, with less risk around pets than metaldehyde though still a pesticide; apply it to the soil surface per the label rather than to the foliage.
The bottom rungs are products with label rules: timing, pollinators, and days to wait before harvest. Before you spray →
The ladder troubleshoots from the gentlest solution to the strongest. Start with the gentlest option and only move on when and if it doesn't work.
Move where you plant arugula and its cabbage-family relatives from year to year, since the disease can carry over where brassicas grew before.Rotate away from brassicas for several years; the pathogen survives on debris, and rotation starves that carryover.
When you buy seed, look for varieties sold as resistant to downy mildew where they are available.Resistant cultivars, where offered, are the seed-time hedge on a disease with no rescue once it is established.
Space plants out so air moves through and the leaves dry quickly. The disease thrives in cool, damp, crowded plantings.Wider spacing shortens the leaf wetness that drives infection in cool, humid weather; crowding is what turns scattered lesions into collapsing leaves.
Water at the soil instead of over the plants, so the leaves stay dry and splashing water cannot spread the disease.Drip or base watering instead of overhead irrigation removes the splash route and cuts the leaf-wetness hours the oomycete needs.
Pull off the worst leaves and clear infected debris. Once this disease gets going in damp weather it is hard to stop, so removing infection early is the main play.Remove infected leaves and debris promptly; cultural control dominates here, since there is no rescue once the disease is established in humid weather.
No spray for this one. Prevention is the control.
The ladder troubleshoots from the gentlest solution to the strongest. Start with the gentlest option and only move on when and if it doesn't work.
Where white rust shows up regularly, choose resistant varieties when you buy seed.Where white rust is endemic, resistant cultivars are the first-line choice, made at seed time.
Rotate your planting spot so arugula and other cabbage-family crops do not follow each other in the same bed.Rotate away from brassicas; the pathogen survives on debris and as oospores, so a fresh bed lowers carryover.
Give plants room so air can move and leaves dry fast. The disease spreads in cool, moist conditions.Spacing for airflow shortens the leaf wetness the pathogen needs under cool nights and mild days.
Water at the soil line and avoid wetting the leaves, since leaf wetness and splashing water help it spread.Base or drip irrigation removes splash dispersal and the free moisture that favors infection.
Take off infected leaves as soon as you see the white blisters and get them out of the garden. Acting early works better than trying to cure it later.Remove infected foliage and debris promptly; chemical options are limited in the home garden, so sanitation and prevention carry the load.
No spray for this one. Prevention is the control.
The ladder troubleshoots from the gentlest solution to the strongest. Start with the gentlest option and only move on when and if it doesn't work.
Wait until the soil is not cold and soggy, sow shallowly, use fresh seed, and do not overwater. Anything that gets seedlings up fast works against damping-off.Fast emergence is the control: fresh viable seed, shallow sowing, soil warm enough for quick germination, and restrained watering all shorten the window the soil fungi have to strike.
Sow into well-drained ground. Water sitting around the seeds is what lets the rot take hold.Well-drained soil denies the soilborne pathogens the saturation they favor; a bed that stays wet after watering is the classic setup for a poor stand.
There is no cure for a seedling once it flops over, so pull collapsed seedlings and throw them away rather than leaving them in the bed.Rogue out collapsed seedlings; nothing rescues a plant post-infection, so removal plus the sowing practices above is the whole program.
No spray for this one. Prevention is the control.
The ladder troubleshoots from the gentlest solution to the strongest. Start with the gentlest option and only move on when and if it doesn't work.
Start with clean seed from a reliable supplier, since these fungi can ride in on the seed itself.Clean, disease-free seed closes the seedborne route, one of the drivers alongside crop debris and long leaf wetness.
Rotate away from beds where cabbage-family crops grew recently, so the spot fungi do not pick up where they left off.Rotation away from brassicas separates the crop from inoculum carried over in prior plantings' debris.
Space plants so air moves through and leaves dry quickly. Crowded, damp plantings are where the spots take off.Spacing that shortens leaf wetness works directly against both fungi, which spread fastest in warm, wet weather and crowded stands.
Water at the soil line rather than over the plants, since splashing water carries the spores from leaf to leaf.Base watering removes splash dispersal, one of the two spread routes along with wind-borne spores.
Pick off spotted leaves and get them out of the garden, and clear away crop debris at the end of the season.Remove spotted foliage during the season and residue after it; debris is where the spores persist between plantings.
Under heavy pressure a copper-based fungicide can help, applied before or at the first sign of spots. It protects leaves rather than curing them, so keep up the other steps, follow the label rate, and keep spray away from ponds and streams.Copper can help when the cultural steps are not holding, applied preventively at or before first symptoms; it is preventive rather than curative, it accumulates at the soil surface with repeated use, and it is highly toxic to aquatic life, so keep it out of runoff.
The bottom rungs are products with label rules: timing, pollinators, and days to wait before harvest. Before you spray →
Try not to grow arugula or other cabbage-family plants (broccoli, kale, cabbage, mustard, radishes) in the same spot more than about once every 3 years. They share pests like flea beetles and a soil disease called clubroot that build up when these crops keep coming back. Plant arugula after peas, beans, onions, squash, or tomatoes instead.Rotate arugula and its brassica relatives so they do not return to the same ground for about 3 years. The cabbage-family pest complex (flea beetles above all, plus cabbage caterpillars and aphids) and the soilborne clubroot organism build up where brassicas repeat, and arugula's quick succession plantings make it easy to keep flea beetles cycling in one bed. Follow brassicas with legumes, alliums, cucurbits, or nightshades, and keep the soil near neutral to help suppress clubroot.
The plant app sends a timely reminder at every critical moment of your arugula season. The wording adjusts to whichever you pick: beginner or seasoned. Here are three you'll see in Zone 9.
plant sends the right notification at exactly the right moment, for your zone, your weather, your crops. Founding members lock the rate forever.
We're building this guide with real growers. Got a question we missed? Ask here. We read every one and add the best answers right to this page.
Learned something the hard way? Pass it on. Real growers' tips make this guide better for the next person, and we credit you by name when yours goes live.
If you've grown this crop and you see a date, a temperature, a companion claim, or a recommendation that doesn't match your experience, tell us. Real growers' corrections make this guide better for the next person.
Every date, temperature, spacing, and recommendation on this page is sourced from university cooperative extension publications, peer-reviewed agricultural research, NOAA climate data, and direct extension calendars. Where claims are softer (traditional gardening wisdom not formally documented), we say so.
Spot a data point that doesn't match your experience? Submit a correction; accepted corrections earn full author credit on the page.
Zone-aware seasonal nudges, what's worth planting now, and the occasional recipe from the harvest. No spam, ever.