Pick your zone and the dates re-calibrate.
The Guide Herbs Vol. 003

Dill

in Zone 4, this week

Dill gives you two things from one plant: the soft feathery leaves are dill weed, and the flower heads and seeds are what you use for pickling and as a spice. Like cilantro, and unlike warm-season herbs such as basil, dill is a cool-leaning plant. Young plants handle a light frost, but once summer heat and long days arrive it bolts, sending up a tall flower stalk that can reach 3 to 5 feet, and leaf growth slows. So the trick is to grow it for leaves in the cooler parts of the year, spring and again in late summer for fall, and to let the summer plants flower for seed heads. Sow a little every 2 to 3 weeks, since each plant bolts after a while, and plant the seeds right in the garden because dill does not like being moved. It is fast, easy, and reseeds itself, so once you grow it you often get volunteers the next year. And when it bolts, you get dill heads for pickling and dried dill seed. Dill (Anethum graveolens) is an annual herb in the carrot family (Apiaceae) grown for two products from one plant: the feathery leaves are the herb dill weed, and the flower heads and dried seed are used for pickling and as the spice dill seed. Like cilantro, and unlike warm-season herbs such as basil, dill is a cool-leaning crop that bolts once summer heat and long days arrive, sending up a tall flower stalk (the plant reaches 3 to 5 feet in flower) above roughly 75 to 80°F. That shapes how it is grown: the leaf crop favors the cool shoulders of the year, spring and especially a late-summer-into-fall sowing, while the heat of summer is when growers let it run to seed and pickling heads rather than leaves. Because the bolt is fast and inevitable in warmth, dill is a succession crop, sown in small batches every 2 to 3 weeks so fresh, pre-bolt plants keep coming. It is direct-sown (a slender taproot resents transplanting), young plants tolerate light frost, and it self-sows so readily that a patch often returns on its own. It is easy and largely trouble-free, with the black swallowtail caterpillar a welcome visitor as much as a pest. The grower's real skill is timing the leaf crop into the cool seasons and treating the summer bolt as the start of the seed-and-pickling harvest rather than a failure.
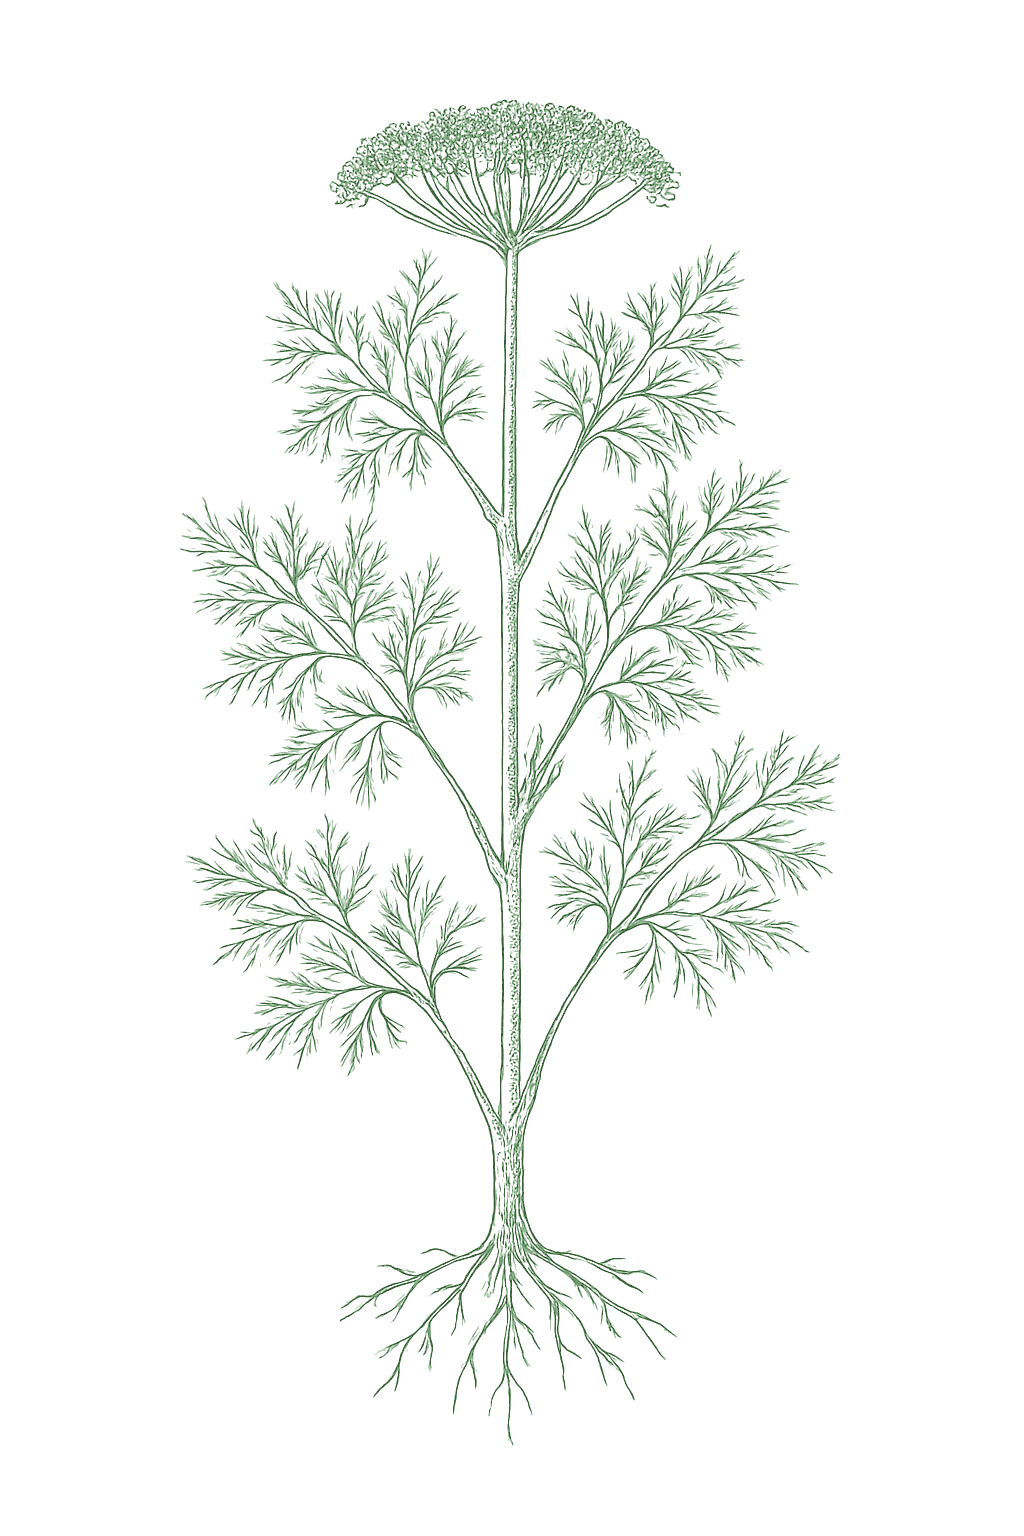
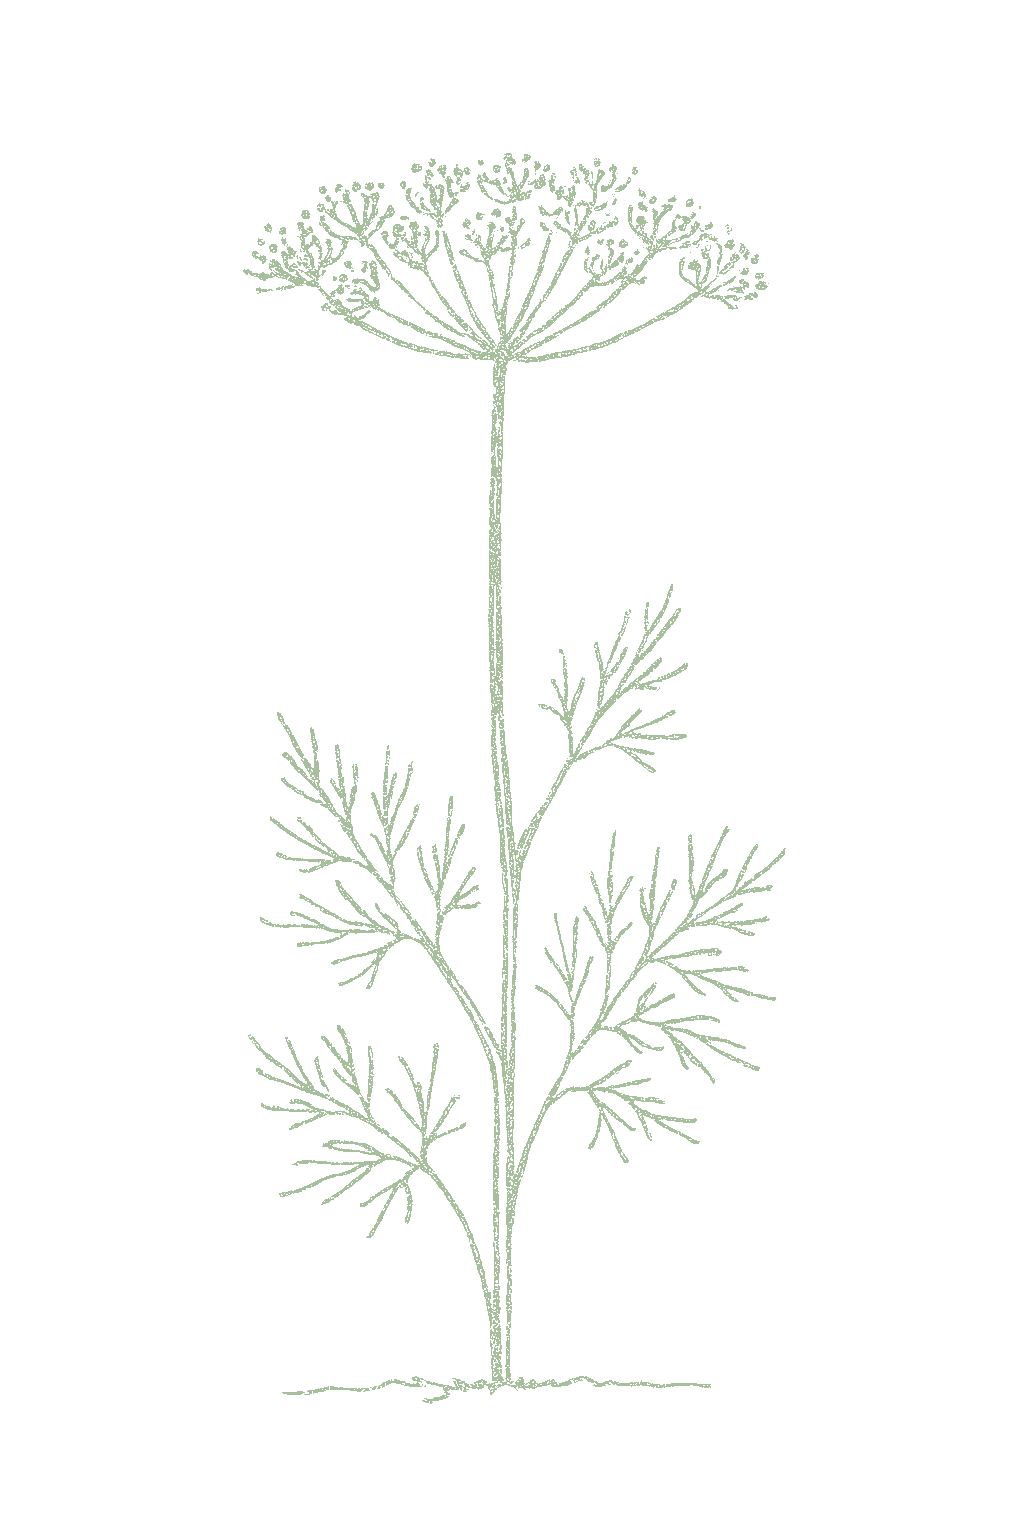
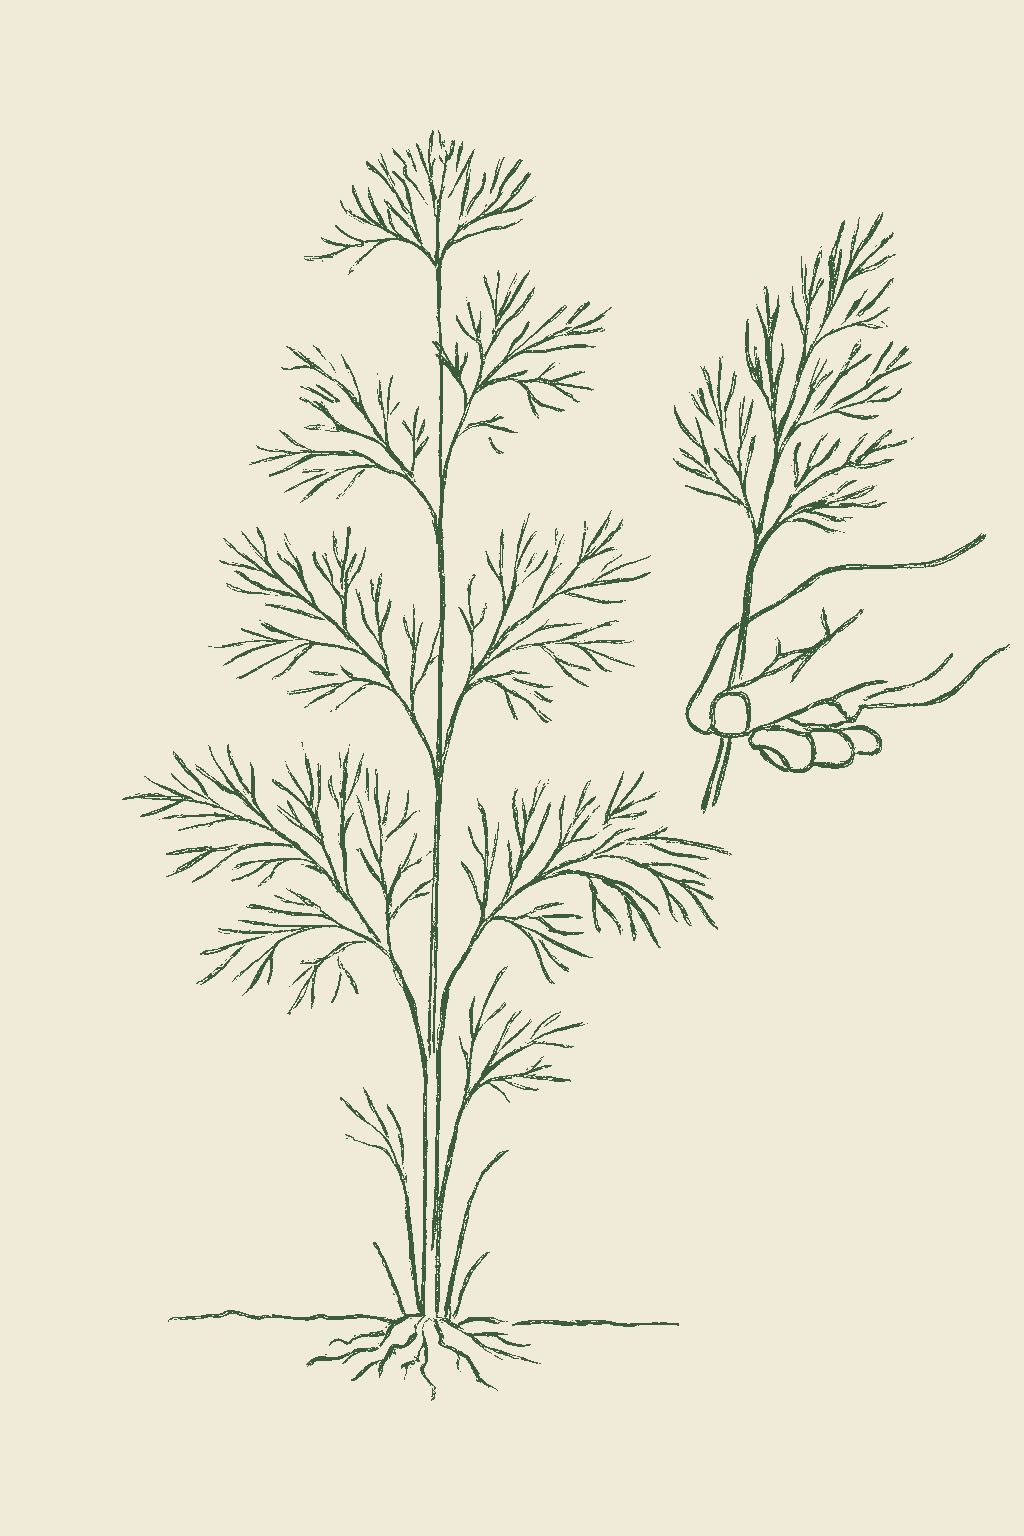
Dill mature plant
Fig. 01 · Dill, mature Zone 4
Mature in
40-70d
from transplant
Sunlight
Full sun
6-8 hrs daily
Water
Regular
1 inch / week
Spacing
8-12"
between plants
Soil pH
5.5-6.5
slightly acidic
Today · in your zone

What's happening right now

July 24 · Zone 4 · Stage 01 · Germination

Off-season for dill in zone 4.

The season at a glance

Planting calendar

In Zone 4, dill can be planted April through September. Harvest runs June through October.

Jan
Feb
Mar
Apr
May
Jun
Jul
Aug
Sep
Oct
Nov
Dec
plant
too cold
too cold
too cold
plant
plant
plant
plant
plant
plant
too late
too cold
too cold
harvest
harvest
harvest
indoors
plant out
harvest
Above-ground cropBest planted on a none moon
Seasoned
Stagger your sowings

Succession planting

Sow a little dill every 2 to 3 weeks instead of all at once, so you always have fresh leaves before it bolts. Do this in spring and again in late summer for fall. In hot areas, skip high summer for leaves and keep sowing through the cool months, and let summer plants make seed heads.Dill is a natural succession crop: it matures fast and bolts once summer heat and long days arrive, so one sowing fades in a few weeks. Sow a short row every 2 to 3 weeks through the cool windows, spring until heat sets in, and again from late summer through fall, which gives a strong second leaf crop. In hot regions skip high summer for leaves and succession-sow through the cool fall, winter, and spring, letting any summer plants run to seed and pickling heads.

Every 2 weeks · sow a short new rowUp to 12 sowings a seasonToo hot to sow midsummer
Jan
Feb
Mar
Apr
May
Jun
Jul
Aug
Sep
Oct
Nov
Dec
sow
harvest
keep sowing
too hot
continuous harvest
The season, mapped

Seed to garden

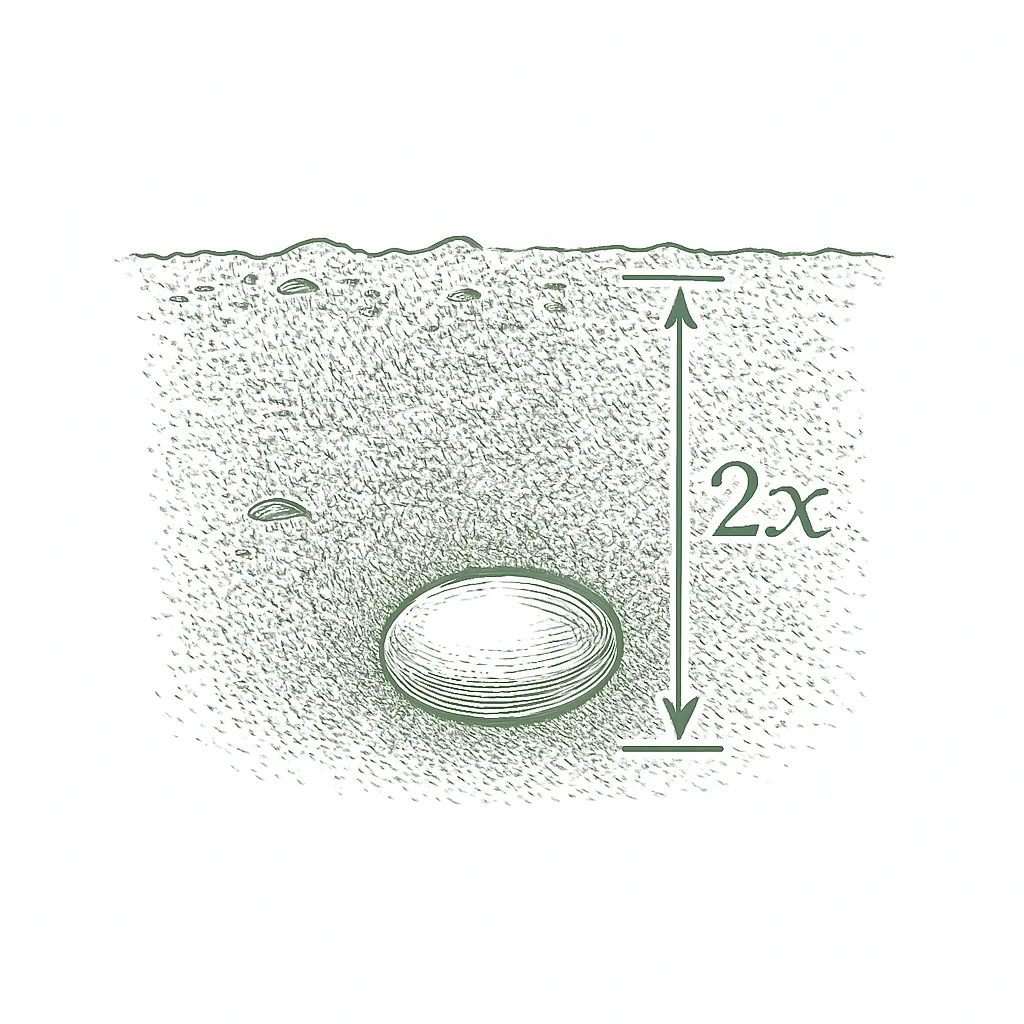
Plant dill straight in the garden from seed, because it has a deep little root and does not like being moved. Sow the seeds about a quarter inch deep as soon as the soil can be worked in spring, since young plants handle light frost. The seeds are slow, often taking two to three weeks, so keep the soil moist. Thin the plants to about 8 to 12 inches apart, and sow again every couple of weeks for a steady supply. In hot areas plant in fall through spring instead of summer, because heat makes it bolt; a summer crop is really for the seed and pickling heads.Dill is almost always direct-sown, since it forms a slender taproot and resents transplanting. Sow seed about 0.25 inch deep as soon as the soil can be worked in spring; young dill tolerates light frost, so Wisconsin Horticulture suggests sowing a week or two before the last hard frost, and it germinates slowly, often 10 to 21 days. Sow a little thicker than the final stand and thin to 8 to 12 inches for full plants, or 4 to 6 inches for cut leaf. Succession-sow every 2 to 3 weeks for a steady leaf supply. In hot regions, shift sowing to fall through spring, since summer heat and long days bolt the crop to seed; midsummer plantings are grown for seed and pickling heads rather than leaves.
  1. 01
    Sow outside
    Apr - May, Aug - Sep
  2. 02
    First harvest
    From Jun 1
    40-70 days from sowing
Start method
Direct
Soil temp
60-70°F
From seed to fruit

The growing journey

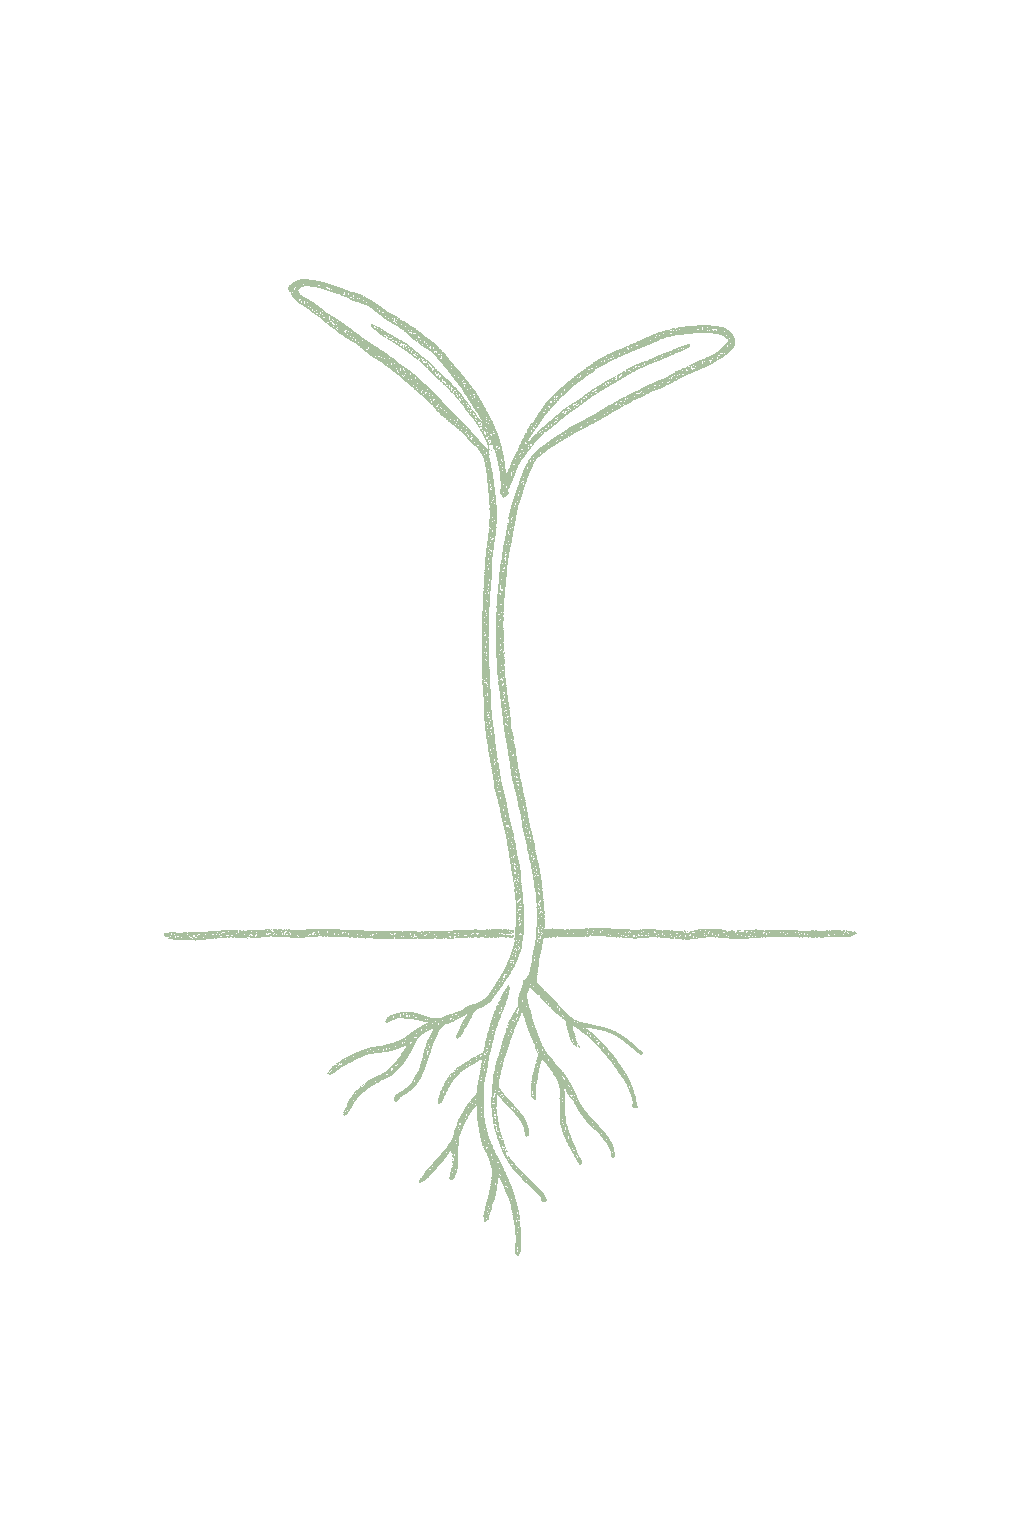
Stage 01 · Germination
01
Germination
Days 10-21 · current stage
The first thin, grassy little leaves poking up. Dill is slow, often taking two to three weeks, so be patient and keep the soil moist.The first pair of narrow, thread-like seed leaves pushing up. Dill is slow to germinate, often 10 to 21 days, and emergence can be uneven, so be patient.
Keep the soil damp but not soggy until the seedlings are up, which can take a couple of weeks. Sow shallowly in cool weather.Keep the soil surface evenly moist but never waterlogged through the long germination window. Sow shallowly into cool soil, about 60 to 70°F; cold, soggy soil rots the slow seed.
FROM PLANT · Dill seeds are slow, often two to three weeks. Keep the soil moist the whole time and sow them shallowly, right where they will grow, because dill does not like being moved. You can sow early, since young dill takes a light frost.Dill germinates slowly, often 10 to 21 days. Sow it shallowly, only about a quarter inch deep, directly where it will grow, since the taproot resents transplanting, and keep the surface evenly moist. Cool soil around 60 to 70°F suits it; young plants tolerate light frost, so you can sow a week or two before the last hard frost.
02
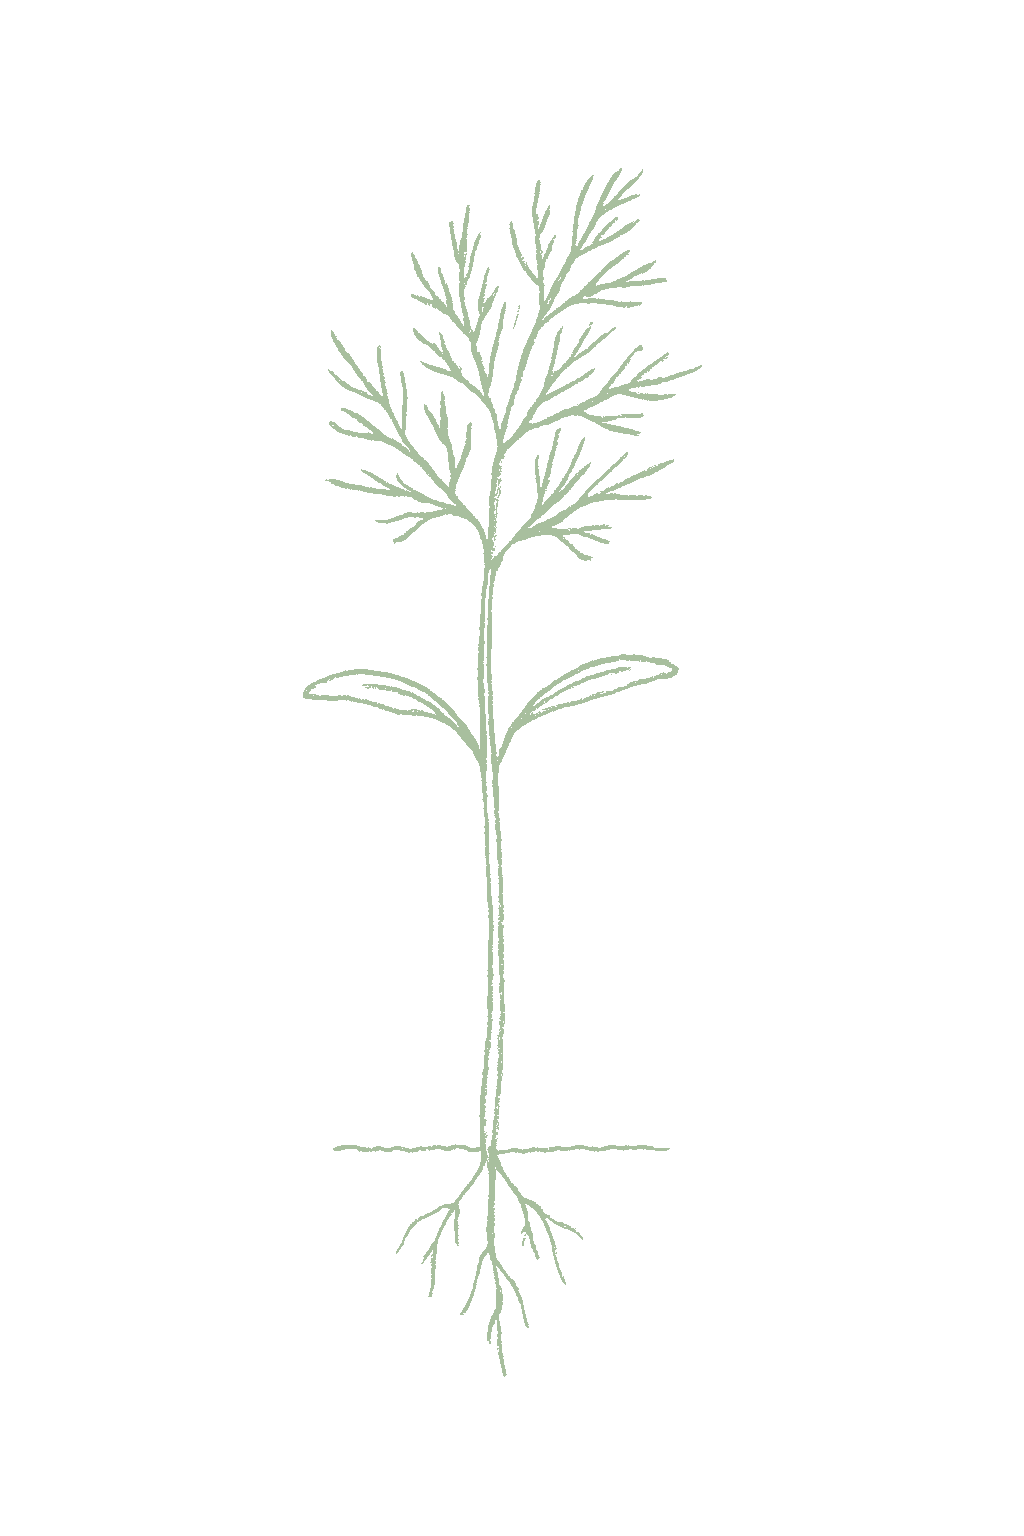
Seedling
Days 14-35
The first true feathery leaves. Now you can thin the seedlings.The first true leaves, finely divided and feathery. Now you can tell seedlings from weeds and start thinning.
Thin the seedlings to about 8 to 12 inches apart, and use the ones you pull. Keep the water steady.Thin to 8 to 12 inches for full plants, or 4 to 6 inches for cut leaf, and use the thinnings in the kitchen. Keep moisture steady to delay the bolt.
FROM PLANT · Thin the little dill plants so they are not crowded, about 8 to 12 inches apart, and use the ones you pull. Crowded dill flowers sooner, so giving it room keeps the leaves coming.Thin dill seedlings to 8 to 12 inches for full plants or 4 to 6 inches for cut leaf, and use the thinnings. Crowded plants bolt sooner and mildew more, so give them room. Keep moisture steady to delay the bolt.
03
Established
Days 30-55
Bushy, feathery plants several inches tall, before any flower stalk appears.Bushy, feathery plants 8 to 12 inches tall, well before any central stalk rises. This is the productive dill-weed window.
Start picking the feathery leaves now. Picking often keeps new leaves coming. Keep the water steady so it does not bolt, and pick faster when it warms up.Start cutting feathery fronds now rather than waiting; regular cutting keeps tender new growth coming. Keep moisture even to hold off the bolt, and crop faster as the weather warms.
FROM PLANT · Pick dill young and often. Snip the feathery leaves from the outside and more grow back. Keep the water steady so the leaves stay tender and it does not bolt as fast.Cut dill young and often: snip whole feathery fronds from the outside and the plant keeps producing tender new growth. Steady moisture keeps the leaves tender and delays the bolt, and a little afternoon shade helps in warm spells.
04
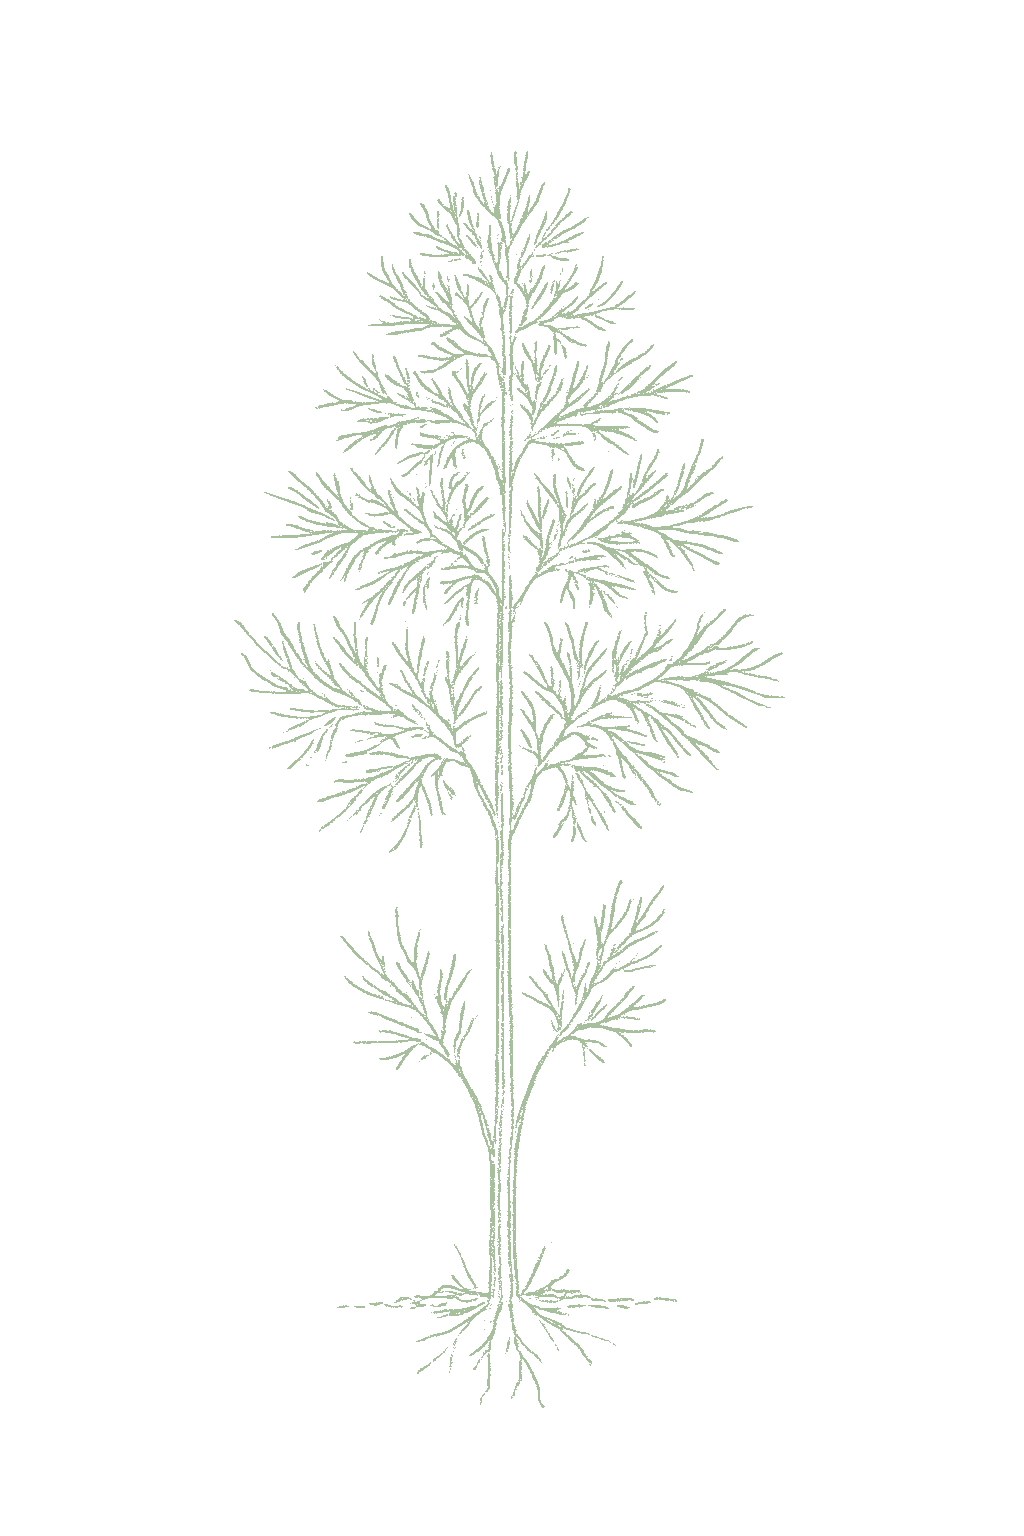
Harvest
Days 40-70
Full, feathery leaves and no flower stalk in the middle yet. Once a tall stalk appears the leafy stage is ending.Full, tender feathery foliage with no central flower stalk yet. Once a thick stalk rises the leaf window narrows and the plant turns to flowering.
Snip the feathery leaves from the outside. Pick young in the cool morning, and once you see a flower stalk, either pick the last leaves or let it go to seed heads for pickling.Cut whole fronds from the outside or shear the upper plant for fresh dill weed. Pick young and in the cool morning, and as a plant shows a stalk, decide whether to keep it for seed heads.
FROM PLANT · Cut dill leaves in the cool morning and get them in the fridge or freezer right away, because they wilt quickly. The flavor is best just before it flowers. When it starts to bolt, cut the flower heads for pickling.Pick dill leaves in the cool morning and refrigerate or freeze at once, since cut dill wilts fast; the flavor is strongest just before the plant flowers. As plants begin to bolt, start cutting green umbels for pickling rather than fighting the change.
05
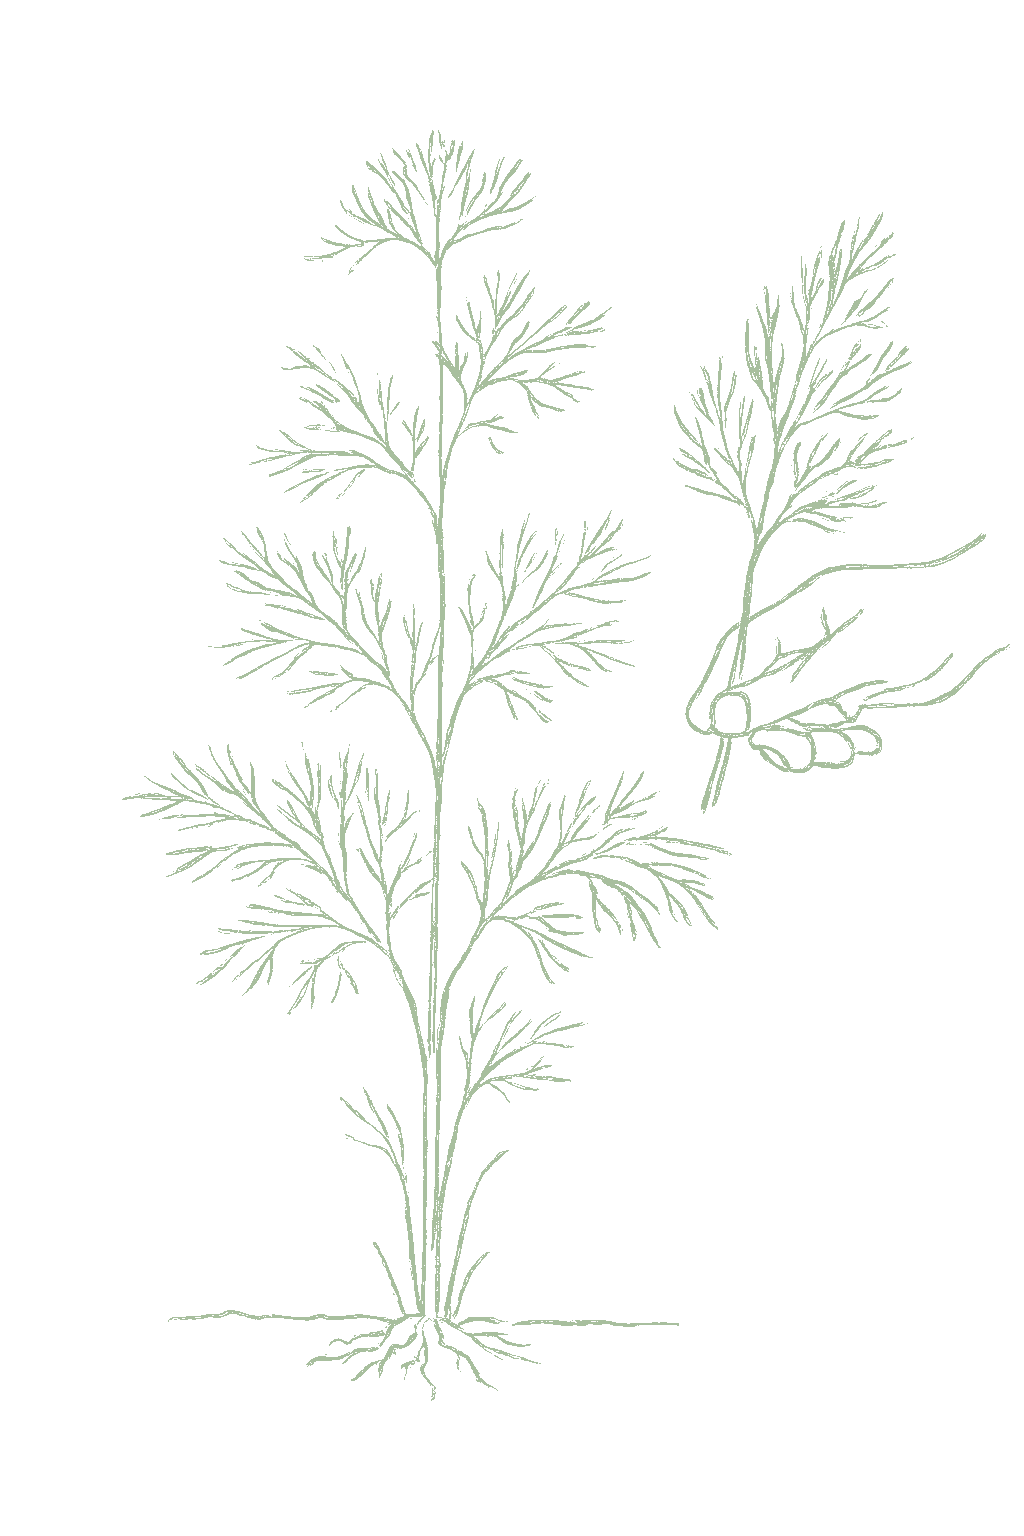
Bolting (to seed and heads)
Days 60-100
A tall stalk from the middle, then flat yellow flowers and green seeds. This is dill turning to seed heads, which you use for pickling.A tall central stalk shooting up, the foliage thinning, then flat yellow umbel flowers and green seed. This is the shift from leafy dill weed to flower heads and dill seed.
If you want leaves, pick everything good now. For pickling, cut the flower heads as they open; for dill seed, let the heads turn tan, then cut and dry them. Leave a plant alone and it often reseeds itself.For leaves, cut everything worth using before quality fades. For pickling heads, cut the umbels as the flowers open; for dried seed, let the heads turn tan but cut before they shatter, then dry them. Leave one plant to self-sow if you want volunteers.
FROM PLANT · Dill bolts fast, and that is how you get pickling heads and seed. When you see the tall stalk, cut the green flower heads for pickling, or let them turn tan, dry them, and shake out the dill seed. A plant left alone often reseeds itself.Bolting is the plant's second act: once the tall stalk rises, stop fighting it. Cut the green umbels for fresh pickling, or let the heads flower and set seed, then cut them as they turn tan but before they shatter, dry them, and thresh out dill seed. One plant left to drop seed reliably self-sows for next year.
Beginner
Know your soil

Your soil

Identify yours

Not sure what soil you have? Grab a small handful of damp soil from your garden bed and squeeze it. If it crumbles apart easily, it's sandy. If it holds together but breaks when you poke it, it's loam (what most vegetables want). If it stays in a hard, slippery ball, it's clay.

What this crop wants

Dill likes loose, well-drained soil and is not fussy about richness; it actually does fine in lean ground. Mix in a little compost so the soil holds some moisture but still drains freely. Heavy, soggy, or compacted soil is the main thing to avoid, since it rots the slow-sprouting seed and the deep little taproot. Steady moisture keeps the feathery leaves tender.

If your soil doesn't match

You have sandy soil

Mix 2-3 inches of compost into the top 6 inches of your bed before planting. Compost holds moisture (which sandy soil drains too fast) and adds the nutrients sandy soil tends to lack. Repeat each season. Compost breaks down over time.

You have clay soil

Mix 2-3 inches of compost AND a few inches of coarse sand or perlite into the top 6 inches of your bed. The compost feeds the plants; the sand breaks up the clay so air and water can move through. Don't add sand without compost. It can compact like concrete.

Containers and raised beds

If amending your soil sounds like too much work, or if your soil is heavy clay, full of rocks, or contaminated, build over it. A raised bed at least 12 inches deep filled with a 50/50 mix of compost and sandy loam gives you ideal growing soil with no battles. A 5-gallon container with quality potting mix does the same for one plant at a time. Both bypass your native soil entirely.

Learn more about your soil
The specs

Care guide

The numbers that matter, at a glance.

Sunlight
Full sun · 6-8 hrs/day
Water
Regular
Spacing
8-12 inches
Soil
loam, sandy loam
Days to maturity
40-70 days from transplant
Soil pH
5.5 to 6.5
Container OK?
Yes · 2+ gal pot
Germination temp
60-70°F
Soil chemistry

Soil pH for dill

Preferred
5.5 to 6.5
Tolerated
5.5 to 7

Dill grows best in slightly acidic soil, about 5.5 to 6.5. Most garden soil is fine, and a simple soil test tells you where you stand.Aim for a soil pH of about 5.5 to 6.5, slightly acidic; Utah State University gives this as dill's ideal range. It is forgiving and still does fine up to neutral, roughly 5.5 to 7.0. Dill is not a pH-sensitive plant, so in most gardens no adjustment is needed beyond a soil-test baseline.

Verified · 2 sources View
Steady hand on the hose

Watering

When & how much
Frequency
Water regularly so the soil stays evenly moist, roughly 1 inch a week, especially while the plants are young.About 1 inch of water per week, kept reasonably even; dill is fairly drought-tolerant once established but bolts faster and grows lank under heat and dry stress.
Amount
Aim for about 1 inch of water a week, a bit more when it is warm and dry.Roughly 1 inch per week, more in warm, dry spells; once established dill takes some drought, but steady moisture keeps the leaves tender and slows the bolt.
Method
Water at the base of the plants rather than over the leaves, which helps prevent leaf diseases.Water at the soil line with drip or a soaker hose; keeping the lacy foliage dry checks powdery mildew and leaf spot on a crop used fresh.
Signs of trouble
Too much water
Lower leaves yellow, seedlings rot at the base, and plants get mildewed or mushy in soggy soil.Yellowing lower leaves, damping-off in seedlings, and powdery mildew or root rot in constantly wet, poorly drained ground.
Too little water
Wilting leaves and a plant that bolts (flowers) sooner than you want.Wilting, slowed growth, and faster bolting; drought stress hurries the plant toward its flower stalk and seed.
Feeding rhythm

Feeding

Frequency
once per crop, or none
Type
Light balanced feeding
When to start
a little compost worked in before sowing, then at most one light feeding during leaf growth

Dill does not need much fertilizer and even grows well in poor soil. Mix a little compost into the bed before planting, and that is usually all it needs. If the soil is poor, you can give one light feeding while the plants are young. Too much fertilizer makes dill floppy and weakens the flavor, so go easy.Dill is a light feeder and one of the few herbs that prefers lean soil; Utah State University notes that no additional nutrients are needed if the soil is amended at planting. Work a little compost in before sowing and, in poor ground, give one light feeding once the plants are growing. Avoid heavy nitrogen, which makes dill lank and floppy and can dull the aromatic oils that give the leaves and seed their flavor. A plant grown on for seed or pickling heads needs no extra feeding once it bolts.

Light feeder: little to no supplemental fertilizer needed

Dill needs very little feeding. Mix compost into the soil at planting, and only feed lightly if the soil is poor.Dill is a light feeder that prefers lean soil; compost worked in at planting usually covers it, with at most one light, balanced feeding in poor ground. Avoid heavy nitrogen, which makes the plant floppy and weakens the aromatic oils.

Try compost, or a light balanced vegetable fertilizer
Who grows well together

Companion planting

Dill is one of the great companion herbs, mostly because of what it does when it flowers: the yellow blooms pull in hoverflies, ladybugs, lacewings, and tiny parasitic wasps that hunt aphids and caterpillars on nearby crops. It is a traditional partner for the cabbage family, where it is said to help against cabbageworms, and it interplants well with cucumbers, onions, lettuce, and corn. Keep it away from fennel, which can cross-pollinate it, and from carrots, its close relative. Most of dill's companion value is real but indirect: allowed to flower, dill (an Apiaceae umbel) is a strong insectary plant, recruiting hoverflies, ladybugs, lacewings, and parasitoid wasps that suppress aphids and caterpillars on neighboring crops, an effect extension IPM guidance leans on. It is a traditional companion for brassicas (cabbage, broccoli, kale), where folklore credits it with deterring cabbageworms, plausible via the beneficials it draws but not measured as a direct effect; it also interplants with cucumbers, onions, lettuce, and corn. The well-grounded cautions are its own carrot-family relatives: fennel and carrots, which can cross-pollinate dill where they flower together, and which share Apiaceae pests on rotation grounds.

Other
Cabbage family (cabbage, broccoli, kale)
Dill is a classic partner for the cabbage family. Let some dill flower nearby and its blooms bring in helpful insects that eat aphids and cabbageworm caterpillars, and gardeners have long planted the two together.A traditional brassica pairing with a real mechanism: dill left to flower recruits hoverflies, lacewings, and parasitoid wasps that attack aphids and caterpillars, including cabbageworms, on cole crops. Sound by the insectary mechanism and long tradition, not a measured dill-on-cabbage effect. Traditional
Cucumbers
Dill and cucumbers are a kitchen and garden match, since you pickle cucumbers with dill, and they grow in an overlapping season; the flowering dill also draws in insects that help the cucumbers.A traditional culinary-and-garden pairing: cucumbers and dill share the pickling jar and an overlapping season, and flowering dill recruits beneficials that help cucumbers. Tradition plus the insectary mechanism, not a measured pair effect. Traditional
Onions, lettuce, and corn
These grow alongside dill without crowding it, and the helpful insects dill's flowers attract spill over onto them. A simple, easygoing interplant.Complementary-habit interplants: onions, lettuce, and corn share space and season with dill without strong competition, and benefit from the beneficials its flowers draw. Structural and traditional, not a tested effect. Traditional
Keep apart from
Carrots Keep dill away from carrots. They are close relatives, so if both flower they can cross-pollinate, and they share carrot-family pests and diseases.Dill and carrots are both Apiaceae and can cross-pollinate where both are allowed to flower for seed, and they share carrot-family pests and diseases on rotation grounds. The classic folklore that mature dill suppresses carrot growth is largely untested; keep them apart mainly for the cross-pollination and shared-pest reasons. Traditional
Fennel Keep dill away from fennel. They are carrot-family cousins that can cross-pollinate if both flower, muddling the flavor of saved seed, and fennel is a poor neighbor for many plants.Fennel is a fellow Apiaceae that can cross-pollinate dill where both bloom for seed, and it is a broad allelopath and classic poor herb neighbor that suppresses many plants. Give fennel its own corner. A traditional rule with a real mechanism, not a measured dill-fennel trial. Traditional
Provenance tagged inline · see methodology for the labeling system Key
Harvest signals

When to pick

Start picking dill when the plants are 8 to 10 inches tall and bushy, a few weeks after sowing and before you see a tall flower stalk. Snip the feathery leaves from the outside, and pick in the cool morning for the best flavor. Pick often, because once it bolts the plant puts its energy into flowers and seed. For pickling, cut the flower heads as the blooms open. For dried dill seed, let the heads turn tan, cut and dry them, then shake out the seeds to store.Begin cutting dill leaves once plants are 8 to 10 inches tall and bushy, roughly 6 to 8 weeks from sowing, well before the central seedstalk rises. Snip whole feathery fronds from the outside, or shear the upper plant, taking no more than a third at a time and picking in the cool morning for the best flavor; pick often, since the leaf window closes once it bolts. For green pickling heads, cut the umbels just as the flowers open and the immature seed forms. For dried dill seed, let the plant flower and set seed and harvest the heads as they turn from green to tan but before they shatter, dry them in a paper bag, then thresh and store the seed airtight.

Verified · 2 sources View
Yield

What to expect

Each dill plant gives you feathery leaves for a few weeks, then sends up a tall stalk with flower heads and seeds. Grow a small patch and cut the leaves often, and let a few plants make seed heads for pickling.A single dill plant gives a flush of feathery leaves over several weeks, then a tall flowering stalk topped with seed heads, so it yields on two timelines: leaves early and seed later. For steady dill weed, grow several plants in a patch and cut often; for pickling, a few tall plants supply plenty of heads and seed.

Dill makes the most leaves in the cooler weeks of spring and fall. Once summer heat hits, plants bolt and make flower heads and seed instead. So the leaves come in the cool seasons and the seed heads come in summer.Leaf production peaks in the cool weeks of late spring and fall. A spring patch produces leaves until heat and long days bolt it, while a late-summer sowing gives a strong fall leaf crop. The seed and pickling-head crop peaks from summer-bolted plants. Dill is one of the easier, faster herbs for a beginner, with leaves in about 6 to 8 weeks from a cool-weather sowing. The trick is to sow a little every couple of weeks and pick it young so you keep getting tender leaves. And when it bolts, you get seed heads for pickling and dried dill seed.Dill is a fast, forgiving first-season crop: leafy dill weed in about 6 to 8 weeks from a cool-weather sowing, and seed heads later in the same season. The key to a steady leaf supply is frequent succession sowing and picking young, since a single plant soon turns to making seed. The bonus is that a bolted plant is not wasted, it gives you pickling heads and dried dill seed.

What changes yield
Timing: a crop grown in the cool shoulders yields leaves well; one caught by summer heat and long days bolts to seed sooner. Spring and fall are the leaf seasons.Variety: slow-bolting and dwarf selections (Fernleaf, Dukat, Hera) extend the leaf window, while tall types (Long Island Mammoth) maximize seed and pickling heads.Even moisture: steady water keeps leaves tender and slows the bolt; drought hurries the seedstalk.Frequent cutting and succession: picking young and sowing every 2 to 3 weeks keeps tender leaves coming.Goal: in heat, shift the goal from leaf to seed and pickling heads rather than fighting the bolt.
Verified · 2 sources View
Pick your variety

Recommended varieties

If you want leafy dill weed, pick a slow-bolting or dwarf variety like Fernleaf, Dukat, Hera, or Bouquet, which take a bit longer to flower. None of them stop flowering in heat, so sow a fresh batch every couple of weeks too. If you mainly want seed heads for pickling, grow a tall type like Long Island Mammoth.Match the type to the goal. For leafy dill weed, choose slow-bolting selections, Fernleaf (dwarf, for pots), Dukat, Hera, and Bouquet, which hold in leaf longer before the seedstalk rises; none truly stop the bolt in heat and long days, but they buy time. For seed and pickling heads, the tall heirlooms Long Island Mammoth and Mammoth set big heads fast and are the classic pickling dills. Because the bolt is inevitable in warmth, succession sowing matters as much as variety for a steady leaf supply.

Bouquet
The most widely grown garden dill, productive of both leafy dill weed and large seed heads, good for pickling; reaches about 2 to 3 feet. A reliable all-purpose standard.
Long Island Mammoth
A tall heirloom, 3 to 5 feet, grown above all for big seed heads and pickling; the classic dill for putting up cucumbers. Bolts sooner, so less suited to long leaf harvest.
Fernleaf
A compact, slow-bolting dwarf, about 18 inches, an All-America Selections winner and the best choice for containers and small spaces, with a longer leaf window before flowering.
Dukat
A leafy, slow-bolting type prized for high essential-oil content and sweet, strong flavor; an excellent dill-weed variety for fresh leaf harvest.
Hera
A slow-bolting bunching dill bred for uniform, upright leaf production, holding in leaf longer before the seedstalk rises; a good cut-leaf choice where heat shortens the window.
Off the vine

Storing your harvest

Room temp
Do not leave cut dill out on the counter, where it wilts fast; either chill it or stand the stems in a glass of water. Dried dill seed keeps for months at room temperature.Fresh dill leaves wilt within a day or two at room temperature, so refrigerate promptly after cutting; standing the cut stems in a glass of water on the counter holds them a few days. Dried dill seed, by contrast, is shelf-stable for months once dried.
Fridge
Store fresh dill unwashed in a loose bag in the fridge, where it keeps about a week. Wash it only when you are ready to use it.Refrigerate fresh dill leaves unwashed in a loose or perforated bag, or stems standing in a little water under a loose bag, in the crisper; dill holds about a week. Wash only at use, since trapped moisture speeds breakdown.
Freezer
Dill freezes well for cooking. Chop it into an ice-cube tray with a little water or oil and freeze. For dill seed, let the seed heads dry on the plant, then store the seeds in a jar.Dill freezes well for cooking: chop the fronds into ice-cube trays with water or oil, or freeze them flat in bags, where the flavor holds better than dried. Dill seed is dried, not frozen: cut the seed heads as they turn tan, dry them, then thresh and store the seed airtight.
Verified · 2 sources View
When something goes wrong

Common problems

01 of 04
What happened Your dill shot up a tall stalk and stopped making soft leaves. Dill bolts in summer heat and long days, which is its normal shift from leafy dill weed to flower heads and seed, not a mistake. Next time, grow it for leaves in cooler weather, sow a fresh batch every couple of weeks, pick it young, and try slow-bolting or dwarf types like Fernleaf or Dukat. And let the bolted plant make seed heads for pickling.The plant elongated into a seedstalk and leafy growth slowed as the foliage thinned. Bolting is driven by summer heat above roughly 75 to 80°F and lengthening days, accelerated by drought. Growers most often sow too late into warming weather. Next time sow into the cool shoulders, succession-sow, lean on a late-summer sowing for fall, use slow-bolting or dwarf selections, and treat warm-season plantings as a seed-and-pickling crop. Next season Grow it in cool weather, sow every couple of weeks, pick young, choose slow-bolting types, and harvest the bolted plant for seed heads.Sow into cool weather, succession-sow every 2 to 3 weeks, lean on a late-summer sowing, choose slow-bolting types, and grow summer plantings for seed and pickling heads.
02 of 04
What happened Your dill came up thin, patchy, or very slowly. Dill seed is slow by nature, often two to three weeks, and germinates poorly in cold, soggy soil or when the surface dries out. Next time, sow shallowly into warm-enough, moist soil, keep the surface from drying, and use fresh seed.Stand was thin and slow. Dill germination is intrinsically slow, often 10 to 21 days, and is worsened by cold, wet soil that rots the seed and by surface drying or crusting. Next time sow shallowly into well-drained soil around 60 to 70°F, keep the seedbed evenly moist, and use fresh viable seed. Next season Sow shallowly into moist soil that is not cold and soggy, keep the surface from drying, and use fresh seed.Sow shallowly into moist, well-drained, warm-enough soil, keep the bed from drying or crusting, and use fresh seed.
03 of 04
What happened Your dill leaves got a white, powdery coating and yellowed. That is powdery mildew, which builds in crowded, overwatered plantings. Next time, space plants for airflow, water at the soil line, and pick the leaf crop young before mildew builds.A white, talc-like growth on the foliage indicates powdery mildew (Erysiphe heraclei), favored by crowding, warm days with cool humid nights, and overwatering. Next time widen spacing, avoid overhead watering and excess nitrogen, and harvest the leaf crop promptly; remove infected foliage on plants held for seed. Next season Space plants for airflow, water at the base, and pick the leaves young.Widen spacing, water at the soil line, avoid heavy nitrogen, and harvest promptly.
04 of 04
What happened Your dill leaves got tan-brown spots that spread and blighted the foliage, worst in wet weather. That is a fungal leaf spot. Next time, use clean seed, water at the soil line, space plants for airflow, and rotate the bed.Spreading tan-brown leaf lesions that blight the foliage indicate Cercospora leaf blight or Alternaria leaf spot, favored by warm, wet, splashy conditions and sometimes seed-borne. Next time use clean seed, switch to drip, widen spacing, rotate away from the carrot family, and clear infected debris. Next season Use clean seed, water at the base, space for airflow, and rotate where you grow dill.Use clean seed, irrigate at the soil line, widen spacing, rotate away from Apiaceae, and remove infected debris.
The usual suspects

Pests & diseases

Pests
Parsleyworm (black swallowtail caterpillar)
P · 01
Symptoms Plump green caterpillars banded with black and yellow-orange dots, chewing the feathery leaves. They can strip a young plant, but on an established dill they usually do only light damage.Larvae of the black swallowtail (Papilio polyxenes), banded green, black, and yellow, feed on the foliage. On an established dill the defoliation is usually light and cosmetic; a heavy load can strip a seedling. Cause These are the caterpillars of the black swallowtail butterfly, which lays eggs on dill and other carrot-family plants. They are also a welcome garden visitor, since they turn into a beautiful butterfly.Dill is a larval host plant for the black swallowtail butterfly. The caterpillars are a feature as much as a pest, so dill is often planted deliberately to support them. Organic treatment On a big plant, just leave them; the damage is minor and you get butterflies. If they threaten a small planting, pick them off by hand and move them to a spare dill plant.On established plants, tolerate them, the feeding is minor and the butterflies are a benefit; on small plantings, handpick and relocate to a sacrificial dill. Bt is effective if control is truly needed, but is rarely warranted on a host plant grown partly for the butterflies. Prevention Grow a little extra dill so there is enough to share with the caterpillars, and simply relocate them rather than spraying.Manage by tolerance and a little surplus planting rather than control: grow enough dill to share, relocate larvae from plants you want to protect, and reserve sprays for genuine seedling threats.
Aphids
P · 02
Symptoms Clusters of tiny soft green or gray insects on new growth and the undersides of the feathery leaves, sometimes with curled, sticky foliage.Colonies of aphids gather on growing tips and leaf undersides; honeydew and the lodged insects contaminate a crop used fresh, and aphids can vector viruses. Dill's lacy foliage hides them, so scout closely. Cause Aphids are small sap-sucking insects that breed fast, especially on soft growth from too much fertilizer. They can spread plant viruses.Several aphid species feed on dill; they reproduce rapidly and favor the soft growth that excess nitrogen produces. Dill itself, allowed to flower, is a strong insectary that recruits aphid predators. Organic treatment Blast them off with a strong spray of water, or use insecticidal soap on the leaf undersides, repeating every few days. Dill's own flowers also draw in ladybugs and lacewings that eat aphids.Dislodge colonies with a strong water jet or spray insecticidal soap, covering leaf undersides; repeat every few days and conserve ladybugs, lacewings, and parasitoid wasps, which dill's own umbel flowers attract. Prevention Welcome helpful insects like ladybugs and lacewings, go easy on nitrogen, and check new growth often.Scout growing tips early, avoid overfeeding nitrogen, and conserve natural enemies; letting some dill flower draws in the aphid predators it is famous for hosting.
Diseases
Powdery mildew
D · 01
Symptoms A white, powdery coating on the leaves and flower stalks, usually later in the crop and in warm, dry-day weather. Heavily coated leaves yellow and are unpleasant to eat.A white, talc-like fungal growth on the foliage and stems, the most commonly noted fungal disease of dill, that builds in warm days with cool humid nights, in crowded stands, and where plants are overwatered; coated leaves lose quality. Cause A fungal disease that coats the leaves in white powder, favored by warm days, cool nights, crowding, and overwatering.Powdery mildew (Erysiphe heraclei on Apiaceae), favored by warm days, cool humid nights, dense stands with poor airflow, and excess moisture. Utah State University notes dill mildews when overwatered. Organic treatment Remove the worst leaves, open up the planting for airflow, and avoid crowding and overhead watering. Most home crops are picked before it does much harm.Improve airflow with wider spacing, remove affected leaves, avoid excess nitrogen and overhead watering; the leaf crop is usually cut before mildew matters, but a tall plant held for seed is more exposed. Prevention Space plants for airflow, avoid crowding and overfeeding, and water at the base rather than over the leaves.Widen spacing for airflow, avoid heavy nitrogen and overwatering, and harvest the leaf crop promptly; remove infected foliage on plants held for seed.
Leaf spot / leaf blight
D · 02
Symptoms Small tan to brown spots, sometimes with a yellow halo, that spread on the leaves and can merge until the leaflets wilt and die back, worst in wet weather.Small tan-brown leaf lesions, sometimes yellow-haloed, that expand and coalesce until leaflets blight and die; favored by wet, splashy conditions and prolonged leaf wetness. Cercospora leaf blight (Cercosporidium punctum) and Alternaria leaf spot are the documented agents on dill. Cause Fungal leaf diseases that spread on wet leaves and splashing water and can arrive on infected seed. Spotted, blighted leaves are not good to eat.Foliar fungi, chiefly Cercosporidium punctum (Cercospora blight) and Alternaria spp., spread by splash, wind, and infected seed and favored by warm, wet weather and overhead irrigation. Organic treatment Remove and destroy spotted leaves, avoid wetting the foliage, improve airflow, and start with clean seed. There is no spray cure in the home garden, so prevention matters most.Use clean, disease-free seed, avoid overhead irrigation, space for airflow, rotate away from the carrot family, and remove infected debris; there is no effective home-garden cure once it is established. Prevention Use clean seed, water at the soil line rather than over the leaves, space plants for airflow, rotate the bed, and clear infected debris.Plant clean seed, switch to drip or soil-line watering, widen spacing, rotate, and remove crop debris that carries the fungi over.
Damping-off and seedling rot
D · 03
Symptoms Seeds that never come up, or seedlings that flop over at the soil line with a pinched, rotted stem and then die. It strikes in cold, wet soil.Poor stands from seed and pre- or post-emergence collapse of seedlings with water-soaked, pinched stems at the soil line, worst in cold, wet, poorly drained soil where dill's slow germination leaves seed sitting in the danger zone. Cause Soil fungi attack the seeds and tiny seedlings, especially when the soil is cold and soggy and the slow-sprouting dill seed sits a long time before emerging.Soilborne Pythium, Rhizoctonia, and Fusarium fungi attack germinating seed and seedlings; cold, saturated soil that slows dill's already slow germination favors them. Organic treatment There is no cure for an affected seedling, so focus on prevention: pull and discard collapsed seedlings.No rescue once seedlings collapse; manage by prevention and remove affected plants. Prevention Do not sow into cold, soggy soil, plant shallowly in well-drained ground, do not overwater, and use fresh seed so it comes up faster.Sow shallowly into well-drained soil under conditions that favor reasonably quick emergence, avoid overwatering, and use fresh, viable seed.
Verified · 2 sources View
Seasoned
Where to plant next year

Crop rotation

Try not to grow dill or other carrot-family plants (carrots, parsley, cilantro, fennel, celery) in the same spot more than about once every 3 years, since they share pests and diseases. Plant dill after peas, beans, cabbage, onions, or tomatoes instead. Dill self-sows a lot, so pull up stray seedlings that pop up where you do not want them.Rotate dill and its carrot-family relatives so they do not return to the same ground for about 3 years. The Apiaceae share foliar blights, the carrot motley dwarf complex, and soilborne rots, which build up where the family repeats. Follow dill with legumes, brassicas, alliums, or nightshades. Because dill self-sows heavily from bolted plants, volunteers can blur a rotation, so pull seedlings that come up out of place if you are managing the family carefully.

Family
Carrot / parsley family (Apiaceae)
Years between
3 years
in the same bed
Avoid following
Other carrot-family plants like carrots, parsley, cilantro, fennel, and celery, because they share the same pests and diseases.Other Apiaceae: carrot, parsley, cilantro, fennel, celery, parsnip, and dill itself. They share carrot-family pests and diseases (leaf blights, the carrot motley dwarf complex, and soilborne rots), so following one with another concentrates that pressure.
Plant after
Legumes (peas, beans), brassicas (cabbage family), alliums (onion, garlic), or nightshades such as tomatoes.
Verified · 2 sources View
In the app · pre-launch

When plant taps you on the shoulder

The plant app sends a timely reminder at every critical moment of your dill season. The wording adjusts to whichever you pick: beginner or seasoned. Here are three you'll see in Zone 4.

p
plant
NaN days after last frost
Time to thin your dill
Your dill seedlings should be big enough to thin. Space them out and use the little ones you pull.
p
plant
NaN days after last frost
Time to start picking dill
Your dill should be big enough to pick. Snip the feathery leaves from the outside, and pick it young.
p
plant
NaN days after last frost
Warm weather ahead: pick your dill
Warm, long days make dill flower. Pick your dill leaves now, plan a fall crop, and let the plants that bolt make seed heads for pickling.
Get personalized alerts.

plant sends the right notification at exactly the right moment, for your zone, your weather, your crops. Founding members lock the rate forever.

Back the Kickstarter →
Ask the gardener

Common questions

Got a question we missed?

We're building this guide with real growers. Got a question we missed? Ask here. We read every one and add the best answers right to this page.

Grown this before?

Share a tip

Learned something the hard way? Pass it on. Real growers' tips make this guide better for the next person, and we credit you by name when yours goes live.

Seasoned
Spot something wrong?

Report a problem

If you've grown this crop and you see a date, a temperature, a companion claim, or a recommendation that doesn't match your experience, tell us. Real growers' corrections make this guide better for the next person.

How we built this guide

Methodology & sources

Every date, temperature, spacing, and recommendation on this page is sourced from university cooperative extension publications, peer-reviewed agricultural research, NOAA climate data, and direct extension calendars. Where claims are softer (traditional gardening wisdom not formally documented), we say so.

Research-backed Documented in cooperative extension publications or peer-reviewed research
Well-grounded A known agronomic principle, but not formally tested for this specific pair
Traditional Time-tested gardening wisdom, limited formal research support
Last reviewed
June 29, 2026
Data version
crops_data_final · v1.0 · schema 2.9
Sources cited on this page
16 publications
Verified entries
Companion-planting claims tagged inline · zone dates verified against 5+ extensions
See all sources cited on this page
  • University of Minnesota Extension umn_ext
  • University of Maryland Extension umd_ext
  • Cornell Cooperative Extension cornell_ext
  • Iowa State University Extension iastate_ext
  • Michigan State University Extension msu_ext
  • NC State Extension ncsu_ext
  • Penn State Extension psu_ext
  • U. of Illinois Urbana-Champaign Extension uiuc_ext
  • UC Davis Postharvest Center ucd_postharvest
  • Texas A&M AgriLife Extension tamu_agrilife
  • Virginia Cooperative Extension 426-331 vce_426_331
  • Piedmont Master Gardeners piedmont_mg
  • UGA Vegetable Garden Calendar uga_calendar
  • Clemson Home & Garden Information Center clemson_hgic
  • UC IPM Statewide IPM Program uc_ipm
  • NOAA 1991-2020 Climate Normals noaa_normals

Growing notes, weekly.

Zone-aware seasonal nudges, what's worth planting now, and the occasional recipe from the harvest. No spam, ever.

Vol. 003 · Dill · plant.lifestyle