Today · in your zone
What's happening right now
Off-season for garlic in zone 9.
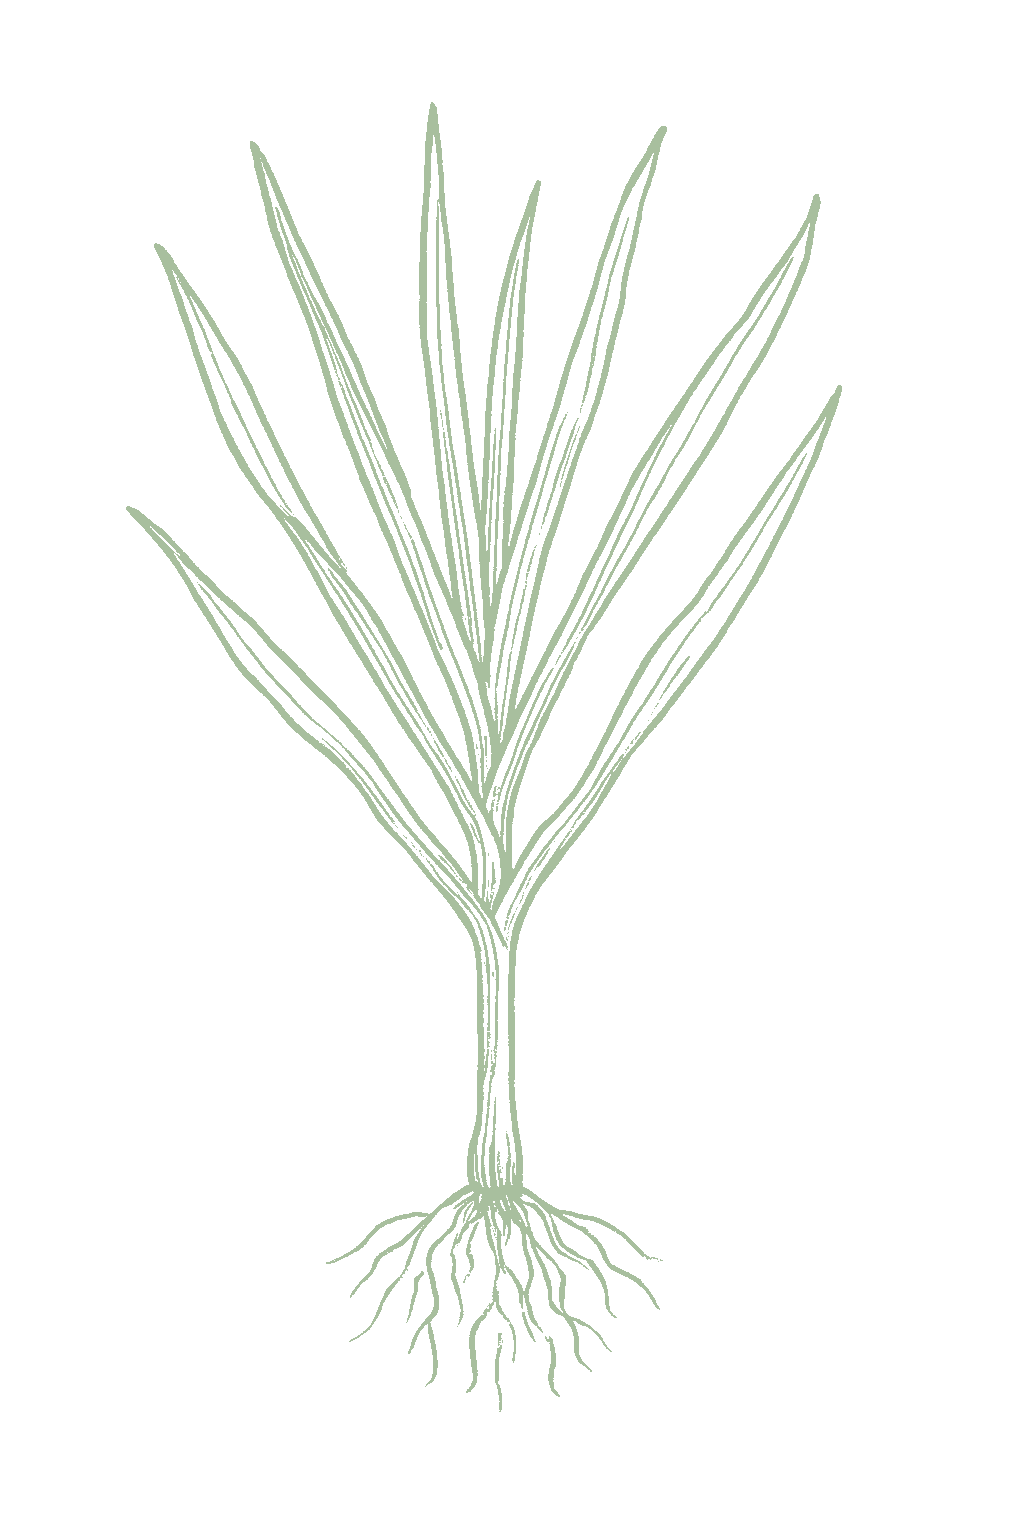
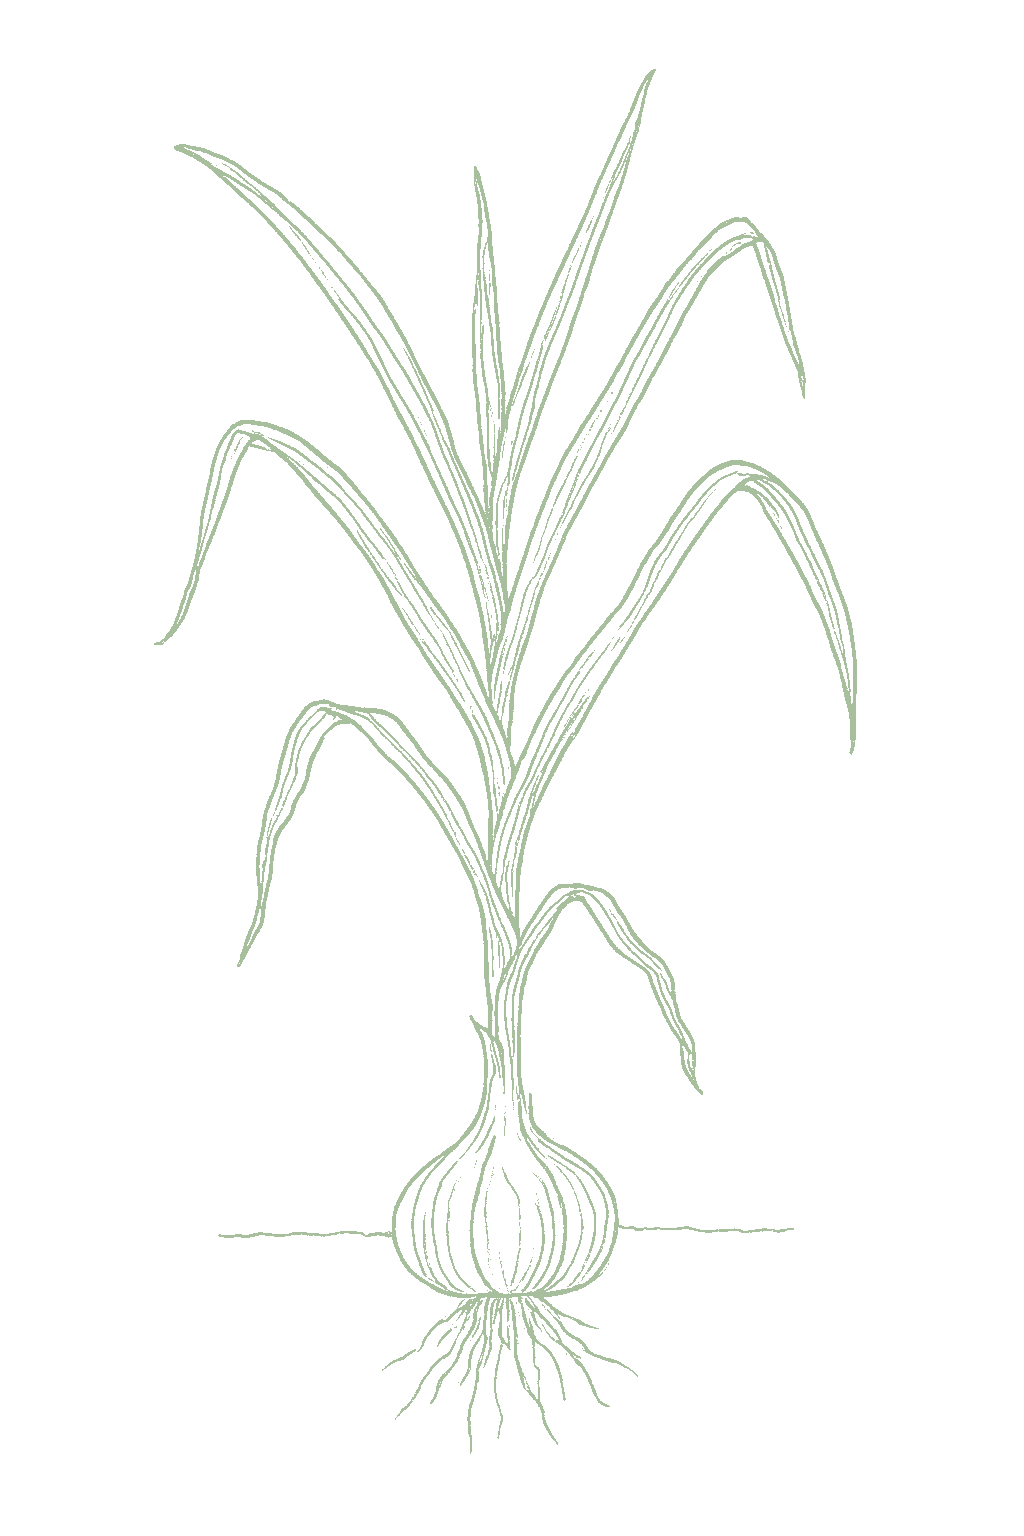
Garlic is one of the easiest crops to grow, but it works on an unusual schedule. You plant the cloves in fall, they rest through winter (under a mulch blanket where it is cold), and they finish growing the next summer, so a single planting takes most of a year. Garlic needs that winter cold to form a proper bulb, which is why you plant in fall rather than spring. Grow hardneck garlic where winters are cold and softneck garlic where they are mild. Garlic (Allium sativum) is a hardy allium grown from individual cloves planted in fall. It roots before winter, overwinters in the ground (mulched in cold regions), then resumes growth in spring and matures the following summer, an eight to nine month crop that spans the year. Winter cold is essential: cloves must be vernalized to divide and bulb properly, which is why fall planting beats spring. Hardneck types suit cold winters, produce edible scapes, and store a few months; softneck types suit mild climates, braid well, and store the longest.
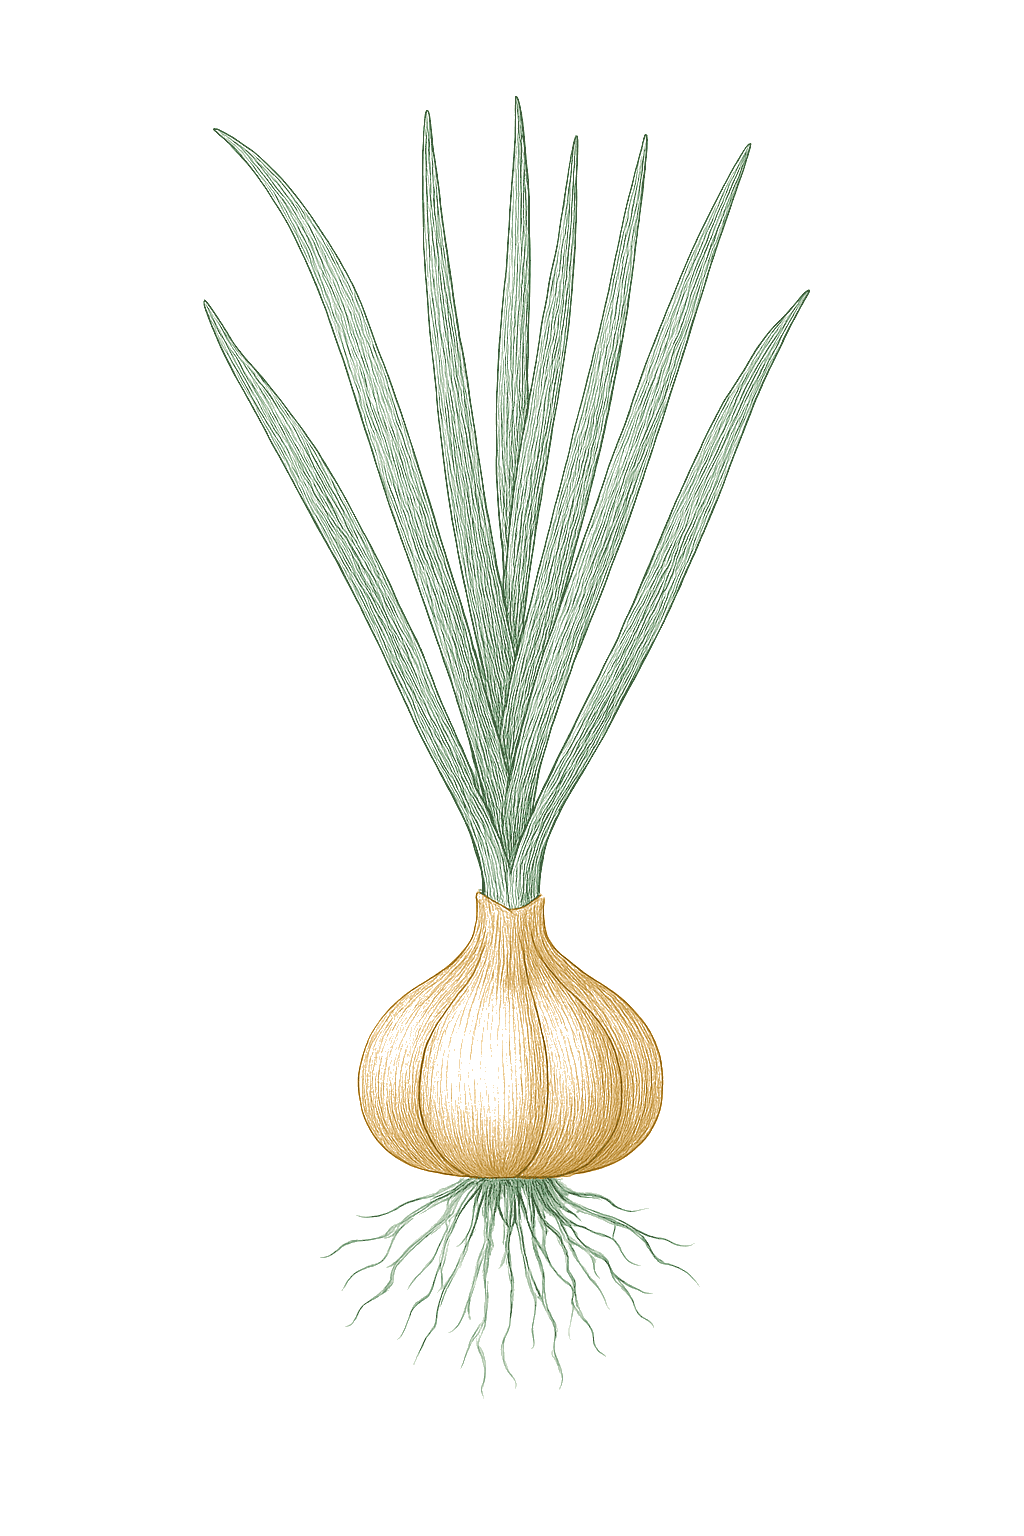
Off-season for garlic in zone 9.
Zone 9 averages a last frost around March 1. Within Zone 9, the colder half (9a, winters down to 20°F) runs about a week later. The warmer half (9b, winters down to 25°F) runs about a week earlier. The plant app picks your subzone from your ZIP.
| Subzone | Last spring | First fall | Growing days | Winter min | Fruits reliably |
|---|---|---|---|---|---|
| 9a | Mar 8 | Nov 24 | ~261 | 20-25°F | Yes · two seasons |
| 9b | Feb 28 | Nov 30 | ~275 | 25-30°F | Yes · two seasons |
Averages from 8 weather stations per subzone, drawn from NOAA 1991-2020 Climate Normals. Your actual frost date can vary by up to two weeks based on elevation, proximity to water, and local topography.
In Zone 9, garlic can be planted October through November. Harvest runs June through June.
In Zone 9, garlic can be planted October through November. Harvest runs May through June.
In Zone 9, garlic can be planted October through November. Harvest runs April through May.
In Zone 9, garlic can be planted October through November. Harvest runs June through July.
In Zone 9, garlic can be planted October through November. Harvest runs May through June.
In Zone 9, garlic can be planted September through October. Harvest runs June through August.
In Zone 9, garlic can be planted September through October. Harvest runs May through June.
In Zone 9, garlic can be planted October through November. Harvest runs April through June.
In Zone 9, garlic can be planted October through November. Harvest runs May through May.
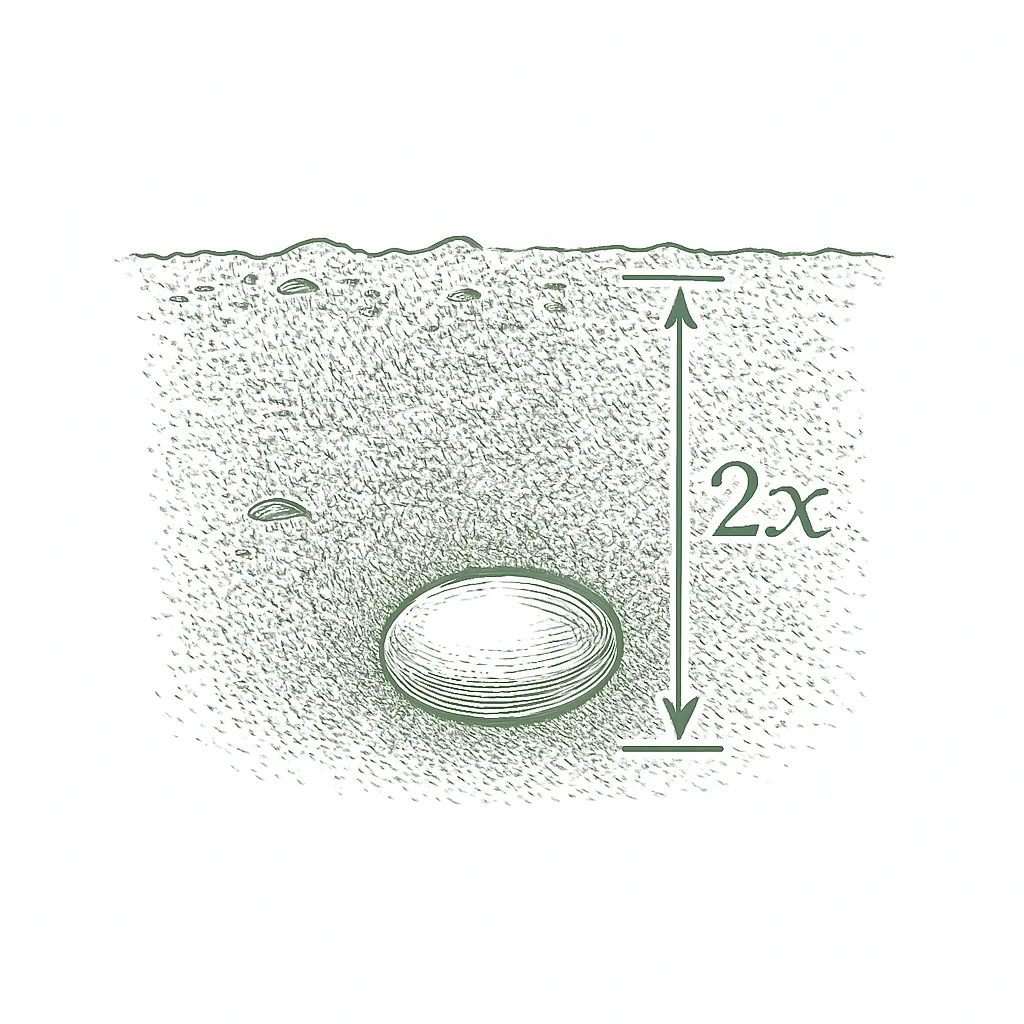
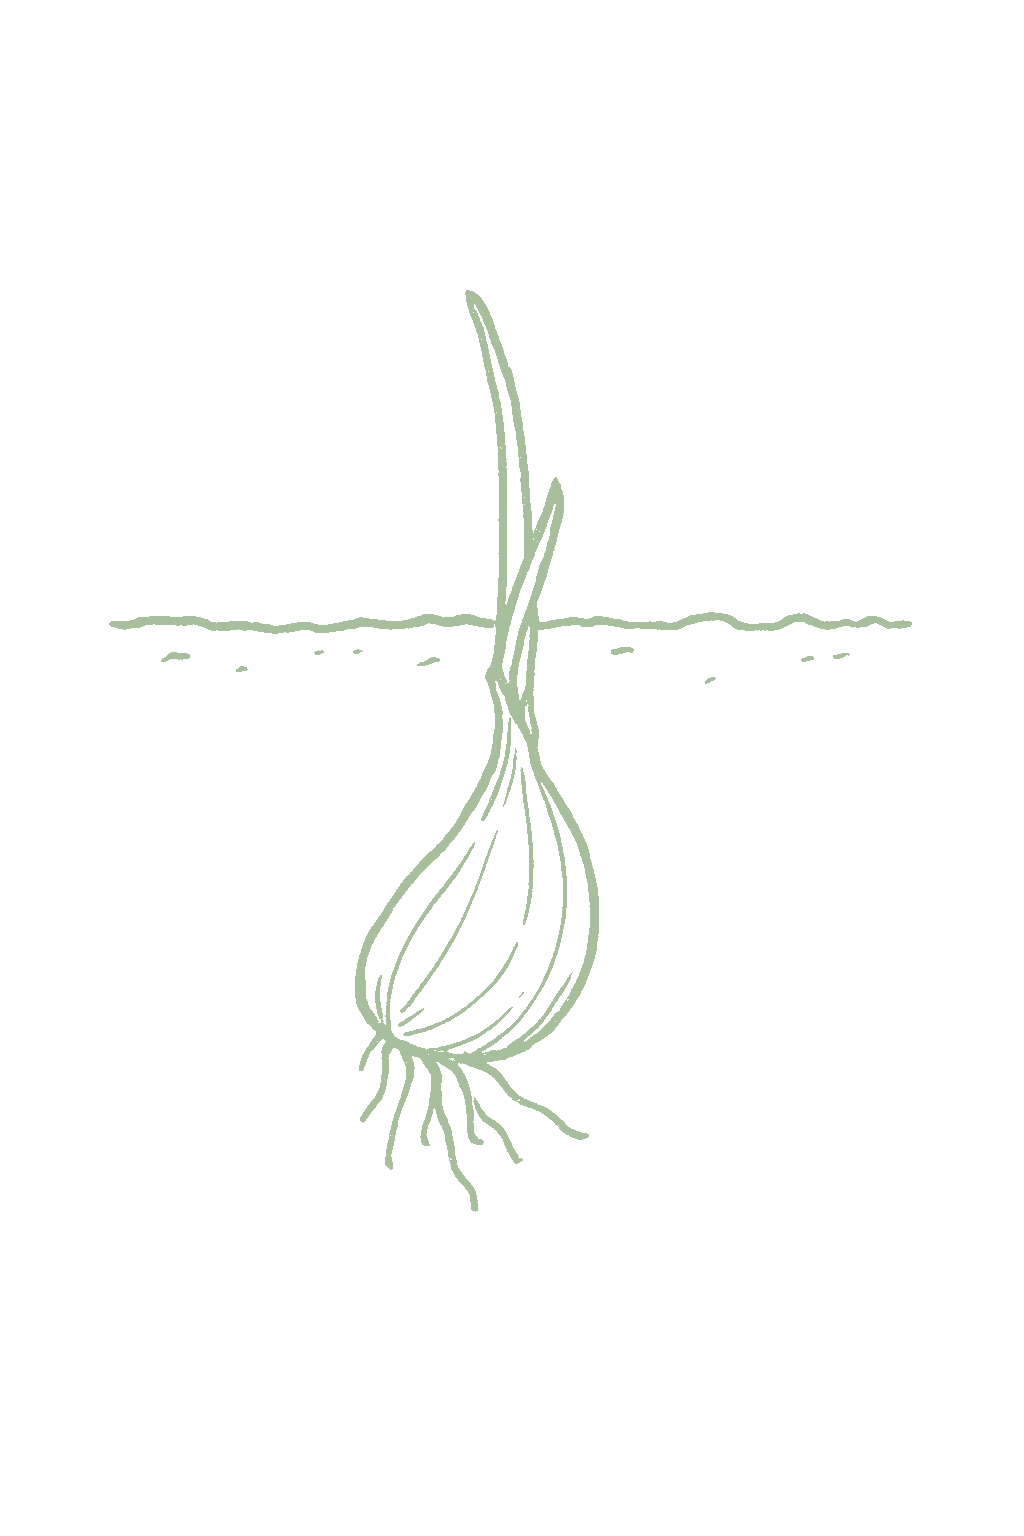
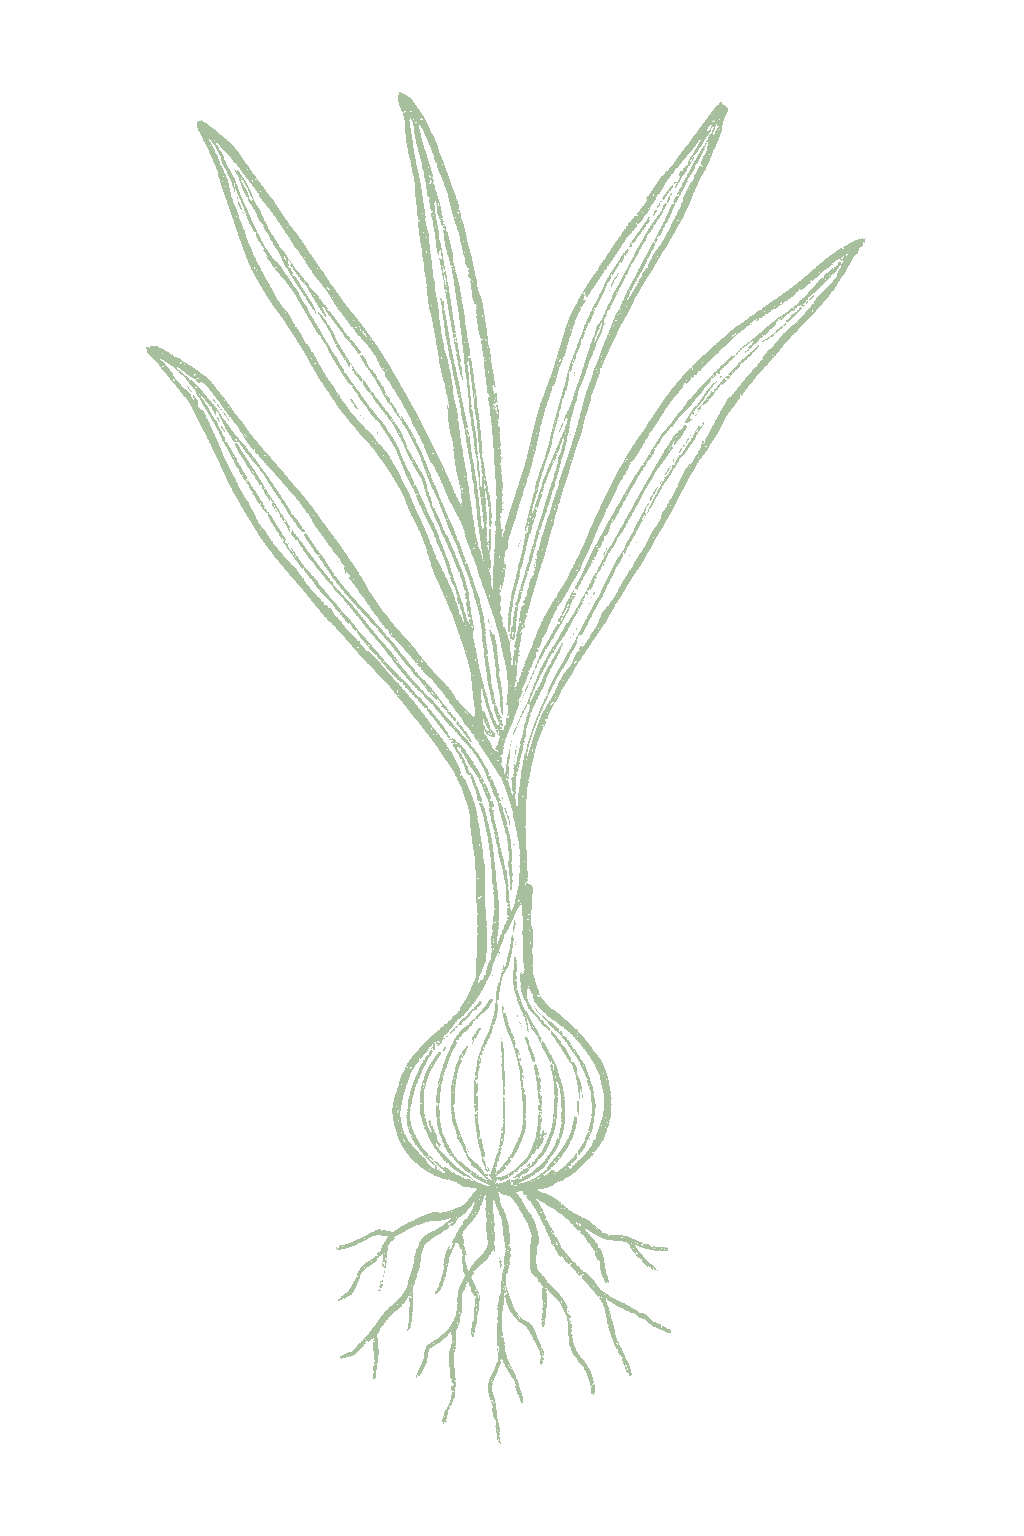
Garlic does not grow from seed, you plant the cloves. Just before planting in fall, break a bulb into separate cloves and leave the papery skin on each one. Plant the biggest cloves pointy side up, about 2 to 3 inches deep and 4 to 6 inches apart. Big cloves grow big bulbs, so plant the largest and cook with the little ones. Start with healthy cloves from a trusted source so you do not bring in disease.Garlic is grown from cloves, not seed. Break apart firm, healthy bulbs into individual cloves just before planting, keep the papery skins on, and plant the largest cloves pointed end up about 2 to 3 inches deep and 4 to 6 inches apart in fall. Bigger cloves make bigger bulbs, so save the largest for planting and eat the small inner ones. Use clean, disease-free seed stock from a reputable source, since white rot and bloat nematode ride in on infected cloves.



Not sure what soil you have? Grab a small handful of damp soil from your garden bed and squeeze it. If it crumbles apart easily, it's sandy. If it holds together but breaks when you poke it, it's loam (what most vegetables want). If it stays in a hard, slippery ball, it's clay.
Garlic likes loose, rich soil that drains well but still holds some moisture, with plenty of compost worked in. Loosen the bed deeply before planting so the roots and bulbs have room. The thing it cannot stand is soggy, waterlogged ground, which rots the cloves over winter, so avoid heavy clay and any low spot where water sits.
Mix 2-3 inches of compost into the top 6 inches of your bed before planting. Compost holds moisture (which sandy soil drains too fast) and adds the nutrients sandy soil tends to lack. Repeat each season. Compost breaks down over time.
Mix 2-3 inches of compost AND a few inches of coarse sand or perlite into the top 6 inches of your bed. The compost feeds the plants; the sand breaks up the clay so air and water can move through. Don't add sand without compost. It can compact like concrete.
If amending your soil sounds like too much work, or if your soil is heavy clay, full of rocks, or contaminated, build over it. A raised bed at least 12 inches deep filled with a 50/50 mix of compost and sandy loam gives you ideal growing soil with no battles. A 5-gallon container with quality potting mix does the same for one plant at a time. Both bypass your native soil entirely.
The numbers that matter, at a glance.
Garlic grows fine in a deep pot because its roots are not huge. Use a container at least 8 inches deep with drainage holes, plant cloves 4 to 6 inches apart in fall, and plan to leave it out all winter. Keep it watered in spring and stop a couple of weeks before harvest.Garlic is workable in containers given depth and drainage. Use a pot at least 8 inches deep, 3 gallons or more, set cloves 4 to 6 inches apart in fall, and treat it as a year-long resident: it overwinters in the pot and matures the next summer. Containers dry fast in spring, so water steadily through bulbing, then cut water two weeks before harvest. The main risk is winter waterlogging in a pot that drains poorly.
Garlic in a pot is meant to overwinter, since you plant it in fall and harvest the next summer. In cold areas the roots in a pot freeze harder than in the ground, so sink the pot, move it against the house or into an unheated shed or cold frame, or mulch it well, and let it freeze and rest rather than trying to keep it growing.Overwintering is the whole point of a garlic container: fall-planted, it sits dormant through winter and finishes the next summer. The limited root volume of a pot freezes colder than open ground, so in cold zones sink the pot, move it to a cold frame or unheated structure, or heap mulch around it; the goal is to carry the cloves safely through the cold, not to force winter growth.
Ask what your balcony or roof can carry
A balcony or roof can only hold so much weight. Before you set heavy pots there, ask a building architect what it can safely carry.Illinois Extension's guidance is to consult a building architect about weight limits before placing heavy pots on a balcony or rooftop garden. It gives no weight figure.
Never grow food in a container with anything toxic in it
Many kinds of containers can be used. Whatever you choose, keep anything toxic out of it, especially if you are growing food.Colorado State accepts nearly any container material but warns against using a container that holds toxic materials, especially for edible plants. Illinois adds that a vegetable container should be free of chemicals toxic to plants or people, and urges caution with treated lumber when growing food. If you cannot account for what a repurposed container once held, that alone is a reason to keep food out of it.
Secure hanging containers well
Fasten hanging baskets and window or rail boxes securely. Think about what is below them too, since they can drip on people or things underneath.Illinois Extension asks growers to secure hanging containers well and to think through the safety issues of hanging them. Placement matters too, since a hanging container can drip onto people or belongings below.
Garlic grows best in soil close to neutral, about 6.0 to 7.0. It is not very fussy, but very acidic ground holds it back, so if a soil test reads below about 6.0, mix in some garden lime before you plant in fall.Aim for a soil pH of about 6.0 to 7.0; garlic tolerates a slightly wider band, roughly 5.5 to 7.5, but yields fall off on strongly acidic soils. Test the bed the season before and lime an acid plot up toward neutral, since fall is your one planting window and there is no second chance to adjust mid-season.
Garlic is a hungry plant that makes its bulb from the leaves it grows in spring, so feed it then. Mix some compost or fertilizer into the soil when you plant in fall, then give it a nitrogen feeding once the green shoots are growing well in early spring, and again a few weeks later. Stop feeding before the bulbs start sizing up, which falls around April in warm regions and into May where winters are cold. Feeding late makes leafy plants with thick necks and small bulbs that do not keep well.Garlic has a moderate to high nitrogen demand and builds its bulb on the leaves it grows in spring, so feeding is front-loaded onto the spring vegetative push. Mix a complete fertilizer or compost into the bed at fall planting, then side-dress nitrogen as the shoots resume growth in early spring and again two to three weeks later. The exact cutoff tracks your season rather than a fixed calendar date. In cold-winter regions with a later crop, the last feedings run later: Utah State suggests about half a pound of 21-0-0 per 100 square feet in mid-April with a quarter pound in late May, and the University of Minnesota feeds through spring growth before bulbing. In the warm Southeast, where the crop runs weeks earlier, UGA advises no nitrogen after the first week of April. The unifying rule is to stop nitrogen several weeks before bulbing begins, since late feeding delays bulbing, thickens necks, and worsens storage.
Use a feed higher in the first number (nitrogen) such as blood meal or a 21-0-0 fertilizer in spring, then stop by early May.Higher first-number (N) feeds in spring, e.g. ammonium sulfate (21-0-0) or blood meal; taper off and stop by early May so bulbing is not delayed.
Garlic is famous as a good-neighbor plant, mostly because its strong smell is thought to keep aphids and some other pests away, so it is often tucked among roses, fruit trees, tomatoes, and cabbage-family plants. The one thing to keep it away from is beans and peas, since garlic and its onion relatives are believed to slow those down. These are helpful traditions, not sure things, so do not worry if your garden does a little differently. Garlic's companion reputation rests almost entirely on its sulfur scent, traditionally credited with deterring aphids, spider mites, and some borers, which is why it is interplanted among roses, fruit trees, tomatoes, and brassicas. The one firm caution is the legume conflict: alliums are widely held to inhibit beans and peas, so keep garlic away from them. Most of these pairings are traditional rather than trial-proven, and garlic's long fall-to-summer occupancy means it shares the bed with whatever overwinters or goes in around it; treat the pairings as low-risk suggestions, not guarantees.
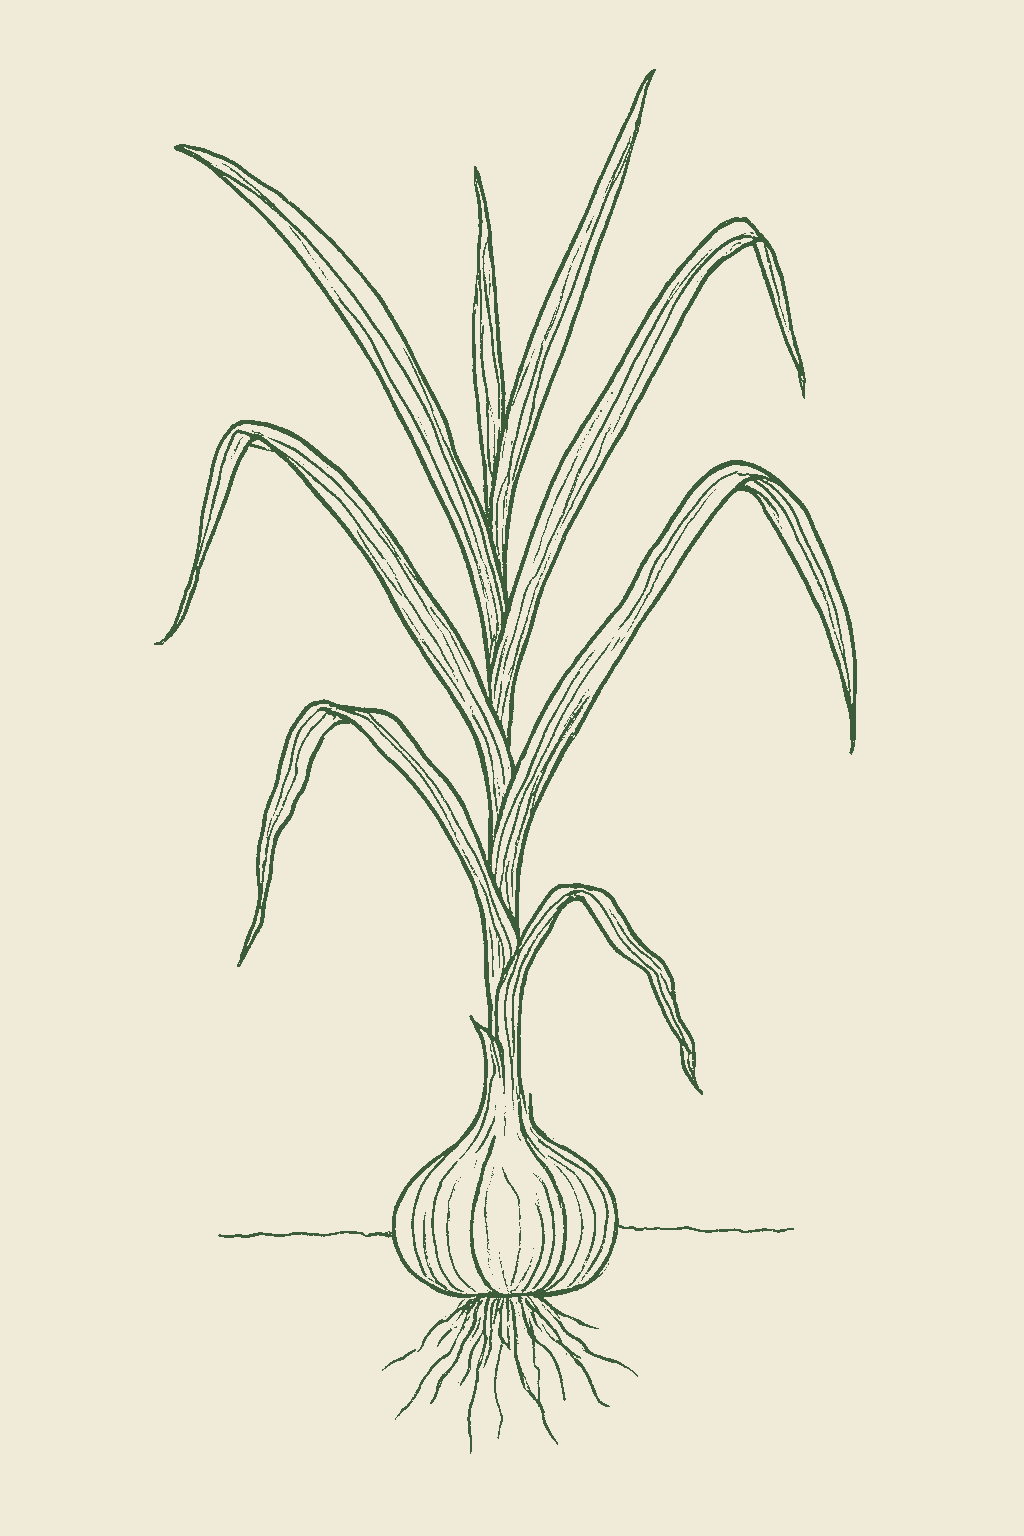
Garlic is ready in early summer (or late spring in warm areas) when the lower leaves have turned brown but the top leaves are still green, about a third to half of them browned. Do not wait for all the leaves to die. Dig one bulb to check: if the cloves fill out the skins, it is time to harvest.Garlic is ready in early to mid summer (late spring in warm regions) when the lower leaves have browned and died back while several upper leaves stay green, about a third to half the foliage turned. Each green leaf is an intact wrapper, so do not wait for all the leaves to brown. Confirm by lifting a test bulb: ready bulbs have cloves that fill the skins.
Each clove you plant grows into one whole bulb, and each bulb has about 10 to 15 cloves inside. So a handful of cloves planted in fall becomes a basket of garlic the next summer.One bulb per planted clove, and each bulb typically holds 10 to 15 cloves (fewer, larger on hardnecks; more, smaller on softnecks). A 10-foot row at about 5-inch spacing yields roughly 24 bulbs.
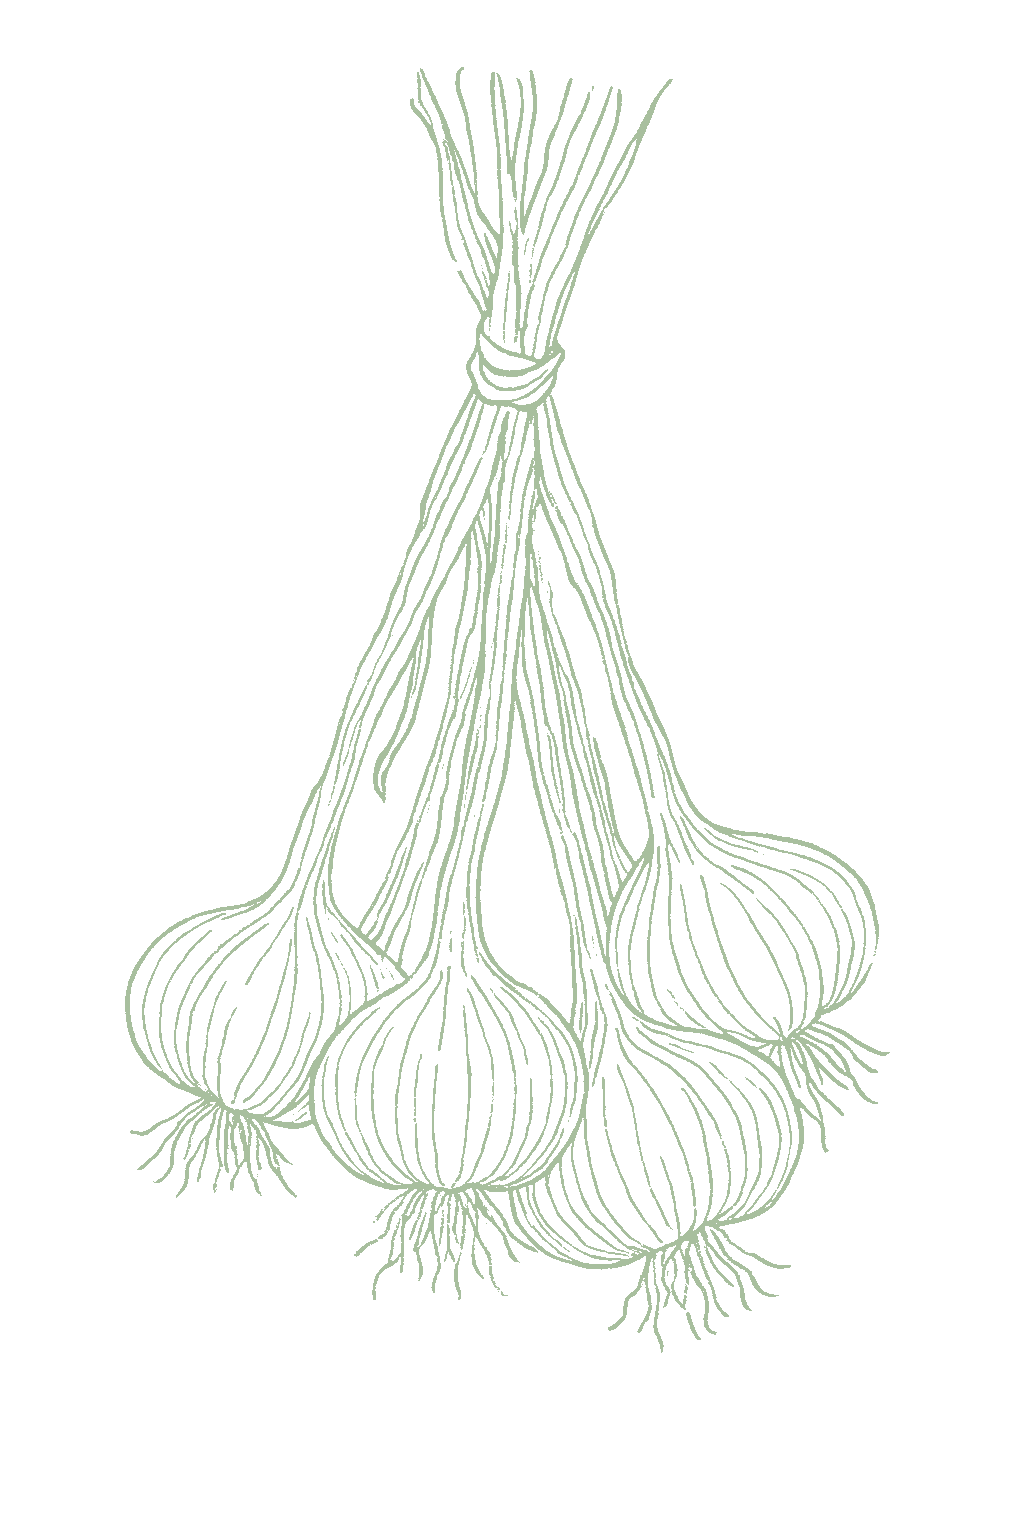
All your garlic of one kind finishes around the same time in summer, so you harvest it together, then cure it and store it to use over the following months.Garlic of a given variety matures together in one main flush in early to mid summer, so the harvest comes all at once rather than over a long window; it is then cured and stored for months. The most important things for a good first harvest are choosing the right type for your winters and planting big cloves in fall. The wrong type, or planting in spring, gives small bulbs.Matching type to your winter (hardneck where winters are cold, softneck where mild) and planting good-sized cloves in fall are the biggest first-year levers; the wrong type for your climate, or spring planting, gives small or split bulbs.
Pick the type that matches your winters first. In cold-winter areas, grow hardneck garlic (like Music, Spanish Roja, or Chesnok Red), which needs real cold, makes big cloves, and gives you edible scapes, but does not store as long. In mild-winter and southern areas, grow softneck garlic (like Inchelium Red or California Early), which handles warm winters, makes lots of cloves, braids nicely, and keeps the longest. If you are not sure, Inchelium Red is forgiving in many climates. Elephant garlic is not really garlic, it is a mild leek relative.Choose by winter cold first, then by use. Hardneck garlics (Rocambole, Porcelain, Purple Stripe groups, such as Music, German White, Spanish Roja, Chesnok Red) need a genuine cold winter to vernalize and bulb, produce edible scapes, have fewer larger cloves, and store a shorter time, so they shine in the North. Softneck garlics (Artichoke and Silverskin groups, such as Inchelium Red, California Early and Late, Creole and Silverskin types) tolerate mild winters, yield more smaller cloves, braid well, and store the longest, so they are the choice for the South and warm regions. Where winters are mild, lean softneck; where winters are cold, hardnecks reward you with flavor. Elephant garlic is a leek relative, not true garlic.
The ladder troubleshoots from the gentlest solution to the strongest. Start with the gentlest option and only move on when and if it doesn't work.
Once the garlic is harvested, clear the old tops, trimmings and any volunteer garlic or onions out of the bed and from around it, and get the material out of the garden rather than leaving it in a heap. Thrips spend the winter in onion-family debris left on the ground and in volunteer plants, and next year's population starts from what you leave behind.Sanitation is the standing cultural control for onion thrips: they overwinter in allium debris left on the soil surface and in volunteer plants, so clearing tops, trimmings and volunteers after harvest removes the local carryover. The spring influx that matters most comes from that debris and from grain or alfalfa drying down nearby, which is why bed choice against those neighbors sits alongside the cleanup.
If there are only a few thrips, wash them off with a jet of water from the hose. Aim into the tight folds where the leaves meet, because that is where they shelter. Do it early in the day so the leaves dry off afterward.A forceful water jet handles light infestations. Direct it into the leaf axils, the tight folds where leaf meets stem, since that is where the insects shelter and the part of the plant a spray of any kind tends to miss. Work early in the day so foliage dries quickly.
No spray for this one. Prevention is the control.
The ladder troubleshoots from the gentlest solution to the strongest. Start with the gentlest option and only move on when and if it doesn't work.
Plant garlic in a different spot rather than returning to the same bed each year. This pest carries over where alliums (garlic, onions, and their relatives) have grown, so a fresh bed starts the crop away from it.Populations carry over in allium ground, so rotating garlic off beds that recently grew alliums puts the crop out from under the carryover. Rotation and cleanup are the pair that does the work here, since cultural sanitation is described as the main home-garden tool for this pest.
Clear away leftover onion and garlic debris, including cull bulbs, the small or damaged ones you set aside and did not use. The fly breeds in that material, and clearing it is the main home-garden tool against this pest.Removing cull bulbs, volunteer onions and lifted plants with their roots takes away what the fly breeds in and what the pupae overwinter around, and with no home-garden insecticide available it is the main lever there is. Get what you clear right out of the garden rather than piling it at the bed edge, since a cull pile is where the fly multiplies.
No spray for this one. Prevention is the control.
The ladder troubleshoots from the gentlest solution to the strongest. Start with the gentlest option and only move on when and if it doesn't work.
Buy clean, tested cloves from a trusted source rather than replanting your own. This nematode usually arrives inside the planting cloves, so starting clean is the single most important step here. Hot-water dips are no longer advised, since they reduce the nematode without clearing it.Nematode-free, tested seed stock is the primary control, since infected cloves are the usual route into a garden and the pest then persists in soil and debris for years; a clean start is worth more than anything applied afterward. Hot-water seed dips are no longer recommended, because they only reduce rather than eliminate it.
Keep garlic and onions out of that spot for four years. The worm can survive dried in the soil and in debris for at least four years, so a one-season break is not enough. Poor-host crops, ones it does not feed and multiply well on, are fine to grow there meanwhile: carrots, potatoes, spinach, corn, and wheat.Rotate garlic out for four years with poor-host crops such as carrots, potatoes, spinach, corn, and wheat. The length is set by the nematode itself, which persists dried in soil and debris for at least that long, so the four years is the point rather than the fact of rotating.
Pull infected plants and throw them away rather than composting them, and take the debris with them. The worm lives and feeds inside the leaves, stems, and bulbs, so it leaves with the plant it is in.Remove and destroy infected plants along with the debris. The nematode feeds inside leaf, stem, and bulb tissue, so roguing carries the population out with the plant; leaving that tissue in the bed or in the compost returns it to the soil it survives in.
No spray for this one. Prevention is the control.
The ladder troubleshoots from the gentlest solution to the strongest. Start with the gentlest option and only move on when and if it doesn't work.
Start with disease-free cloves in clean ground. Infected cloves are one of the ways this fungus arrives, and it is worth settling before planting because there is no cure once the soil carries it.Infected cloves are one of the listed routes this fungus travels, so disease-free planting stock is set once, at purchase, and it is the step that keeps clean ground clean. It carries more weight here than on most diseases: there is no cure once soil is infested, and the fungus persists there for years.
Keep garlic and other alliums out of an affected bed for years rather than a single season. The fungus leaves behind tiny hard resting bodies that can sit in the soil a long time waiting for the next allium crop.Long allium-free rotations are the answer to sclerotia, the hardy resting bodies this fungus makes, which survive in soil for many years. It germinates in the cool soils garlic grows in, and its activity is restricted above about 75°F.
Pull sick plants and destroy them rather than composting them. Keep soil from an infested bed out of clean ground as well, and clean the dirt off tools after working there, since this fungus travels on soil, tools, and infected cloves.Rogue and destroy infected plants, and treat the soil itself as a thing that moves: contaminated soil, tools, and cloves are the listed routes of spread, so avoid carrying soil out of an infested bed and clean equipment after working it. With no cure once the ground is infested, keeping the fungus away from clean beds is what the management rests on.
No spray for this one. Prevention is the control.
The ladder troubleshoots from the gentlest solution to the strongest. Start with the gentlest option and only move on when and if it doesn't work.
Plant clean, tested cloves. Infected cloves are one of the openings this soil fungus uses, along with injuries to the bulb and maggot feeding, and it is the one you can settle before anything goes in the ground.Clean, tested cloves close one of the three listed entry points; wounds and maggot feeding are the other two. It is the entry point decided at purchase rather than in the bed, which is what puts it first.
Where you can find it, choose stock that is less susceptible to this rot. It is not offered for every variety, so treat it as a help when it is available rather than the whole plan.Less-susceptible stock is worth seeking at seed-buying time where it exists. Availability is the limit on it, so it supplements the rotation rather than standing in for it.
Do not grow garlic or other alliums in the same spot for several years. The fungus lives on in the ground for years, so moving the crop puts distance between it and the new planting.Rotate out of alliums for several years. The fungus persists in soil across seasons and progresses fastest in warm soils, roughly 77 to 82°F, so what you are managing is the bed's history rather than this season's weather.
Handle the bulbs gently as you lift and dry them, then store them cool and dry. This fungus gets in through injuries, so the bruises and nicks of a rough harvest are the opening it uses.Gentle handling and correct storage act on the entry route rather than on the organism: wounds are what let it in, and this crop's guidance puts cured bulbs cool, below about 39°F, and dry. It protects sound bulbs and does nothing for one already infected in the ground.
No spray for this one. Prevention is the control.
The ladder troubleshoots from the gentlest solution to the strongest. Start with the gentlest option and only move on when and if it doesn't work.
Stop feeding nitrogen by early May. Too much late fertilizer is one of the things that makes this rot worse, along with rain or watering close to harvest and drying the bulbs poorly after they come up.Cut nitrogen by early May. Excess late nitrogen is listed among the factors that worsen neck rot, alongside late-season rain or irrigation and inadequate curing or storage, and it is the one the feeding schedule settles outright.
Dry the garlic down after lifting until the necks are tight, then keep it somewhere cool, dry and airy. The mold gets into bulbs that were pulled green or dried poorly, so the curing is what shuts that door.Curing until the necks are tight and dry is the control this disease turns on, since it enters through necks left soft by a green harvest or an inadequate cure. Handle gently to avoid the wounds it also uses, and hold the cured crop cool, dry and with air moving. Take the conditions from this crop rather than from another.
No spray for this one. Prevention is the control.
The ladder troubleshoots from the gentlest solution to the strongest. Start with the gentlest option and only move on when and if it doesn't work.
Move the garlic patch rather than replanting the same bed. Rotating is one of the cultural steps named for rust, and since rust is usually a minor problem on garlic those steps are generally enough in a home garden.Rotation is part of the cultural package named for garlic rust. The disease is usually minor here, though worse in cool, humid, crowded plantings and notably in coastal and mild-winter areas, and the cultural steps are described as generally sufficient at garden scale.
Give the plants enough room for air to move between them. Crowded plantings in cool, damp weather are where this rust does the most, so spacing gives the leaves a chance to dry.Space for airflow. The fungus is favored by cool temperatures, leaf wetness, and high humidity, and it runs worse in crowded plantings, so spacing is the layout decision that shortens leaf wetness.
Go easy on the fertilizer. Too much nitrogen is called out as something to avoid where rust shows up, and heavy feeding also thickens the stand, which is the crowding the spacing above is meant to relieve.Avoid excess nitrogen, named among the things to keep off a rust-prone planting. Heavy nitrogen pushes the dense growth that holds a canopy wet, so it works against the spacing rung rather than beside it.
Water at the soil rather than over the top of the plants. The spores travel in splashing water and the fungus needs wet leaves, so keeping the foliage dry works against both.Skip overhead watering. Spores spread on wind and on splashing water, so basal irrigation removes the splash route and holds leaf wetness, one of the conditions the fungus needs, to whatever the weather forces on you.
Pull out volunteer onions and garlic near the bed, the ones that come up on their own from bulbs left behind. The rust survives the winter on them, so they carry it forward into the next crop.Remove volunteer alliums around the planting. The fungus overwinters on them, which makes them a live reservoir sitting outside the rotation; rotation moves the crop you planted and does nothing about the ones that came up on their own.
Pick off the badly spotted leaves and get rid of them. A heavy case yellows the leaves, kills them back early, and leaves you with smaller bulbs, so removing the worst of them is about the harvest rather than about tidiness.Remove badly infected leaves. Heavy infection yellows the foliage, brings on early dieback, and reduces bulb size, so taking out the worst leaves is aimed at what the bulb has left to size on.
No spray for this one. Prevention is the control.
Keep moving garlic around the garden. Wait about 4 years before planting garlic, onions, or leeks in the same spot, because soil diseases and the nematode build up there. Following garlic with crops like carrots, potatoes, or corn, which the nematode does not feed on, helps clean the ground.Rotate so garlic and its allium relatives do not return to the same bed for about 4 years. White rot sclerotia survive in soil for years and bloat nematode persists in debris, so a long rotation away from the whole family is the core defense. Carrots, potatoes, spinach, corn, and grains are good rotation crops because they are poor hosts for the bloat nematode.
The plant app sends a timely reminder at every critical moment of your garlic season. The wording adjusts to whichever you pick: beginner or seasoned. Here are three you'll see in Zone 9.
plant sends the right notification at exactly the right moment, for your zone, your weather, your crops. Founding members lock the rate forever.
We're building this guide with real growers. Got a question we missed? Ask here. We read every one and add the best answers right to this page.
Learned something the hard way? Pass it on. Real growers' tips make this guide better for the next person, and we credit you by name when yours goes live.
If you've grown this crop and you see a date, a temperature, a companion claim, or a recommendation that doesn't match your experience, tell us. Real growers' corrections make this guide better for the next person.
Every date, temperature, spacing, and recommendation on this page is sourced from university cooperative extension publications, peer-reviewed agricultural research, NOAA climate data, and direct extension calendars. Where claims are softer (traditional gardening wisdom not formally documented), we say so.
Spot a data point that doesn't match your experience? Submit a correction; accepted corrections earn full author credit on the page.
Zone-aware seasonal nudges, what's worth planting now, and the occasional recipe from the harvest. No spam, ever.