Today · in your zone
What's happening right now
Off-season for sage in zone 9.
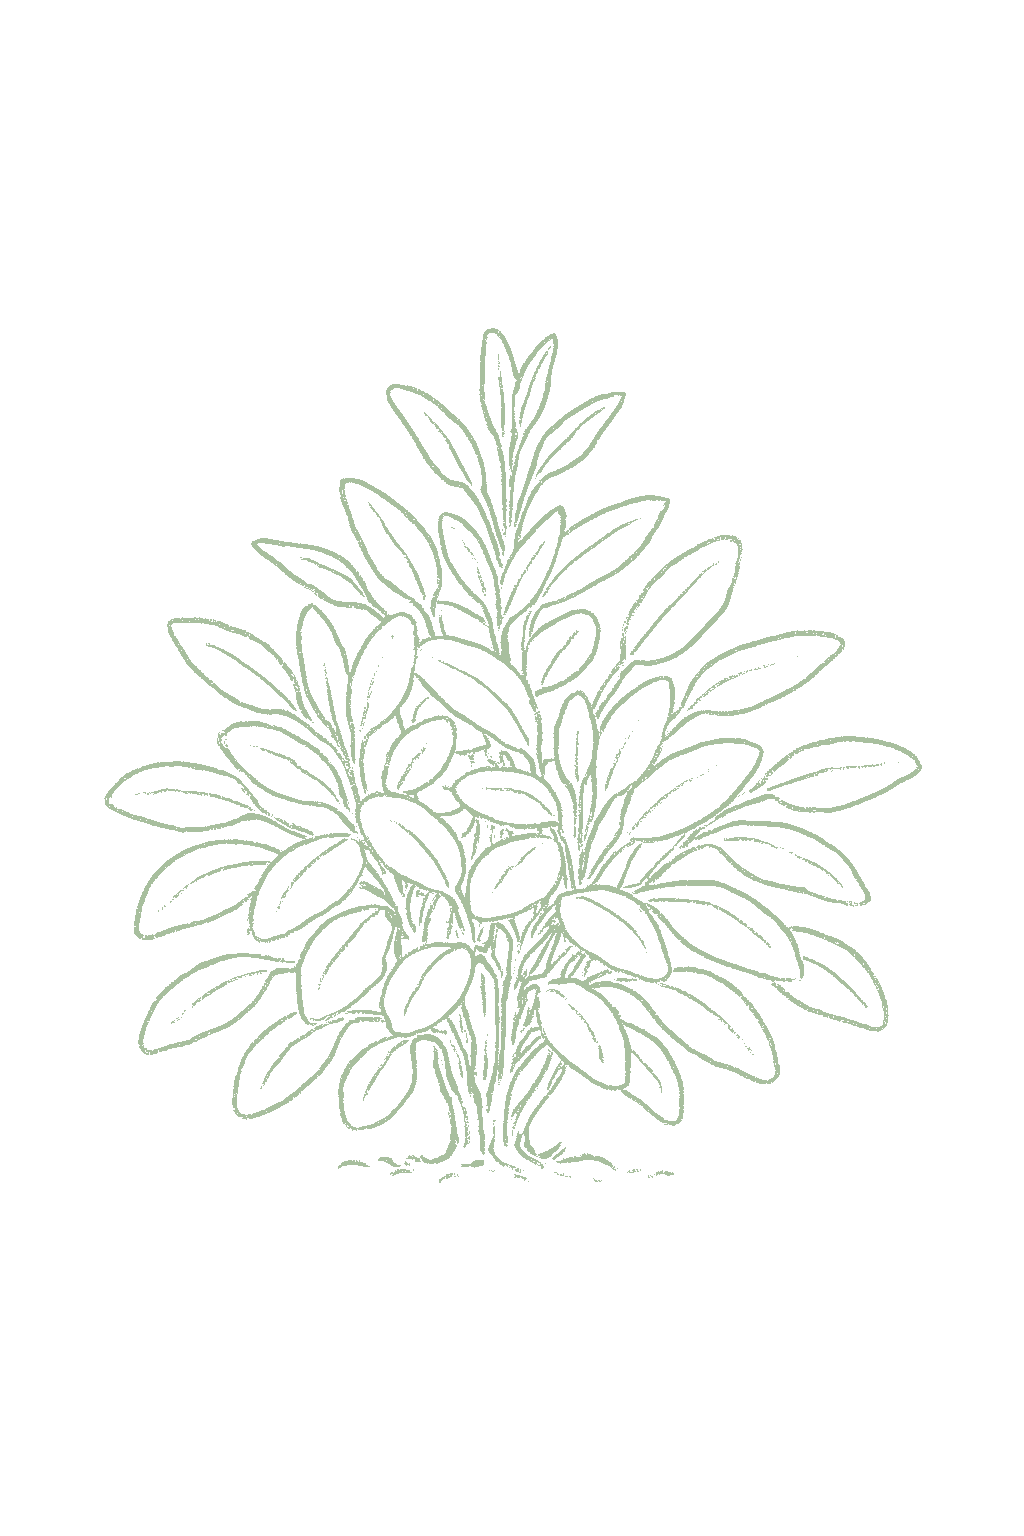
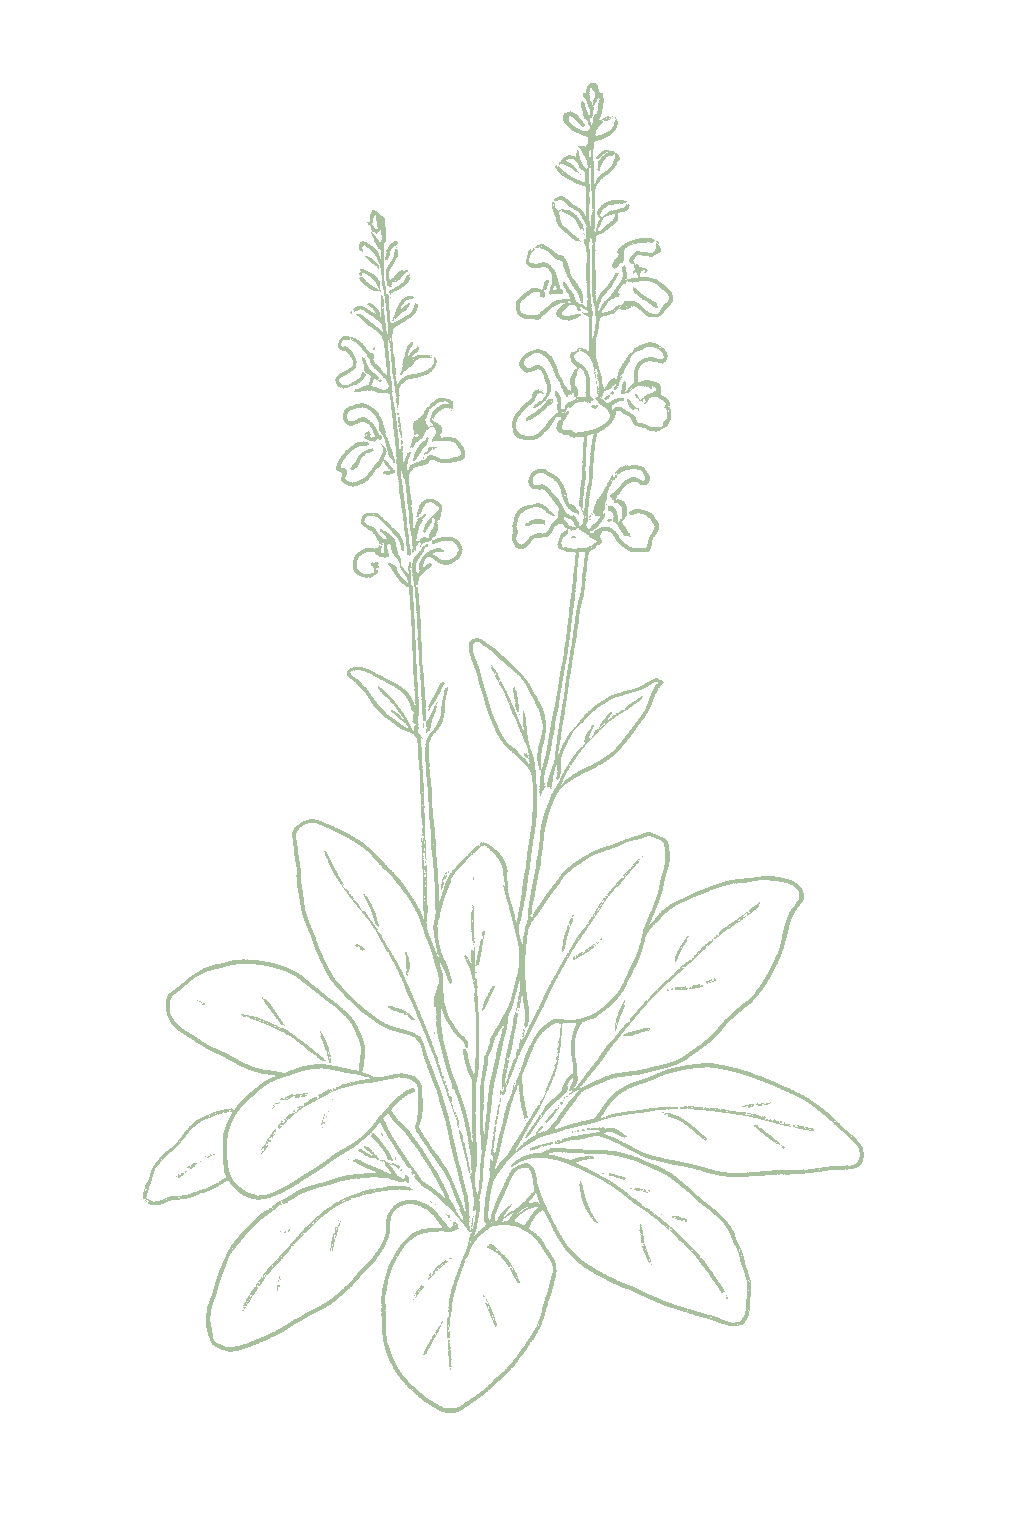
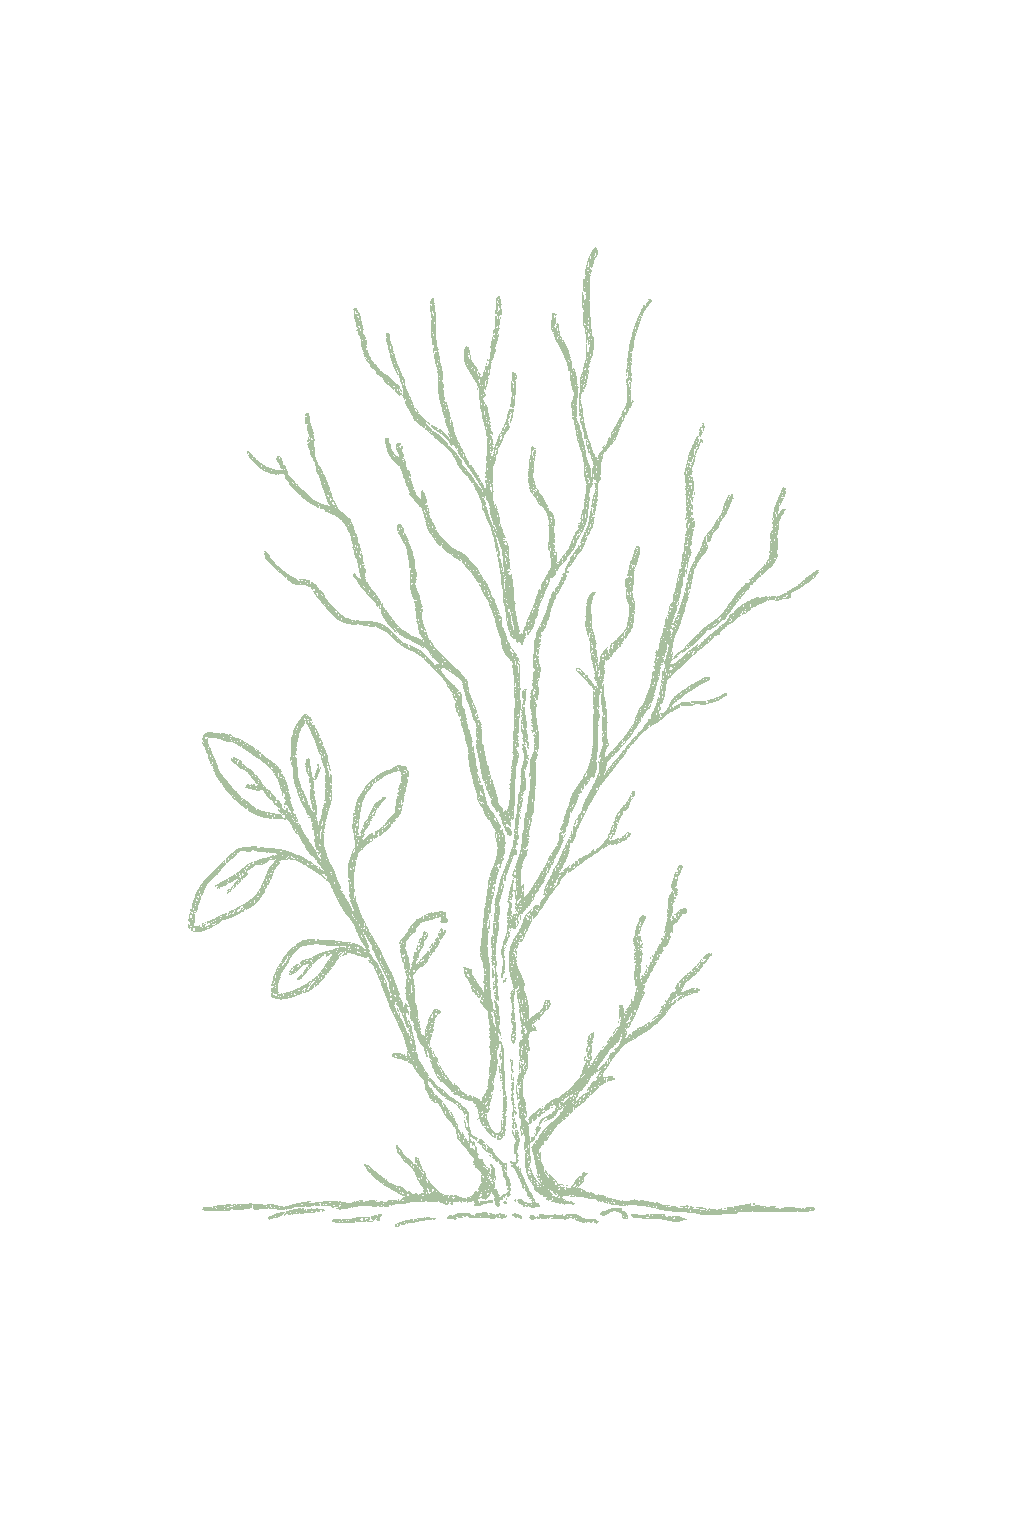
Sage is a small woody herb with soft gray-green leaves that you use in cooking, fresh or dried. It comes from the dry Mediterranean, so it wants full sun, poor well-drained soil, and not much water. This is kitchen sage (Salvia officinalis), not the colorful flower salvias sold as annuals. It makes pretty blue-purple flower spikes in early summer that bees love, but you grow it for the leaves, so many people snip the flowers off. Sage is one of the tougher herbs and comes back year after year in much of the country, but plants get woody and leggy after a few years, so trim it each spring and plan to replace it every few years. Too much water or hot, muggy weather, not cold, is what usually rots and kills it. Sage (Salvia officinalis), also called common, garden, or culinary sage, is a woody Mediterranean perennial subshrub in the mint family, grown for its aromatic, pebbly-textured, gray-green leaves used fresh or dried in cooking. This is the culinary kitchen sage, not the ornamental bedding salvias (such as scarlet or mealycup sage) sold as annual flowers. It carries short spikes of blue-purple flowers in early summer that bees and butterflies love, but the leaves are the crop, and many cooks pinch the flower spikes to keep the foliage flavorful. Sage thrives on lean treatment: full sun, poor to average well-drained soil, and little water or feeding. It is one of the hardier culinary herbs, reliably perennial in much of the country, but it is short-lived and turns woody and sprawling with age, so plan to replace plants every few years and prune each spring to slow the decline. Overwatering and humid heat, not cold, are what usually kill it, through root and stem rot.
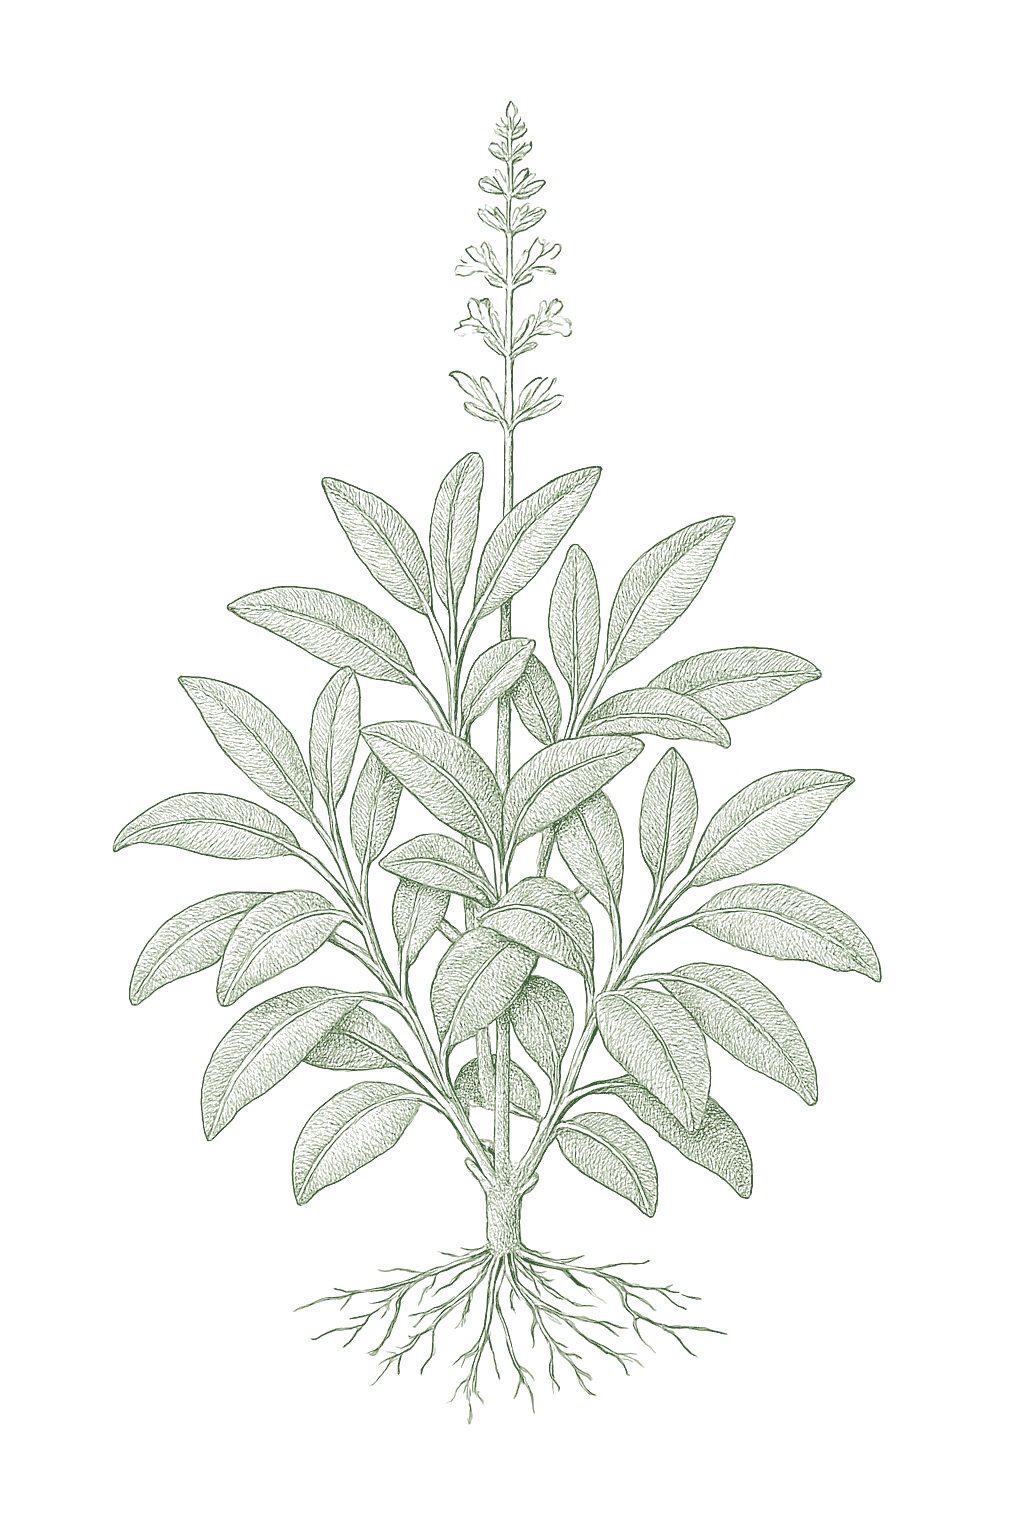
Off-season for sage in zone 9.
Zone 9 averages a last frost around March 1. Within Zone 9, the colder half (9a, winters down to 20°F) runs about a week later. The warmer half (9b, winters down to 25°F) runs about a week earlier. The plant app picks your subzone from your ZIP.
| Subzone | Last spring | First fall | Growing days | Winter min | Fruits reliably |
|---|---|---|---|---|---|
| 9a | Mar 8 | Nov 24 | ~261 | 20-25°F | Yes · two seasons |
| 9b | Feb 28 | Nov 30 | ~275 | 25-30°F | Yes · two seasons |
Averages from 8 weather stations per subzone, drawn from NOAA 1991-2020 Climate Normals. Your actual frost date can vary by up to two weeks based on elevation, proximity to water, and local topography.
Sage grows year-round in zone 9's mild, dry-summer climate. Plant it in fall or late winter; it flowers in spring to summer. Give it full sun, good drainage, and little water, and it lasts for years before getting woody.Perennial. Zone 9's mild, dry-summer Mediterranean climate suits sage well; it grows as an evergreen woody subshrub, planted in fall or late winter and blooming in spring to summer. Full sun, sharp drainage, and sparing water keep it healthy for years before it turns woody.
Once established, lavender settles into the same rhythm year after year: a winter rest, fresh spring growth, an early-summer bloom you cut for fragrant bundles, then a hard cut-back that keeps the plant compact and flowering for years.
Sage grows as a perennial in zone 9, but plant it in the cool season (fall or late winter) so it settles in before the intense heat. Give it full sun with a little afternoon shade, great drainage, and deep, infrequent water. It may be short-lived in the hottest summers.Perennial, cool-season establishment. In zone 9, sage handles dry heat better than humidity but is stressed by extreme summers, so plant it in fall or late winter to establish in the cool season. Give it full sun with some afternoon relief, sharp drainage, and deep infrequent water; it can be short-lived where summers are most severe.
Once established, lavender settles into the same rhythm year after year: a winter rest, fresh spring growth, an early-summer bloom you cut for fragrant bundles, then a hard cut-back that keeps the plant compact and flowering for years.
Sage grows year-round in zone 9's mild, dry-summer climate. Plant it in fall or late winter; it flowers in spring to summer. Give it full sun, good drainage, and little water, and it lasts for years before getting woody.Perennial. Zone 9's mild, dry-summer Mediterranean climate suits sage well; it grows as an evergreen woody subshrub, planted in fall or late winter and blooming in spring to summer. Full sun, sharp drainage, and sparing water keep it healthy for years before it turns woody.
Once established, lavender settles into the same rhythm year after year: a winter rest, fresh spring growth, an early-summer bloom you cut for fragrant bundles, then a hard cut-back that keeps the plant compact and flowering for years.
Sage does well here too, despite this zone's number being one above the top of sage's usual hardiness range on paper. That range is about heat and humidity problems elsewhere, which this region's cool, dry summer does not have. Give it full sun and fast-draining soil.Perennial, and comfortable here too, even though zone 9 sits a step above sage's own stated zone 4 to 8 ceiling on paper. That ceiling reflects heat and humidity stress seen elsewhere in the country (se_gulf's zone 9 sage cell is explicitly 'humid-marginal' and short-lived); the maritime pnw's mild, dry, even cooler coastal summer carries none of that stress, so sage should be at least as long-lived here as in the warmer inland zone. Give it full sun and sharp drainage.
Once established, lavender settles into the same rhythm year after year: a winter rest, fresh spring growth, an early-summer bloom you cut for fragrant bundles, then a hard cut-back that keeps the plant compact and flowering for years.
Sage is a perennial here in the Las Vegas Valley floor and thrives in the dry desert heat; hot Las Vegas summers are not a problem, and once it settles in it is drought-tolerant. Give it full sun, sharply drained alkaline soil, and deep, infrequent water once established.Perennial, and desert-strong here. Common sage is hardy in roughly zones 4 to 8, so winter cold is not the Nevada Mojave's limiting factor in the Las Vegas Valley floor. This crop thrives in the Mojave: summer heat is not a problem, and established plants are genuinely drought-tolerant in the Mojave's dry heat and alkaline soil, which suit sage far better than a humid climate would; wet soil, not heat, is the one real risk to manage. Give it full sun, sharply drained alkaline soil, and deep, infrequent water once established.
Once established, lavender settles into the same rhythm year after year: a winter rest, fresh spring growth, an early-summer bloom you cut for fragrant bundles, then a hard cut-back that keeps the plant compact and flowering for years.
Sage can live year-round in the Valley since it almost never freezes, but it does not like wet, humid conditions. Plant it in full sun on a raised bed or mound with fast-draining soil, and stick with plain green sage rather than the fancier variegated kinds, which rot more easily here.Sage is grown as a perennial in the Valley's frost-free winters, but it is a dry-climate Mediterranean shrub, and the limiting factor here is humidity, not cold. Texas A&M AgriLife's guidance for the state describes sage as a shrub-like perennial best started as a transplant; give it full sun and excellent drainage, a raised bed or mound, and open airflow to head off root and stem rot in the Valley's humid stretches. Favor the plain green culinary sage over tender variegated forms, which cope less well with heat and damp.
Once established, lavender settles into the same rhythm year after year: a winter rest, fresh spring growth, an early-summer bloom you cut for fragrant bundles, then a hard cut-back that keeps the plant compact and flowering for years.
Sage can grow as a perennial in zone 9, but the heat and humidity cause rot, so it does best in the cool season in a raised bed or pot with great drainage. It is often short-lived here, so plan to replace it, and stick with the plain green kinds.Perennial but humid-marginal. In zone 9, heat and humidity bring root and stem rot and mildew, so sage grows best in the cool season in raised beds or containers with excellent drainage and airflow. It often persists only a year or two and is best treated as a short-lived perennial; green broadleaf types cope better than variegated ones.
Once established, lavender settles into the same rhythm year after year: a winter rest, fresh spring growth, an early-summer bloom you cut for fragrant bundles, then a hard cut-back that keeps the plant compact and flowering for years.
The easiest way to grow sage is to buy a small plant or root a cutting from an existing one. You can grow it from seed started indoors about 8 to 10 weeks before your last frost, but seed is slower and takes roughly a year to reach a good size, so most people skip it.Sage is most reliably grown from a nursery transplant or from softwood cuttings, division, or layering, all of which come true to the parent. It can be grown from seed, started indoors roughly 8 to 10 weeks before the last frost, but seed is slower and a plant takes about a year to reach good harvesting size, so many growers buy plants or root cuttings instead.
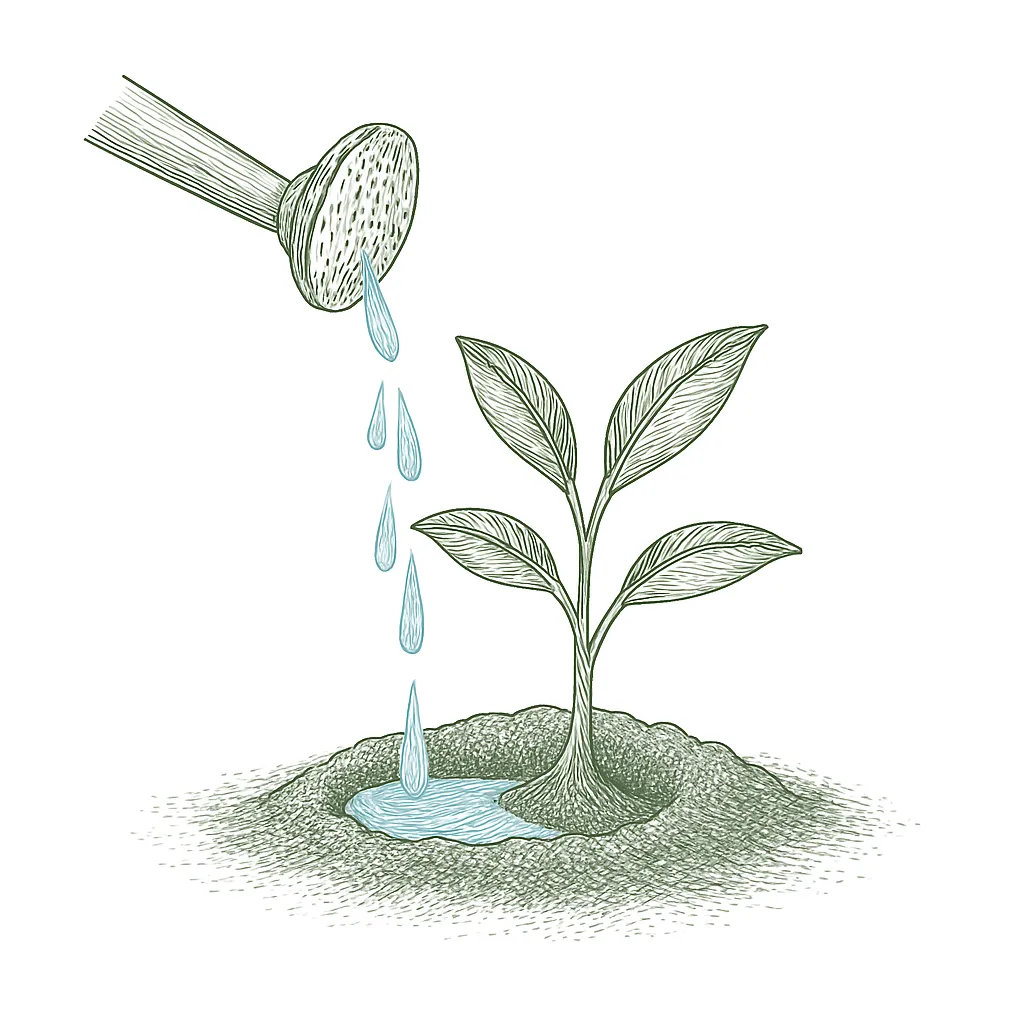
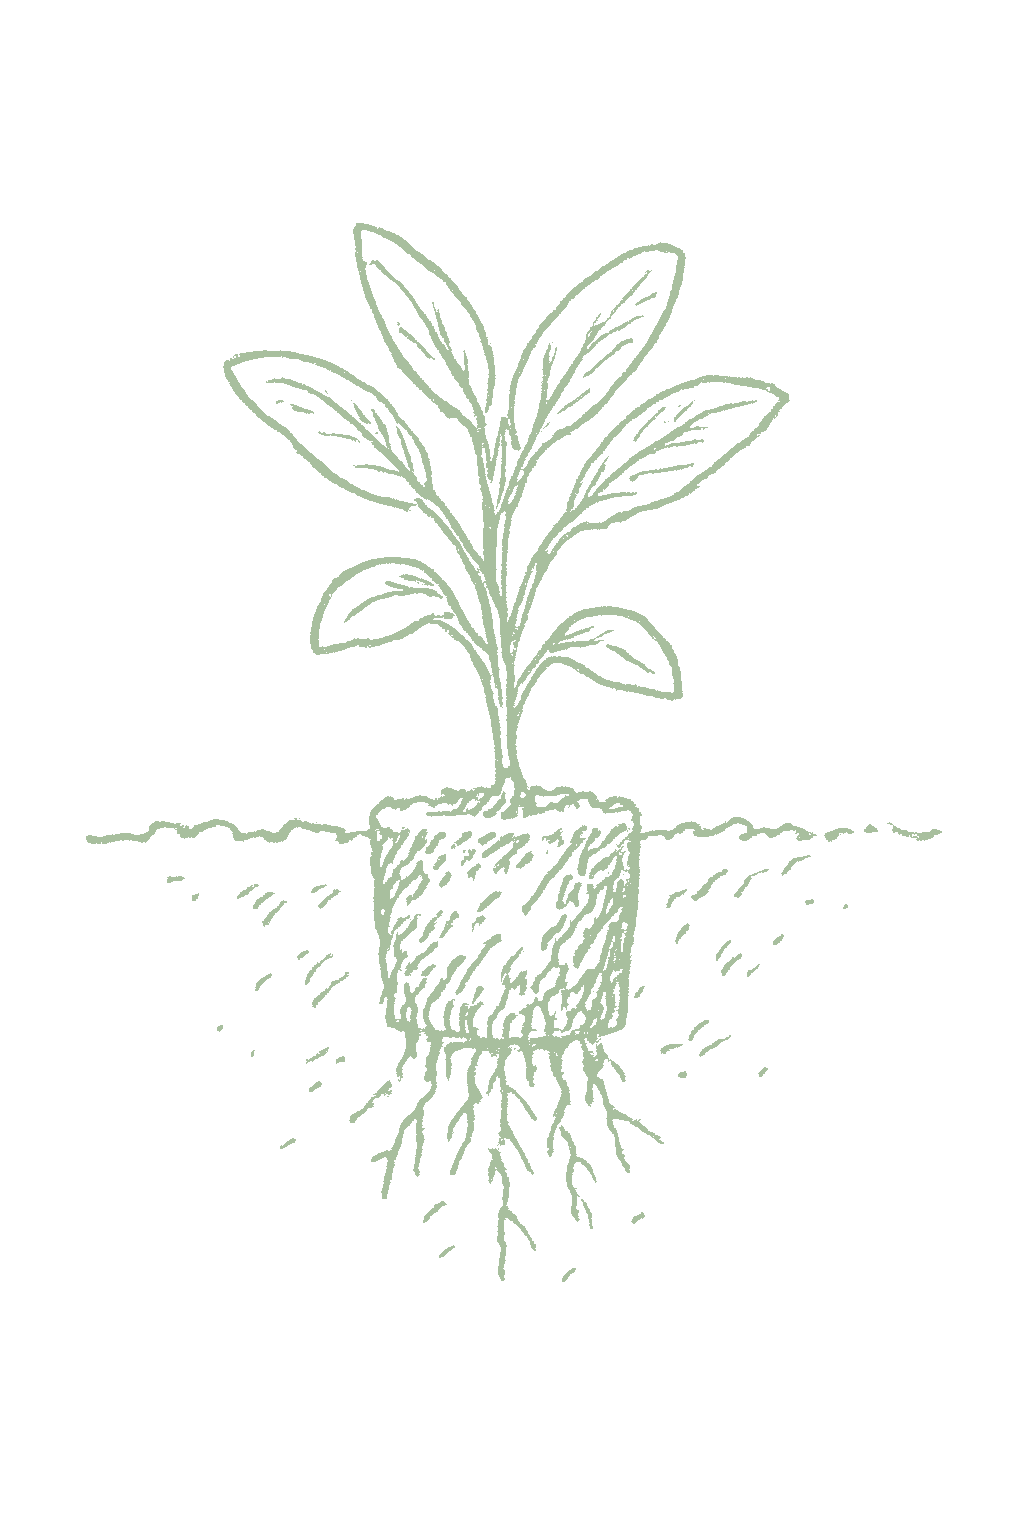
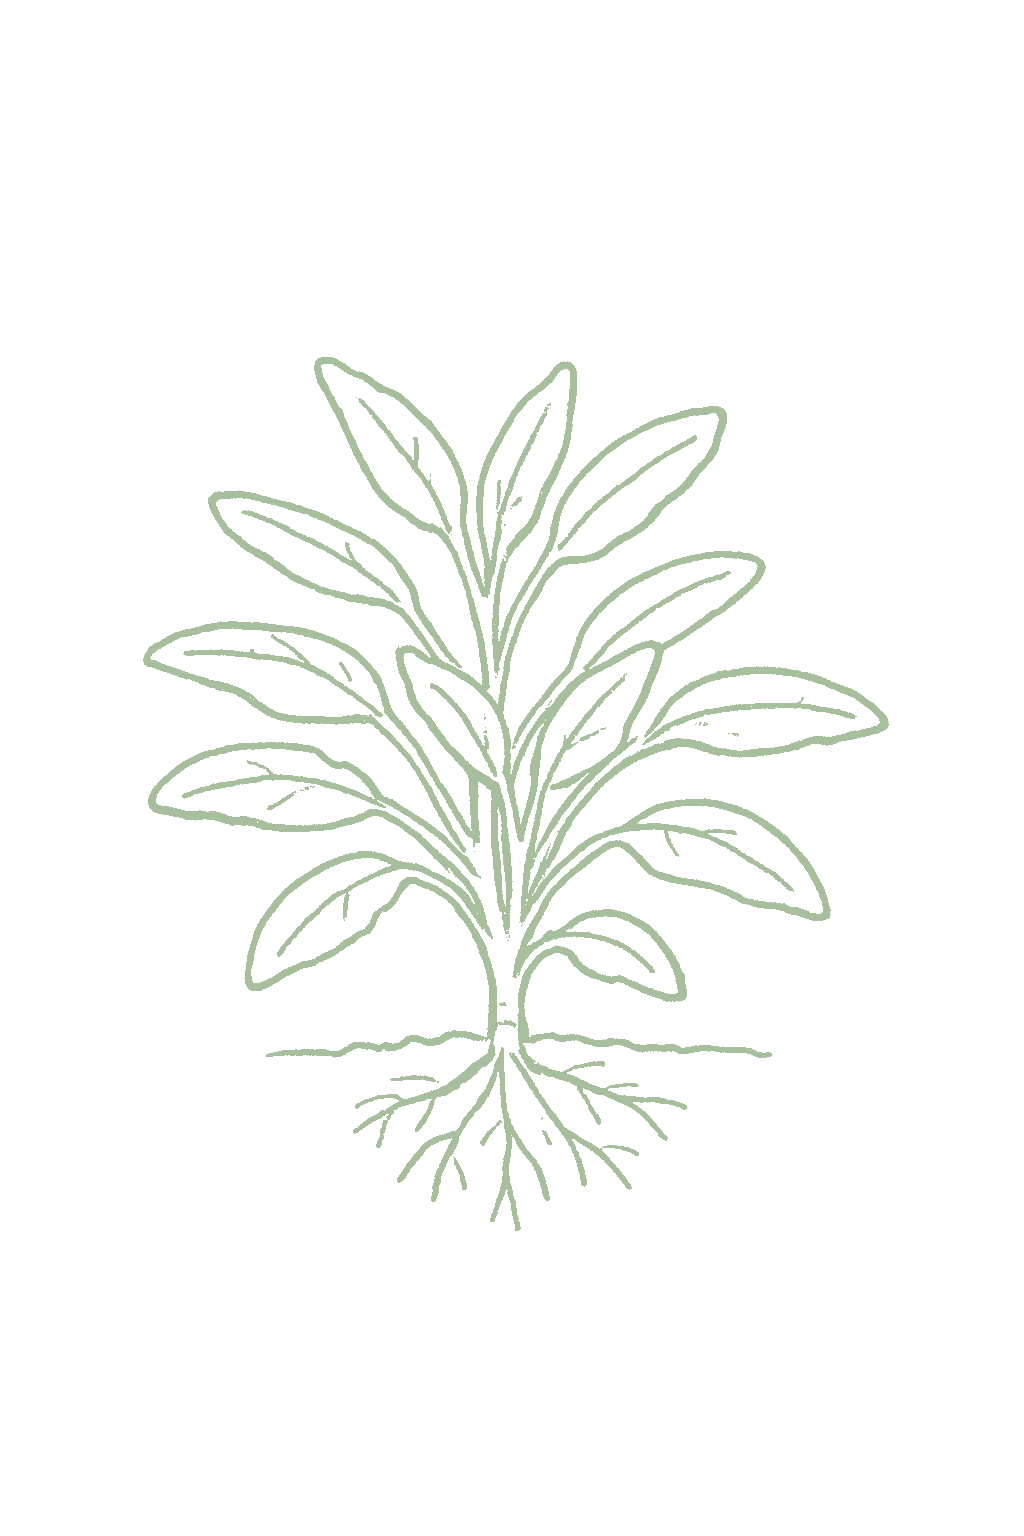





Not sure what soil you have? Grab a small handful of damp soil from your garden bed and squeeze it. If it crumbles apart easily, it's sandy. If it holds together but breaks when you poke it, it's loam (what most vegetables want). If it stays in a hard, slippery ball, it's clay.
Sage wants well-drained soil and full sun, and it is happy in poor, dry ground. Rich, damp soil actually works against it and makes the roots rot. If your soil is heavy clay, mix in coarse material so water drains fast, or plant sage on a raised bed or mound, and go easy on the compost.
Mix 2-3 inches of compost into the top 6 inches of your bed before planting. Compost holds moisture (which sandy soil drains too fast) and adds the nutrients sandy soil tends to lack. Repeat each season. Compost breaks down over time.
Mix 2-3 inches of compost AND a few inches of coarse sand or perlite into the top 6 inches of your bed. The compost feeds the plants; the sand breaks up the clay so air and water can move through. Don't add sand without compost. It can compact like concrete.
If amending your soil sounds like too much work, or if your soil is heavy clay, full of rocks, or contaminated, build over it. A raised bed at least 12 inches deep filled with a 50/50 mix of compost and sandy loam gives you ideal growing soil with no battles. A 5-gallon container with quality potting mix does the same for one plant at a time. Both bypass your native soil entirely.
The numbers that matter, at a glance.
Sage does fine in a pot, which is handy if your winters are very cold or you are growing one of the fancy variegated types. Use a wide pot with drainage holes and a gritty mix, water lightly, and tip out any water in the saucer.Sage grows well in containers, which is the standard way to keep it going through winter in the coldest zones and to grow the more tender variegated types. Use a wide, free-draining pot and gritty mix, water sparingly, and re-pot into fresh mix as it fills the pot.
BerggartenCompact, non-flowering to shy-flowering type with large, rounded silver-green leaves; widely rated one of the best-flavored culinary sages.
TricolorShowy gray, purple, and cream-white variegated leaves; ornamental and edible but the least cold-hardy and often short-lived.
In the coldest zones, grow sage in a pot you can move to a bright, cool, sheltered spot for winter, keeping it on the dry side, then bring it back out in spring.Where winters are too harsh for reliable in-ground survival, a container lets you overwinter sage under cover in a cool bright space; keep it barely moist and protected from hard freezes, then return it outdoors after frost.
Hardy to zone 4 in the ground; roots in a pot sit colder than that.
Ask what your balcony or roof can carry
A balcony or roof can only hold so much weight. Before you set heavy pots there, ask a building architect what it can safely carry.Illinois Extension's guidance is to consult a building architect about weight limits before placing heavy pots on a balcony or rooftop garden. It gives no weight figure.
Never grow food in a container with anything toxic in it
Many kinds of containers can be used. Whatever you choose, keep anything toxic out of it, especially if you are growing food.Colorado State accepts nearly any container material but warns against using a container that holds toxic materials, especially for edible plants. Illinois adds that a vegetable container should be free of chemicals toxic to plants or people, and urges caution with treated lumber when growing food. If you cannot account for what a repurposed container once held, that alone is a reason to keep food out of it.
Secure hanging containers well
Fasten hanging baskets and window or rail boxes securely. Think about what is below them too, since they can drip on people or things underneath.Illinois Extension asks growers to secure hanging containers well and to think through the safety issues of hanging them. Placement matters too, since a hanging container can drip onto people or belongings below.
Sage likes soil that is slightly acidic to neutral, about pH 6.0 to 7.0, and copes up to around 8.0. It is not picky about this, so do not worry much about the number as long as the soil drains well.Sage grows best in soil that is slightly acidic to neutral, roughly pH 6.0 to 7.0, and tolerates neutral ground up to about 8.0. It is not fussy about pH as long as the soil drains well; drainage is the real requirement, not a precise pH.
Sage barely needs feeding. A little compost at planting is enough. Feeding it a lot just gives you floppy growth and weaker-tasting leaves, so skip the fertilizer for the most part.Sage needs little fertility and is easy to over-feed. A modest amount of compost worked in at planting is plenty; heavy feeding pushes soft, weak growth with diluted flavor and invites disease. In poor soil a single light spring feeding is more than enough.
N/A. There is no fertilizer number to hit here; the aim is to feed sage as little as possible.N/A. Sage is not fed to an N-P-K target; the goal is lean soil and minimal-to-no supplemental feeding, so no fertilizer analysis applies.
Plant sage next to other dry, sunny herbs like rosemary, thyme, and oregano, which want the same conditions. Its flowers bring in bees. Gardeners have long grown sage near cabbage and carrots in the hope its strong smell keeps pests away, which is tradition more than proven fact. Keep sage away from plants that need lots of water, because that wet soil will rot it. Sage pairs naturally with other sun-loving, low-water Mediterranean herbs that share its lean, well-drained conditions, such as rosemary, thyme, and oregano; group these together and run the whole bed dry. Its early-summer flowers draw bees and other pollinators. By tradition it is grown near cabbage-family crops and carrots, where growers believe its strong aroma helps confuse pests, though this is folk practice rather than a measured effect. Keep it away from thirsty, rich-soil neighbors whose watering would keep sage too wet.
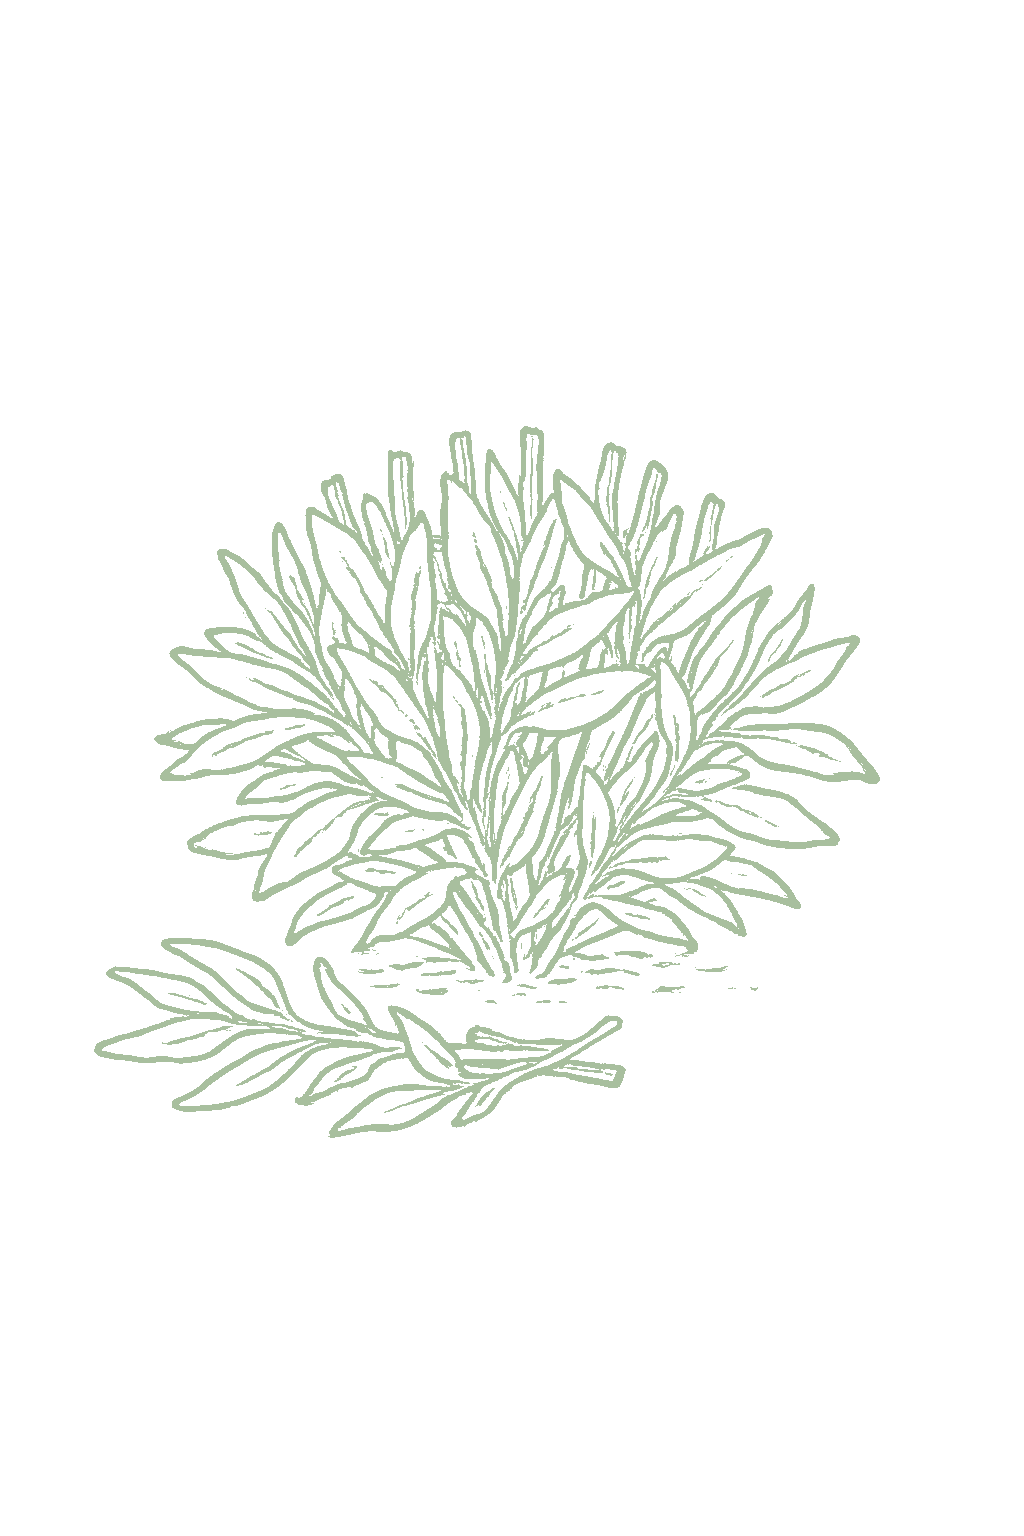
Snip sage leaves and sprigs whenever you cook once the plant is growing well. Go easy the first year, then cut more freely. The flavor is best on fresh spring and early-summer growth and just before it flowers, which is also the best time to cut some for drying. Take sprigs about 6 to 8 inches from the top, never more than about half the plant at once, and cut in mid-morning after the dew dries for the strongest flavor. In mild climates sage stays leafy, so you can pick a few leaves any time.Harvest sage leaves and sprigs as needed once the plant is growing well. Harvest lightly the first year while the plant establishes, then cut more freely. Flavor is strongest in new growth from spring into early summer and just before flowering, so that is the best window for drying. Cut sprigs about 6 to 8 inches from the tips, taking no more than about half the plant at once, and harvest in mid-morning after the dew dries, when leaf oils are highest. On evergreen plants in mild climates you can pick a few leaves any time of year.
One healthy sage plant gives you more leaves than you will probably use, fresh through the season and extra to dry. It produces best from about the second year until it gets woody.A mature plant supplies far more leaves than most kitchens use: cut sprigs through the season for fresh use plus bundles to dry. A single healthy plant typically covers a household's culinary sage, with production best from about the second year until the plant turns woody.
Go easy on harvesting the first year while the plant settles in. Cut more once it has filled out, around year two.Harvest lightly the first year while the plant establishes; heavier cutting can wait until it has filled out, around the second season.
All the kitchen sages here are types of one plant, Salvia officinalis, that differ in leaf color, strength, and how much cold they take. The plain green kinds (common Broadleaf, Berggarten, Extrakta) are the toughest and the best all-round cooking sages, and Berggarten is a favorite for flavor. The colored-leaf kinds (purple, golden, and tricolor sage) are prettier and still edible, but they are less cold-hardy, and tricolor is the most tender. Heads up: pineapple sage is a different, tender plant (Salvia elegans) grown for its red flowers, not one of these cooking sages.The culinary sages here are all forms of Salvia officinalis, differing mainly in leaf color, flavor intensity, and cold-hardiness. Green-leaved types (common Broadleaf, Berggarten, Extrakta) are the hardiest and the workhorse kitchen sages, with Berggarten prized for flavor and a tidy non-flowering habit. Colored-leaf forms (Purpurascens purple sage, Icterina golden sage, Tricolor) are showier and edible but progressively less cold-hardy, and Tricolor especially is tender and often short-lived. Note that pineapple sage is a different species, Salvia elegans, a tender pineapple-scented plant grown for its red flowers, not one of these garden-sage cultivars.
Preserves & Condiments · 10m · Serves 20
The ladder troubleshoots from the gentlest solution to the strongest. Start with the gentlest option and only move on when and if it doesn't work.
Cut back the weedy ground next to the sage in spring. Spittlebugs build up on weeds first and move across onto garden plants from there, so clearing that strip is the step that changes how many turn up.The weedy reservoir is the lever, not the sage itself: numbers on garden plants track migration in from nearby herbaceous hosts, so cut infested weeds in spring before the nymphs mature and disperse.
Take last year's dead stems off the plant when you cut sage back in spring, and carry them out of the bed. The eggs sit on and inside stems over winter, so some of them leave with the trimmings.Overwintering is as eggs on or in stems, so the spring cutback removes brood rather than just tidying. Expect it to trim numbers, not to prevent foam, since adults also arrive from outside the bed.
If the froth bothers you, wash it off with a hard jet from the hose and the young insect inside goes with it. Nothing more is needed, because the foam is unsightly rather than harmful.A forceful stream strips the spittle masses and the nymphs inside them. On an established plant this is cosmetic housekeeping, which is why anything stronger is not worth the trouble here.
No spray for this one. Prevention is the control.
The ladder troubleshoots from the gentlest solution to the strongest. Start with the gentlest option and only move on when and if it doesn't work.
Do not let sage go bone dry through a heat wave, especially in a pot. A plant that has been left thirsty is the one that ends up covered in them.Water-stressed plants are highly susceptible, so holding moisture steady through hot spells is the cheapest suppression available. Steady is not soggy: root and stem rot is the higher-consequence problem on this crop, so the aim is to remove the dry extreme, not to keep the soil wet.
Rinse the plant with a strong stream of water every few days in dry weather, aiming up underneath the leaves. The same rinse takes off the dust that mite outbreaks tend to follow.Regular forceful spraying often reduces numbers adequately on its own. Coverage decides the outcome, so work the undersides deliberately, and treat dusty foliage at a path or roadside edge as a target in its own right, since dusty conditions are a named favoring factor.
If rinsing is not keeping up, insecticidal soap is the next step. Check that mites are really there first, and wet the undersides of the leaves, because the soap only reaches what it touches. Do not spray it above 90°F or onto a plant that has gone dry and stressed, since soap burns foliage in those conditions.Soap is the preferred selective material when a treatment is genuinely warranted. It kills on contact only, so underside coverage is the entire job, and confirming live mites beats treating stippling left over from an outbreak that has already passed. Mind the bind this crop puts you in: the heat and water stress that bring mites on are the same conditions in which soap burns foliage, so water the plant first and spray below 90°F rather than at the peak of the trouble.
Horticultural oil is the other selective option if soap is not enough. The rule is the same: it has to land on the mites, so soak the leaf undersides.Oil behaves like soap, contact-only with coverage governing the result. Keep it off drought-stressed plants and away from temperatures above 90°F, and do not apply sulfur within 30 days of an oil spray in the growing season; check the oil label, since some specify longer.
The bottom rungs are products with label rules: timing, pollinators, and days to wait before harvest. Before you spray →
The ladder troubleshoots from the gentlest solution to the strongest. Start with the gentlest option and only move on when and if it doesn't work.
Water the soil around the plant rather than sprinkling the whole thing, and do it in the morning. Ground that dries out by evening is far less inviting.Moving from sprinklers to drip or a wand at soil level cuts the humidity slugs depend on. On sage the same habit serves root and stem rot, so the crop's two damp-soil problems pull in one direction here.
Clear away the boards, upturned pots, damp leaf litter and low weedy cover near the bed. Those are the daytime hiding places, and slugs will not settle where there is nowhere to shelter.Removing daytime refuges is what makes trapping and baiting pay, because feeding happens at night and on cloudy or foggy days and the animals retreat to cover before morning. Clear the shelter first; a bed with hiding places refills as fast as you empty it.
Take a light out to the bed once it is properly dark and collect by hand what you find. Early morning works too, before the sun drives them back under cover. A few evenings of this clears a small planting.Collection at night or in the early morning with a light is the most direct control there is. Run it on consecutive evenings rather than as a single sweep, since one pass only takes the animals that happened to be out.
Lay a board flat near the plants, propped about an inch off the ground, and scrape off whatever has gathered underneath each day. A copper strip around a pot or a small bed works as a barrier.Board traps on 1 inch runners give you a refuge you control, but they only pay if you service them daily. Copper reacts with the slime and disrupts the nervous system, which makes a copper band worth its cost around a container or a small raised bed.
When trapping and collecting stop keeping pace, an iron phosphate bait is the next step. Spread it over the ground around the planting and never over the foliage. Among slug baits it is the gentler choice where children, pets, birds or wildlife share the garden; the older metaldehyde products are particularly poisonous to dogs and cats.Iron phosphate is the lower-risk bait class and the one to choose where pets, birds, fish or wildlife use the garden; metaldehyde is the product it displaced. It is still a pesticide, so it goes on the ground rather than on the foliage and it follows its label.
The bottom rungs are products with label rules: timing, pollinators, and days to wait before harvest. Before you spray →
The ladder troubleshoots from the gentlest solution to the strongest. Start with the gentlest option and only move on when and if it doesn't work.
Cut sage back in spring as the new growth breaks, and take the trimmings out of the garden. The eggs spend the winter inside last year's leaves, so the cut carries some of them away before they hatch.Most of the population overwinters as eggs in leaf tissue, so the spring cutback ahead of hatch removes brood rather than merely tidying. Take the prunings away from the herb bed; a pile left beside it defeats the purpose.
Yellow sticky cards set among the plants catch the adults as they move about, and they show you when numbers are climbing.Yellow sticky traps are the non-spray control herb growers use against this species, and they double as your count: rising catches through the season are the signal to act, a card that stays clean is the signal to leave it alone.
Birds, ladybugs, wasps and ground beetles all eat leafhoppers, so a garden that keeps them around does most of this work for you.Natural enemies are the standing control, and the practical move is not to buy any but to avoid the broad-spectrum sprays that would remove them, since this insect almost never justifies one in the first place.
A spray is rarely called for. If the leaves are yellowing and drying and the insects are numerous, insecticidal soap sprayed up under the leaves is the mildest thing that works.Reserve a spray for heavy feeding that is turning leaves and shoot tips yellow, then brown, curled and dead. Soap works on contact and the insects sit on the leaf undersides, so coverage there decides whether the application does anything at all.
The bottom rungs are products with label rules: timing, pollinators, and days to wait before harvest. Before you spray →
The ladder troubleshoots from the gentlest solution to the strongest. Start with the gentlest option and only move on when and if it doesn't work.
Sage will not survive in ground that stays soggy. On heavy or low-lying soil, plant on a mound or in a raised bed and set the plant so its crown sits right at the soil surface instead of in a dish that collects water.Drainage is the whole contest on this crop. Raised beds are the standard fix on heavy ground, with mounds of 8 to 10 inches for annual plantings and up to 2 feet with a gradual slope for perennials. Set the root collar level with the surface and hold mulch to about 3 inches so it never banks against the crown.
A plant rotting at the base will not recover. Lift it out and throw it away with the household trash instead of composting it, then rinse the soil off your trowel and your boots before working anywhere else in the garden.Affected plants get destroyed rather than treated, because nothing cures this and fungicides only suppress these organisms. Decontaminating tools and footwear with a 10% bleach solution or 70% alcohol matters more than it sounds, since the pathogens ride from bed to bed in the soil you carry.
If a plant rots out, start the next one somewhere else in the garden. These soil organisms stay behind for years after the plant is gone.The pathogens survive in soil for years to decades, which makes replanting a siting decision rather than a soil-amendment one. Give the replacement fresh, sharply drained ground instead of the position that just failed.
No spray for this one. Prevention is the control.
The ladder troubleshoots from the gentlest solution to the strongest. Start with the gentlest option and only move on when and if it doesn't work.
Give sage a sunny position with room around it and thin any crowded growth. Shade is what this fungus wants, so a bright, open spot does most of the prevention on its own.Site in sun and space plants so air moves through the canopy. Moderate temperatures of 60°F to 80°F together with shade are the favoring conditions, which makes an open, bright position a genuine control rather than tidiness.
Do not push sage along with rich feeding. A well-fed plant answers with a thicket of soft growth that shades its own interior, and shade is what this disease runs on.Excess fertilizer is worth avoiding here on its own account: heavy nitrogen produces the soft, dense growth that shades the interior of the plant. Sage carries well on lean soil, so restraint costs nothing in yield.
Pull off the leaves wearing the heaviest white coating as soon as you spot them, and collect what has already dropped underneath instead of leaving it lying there. Do the same with affected buds when you cut sage back in spring, and you remove what would otherwise start the next round.This one works on tissue that is already infected, which is what makes it worth doing once the powder has shown and not only ahead of it. Taking out small infestations early removes the tissue producing spores before it seeds the rest of the plant, and clearing infected buds at the spring cutback removes the carryover into the new growth.
A biofungicide is a spray of live bacteria that settle on the leaf and get in the fungus's way. It is the gentlest thing on the shelf that does anything at all here, but the timing is unforgiving: it has to go on when you find the very earliest patches, and it has to be repeated as often as the label says. It will not rescue a plant that has already gone white.The Bacillus products colonize the leaf surface and interfere with germination and attachment rather than killing established mycelium, which puts them at preventive to early-curative and no further. They are the choice on a leaf herb you would rather not put sulfur on, at the cost of being less effective than sulfur and needing the label's repeat interval to do anything at all.
Sulfur is the classic treatment, but it works as a preventive, so it has to be on the leaves before the mildew shows rather than after. Do not use it in hot weather.Sulfur is applied before symptoms appear, when conditions turn favorable, and it does little against colonies already established. Keep it off the plant near or above 90°F and off drought-stressed foliage, and leave at least 30 days either side of any oil spray in the growing season; check the oil label, since some specify longer.
The bottom rungs are products with label rules: timing, pollinators, and days to wait before harvest. Before you spray →
The ladder troubleshoots from the gentlest solution to the strongest. Start with the gentlest option and only move on when and if it doesn't work.
Start with healthy plants from a clean source. Planting only disease-free stock is the first step, because a wilt that arrives with the plant lands straight into soil that will hold on to it.Plant only pathogen-free stock, and take cuttings from plants with no wilt history. Sage is normally bought as a transplant or grown on from cuttings, so this is the one point in its life where the pathogen can be excluded rather than managed.
Once a plant has wilted in a spot, do not put sage or another susceptible plant back there. The fungus stays in the soil for many years.The site, not the plant, carries this forward: these fungi remain in soil for many years, and Verticillium's host range is broad enough that choosing a genuinely non-susceptible replacement is difficult. Treat the position as compromised for more than sage.
Nothing will cure a plant that has this, so lift the wilted one and send it out with the trash instead of onto the compost heap.Sanitation is one of the two primary strategies for this disease, because nothing sprayed on a leaf reaches a fungus living inside the water-conducting tissue. Remove and destroy affected plants; do not chip or compost them back onto the bed.
In a hot, sunny stretch you can cover cleared, damp soil with clear plastic for several weeks and let it cook. That knocks the fungus back near the surface, though it does not clear the ground.Solarization reduces Verticillium in the upper few inches of soil, which is a real reduction and not an eradication, since the pathogen persists below the treated layer. Worth the season it costs on a bed you mean to replant, and no substitute for choosing a different position.
No spray for this one. Prevention is the control.
N/A. Sage is not rotated like a vegetable because it stays put for years. When you replace an old plant, pick a fresh, well-draining spot rather than the exact place the old one grew.N/A. Sage is a perennial that stays in place for several years, so annual crop rotation does not apply. When starting new plants, choose a fresh, well-drained site rather than replanting where an old sage or a wilt-prone crop grew, to avoid carrying over soil-borne rot or verticillium wilt.
The plant app sends a timely reminder at every critical moment of your sage season. The wording adjusts to whichever you pick: beginner or seasoned. Here are three you'll see in Zone 9.
plant sends the right notification at exactly the right moment, for your zone, your weather, your crops. Founding members lock the rate forever.
We're building this guide with real growers. Got a question we missed? Ask here. We read every one and add the best answers right to this page.
Learned something the hard way? Pass it on. Real growers' tips make this guide better for the next person, and we credit you by name when yours goes live.
If you've grown this crop and you see a date, a temperature, a companion claim, or a recommendation that doesn't match your experience, tell us. Real growers' corrections make this guide better for the next person.
Every date, temperature, spacing, and recommendation on this page is sourced from university cooperative extension publications, peer-reviewed agricultural research, NOAA climate data, and direct extension calendars. Where claims are softer (traditional gardening wisdom not formally documented), we say so.
Spot a data point that doesn't match your experience? Submit a correction; accepted corrections earn full author credit on the page.
Zone-aware seasonal nudges, what's worth planting now, and the occasional recipe from the harvest. No spam, ever.