Plant Garlic This Fall, Harvest It Next Summer
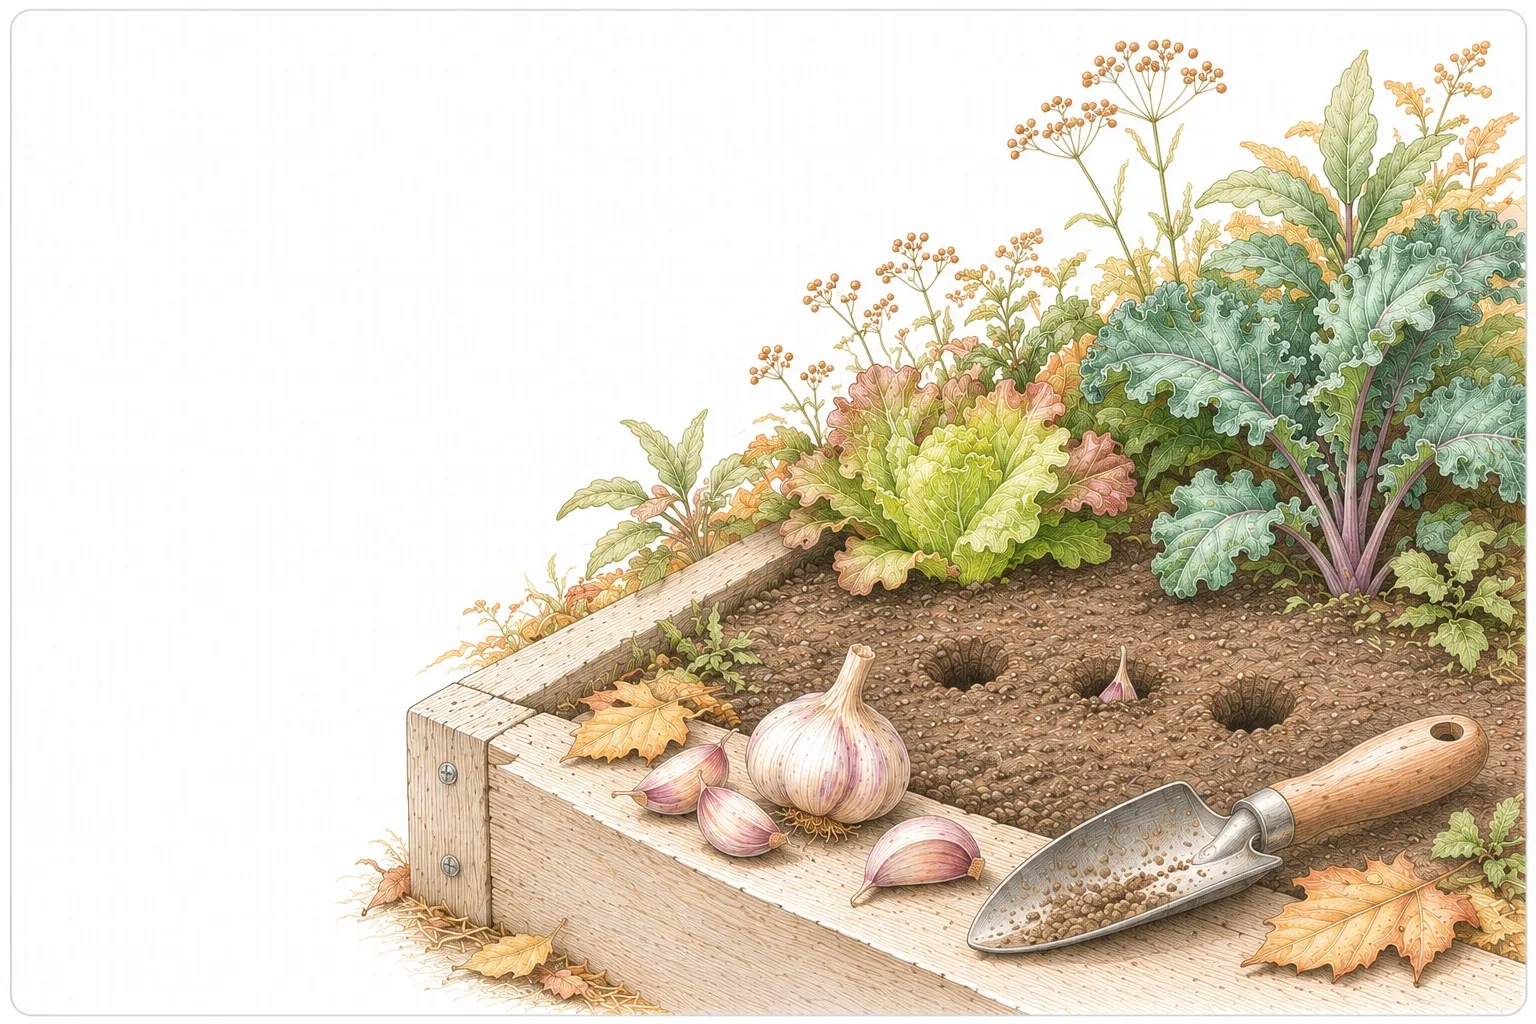
Garlic might be the easiest crop most backyard gardeners never get around to planting. The reason is timing. It goes in the ground in fall, right when many of us have stopped thinking about the garden, and it comes out the following summer.
The best part? Each clove you plant can grow into a whole bulb. A handful of cloves now could become garlic you grew yourself, ready for next summer’s kitchen.3
Garlic doesn’t need daily attention, just a sunny spot and a little care through the season.
Start with your winter
The goal is to give garlic time to put down roots before the coldest weather arrives. When to plant depends on where you live.
Where winters are cold and the ground freezes, fall planting often happens one or two weeks after the first frost cold enough to finish off tender plants. Roots begin growing underground, even if you don’t see green shoots until spring.2
Where winters are mild, garlic can get growing through fall and winter. In Santa Clara County, California, the recommended window is mid-October through November. Georgia’s guidance runs from late September through November. Those are regional starting points, so check the planting window for your area.1, 3
Use our frost dates page and garlic guide to help find your timing.
Choose garlic that feels at home
You’ll see two main types when shopping: softneck and hardneck.
Softneck garlic is generally a good starting point for mild winters. Hardneck garlic usually prefers colder winters and long, cool springs. You don’t need to memorize a list of varieties. Look for planting garlic suited to your local climate.3
Buy from a reputable nursery or garlic seed supplier, and choose firm, healthy cloves. Garlic sold for planting gives you a better chance of knowing what you’re growing and whether it fits your winter.2
Give each clove a little room
Choose a sunny spot with loose soil and compost worked in. Good drainage matters, especially through a wet winter. A raised bed can work well.1
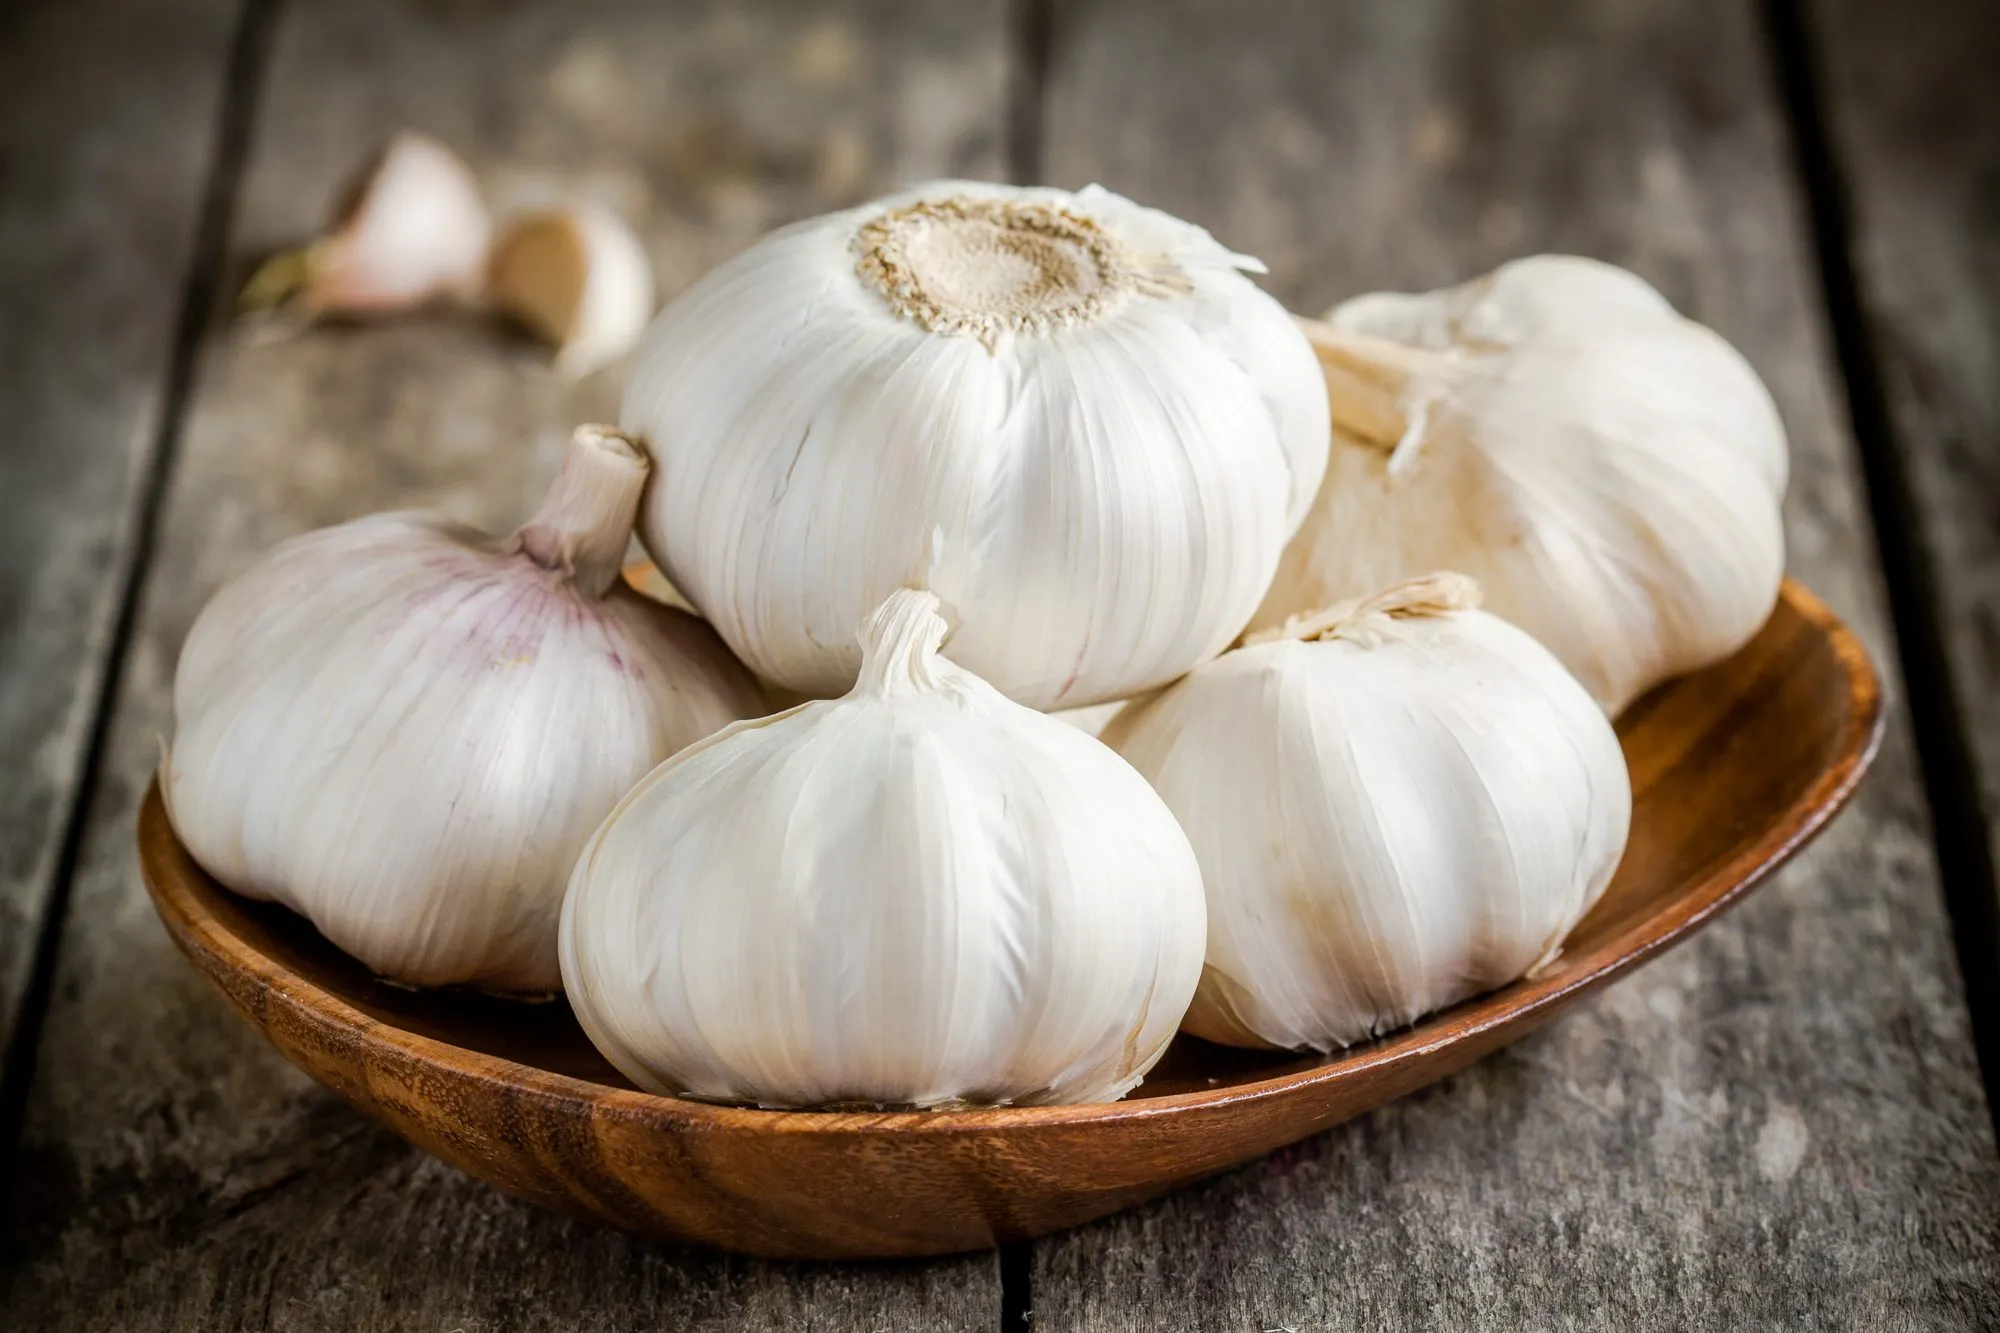
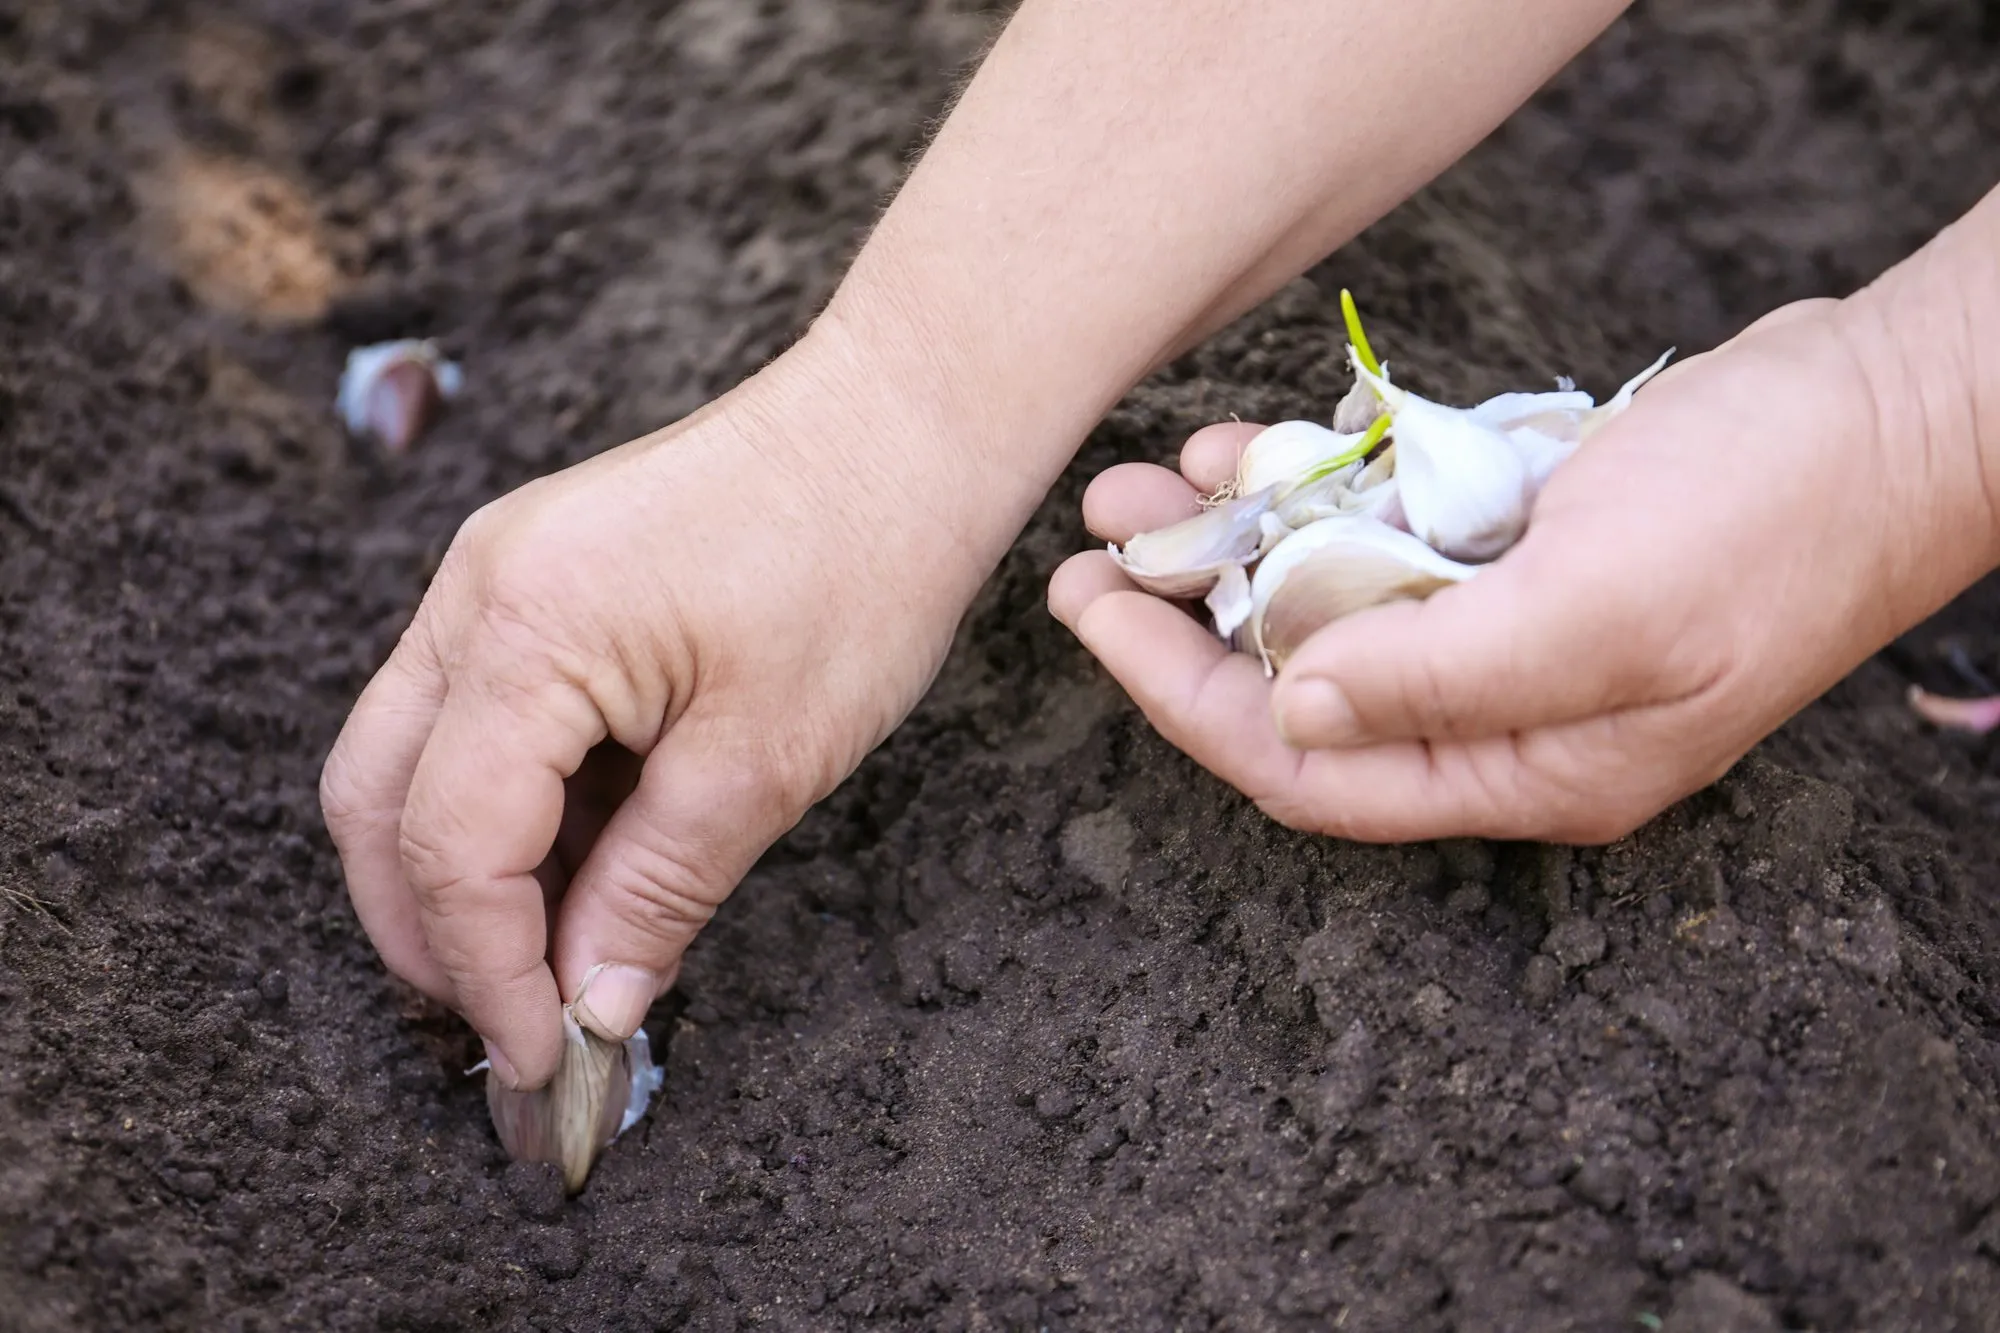
Separate the bulb into cloves shortly before planting. Leave the papery skins on, and save the larger healthy cloves for the garden. Those tend to produce larger bulbs.1, 2
Plant with the pointed tip up and the flat root end down, spacing cloves about 4 to 6 inches apart. Planting depth varies with climate: California guidance recommends 1 to 2 inches deep, while Minnesota recommends placing the base of each clove 2 to 3 inches below the surface. Follow your local guidance or supplier’s instructions.1, 2
Water right after planting.3
A little care through winter and spring
In cold areas, a 3 to 4 inch layer of straw or leaf mulch helps protect the bed from repeated freezing and thawing. In spring, you can pull it back to help the soil warm, or leave it to conserve moisture and discourage weeds.2
Keep weeds from crowding the young plants. Water as needed during active growth, allowing for rainfall, and avoid keeping the bed soggy.2, 3
Feeding depends on your soil. Garlic needs a fair amount of nitrogen, so additional fertilizer can help where nutrients are lacking. Avoid continuing nitrogen feeding once bulbs begin forming.2, 3
If a curling flower stalk appears in spring, you can snip it off while tender and use it in the kitchen. These are called garlic scapes, and removing them helps the plant put energy into its bulb.1, 2
Let the leaves guide your harvest
Harvest season varies with climate and variety, so watch the plants as well as the calendar.
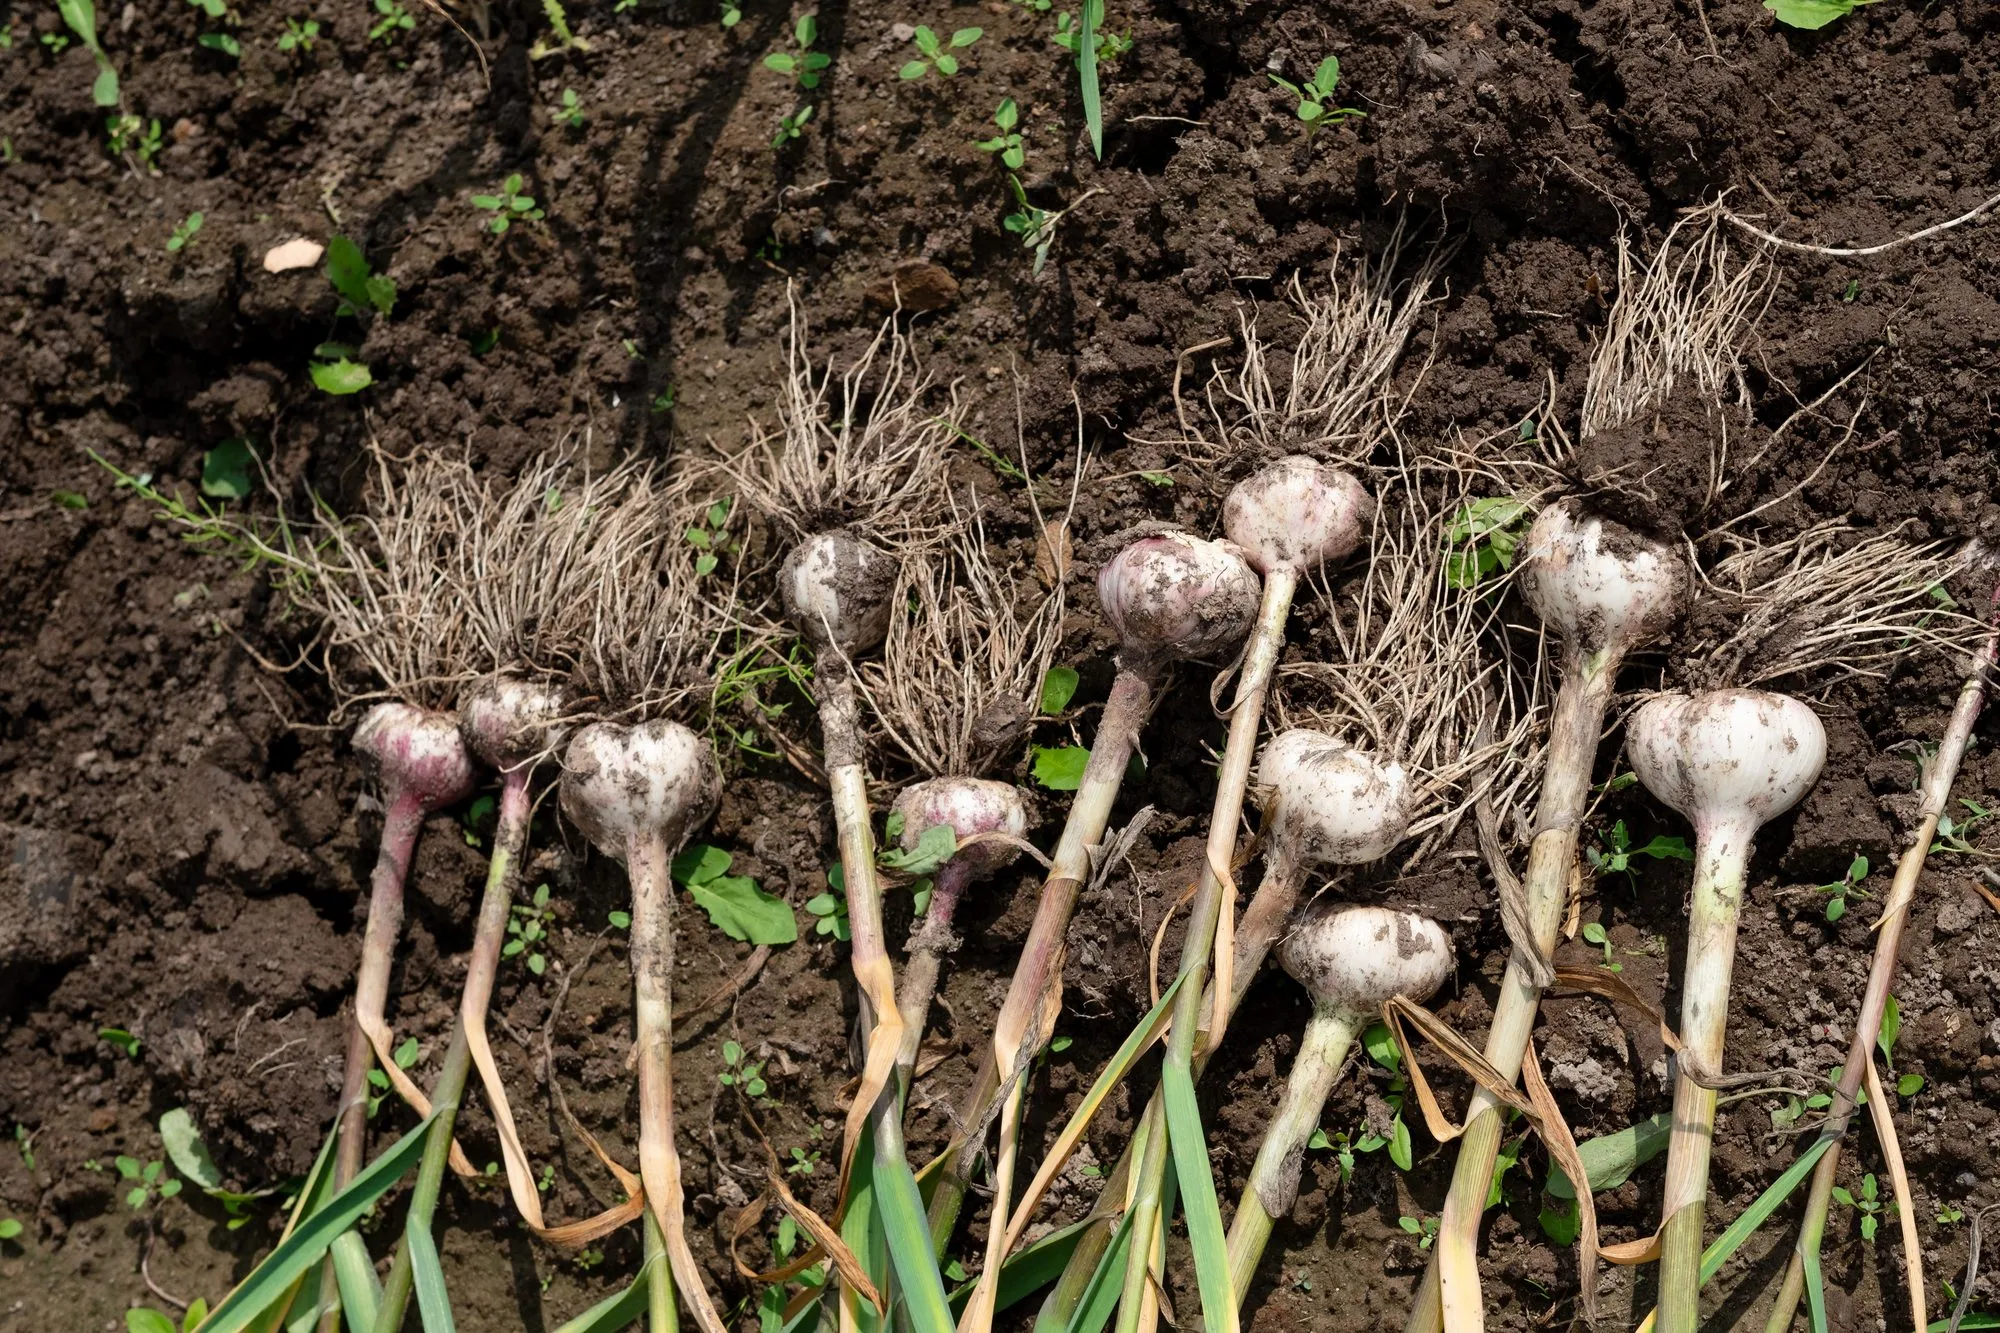
When the lower leaves have turned brown but roughly half the leaves are still green, check a bulb. Dig it carefully and look for well-developed cloves filling their skins. Don’t wait for every leaf to dry out, or the bulbs may begin coming apart underground.2
As harvest approaches, stop watering to keep the bulb wrappers clean and help prevent disease. Minnesota guidance recommends doing this about two weeks before harvest.2
Lift the bulbs gently rather than pulling hard on the stems, and take care not to nick them.1
Let it dry before storing
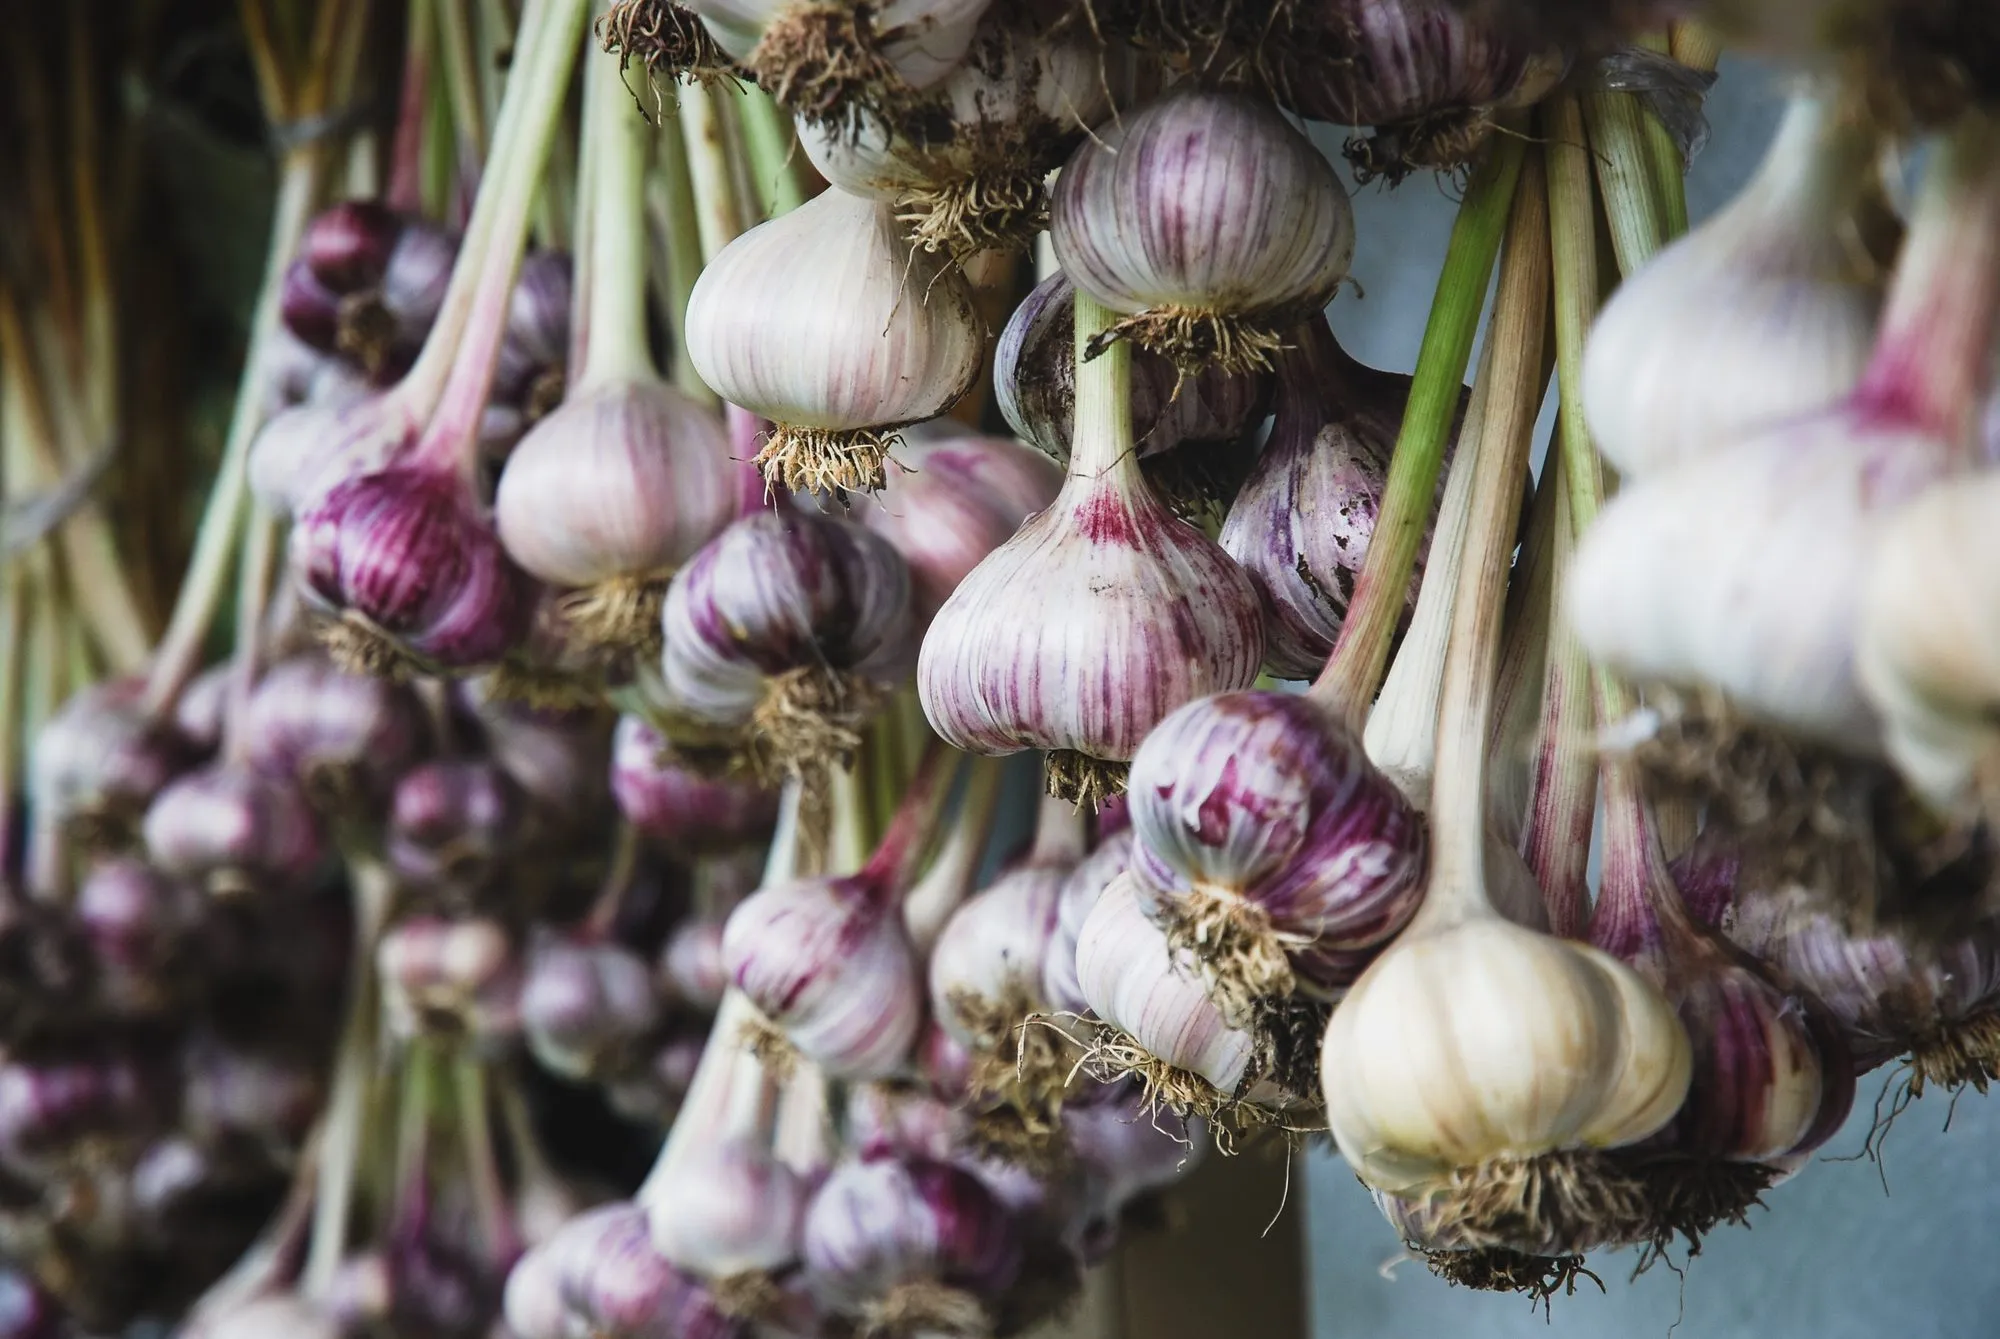
You can enjoy some garlic fresh from the garden. For bulbs you want to store, leave the leaves attached and spread or hang the plants somewhere warm, dry and shaded, with good airflow.
This drying step is called curing. Allow roughly two to four weeks, depending on conditions, until the outer skins and necks are dry. Then trim the roots and tops, or braid suitable softneck garlic, and store it somewhere cool and dry.1, 2
Let plant help you remember
Garlic stays in the ground for months. Add it to your garden in plant when you plant it, so you have a record of what went in and when.
For planting and harvest timing in your area, explore the garlic guide.
A few cloves this fall, your own garlic next summer.
Sources
[1] UC Master Gardeners of Santa Clara County, Garlic. ucanr.edu
[2] University of Minnesota Extension, Growing Garlic in Home Gardens. extension.umn.edu
[3] University of Georgia Extension, Garlic Production for the Gardener. fieldreport.caes.uga.edu
Sources checked November 2, 2026.