Today · in your zone
What's happening right now
Your cherry tomato harvest window is open through Dec 10.
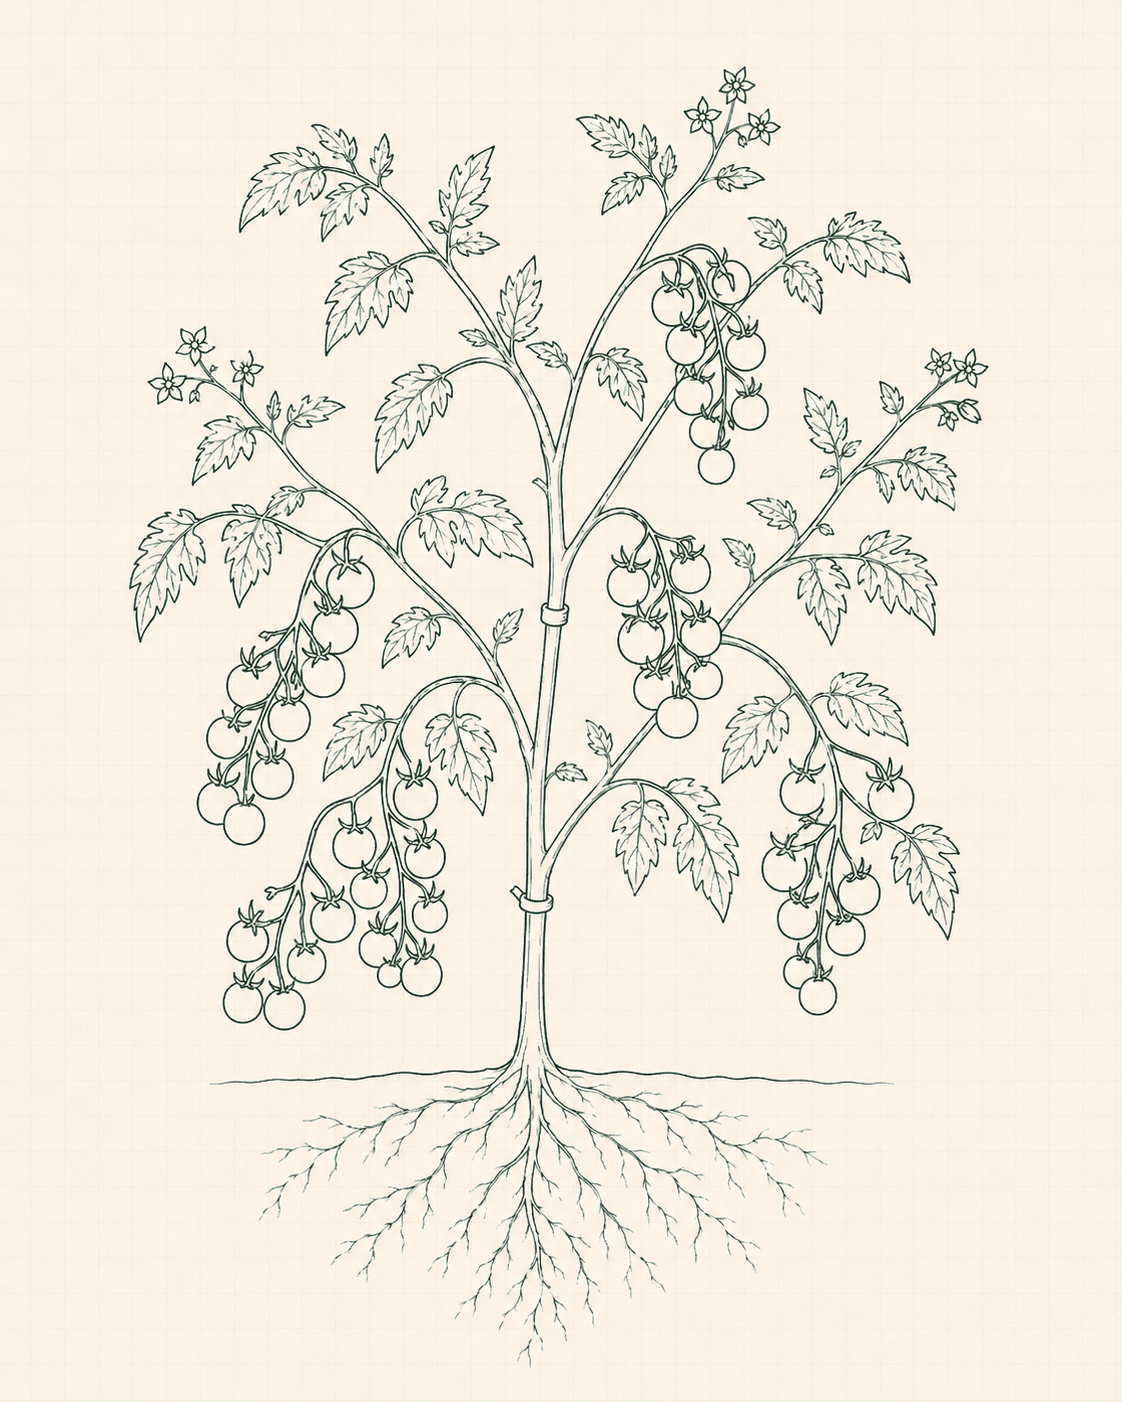
The easiest tomato to start with, and there's a specific reason why. Most cherry tomatoes are indeterminate, meaning the plant keeps producing new flower clusters and fruit continuously from early summer until frost, instead of ripening everything at once and stopping. One plant can give you handfuls of tomatoes over 10-14 weeks. That same continuous growth habit also means the plant recovers better from uneven watering or a missed feeding than a tomato that puts everything into one big harvest. Modern hybrid varieties like Sun Gold and Sweet 100 also have built-in disease resistance, which lowers the chances of losing a plant to blight. If you're in a cold zone (3-5), look for short-season varieties labeled under 60 days to maturity. If you're in a warm zone (9-11), you can get a second round of tomatoes by planting again in late summer. For containers or small spaces, compact varieties like Patio Choice or Tumbling Tom are the right pick. Cherry tomatoes are the most forgiving class in the tomato family for first-season growers, for a specific biological reason: most are indeterminate, meaning they continue producing new flower clusters and fruit continuously from first flowering until frost kills the plant. A single healthy plant can yield fruit over 10-14 weeks rather than all at once. The category spans a wide range: round cherries, pear-shaped types, elongated Romas, and cocktail-sized varieties, with fruit sizes from under half an inch to golf-ball. Most modern hybrid cherries (Sun Gold, Sweet 100, Supersweet 100) are also bred for disease tolerance, which further lowers the failure risk. Compact determinate cultivars such as Patio Choice and Tumbling Tom are suited to containers and small-space gardens. In warm climates (zones 9-11), second plantings in late summer can extend harvest into winter. In the coldest growing zones (3-5), short-season varieties (under 60 days to maturity) are the practical choice.
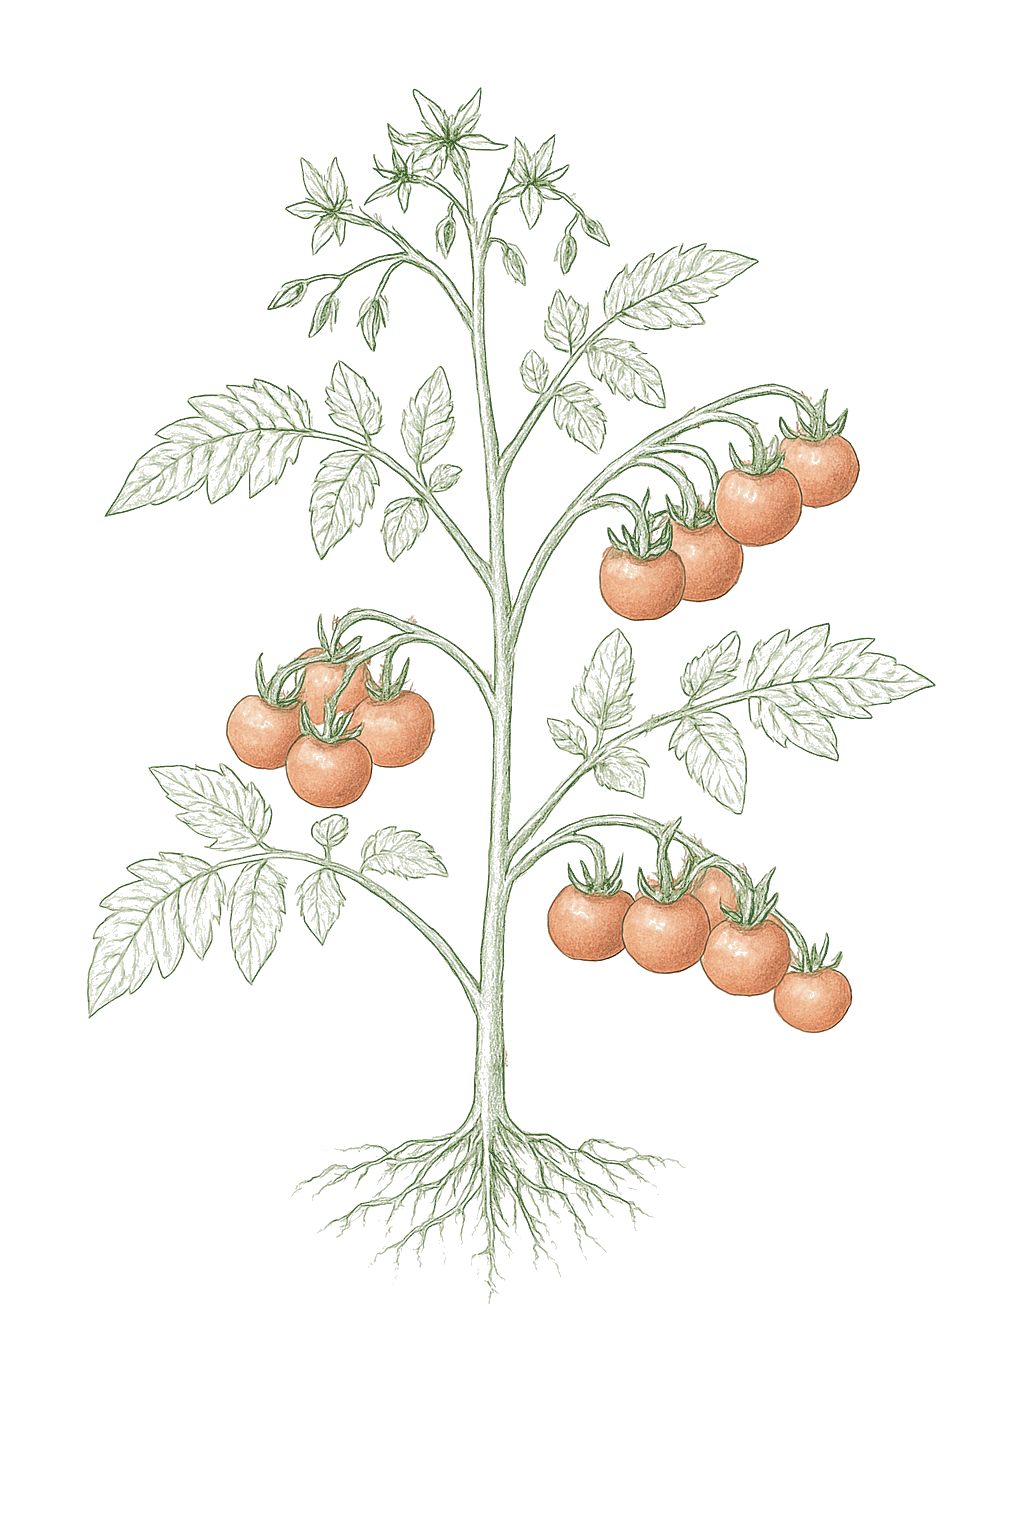
Your cherry tomato harvest window is open through Dec 10.
Zone 9 averages a last frost around March 1. Within Zone 9, the colder half (9a, winters down to 20°F) runs about a week later. The warmer half (9b, winters down to 25°F) runs about a week earlier. The plant app picks your subzone from your ZIP.
| Subzone | Last spring | First fall | Growing days | Winter min | Fruits reliably |
|---|---|---|---|---|---|
| 9a | Mar 8 | Nov 24 | ~261 | 20-25°F | Yes · two seasons |
| 9b | Feb 28 | Nov 30 | ~275 | 25-30°F | Yes · two seasons |
Averages from 8 weather stations per subzone, drawn from NOAA 1991-2020 Climate Normals. Your actual frost date can vary by up to two weeks based on elevation, proximity to water, and local topography.
In Zone 9, cherry tomato can be planted April through May. Start indoors Feb 18 - Mar 4. Harvest runs June through November.
In Zone 9, cherry tomato can be planted March, then again September, skipping the summer heat. Start indoors Jan 18 - Feb 1. Harvest runs May through June.
One planting gives you tomatoes all summer until frost kills the plant, no need to replant mid-season. If you're in a warm climate like Zone 9 or warmer (think Southern California, Phoenix, or South Florida), you can start a second planting in late summer for a fall and winter harvest.Not a true succession crop, one planting produces all season. In Zone 9+ you can start a second batch in late summer for a winter harvest.
In Zone 9, cherry tomato can be planted September, then again December through March, skipping the summer heat. Start indoors Oct 15 - Nov 15. Harvest runs February through June.
One planting gives you tomatoes all summer until frost kills the plant, no need to replant mid-season. If you're in a warm climate like Zone 9 or warmer (think Southern California, Phoenix, or South Florida), you can start a second planting in late summer for a fall and winter harvest.Not a true succession crop, one planting produces all season. In Zone 9+ you can start a second batch in late summer for a winter harvest.
In Zone 9, cherry tomato can be planted May. Start indoors Mar 20 - Apr 3. Harvest runs July through October.
In Zone 9, cherry tomato can be planted April through July. Start indoors Feb 18 - Mar 4. Harvest runs June through November.
In Zone 9, cherry tomato can be planted May through June. Start indoors Mar 20 - May 19. Harvest runs June through November.
In Zone 9, cherry tomato can be planted March, skipping the summer heat. Start indoors Feb 1 - Feb 15. Harvest runs May through June.
In Zone 9, cherry tomato can be planted February through March, then again September through October, skipping the summer heat. Start indoors Jan 3 - Feb 6. Harvest runs April through May.
One planting gives you tomatoes all summer until frost kills the plant, no need to replant mid-season. If you're in a warm climate like Zone 9 or warmer (think Southern California, Phoenix, or South Florida), you can start a second planting in late summer for a fall and winter harvest.Not a true succession crop, one planting produces all season. In Zone 9+ you can start a second batch in late summer for a winter harvest.
In Zone 9, cherry tomato can be planted March, then again August, skipping the summer heat. Start indoors Jan 21 - Feb 4. Harvest runs May through June.
One planting gives you tomatoes all summer until frost kills the plant, no need to replant mid-season. If you're in a warm climate like Zone 9 or warmer (think Southern California, Phoenix, or South Florida), you can start a second planting in late summer for a fall and winter harvest.Not a true succession crop, one planting produces all season. In Zone 9+ you can start a second batch in late summer for a winter harvest.
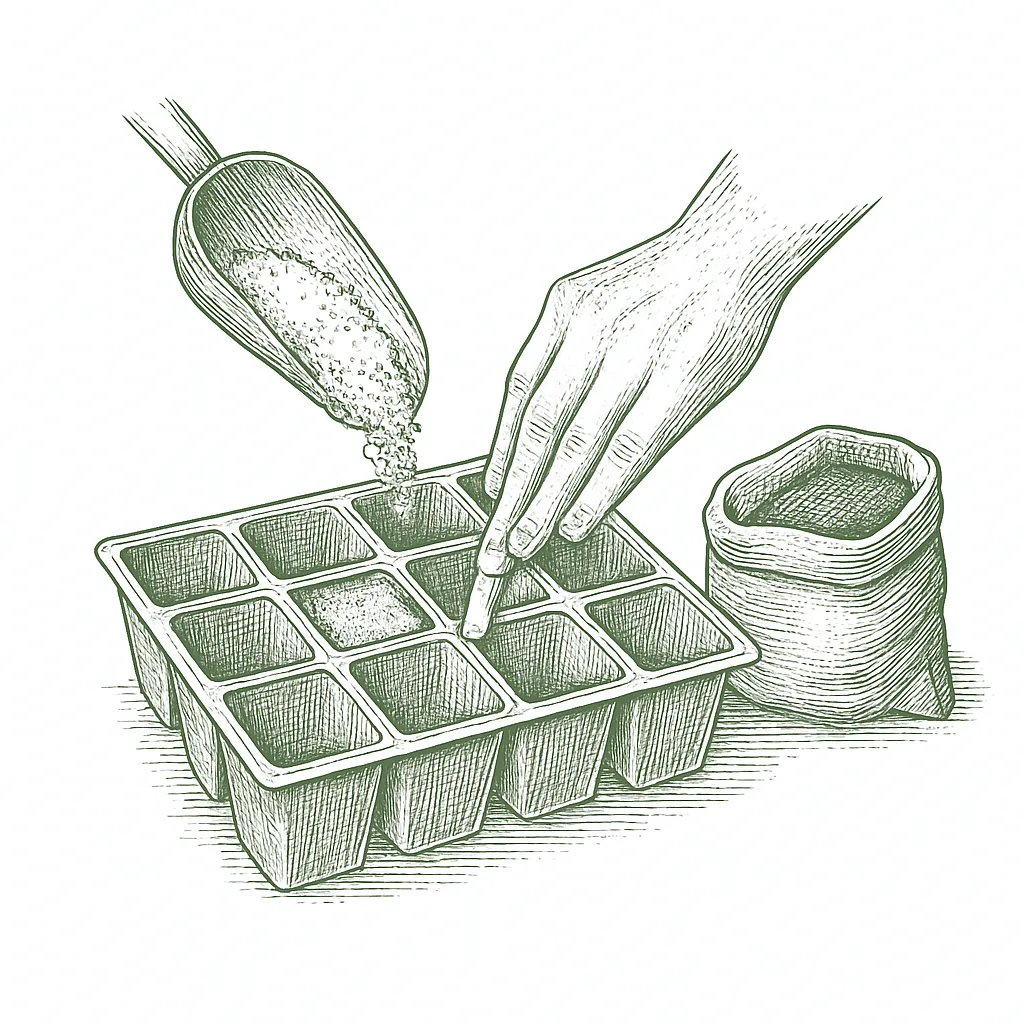
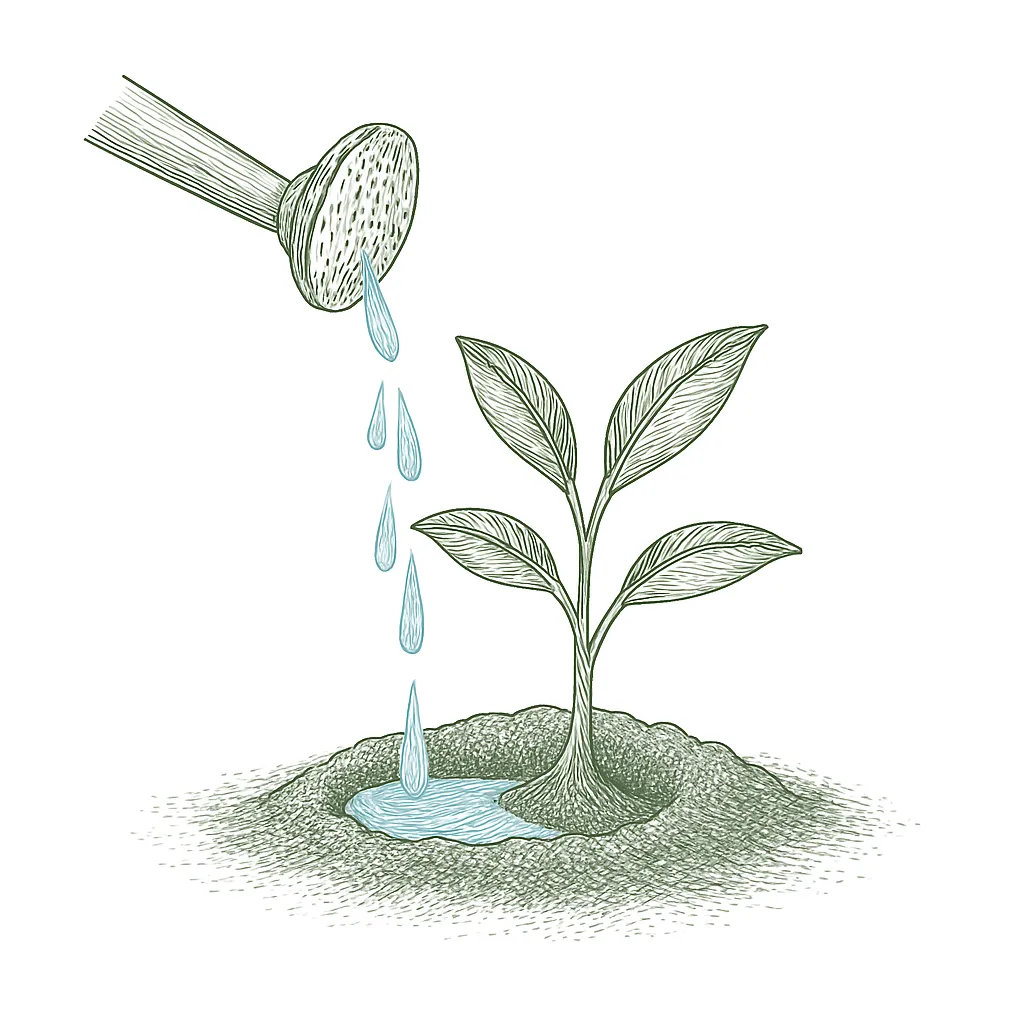
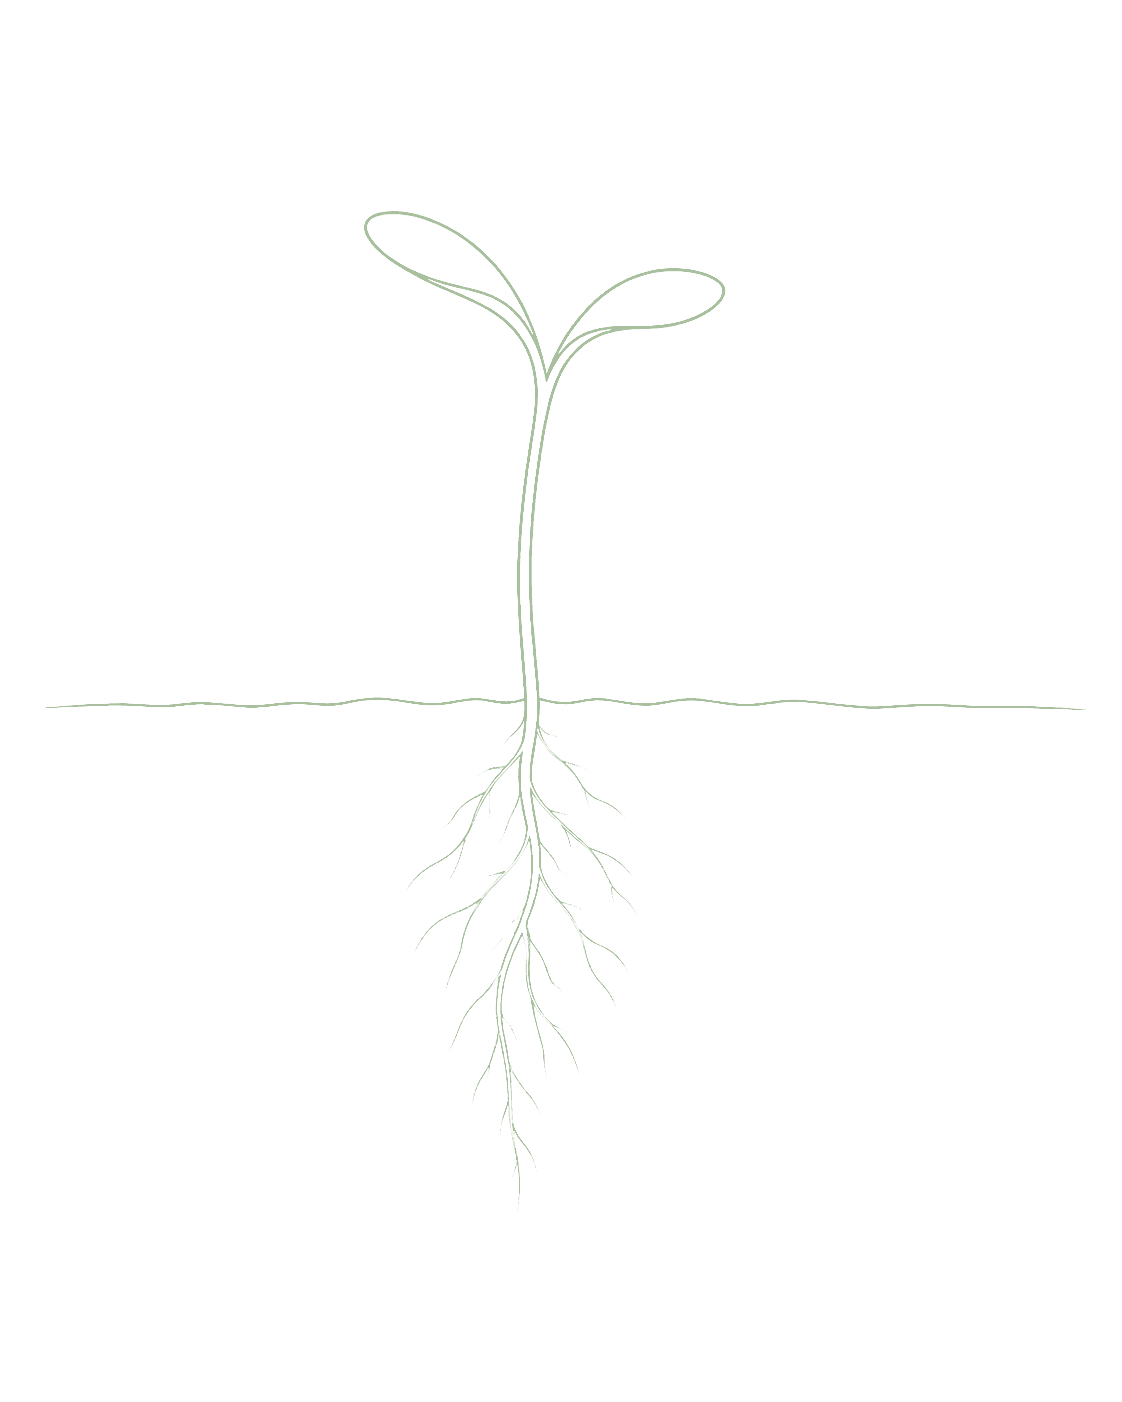
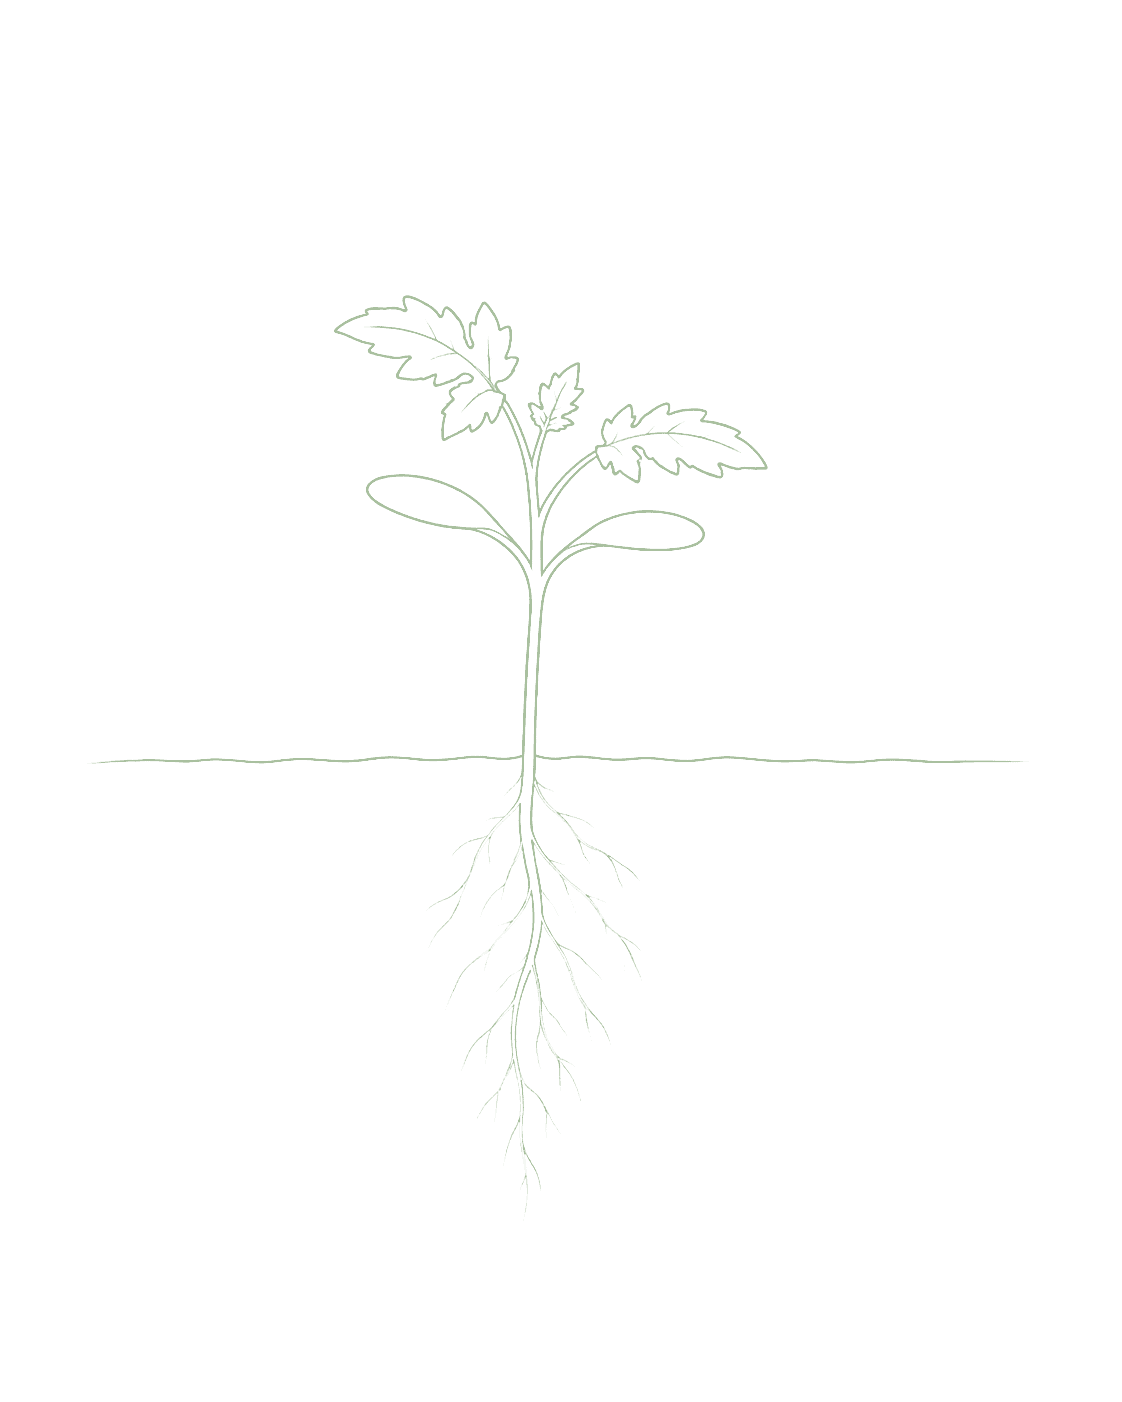
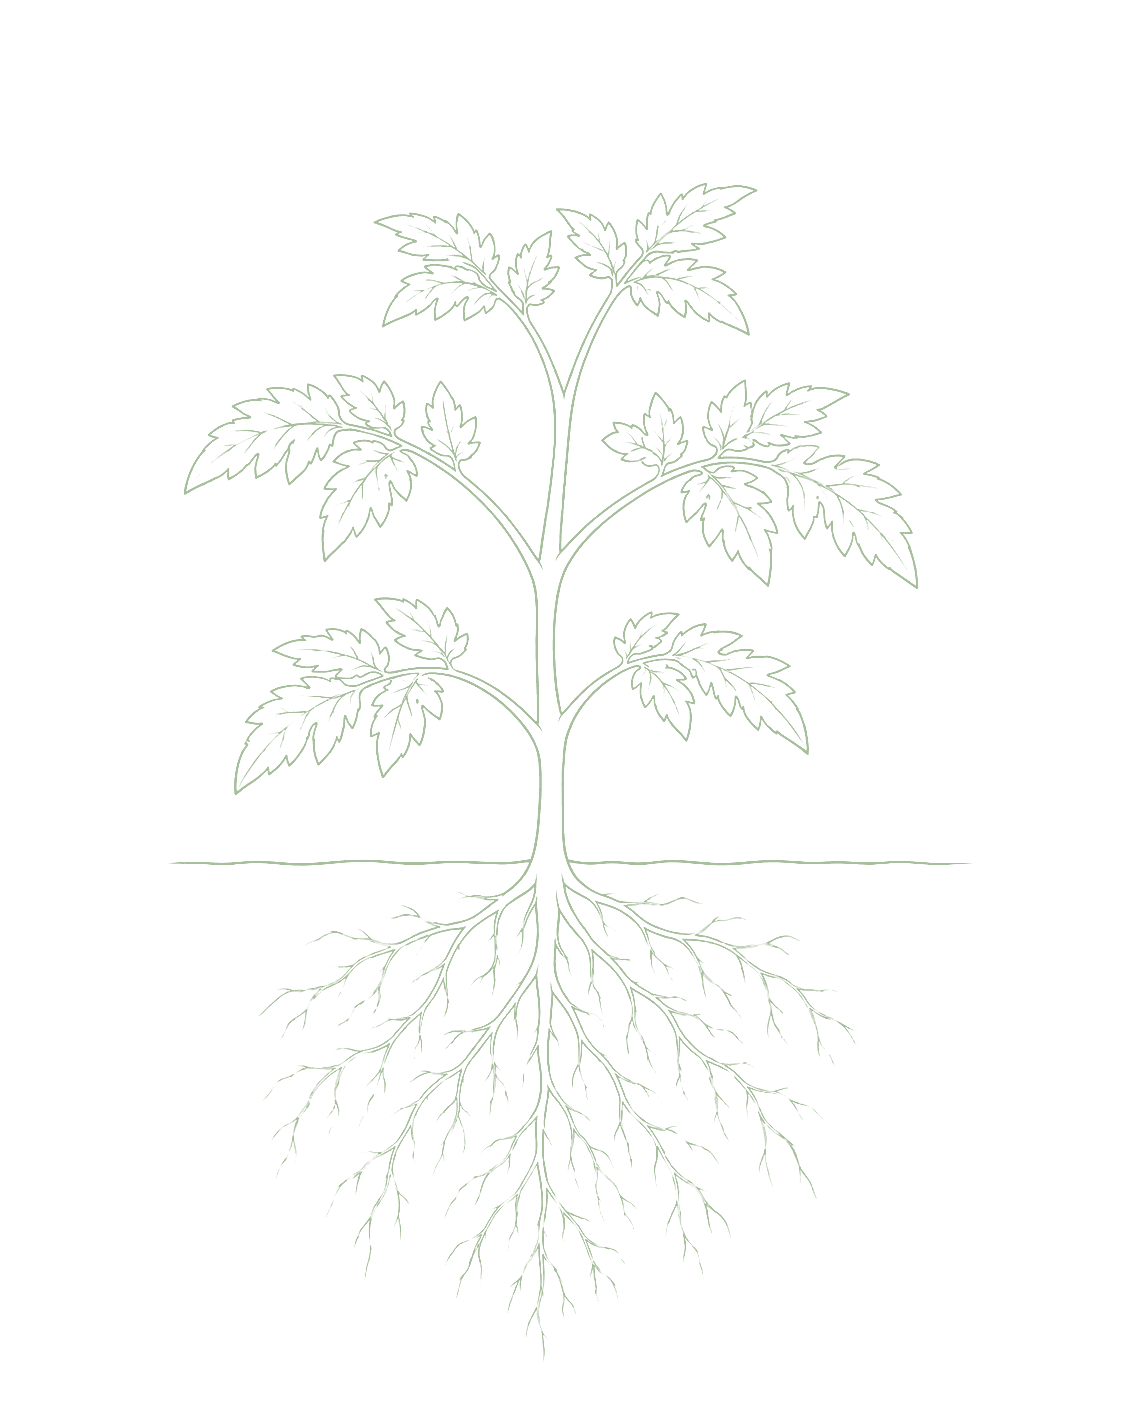
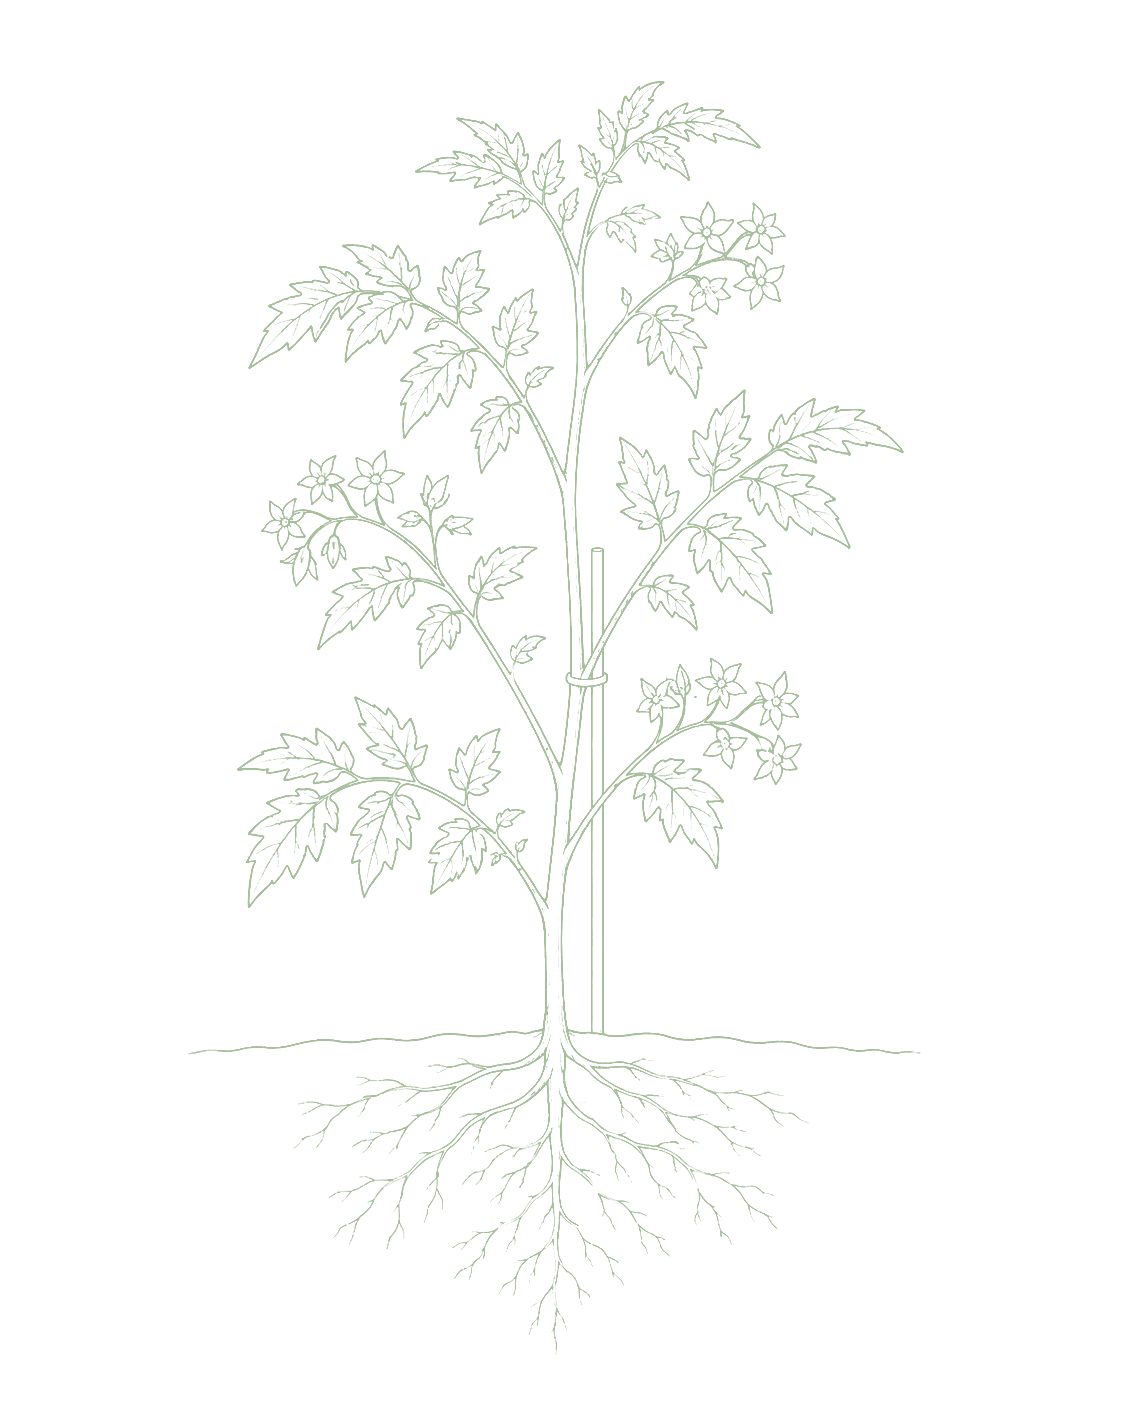
Start seeds indoors 6 to 8 weeks before your last frost date (look yours up if you don't know it, as it varies by 6 to 8 weeks across zones). When you transplant, dig a deeper hole than the pot and bury the stem right up to the lowest set of leaves, as new roots form all along the buried stem and make for a stronger, more drought-tolerant plant from the start.Start indoors 6-8 weeks before last frost. Harden off over 7-10 days before transplanting. Transplant deep: bury stem up to lowest leaves to encourage roots.
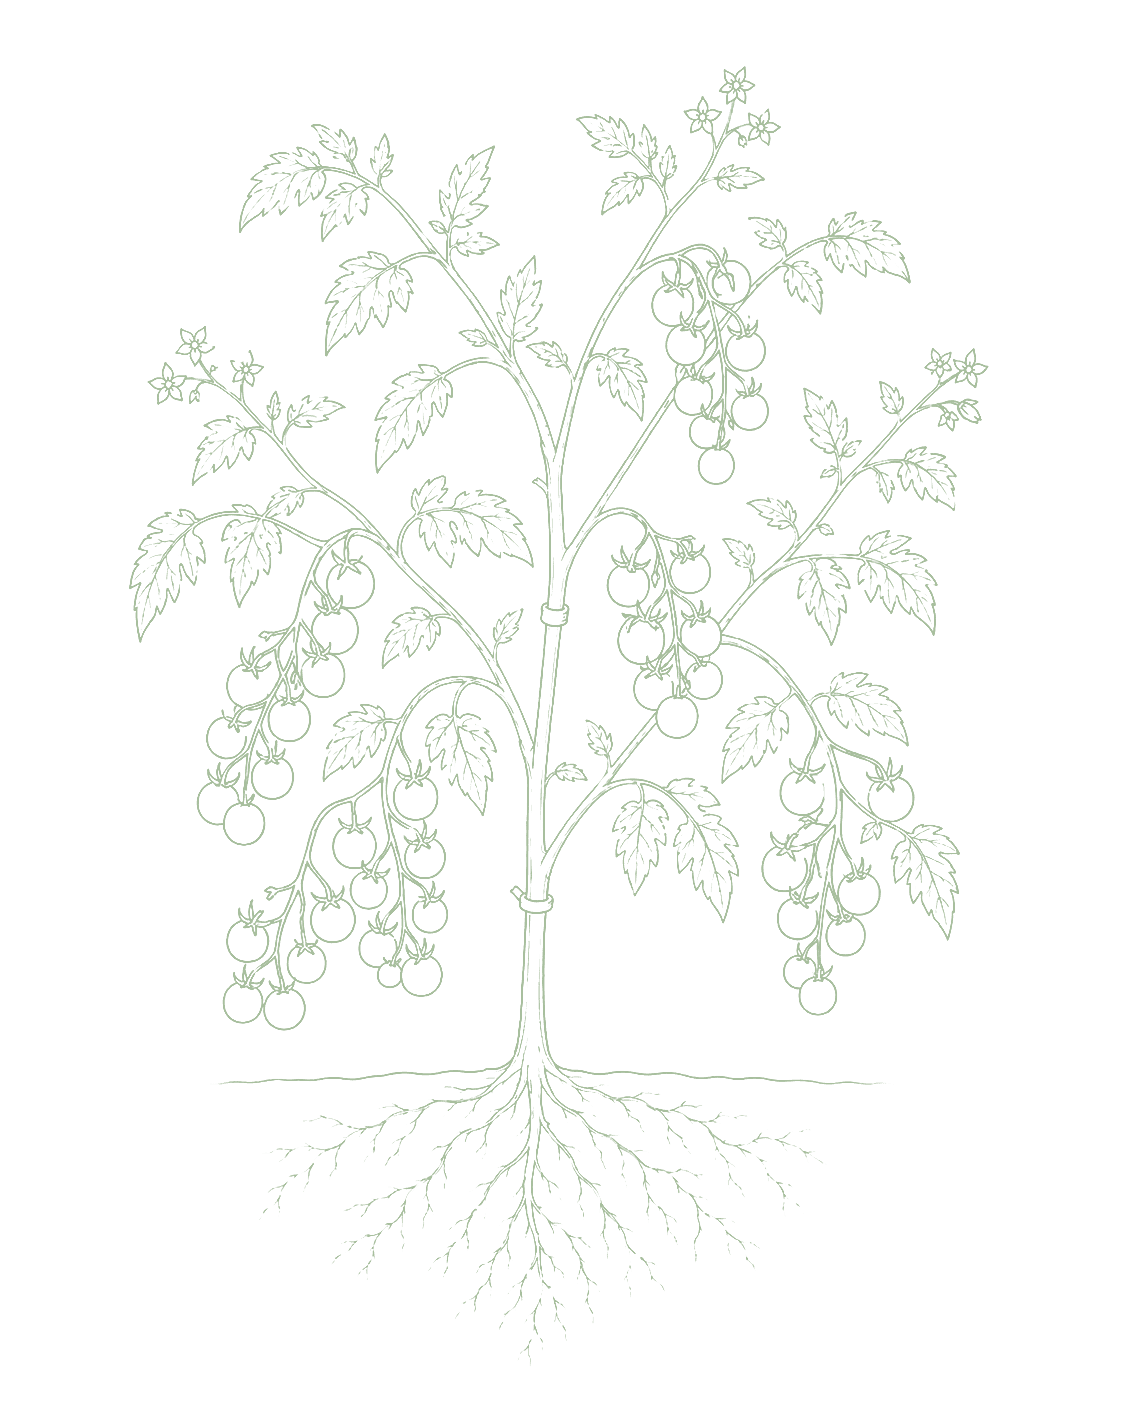
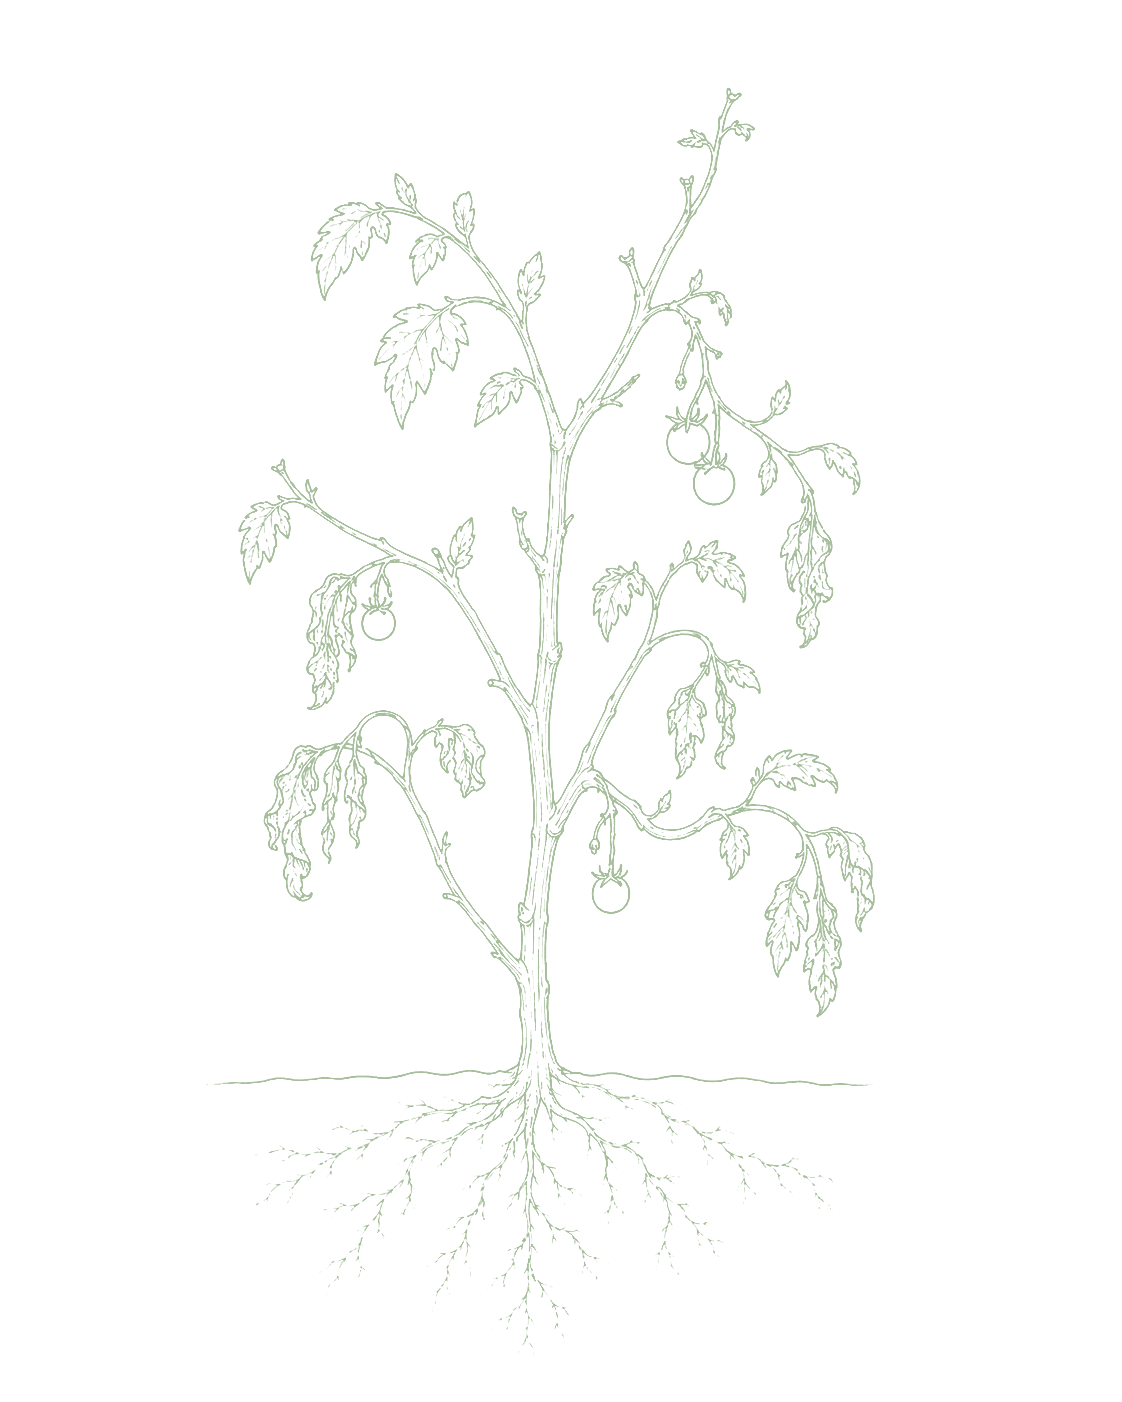


Not sure what soil you have? Grab a small handful of damp soil from your garden bed and squeeze it. If it crumbles apart easily, it's sandy. If it holds together but breaks when you poke it, it's loam (what most vegetables want). If it stays in a hard, slippery ball, it's clay.
Cherry tomatoes want soil that drains well and is rich in organic matter. If water sits on top of your bed after rain or stays soggy for more than a day, drainage is a problem, soggy roots will rot even if the soil is otherwise good. The easiest fix for most soils is to work in 2 to 3 inches of compost before planting, which improves both drainage and fertility at once. Tomatoes are heavy feeders, so starting with rich soil means less fertilizing mid-season.
Mix 2-3 inches of compost into the top 6 inches of your bed before planting. Compost holds moisture (which sandy soil drains too fast) and adds the nutrients sandy soil tends to lack. Repeat each season. Compost breaks down over time.
Mix 2-3 inches of compost AND a few inches of coarse sand or perlite into the top 6 inches of your bed. The compost feeds the plants; the sand breaks up the clay so air and water can move through. Don't add sand without compost. It can compact like concrete.
If amending your soil sounds like too much work, or if your soil is heavy clay, full of rocks, or contaminated, build over it. A raised bed at least 12 inches deep filled with a 50/50 mix of compost and sandy loam gives you ideal growing soil with no battles. A 5-gallon container with quality potting mix does the same for one plant at a time. Both bypass your native soil entirely.
The numbers that matter, at a glance.
Cherry tomatoes do very well in pots. Use a 5-gallon pot at minimum, though a larger pot (10 gallons) holds moisture better and supports a bigger plant. Compact varieties like Tumbling Tom or Tiny Tim are designed for containers; full-size indeterminate cherry tomatoes will also work in 10-gallon containers with a sturdy cage. In hot weather, container plants dry out fast and may need water every day.Excellent container crop. Use 5-10 gallon pots. Determinate or compact varieties (Tumbling Tom, Tiny Tim) are ideal. Water daily in heat.
Tumbling Tom Red
Tumbling Tom Yellow
Tiny Tim
Patio Choice Yellow
Sweet 'N' Neat Scarlet
Tumbler
Ask what your balcony or roof can carry
A balcony or roof can only hold so much weight. Before you set heavy pots there, ask a building architect what it can safely carry.Illinois Extension's guidance is to consult a building architect about weight limits before placing heavy pots on a balcony or rooftop garden. It gives no weight figure.
Never grow food in a container with anything toxic in it
Many kinds of containers can be used. Whatever you choose, keep anything toxic out of it, especially if you are growing food.Colorado State accepts nearly any container material but warns against using a container that holds toxic materials, especially for edible plants. Illinois adds that a vegetable container should be free of chemicals toxic to plants or people, and urges caution with treated lumber when growing food. If you cannot account for what a repurposed container once held, that alone is a reason to keep food out of it.
Secure hanging containers well
Fasten hanging baskets and window or rail boxes securely. Think about what is below them too, since they can drip on people or things underneath.Illinois Extension asks growers to secure hanging containers well and to think through the safety issues of hanging them. Placement matters too, since a hanging container can drip onto people or belongings below.
Soil pH is a measure of acidity on a scale from 1 to 14, where 7 is neutral. Tomatoes need it between about 6.0 and 6.8, the slightly acidic range where the nutrients they need are most available. Soils in the interior West (Arizona, Nevada, Utah, Colorado) often run alkaline (above 7), which can cause nutrient problems even when fertilizer is applied; growers in those regions often need to add sulfur before planting. Eastern and Midwestern soils are often naturally in the right range, but a $10 soil test from your local extension office tells you for certain.Tomatoes are particularly sensitive to pH because it governs the solubility of phosphorus, calcium, and magnesium, three nutrients they consume in large quantities. At pH below 5.5, manganese and aluminum become increasingly available at phytotoxic levels; blossom-end rot risk rises as calcium uptake is impaired. Above 7.0, iron and manganese deficiencies drive interveinal chlorosis on younger leaves. In the alkaline soils common across the interior West and alkaline-irrigation regions, growers routinely need to acidify before planting. Eastern soils often run naturally in the preferred range; Pacific Northwest soils vary widely by parent material.
When you see the first flowers opening, switch fertilizers. Use a balanced or all-purpose fertilizer early in the season, then switch to a tomato-specific or high-potassium fertilizer once flowers appear. Too much nitrogen (the first number on the package) after flowering pushes the plant to grow more leaves instead of fruit.Switch from balanced to high-potassium feed at flowering. Too much nitrogen produces leafy plants with little fruit.
Look for three numbers on the fertilizer bag: those are the NPK ratio (nitrogen, phosphorus, potassium). A soil test is the surest guide, and it is what both extension services behind this guide recommend first. Without one, a low-nitrogen balanced formula such as 5-10-10 is a sensible default. Go easy on the first number: too much nitrogen gives you a big leafy plant that is slow to set fruit. Skip the high-phosphorus bags sold as bloom boosters unless a soil test actually calls for phosphorus, because many soils already hold plenty.Soil test governs. Absent one, a low-nitrogen balanced formula such as 5-10-10. UMN advises a low- or no-phosphorus feed unless a test specifically calls for phosphorus, and warns that excess nitrogen produces bushy, leafy plants slow to bear fruit.
Most tomato companion advice is garden tradition rather than tested fact. The clearest exception is marigolds, which can cut down on root pests, but only when planted thickly as a cover crop a couple of months ahead, not scattered among the tomatoes. In practice: keep fennel away, keep tomatoes away from their relatives like potatoes and eggplant if disease has been a problem for you, and try nasturtiums as a trap for aphids if aphids gave you trouble in past seasons. Cherry tomato companions are dominated by traditional lore with selective extension backing. The marigold/nematode connection is the best-documented pairing in this crop's companion set, effective as a dense pre-season cover crop, not as scattered concurrent interplanting. For most growers, the practical guidance is straightforward: avoid fennel, keep tomatoes away from other Solanaceae family members (potatoes, eggplant) if disease pressure is a concern in your region, and consider nasturtiums as an aphid trap crop if aphid pressure was a problem in past seasons.
Pick when the tomato is fully colored all the way through, red, yellow, orange, or black depending on what you planted, and gives just slightly to a gentle squeeze. The skin shifting from shiny to slightly matte is a reliable visual cue that it's ready. A ripe tomato should twist off easily; if you have to pull hard, give it one more day. Try to harvest in the morning when it's cooler, as tomatoes held in hot sun deteriorate faster.Pick when fully colored, red, yellow, orange, or black depending on variety, and slightly soft to a gentle squeeze. Full color indicates that lycopene synthesis (in red types) or anthocyanin and carotenoid accumulation (in other types) is complete, which correlates with peak sugar content and flavor volatiles. The fruit should detach with a slight twist rather than requiring pulling; resistance to easy separation means the abscission zone has not yet fully formed. The skin losing its sheen is a reliable visual cue: the epidermis transitions from a taut, reflective surface to a slightly matte finish as cell turgor shifts during final ripening. Harvest in the morning when temperatures are cooler, as fruit held at 90°F+ deteriorates faster than fruit harvested and moved to shade.
About 4 to 8 pounds of fruit per plant over the season, and cherry types often land at the higher end when conditions are good. Vining (indeterminate) plants keep producing until frost; bushier (determinate) plants give one big flush and then taper off.4-8 lbs over the season per plant, with cherry-type hybrids commonly producing at the upper end of that range under good conditions. Indeterminate varieties continue producing until frost; determinate cherry types produce a concentrated flush and then taper off.
At its peak, a healthy vining plant gives you a generous bowlful every 2 to 3 days. Production is not steady: it builds up after the first few tomatoes, peaks in the hottest weeks of summer, then slows down as the season cools and the days get shorter.At peak a healthy indeterminate plant yields a generous bowlful every 2-3 days. Production is not linear: it accelerates from first harvest, peaks in the hottest weeks of summer, and then slows in late season as temperatures drop and days shorten. Your first year, expect to land somewhere in the lower part of the range while you learn what your specific spot needs. The four things that make the biggest difference are sun (at least 6 hours of direct sun daily), consistent watering, good soil, and catching pest or disease problems early. If you're picking enough tomatoes to fill a salad bowl every week or two, that is a real first-season success.First-season plants often yield at the low end of the range as growers learn site-specific conditions. Soil organic matter, sun hours, consistent watering, and timely disease response each contribute materially to where within the 4-8 lb range a plant lands. Getting enough tomatoes to fill a salad bowl regularly is a genuine first-season success.
Cherry tomatoes come in a few shapes: round, pear-shaped, and slightly larger elongated types called cocktail tomatoes. All are grown the same way. If you're not sure which to try, Sungold is a popular first choice with a sweet, complex flavor. Juliet is a common elongated type that holds up well on the vine.Cherry-class tomatoes include round cherry, pear-shaped, and cocktail (elongated cherry) types, cultivation is the same across all. Sungold is consistently rated the best-tasting cherry tomato by home gardeners worldwide. Juliet is the most common cocktail tomato.
The ladder troubleshoots from the gentlest solution to the strongest. Start with the gentlest option and only move on when and if it doesn't work.
Go easy on high-nitrogen fertilizer. Heavy feeding pushes out lots of soft new shoots, and that tender growth is exactly what aphids like to settle on.Restrain nitrogen inputs; lush nitrogen-driven flushes produce the tender tissue aphid colonies build up on fastest, so moderate feeding removes their favorite substrate.
Knock the colonies off with a hard stream of water from the hose, aiming at the growing tips and the undersides of the leaves where they gather. Do it early in the day so the leaves can dry.A forceful water jet directed into colonies dislodges aphids and disrupts buildup; repeat as clusters reappear on new growth, early enough in the day for foliage to dry.
Let the helpful insects work for you. Growing marigolds or nasturtiums near the tomatoes draws in the insects that eat aphids, like ladybugs.Conserve and attract natural enemies: interplanted marigolds and nasturtiums draw aphid predators, and avoiding broad-spectrum sprays keeps them on the job.
For a stubborn colony you can buy ladybugs or lacewings, both natural aphid hunters, and release them right onto the infested plants.Purchased ladybug or lacewing releases can supplement resident predators; release onto an active, located infestation rather than preventively.
If the aphids persist, spray insecticidal soap directly onto them, coating the undersides of the leaves where they cluster. It works on contact, so it has to wet the insects themselves.Insecticidal soap gives contact knockdown; thorough coverage of colonized leaf undersides determines results, and spraying only where the pests are spares the soft-bodied beneficials it would otherwise wet.
Neem oil is another spray option for an infestation that keeps coming back. Coat the leaf undersides thoroughly, and skip it in heat above 90°F or on plants that are already drought-stressed.Neem oil covers persistent colonies as a low-residue alternative to soap; underside coverage matters, avoid applications above 90°F or on drought-stressed plants, and keep it off anything in flower.
The bottom rungs are products with label rules: timing, pollinators, and days to wait before harvest. Before you spray →
The ladder troubleshoots from the gentlest solution to the strongest. Start with the gentlest option and only move on when and if it doesn't work.
After the season ends, turn over the soil in the bed. Hornworms spend the winter as pupae, the resting stage buried in the soil, and autumn tilling destroys them before they can become next year's moths.Autumn tillage of the finished bed destroys overwintering pupae in the soil, cutting the local population before the next flight.
Pick the caterpillars off by hand and drop them into soapy water. It sounds too simple, but it works well at garden scale. They blend into the stems, so scout for the black droppings on the leaves below to find them. If one has small white capsules stuck to its back, leave it alone: those belong to a helpful wasp whose young will finish that hornworm for you.Hand removal is effective despite the camouflage; scout by frass on the lower leaves. Spare any larva carrying white parasitoid cocoons, since the emerging wasps continue the suppression.
Plant dill or fennel near the tomatoes. They attract the small wasps that hunt hornworms, so the wasps patrol the planting for you.Interplant dill, fennel, or basil to draw the parasitoid wasps that attack hornworms; conserving that pressure, together with sparing parasitized larvae, keeps later flushes down.
If picking is not keeping up, spray Bt, short for Bacillus thuringiensis, a bacteria-based spray that acts on caterpillars. Spray while the caterpillars are still small, reapply after rain, and keep it off plants you grow for butterflies, since it affects their caterpillars too.Bt kurstaki controls hornworm larvae, most effectively while they are young; reapply after rain or new growth, and confine it to the crop since it acts on lepidopteran larvae as a group.
The bottom rungs are products with label rules: timing, pollinators, and days to wait before harvest. Before you spray →
The ladder troubleshoots from the gentlest solution to the strongest. Start with the gentlest option and only move on when and if it doesn't work.
Drape a floating row cover, a light fabric that lets sun and rain through, over young plants right after planting. Keep it on until they are a few inches tall and growing strongly, since seedlings take the worst of the damage.Row cover over new transplants excludes the beetles through the vulnerable seedling stage; remove once plants are established and outgrowing the shot-hole injury.
No spray for this one. Prevention is the control.
The ladder troubleshoots from the gentlest solution to the strongest. Start with the gentlest option and only move on when and if it doesn't work.
Keep the plants steadily watered through hot spells. Mites build up fastest on plants that are dry and stressed, so consistent moisture is your first line of defense.Maintain steady soil moisture in heat; drought-stressed plants favor rapid mite buildup, so irrigation consistency is the foundational check on populations.
Spray a strong jet of water onto the undersides of the leaves every day for about a week. This breaks up the mite colonies and can set them back significantly. Do it early in the day so the leaves dry quickly.Repeated forceful sprays to the leaf undersides, daily over about a week, disrupt colonies and webbing; apply early in the day so foliage dries before evening.
You can buy predatory mites, tiny mites that hunt the pest mites instead of feeding on plants, and release them onto an infested planting.Released predatory mites can suppress an active infestation; introduce them onto located colonies rather than ahead of the pest.
If the mites persist after the water treatment, spray insecticidal soap onto the leaf undersides where they live. Avoid spraying drought-stressed plants or in heat above 90°F, since soap can burn leaves then.Insecticidal soap applied to the leaf undersides gives contact knockdown where coverage is thorough; skip water-stressed plants and temperatures above 90°F to avoid foliage burn.
Neem oil is an alternative spray, again aimed at the undersides of the leaves. Do not apply it in heat above 90°F or to plants that are already drought-stressed.Neem oil is the low-residue alternative when soap is not holding; underside coverage governs results, and the same heat and drought-stress restrictions apply.
The bottom rungs are products with label rules: timing, pollinators, and days to wait before harvest. Before you spray →
The ladder troubleshoots from the gentlest solution to the strongest. Start with the gentlest option and only move on when and if it doesn't work.
Move your tomatoes to a fresh spot each year, and keep them out of the same bed for at least 3 years, so the fungus waiting in that soil runs out of hosts.A 3 to 4 year rotation away from tomato ground separates the crop from inoculum carried over in soil and debris.
Water at the base of the plant instead of sprinkling from overhead. Rain and splashing water carry the fungus from the soil up onto the lower leaves, so the drier the foliage stays, the slower it moves.Base watering keeps foliage dry and cuts the splash that lifts spores from the soil onto the lower canopy, which is where infection starts.
Mulch the soil around the base of the plant. Rain hitting bare soil splashes the fungus up onto the lower leaves, and mulch takes that splash out of play.Mulching the soil under the plant stops rain splash from lifting soil and spores onto the lower foliage, the entry point this disease works upward from.
Give each plant room, and stake it so air can move through the leaves and the foliage stays up off the ground. Leaves that dry quickly after rain get less disease.Spacing for airflow, plus staking to hold foliage off the soil, shortens leaf wetness and reduces the ground contact that feeds lower-leaf infection.
Pull off spotted leaves as soon as you see them and put them in the trash, not the compost pile. Getting infected leaves out early slows the disease's climb up the plant.Prompt removal of symptomatic leaves lowers in-season spread up the plant; destroy the tissue rather than composting it.
If it keeps spreading, a copper-based fungicide can help, but it works by protecting healthy leaves, so start early rather than waiting. Follow the label rate, and keep spray and runoff away from ponds and streams, since copper is very toxic to fish and other water life.Copper applied preventively protects uninfected tissue; begin before or at first sign rather than after spread. Observe label rates to avoid foliage injury, limit repeat use across seasons since copper accumulates at the soil surface, and keep it out of waterways.
The bottom rungs are products with label rules: timing, pollinators, and days to wait before harvest. Before you spray →
The ladder troubleshoots from the gentlest solution to the strongest. Start with the gentlest option and only move on when and if it doesn't work.
Water deeply and on a steady schedule, not in big bursts after letting the soil dry out. Uneven watering is the usual trigger: the fruit cannot take up enough calcium when soil moisture swings, and calcium sprays are not the fix.Consistent deep irrigation is the primary control. The disorder is a calcium delivery failure in the sizing fruit, driven by moisture swings or root damage rather than by a pest or pathogen, so steady water does what supplements cannot.
Spread mulch around the base of the plant. It evens out the swings between wet and dry soil, and those swings are what set off the rot on the fruit.Mulch buffers soil moisture between waterings, smoothing the wet-dry cycling that interrupts calcium movement into developing fruit.
Pick off and discard any fruit showing the dark sunken patch. Once it appears, that fruit will not recover.Cull affected fruit as it appears; the lesion is irreversible and not contagious, and it concentrates in the earliest fruit of the season.
No spray for this one. Prevention is the control.
The ladder troubleshoots from the gentlest solution to the strongest. Start with the gentlest option and only move on when and if it doesn't work.
Give your tomatoes a different bed each year so the fungus left behind in the old spot does not find them again.Annual rotation out of last year's tomato ground separates the crop from overwintered inoculum.
Water at the soil, not over the top of the plant. The spots spread in wet conditions, so keeping the leaves dry slows the disease down.Soil-level irrigation denies the splash dispersal this fungus relies on and keeps leaf wetness periods short.
Put mulch down over the soil under the plant so rain cannot splash the fungus up onto the leaves.A mulch layer over the soil denies the splash route the spots use to reach the lower leaves; pair it with base watering so neither rain nor the hose does the carrying.
Stake or cage the plants so the leaves are not resting against each other. Air moving between them dries the foliage faster, which slows new spots.Staking or caging to separate foliage improves circulation through the canopy; faster drying checks new infection.
Pull off spotted leaves the moment you notice them. The disease starts on the lowest leaves and works upward, so early removal buys you time.Immediate removal of symptomatic lower leaves slows the upward progression; destroy the tissue rather than leaving it in the bed.
If the spots keep multiplying despite the steps above, a copper-based fungicide is the next step. Follow the label rate so it does not burn the leaves, and keep spray and runoff away from ponds and streams, since copper is very toxic to fish and other water life.Copper is warranted when spread continues despite sanitation and dry foliage; it protects clean tissue rather than curing spotted leaves, so begin at first sign. Limit repeat seasons of use, as copper persists at the soil surface.
The bottom rungs are products with label rules: timing, pollinators, and days to wait before harvest. Before you spray →
The ladder troubleshoots from the gentlest solution to the strongest. Start with the gentlest option and only move on when and if it doesn't work.
When you buy seed, look for varieties described as resistant to late blight whenever you can find them. With a disease that can kill a healthy plant in a week, the variety you choose is the biggest lever you have.Resistant cultivars are the highest-leverage control against a pathogen that can destroy plants in days; the decision is made at seed-buying time.
Stake the plants and give them room so air movement keeps the leaves as dry as possible. The disease moves fastest in cool, damp conditions.Generous spacing and staking maximize airflow and shorten the leaf wetness this oomycete needs; spread is fastest in cool, wet weather.
At the first sign, remove every affected plant part, bag it, and put it in the trash. Do not compost it, since the disease can survive there and carry over. At season's end, clear all tomato debris out of the garden rather than leaving it over winter.Remove and destroy all symptomatic material immediately, bagged for the trash rather than composted, and strip tomato debris from the garden at season's end so nothing carries the pathogen into the next year.
If late blight is showing up in your area and the weather is wet, a copper-based fungicide applied before your plants have symptoms can help protect them. Follow the label, and keep spray and runoff away from ponds and streams, since copper is very toxic to fish and other water life.Copper is purely protective here: apply ahead of infection when regional presence and wet conditions align, since it does not cure tissue already infected. Observe label rates and limit repeat use across seasons, as copper accumulates at the soil surface.
The bottom rungs are products with label rules: timing, pollinators, and days to wait before harvest. Before you spray →
Move your tomatoes to a different part of the garden each year, and don't come back to the same spot for at least 3 years. Soil diseases, including the wilts and blights that affect tomatoes, can survive in the soil or on old plant debris for multiple seasons. Rotation is the main tool home gardeners have to keep these in check. The same rule applies to peppers, eggplant, and potatoes: they share the same diseases, so avoid planting any of them where tomatoes grew recently.Rotate nightshades to a fresh bed every 3 years minimum. Soilborne pathogens, particularly Fusarium wilt (Fusarium oxysporum f. sp. lycopersici), Verticillium wilt, and early blight (Alternaria solani), can persist in soil or on plant debris for multiple seasons. Fusarium and Verticillium are soil-systemic and resistant to most home-garden interventions once established; the primary management tool for the home gardener is rotation combined with resistant varieties. Avoid planting tomatoes after any Solanaceae crop (peppers, eggplant, potatoes), as these share the same pathogen suite.
The plant app sends a timely reminder at every critical moment of your cherry tomato season. The wording adjusts to whichever you pick: beginner or seasoned. Here are three you'll see in Zone 9.
plant sends the right notification at exactly the right moment, for your zone, your weather, your crops. Founding members lock the rate forever.
We're building this guide with real growers. Got a question we missed? Ask here. We read every one and add the best answers right to this page.
Learned something the hard way? Pass it on. Real growers' tips make this guide better for the next person, and we credit you by name when yours goes live.
If you've grown this crop and you see a date, a temperature, a companion claim, or a recommendation that doesn't match your experience, tell us. Real growers' corrections make this guide better for the next person.
Every date, temperature, spacing, and recommendation on this page is sourced from university cooperative extension publications, peer-reviewed agricultural research, NOAA climate data, and direct extension calendars. Where claims are softer (traditional gardening wisdom not formally documented), we say so.
Spot a data point that doesn't match your experience? Submit a correction; accepted corrections earn full author credit on the page.
Zone-aware seasonal nudges, what's worth planting now, and the occasional recipe from the harvest. No spam, ever.