Today · in your zone
What's happening right now
Off-season for chives in zone 9.
Chives are one of the easiest and hardiest herbs you can grow. They are a perennial in the onion family, so you plant them once and they come back every year on their own. The plant dies back over winter, then sends up fresh, thin, grassy green leaves very early in spring, and it carries pretty pink-purple flowers in early summer that you can eat too. Chives like full sun to a little shade, decent soil, and regular water, but they forgive a lot. The clump gets bigger each year, so dig it up and split it every few years. They have a mild oniony taste and hardly any pests. There is also a relative called garlic chives, with flat leaves and a mild garlic flavor. Chives (Allium schoenoprasum) are a hardy, clump-forming perennial in the onion family (Amaryllidaceae), grown for their slender, hollow, grass-like leaves and their edible pink to pale purple pom-pom flowers. Unlike the annual and biennial kitchen herbs, chives are planted once and come back on their own year after year: the clump dies back to the ground over winter, rests dormant, and pushes up fresh green blades as one of the very first herbs of spring. They are among the hardiest herbs grown, reliable to roughly USDA zone 3, and among the easiest, with a mild onion flavor and few real pests. Give them full sun to light shade, average to rich well-drained soil, and steady moisture, though an established clump tolerates short dry spells. The clumps slowly widen from year to year and are best lifted and divided every 2 to 3 years to keep them vigorous. Chives are cool-preferring: in cold regions they run right through the northern summer, while in the hot South and desert they are a cool-season herb that slows or rests in the worst summer heat and revives as it cools. A close relative, garlic chives (Allium tuberosum), is a distinct species with flat leaves, a mild garlic flavor, and white late-summer flowers.
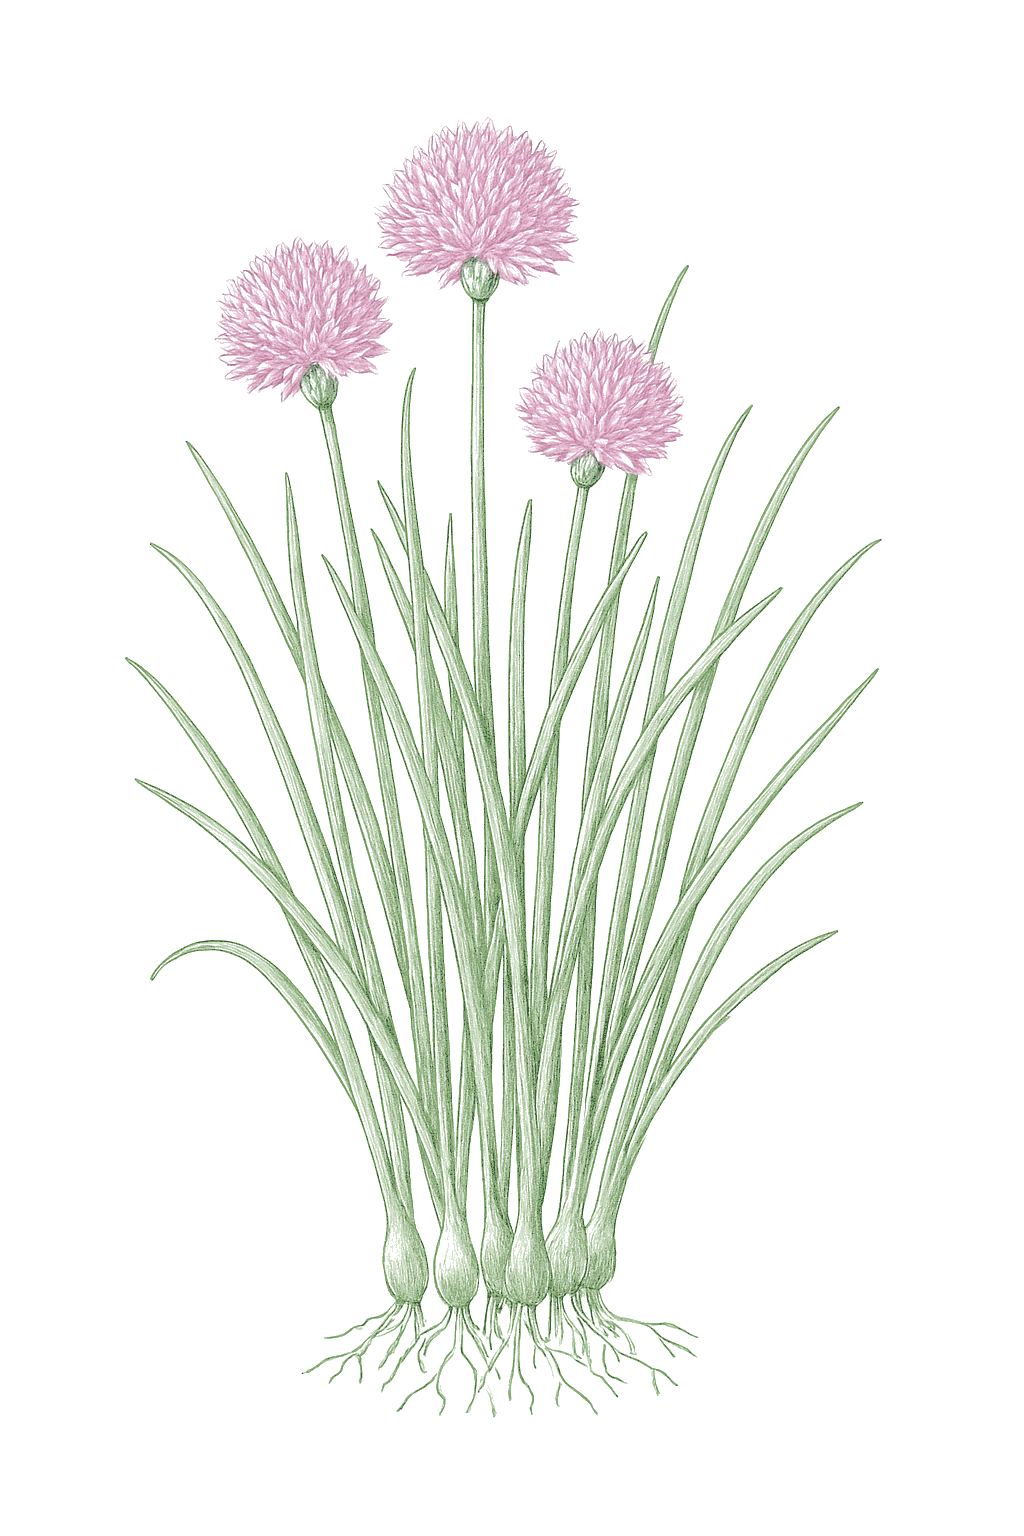
Off-season for chives in zone 9.
Zone 9 averages a last frost around March 1. Within Zone 9, the colder half (9a, winters down to 20°F) runs about a week later. The warmer half (9b, winters down to 25°F) runs about a week earlier. The plant app picks your subzone from your ZIP.
| Subzone | Last spring | First fall | Growing days | Winter min | Fruits reliably |
|---|---|---|---|---|---|
| 9a | Mar 8 | Nov 24 | ~261 | 20-25°F | Yes · two seasons |
| 9b | Feb 28 | Nov 30 | ~275 | 25-30°F | Yes · two seasons |
Averages from 8 weather stations per subzone, drawn from NOAA 1991-2020 Climate Normals. Your actual frost date can vary by up to two weeks based on elevation, proximity to water, and local topography.
In Zone 9, chives can be planted October, skipping the summer heat. Harvest runs January through December.
In Zone 9, chives can be planted October through November, skipping the summer heat. Harvest runs January through December.
In Zone 9, chives can be planted October through November, skipping the summer heat. Harvest runs January through December.
In Zone 9, chives can be planted January through February. Harvest runs March through December.
In Zone 9, chives can be planted January through February. Harvest runs March through December.
In Zone 9, chives can be planted April through May. Start indoors Feb 18 - Apr 19. Harvest runs June through December.
In Zone 9, chives can be planted February through March, skipping the summer heat. Harvest runs May through November.
In Zone 9, chives can be planted January through February, skipping the summer heat. Harvest runs March through December.
In Zone 9, chives can be planted October, skipping the summer heat. Harvest runs January through December.
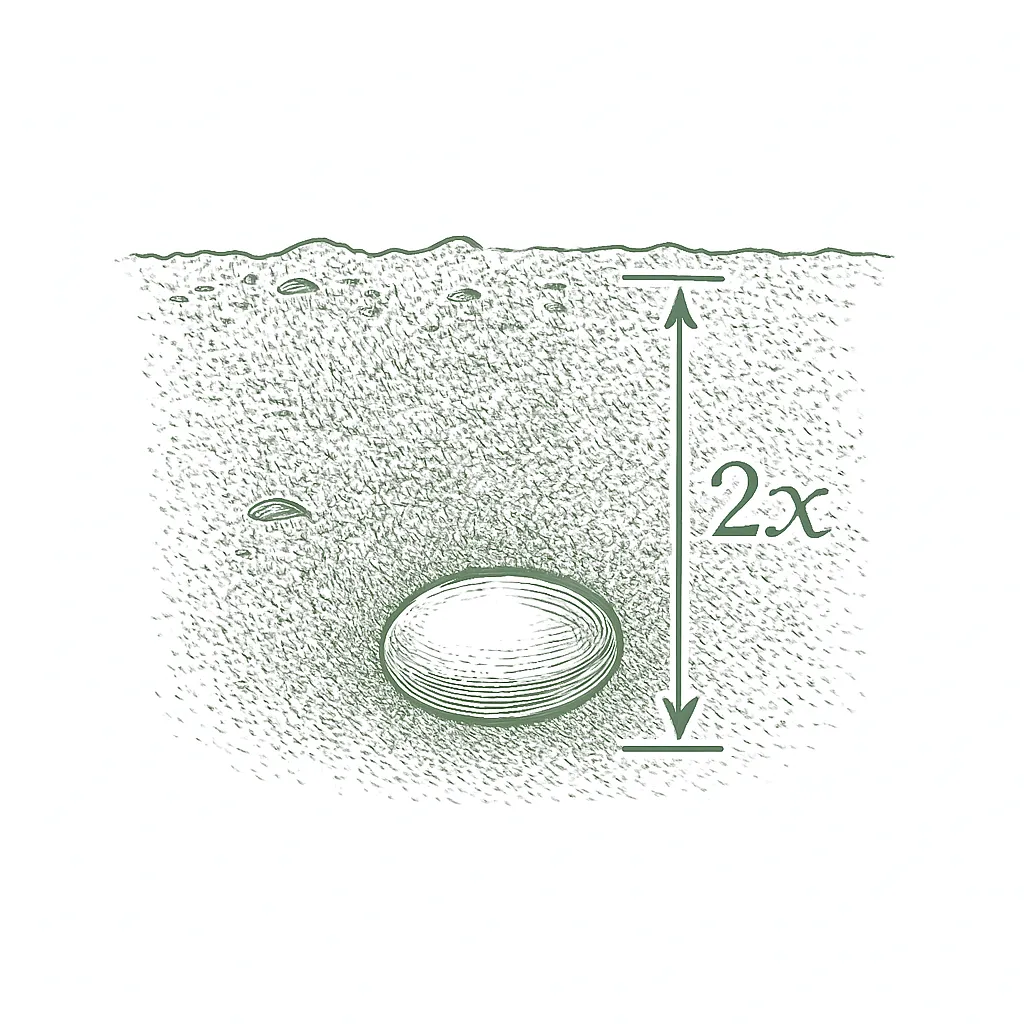
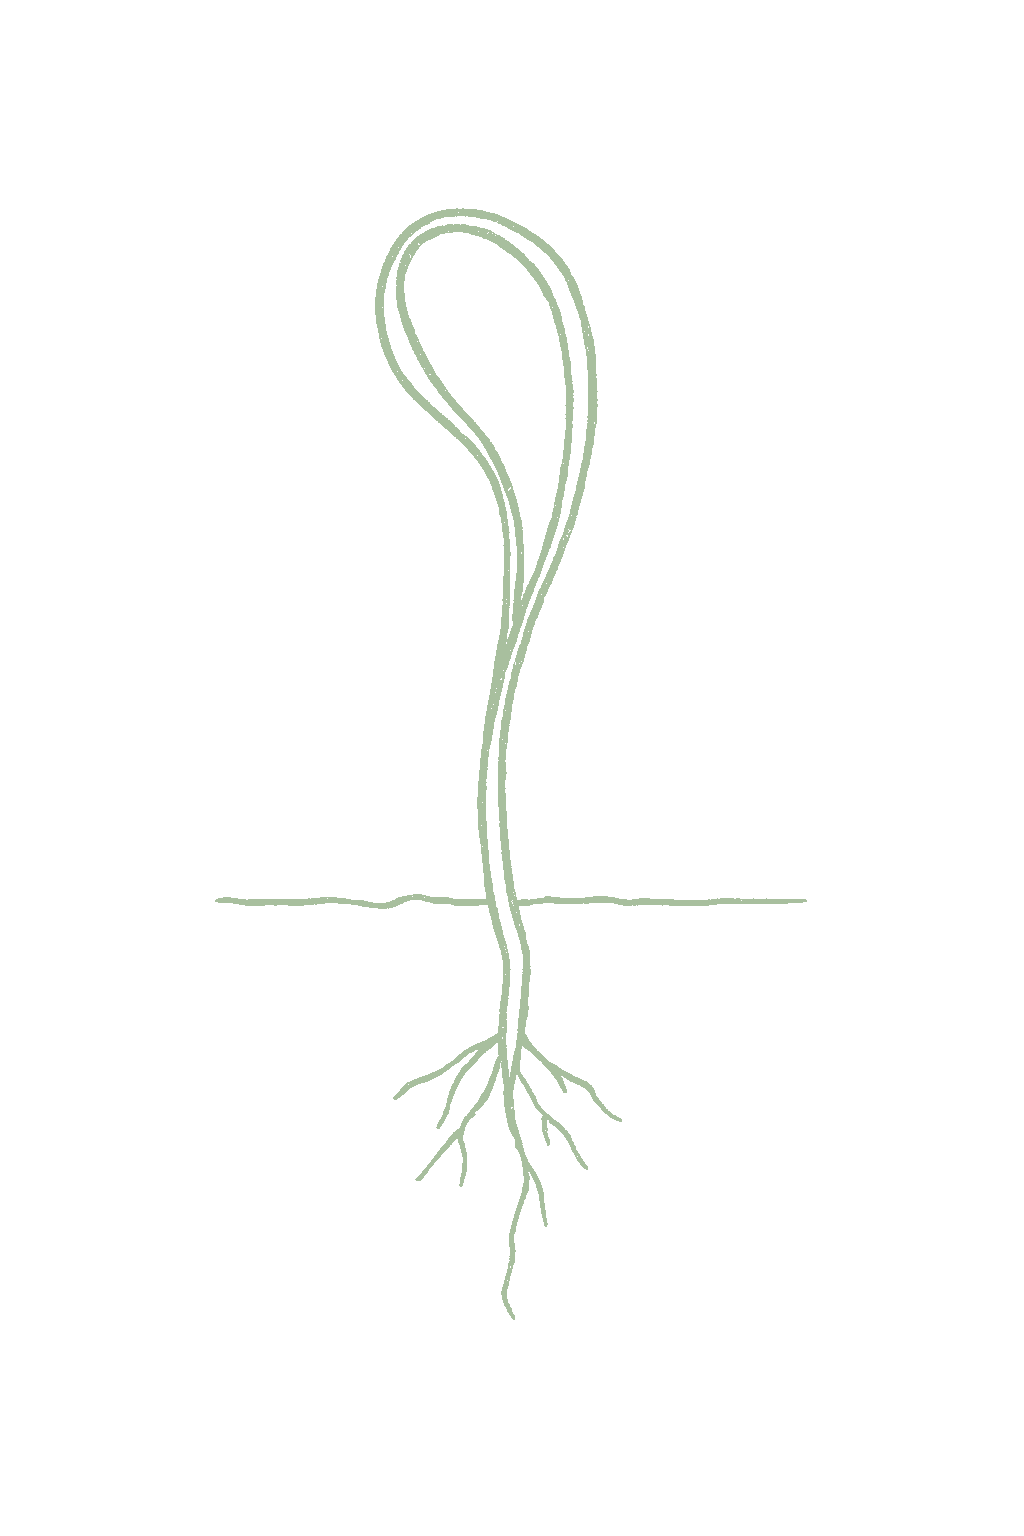
The easiest way to start chives is to buy a small pot or split a clump from a friend, which is ready to cut almost right away. You can also grow them from seed, but the seed is slow, taking a couple of weeks or more, so start it indoors about 6 to 8 weeks before the last frost, sowing a small pinch of seeds in each cell and growing them on as a little clump that you plant out whole without separating, or sow it outside once the soil is warm. Plant outside in spring in cold areas, or in fall through winter where summers are hot. Space plants about 6 to 12 inches apart, and remember one clump can be split into many.Chives are easiest to establish from a division or a nursery clump, which gives a cuttable plant in weeks, but they also grow readily from seed. The seed is slow, germinating over about 2 to 3 weeks (up to 4 to 6 in cool soil), so start it indoors 6 to 8 weeks before the last frost, sowing a pinch of about 8 to 10 seeds per cell and growing them on as an undivided clump that transplants out whole after hardening off, with no thinning (RHS), or direct-sow once the soil warms. Plant outdoors in spring after hard-frost danger passes in cold regions, or in fall through late winter in mild and hot regions. Set clumps 6 to 12 inches apart; they widen over the years and are the easiest herb to propagate by simply lifting and splitting an established clump.

Not sure what soil you have? Grab a small handful of damp soil from your garden bed and squeeze it. If it crumbles apart easily, it's sandy. If it holds together but breaks when you poke it, it's loam (what most vegetables want). If it stays in a hard, slippery ball, it's clay.
Chives are not fussy about soil and grow in almost any kind, but they do best in loose, fertile ground with some compost mixed in, kept evenly moist but never soggy. Good drainage matters most: an established clump handles a short dry spell, but ground that stays wet through winter can rot the roots and crown.
Mix 2-3 inches of compost into the top 6 inches of your bed before planting. Compost holds moisture (which sandy soil drains too fast) and adds the nutrients sandy soil tends to lack. Repeat each season. Compost breaks down over time.
Mix 2-3 inches of compost AND a few inches of coarse sand or perlite into the top 6 inches of your bed. The compost feeds the plants; the sand breaks up the clay so air and water can move through. Don't add sand without compost. It can compact like concrete.
If amending your soil sounds like too much work, or if your soil is heavy clay, full of rocks, or contaminated, build over it. A raised bed at least 12 inches deep filled with a 50/50 mix of compost and sandy loam gives you ideal growing soil with no battles. A 5-gallon container with quality potting mix does the same for one plant at a time. Both bypass your native soil entirely.
The numbers that matter, at a glance.
Chives are one of the best herbs for a pot. Use a container at least 6 inches deep with drainage holes, keep it watered, and snip leaves as you need them. A pot does well on a sunny windowsill or step, and because chives are so hardy it can carry on outdoors long after tender herbs are done.Chives grow very well in a container at least 6 inches deep, harvested cut-and-come-again. Keep moisture even, since pots dry fast, and feed only lightly. A pot is the easiest way to keep chives by the kitchen door, to move a small clump indoors for winter cutting, and to contain a plant that self-sows in the open garden.
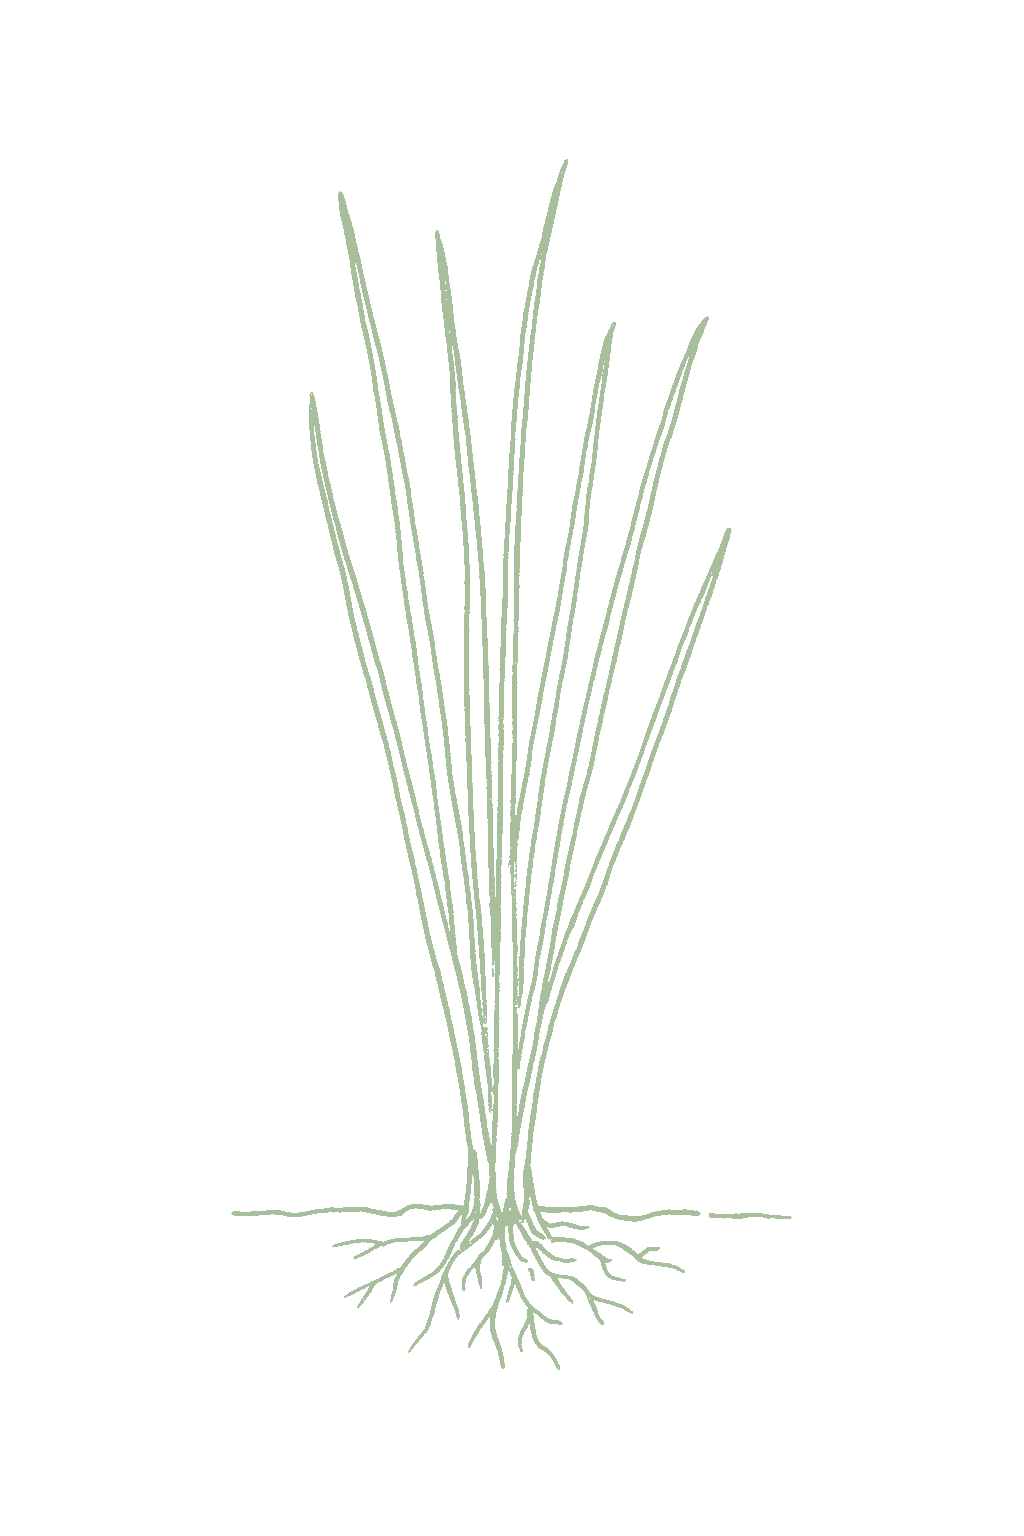
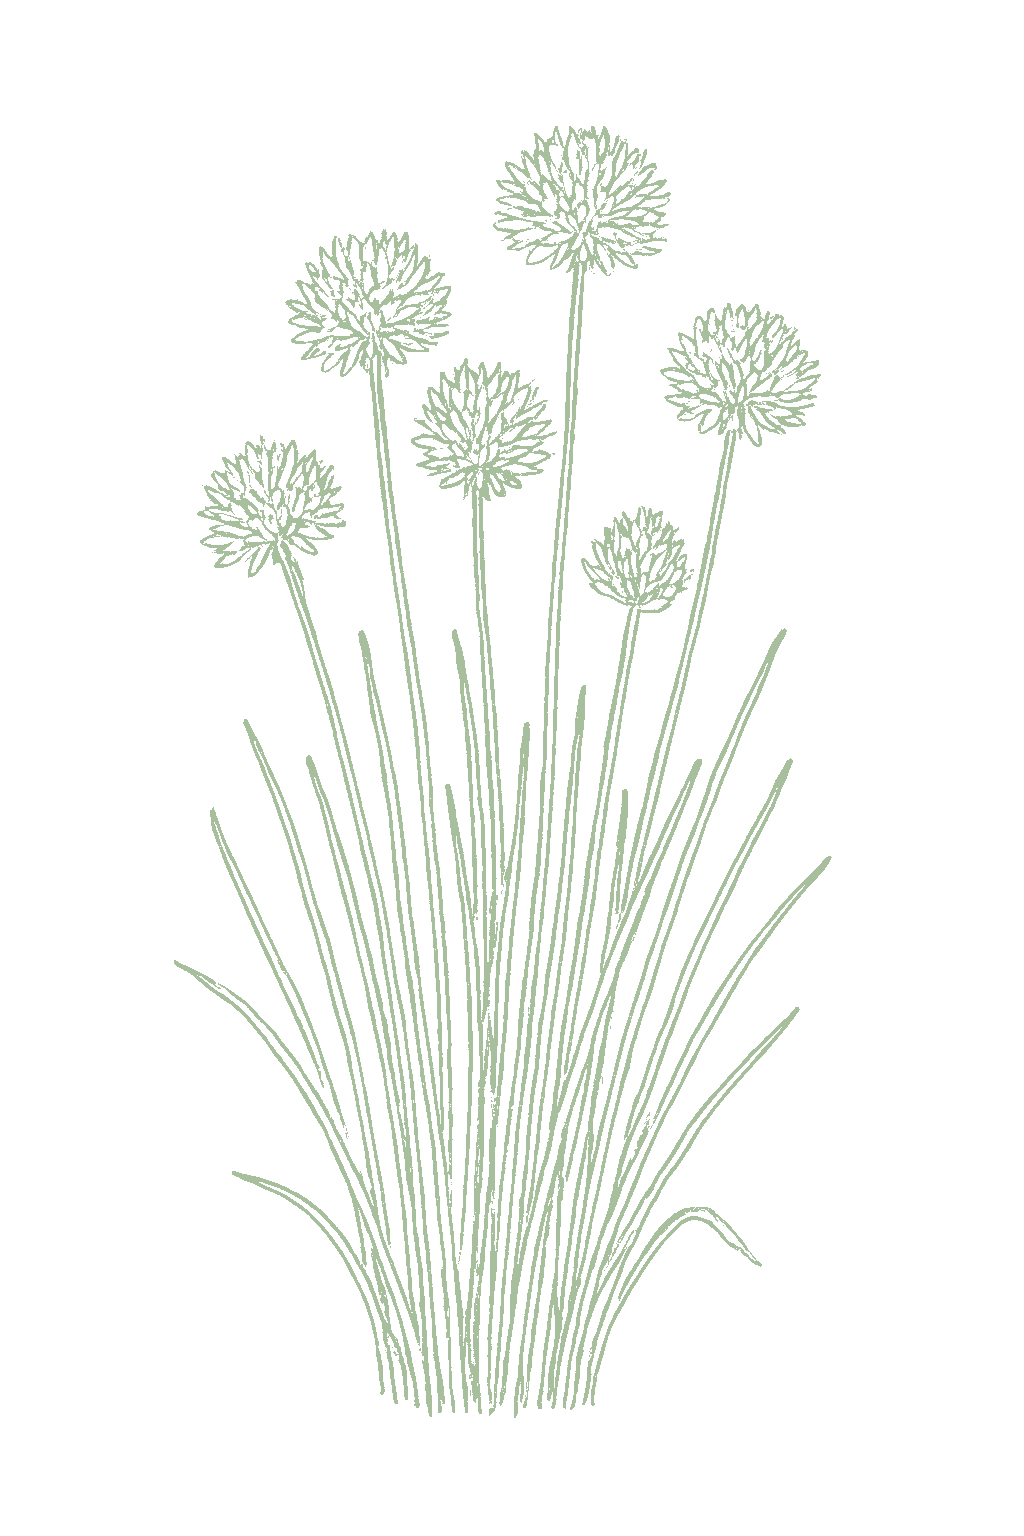
Common ChivesThe standard Allium schoenoprasum. It grows in clumps of fine, hollow, grass-like leaves about 1 to 1.5 feet tall. Its edible flowers are round, pink to pale purple globes that bloom in late spring to early summer. The leaves have a mild onion flavor, and the plant is hardy.
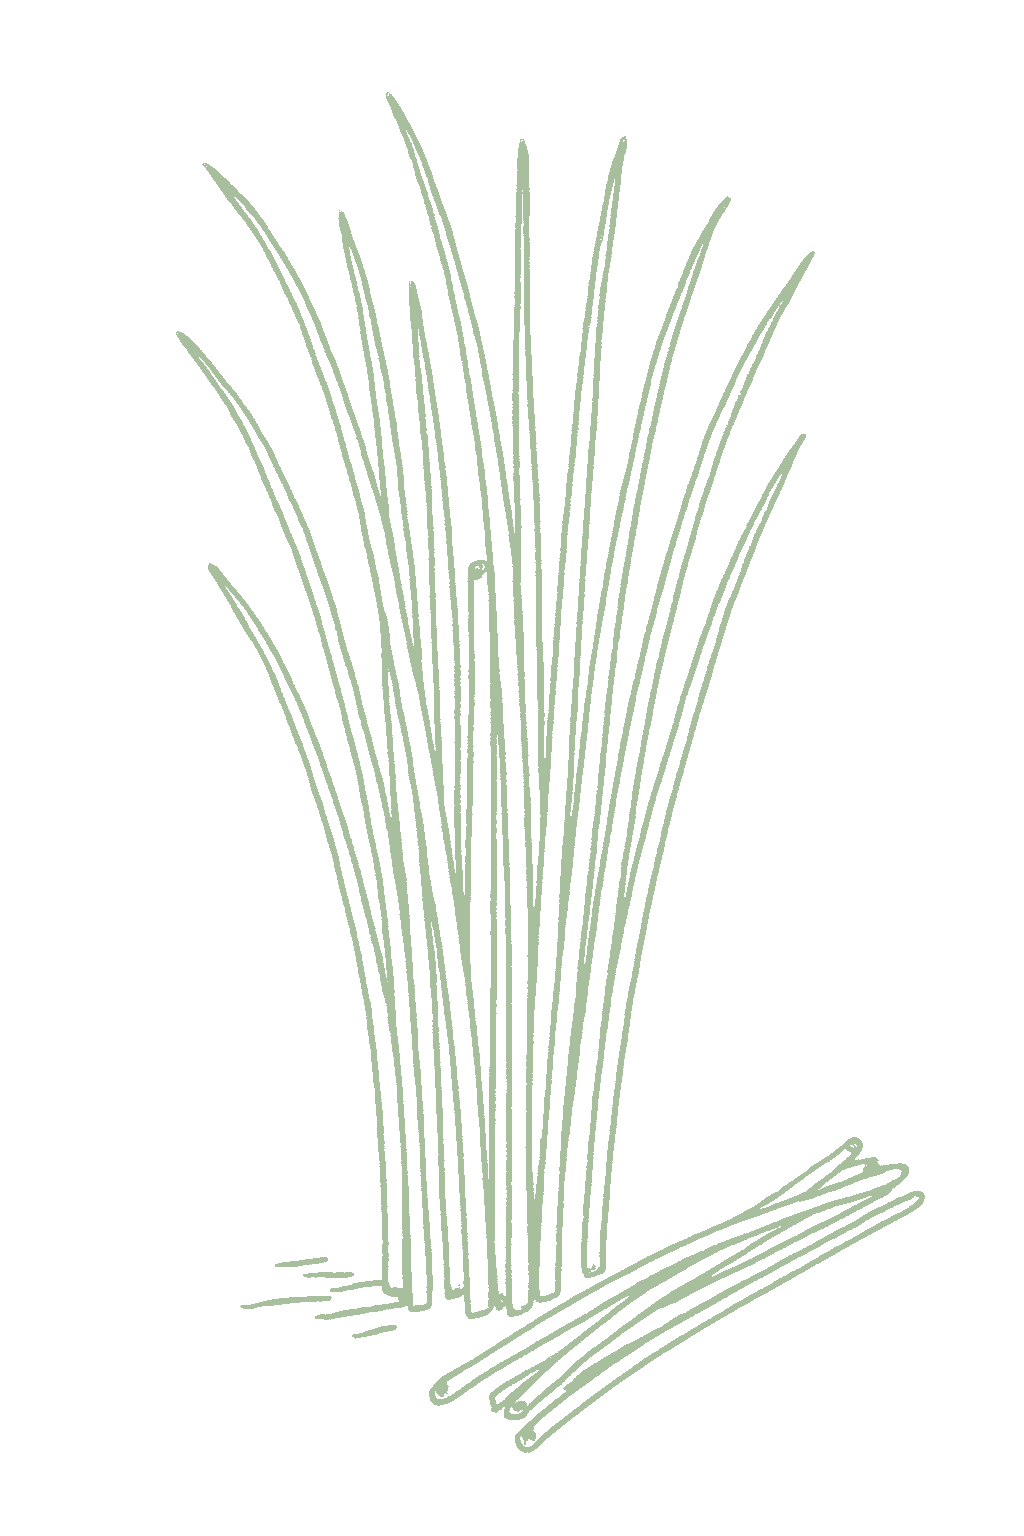
StaroA thicker-leaved Swiss selection bred for uniform, upright, easily cut blades that hold their form; prized for kitchen cutting and for freezing, since the sturdier leaves handle handling well.
Fine Leaf
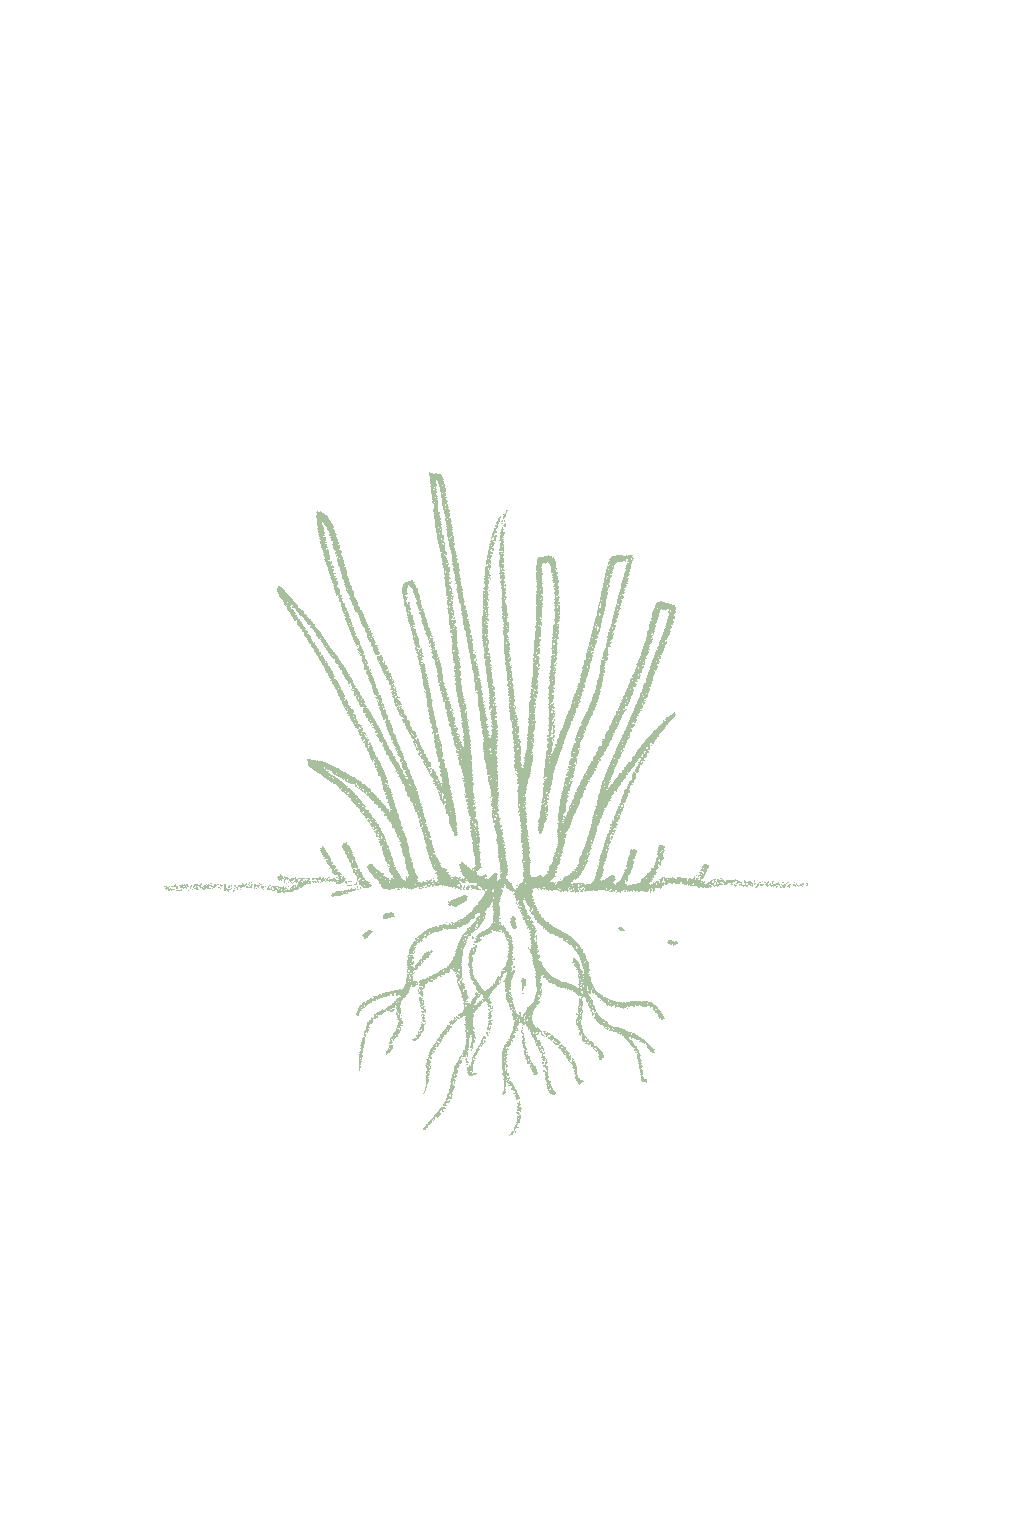
Garlic Chives
Chives are very hardy, so a pot can stay outside through fall and winter in most areas; the leaves die back and the plant regrows in spring. In the coldest zones the small amount of soil in a pot freezes harder than the ground, so sink the pot in the garden, move it against the house, or mulch it heavily. You can also dig up a small clump in fall, pot it, and grow it on a bright windowsill for winter snipping.Chives are frost-hardy to roughly zone 3 and go dormant over winter, so an outdoor pot simply dies back and returns in spring. Container root volume freezes harder than open ground, so in cold zones sink the pot, cluster pots against a wall, or mulch to buffer the roots. A classic trick is to lift a small divided clump in fall, pot it, give it a few weeks of cold to satisfy dormancy, then bring it to a sunny window for fresh winter leaves.
Ask what your balcony or roof can carry
A balcony or roof can only hold so much weight. Before you set heavy pots there, ask a building architect what it can safely carry.Illinois Extension's guidance is to consult a building architect about weight limits before placing heavy pots on a balcony or rooftop garden. It gives no weight figure.
Never grow food in a container with anything toxic in it
Many kinds of containers can be used. Whatever you choose, keep anything toxic out of it, especially if you are growing food.Colorado State accepts nearly any container material but warns against using a container that holds toxic materials, especially for edible plants. Illinois adds that a vegetable container should be free of chemicals toxic to plants or people, and urges caution with treated lumber when growing food. If you cannot account for what a repurposed container once held, that alone is a reason to keep food out of it.
Secure hanging containers well
Fasten hanging baskets and window or rail boxes securely. Think about what is below them too, since they can drip on people or things underneath.Illinois Extension asks growers to secure hanging containers well and to think through the safety issues of hanging them. Placement matters too, since a hanging container can drip onto people or belongings below.
Chives grow best in slightly acidic to neutral soil, about 6.0 to 7.0. Most garden soil is fine, and a simple soil test tells you where you stand.Aim for a soil pH of about 6.0 to 7.0, slightly acidic to neutral, the range the University of Minnesota and Michigan State both list as best for chives; they still do fine across roughly 5.5 to 7.5. Chives are not pH-sensitive, so in most gardens no adjustment is needed beyond a soil-test baseline.
Chives do not need much feeding. Mix some compost into the soil before planting, and that is often enough. If a clump looks weak or you cut it hard, give it a light feeding to bring back fresh green leaves. In a pot, feed lightly with a diluted liquid fertilizer every few weeks, since watering washes nutrients out.Chives are light feeders with low nutrient needs and rarely need regular fertilizer. The University of Minnesota suggests only a very light application of a 5-10-5 fertilizer once each spring if a clump looks weak, on top of compost worked in before planting. A clump you cut from repeatedly benefits from a light feeding after a hard shearing to push fresh tender regrowth; in containers, where frequent watering leaches nutrients, a dilute liquid feed every four to six weeks keeps leaves green. Avoid heavy nitrogen, which softens the flavor.
Use a balanced fertilizer such as 5-10-5, a little worked into the soil before planting, then feed lightly only if the plant looks weak or after you cut it hard.Light, balanced feeding for a low-demand perennial: a little 5-10-5 or balanced fertilizer worked in before planting, then an optional light feed in spring or after a hard cutting. Go easy on nitrogen, which softens flavor on a crop eaten fresh.
Chives are a classic companion herb: their oniony scent is said to help keep aphids and some other pests off nearby plants, and their early flowers feed pollinators and helpful insects. Gardeners traditionally tuck them at the base of roses (for black spot and aphids) and apple trees (for scab), and near carrots and tomatoes. The one plant to keep them away from is beans and peas, which onion-family plants can slow down. Much of the chive companion tradition rests on two real mechanisms: allium sulfur compounds that deter aphids and some fungal problems, and the flowering umbels' pull on hoverflies, ladybugs, and parasitoid wasps. Michigan State, citing Penn State, passes along the traditional pairings of chives at the base of apple trees (to help suppress apple scab) and roses (black spot), plus a reputed boost to carrots. These are hedged tradition with a plausible mechanism, not measured trials. The one well-grounded caution is the allium-legume antagonism: onions and their relatives are widely documented to inhibit beans and peas, so keep chives away from legumes.
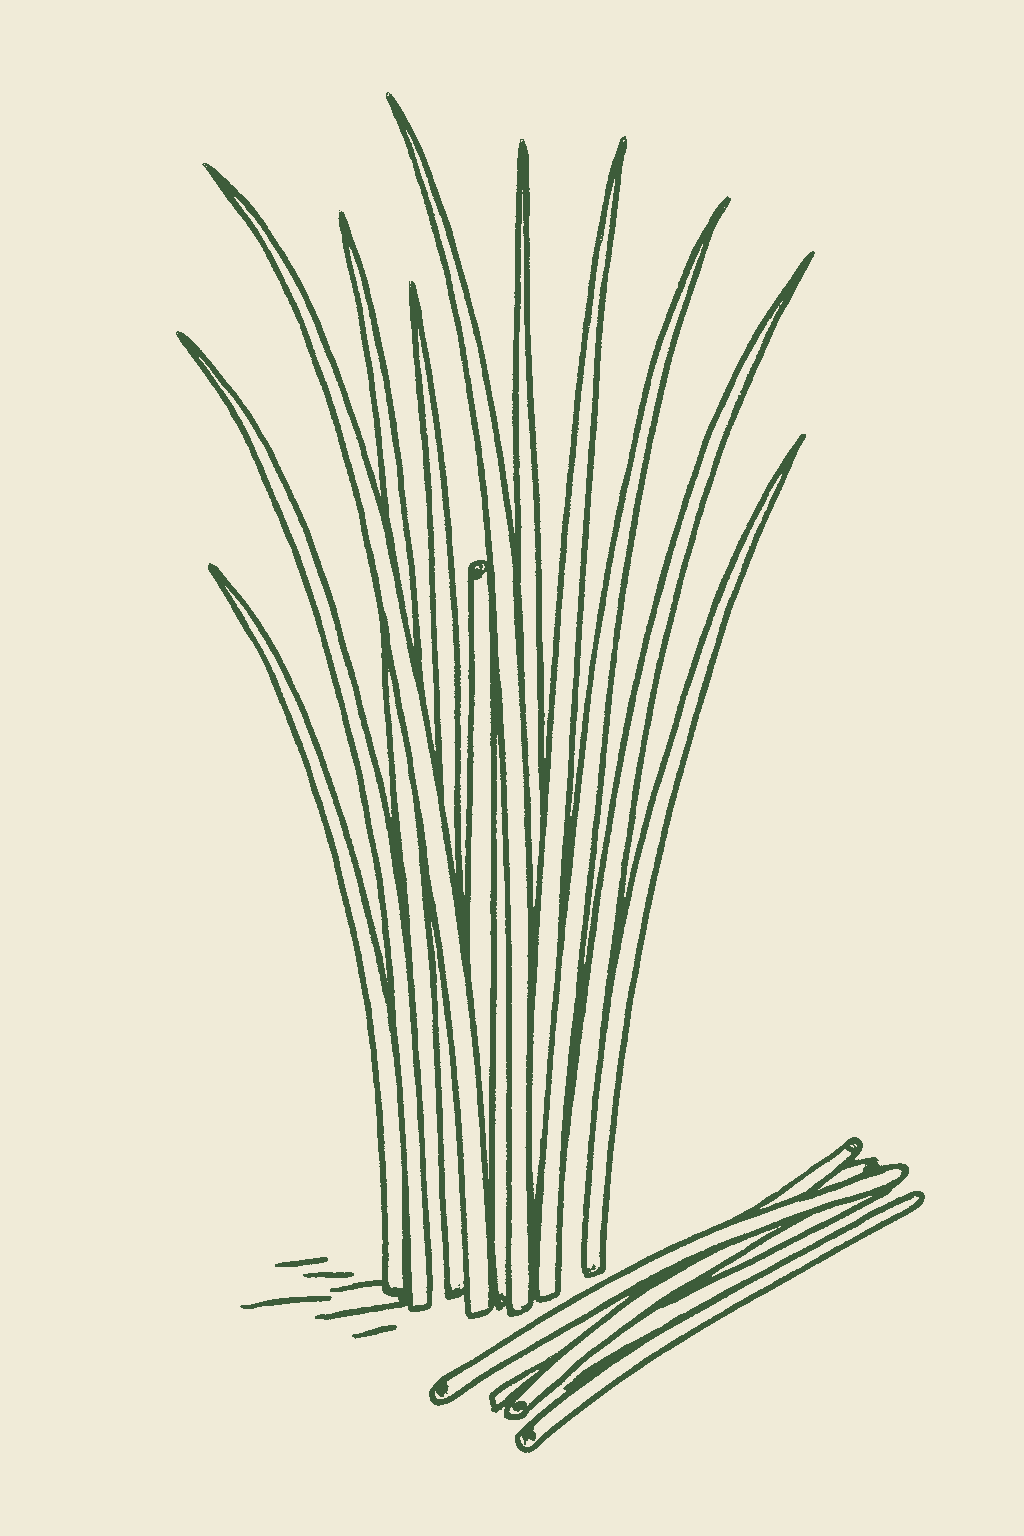
You can start cutting chives once the clump is about 6 inches tall. From seed that takes a couple of months, but a bought or divided plant is ready much sooner. Snip the leaves down to about 1 to 2 inches above the soil, taking some from each clump, and they grow right back so you can keep cutting all season. Always leave some green behind so the plant stays healthy, and go easy the first year. Cut in the cool morning and use the leaves fresh. The flowers are edible too.Start cutting chives once an established clump is 6 inches or more tall, which from seed is roughly 60 to 90 days but from a division or nursery clump can be just a few weeks. Harvest by shearing the outer leaves down to about 1 to 2 inches above the soil with scissors, taking some blades from each clump rather than shearing it bare; the leaves regrow and you can cut the same plant again and again through the season. Leave enough green so the plant keeps feeding itself, and in the first year cut sparingly so the young clump can build strength to overwinter. Pick in the cool morning, and use the leaves fresh for the best flavor. The pink-purple flowers are edible too and are best picked just as they open.
One chive clump gives you leaves for years and only gets bigger, so a plant or two is plenty for a kitchen. You can split a big clump into several new ones for free.A single established chive clump yields fresh leaves for years, cut repeatedly through each season; one clump supplies a kitchen, and it multiplies into many as you divide it. Yield builds as the clump widens, so a two- or three-year-old plant gives far more than a first-year one.
Chives are most productive in cool spring and fall weather. In cold areas they keep going through summer; in hot areas they slow down in the worst heat and pick back up when it cools.Production peaks in the cool of spring and again in fall. In cold regions chives run through the northern summer; in hot regions they slow or rest in peak heat and rebound as it cools. Cutting the clump back after flowering renews a flush of tender leaves. In its first year, go easy on cutting chives so the plant gets strong for winter; the big harvests come in later years. Cut low, not just the tips, and snip off flowers before they seed so you do not get seedlings everywhere.Chives are a rewarding, low-effort perennial, but the first year is about establishment: harvest sparingly so the young clump banks strength to overwinter, and expect the big yields from year two on. The main beginner mistakes are over-cutting a new clump, shearing only the tips instead of cutting low, and letting the flowers seed a lawn of volunteers.
There are really two kinds. Common chives have thin, hollow leaves and pink-purple flowers and taste mildly of onion; the named types just vary in how fine or sturdy the leaves are. Garlic chives are a different plant with flat leaves, a mild garlic taste, and white flowers in late summer, and they take heat well but spread by seed a lot. They all grow the same way, so pick by flavor and looks, and cut off the flowers if you do not want seedlings everywhere.Chives come in two distinct plants. Common chives (Allium schoenoprasum) are the familiar fine, hollow-leaved clump with pink-purple spring flowers and a mild onion taste; named selections differ mostly in leaf fineness and vigor, from the slender Fine Leaf and Grolau strains favored for pots and forcing, to the thick, easy-cutting Staro, to taller showy-flowered Forescate. Garlic chives (Allium tuberosum) are a separate species with flat leaves, a garlic flavor, and white late-summer flowers; they are tougher in heat and drought but self-sow aggressively. All are grown much the same way, so choice comes down to flavor (onion versus garlic), leaf form, and how much you value the flowers, while any chive self-seeds if you let the blooms set seed.
The ladder troubleshoots from the gentlest solution to the strongest. Start with the gentlest option and only move on when and if it doesn't work.
When a clump goes streaky and papery, cut it right down to the base and carry the trimmings out of the garden. The insects leave with the blades you take off, and chives push up fresh green leaves that start clean.A hard shear to the base is the reset for a marked clump: it carries the resident population out with the foliage and forces clean regrowth. Remove what you cut rather than leaving it at the edge of the bed, and treat it as the first move in a heavy year rather than the last.
A jet from the hose knocks thrips loose while numbers are still low. Point it down into the crease where the blades overlap, because they feed tucked in there rather than out on the open leaf. Do it in the morning so the foliage has the day to dry.Thrips sit down in the leaf axils, the folds where one blade wraps the next, so aim the jet into those folds rather than across the open blade. Use it as the physical knock-down under light pressure, in the morning so leaf wetness does not carry into the evening.
Lacewings and minute pirate bugs, two small helpful insects that feed on thrips, do steady work on a chive clump. Leave them room by holding off on broad insect sprays, which take them out along with the pest.Conserving the resident predators, minute pirate bugs and lacewings among them, is the standing control on a crop where the feeding damage is usually cosmetic. A broad-spectrum material costs more here than the streaking does, since it removes the enemies holding the population flat.
If streaking keeps spreading after the water and the shear, insecticidal soap on the leaves is the next step. It works only where it lands, so wet the folds the thrips are sitting in. Give harvested blades a rinse before they go in the kitchen.Soap is a contact material and the leaf axils are the hard part of the coverage, so a pass that misses the folds misses much of the population. It can burn foliage above 90°F or on a drought-stressed clump, which is the same hot, dry weather thrips build in, so water first and spray in the cool part of the day. Rinse harvested leaves.
Spinosad is a stronger organic spray, worth considering only in a bad year that has run past soap. It is hard on bees while it is fresh, so spray at dusk and keep it off a clump that is in flower. Rinse the leaves before you use them.Spinosad is the step past soap for a season when thrips pressure warrants it, and it comes after the shear, the water pass and the conserved predators rather than instead of them. It is hard on bees while wet and for roughly a day after, so the pass goes on at dusk, on a clump that is out of bloom, and the leaves are rinsed before use.
The bottom rungs are products with label rules: timing, pollinators, and days to wait before harvest. Before you spray →
The ladder troubleshoots from the gentlest solution to the strongest. Start with the gentlest option and only move on when and if it doesn't work.
Put a new chive planting on ground that has not just carried alliums, the onion family that chives, onions, garlic and leeks belong to. Starting away from a spot that was mined last season cuts what carries over into the new plants.Siting a new planting away from allium ground that was mined recently lowers what carries over into it, and keeping it apart from other allium beds under pressure does the same for what arrives from outside. The fly is specific to the onion family and works two flights a year, spring and fall.
Any blade carrying a wavy pale tunnel, or the line of white dots punched down it, should come off the plant and go out with the trash rather than onto the ground beside the bed. The maggots, and the brown seed-shaped pupae that are the resting stage between maggot and adult, sit inside that tissue at the leaf bases. Clear plant debris off the bed too.Mined foliage carries the larvae, and the puparia lodge in the leaf sheaths, so stripping it removes the developing generation rather than tidying the clump. Sanitize crop residue on the same pass, and destroy what you take off. Larval wounds also open the way for secondary bacterial and fungal rots, which is a second reason not to leave mined leaves standing.
Floating row cover is a light fabric you lay over the planting; sun and rain pass through and the fly cannot. It must go on before each flight: in early spring ahead of the first flies, and again before September for the fall flight, since a cover laid after eggs are in the leaves shuts nothing out. Tuck the edges in. Do not lay it over a bed that grew onion-family plants last year, or you seal emerging flies in with the chives.Phytomyza gymnostoma has two flights, roughly March into May and September into October, and the cover only works if it is up ahead of each one; adults lay into leaves they can reach, so exclusion laid after the rows of white punctures appear is late. Seal the edges. Put it on ground that carried no alliums last season; a cover over last year's mined bed traps the emerging flies under it with the crop.
Where the flies are heavy, spinosad is a stronger organic spray that can help. Bees are harmed by it while it is fresh, so spray at dusk and skip any planting that is in flower.Spinosad is the stronger organic material for a planting where leafminer pressure runs high, and it follows exclusion and the removal of mined foliage rather than standing in for either. Bees are at risk while it is wet and for roughly a day after, so apply at dusk and only to a planting that is not in bloom.
The bottom rungs are products with label rules: timing, pollinators, and days to wait before harvest. Before you spray →
The ladder troubleshoots from the gentlest solution to the strongest. Start with the gentlest option and only move on when and if it doesn't work.
Give chives a spot away from wherever onions, garlic, leeks or chives grew last year, and do not set a new clump back into that ground. The fly passes the winter as pupae, its resting stage, in the soil around last year's onion-family plants, and in spring the new flies climb out of that same ground, so a bed across the garden keeps the clump out of their way.Rotate off last season's allium ground and keep the new planting at a distance from it, not merely out of it. Delia antiqua overwinters as pupae in the soil around the previous year's alliums and the first spring generation emerges from that soil, so proximity to an old allium bed is what exposes a new clump. With no home-garden insecticide for larvae in the crown, siting carries much of the weight.
Clear old bulbs, culls (the small or damaged plants you pulled and did not use) and any onion-family plants that came up on their own out of the bed and out of the garden, because rotting onion material is what draws the fly in to lay. If a clump is wilting with maggots in its base, dig it up roots and all and get rid of it. In spring, keep fresh manure out of the bed for the same reason.Sanitation works on the attractant and on the overwintering stage at once. Culls, volunteer alliums and rotting organic matter, fresh manure and green manure included, draw egg-laying, so clear them and hold manure out of the bed in spring; plants lifted in fall with their roots carry the pupae out of the ground with them. Rogue infested plants with the root ball and destroy them, since no home-garden insecticide reaches larvae already in the crown.
Put floating row cover on the day the chives go in, before the spring flies are out. It is a light fabric that lets sun and water through, and with the edges buried the fly cannot reach the base of a plant, which is where it lays. Use it only on ground that did not grow onions, garlic, leeks or chives last year: a bed that carried them last season has flies waiting in its soil, and a cover seals them in with the crop.Timing and seal decide this one. Delia antiqua lays at the base of the plant, so the fabric goes on from planting, sealed at the edges, ahead of the spring flight; put on after the first generation has laid, it protects little. Rotation is its precondition: the pupae sit in the soil around last season's alliums, so a bed that carried alliums last year has the next generation under the fabric from the start, and sealing it traps them with the crop.
No spray for this one. Prevention is the control.
The ladder troubleshoots from the gentlest solution to the strongest. Start with the gentlest option and only move on when and if it doesn't work.
Give clumps room, and split crowded ones, so air moves through the leaves. This disease runs where damp foliage stays damp, and a stand that dries quickly is a poorer place for it.Dividing crowded clumps and spacing them shortens the leaf wetness this oomycete depends on. It favors cool, humid weather, below about 75°F, and a dense stand holds exactly those conditions, so the layout decision is made before the weather arrives rather than in response to it.
Site chives where water drains away and the sun reaches them. Soggy, shaded ground holds the dampness this disease needs, and a crowded planting on wet ground is where it spreads fastest.Poorly drained ground holds the moisture that sustains the pathogen, so drainage and exposure are worth settling before a clump goes in. On heavy or low-lying ground, correct that first rather than leaning on spacing and watering to make up for it.
Deliver the water down at the soil line and keep it off the foliage. This disease travels on the wind, so you cannot keep it from arriving, but it needs wet leaves to take hold, and watering low keeps the blades dry for as long as the weather lets you.Basal irrigation holds leaf wetness to what the weather imposes. The pathogen arrives on the wind and needs a long wet period on the blade to infect, so this is the practice half of the defense that spacing sets at planting.
Take off affected leaves as you notice them, and if a clump is badly hit, cut it to the base so it regrows once the weather turns drier. Get the cuttings out of the garden.Strip infected foliage, and shear a heavily affected clump so the regrowth comes on under drier conditions. Once it is established the home garden has no reliable cure, which is what puts the weight on removing tissue and on spacing, drainage and dry foliage.
No spray for this one. Prevention is the control.
The ladder troubleshoots from the gentlest solution to the strongest. Start with the gentlest option and only move on when and if it doesn't work.
Thin out a crowded planting and split big clumps so air can move between the blades. Rust shows up most in wet seasons and in crowded stands where the leaves stay damp, so the room you give them at planting is the first thing that works against it.Puccinia rust is favored by moisture and by a dense stand, and the two arrive together in a clump that has closed up. Divide to open it, and set spacing so the blades dry quickly after rain, since the urediniospores travel on air and need humid weather to take; the layout cannot stop arrival, only shorten the wet period they land in.
Hold back on nitrogen fertilizer. Rust is worse on over-fed plants, because the lush growth heavy feeding pushes is what the fungus does best on, and a clump fed hard grows dense again, closing up the airflow you opened. Feed chives lightly, and keep nitrogen moderate rather than heavy.Excess nitrogen is one of the three conditions this rust is tied to, alongside moisture and crowding, and it feeds the other two: lush growth is the tissue the fungus favors, and a heavily fed clump closes back up and holds its leaves wet longer. Keep nitrogen moderate from the start of the season rather than cutting it once pustules show, since by then the growth is already there.
Put the hose at the base of the clump instead of sprinkling over it. Watering from above leaves the blades wet, and a wet leaf in humid weather is where the orange spots get started, so keep the foliage as dry as the weather allows.Irrigate at the soil line. The urediniospores arrive on the wind, so this does nothing to stop them landing; what it changes is how long the blade stays wet once they have, and humid, wet foliage is the condition they need. Overhead watering adds hours of wetness the weather did not impose, and that is the part of the wet period the gardener controls.
Cut off leaves with orange spots and throw them away, or, if the rust is all through the clump, shear the whole thing to the base so it comes back clean. Do it as soon as you see the spots, before they spread. At the end of the season, clear the dead leaves and trimmings out of the bed.A hard cut to the base removes the pustules with the foliage and the clump regrows clean; for a light case, taking off the spotted blades early, before it spreads and before heavy infection yellows the leaves, is the move. Get the cut material out of the bed rather than dropping it beside the clump, and clear the debris at season's end. Fungicides are rarely warranted on a home planting.
No spray for this one. Prevention is the control.
The ladder troubleshoots from the gentlest solution to the strongest. Start with the gentlest option and only move on when and if it doesn't work.
Start with clean plants from a source you trust, and do not bring in soil from a garden that has had this disease. An affected spot cannot be cured, so what you settle before planting counts for far more than anything you do afterward.Clean, sclerotia-free stock is settled at purchase, and it carries more weight on this disease than on most because an infested site has no rescue. Sclerotia are the fungus's resting bodies, and a dirty division or a scoop of imported soil is how they arrive in a clean bed.
If a spot has had white rot, keep chives, onions and garlic out of it and put new onion-family plants on fresh ground. What the fungus leaves in the soil is a scatter of hard black survival bodies the size of poppy seeds, and they wait there for many years until another allium arrives.Long rotation is the standing management, and its length comes from the sclerotia, which persist for many years and can leave a site unusable for alliums for a decade or more. Treat infested ground as quarantined from the onion family rather than as a bed on a rotation clock.
Dig up a plant with white rot together with the soil around its roots, and get rid of both; the plant will not recover, and the soil now carries the fungus. Wash the soil off your tools before you work in another bed, and do not move that dirt, or plants from it, anywhere else in the garden.Rogue out infected plants with the surrounding soil: the sclerotia form in abundance at the base alongside the white mycelium, and they move on soil, on tools and on planting material. Sanitize tools after working the infested spot and do not carry divisions or soil out of it; on this disease sanitation is containment, keeping a decade-long problem to the bed that has it.
No spray for this one. Prevention is the control.
The ladder troubleshoots from the gentlest solution to the strongest. Start with the gentlest option and only move on when and if it doesn't work.
Divide crowded clumps and give each one room, so air moves through the leaves and they dry after rain or watering. This blight only gets going when the leaves stay wet for most of a day in cool weather, and a crowded, still planting is exactly where they stay wet that long.Botrytis squamosa infects only where leaf wetness lasts 20 hours or more, and a dense chive stand with poor air circulation is what supplies that duration; the spores are airborne, so arrival is not the variable, drying time is. Divide and space so the canopy dries well inside the 20-hour window after rain or irrigation, and keep dividing as the clumps close up, since spacing set at planting drifts on a perennial.
Water at the soil line rather than over the leaves, and do it at a time of day that lets the blades dry off before night. The spots form only after the leaves have been wet for most of a day, so watering that wets the foliage in the evening hands the fungus the long wet stretch it needs.Irrigate at the soil line and time it so the foliage is dry before night, since the infection threshold is 20 or more hours of leaf wetness and an evening overhead watering carries the wet period straight through the night. The spores are airborne, so watering low does not keep them off the leaves; what it buys is a shorter wet period, which on a perennial cut and regrown all season is the one variable the gardener sets.
If the leaves are spotting, cut the clump back hard and carry the cut leaves out of the bed rather than leaving them where they fall, so the new growth comes up clean. At the end of the season, clear away the dead foliage and any plants you pulled, because the fungus spends the winter in old chive leaves and starts from there next year.Shear the clump and remove the cut foliage instead of leaving it in the bed: sclerotia form on infected leaves, and they are the overwintering stage, persisting in the soil for months to years. Clear dead foliage, culls and debris at the end of the season for the same reason. Fungicides are seldom warranted on a home chive planting, so removal is the treatment, not a step before one.
If a bed has carried chives, onions, garlic or leeks with this blight, keep new plantings off it for three years. The fungus survives in the old leaves and debris left in that soil, so a fresh spot starts a new clump away from what is waiting there.Keep new plantings off ground that carried diseased alliums for three years. The sclerotia that overwinter on infected leaves, culls and debris persist in the soil for months to years, so the rotation length is set by their survival rather than by the crop's cycle, and it applies to where a new or divided clump is set.
No spray for this one. Prevention is the control.
Chives are in the onion family, so they can pick up the same soil diseases as onions and garlic. Since a chive clump stays in one place for years, just choose a spot where you have not grown onion-family plants recently, ideally after leafy greens or beans. Chives that flower drop seed, so pull up stray seedlings where you do not want them.Chives are an allium, so they share the onion family's soilborne diseases (white rot, pink root) and pests (onion maggot, thrips, allium leafminer). Standard allium guidance keeps the family off the same ground for several years, but chives are a permanent perennial, so the practical rule is to establish a new clump in ground that has not recently grown onions, garlic, or leeks, and to follow a leafy or legume crop rather than another allium. A clump left to flower self-sows freely, so pull stray seedlings that come up out of place.
The plant app sends a timely reminder at every critical moment of your chives season. The wording adjusts to whichever you pick: beginner or seasoned. Here are three you'll see in Zone 9.
plant sends the right notification at exactly the right moment, for your zone, your weather, your crops. Founding members lock the rate forever.
We're building this guide with real growers. Got a question we missed? Ask here. We read every one and add the best answers right to this page.
Learned something the hard way? Pass it on. Real growers' tips make this guide better for the next person, and we credit you by name when yours goes live.
If you've grown this crop and you see a date, a temperature, a companion claim, or a recommendation that doesn't match your experience, tell us. Real growers' corrections make this guide better for the next person.
Every date, temperature, spacing, and recommendation on this page is sourced from university cooperative extension publications, peer-reviewed agricultural research, NOAA climate data, and direct extension calendars. Where claims are softer (traditional gardening wisdom not formally documented), we say so.
Spot a data point that doesn't match your experience? Submit a correction; accepted corrections earn full author credit on the page.
Zone-aware seasonal nudges, what's worth planting now, and the occasional recipe from the harvest. No spam, ever.