Pick your zone and the dates re-calibrate.
The Guide Herbs Vol. 003

Mint

in Zone 12, this week

Mint is one of the easiest herbs to grow, and it comes back every year on its own. Unlike most herbs, it loves moist soil and even grows in part shade, so it is happy in a cool, damp spot. The one thing to know about mint is that it spreads like crazy, running underground and popping up everywhere, so almost everyone grows it in a pot or a buried, bottomless container to keep it from taking over the garden. Grow it from a small plant or a cutting, not from seed, keep it watered, and snip sprigs whenever you want; the more you cut it, the better it grows. Spearmint is the mild, sweet everyday mint and peppermint is the stronger, cooler one, and there are fun flavors like chocolate and apple mint too. Mint (Mentha) is a hardy herbaceous perennial grown for its aromatic leaves, and it breaks nearly every rule the Mediterranean kitchen herbs follow. Where rosemary and thyme want lean, dry, sun-baked ground, mint wants rich, moist to damp soil and happily takes part shade, thriving in low, cool spots that defeat other herbs. It is very cold hardy (Utah State rates it to about -20°F, roughly USDA zones 3 to 9 and beyond), planted once from a division, cutting, or transplant and returning every spring from its roots. Its defining trait is aggression: mint spreads fast by underground rhizomes and above-ground stolons, and every extension source says the same thing, contain it in a sunken bottomless pot or a lined bed or it will take over. Spearmint (Mentha spicata) is the mild, sweet all-purpose culinary type; peppermint (Mentha x piperita) is the stronger, cooler, menthol one; and named mints, being hybrids and selections, come untrue from seed, so they are grown from cuttings and divisions. Harvest is cut-and-come-again all season, and frequent shearing keeps the leaves tender and heads off flowering.
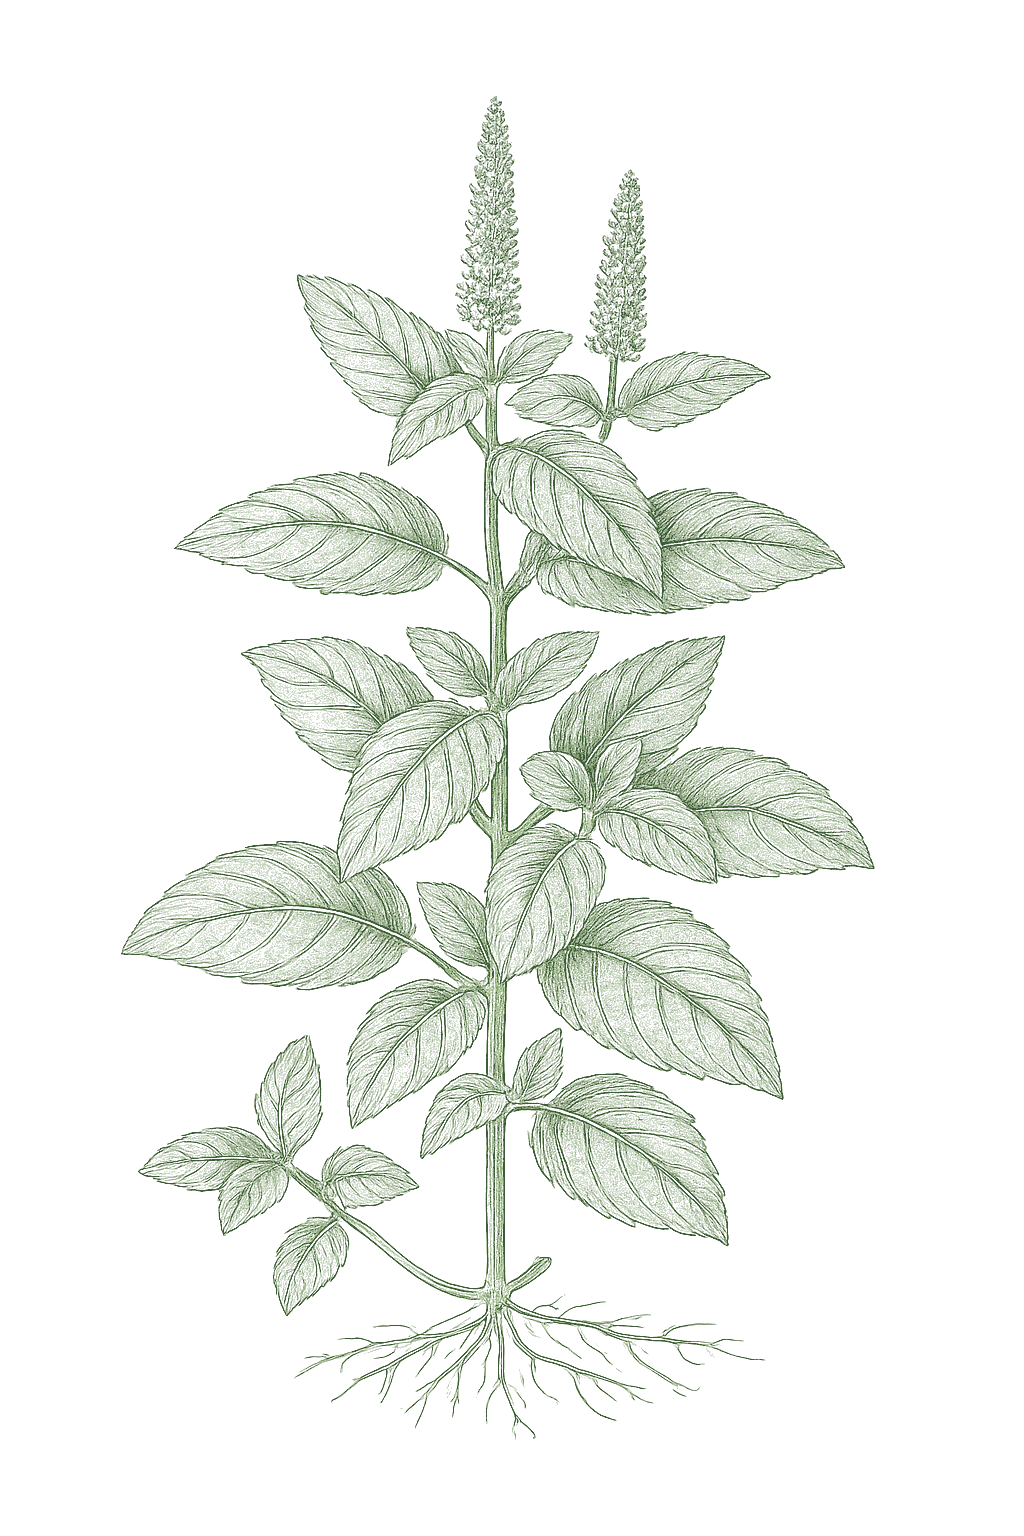
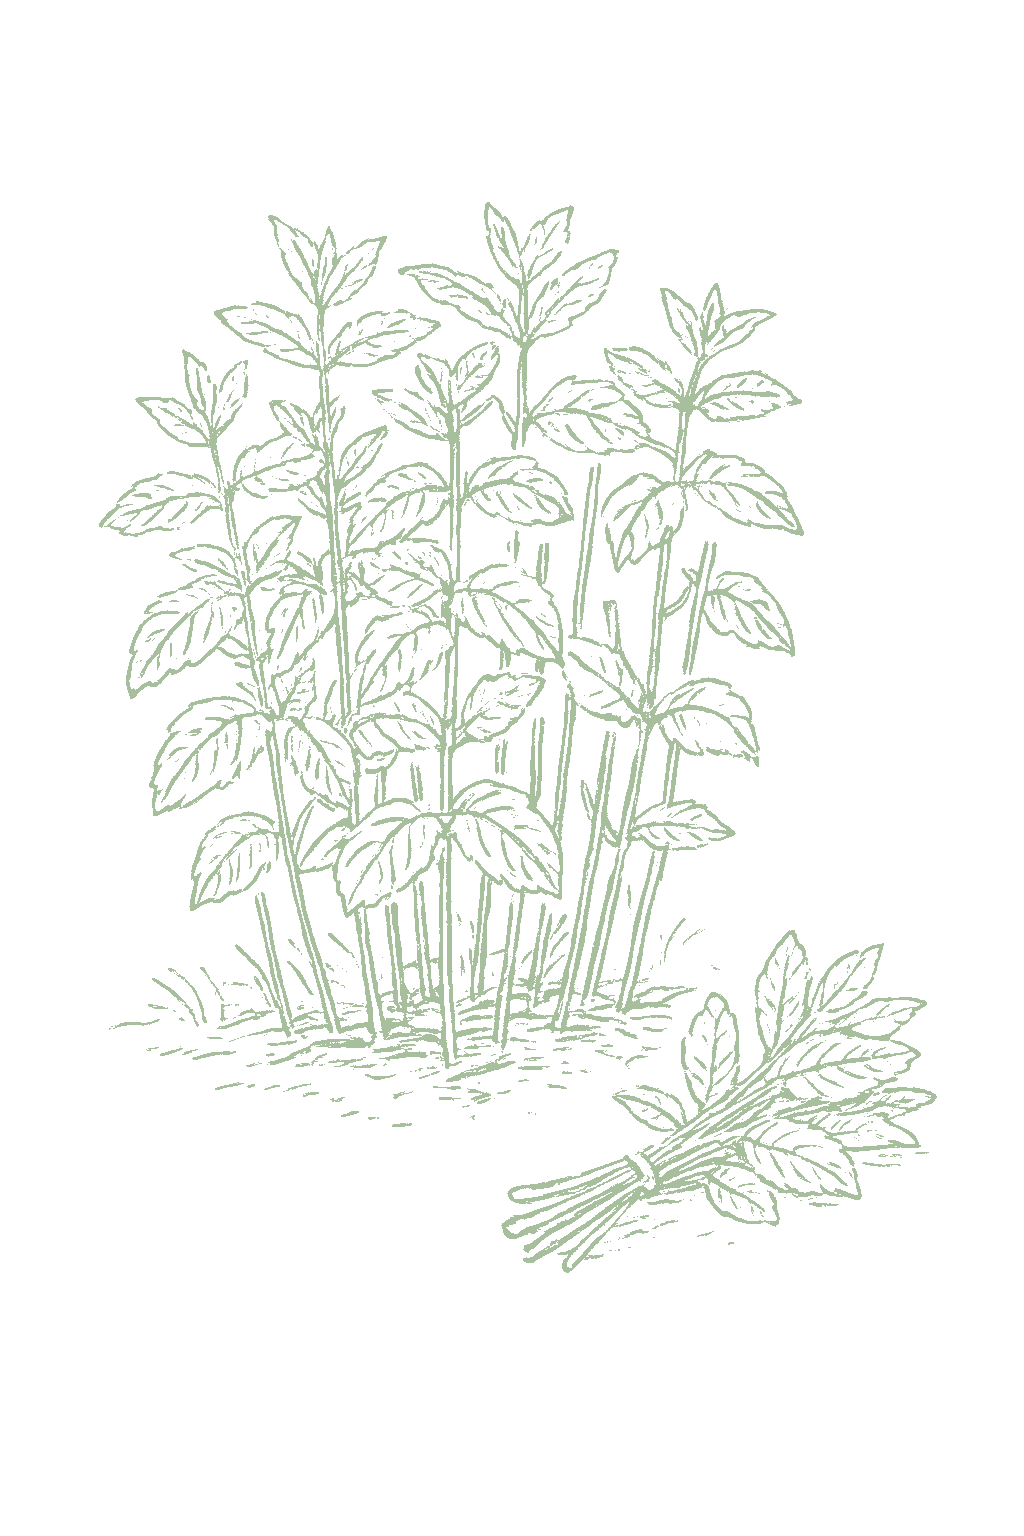
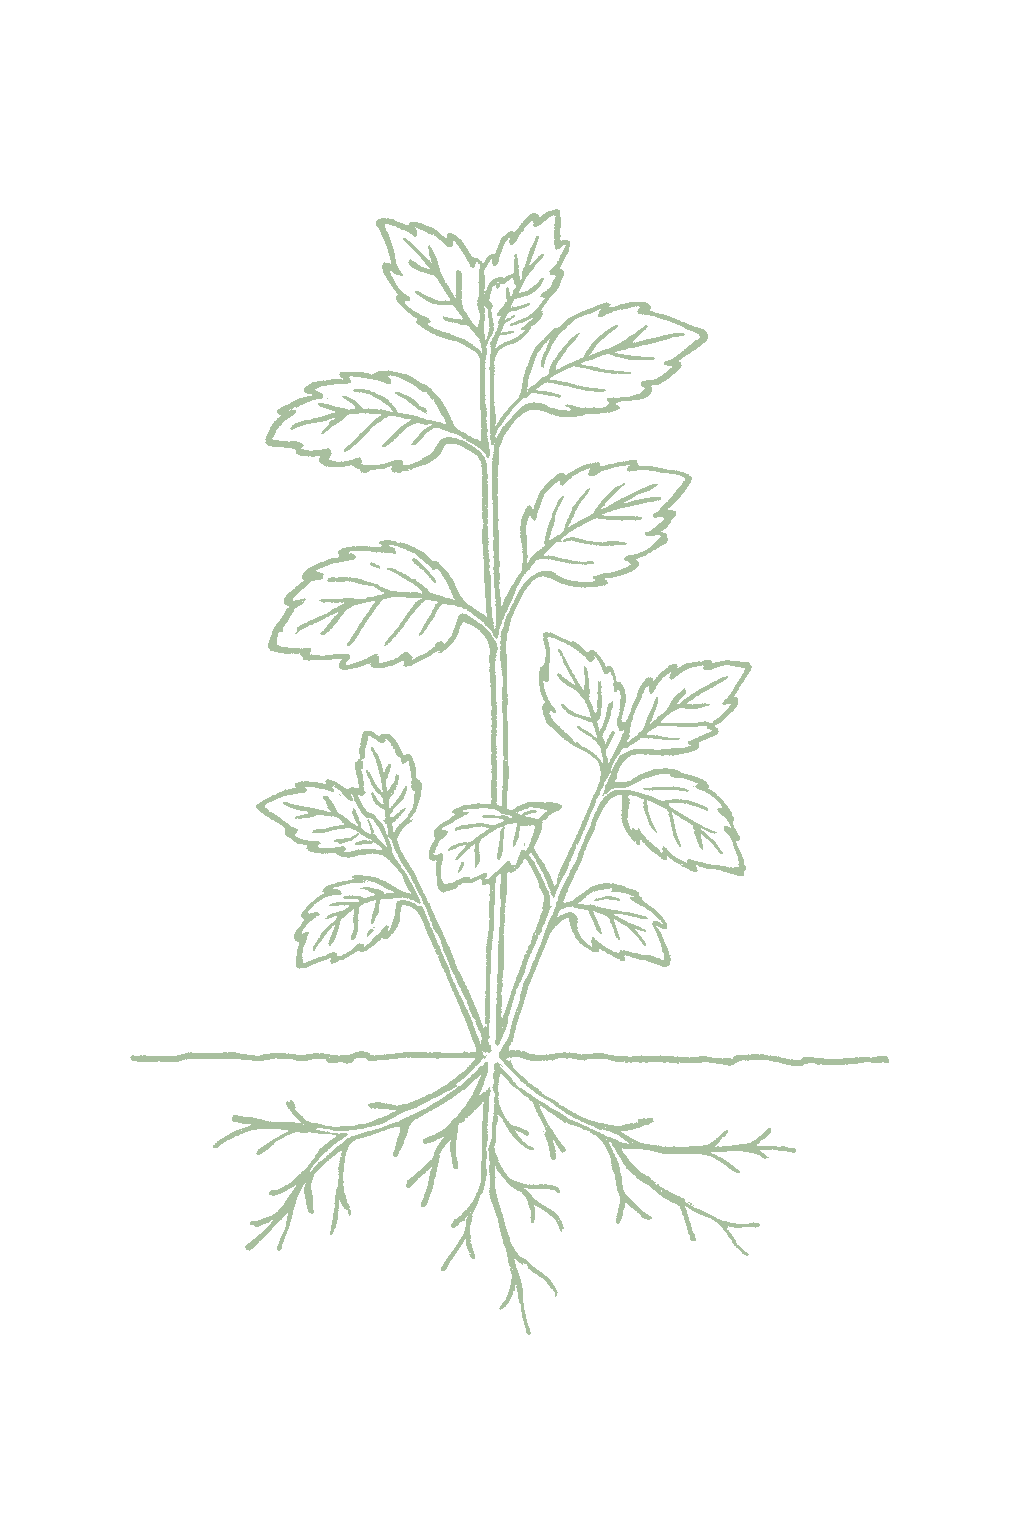
Mint mature plant
Fig. 01 · Mint, mature Zone 12
Mature in
50-70d
from transplant
Sunlight
Full sun to partial shade
4-8 hrs daily
Water
High
2 inches / week
Spacing
12-24"
between plants
Soil pH
6-7
slightly acidic
Today · in your zone

What's happening right now

July 24 · Zone 12 · Stage 01 · Establishment

Off-season for mint in zone 12.

The season at a glance

Planting calendar

In Zone 12, mint can be planted March. Harvest runs April through February.

Jan
Feb
Mar
Apr
May
Jun
Jul
Aug
Sep
Oct
Nov
Dec
plant
too early
too early
plant
too late
too late
too late
too late
too late
too late
too early
too early
too early
harvest
harvest
harvest
harvest
harvest
harvest
harvest
harvest
harvest
harvest
harvest
harvest
indoors
plant out
harvest
Above-ground cropBest planted on a none moon
The season, mapped

Seed to garden

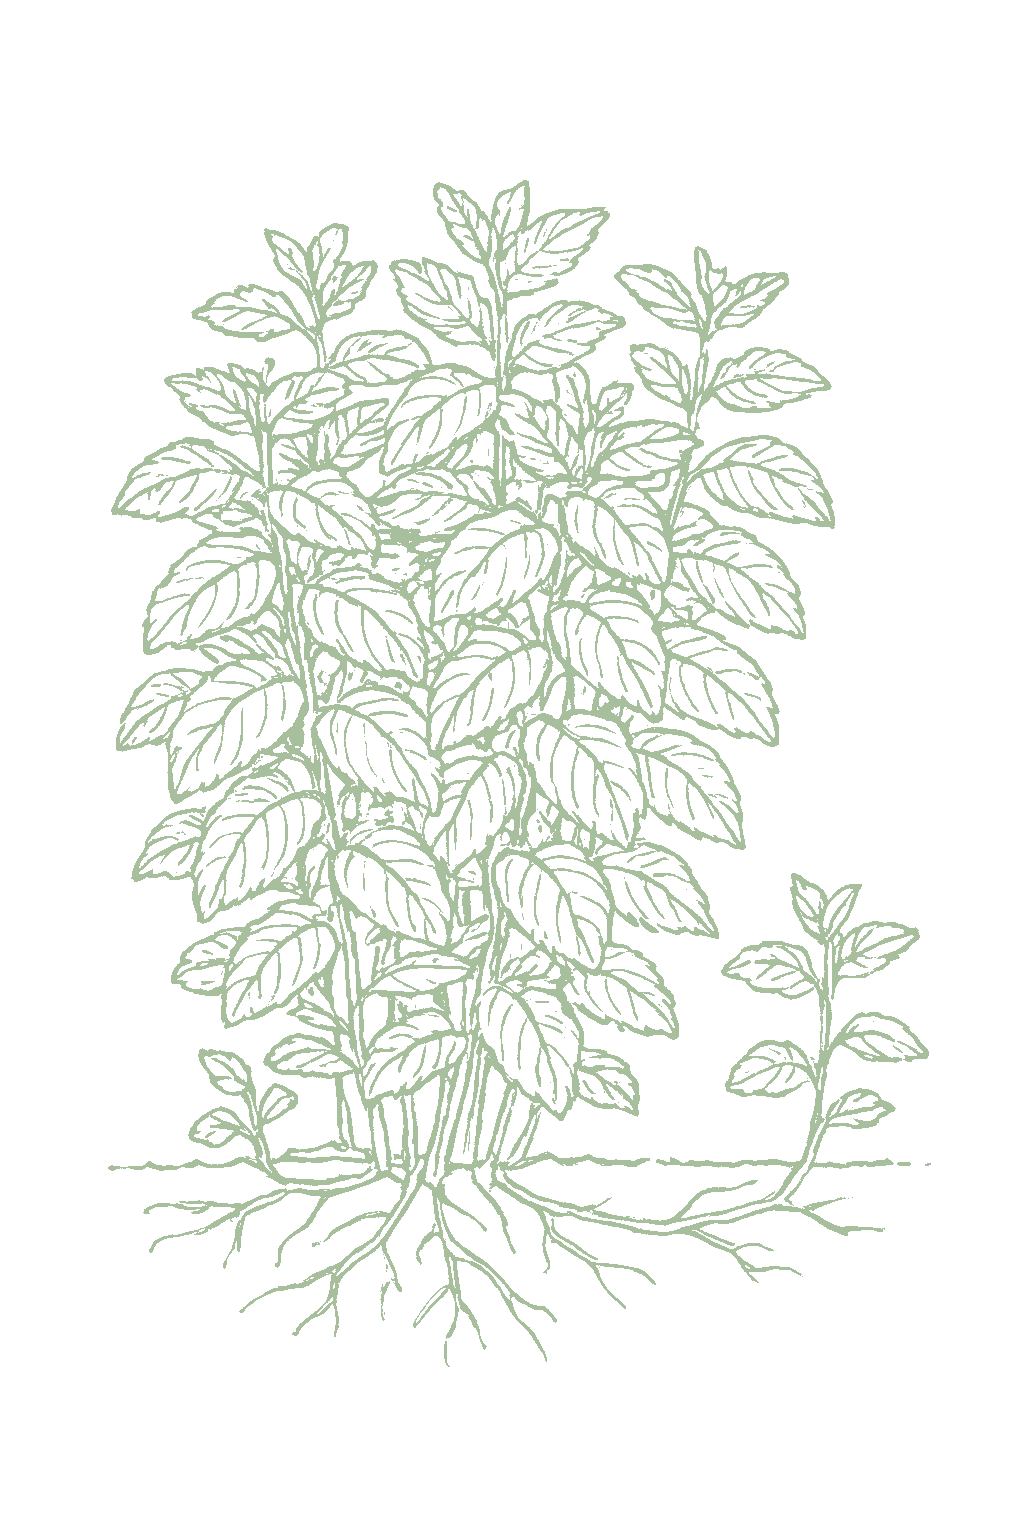
The easy way to start mint is from a small plant, a cutting, or a piece dug from a friend's patch, not from seed (seed-grown mint is a gamble and often tastes of nothing in particular). If you do want to try seed anyway, press the tiny seed onto the surface and do not cover it, since it needs light to sprout, and start it indoors about 6 to 8 weeks before your last frost. Just root a sprig in a glass of water or plant a division in spring. Because mint spreads fast, plant it in a pot or a buried, bottomless container so it cannot run through your whole garden.Start mint from a division, a rooted cutting, or a nursery transplant, not from seed: named mints such as peppermint are hybrids and, as Clemson notes, mint seed does not come true to type, so seedlings are variable. Divide and reset established clumps in early spring (Utah State, Minnesota), or root stem or stolon cuttings in water or moist mix at almost any time in the growing season (Wisconsin, Maryland). Set plants out around the last spring frost; mint is very hardy, so timing is forgiving. Whatever you plant, put it in a sunken bottomless pot or a lined bed, because mint spreads aggressively by runners. If you do start from seed, surface-sow it because the seed needs light to germinate, keep it around 60 to 70°F, and start indoors 6 to 8 weeks before setting out; expect the variable, off-type seedlings noted above.
Start method
Transplant
Soil temp
60-70°F
From seed to fruit

The growing journey

Stage 01 · Establishment
01
Establishment
Days 0-30 · current stage
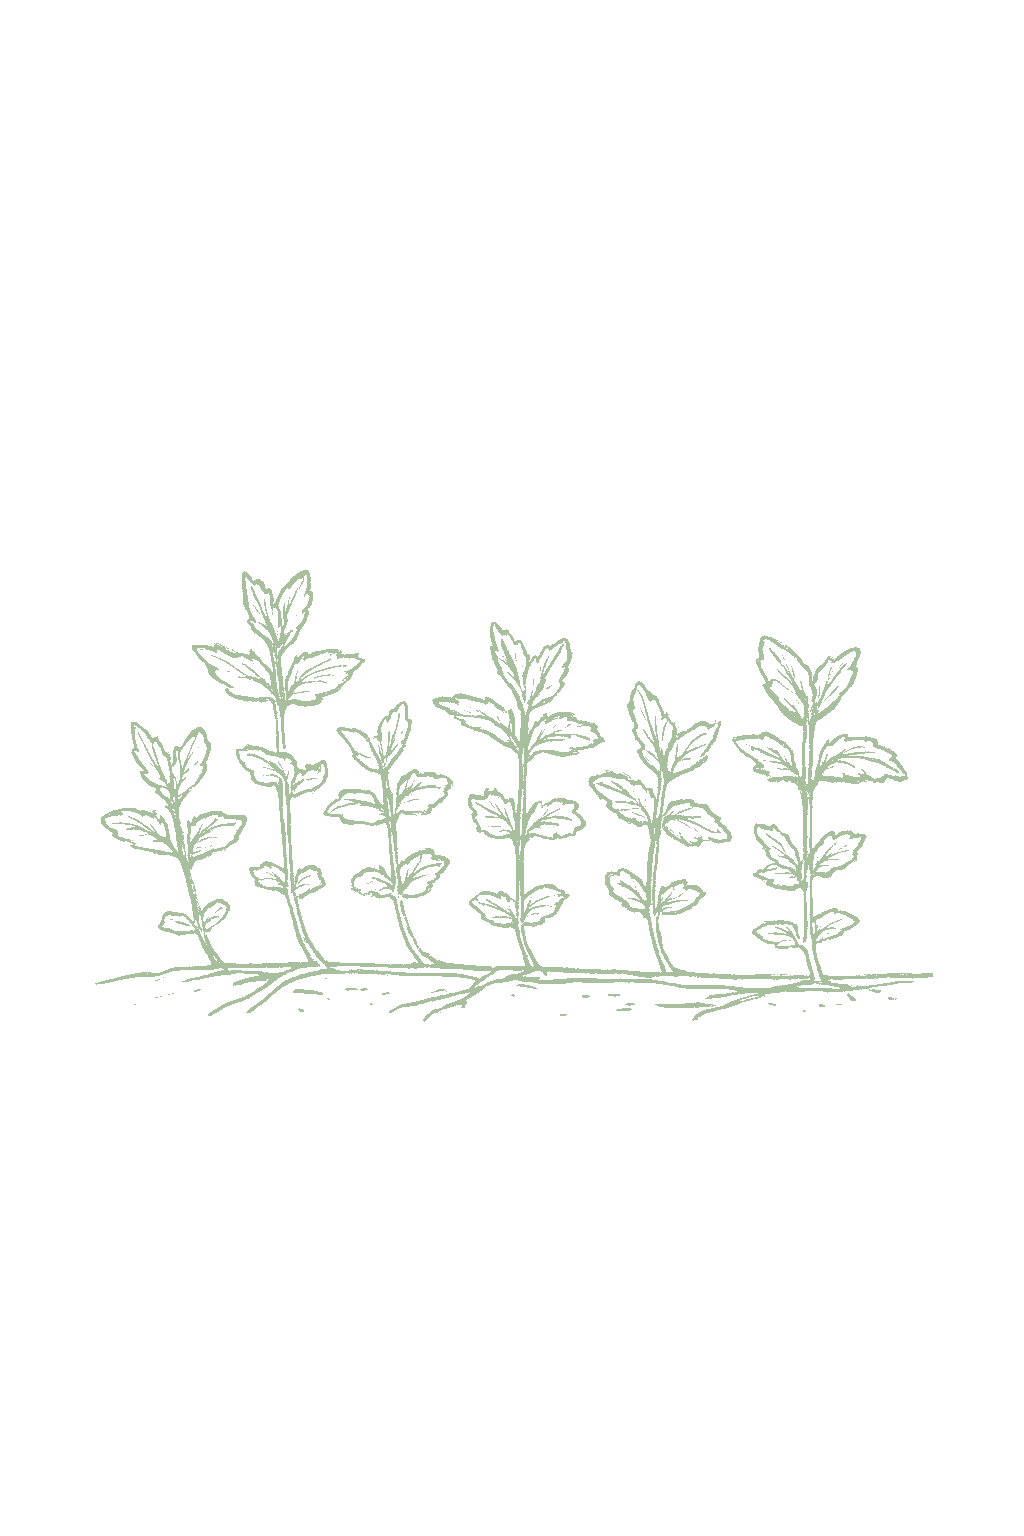
Your new mint plant starting to root in and push new leaves.A newly set division, cutting, or transplant putting out fresh roots and the first new shoots. Early growth is upright before the plant begins to run.
Water regularly so it does not dry out, and get it into a pot or a buried barrier now, before it runs.Keep the soil evenly moist while roots take hold, and make sure the plant is in its container or barrier before it starts to spread.
FROM PLANT · Plant mint from a cutting or a small plant, not seed, and put it straight into a pot or buried barrier so it cannot spread everywhere.Start mint from a division, a rooted cutting, or a transplant, not seed (named mints do not come true from seed), and get it into a sunken bottomless pot or a lined bed at planting. Containing it on day one is far easier than digging out runners later.
02
Vegetative spread
Days 20-60
Lots of new leafy stems and runners spreading out.Fast leafy growth as the plant sends out runners (stolons and rhizomes) and fills its space; this is when containment earns its keep.
Keep it moist, pinch the tips to make it bushy, and watch that it does not creep out of its pot.Keep it watered and, in part shade or hot regions, watch for scorch; pinch tips to encourage bushy growth and check that runners are not escaping the container.
FROM PLANT · Keep mint watered and pinch the growing tips so it gets bushy. Check the edges of its pot for runners trying to escape and pull them while they are small.Mint runs by shallow rhizomes and stolons and can colonize a bed fast. Keep it evenly moist (it has little drought tolerance), pinch the tips for bushiness, and patrol the edges of the container for escaping runners, which pull easily while young.
03
Harvest (cut-and-come-again)
Days 45-240
Full, leafy plants you can keep cutting from.Full, leafy stems you cut from repeatedly; take sprigs or shear the patch and it flushes back within a couple of weeks all season.
Snip sprigs as you need them, or cut the whole patch back by a third and it grows again. Pinch off flower buds to keep the leaves nice.Harvest by cutting stems back, never more than about a third at a time, or shear the whole patch to a few inches to force a clean flush; pinch flower buds to keep the leaves tender. Utah State harvests two to three times a season, cutting to within about an inch of the soil.
FROM PLANT · Pick sprigs whenever you want, or cut the whole plant back by a third and it grows again. Cutting it often keeps the leaves tender and stops it flowering.Harvest cut-and-come-again: take sprigs or cut stems back by up to a third, or shear the whole patch to about an inch above the soil, and it flushes back in a couple of weeks. Utah State cuts two to three times a season. Frequent cutting also keeps mint from flowering and going coarse.
04
Dormancy (dieback and overwinter)
Days 210-365
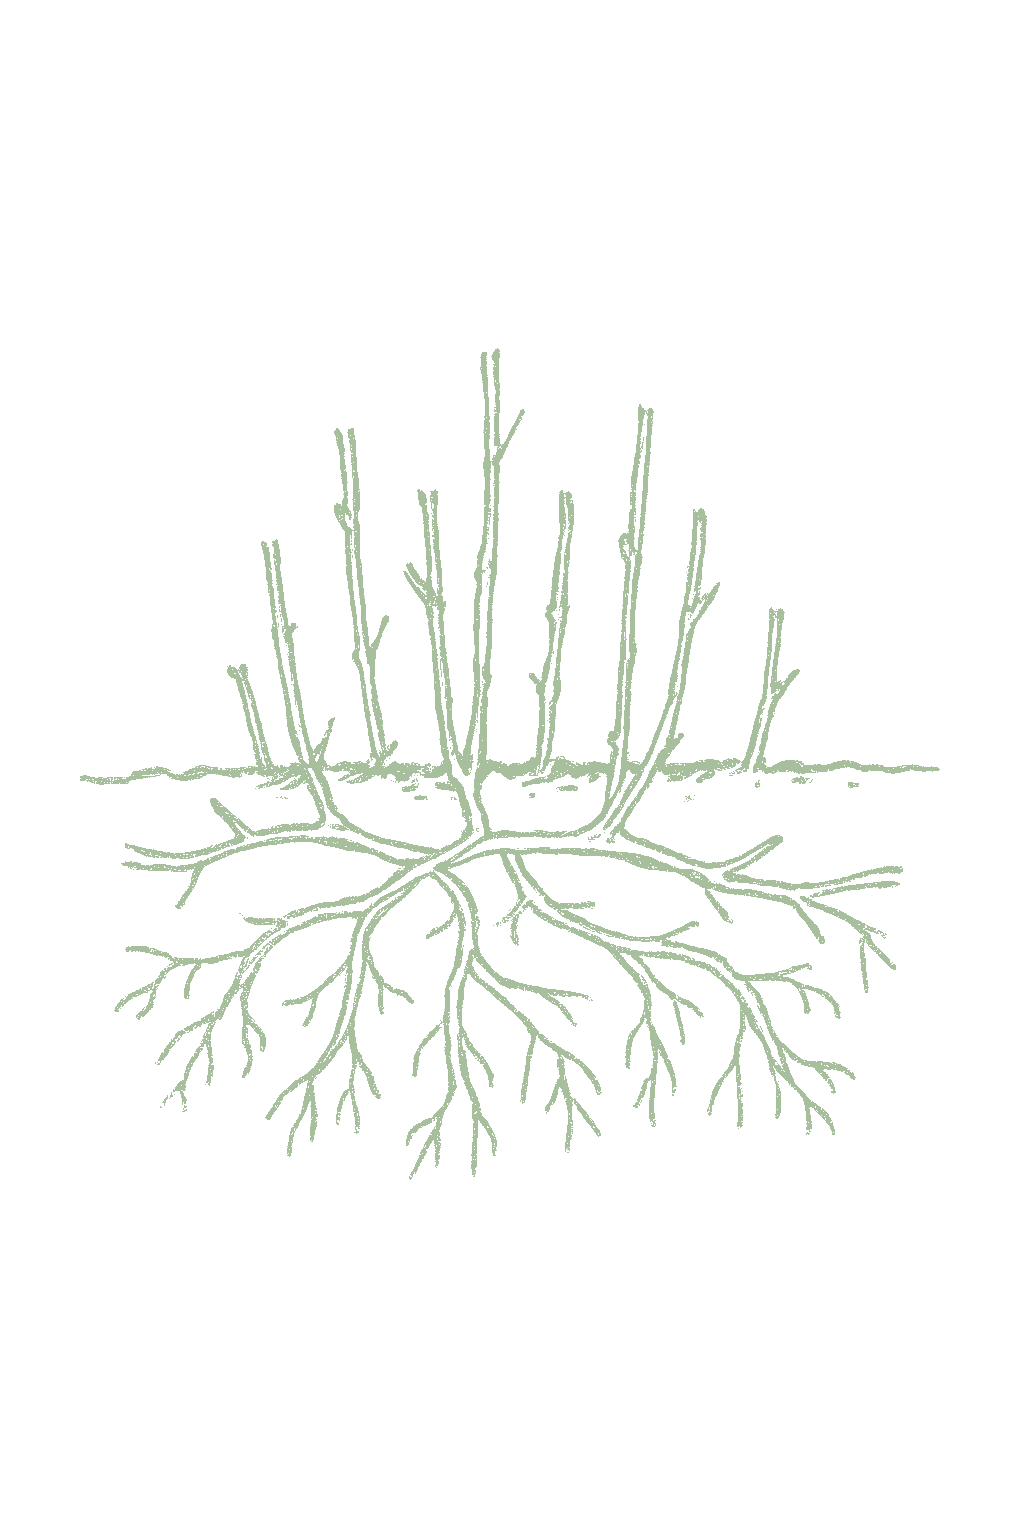
In cold areas the tops die back for winter; the roots stay alive underground.In cold zones the top growth yellows and dies back after frost while the roots and rhizomes overwinter; in frost-free zones the plant stays evergreen but slows.
After frost, cut the dead tops off and add a little mulch in cold areas. The plant is not dead; it will come back in spring.Cut the dead top growth back to the ground after a hard frost and mulch cold-zone or container plantings; the crown and rhizomes survive to about -20°F. Do not dig it up, it is not dead.
FROM PLANT · In cold areas, after frost cut the dead tops off and add a little mulch. The roots survive winter and the plant comes back in spring. Clearing the old leaves also helps prevent disease.In cold zones let frost take the tops, then cut the dead growth to the ground and mulch; the crown and rhizomes are hardy to about -20°F and overwinter fine. Cutting the old foliage back at season's end, as Wisconsin advises, also clears overwintering rust.
05
Spring regrowth
Days 365-420
Fresh new shoots coming up from the roots in spring.New shoots rising from the overwintered crown and rhizomes as the soil warms, the yearly restart of a perennial you planted once.
When new shoots appear, you can dig and split a crowded clump, add a little compost, and pull any runners that have escaped.This is the moment to lift and divide a crowded clump, refresh the soil with a little compost, and give a light spring feeding; thin escaping runners now while they are easy to pull.
FROM PLANT · When mint comes up in spring, dig up a crowded clump and split it, replanting the healthy outer pieces. Feed it lightly and pull any runners that got loose.Spring is renewal time: as shoots emerge, lift and divide a crowded clump and replant the vigorous outer pieces in refreshed soil (Utah State and Minnesota both divide in early spring), give a light balanced feeding, and thin any runners that escaped over winter.
Beginner
Know your soil

Your soil

Identify yours

Not sure what soil you have? Grab a small handful of damp soil from your garden bed and squeeze it. If it crumbles apart easily, it's sandy. If it holds together but breaks when you poke it, it's loam (what most vegetables want). If it stays in a hard, slippery ball, it's clay.

What this crop wants

Mint likes rich, moist soil and, unlike most kitchen herbs, it loves damp ground. Give it soil with some compost worked in and keep it evenly moist; it will even grow in part shade and in a low, wet spot where other herbs sulk. What it does not like is dry, sandy ground that dries out fast. Because mint spreads so fast underground, most gardeners plant it in a pot or a buried barrier so it cannot take over the bed.

If your soil doesn't match

You have sandy soil

Mix 2-3 inches of compost into the top 6 inches of your bed before planting. Compost holds moisture (which sandy soil drains too fast) and adds the nutrients sandy soil tends to lack. Repeat each season. Compost breaks down over time.

You have clay soil

Mix 2-3 inches of compost AND a few inches of coarse sand or perlite into the top 6 inches of your bed. The compost feeds the plants; the sand breaks up the clay so air and water can move through. Don't add sand without compost. It can compact like concrete.

Containers and raised beds

If amending your soil sounds like too much work, or if your soil is heavy clay, full of rocks, or contaminated, build over it. A raised bed at least 12 inches deep filled with a 50/50 mix of compost and sandy loam gives you ideal growing soil with no battles. A 5-gallon container with quality potting mix does the same for one plant at a time. Both bypass your native soil entirely.

Learn more about your soil
The specs

Care guide

The numbers that matter, at a glance.

Sunlight
Full sun to partial shade · 4-8 hrs/day
Water
High
Spacing
12-24 inches
Soil
loam, clay loam
Days to maturity
50-70 days from transplant
Soil pH
6 to 7
Container OK?
Yes · 2+ gal pot
Germination temp
60-70°F
Soil chemistry

Soil pH for mint

Preferred
6 to 7
Tolerated
5.5 to 7.5

Mint grows best in slightly acidic to neutral soil, about 6.0 to 7.0, and it is not fussy. Most garden soil is fine; a simple soil test tells you where you stand.Aim for a soil pH of about 6.0 to 7.0, slightly acidic to neutral. Utah State describes mint as preferring slightly acidic soil, NC State lists it as tolerant across roughly 6.0 to 8.0, and the University of Minnesota's general herb guidance is a well-drained soil near 6.0 to 7.5, so mint is forgiving and rarely needs any pH adjustment beyond a soil-test baseline.

Verified · 3 sources View
Steady hand on the hose

Watering

When & how much
Frequency
Water often enough to keep the soil evenly moist, about 1 to 2 inches a week. Mint likes damp soil, so do not let it dry out.Roughly 1 to 2 inches of water per week, kept even; mint is a moisture lover that must not dry out, and Utah State advises 1 to 2 inches per week while cautioning against overwatering, which invites disease.
Amount
Aim for about 1 to 2 inches a week, more when it is hot or in a pot. Keep the soil damp but not swampy.About 1 to 2 inches per week, more in heat and in containers, which dry fast; the goal is steady, even moisture rather than a soak-and-dry cycle. Mulch helps hold it.
Method
Water at the base of the plants rather than over the leaves, which helps prevent the leaf diseases mint is prone to.Water at the soil line with drip or a soaker hose; keeping the foliage dry checks mint rust, powdery mildew, and leaf spot on a crop eaten fresh, which Utah State reinforces with its drip-irrigation and no-overnight-wet-leaves advice.
Signs of trouble
Too much water
Lower leaves yellow and the plant can rot at the base if the soil stays soggy, and wet leaves bring on leaf diseases.Yellowing lower leaves and root or crown rot in ground that stays waterlogged, plus more rust and mildew where the foliage stays wet; mint tolerates damp soil but not standing water.
Too little water
Wilting, dull leaves and more spider mites when the soil dries out. Mint does not handle drought well, so keep it watered.Wilting, dull or bronzed leaves, and a spike in spider mites; sustained drought stress checks growth and, in hot dry regions, scorches the foliage, since mint has little drought tolerance.
Feeding rhythm

Feeding

Frequency
Once or twice per season
Type
Balanced granular fertilizer
When to start
a light feeding in early spring as growth resumes, with a second light feeding midseason only if the patch looks pale

Mint does not need much feeding, and too much makes it flop and lose flavor. Mix a little compost or balanced fertilizer into the soil in spring, then leave it alone. If you grow it in a pot, feed lightly with a diluted liquid fertilizer every few weeks, since watering washes nutrients out.Mint is a light feeder and is easily overfed. Utah State suggests about one teaspoon of a balanced 16-16-16 fertilizer per plant in early spring as growth resumes; a compost-rich bed often needs no more than a light topdressing. Go easy, because rich soil and heavy nitrogen push soft, floppy stems and thin the essential oils that carry mint's flavor and aroma, a point Wisconsin Horticulture makes for mints grown in lean ground. In a container, where frequent watering leaches nutrients, a dilute liquid feed every few weeks through the growing season keeps the leaves green.

N · P · K = 16-16-16

Use a balanced fertilizer such as 16-16-16, just a light feeding in spring. Do not overdo it; too much makes mint floppy and bland.A light, balanced feed is all mint wants: about a teaspoon of 16-16-16 per plant in early spring, or a compost topdressing. Avoid heavy nitrogen, which makes the stems floppy and waters down the flavor.

Try 16-16-16 or a balanced all-purpose fertilizer, or a topdressing of compost
Who grows well together

Companion planting

Mint has a real gift and a real hazard as a companion. Its strong scent is said to confuse pests like cabbage moths, aphids, and flea beetles, and when it flowers it draws in bees and helpful insects. The hazard is that mint spreads so aggressively it will smother its neighbors, so the golden rule is to grow it in a pot, even when it is near the plants it helps. Keep it away from chamomile and other quiet herbs it would overrun, and away from your other mints so the flavors stay distinct. Mint's companion value is mostly aromatic and pollinator-based: its volatile oils are traditionally credited with deterring cabbage moths, aphids, ants, and flea beetles, and a flowering patch is a strong nectar source for bees and predatory insects. The overriding practical fact, though, is its aggression, so any interplanting benefit is realized by sinking mint in a container next to the crop rather than letting it loose in the bed. The well-grounded cautions are structural: keep mint out of the open ground near less vigorous herbs (chamomile, and slower perennials) that it will overrun, and keep different mints separated to preserve their distinct flavors and to slow shared rust.

Other
Brassicas (cabbage, broccoli, kale)
Mint's strong smell is traditionally said to put off the cabbage moths and flea beetles that attack cabbage-family plants. Grow the mint in a sunken pot nearby so it helps without taking over.A traditional aromatic pairing: mint's essential oils are long credited with masking or deterring cabbage moths and flea beetles on brassicas. Sound by mechanism and tradition rather than a measured trial, and only safe if the mint is contained. Traditional
Tomatoes and peppers
Mint is often planted near tomatoes and peppers to help repel aphids and other pests with its scent, and its flowers bring in helpful insects. Keep it in a pot so its roots do not invade.A traditional aromatic and beneficial-insect pairing; the caution is that tomatoes, peppers, and mint share Verticillium, so a contained mint next to them must not later be planted into that soil. Traditional
Pollinators and beneficial insects (when flowering)
If you let some mint bloom, the flowers feed bees, hoverflies, and other good bugs that also eat garden pests. Let one contained clump flower for them.A genuine insectary function: a flowering mint patch recruits bees and aphid-eating hoverflies and parasitoids, the same mechanism extension services cite for flowering herbs. Realized best by letting one contained clump bloom while others stay cut. Well-grounded
Keep apart from
Other mints and quiet herbs (chamomile, marjoram) Do not plant mint loose in a bed next to gentler herbs like chamomile or marjoram, because mint will run over them. And keep different mints apart, or their flavors blur together and they trade diseases.The signature caution: mint's rhizomes overrun less vigorous neighbors, so keep it out of open ground beside chamomile, marjoram, and slower perennials. Separate different mints to preserve distinct flavors and to slow the rust that congestion spreads. Extension-supported (contain mint) rather than folklore. Research-backed
Provenance tagged inline · see methodology for the labeling system Key
Harvest signals

When to pick

Mint is ready to pick once the plants are a few inches tall and leafy, which happens fast. Snip sprigs whenever you need them, or cut the whole plant back by a third and it grows again. Pick in the cool morning for the best flavor, and cut it before it flowers, since the leaves get tougher once it blooms.Mint is ready to harvest once the plants are several inches tall and full, usually within weeks of establishing. Utah State picks when stems reach 3 to 4 inches and cuts two to three times a season, taking the stems to within about an inch of the soil; for everyday use, take sprigs or cut stems back by up to a third and the plant flushes again in a couple of weeks. Harvest in the cool morning for the best oils, and cut before or during flowering, since the leaves coarsen once it blooms.

Verified · 3 sources View
Yield

What to expect

One mint plant quickly becomes a whole patch and gives you more than you can use, so one or two plants are plenty. It comes back bigger each year.A single mint plant becomes a spreading patch within a season and, cut repeatedly, yields far more than a household uses; one or two contained plants supply a kitchen. Yield builds year over year as the clump thickens, which is also why division and renewal matter.

Mint produces from spring through fall, and almost all year in mild climates. Keep cutting it and it keeps coming.Production runs from late spring through fall in cold zones and nearly year-round in frost-free ones, dipping only in the hottest arid summers and in winter dormancy. Regular shearing keeps the flushes coming and the leaves tender. Mint is very easy to grow the first year. The only real mistake is not containing it. Plant it in a pot in moist soil, keep it watered, cut it often, and it comes back every year.Mint is one of the easiest crops to succeed with in year one, so easy that the beginner mistake is not failing to grow it but failing to contain it. Plant a division or cutting in moist, part-shade ground inside a barrier, keep it watered, cut it often, and it establishes fast and returns every spring for years.

What changes yield
Containment: the single biggest decision is a sunken bottomless pot or a lined bed, since uncontained mint takes over and becomes hard to remove.Even moisture and part shade: mint is a moisture lover with little drought tolerance and, unusually for an herb, tolerates and even wants some shade, especially in hot regions where full sun scorches it.Harvest and shearing: frequent cutting keeps leaves tender, prevents flowering, and forces fresh flushes all season.Renewal: dividing and resetting the patch every few years in clean ground restores vigor and outruns mint rust, verticillium wilt, and root pests.Restraint with fertilizer: rich soil and heavy nitrogen make floppy, less flavorful growth, so feed lightly.
Verified · 2 sources View
Pick your variety

Recommended varieties

Pick mint by how it tastes, since they all grow the same. Spearmint is the mild, sweet everyday mint and the easiest; peppermint is stronger and cooler. There are fun flavored kinds too, like chocolate, apple, orange, and mojito mint. Grow any of them from a cutting or a division, not from seed, because seed-grown mint is unpredictable. And whatever you pick, give it a pot so it does not take over.Choose mint by flavor, since culture is nearly identical across the genus. Spearmint (Mentha spicata) is the mild, sweet all-purpose culinary mint and among the hardiest; peppermint (Mentha x piperita) is the stronger, cooler, menthol type and, as a hybrid, must be grown from cuttings or division rather than seed. Flavored selections such as chocolate, orange or bergamot, apple or woolly (and its variegated pineapple mint form), and mojito mint (Mentha x villosa) all grow the same way. Because named mints are hybrids or selections, Clemson notes mint seed does not come true to type, so propagate every one of these from cuttings, divisions, or transplants. Keep different mints apart if you want to preserve distinct flavors, and contain every one of them.

Spearmint (Mentha spicata)
The classic culinary mint, mild and sweet; the traditional choice for tea, mint juleps, tabbouleh, and lamb. One of the easiest and hardiest mints. Propagate from cuttings or division.
Peppermint (Mentha x piperita)
Stronger, cooler, and more menthol-forward than spearmint, with a candy-cane note; a natural hybrid of water mint and spearmint. Being a hybrid, it does not come true from seed, so grow it from cuttings or divisions.
Chocolate mint
A peppermint selection with a dark stem and a cocoa-and-mint aroma; popular for desserts and drinks. Grown from cuttings or division.
Apple or woolly mint (Mentha suaveolens)
Soft, fuzzy, round leaves with a fruity, mild apple-mint flavor; the variegated pineapple mint is a form of it. Tolerates some shade and is a bit less aggressive than spearmint.
Mojito mint (Mentha x villosa)
The traditional Cuban mint for mojitos, milder and less biting than peppermint, with a warm, almost bubblegum note. Grown from cuttings.
Orange or bergamot mint (Mentha x piperita citrata)
A citrus-scented peppermint form used in teas, fruit dishes, and drinks. Like other named mints it is propagated vegetatively, not from seed.
Off the vine

Storing your harvest

Room temp
Do not leave cut mint out on the counter, where it wilts. Chill it, or stand the stems in a glass of water like a little bouquet.Fresh-cut mint wilts within a day at room temperature, so refrigerate promptly; standing the cut stems in a glass of water on the counter holds them a few days, like cut flowers.
Fridge
Store fresh mint unwashed in a loose bag in the fridge, where it keeps about a week. Wash it only when you are ready to use it.Refrigerate fresh mint unwashed in a loose or perforated bag, or with the stems in a little water under a loose bag, in the crisper; it holds about a week. Wash only at use, since trapped moisture speeds breakdown and blackening.
Freezer
Freeze chopped mint in an ice-cube tray with a little water for drinks and cooking. You can also dry it, but dry it somewhere dark and dry or the leaves go dark and moldy.Mint freezes well chopped into ice-cube trays with water for drinks and cooking, or blended into sauces; frozen sprigs lose their crispness for garnish but keep their flavor. It also dries, but as UF/IFAS warns, dry it in darkness and low humidity or the leaves turn dark and moldy.
Verified · 2 sources View
When something goes wrong

Common problems

01 of 04
What happened Your mint escaped its spot and spread through the bed, popping up among other plants. That is mint being mint: it runs by rhizomes and stolons and, as Utah State puts it, once established it is very hard to eradicate. Next time, plant it in a pot or a bottomless container sunk in the ground, leaving an inch of rim above soil, and pull escaping runners while they are small.The patch colonized the bed through shallow rhizomes and stolons, the defining mint behavior every extension source warns about (contain it in a sunken bottomless container or lined bed). Runners left unpulled root at the nodes and become hard to eradicate. Next time confine at planting and edge the container above the soil line. Next season Grow mint in a pot or a buried, bottomless container, and pull stray runners early.Confine at planting in a sunken bottomless container (rim above grade) or a lined bed, and patrol for and pull escaping runners while young.
02 of 04
What happened Your mint leaves developed orange to rust-brown powdery spots, mostly on the undersides, and some curled and dropped. That is mint rust (Puccinia menthae). It overwinters in the rhizomes, so the patch reinfects itself, and crowding and wet leaves make it worse. Next time, thin and space the plants, water at the soil line, remove rusty leaves, and cut a bad patch to the ground; renew from clean cuttings in a new spot if it keeps coming back.Orange-brown pustules on leaf undersides, stems, and petioles with defoliation indicate mint rust (Puccinia menthae), favored by crowding, humidity, and leaf wetness and carried over in the rhizomes. Next time open the canopy, switch to soil-line watering, sanitize infected foliage, shear or mow a severe patch, and re-establish from rust-free stock in clean ground. Next season Space and thin for airflow, water at the base, remove rusty leaves, and renew badly infected patches from clean cuttings.Thin for airflow, irrigate at the soil line, remove infected leaves, cut back a severe patch, and renew from clean cuttings in a new site.
03 of 04
What happened Your mint leaves looked stippled, dull, or bronzed, maybe with fine webbing underneath, during a hot dry spell. Those are spider mites, and they thrive when mint is hot, dusty, and dry, exactly the stress mint hates. Next time, keep the soil evenly moist and mulched, hose off the leaf undersides, and give afternoon shade in fierce heat.A fine pale stippling with faint webbing on the undersides in hot, dry weather points to spider mites, which UC IPM lists for mint and which flare on drought-stressed, dusty plants. Next time maintain steady moisture and mulch, wash the undersides forcefully and repeat, conserve predatory mites, and provide afternoon shade in the hottest regions, since mint's moisture love is its best mite defense. Next season Keep mint evenly moist and mulched, rinse the leaf undersides, and shade it in extreme heat.Hold steady soil moisture, mulch, hose the undersides repeatedly, conserve natural enemies, and shade the plants in extreme heat.
04 of 04
What happened Your mint grew slowly with a bronze cast in spring, then lower leaves yellowed and whole stems wilted and died, often on one side, in warm weather. That is verticillium wilt, a soilborne fungus with no cure. Next time, do not replant mint in that ground and do not plant it where tomatoes, potatoes, or strawberries grew; start fresh cuttings in clean soil somewhere else.Slow bronze-cast spring growth, one-sided branch development, and lower-leaf yellowing with warm-weather wilt and dieback indicate verticillium wilt (a soilborne Verticillium), which Utah State and the Connecticut Experiment Station flag for mint. The fungus persists in soil for years with a wide host range, so there is no rescue. Next time re-establish disease-free stock in clean ground away from prior Verticillium hosts and renew the patch on a multi-year cycle. Next season Remove infected plants, avoid replanting mint or following tomatoes and strawberries in that soil, and start clean cuttings in a new bed.Rogue affected plants, propagate clean cuttings into clean ground away from tomato, potato, eggplant, and strawberry, and reset the patch periodically.
The usual suspects

Pests & diseases

Pests
Aphids
P · 01
Symptoms Clusters of tiny soft green or gray insects on the growing tips and undersides of leaves, sometimes with curled, sticky foliage.Colonies on growing tips and leaf undersides, one of the pests UC IPM lists for mint; honeydew and the insects themselves contaminate a crop eaten fresh, and soft, overfed growth is the most susceptible. Cause Aphids are small sap-sucking insects that breed fast, especially on soft growth from too much fertilizer, and they can spread plant viruses.Several aphid species feed on mint; they reproduce rapidly and favor the lush growth that excess nitrogen and rich soil produce. Organic treatment Blast them off with a strong spray of water, or use insecticidal soap or neem oil on the leaf undersides, repeating every few days. Rinse cut sprigs well before use.Dislodge colonies with a water jet or spray insecticidal soap or neem, covering leaf undersides, and repeat every few days; conserve ladybugs, lacewings, and parasitoid wasps. Prevention Welcome ladybugs and lacewings, go easy on nitrogen, and check new growth often.Scout the tips early, avoid overfeeding, and conserve natural enemies; because you eat the leaves, lean toward a strong water spray before anything else.
Spider mites
P · 02
Symptoms A fine stippling or speckling on the leaves, sometimes with faint webbing on the undersides, worst in hot, dry weather. Leaves look dull, sandy, or bronzed.Twospotted and related spider mites, which UC IPM lists for mint, stipple the foliage with pale flecks and spin fine webbing on the undersides; they flare in hot, dry, dusty conditions and on drought-stressed plants, which is why mint's moisture love is also its best mite defense. Cause Tiny sap-sucking mites, not true insects, that explode in hot, dry, dusty conditions and are easy to miss until the leaves are speckled.Spider mites feeding with piercing mouthparts; populations build fastest in heat and drought and on dusty, water-stressed plants. Organic treatment Spray the undersides of the leaves with a strong jet of water to knock them off, keep the plant well watered, and use insecticidal soap or neem if they persist.Hose the undersides forcefully and repeat, maintain steady soil moisture, and apply insecticidal soap or a miticidal oil to the leaf undersides; conserve predatory mites and minute pirate bugs. Prevention Keep mint evenly moist and mulched, since drought stress invites mites, and rinse dusty foliage in hot spells.Do not let mint dry out or get dusty, mulch to hold moisture, and scout the undersides in hot weather when mites move fastest.
Cutworms, mint flea beetles, and root-feeding pests
P · 03
Symptoms Young shoots cut off at the soil line, notched or shot-holed leaves, or plants that weaken and thin out from grubs feeding on the roots and rhizomes.Utah State lists flea beetles and cutworms among mint's insect pests; cutworms sever young shoots at the soil line and mint flea beetles chew small holes, while soil and rhizome feeders thin an established patch from below. On a home planting numbers are usually modest. Cause A mix of chewing pests, cutworms and mint flea beetles above ground and root-feeding larvae below, that damage leaves, stems, and the underground runners.A complex of foliage feeders (cutworms, mint flea beetle) and root/rhizome feeders (root and rhizome larvae); the perennial, spreading root mass is what harbors the below-ground stages. Organic treatment Handpick cutworms at dusk and use cardboard collars on new transplants, hose or handpick flea beetles, and keep the bed clean; dividing and resetting a tired patch in fresh ground breaks root-pest cycles.Handpick and use collars against cutworms, dislodge flea beetles with water or row cover on new plantings, and manage root pests culturally by dividing and resetting the patch in clean soil; reserve any spray for the labeled edible-herb products. Prevention Clear plant debris where cutworms shelter, rotate a heavily infested patch to fresh ground, and keep plants vigorous so they outgrow light feeding.Sanitize debris, keep plants vigorous, and reset an infested patch into fresh ground on a multi-year cycle, the same renewal that keeps mint from getting woody.
Diseases
Mint rust
D · 01
Symptoms Small orange, yellow, or rust-brown powdery pustules on the undersides of the leaves and on the stems, with pale spots on the upper surface. Badly affected leaves curl, brown, and drop, and rusty leaves are not good to eat.Puccinia menthae, the classic mint rust: orange to brown powdery pustules on leaf undersides, stems, and petioles, with defoliation in a bad year (NC State lists rust among the main mint diseases). It overwinters in the rhizomes, so an infected patch reinfects itself, and warm humid crowding drives it. Cause A rust fungus, the signature mint disease, that thrives in warm, humid, crowded conditions and lives over on the roots and rhizomes from year to year.The rust fungus Puccinia menthae, favored by warm, humid, crowded conditions and carried over in the root and rhizome mass. Organic treatment Pick off and destroy rusted leaves as soon as you see them, thin and space plants for airflow, water at the soil line, and cut a badly infected patch to the ground; in a severe case, start a fresh planting from clean, rust-free cuttings in a new spot.Remove and destroy infected leaves, open up the planting for airflow, switch to soil-line watering, and mow or cut a heavily infected patch to the ground and clear the debris; renew from clean cuttings in fresh ground where it recurs. There is no reliable home cure once it is established. Prevention Space plants for good airflow, avoid wetting the foliage, keep the patch from getting congested, and start new plantings from clean stock.Airflow, dry foliage, and uncongested spacing are the defenses; propagate only from rust-free plants and reset a chronically infected patch elsewhere.
Verticillium wilt
D · 02
Symptoms Stunted, off-color plants whose lower leaves yellow and wilt, often on just one side of a stem, with whole shoots or plants dying back in warm weather. It does not wash off and there is no spray cure.Verticillium wilt (a soilborne Verticillium), the disease that most limits mint's longevity: slow, bronze-cast spring growth, one-sided branch development, lower-leaf yellowing and wilt in warm or dry weather, and dieback. The Connecticut Experiment Station and Utah State both flag it for mint. The fungus persists in soil for years and has a wide host range, so it is managed by site selection and renewal, not treatment. Cause A soil-borne fungus that clogs the plant's water-conducting tissue; it builds up in the ground and is the disease that shortens the life of a mint patch.A soilborne Verticillium fungus that invades the vascular system; it survives for years in soil and infects many crops (tomato, potato, strawberry, other mints). Organic treatment There is no cure for an infected plant, so remove it. Start fresh plantings from clean cuttings in a new bed, and do not follow tomatoes, potatoes, or strawberries, which host the same fungus.Rogue out affected plants and manage by prevention: propagate disease-free cuttings, establish new patches in clean ground away from prior verticillium hosts, and rotate the mint bed on a multi-year cycle where the disease appears. Prevention Plant clean stock in ground with no recent history of the disease, avoid siting mint after verticillium-susceptible crops, and move the patch to fresh ground every few years.Use clean stock, avoid ground that grew tomatoes, potatoes, eggplant, or strawberries, and reset the patch in fresh soil periodically, since there is no rescue for an infected plant.
Powdery mildew and anthracnose (leaf spot)
D · 03
Symptoms A white, powdery dust on the leaves and stems (powdery mildew), or dark sunken spots and blotches on leaves and stems (anthracnose leaf spot). Heavily spotted or coated leaves are not good to eat.Powdery mildew (white powdery patches that brown and shrivel heavy foliage, listed for mint by UC IPM) and anthracnose or leaf spot (Utah State and NC State list leaf-spotting fungi for mint), both favored by crowded, humid conditions and wet leaves. Cause Fungal leaf diseases that spread in crowded, humid plantings and on wet foliage, worse where air does not move.Foliar fungi (powdery mildew; anthracnose and other leaf-spot fungi) driven by high humidity, crowding, and prolonged leaf wetness. Organic treatment Remove affected leaves, thin the planting and water at the soil line to keep the leaves dry, and cut a badly hit patch back to encourage clean new growth.Improve airflow by thinning and dividing, water at the soil line, remove infected foliage, and shear a badly affected patch to force clean regrowth; drip irrigation and avoiding overnight leaf wetness are the practical controls Utah State recommends. Prevention Space for airflow, water at the base rather than overhead, and avoid crowding.Open the canopy, keep the foliage dry, and do not let the patch get congested; renew a chronically diseased stand from clean cuttings.
Verified · 3 sources View
Seasoned
Where to plant next year

Crop rotation

You plant mint once and it stays for years, so there is no yearly rotation. Just start it in clean ground that did not just grow tomatoes, potatoes, or strawberries, and if a patch gets diseased, start fresh plants in a new spot.Mint is a permanent perennial planting rather than a rotated annual, so rotation here is mostly about where you establish or renew a patch. Because verticillium wilt and mint rust persist in soil and rhizomes, site a new planting in clean ground with no recent history of Verticillium hosts (tomato, potato, eggplant, pepper, strawberry) or of a diseased mint stand, and plan to reset the patch in fresh soil every few years if disease or root pests build up. Utah State and commercial mint guidance both treat multi-year renewal as the core disease defense.

Family
Mint family (Lamiaceae)
Years between
4 years
in the same bed
Avoid following
Do not plant mint where tomatoes, potatoes, or strawberries just grew, because they share a soil disease (verticillium wilt) that also attacks mint.Avoid establishing a new mint patch where tomatoes, potatoes, eggplant, peppers, or strawberries recently grew: those crops host Verticillium, the soilborne wilt that most limits mint's longevity. Following one mint patch immediately with another in the same ground also concentrates mint rust and verticillium, which carry over in soil and rhizomes.
Plant after
Legumes (peas, beans), brassicas (cabbage family), alliums (onion, garlic), or corn, none of which build up mint's diseases.
Verified · 2 sources View
In the app · pre-launch

When plant taps you on the shoulder

The plant app sends a timely reminder at every critical moment of your mint season. The wording adjusts to whichever you pick: beginner or seasoned. Here are three you'll see in Zone 12.

p
plant
NaN days after last frost
Get your mint in a pot
Your mint is settling in. Put it in a pot or a buried barrier now so it does not take over the garden.
p
plant
NaN days after last frost
Time to start picking mint
Your mint is big enough to pick. Snip sprigs or cut it back by a third and it grows again. Pinch off any flower buds.
p
plant
NaN days after last frost
Split your mint in spring
When mint comes back in spring, you can dig it up and split it, add compost, and feed it lightly. Pull out any runners that got loose.
Get personalized alerts.

plant sends the right notification at exactly the right moment, for your zone, your weather, your crops. Founding members lock the rate forever.

Back the Kickstarter →
Ask the gardener

Common questions

Got a question we missed?

We're building this guide with real growers. Got a question we missed? Ask here. We read every one and add the best answers right to this page.

Grown this before?

Share a tip

Learned something the hard way? Pass it on. Real growers' tips make this guide better for the next person, and we credit you by name when yours goes live.

Seasoned
Spot something wrong?

Report a problem

If you've grown this crop and you see a date, a temperature, a companion claim, or a recommendation that doesn't match your experience, tell us. Real growers' corrections make this guide better for the next person.

How we built this guide

Methodology & sources

Every date, temperature, spacing, and recommendation on this page is sourced from university cooperative extension publications, peer-reviewed agricultural research, NOAA climate data, and direct extension calendars. Where claims are softer (traditional gardening wisdom not formally documented), we say so.

Research-backed Documented in cooperative extension publications or peer-reviewed research
Well-grounded A known agronomic principle, but not formally tested for this specific pair
Traditional Time-tested gardening wisdom, limited formal research support
Last reviewed
July 2, 2026
Data version
crops_data_final · v1.0 · schema 2.9
Sources cited on this page
16 publications
Verified entries
Companion-planting claims tagged inline · zone dates verified against 5+ extensions
See all sources cited on this page
  • University of Minnesota Extension umn_ext
  • University of Maryland Extension umd_ext
  • Cornell Cooperative Extension cornell_ext
  • Iowa State University Extension iastate_ext
  • Michigan State University Extension msu_ext
  • NC State Extension ncsu_ext
  • Penn State Extension psu_ext
  • U. of Illinois Urbana-Champaign Extension uiuc_ext
  • UC Davis Postharvest Center ucd_postharvest
  • Texas A&M AgriLife Extension tamu_agrilife
  • Virginia Cooperative Extension 426-331 vce_426_331
  • Piedmont Master Gardeners piedmont_mg
  • UGA Vegetable Garden Calendar uga_calendar
  • Clemson Home & Garden Information Center clemson_hgic
  • UC IPM Statewide IPM Program uc_ipm
  • NOAA 1991-2020 Climate Normals noaa_normals

Growing notes, weekly.

Zone-aware seasonal nudges, what's worth planting now, and the occasional recipe from the harvest. No spam, ever.

Vol. 003 · Mint · plant.lifestyle