Today · in your zone
What's happening right now
Off-season for spring onion / scallion in zone 9.
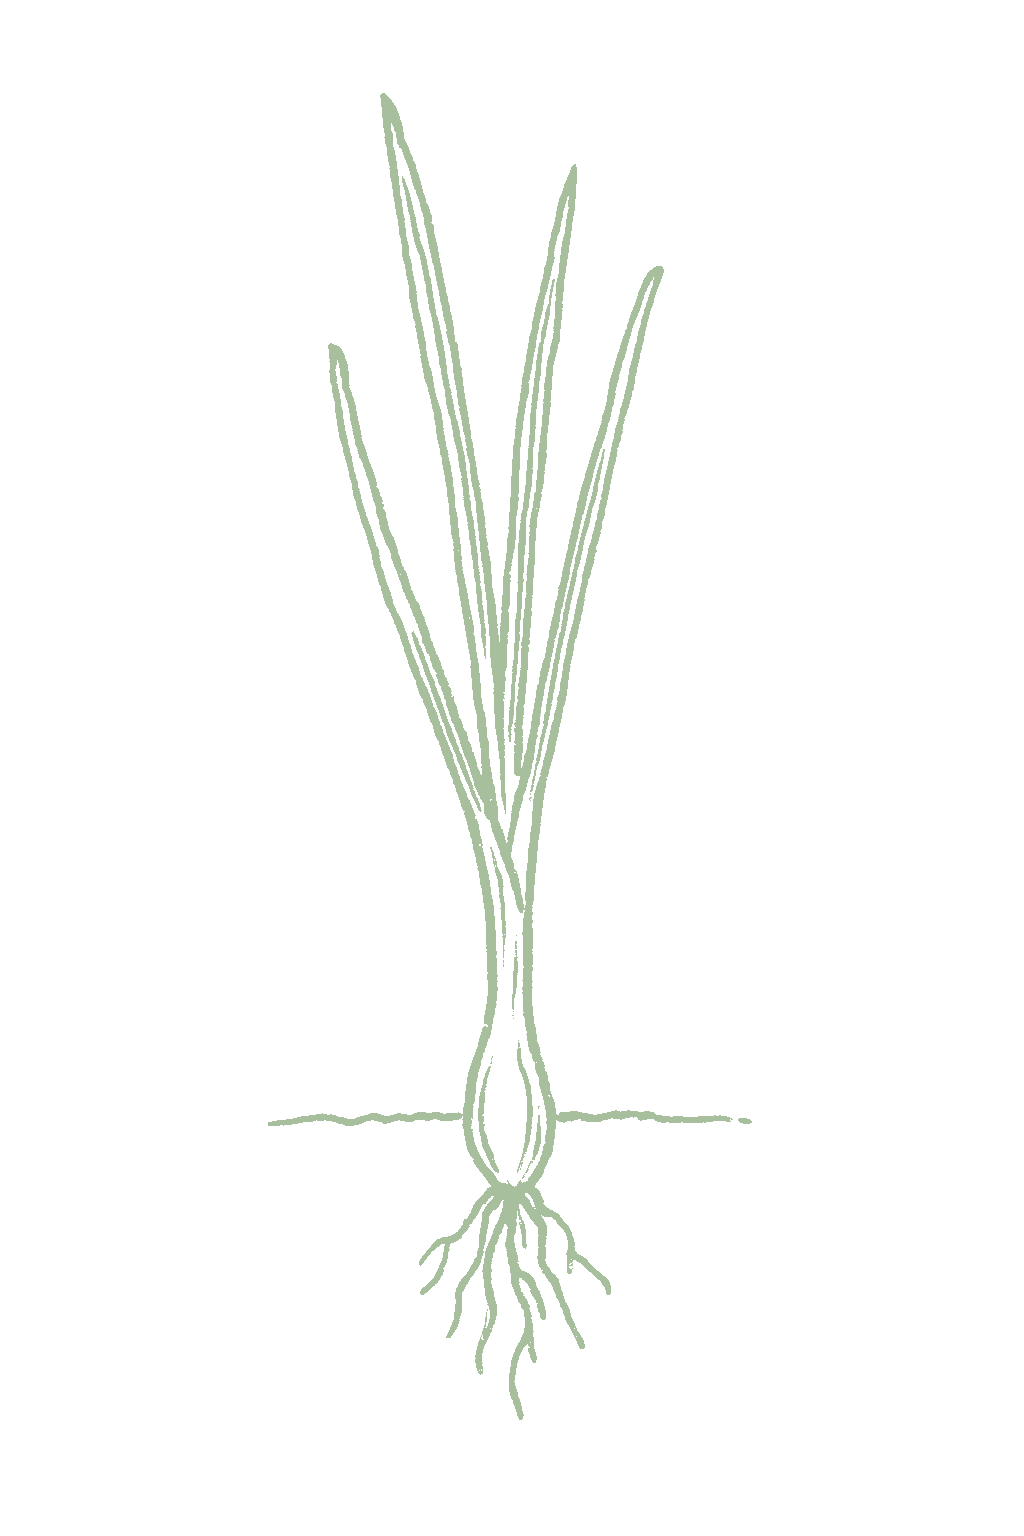
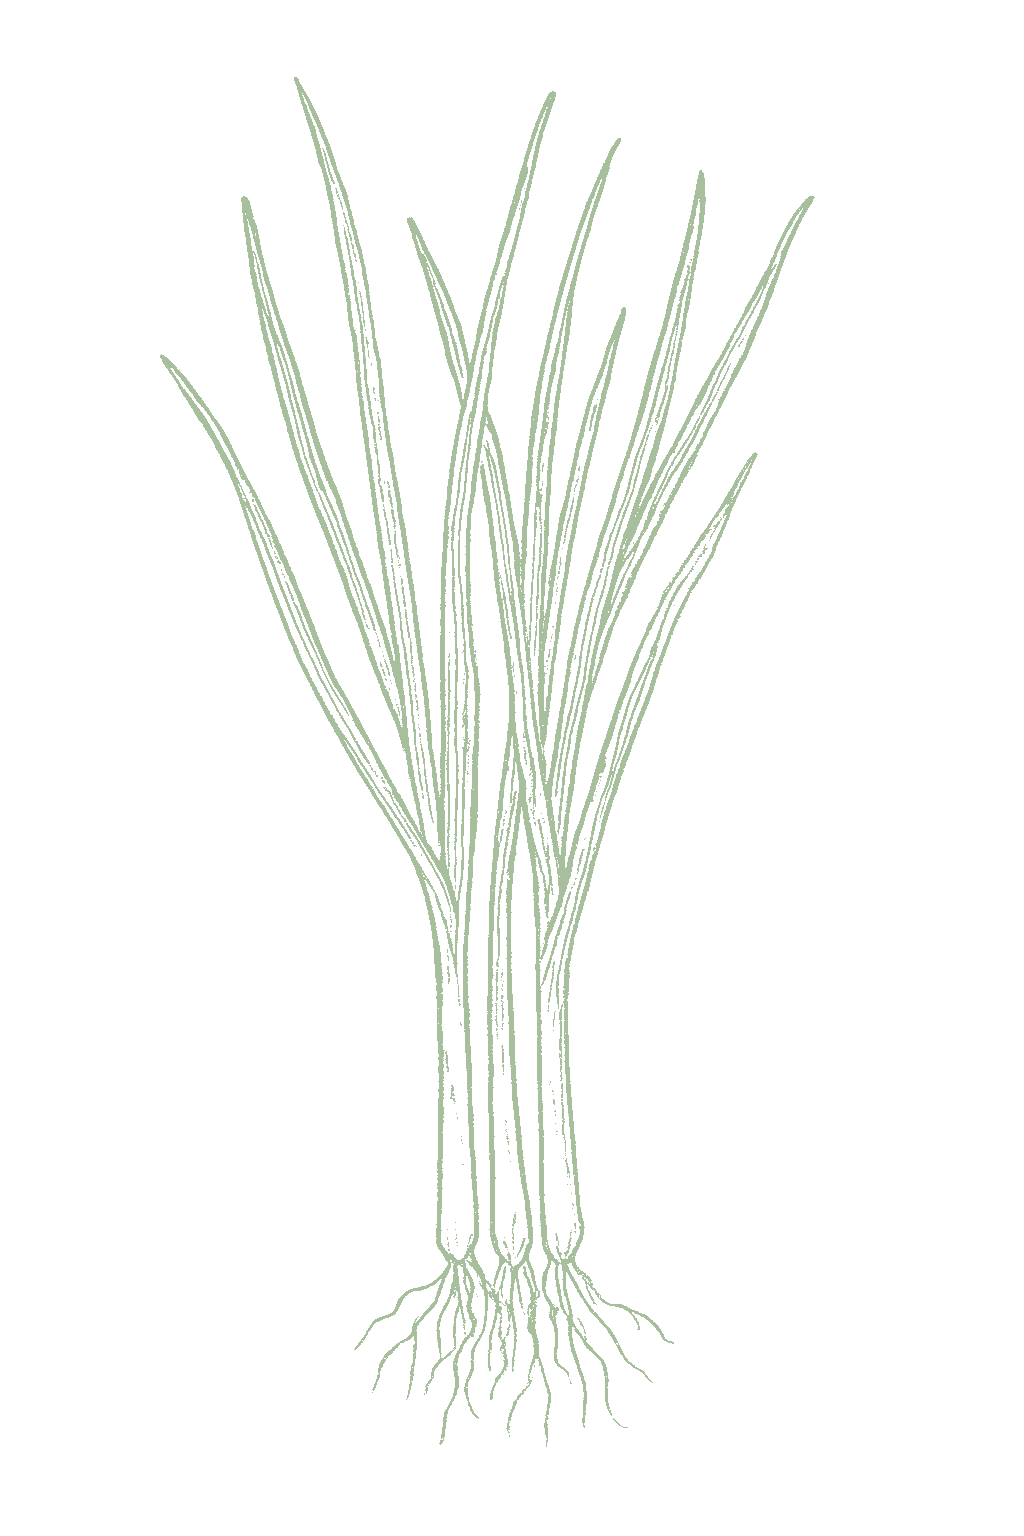
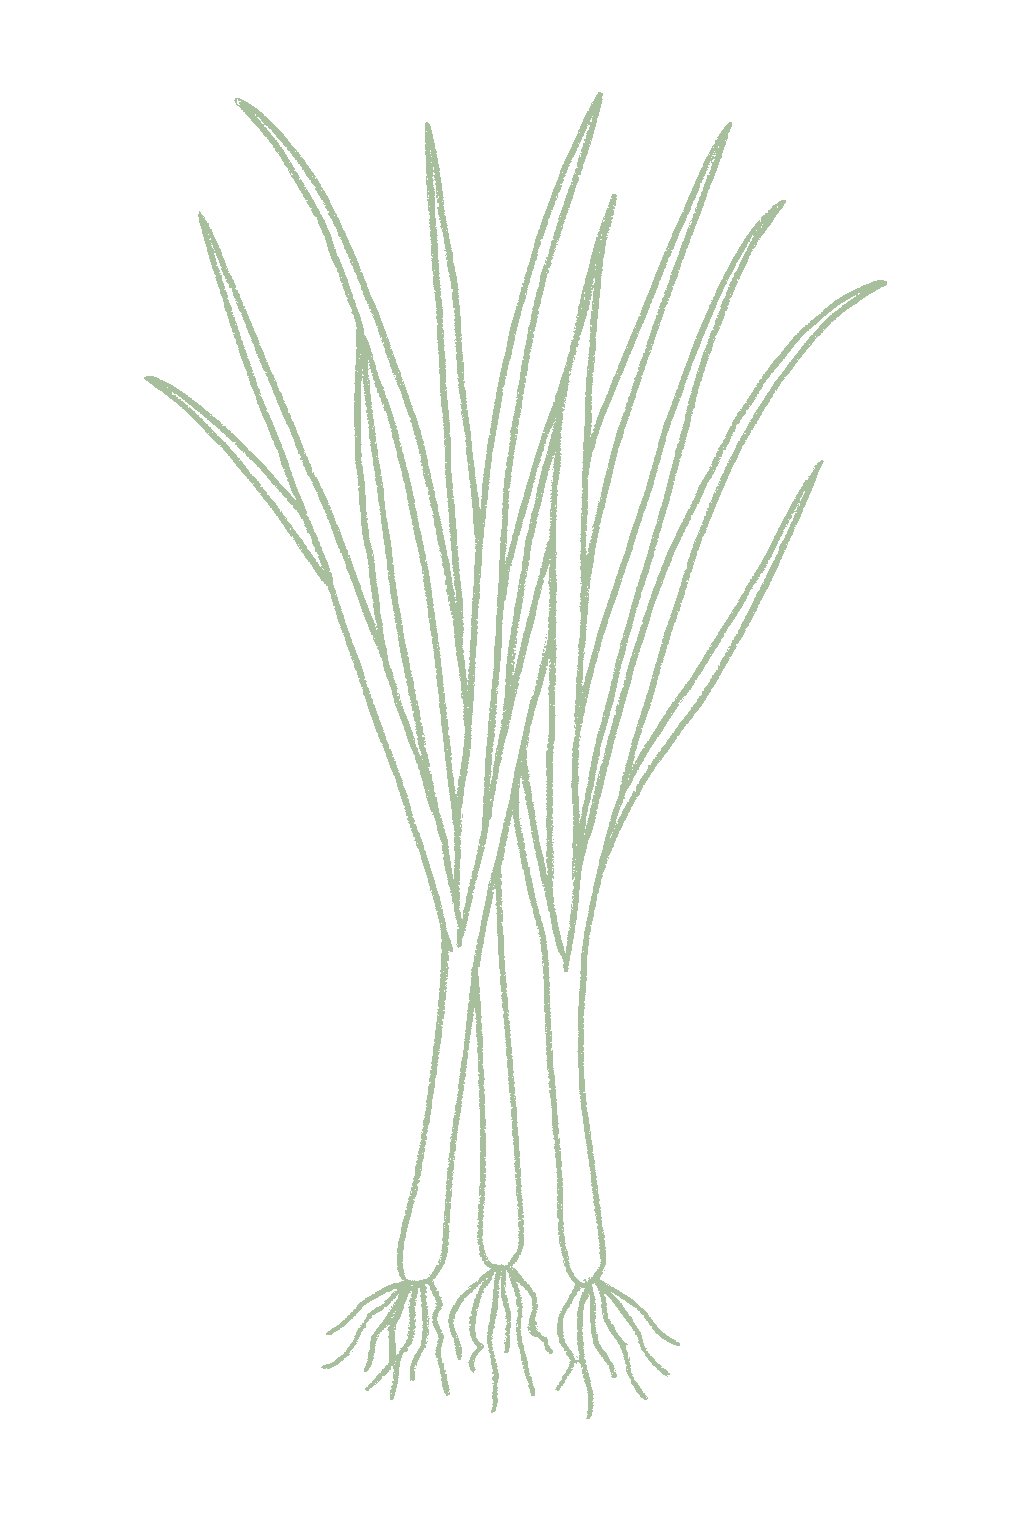
A spring onion, also called a scallion or green onion, is a young onion you eat whole: the long white base and the green tops. You harvest it before it makes a round bulb, so it grows fast and is easy. Some kinds (called bunching onions) never make a bulb at all, and you can also just sow regular onions close together and pull them young as scallions. Plant the seeds shallow, thin the seedlings to about an inch apart, keep the soil damp, and they are usually ready in about 50 to 70 days, when the green tops are 6 to 8 inches tall. They handle cold well, so plant a short row every couple of weeks through the cool season for a steady supply, and nearly year-round where winters are mild. Spring onion, or scallion, is a fast cool-season allium grown for its slender white shank and green tops rather than a mature bulb. It is harvested young, before bulbing, so the day-length trigger that governs bulb onions is irrelevant here: you pull the plant while it is still a straight stem. Two routes give the same kitchen result, true bunching types (Allium fistulosum) that never form a bulb, or regular bulb onions (Allium cepa) sown thickly and pulled at the green stage. Sow seed shallowly, thin to about an inch, keep the soil evenly moist, and harvest in roughly 50 to 70 days when the tops stand 6 to 8 inches. Because the crop is quick and very cold hardy, sow a short row every two to three weeks through the cool season for a steady supply, year-round in mild regions.
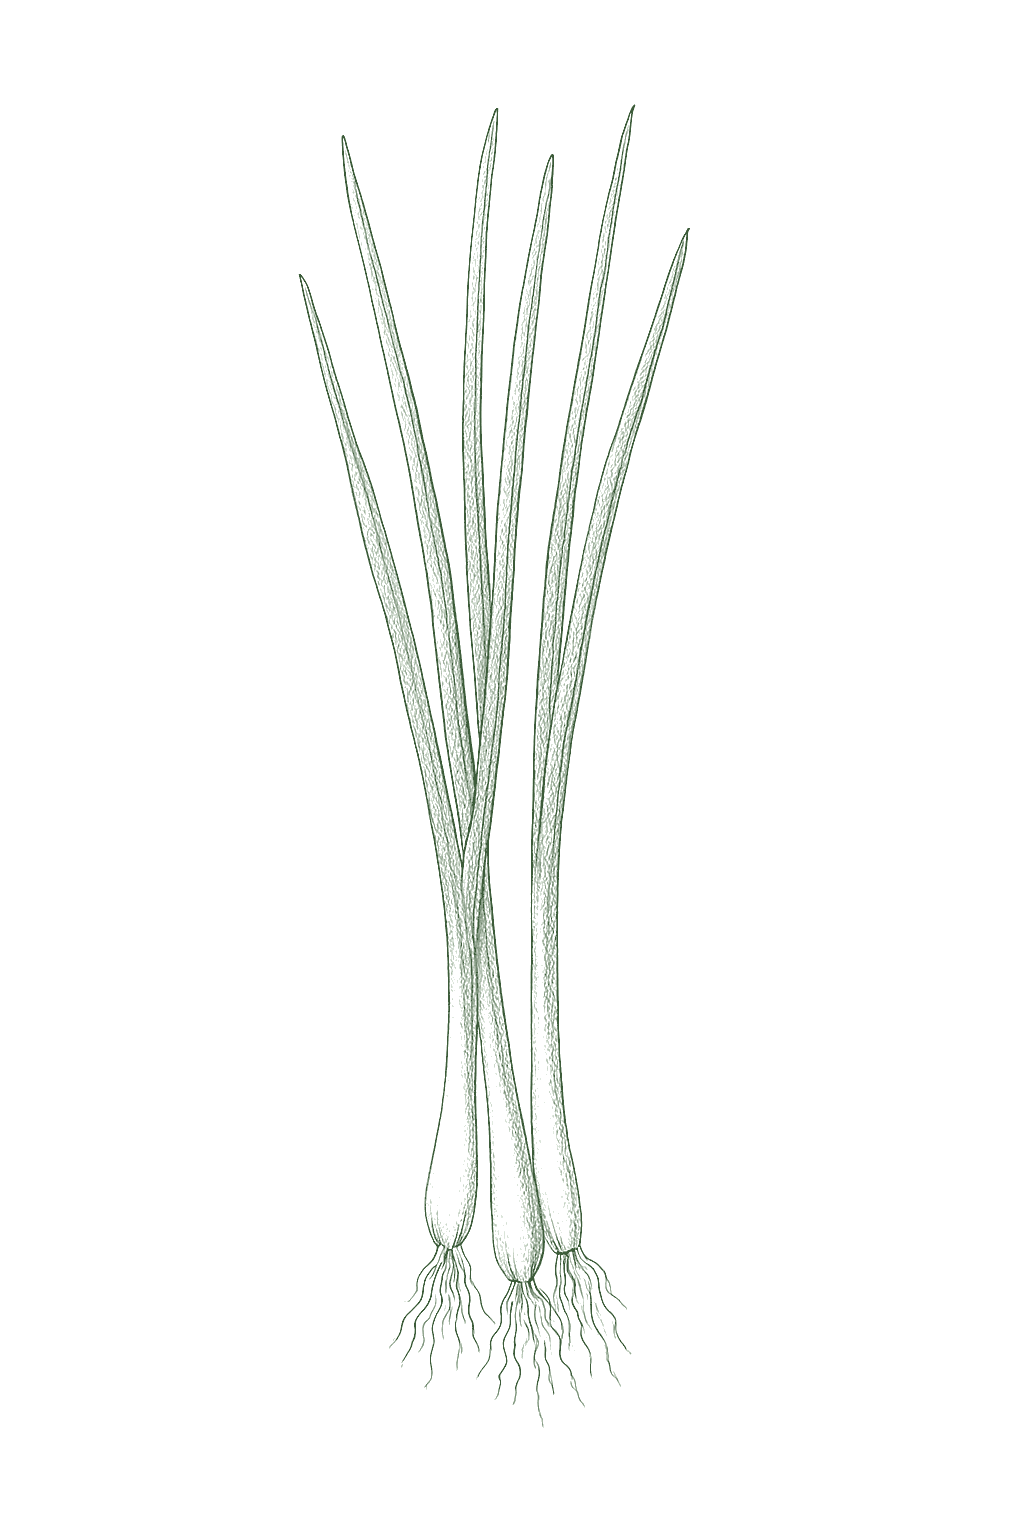
Off-season for spring onion / scallion in zone 9.
Zone 9 averages a last frost around March 1. Within Zone 9, the colder half (9a, winters down to 20°F) runs about a week later. The warmer half (9b, winters down to 25°F) runs about a week earlier. The plant app picks your subzone from your ZIP.
| Subzone | Last spring | First fall | Growing days | Winter min | Fruits reliably |
|---|---|---|---|---|---|
| 9a | Mar 8 | Nov 24 | ~261 | 20-25°F | Yes · two seasons |
| 9b | Feb 28 | Nov 30 | ~275 | 25-30°F | Yes · two seasons |
Averages from 8 weather stations per subzone, drawn from NOAA 1991-2020 Climate Normals. Your actual frost date can vary by up to two weeks based on elevation, proximity to water, and local topography.
In Zone 9, spring onion / scallion can be planted January through May, then again August through November, skipping the summer heat. Harvest runs March through December.
Instead of planting all your scallions at once, sow a short row every couple of weeks. That way they are ready a few at a time over many weeks. In places with cool summers, plant spring through fall. In hot places, grow them fall through spring and skip the summer heat. Where winters are mild, you can plant nearly all year.Scallions are a natural succession crop: sow a short row every two to three weeks through the cool season rather than one big planting, so they mature in sequence and none over-mature. In cool-summer regions that means spring through fall; in hot-summer regions it means fall through spring, skipping peak summer heat; in mild regions it runs nearly year-round. The number of sowings is set by the length of your cool window, not a fixed cap.
In Zone 9, spring onion / scallion can be planted September through April, skipping the summer heat. Harvest runs October through May.
Instead of planting all your scallions at once, sow a short row every couple of weeks. That way they are ready a few at a time over many weeks. In places with cool summers, plant spring through fall. In hot places, grow them fall through spring and skip the summer heat. Where winters are mild, you can plant nearly all year.Scallions are a natural succession crop: sow a short row every two to three weeks through the cool season rather than one big planting, so they mature in sequence and none over-mature. In cool-summer regions that means spring through fall; in hot-summer regions it means fall through spring, skipping peak summer heat; in mild regions it runs nearly year-round. The number of sowings is set by the length of your cool window, not a fixed cap.
In Zone 9, spring onion / scallion can be planted September through March, skipping the summer heat. Harvest runs October through April.
Instead of planting all your scallions at once, sow a short row every couple of weeks. That way they are ready a few at a time over many weeks. In places with cool summers, plant spring through fall. In hot places, grow them fall through spring and skip the summer heat. Where winters are mild, you can plant nearly all year.Scallions are a natural succession crop: sow a short row every two to three weeks through the cool season rather than one big planting, so they mature in sequence and none over-mature. In cool-summer regions that means spring through fall; in hot-summer regions it means fall through spring, skipping peak summer heat; in mild regions it runs nearly year-round. The number of sowings is set by the length of your cool window, not a fixed cap.
In Zone 9, spring onion / scallion can be planted January through June, then again August through November, skipping the summer heat. Harvest runs March through December.
Instead of planting all your scallions at once, sow a short row every couple of weeks. That way they are ready a few at a time over many weeks. In places with cool summers, plant spring through fall. In hot places, grow them fall through spring and skip the summer heat. Where winters are mild, you can plant nearly all year.Scallions are a natural succession crop: sow a short row every two to three weeks through the cool season rather than one big planting, so they mature in sequence and none over-mature. In cool-summer regions that means spring through fall; in hot-summer regions it means fall through spring, skipping peak summer heat; in mild regions it runs nearly year-round. The number of sowings is set by the length of your cool window, not a fixed cap.
In Zone 9, spring onion / scallion can be planted January through June, then again September through November, skipping the summer heat. Harvest runs March through December.
Instead of planting all your scallions at once, sow a short row every couple of weeks. That way they are ready a few at a time over many weeks. In places with cool summers, plant spring through fall. In hot places, grow them fall through spring and skip the summer heat. Where winters are mild, you can plant nearly all year.Scallions are a natural succession crop: sow a short row every two to three weeks through the cool season rather than one big planting, so they mature in sequence and none over-mature. In cool-summer regions that means spring through fall; in hot-summer regions it means fall through spring, skipping peak summer heat; in mild regions it runs nearly year-round. The number of sowings is set by the length of your cool window, not a fixed cap.
In Zone 9, spring onion / scallion can be planted March through September. Harvest runs May through November.
Instead of planting all your scallions at once, sow a short row every couple of weeks. That way they are ready a few at a time over many weeks. In places with cool summers, plant spring through fall. In hot places, grow them fall through spring and skip the summer heat. Where winters are mild, you can plant nearly all year.Scallions are a natural succession crop: sow a short row every two to three weeks through the cool season rather than one big planting, so they mature in sequence and none over-mature. In cool-summer regions that means spring through fall; in hot-summer regions it means fall through spring, skipping peak summer heat; in mild regions it runs nearly year-round. The number of sowings is set by the length of your cool window, not a fixed cap.
In Zone 9, spring onion / scallion can be planted February through March, then again August through September, skipping the summer heat. Harvest runs April through June.
Instead of planting all your scallions at once, sow a short row every couple of weeks. That way they are ready a few at a time over many weeks. In places with cool summers, plant spring through fall. In hot places, grow them fall through spring and skip the summer heat. Where winters are mild, you can plant nearly all year.Scallions are a natural succession crop: sow a short row every two to three weeks through the cool season rather than one big planting, so they mature in sequence and none over-mature. In cool-summer regions that means spring through fall; in hot-summer regions it means fall through spring, skipping peak summer heat; in mild regions it runs nearly year-round. The number of sowings is set by the length of your cool window, not a fixed cap.
In Zone 9, spring onion / scallion can be planted October through December. Harvest runs December through February.
Instead of planting all your scallions at once, sow a short row every couple of weeks. That way they are ready a few at a time over many weeks. In places with cool summers, plant spring through fall. In hot places, grow them fall through spring and skip the summer heat. Where winters are mild, you can plant nearly all year.Scallions are a natural succession crop: sow a short row every two to three weeks through the cool season rather than one big planting, so they mature in sequence and none over-mature. In cool-summer regions that means spring through fall; in hot-summer regions it means fall through spring, skipping peak summer heat; in mild regions it runs nearly year-round. The number of sowings is set by the length of your cool window, not a fixed cap.
In Zone 9, spring onion / scallion can be planted January through April, then again August through November, skipping the summer heat. Harvest runs February through December.
Instead of planting all your scallions at once, sow a short row every couple of weeks. That way they are ready a few at a time over many weeks. In places with cool summers, plant spring through fall. In hot places, grow them fall through spring and skip the summer heat. Where winters are mild, you can plant nearly all year.Scallions are a natural succession crop: sow a short row every two to three weeks through the cool season rather than one big planting, so they mature in sequence and none over-mature. In cool-summer regions that means spring through fall; in hot-summer regions it means fall through spring, skipping peak summer heat; in mild regions it runs nearly year-round. The number of sowings is set by the length of your cool window, not a fixed cap.
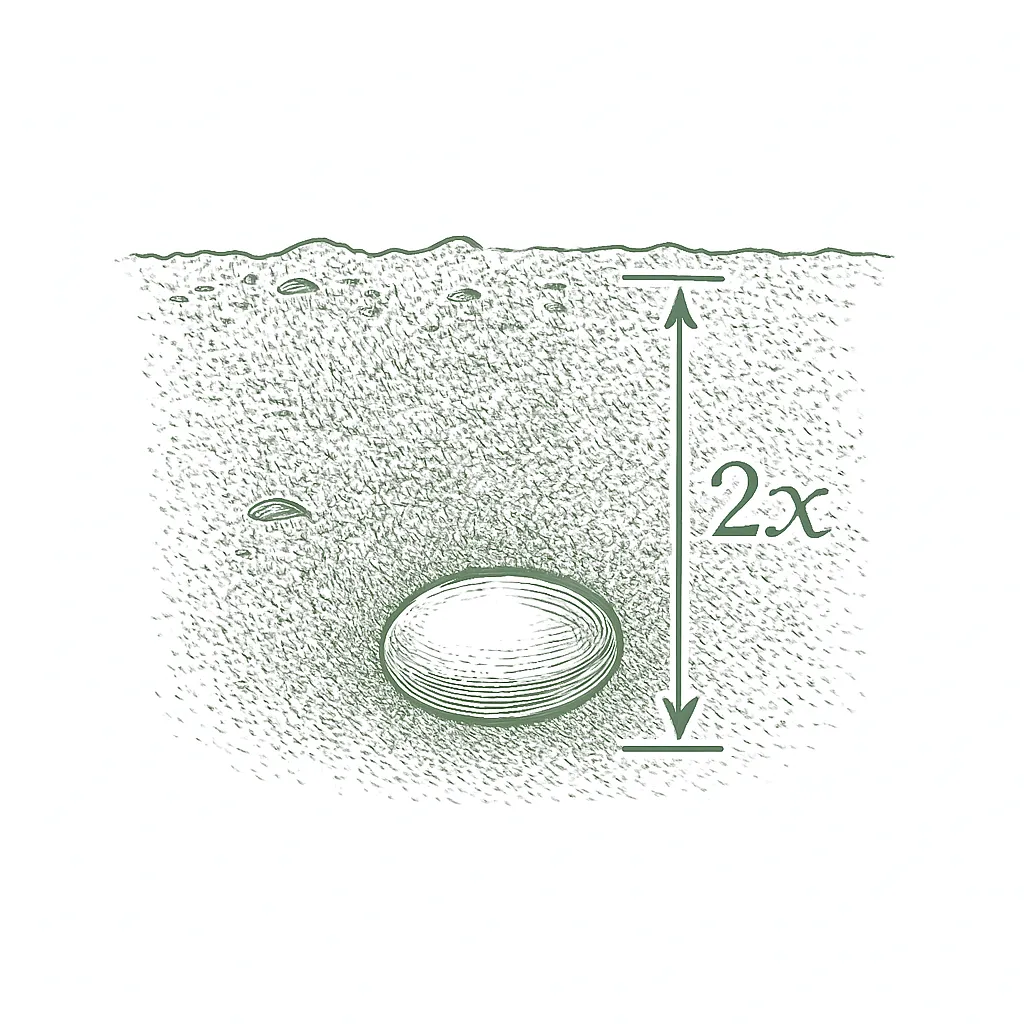
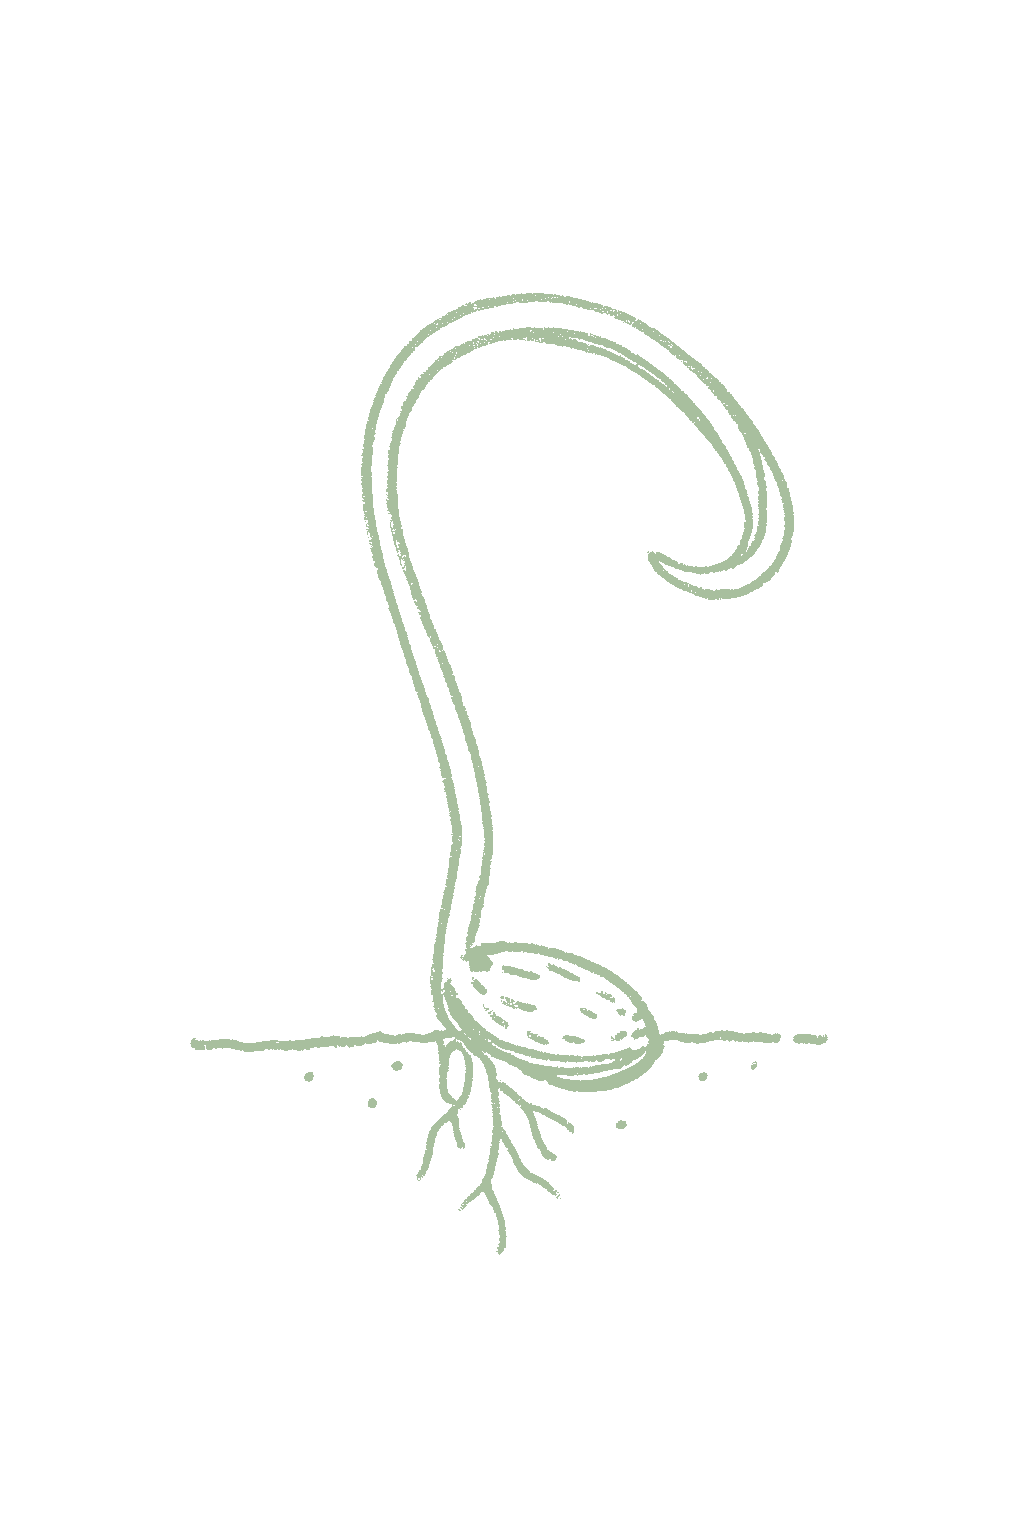
There are three easy ways. The simplest is to sow seed right in the garden, a quarter to a half inch deep, then thin the seedlings to about one per inch. Or start seeds indoors about four weeks before planting out for an earlier harvest, then set the little plants an inch apart. The tidiest way is to multisow: drop a small pinch of about six to ten seeds into each cell, let them grow as a little clump, and plant the whole clump out without splitting it, about four to six inches from the next one. Because you eat scallions in bunches anyway, there is nothing to thin, and you just pull the biggest few from each clump and let the rest keep growing. Bunching kinds can also be split from an existing clump.Three easy routes. Direct-sow seed in a two-inch-wide band, a quarter to a half inch deep, in rows 12 to 18 inches apart, then thin to about one plant per inch (UMN); this is the simplest method and suits succession sowing. Or start seed indoors about four weeks before set-out for an earlier first cutting, transplanting seedlings an inch apart. The tidiest indoor route is to multisow: sow a pinch of about six to ten seeds per cell, grow the cluster on undivided, and set the whole clump out without separating it, spacing clumps four to six inches apart; scallions are pulled as a bunch, so there is no thinning, and you take the biggest from each clump first and let the rest size up (RHS). Bunching types can also be multiplied by dividing established clumps.



Not sure what soil you have? Grab a small handful of damp soil from your garden bed and squeeze it. If it crumbles apart easily, it's sandy. If it holds together but breaks when you poke it, it's loam (what most vegetables want). If it stays in a hard, slippery ball, it's clay.
Scallions like loose, rich, well-drained soil. Mix in compost before you plant. They do not do well in heavy clay or in soil that crusts over, because their roots stay shallow and need air and steady moisture near the surface.
Mix 2-3 inches of compost into the top 6 inches of your bed before planting. Compost holds moisture (which sandy soil drains too fast) and adds the nutrients sandy soil tends to lack. Repeat each season. Compost breaks down over time.
Mix 2-3 inches of compost AND a few inches of coarse sand or perlite into the top 6 inches of your bed. The compost feeds the plants; the sand breaks up the clay so air and water can move through. Don't add sand without compost. It can compact like concrete.
If amending your soil sounds like too much work, or if your soil is heavy clay, full of rocks, or contaminated, build over it. A raised bed at least 12 inches deep filled with a 50/50 mix of compost and sandy loam gives you ideal growing soil with no battles. A 5-gallon container with quality potting mix does the same for one plant at a time. Both bypass your native soil entirely.
The numbers that matter, at a glance.
Scallions are excellent in pots because their roots stay shallow. Use a wide container at least 6 inches deep with drainage holes, sow or set them about an inch apart, and you can keep cutting bunching types for weeks. Pots dry out fast, so check the soil often.Scallions are shallow-rooted and ideal for containers. A wide, well-drained pot at least 6 inches deep holds a dense stand sown about an inch apart. Containers dry fast, so water before the surface crusts and feed lightly every few weeks; bunching types regrow after cutting for repeat harvests.
Bunching types are very cold hardy, so where winters are mild you can leave a pot of scallions out over winter and keep cutting. In cold areas, move the pot to a sheltered spot or mulch it during hard freezes, since roots in a container get colder than roots in the ground.Cold-hardy bunching types overwinter readily in containers in mild zones for cut-and-come-again use; in colder zones shelter or mulch pots through hard freezes, since container roots chill faster than open ground.
Ask what your balcony or roof can carry
A balcony or roof can only hold so much weight. Before you set heavy pots there, ask a building architect what it can safely carry.Illinois Extension's guidance is to consult a building architect about weight limits before placing heavy pots on a balcony or rooftop garden. It gives no weight figure.
Never grow food in a container with anything toxic in it
Many kinds of containers can be used. Whatever you choose, keep anything toxic out of it, especially if you are growing food.Colorado State accepts nearly any container material but warns against using a container that holds toxic materials, especially for edible plants. Illinois adds that a vegetable container should be free of chemicals toxic to plants or people, and urges caution with treated lumber when growing food. If you cannot account for what a repurposed container once held, that alone is a reason to keep food out of it.
Secure hanging containers well
Fasten hanging baskets and window or rail boxes securely. Think about what is below them too, since they can drip on people or things underneath.Illinois Extension asks growers to secure hanging containers well and to think through the safety issues of hanging them. Placement matters too, since a hanging container can drip onto people or belongings below.
Scallions like soil close to neutral, about pH 6.0 to 7.0. Clemson lists an ideal of 6.2 to 6.5. They do not like sour (acidic) soil; a simple soil test takes the guesswork out of it.Scallions grow best near neutral, roughly pH 6.0 to 7.0, with Clemson giving an ideal band of 6.2 to 6.5. They tolerate up to about 7.5 and dislike acid soil; confirm with a soil test before adjusting.
Scallions do not need much feeding. Mix some compost or a balanced fertilizer into the soil before you plant, then give a light feeding once or twice while the tops are growing if the soil is poor. Do not overdo the nitrogen, or you get floppy, weak tops.Scallions are light-to-moderate feeders. Unlike bulb onions there is no bulb to size, so feeding aims only at steady, tender leaf growth. Mix a balanced fertilizer into the bed before sowing, around 9 pounds of 10-10-10 per 1,000 square feet per Clemson, and side-dress lightly once or twice during leaf growth if the soil is lean. Avoid heavy nitrogen, which makes floppy, disease-prone tops.
Mix a balanced fertilizer into the soil before planting; feed lightly later only if the plants look pale or slow.A balanced feed worked in before planting carries scallions through; side-dress lightly only if growth stalls.
Scallions are good neighbors for carrots, beets, lettuce, and cabbage-family plants, mostly because their strong smell is thought to keep some pests away, and they are small enough to slip between other crops. The main thing to avoid is planting them next to beans or peas, since onions can slow those down. These are helpful traditions, not sure things, so do not worry if your garden does a little differently. Scallions earn their companion reputation mostly through their allium scent, traditionally credited with deterring aphids and the carrot rust fly, so they pair well with carrots, beets, lettuce, and brassicas, and tuck neatly between slower crops. The one firm caution is the legume conflict: alliums are widely held to inhibit beans and peas, so keep scallions away from them. Most of these claims are traditional rather than trial-proven; treat them as low-risk suggestions, not guarantees.
Your scallions are ready when the green tops are about 6 to 8 inches tall and the white bottom is roughly as thick as a pencil. Do not wait for a round bulb to form, pull them while the base is still straight. Lift the whole plant, or with bunching types snip the tops about an inch above the soil and let them grow back. Smaller ones taste milder, bigger ones are a little stronger.Pull scallions once the green tops reach about 6 to 8 inches and the white shank is roughly pencil thick. There is no need to wait for a bulb: harvest at the straight-stem stage, before the base swells. Lift the whole plant, or cut bunching types about an inch above the crown and let them regrow. Younger is milder, so harvest on the small side for salads and a bit larger for cooking.
Each regular onion plant gives one scallion when pulled young, while bunching kinds grow back after you cut them, so you keep harvesting from the same clump.One scallion per plant for bulb-onion types pulled young; bunching types regrow after cutting for repeat harvests. A densely sown foot of row yields a generous handful.
If you sow a little at a time, you get scallions steadily for weeks instead of all at once, and bunching clumps keep producing.With succession sowing the harvest is continuous through the cool season rather than a single flush; bunching clumps deliver over many weeks. The two things that matter most for good scallions are thinning them to about an inch apart and keeping the soil evenly moist.Thinning to about an inch and keeping steady moisture are the biggest levers on tender, pencil-thick shanks in the first crop.
There are two kinds. Bunching onions like Evergreen Hardy White or Tokyo Long White never make a bulb, grow back after cutting, and many survive winter, so they are great for a patch you keep cutting. Regular onions like White Lisbon, sown close together and pulled young, give a fast scallion but you pull the whole plant once. Either works for the kitchen.Choose between two habits. True bunching types (Allium fistulosum) such as Evergreen Hardy White, Tokyo Long White, Beltsville Bunching, and Parade never form a bulb and many are perennial and very cold hardy, ideal for cut-and-come-again clumps. Regular bulb onions sown thickly and pulled young, such as White Lisbon, give a quick straight scallion but are pulled once, not divided. Clemson names Beltsville Bunching and Evergreen Bunching among types bred specifically for green-onion use.
The ladder troubleshoots from the gentlest solution to the strongest. Start with the gentlest option and only move on when and if it doesn't work.
When a sowing is finished, pull the leftovers and any onion volunteers instead of letting them stand, and clear the trimmings away from the bed. Thrips spend the winter in onion material left on the ground, so a bed cleared in fall gives them nothing to start from in spring.Onion thrips overwinter in allium material left on the soil surface and in volunteer plants, so clearing each finished sowing, its trimmings and any volunteers is the cultural control with the most support behind it. With scallions the whole plant is sold, so keeping the carryover population small matters more here than on a bulb crop.
While the numbers are still light, a hard jet of water from the hose knocks thrips off. Aim into the crease where the leaves meet, since that is where they shelter. Spray early in the day so the leaves dry off, and keep the plants healthy and watered so they can carry the feeding they do get. If an infestation keeps building past this, your local extension office can tell you what is recommended in your area.A forceful water knock-down is the response to a light infestation, worked into the leaf axils where the insects sit. Those same folds are why coverage-dependent materials tend to underperform here, so vigor and steady water matter alongside the physical pass. Keep the pass to early in the day so foliage is not left wet, and take a persistent outbreak to local extension guidance rather than to a material named here.
No spray for this one. Prevention is the control.
The ladder troubleshoots from the gentlest solution to the strongest. Start with the gentlest option and only move on when and if it doesn't work.
Do not put alliums back into the same bed year after year. The fly spends the winter in the soil where onions grew, so moving the planting keeps a new crop away from where it will come up in spring.The pupae overwinter in the soil around last season's alliums, so shifting the planting off that ground, and away from any cull pile, is the foundation the rest of the program sits on.
Clear out old onion plants, roots and all, plus any small or damaged bulbs you did not use, once a bed is finished, and take them away rather than leaving them lying around. Old onion material is what the fly breeds in, and pulling the plants with their roots takes the pupae out with them.Culls, volunteer onions and plants left standing are what the fly breeds in and overwinters around, so pull the finished crop with its roots, clear culls and volunteers, and take them out of the garden rather than leaving them in place. Keep fresh manure and green manure out of the bed in spring, since rotting organic matter draws the flies to lay.
Lay a floating row cover, a light fabric that lets in light and water while keeping insects out, over the bed as soon as you sow, so it is in place before the flies are out. The fly has to reach the base of a plant to lay its eggs, so a sealed cover shuts that out. Do not use a cover on a bed where alliums grew last year, or you can seal the emerging flies in with the crop.Cover from sowing, before the spring flight is laying, and seal the edges: eggs go in at the plant base, so the barrier counts only if the fly cannot get underneath it. It belongs on rotated ground, since covering a bed that carried alliums last season traps the flies emerging from the soil under the net with the crop.
No spray for this one. Prevention is the control.
The ladder troubleshoots from the gentlest solution to the strongest. Start with the gentlest option and only move on when and if it doesn't work.
Grow your alliums somewhere new each year rather than returning to the same bed. Rotating the planting is part of keeping this fly from settling into one patch of the garden.Rotate off last year's allium ground. With flights in both spring and fall working the same crop group, a planting left in place offers the same target twice a season.
Pull off and get rid of leaves showing the tunneling or the rows of small white dots, and clear infested material out of the bed rather than leaving it there.Strip and destroy mined foliage and infested debris. The larvae feed inside the leaf tissue and work down toward the base, so taking the tissue out takes them with it.
Cover the plants with fine insect netting during the spring and fall stretches when the fly is out. It cannot lay eggs in leaves it cannot land on. Pair the netting with rotation so you are not covering ground that carried alliums the year before.Netting across both flight periods is the primary control here. Adults puncture and feed on the leaf and lay into it, so exclusion has to be up ahead of a flight rather than after the rows of white dots appear, and it belongs on rotated ground rather than over a repeat allium bed.
No spray for this one. Prevention is the control.
The ladder troubleshoots from the gentlest solution to the strongest. Start with the gentlest option and only move on when and if it doesn't work.
Give the plants room when you sow or set them out so air can move between them. Crowded scallions hold dampness around the leaf bases, and that is the setting this mold gets going in.Spacing is set once, at planting, for air movement through the stand. Crowding is one half of the condition this rot wants and foliage that stays wet is the other, so a stand that dries quickly takes pressure off both.
Put the water on the soil rather than over the leaves. Watering from above wets the tops and the leaf bases, and this rot starts where they stay wet.Deliver water to the root zone rather than across the canopy. Overhead irrigation is called out as a factor, and the neck and leaf bases are where the soft, sunken rot actually appears.
Go easy on the fertilizer. Too much nitrogen, the nutrient that drives leafy growth, pushes out soft, thick growth that holds dampness longer.Excess nitrogen sits alongside overhead watering in the guidance as something that worsens this one. Heavy feeding thickens the stand and slows how fast it dries, so restrained feeding is preventive rather than corrective.
Harvest when the leaves are dry rather than straight after rain or while the dew is still on the plants. Lingering wetness on the tops is the condition this rot favors, so pick your moment.This rung is about when you work rather than what you apply: take the crop on dry days, because leaf wetness that lingers is the condition tied to this rot, and dew and rain leave foliage wet regardless of how you irrigate.
No spray for this one. Prevention is the control.
The ladder troubleshoots from the gentlest solution to the strongest. Start with the gentlest option and only move on when and if it doesn't work.
Keep alliums out of an affected bed for several years, not just one season. This fungus stays alive in the soil for a long stretch, so a single year away is not much of a gap.The pathogen is soilborne and persists for years, so the rotation is measured in several seasons away from alliums rather than the usual one-year shuffle. Warm soil favors it, which makes the rotation the lever with the longest reach here.
If you can find seed or plants described as resistant to this rot, start there. Not every scallion is offered that way, so treat it as a bonus when it is available.Take resistant stock where it is offered; availability is the limiting factor rather than the value of the trait, and it is one of the few levers that remains on ground already carrying the fungus.
No spray for this one. Prevention is the control.
The ladder troubleshoots from the gentlest solution to the strongest. Start with the gentlest option and only move on when and if it doesn't work.
Start with transplants you have reason to think are clean, since this fungus can arrive on the planting material itself. There is no known cure once it is in the soil, so the effort goes into keeping it out rather than treating it later.Clean planting stock is the decision that carries the most weight here because it is made before anything reaches the ground. No cure is known for infested soil, so introduction is the failure mode worth preventing.
If a bed has had it, keep alliums well away from that spot for many years. The fungus leaves behind tough little resting bodies, the tiny black specks you find at the base of a sick plant, and they hold on in the ground a long time. Avoid moving soil out of that bed into clean ground.Sclerotia, the resting bodies, survive in soil for many years, so the rotation is a long one and it is measured in distance from the infested ground as much as in seasons. It also comes undone if the soil itself travels, so keep soil from an affected bed out of clean beds.
No spray for this one. Prevention is the control.
Scallions do well planted after leafy greens or beans and peas. Just do not plant beans or peas right next to scallions, since onions can slow those down.Scallions follow well after a leafy or legume crop and pair poorly before beans and peas, which alliums tend to inhibit.
The plant app sends a timely reminder at every critical moment of your spring onion / scallion season. The wording adjusts to whichever you pick: beginner or seasoned. Here are three you'll see in Zone 9.
plant sends the right notification at exactly the right moment, for your zone, your weather, your crops. Founding members lock the rate forever.
We're building this guide with real growers. Got a question we missed? Ask here. We read every one and add the best answers right to this page.
Learned something the hard way? Pass it on. Real growers' tips make this guide better for the next person, and we credit you by name when yours goes live.
If you've grown this crop and you see a date, a temperature, a companion claim, or a recommendation that doesn't match your experience, tell us. Real growers' corrections make this guide better for the next person.
Every date, temperature, spacing, and recommendation on this page is sourced from university cooperative extension publications, peer-reviewed agricultural research, NOAA climate data, and direct extension calendars. Where claims are softer (traditional gardening wisdom not formally documented), we say so.
Spot a data point that doesn't match your experience? Submit a correction; accepted corrections earn full author credit on the page.
Zone-aware seasonal nudges, what's worth planting now, and the occasional recipe from the harvest. No spam, ever.