Today · in your zone
What's happening right now
Off-season for thyme in zone 9.
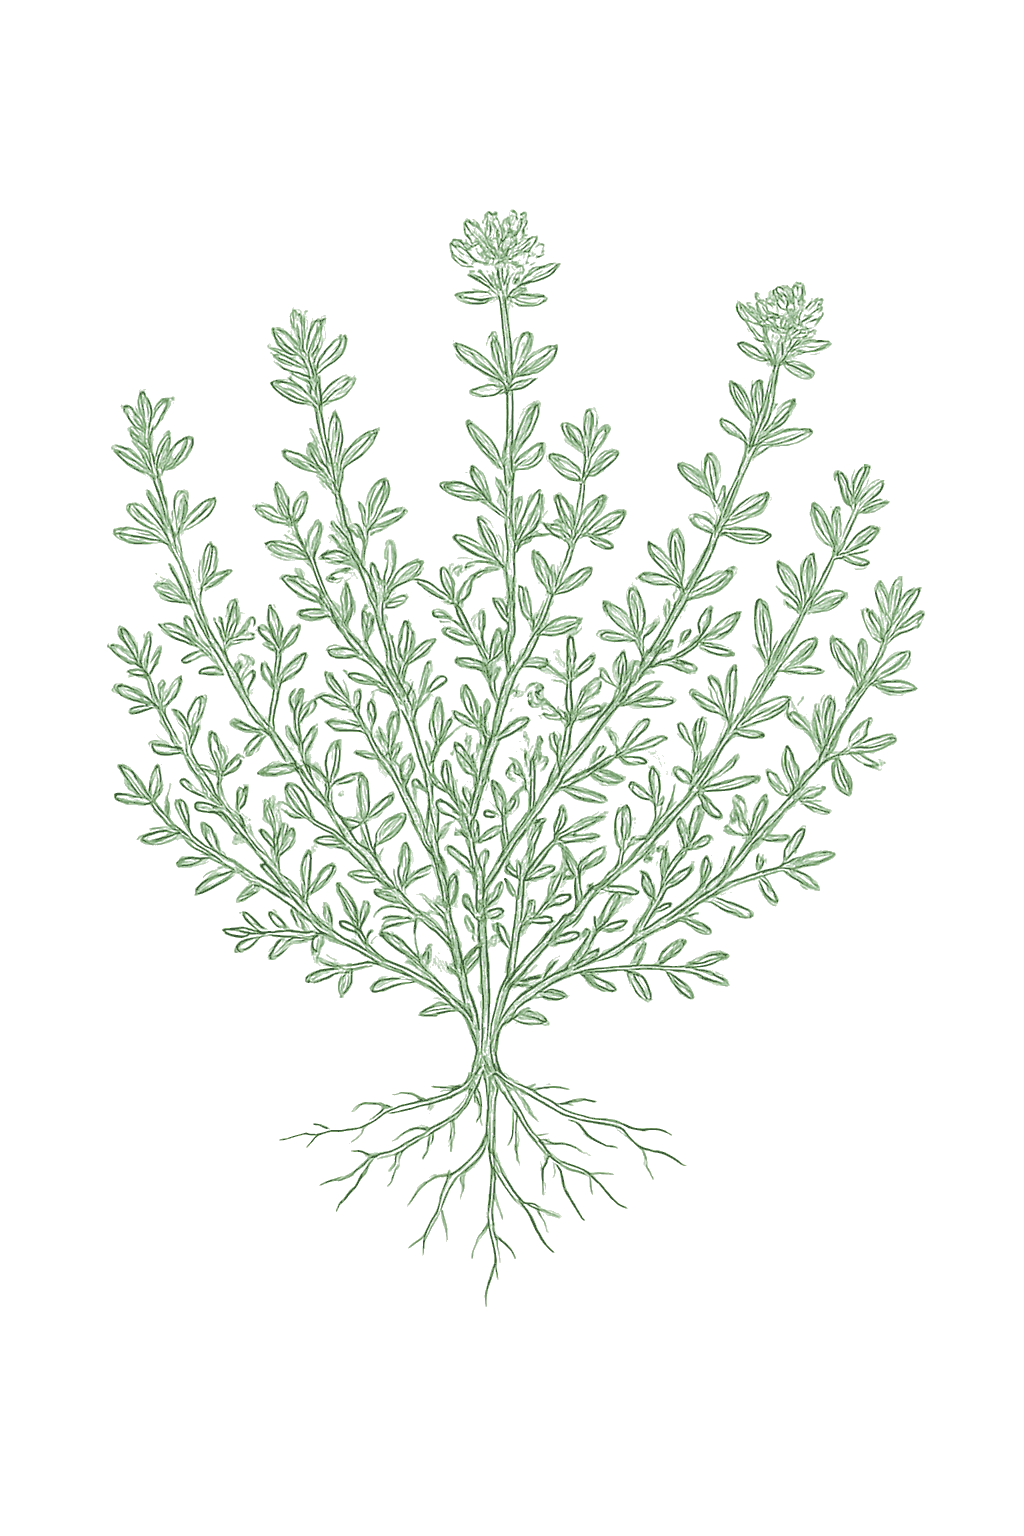
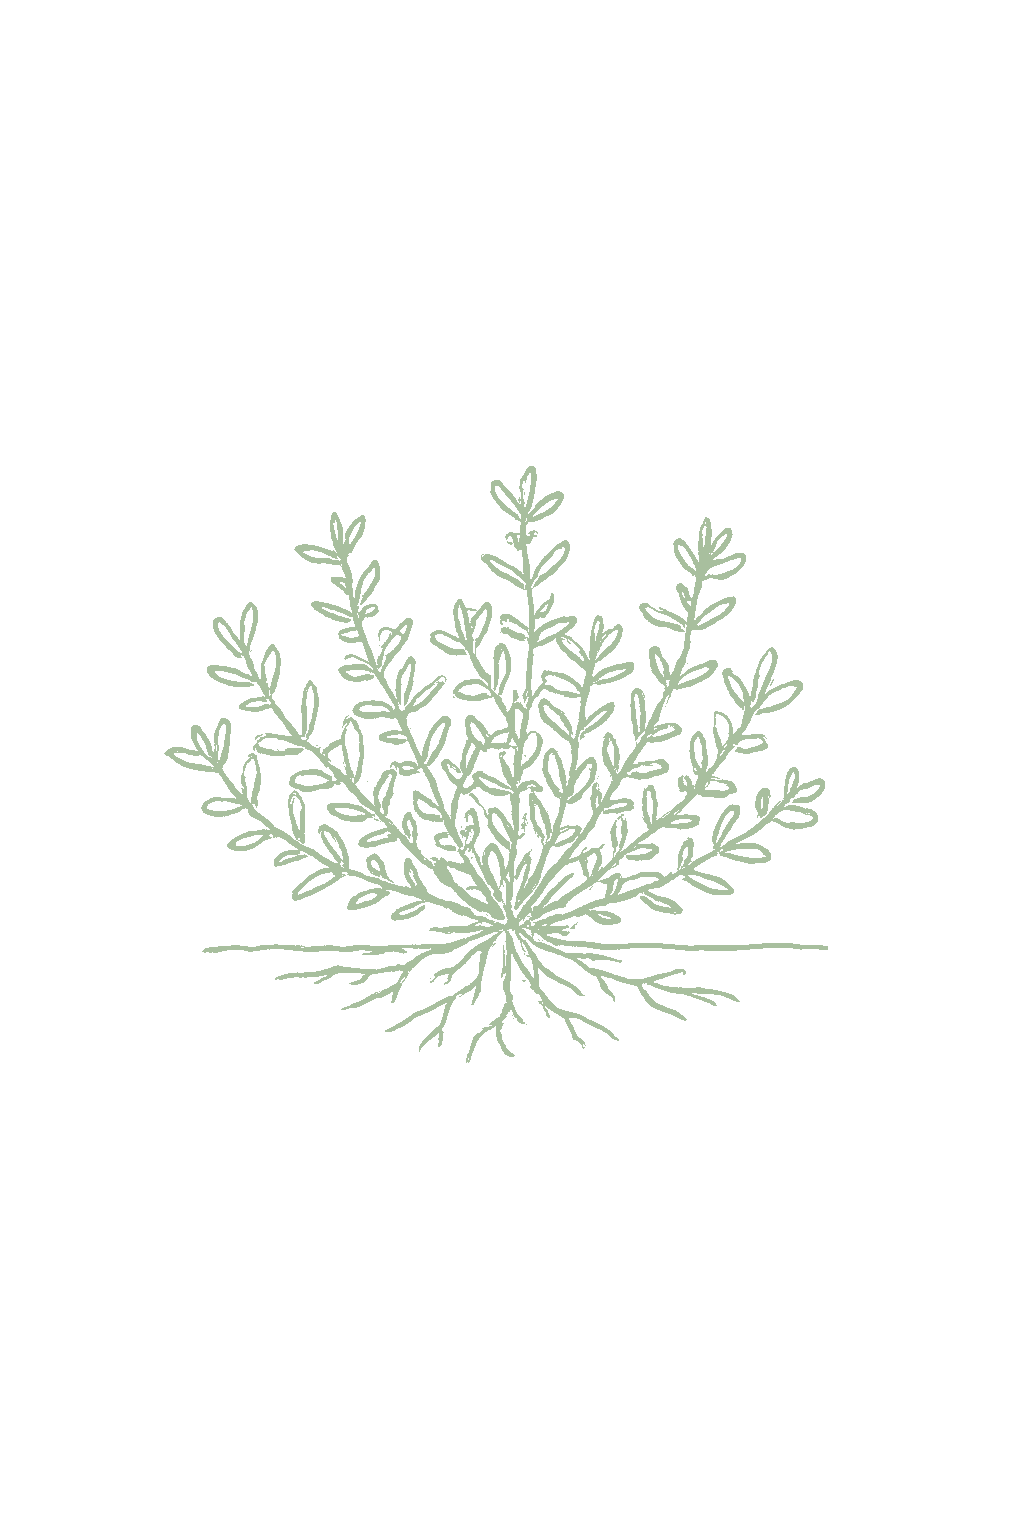
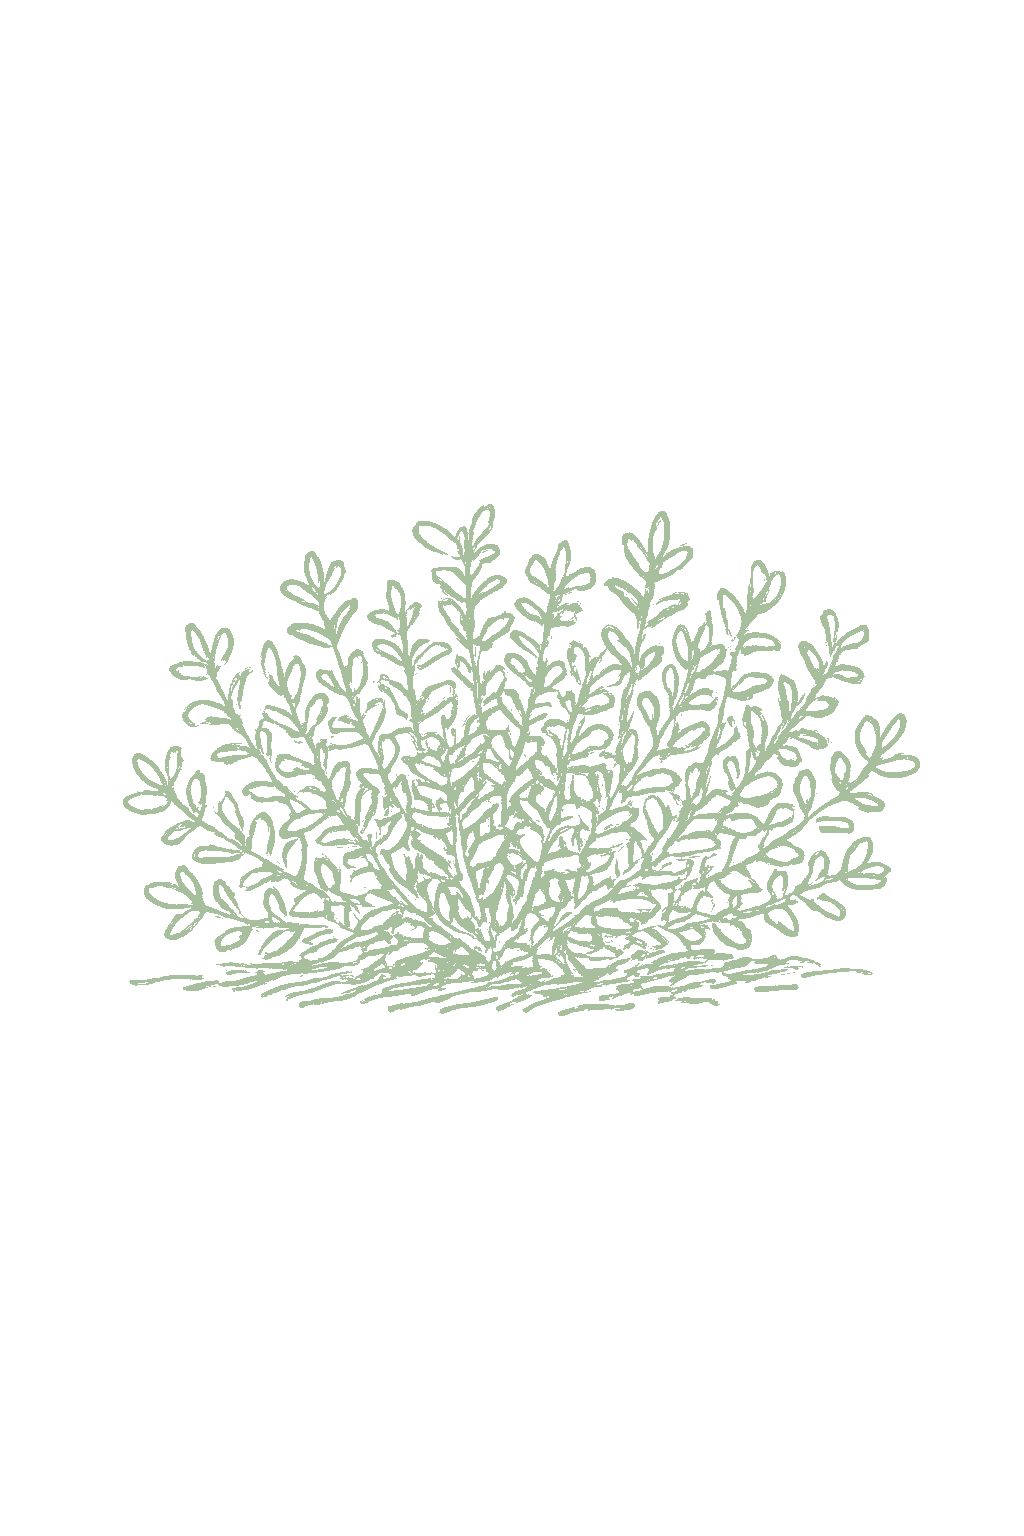
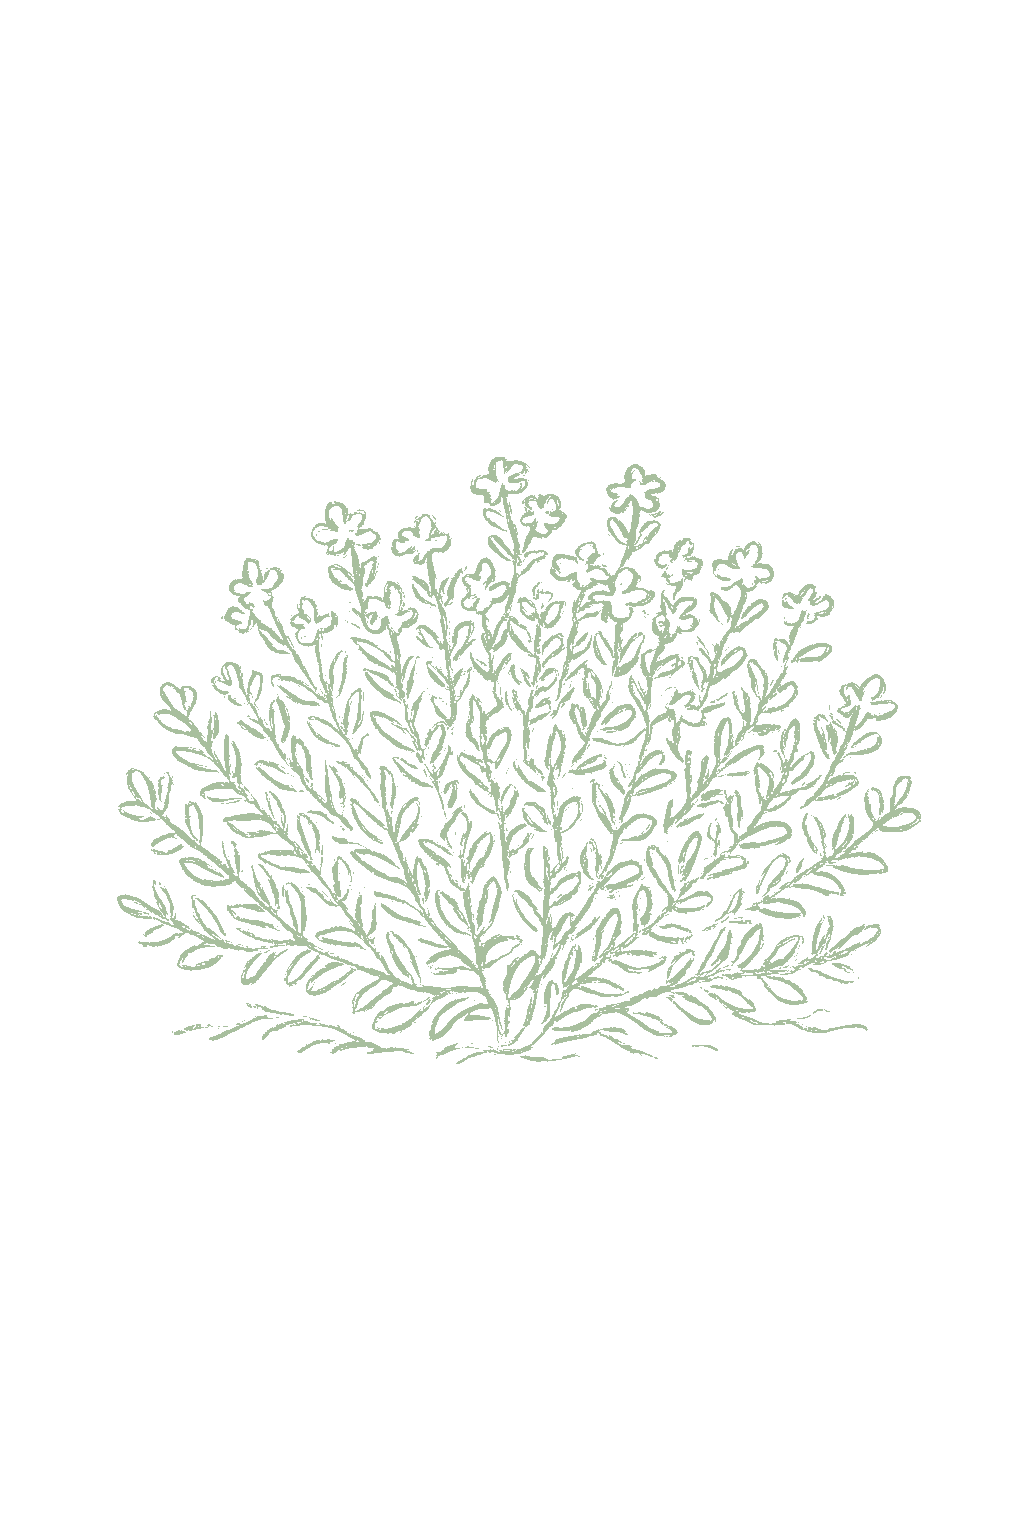
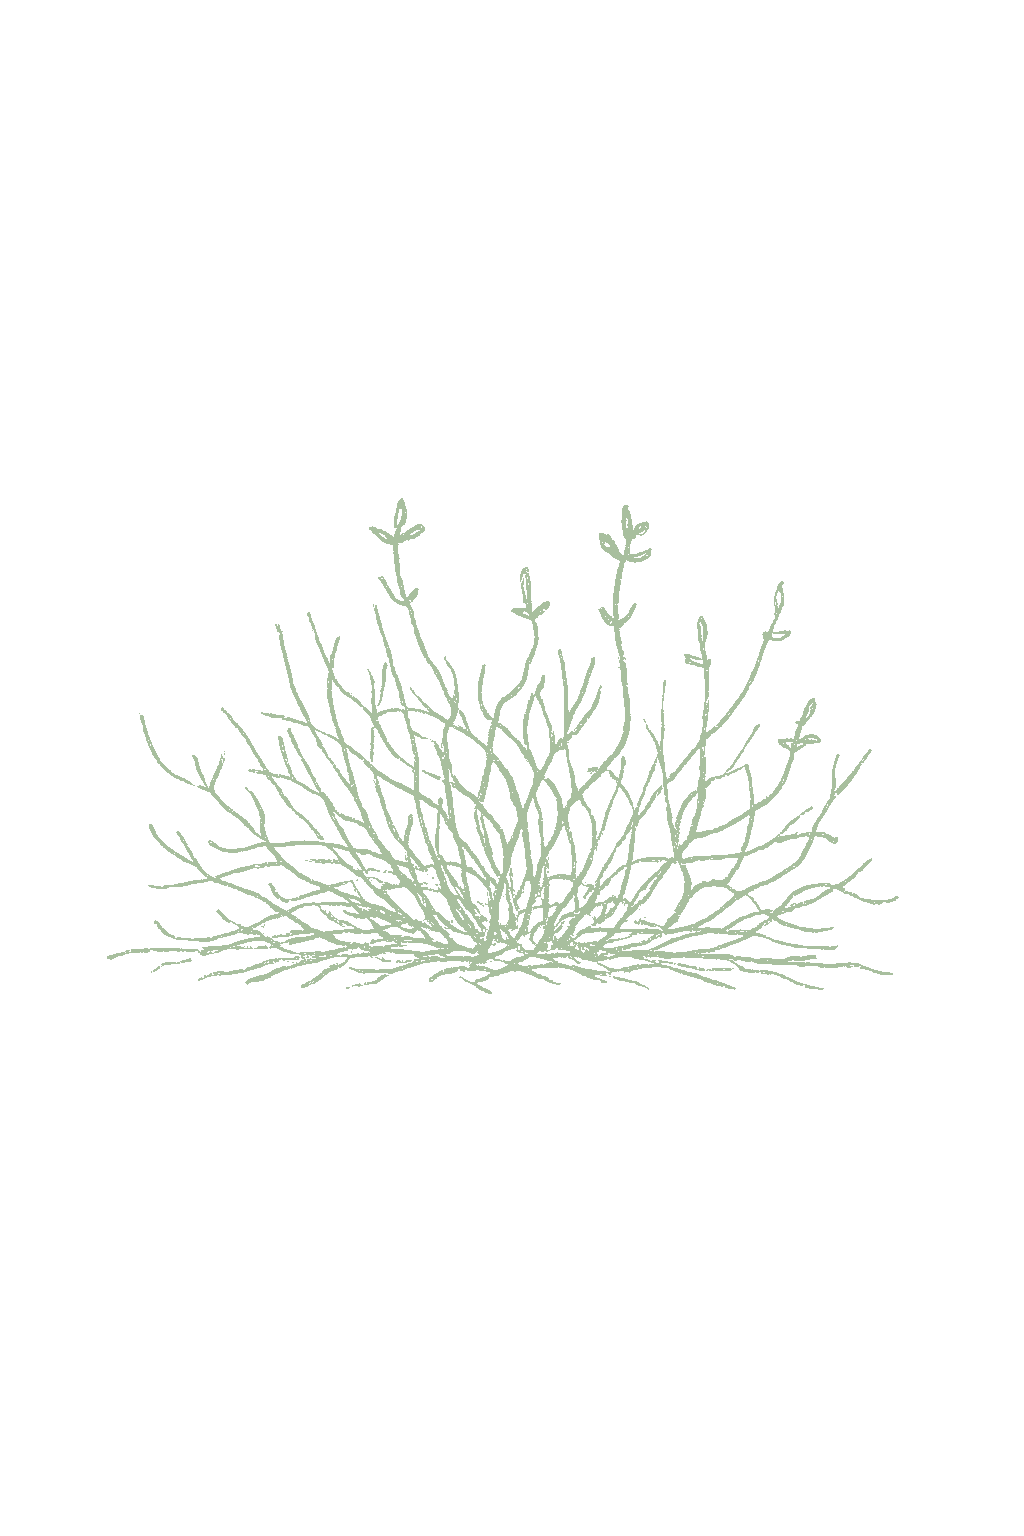
Thyme is a low, spreading herb with tiny fragrant leaves you cook with. It comes from the dry Mediterranean, so it wants full sun, poor dry soil, and very little water, and it actually does worse if you pamper it. It grows only about 6 to 12 inches tall and spreads into a low mat. Snip it often and give it a light trim after it flowers to keep it bushy; it gets woody as it ages, so replace or divide it every few years. It is tough and rarely bothered by pests, and bees love its little flowers. Thyme is a low, woody Mediterranean perennial in the mint family, grown for its tiny aromatic leaves that flavor soups, stews, sauces, meats, and fish. It forms a low, spreading, mat-like mound only about 6 to 12 inches tall and thrives on neglect in full sun and lean, sharply drained soil; wet, rich soil rots it and dulls its flavor. Frequent harvesting and a light shear after its summer bloom keep it bushy, though it goes woody with age and is best divided or replaced every few years. It is hardy and pest-resistant, and its small pink, lavender, or white flowers are a strong bee draw.
Off-season for thyme in zone 9.
Zone 9 averages a last frost around March 1. Within Zone 9, the colder half (9a, winters down to 20°F) runs about a week later. The warmer half (9b, winters down to 25°F) runs about a week earlier. The plant app picks your subzone from your ZIP.
| Subzone | Last spring | First fall | Growing days | Winter min | Fruits reliably |
|---|---|---|---|---|---|
| 9a | Mar 8 | Nov 24 | ~261 | 20-25°F | Yes · two seasons |
| 9b | Feb 28 | Nov 30 | ~275 | 25-30°F | Yes · two seasons |
Averages from 8 weather stations per subzone, drawn from NOAA 1991-2020 Climate Normals. Your actual frost date can vary by up to two weeks based on elevation, proximity to water, and local topography.
Thyme loves this climate and comes back every year. Give it full sun, poor fast-draining soil, and not much water, and it will thrive as a low, spreading plant.Perennial, and well suited to this climate. Thyme is a Mediterranean plant that thrives in the warm, dry, sunny conditions of zone 9, overwintering easily as a low woody sub-shrub. Give it full sun, lean soil, and sharp drainage, and keep water infrequent.
Once established, lavender settles into the same rhythm year after year: a winter rest, fresh spring growth, an early-summer bloom you cut for fragrant bundles, then a hard cut-back that keeps the plant compact and flowering for years.
Thyme handles the desert heat here and comes back each year, as long as the soil drains fast and you do not overwater. Full sun (a bit of afternoon shade in peak heat is fine) and gritty, poor soil keep it happy.Perennial, and at home in the low desert's heat with sharp drainage. Thyme takes zone 9 heat well as long as the soil drains fast and water stays infrequent; a little afternoon shade in the most intense heat and gritty, lean soil keep it thriving as a low woody sub-shrub.
Once established, lavender settles into the same rhythm year after year: a winter rest, fresh spring growth, an early-summer bloom you cut for fragrant bundles, then a hard cut-back that keeps the plant compact and flowering for years.
Thyme loves this climate and comes back every year. Give it full sun, poor fast-draining soil, and not much water, and it will thrive as a low, spreading plant.Perennial, and well suited to this climate. Thyme is a Mediterranean plant that thrives in the warm, dry, sunny conditions of zone 9, overwintering easily as a low woody sub-shrub. Give it full sun, lean soil, and sharp drainage, and keep water infrequent.
Once established, lavender settles into the same rhythm year after year: a winter rest, fresh spring growth, an early-summer bloom you cut for fragrant bundles, then a hard cut-back that keeps the plant compact and flowering for years.
Thyme does well here too, easily surviving winter. It flowers a bit later than the warmer inland zone because the coastal spring runs cooler. Give it full sun and fast-draining soil.Perennial, and comfortable here too. Thyme is hardy well beyond this zone's range, and the region's mild, dry summer, even on the cooler immediate coast, suits it well. Give it full sun, lean soil, and sharp drainage; bloom runs a little later here than in the warmer inland zone.
Once established, lavender settles into the same rhythm year after year: a winter rest, fresh spring growth, an early-summer bloom you cut for fragrant bundles, then a hard cut-back that keeps the plant compact and flowering for years.
Thyme is a perennial here in the Las Vegas Valley floor and thrives in the dry desert heat; hot Las Vegas summers are not a problem, and once it settles in it is drought-tolerant. Give it full sun, gritty alkaline soil with sharp drainage, and little water once established.Perennial, and desert-strong here. Thyme is hardy well below zone 8, to about zone 4 to 5, so winter cold is not the Nevada Mojave's limiting factor in the Las Vegas Valley floor. This crop thrives in the Mojave: summer heat is not a problem, and established plants are genuinely drought-tolerant: its low, wiry habit is built for exactly this kind of dry, sunny, alkaline ground. Give it full sun, gritty alkaline soil with sharp drainage, and little water once established.
Once established, lavender settles into the same rhythm year after year: a winter rest, fresh spring growth, an early-summer bloom you cut for fragrant bundles, then a hard cut-back that keeps the plant compact and flowering for years.
Thyme grows as a low perennial year-round in the Valley since it almost never freezes. Plant it high on a mound or raised bed in fast-draining soil, water at the base, and harvest it often to keep it tidy. Renew the planting every few years once it gets woody.Thyme persists as a low woody perennial through the Valley's frost-free winters. Texas A&M AgriLife's Texas herb guidance calls for dry soil in full sun, spacing plants about 12 inches apart, and renewing the planting every 3 to 4 years as it becomes woody; constant harvesting helps keep it from getting leggy. Plant it high, on a mound or raised bed in gritty, sharply drained soil, and water at the base rather than overhead, since humid stretches, not cold, are what bring on root rot and foliar fungus here.
Once established, lavender settles into the same rhythm year after year: a winter rest, fresh spring growth, an early-summer bloom you cut for fragrant bundles, then a hard cut-back that keeps the plant compact and flowering for years.
Thyme can grow here as a low perennial, but the humidity makes it prone to rot. Plant it high on a mound or raised bed in fast-draining soil, give it room for airflow, and choose an upright leafy type. Expect it to be shorter-lived than in a dry climate.Perennial but humidity-limited. Thyme can persist in zone 9 as a low sub-shrub, but the Deep South and Gulf humidity brings root rot and foliar fungus, so drainage and airflow are everything. Plant on a mound or raised bed in gritty soil, space for air movement, favor the upright leafy culinary types over low woolly ones, and expect a shorter-lived plant than in a dry climate.
Once established, lavender settles into the same rhythm year after year: a winter rest, fresh spring growth, an early-summer bloom you cut for fragrant bundles, then a hard cut-back that keeps the plant compact and flowering for years.
The easy, reliable way to grow thyme is to buy a small plant, divide an existing clump, or root a cutting. You can grow it from seed, but the seed is tiny and slow and does not come up evenly, so most gardeners buy a plant instead. If you do start from seed, scatter the fine seed and barely cover it, and start indoors about 10 weeks before your last frost, keeping it warm and moist until it sprouts.Thyme is most reliably started from a nursery transplant, a division of an established clump, or a softwood cutting (cuttings root in about three to four weeks); it can be grown from seed, but the fine seed is slow and germination is uneven, so most gardeners skip it. Divide established plants in spring, and mixing the tiny seed with sand helps it spread evenly if you do direct-sow. To start seed indoors, scatter and barely cover the fine seed about 10 weeks before the last frost, and expect slow, uneven germination over two to three weeks.
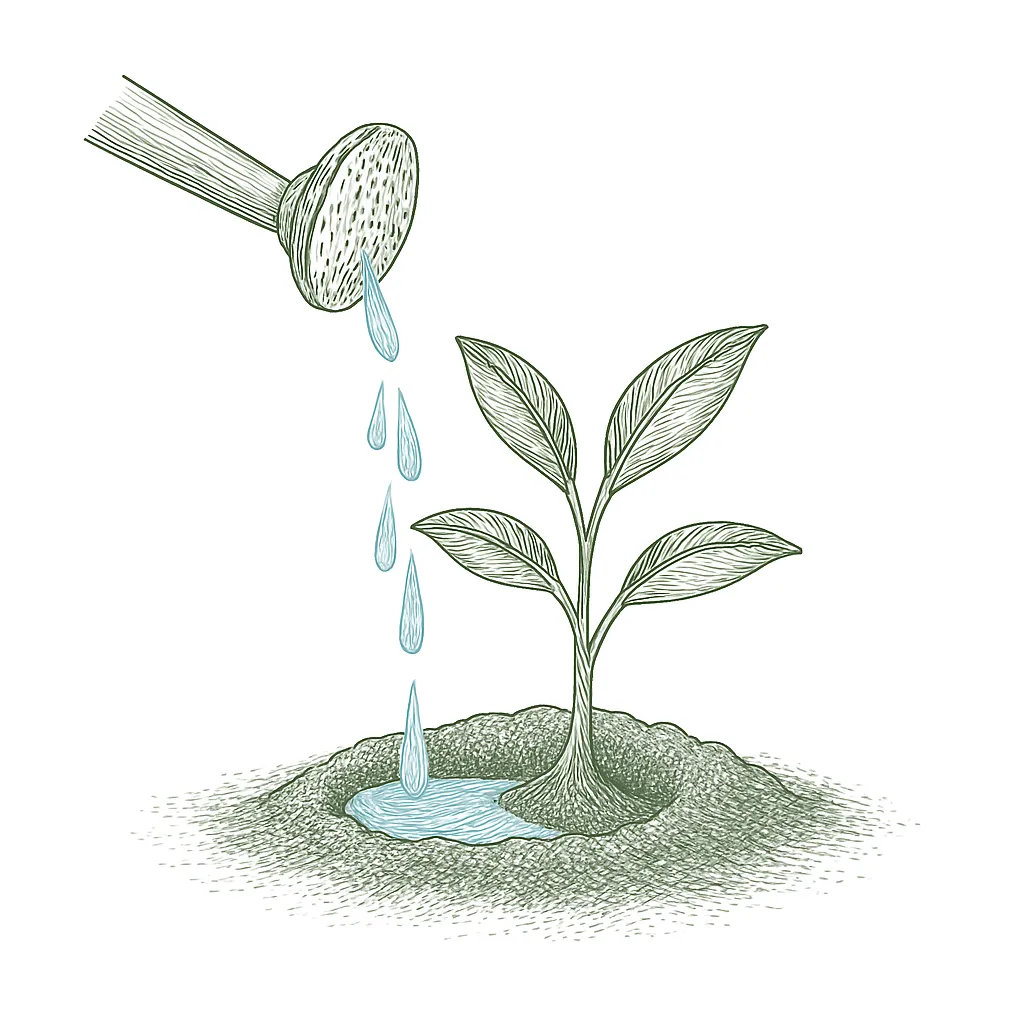
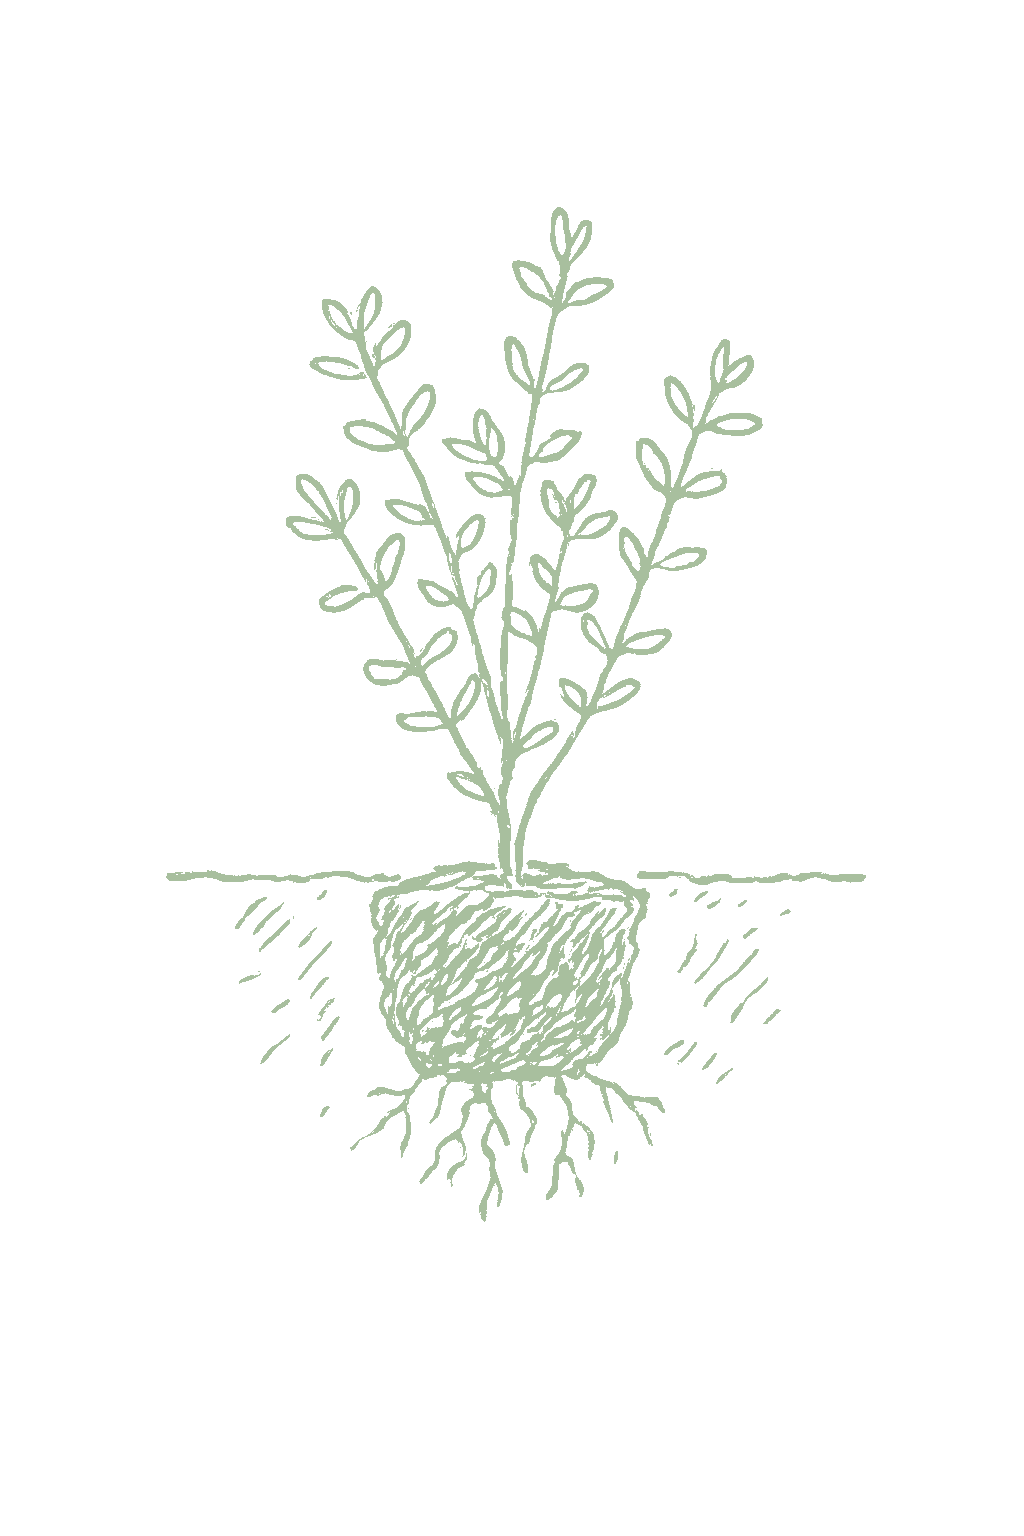
Not sure what soil you have? Grab a small handful of damp soil from your garden bed and squeeze it. If it crumbles apart easily, it's sandy. If it holds together but breaks when you poke it, it's loam (what most vegetables want). If it stays in a hard, slippery ball, it's clay.
Thyme likes poor, dry, gritty soil and full sun. That sounds backward, but it comes from the dry Mediterranean, so rich, damp soil actually makes it weak and rot-prone and dulls the flavor. If your soil is heavy clay, plant thyme in a raised bed or mound so water drains away fast, and skip the compost.
Mix 2-3 inches of compost into the top 6 inches of your bed before planting. Compost holds moisture (which sandy soil drains too fast) and adds the nutrients sandy soil tends to lack. Repeat each season. Compost breaks down over time.
Mix 2-3 inches of compost AND a few inches of coarse sand or perlite into the top 6 inches of your bed. The compost feeds the plants; the sand breaks up the clay so air and water can move through. Don't add sand without compost. It can compact like concrete.
If amending your soil sounds like too much work, or if your soil is heavy clay, full of rocks, or contaminated, build over it. A raised bed at least 12 inches deep filled with a 50/50 mix of compost and sandy loam gives you ideal growing soil with no battles. A 5-gallon container with quality potting mix does the same for one plant at a time. Both bypass your native soil entirely.
The numbers that matter, at a glance.
Thyme does very well in a pot, partly because it likes the soil to dry out between waterings. Use a wide pot with holes in the bottom and a gritty mix, keep it in full sun, and tip out any water that collects in the saucer.Thyme is one of the best herbs for containers: it likes to dry out between waterings, which a pot does readily. Use a wide, free-draining pot with a gritty mix, keep it in full sun, and never let it stand in water. A pot is also the easy way to overwinter thyme where winters are too cold for it in the ground.
Lemon thymeA citrus-scented culinary hybrid with green or gold-variegated leaves; excellent with fish and poultry.
English thyme
In the coldest zones, or with a less hardy type, grow thyme in a pot you can move into an unheated but sheltered spot for winter, then bring it back out in spring.Where the chosen type is not reliably hardy, a container lets you overwinter the plant under cover (an unheated garage or porch); keep it on the dry side and protected from hard freezes, then return it outdoors after frost.
Hardy to zone 4 in the ground; roots in a pot sit colder than that.
Ask what your balcony or roof can carry
A balcony or roof can only hold so much weight. Before you set heavy pots there, ask a building architect what it can safely carry.Illinois Extension's guidance is to consult a building architect about weight limits before placing heavy pots on a balcony or rooftop garden. It gives no weight figure.
Never grow food in a container with anything toxic in it
Many kinds of containers can be used. Whatever you choose, keep anything toxic out of it, especially if you are growing food.Colorado State accepts nearly any container material but warns against using a container that holds toxic materials, especially for edible plants. Illinois adds that a vegetable container should be free of chemicals toxic to plants or people, and urges caution with treated lumber when growing food. If you cannot account for what a repurposed container once held, that alone is a reason to keep food out of it.
Secure hanging containers well
Fasten hanging baskets and window or rail boxes securely. Think about what is below them too, since they can drip on people or things underneath.Illinois Extension asks growers to secure hanging containers well and to think through the safety issues of hanging them. Placement matters too, since a hanging container can drip onto people or belongings below.
Thyme is happy in soil that is neutral to a little bit chalky, about pH 6.0 to 8.0, and copes with slightly acidic soil too. It does not fuss over pH, so the main thing is to make sure the soil drains fast.Thyme grows well in neutral to slightly alkaline soil, roughly pH 6.0 to 8.0, and tolerates mildly acidic ground down to about 5.5. It is not fussy about pH as long as drainage is sharp; wet feet, not soil chemistry, is what limits it.
Thyme barely needs feeding, and too much fertilizer actually works against it. A little compost mixed in when you plant is enough, and after that you can usually skip feeding entirely. Feed it heavily and you get lots of soft leaves with weaker flavor.Thyme has very low fertility needs and is easy to over-feed. A little compost worked in at planting is plenty; established plants generally need no fertilizer at all. Over-fertilizing pushes soft, leafy growth at the expense of the concentrated oils that give thyme its flavor and aroma.
N/A. There is no fertilizer number to hit here, since the aim is to feed thyme as little as possible.N/A. Thyme is not fed by N-P-K targets; the goal is lean soil and minimal-to-no supplemental feed, so no fertilizer analysis applies.
Plant thyme next to other plants that also like full sun and dry soil, such as rosemary, sage, oregano, and lavender. Many gardeners also tuck it near cabbage and its relatives, believing the scent helps keep pests away. Keep thyme away from plants that need a lot of water, because that wet soil will rot it. Thyme pairs naturally with other sun-loving, low-water Mediterranean herbs that share its lean, sharply drained conditions, such as rosemary, sage, oregano, and lavender; group these together so one dry, waterwise bed suits them all. Thyme is also a traditional companion in the vegetable garden, where growers have long planted it near cabbage-family crops in the belief its aroma helps deter cabbage pests. Keep it away from thirsty, rich-soil plants whose watering would rot it.
You can snip thyme anytime once it is established: cut the top few inches of leafy stems, taking no more than about a third at once. The flavor is strongest just before and as it flowers, so that is the best time to cut thyme to dry. Cut in the morning after the dew dries. Snipping it often also keeps it from getting woody.Harvest thyme sprigs anytime once the plant is established: snip the top few inches of leafy growth, taking no more than about a third of the plant at once. Flavor is most concentrated just before and as the plant flowers, so cut for drying then, on a dry morning after the dew has lifted. Regular harvesting also keeps the plant from going woody.
A grown thyme plant gives you plenty of sprigs all season, enough to cook with fresh and to dry, especially once it is a couple of years old.A mature plant yields a steady supply of sprigs through the growing season, easily enough to keep a kitchen stocked with fresh thyme plus bundles to dry; productivity is best once the plant reaches full size at about the second year.
Do not expect much the first year. Picking lightly while the plant settles in gives you bigger harvests from year two.Expect only light harvests the first year; harvesting sparingly while the plant establishes pays off in fuller production from the second season on.
There are a few kinds of thyme. English (common) thyme is the all-purpose cooking thyme, and French thyme is a milder version of it. German Winter thyme is a hardy, upright type. Lemon thyme tastes citrusy and is great with fish. Silver thyme is a pretty variegated type. Creeping thyme is a flat, spreading groundcover you plant between stepping stones; it is grown more for looks than for cooking. For cooking, pick English or French thyme.Thyme comes in several practical groups. Common or English thyme (Thymus vulgaris) is the standard broad-leaved culinary thyme, with French thyme a narrow-leaved, milder selection of the same species and German Winter a hardy, upright culinary selection. Lemon thyme (Thymus x citriodorus) adds a citrus note. Silver thyme is a variegated form grown as much for ornament. Creeping thyme (Thymus serpyllum, mother-of-thyme) is a flat, hardy groundcover used between pavers and as a lawn substitute, and is ornamental more than culinary. For the kitchen, start with English or French thyme; for a hardy groundcover, choose creeping thyme.
The ladder troubleshoots from the gentlest solution to the strongest. Start with the gentlest option and only move on when and if it doesn't work.
Thyme likes dry soil, but a plant left bone dry through a heat wave is the one mites take over. In a long dry spell, give it a single deep soak and then let it dry out again, rather than a splash of water every day.The lever is drought stress, not the moisture level itself: soak deeply during a prolonged dry stretch, then leave it alone until the ground has dried out. Frequent light watering would trade a mite flare for the root rot that actually kills thyme.
Blast the mites off with the hose on a hard setting, working in under the sprigs as well as over the top. Thyme's stems are woody enough to take it, and you will need to repeat while the hot, dry weather holds.A thyme plant is a tough enough subshrub to hose forcefully, and repetition is what stops a colony rebuilding; the low, spreading habit means the water has to come in from the side to reach anything. Take the pass in the morning so the mat is dry by evening.
If the speckling keeps spreading, reach for insecticidal soap, sold for exactly these soft-bodied pests. It kills only what the spray directly wets, so on leaves this small, work slowly and get in under the mat as well as over the top.Soap leaves no residual, so it only kills what it lands on, and on a dense low mat that means getting the nozzle in under the canopy. Skip it during a heat wave: it burns foliage on a plant already hot and short of water, which is exactly when mite numbers peak.
The bottom rungs are products with label rules: timing, pollinators, and days to wait before harvest. Before you spray →
The ladder troubleshoots from the gentlest solution to the strongest. Start with the gentlest option and only move on when and if it doesn't work.
Feed thyme sparingly, or not at all. Extra fertilizer and rich ground give it soft, sappy new shoots, which is exactly what aphids breed on, and thyme is happier on poor dry soil in any case.Lean ground works by withholding the soft, succulent tissue aphid colonies need, not by making the plant tough enough to fight them off. Overfeeding buys weak, sprawling stems and weaker aromatic oils along with the aphids, so restraint costs nothing here.
Pinch off any sprig that stays covered and take it to the trash, not back onto the bed. On a plant this small, a few snips take out most of a colony.Removing weak and infested growth is the standard herb-bed answer, and on thyme it doubles as the light shaping the plant wants after flowering. The clippings should leave the bed, not land at the base of the plant.
Thyme's low mat means the hose has to come in sideways: angle a firm spray up under the shoots and most of the colony goes with it, and few aphids climb back afterward.Thyme's wiry stems take a forceful jet that would flatten a seedling, so this is a real first move rather than a token one. Repeat as new clusters appear, and go in the morning so the canopy dries.
If a colony holds on after a couple of hosings, insecticidal soap will finish it. It kills only what the spray actually wets, so cover the shoots properly instead of misting the top of the plant.This is the last step the problem should ever need on thyme, where aphids are reported as occasional rather than damaging. Soap leaves nothing behind, so predators arriving later are unharmed, and a repeat pass catches what the first missed.
The bottom rungs are products with label rules: timing, pollinators, and days to wait before harvest. Before you spray →
The ladder troubleshoots from the gentlest solution to the strongest. Start with the gentlest option and only move on when and if it doesn't work.
This is a wet-soil disease with no spray behind it. What decides the outcome is where you put the plant: a slope, a raised bed, gravelly ground, or a pot with plenty of drainage holes, and never the low corner that stays damp after rain.Drainage is the whole control: nothing available to a home gardener saves a crown that is already rotting. Thyme will take poor, rocky ground that would starve most plants, so moving it or building the bed up beats trying to improve a heavy wet spot in place.
In a hot, humid region, pick one of the taller, smooth-leaved culinary thymes instead of a low, woolly creeping type: they cope with heat and damp air better. That is the plant coping with the climate, not beating the rot, so it belongs on top of good drainage and never in place of it.Thyme is a Mediterranean plant, and in humid regions the taller smooth-leaved species tolerate the heat and damp where the low woolly types struggle. This is tolerance of the conditions that bring the rot on rather than resistance to the organisms themselves, so it shifts the odds without settling them.
A plant whose roots and base have rotted will not recover, so lift it out and dispose of it rather than waiting to see. Clear the dead material away instead of leaving it lying under the neighbors.Take the loss out promptly and put the effort back into the site: overwatering and pooling do damage to an herb that is not reversible, so a collapsed plant is not something a change of watering habit rescues.
No spray for this one. Prevention is the control.
N/A. Thyme is not rotated like a vegetable because it is a permanent plant that stays put for years. If you replace an old one, pick a fresh, well-draining spot.N/A. Thyme is a perennial that stays in place for several years, so annual crop rotation does not apply. When replanting an old thyme patch, choose a fresh, well-drained site to avoid carrying over soilborne root rot.
The plant app sends a timely reminder at every critical moment of your thyme season. The wording adjusts to whichever you pick: beginner or seasoned. Here are three you'll see in Zone 9.
plant sends the right notification at exactly the right moment, for your zone, your weather, your crops. Founding members lock the rate forever.
We're building this guide with real growers. Got a question we missed? Ask here. We read every one and add the best answers right to this page.
Learned something the hard way? Pass it on. Real growers' tips make this guide better for the next person, and we credit you by name when yours goes live.
If you've grown this crop and you see a date, a temperature, a companion claim, or a recommendation that doesn't match your experience, tell us. Real growers' corrections make this guide better for the next person.
Every date, temperature, spacing, and recommendation on this page is sourced from university cooperative extension publications, peer-reviewed agricultural research, NOAA climate data, and direct extension calendars. Where claims are softer (traditional gardening wisdom not formally documented), we say so.
Spot a data point that doesn't match your experience? Submit a correction; accepted corrections earn full author credit on the page.
Zone-aware seasonal nudges, what's worth planting now, and the occasional recipe from the harvest. No spam, ever.