Today · in your zone
What's happening right now
Off-season for mint in zone 9.
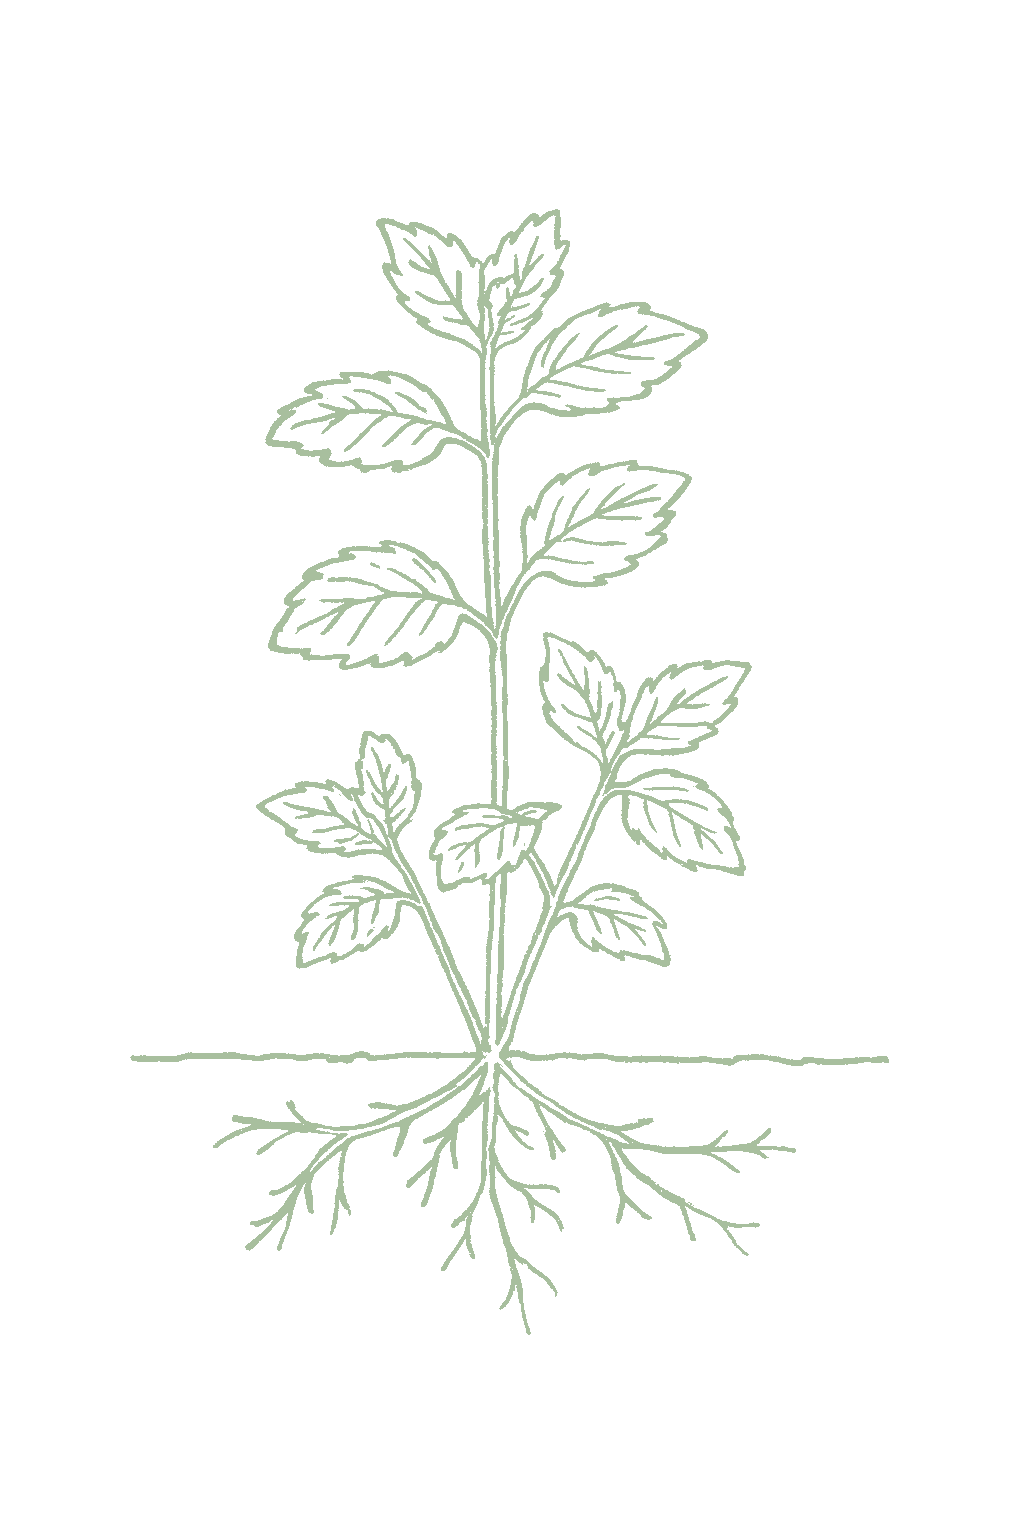
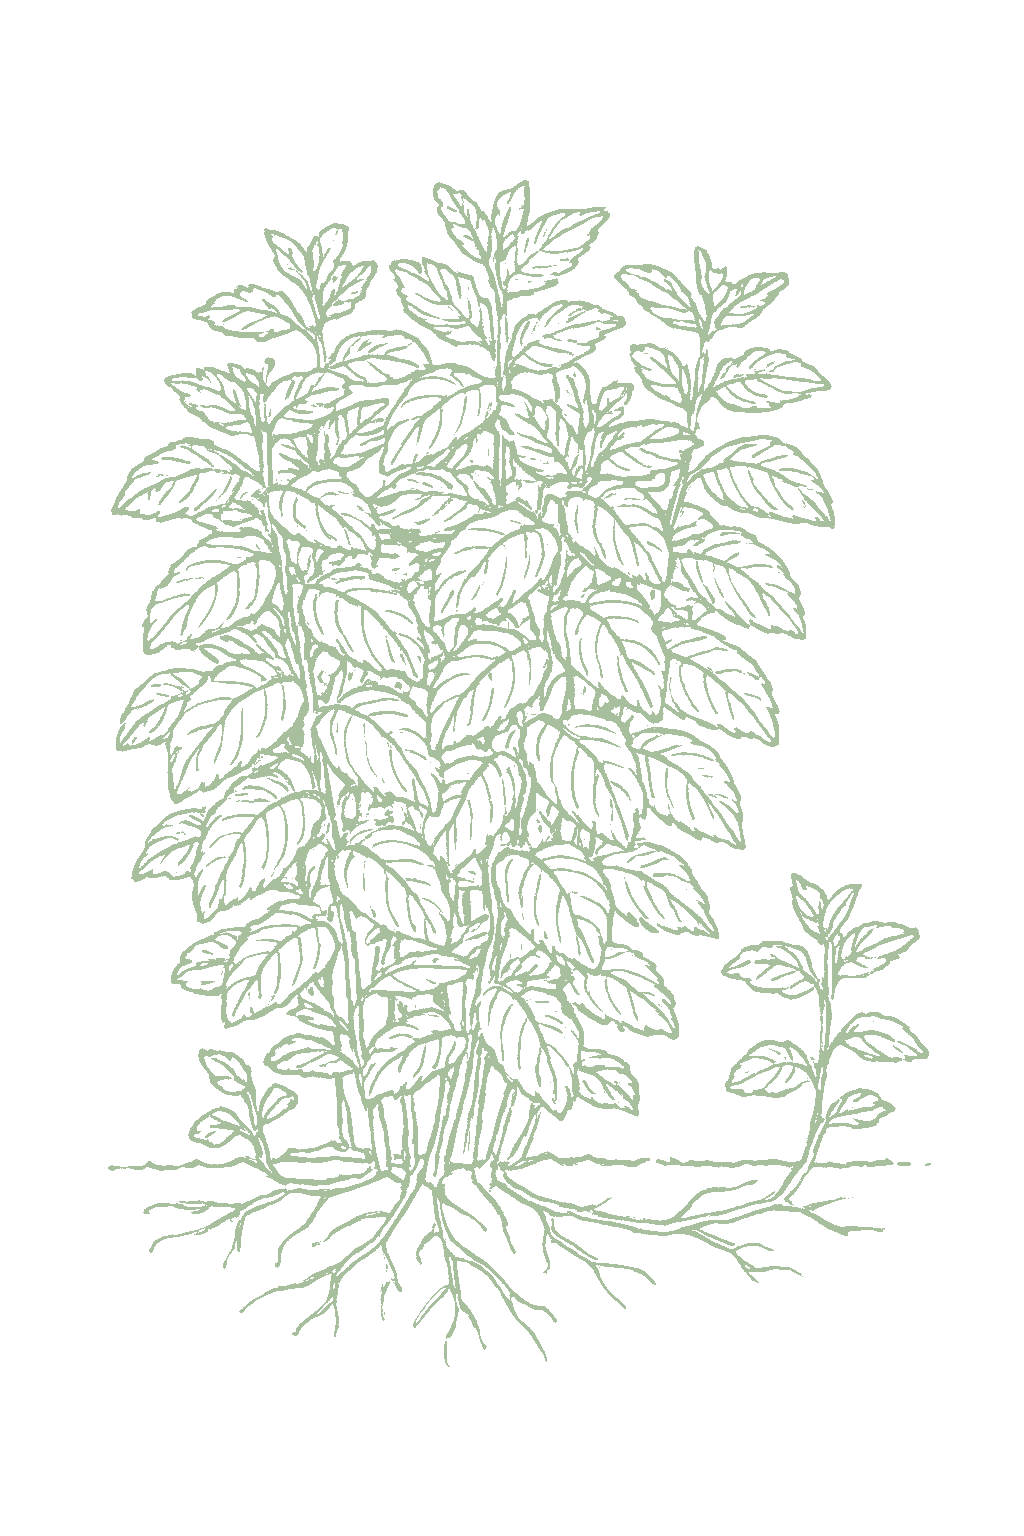
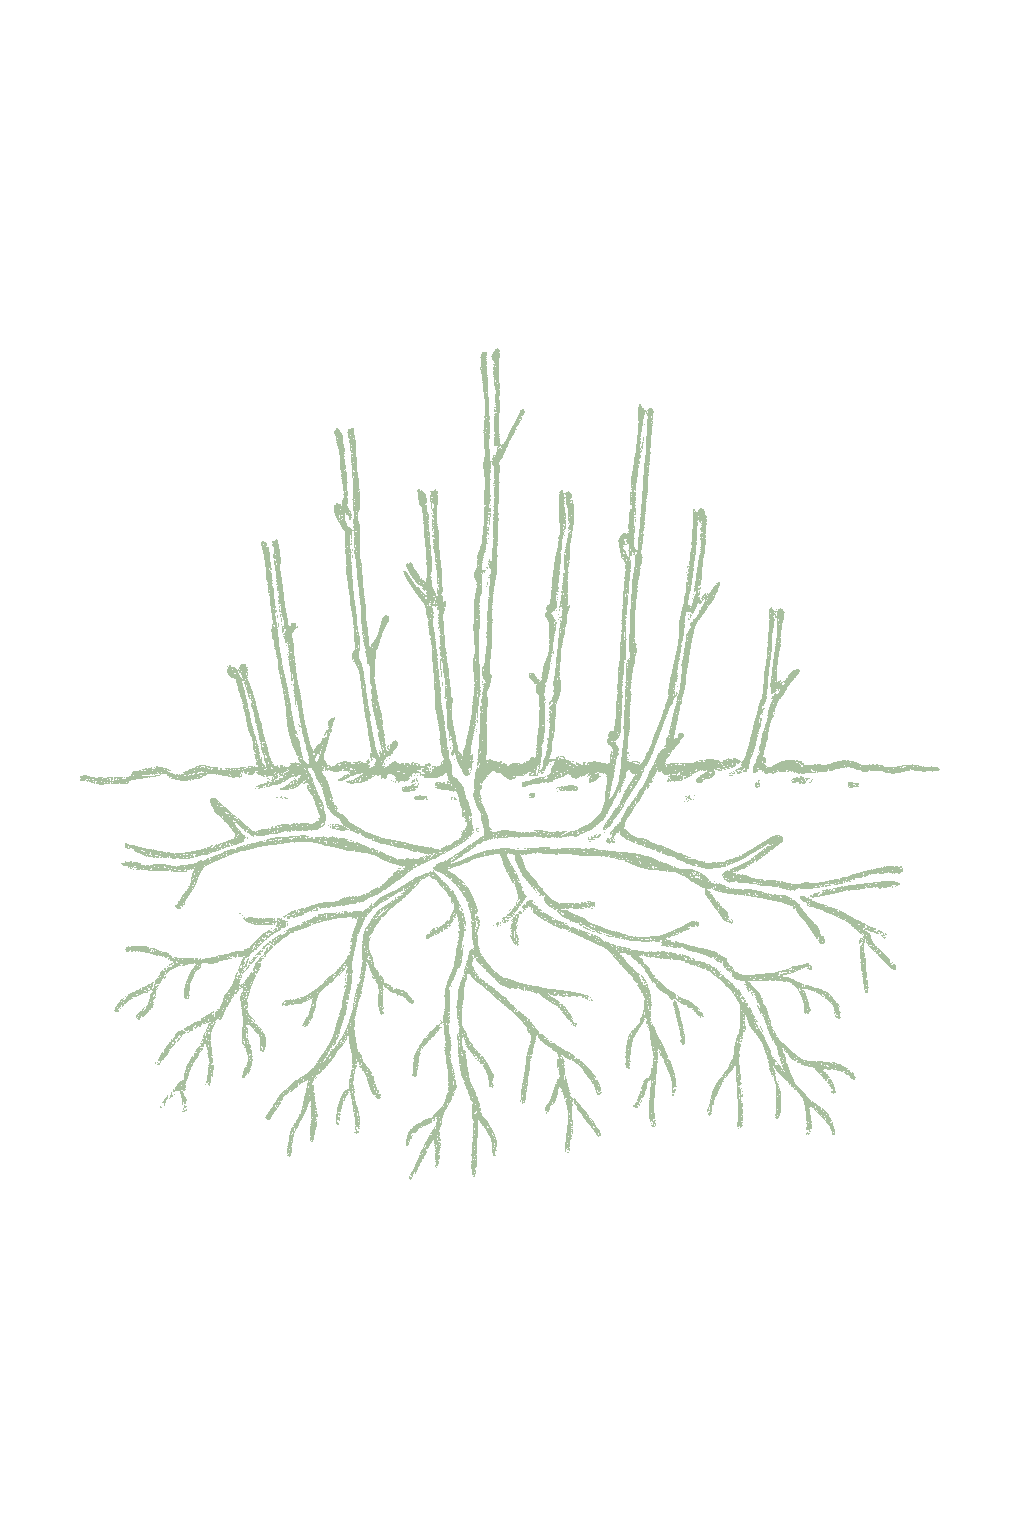
Mint is one of the easiest herbs to grow, and it comes back every year on its own. Unlike most herbs, it loves moist soil and even grows in part shade, so it is happy in a cool, damp spot. The one thing to know about mint is that it spreads like crazy, running underground and popping up everywhere, so almost everyone grows it in a pot or a buried, bottomless container to keep it from taking over the garden. Grow it from a small plant or a cutting, not from seed, keep it watered, and snip sprigs whenever you want; the more you cut it, the better it grows. Spearmint is the mild, sweet everyday mint and peppermint is the stronger, cooler one, and there are fun flavors like chocolate and apple mint too. Mint (Mentha) is a hardy herbaceous perennial grown for its aromatic leaves, and it breaks nearly every rule the Mediterranean kitchen herbs follow. Where rosemary and thyme want lean, dry, sun-baked ground, mint wants rich, moist to damp soil and happily takes part shade, thriving in low, cool spots that defeat other herbs. It is very cold hardy (Utah State rates it to about -20°F, roughly USDA zones 3 to 9 and beyond), planted once from a division, cutting, or transplant and returning every spring from its roots. Its defining trait is aggression: mint spreads fast by underground rhizomes and above-ground stolons, and every extension source says the same thing, contain it in a sunken bottomless pot or a lined bed or it will take over. Spearmint (Mentha spicata) is the mild, sweet all-purpose culinary type; peppermint (Mentha x piperita) is the stronger, cooler, menthol one; and named mints, being hybrids and selections, come untrue from seed, so they are grown from cuttings and divisions. Harvest is cut-and-come-again all season, and frequent shearing keeps the leaves tender and heads off flowering.
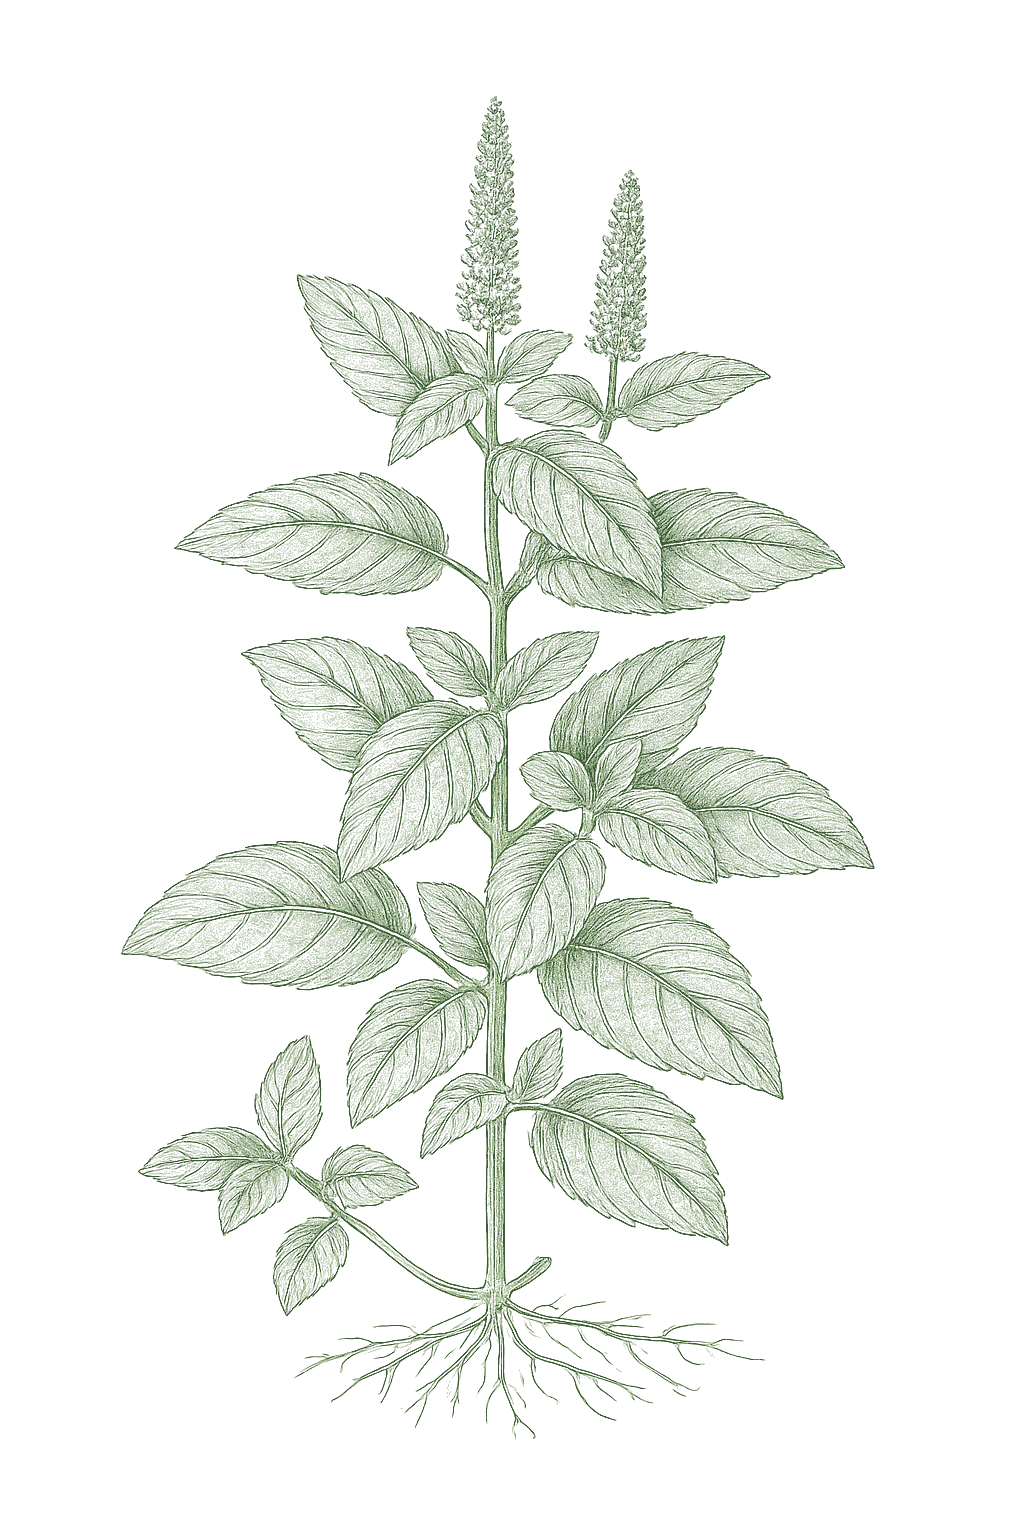
Off-season for mint in zone 9.
Zone 9 averages a last frost around March 1. Within Zone 9, the colder half (9a, winters down to 20°F) runs about a week later. The warmer half (9b, winters down to 25°F) runs about a week earlier. The plant app picks your subzone from your ZIP.
| Subzone | Last spring | First fall | Growing days | Winter min | Fruits reliably |
|---|---|---|---|---|---|
| 9a | Mar 8 | Nov 24 | ~261 | 20-25°F | Yes · two seasons |
| 9b | Feb 28 | Nov 30 | ~275 | 25-30°F | Yes · two seasons |
Averages from 8 weather stations per subzone, drawn from NOAA 1991-2020 Climate Normals. Your actual frost date can vary by up to two weeks based on elevation, proximity to water, and local topography.
In Zone 9, mint can be planted March, skipping the summer heat. Harvest runs April through November.
In Zone 9, mint can be planted September through October, skipping the summer heat. Harvest runs November through May.
In Zone 9, mint can be planted September through October, skipping the summer heat. Harvest runs November through May.
In Zone 9, mint can be planted March. Harvest runs February through December.
In Zone 9, mint can be planted March. Harvest runs February through December.
In Zone 9, mint can be planted April through May. Harvest runs July through December.
In Zone 9, mint can be planted September through October, skipping the summer heat. Harvest runs November through May.
In Zone 9, mint can be planted March. Harvest runs January through December.
In Zone 9, mint can be planted March. Harvest runs February through December.
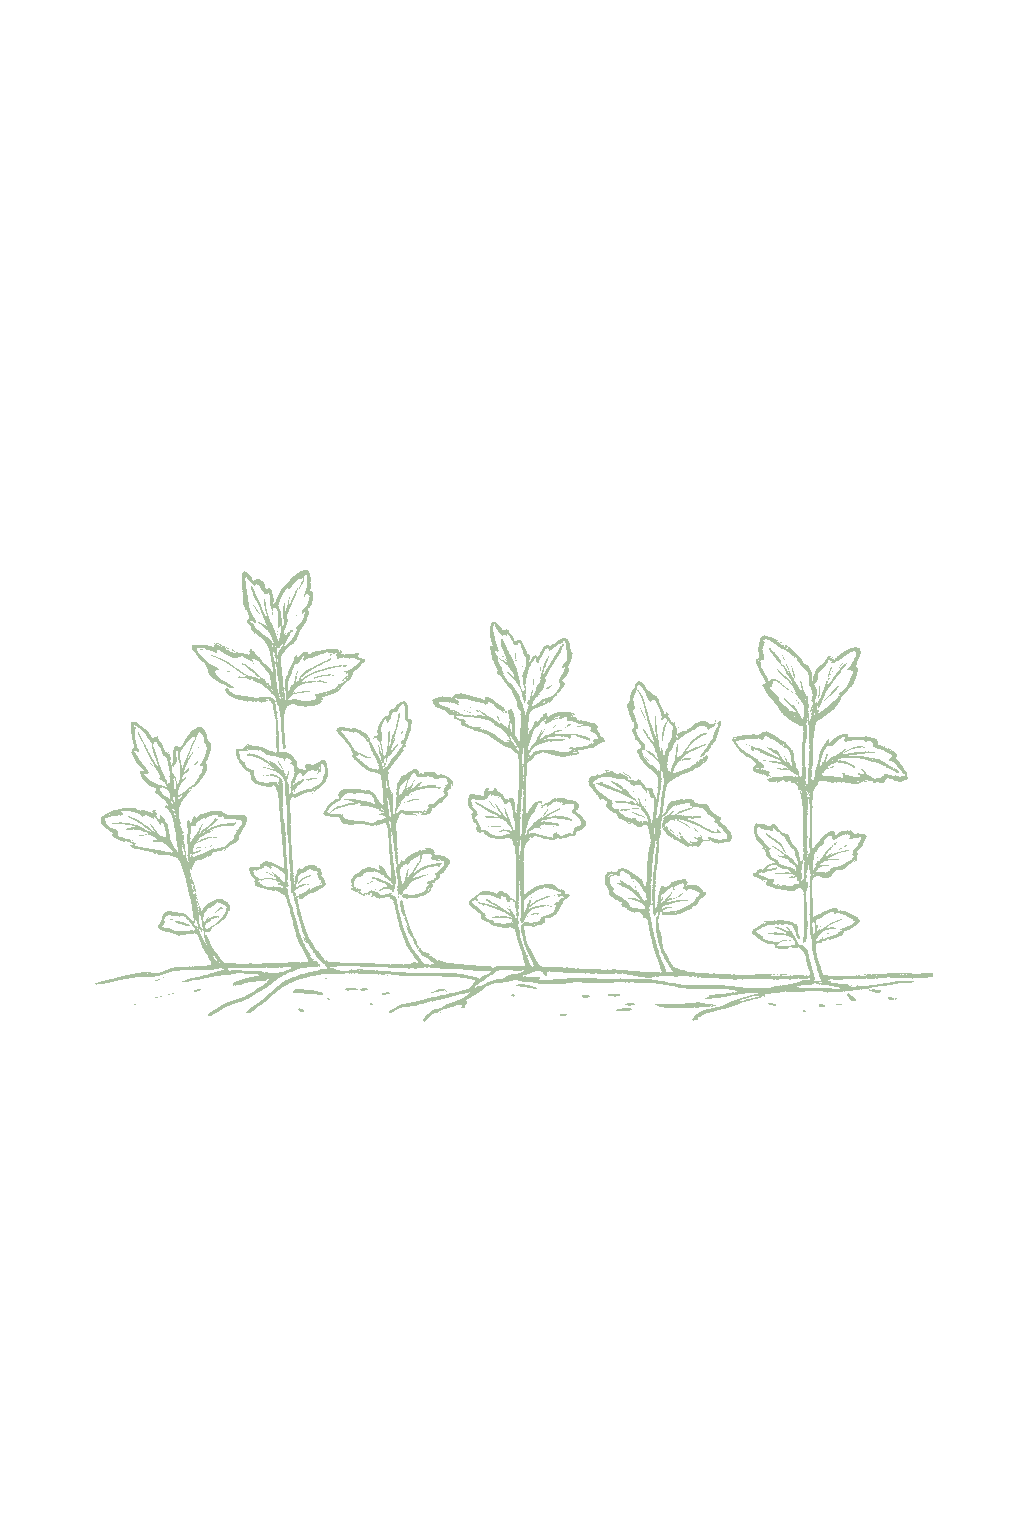
The easy way to start mint is from a small plant, a cutting, or a piece dug from a friend's patch, not from seed (seed-grown mint is a gamble and often tastes of nothing in particular). If you do want to try seed anyway, press the tiny seed onto the surface and do not cover it, since it needs light to sprout, and start it indoors about 6 to 8 weeks before your last frost. Just root a sprig in a glass of water or plant a division in spring. Because mint spreads fast, plant it in a pot or a buried, bottomless container so it cannot run through your whole garden.Start mint from a division, a rooted cutting, or a nursery transplant, not from seed: named mints such as peppermint are hybrids and, as Clemson notes, mint seed does not come true to type, so seedlings are variable. Divide and reset established clumps in early spring (Utah State, Minnesota), or root stem or stolon cuttings in water or moist mix at almost any time in the growing season (Wisconsin, Maryland). Set plants out around the last spring frost; mint is very hardy, so timing is forgiving. Whatever you plant, put it in a sunken bottomless pot or a lined bed, because mint spreads aggressively by runners. If you do start from seed, surface-sow it because the seed needs light to germinate, keep it around 60 to 70°F, and start indoors 6 to 8 weeks before setting out; expect the variable, off-type seedlings noted above.
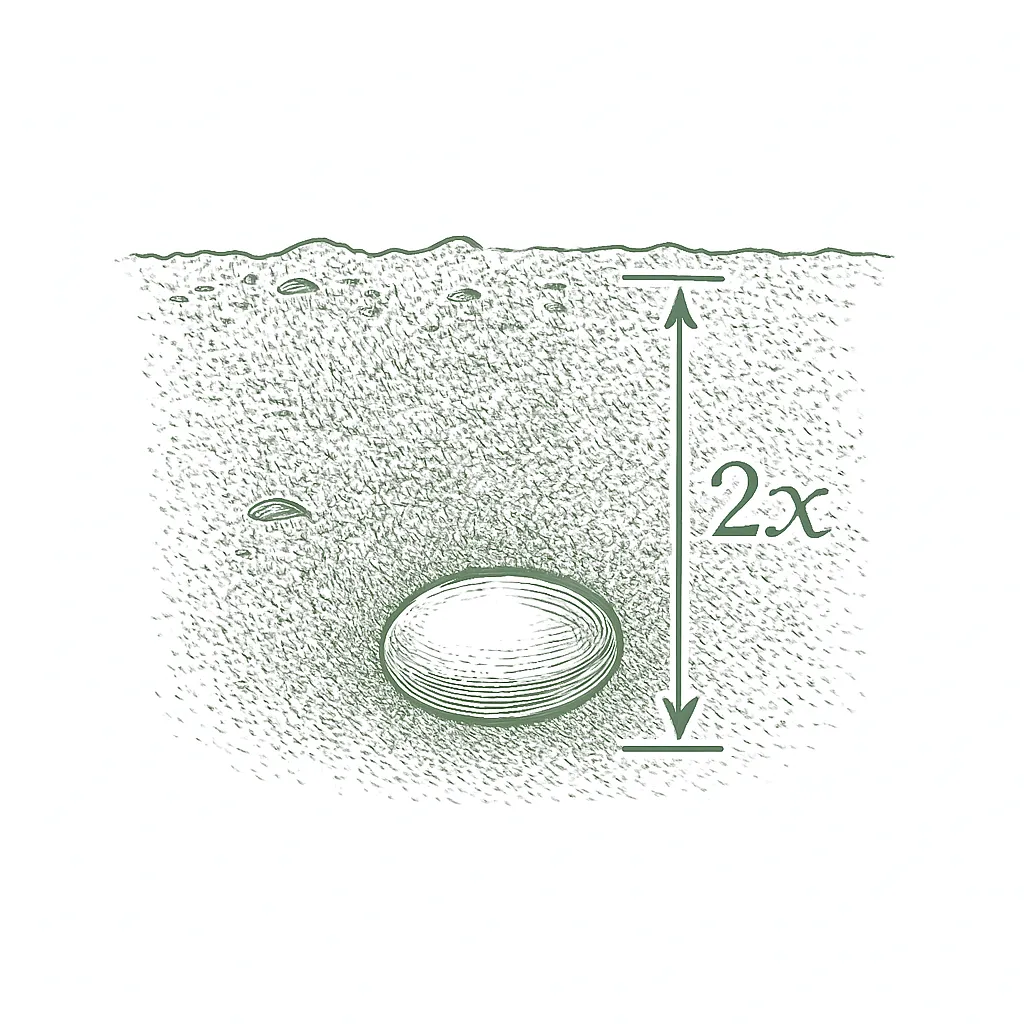


Not sure what soil you have? Grab a small handful of damp soil from your garden bed and squeeze it. If it crumbles apart easily, it's sandy. If it holds together but breaks when you poke it, it's loam (what most vegetables want). If it stays in a hard, slippery ball, it's clay.
Mint likes rich, moist soil and, unlike most kitchen herbs, it loves damp ground. Give it soil with some compost worked in and keep it evenly moist; it will even grow in part shade and in a low, wet spot where other herbs sulk. What it does not like is dry, sandy ground that dries out fast. Because mint spreads so fast underground, most gardeners plant it in a pot or a buried barrier so it cannot take over the bed.
Mix 2-3 inches of compost into the top 6 inches of your bed before planting. Compost holds moisture (which sandy soil drains too fast) and adds the nutrients sandy soil tends to lack. Repeat each season. Compost breaks down over time.
Mix 2-3 inches of compost AND a few inches of coarse sand or perlite into the top 6 inches of your bed. The compost feeds the plants; the sand breaks up the clay so air and water can move through. Don't add sand without compost. It can compact like concrete.
If amending your soil sounds like too much work, or if your soil is heavy clay, full of rocks, or contaminated, build over it. A raised bed at least 12 inches deep filled with a 50/50 mix of compost and sandy loam gives you ideal growing soil with no battles. A 5-gallon container with quality potting mix does the same for one plant at a time. Both bypass your native soil entirely.
The numbers that matter, at a glance.
A pot is the best way to grow mint, because it keeps the roots from running all over the garden. Use a container at least 8 inches deep, keep it watered, and snip sprigs often. It is happy on a partly shaded step or windowsill and comes back year after year.Containers are the standard way to grow mint, because they cage the aggressive rhizomes that otherwise colonize a bed; Maryland, UF/IFAS, and Wisconsin all recommend potting mint or using a bottomless sunken container to confine it. Use a pot at least 8 inches deep and keep the mix steadily moist, since pots dry fast and mint has little drought tolerance. Divide and repot every year or two when the clump crowds itself, and cut back after frost for a clean flush in spring.
Chocolate mintA peppermint selection with a dark stem and a cocoa-and-mint aroma; popular for desserts and drinks. Grown from cuttings or division.
Spearmint
Peppermint
Apple (woolly) mint
Mojito mint
Mint is very hardy and comes back every spring, but a pot freezes harder than the open ground because the roots are exposed on all sides. In cold areas, sink the pot in the ground for winter, move it against the house or into an unheated shed, or mulch over it. Cut the top back after frost; it will resprout from the roots in spring.Mint is a hardy herbaceous perennial (Utah State rates it hardy to about -20°F), so a container overwinters readily, but the confined root ball is more exposed to freezing than in-ground crowns. In cold zones sink the pot, move it to a cold frame or unheated structure, or heap mulch over it; the top dies back and regrows from the roots and rhizomes in spring. This is also the moment to lift, divide, and refresh a potbound clump.
Ask what your balcony or roof can carry
A balcony or roof can only hold so much weight. Before you set heavy pots there, ask a building architect what it can safely carry.Illinois Extension's guidance is to consult a building architect about weight limits before placing heavy pots on a balcony or rooftop garden. It gives no weight figure.
Never grow food in a container with anything toxic in it
Many kinds of containers can be used. Whatever you choose, keep anything toxic out of it, especially if you are growing food.Colorado State accepts nearly any container material but warns against using a container that holds toxic materials, especially for edible plants. Illinois adds that a vegetable container should be free of chemicals toxic to plants or people, and urges caution with treated lumber when growing food. If you cannot account for what a repurposed container once held, that alone is a reason to keep food out of it.
Secure hanging containers well
Fasten hanging baskets and window or rail boxes securely. Think about what is below them too, since they can drip on people or things underneath.Illinois Extension asks growers to secure hanging containers well and to think through the safety issues of hanging them. Placement matters too, since a hanging container can drip onto people or belongings below.
Mint grows best in slightly acidic to neutral soil, about 6.0 to 7.0, and it is not fussy. Most garden soil is fine; a simple soil test tells you where you stand.Aim for a soil pH of about 6.0 to 7.0, slightly acidic to neutral. Utah State describes mint as preferring slightly acidic soil, NC State lists it as tolerant across roughly 6.0 to 8.0, and the University of Minnesota's general herb guidance is a well-drained soil near 6.0 to 7.5, so mint is forgiving and rarely needs any pH adjustment beyond a soil-test baseline.
Mint does not need much feeding, and too much makes it flop and lose flavor. Mix a little compost or balanced fertilizer into the soil in spring, then leave it alone. If you grow it in a pot, feed lightly with a diluted liquid fertilizer every few weeks, since watering washes nutrients out.Mint is a light feeder and is easily overfed. Utah State suggests about one teaspoon of a balanced 16-16-16 fertilizer per plant in early spring as growth resumes; a compost-rich bed often needs no more than a light topdressing. Go easy, because rich soil and heavy nitrogen push soft, floppy stems and thin the essential oils that carry mint's flavor and aroma, a point Wisconsin Horticulture makes for mints grown in lean ground. In a container, where frequent watering leaches nutrients, a dilute liquid feed every few weeks through the growing season keeps the leaves green.
Use a balanced fertilizer such as 16-16-16, just a light feeding in spring. Do not overdo it; too much makes mint floppy and bland.A light, balanced feed is all mint wants: about a teaspoon of 16-16-16 per plant in early spring, or a compost topdressing. Avoid heavy nitrogen, which makes the stems floppy and waters down the flavor.
Mint has a real gift and a real hazard as a companion. Its strong scent is said to confuse pests like cabbage moths, aphids, and flea beetles, and when it flowers it draws in bees and helpful insects. The hazard is that mint spreads so aggressively it will smother its neighbors, so the golden rule is to grow it in a pot, even when it is near the plants it helps. Keep it away from chamomile and other quiet herbs it would overrun, and away from your other mints so the flavors stay distinct. Mint's companion value is mostly aromatic and pollinator-based: its volatile oils are traditionally credited with deterring cabbage moths, aphids, ants, and flea beetles, and a flowering patch is a strong nectar source for bees and predatory insects. The overriding practical fact, though, is its aggression, so any interplanting benefit is realized by sinking mint in a container next to the crop rather than letting it loose in the bed. The well-grounded cautions are structural: keep mint out of the open ground near less vigorous herbs (chamomile, and slower perennials) that it will overrun, and keep different mints separated to preserve their distinct flavors and to slow shared rust.
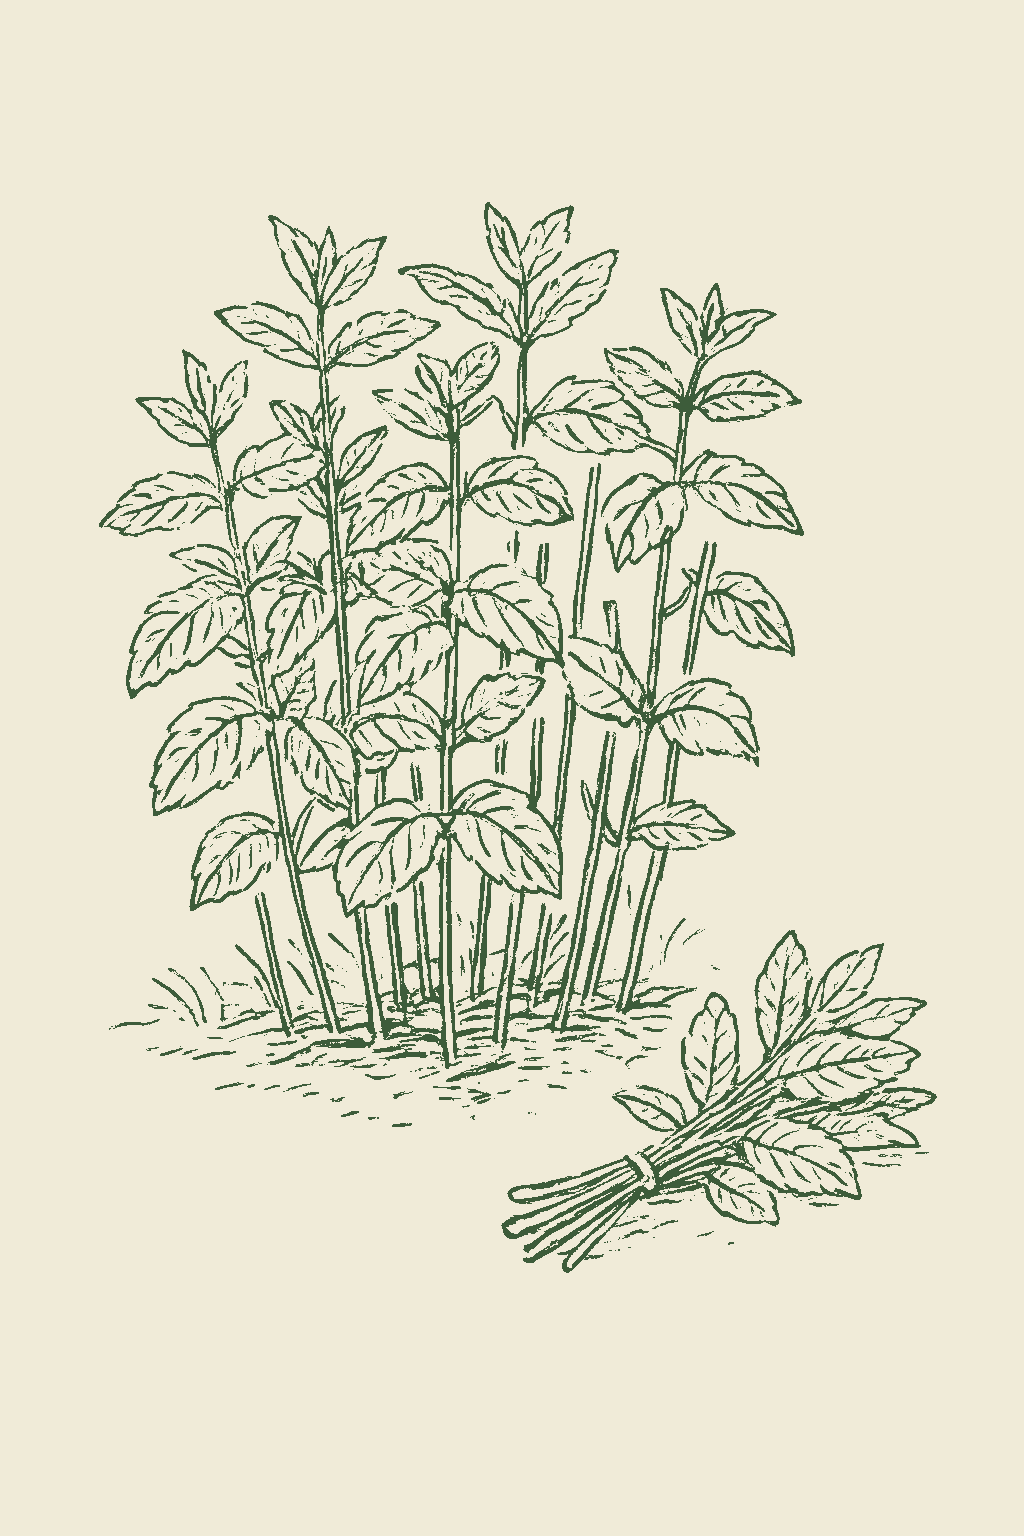
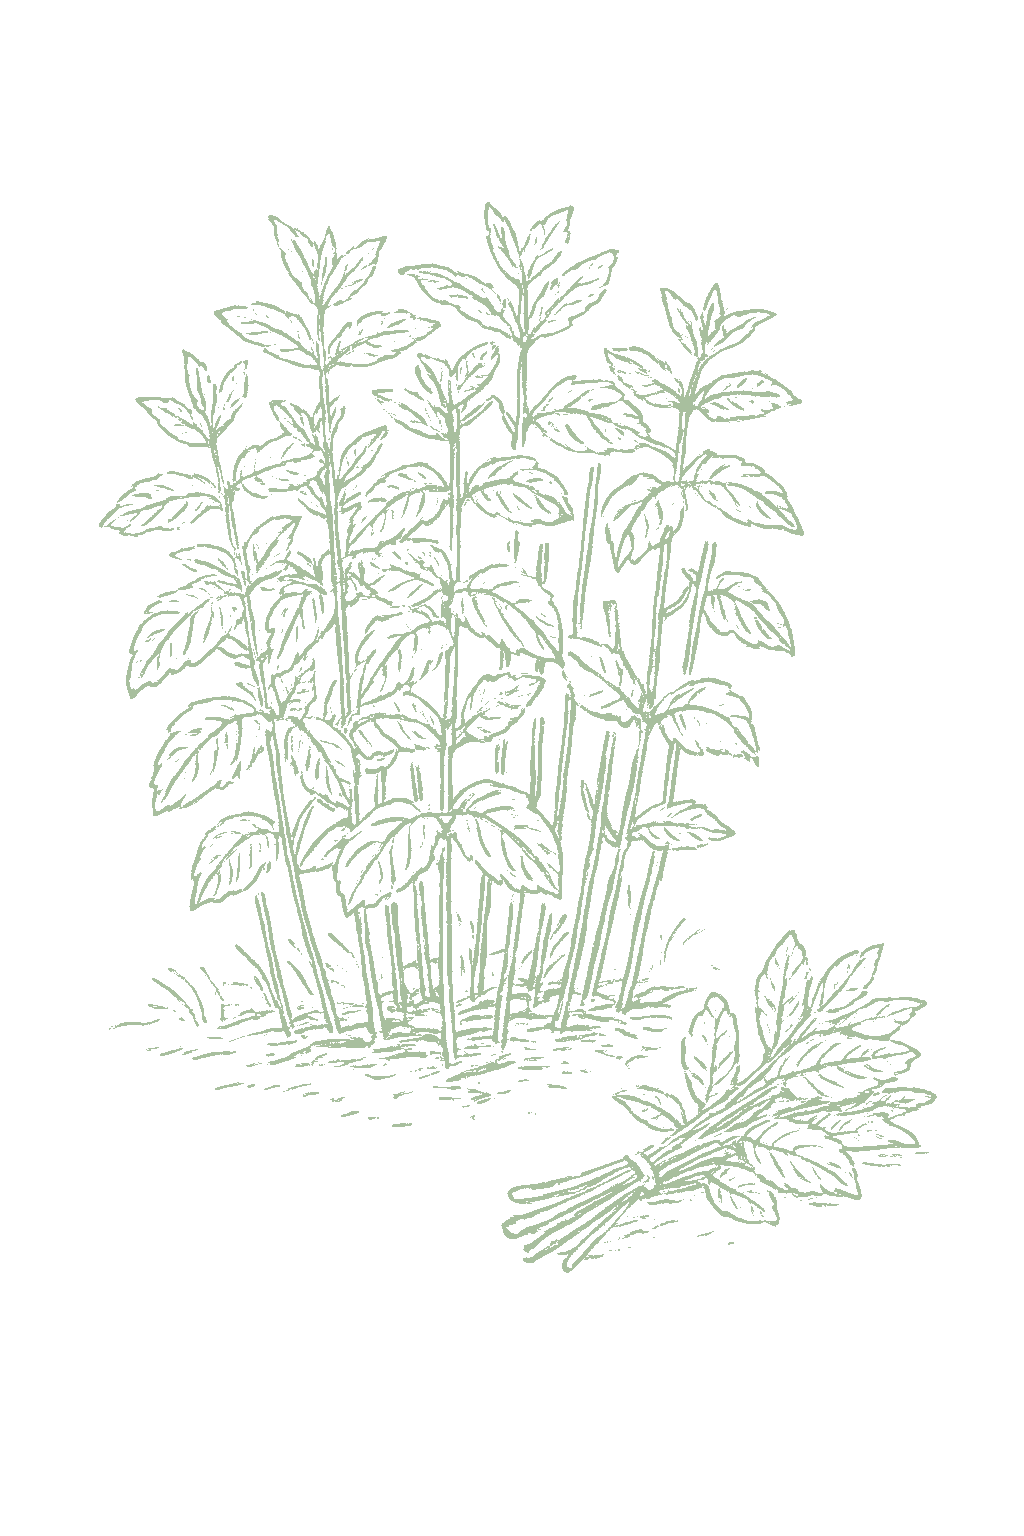
Mint is ready to pick once the plants are a few inches tall and leafy, which happens fast. Snip sprigs whenever you need them, or cut the whole plant back by a third and it grows again. Pick in the cool morning for the best flavor, and cut it before it flowers, since the leaves get tougher once it blooms.Mint is ready to harvest once the plants are several inches tall and full, usually within weeks of establishing. Utah State picks when stems reach 3 to 4 inches and cuts two to three times a season, taking the stems to within about an inch of the soil; for everyday use, take sprigs or cut stems back by up to a third and the plant flushes again in a couple of weeks. Harvest in the cool morning for the best oils, and cut before or during flowering, since the leaves coarsen once it blooms.
One mint plant quickly becomes a whole patch and gives you more than you can use, so one or two plants are plenty. It comes back bigger each year.A single mint plant becomes a spreading patch within a season and, cut repeatedly, yields far more than a household uses; one or two contained plants supply a kitchen. Yield builds year over year as the clump thickens, which is also why division and renewal matter.
Mint produces from spring through fall, and almost all year in mild climates. Keep cutting it and it keeps coming.Production runs from late spring through fall in cold zones and nearly year-round in frost-free ones, dipping only in the hottest arid summers and in winter dormancy. Regular shearing keeps the flushes coming and the leaves tender. Mint is very easy to grow the first year. The only real mistake is not containing it. Plant it in a pot in moist soil, keep it watered, cut it often, and it comes back every year.Mint is one of the easiest crops to succeed with in year one, so easy that the beginner mistake is not failing to grow it but failing to contain it. Plant a division or cutting in moist, part-shade ground inside a barrier, keep it watered, cut it often, and it establishes fast and returns every spring for years.
Pick mint by how it tastes, since they all grow the same. Spearmint is the mild, sweet everyday mint and the easiest; peppermint is stronger and cooler. There are fun flavored kinds too, like chocolate, apple, orange, and mojito mint. Grow any of them from a cutting or a division, not from seed, because seed-grown mint is unpredictable. And whatever you pick, give it a pot so it does not take over.Choose mint by flavor, since culture is nearly identical across the genus. Spearmint (Mentha spicata) is the mild, sweet all-purpose culinary mint and among the hardiest; peppermint (Mentha x piperita) is the stronger, cooler, menthol type and, as a hybrid, must be grown from cuttings or division rather than seed. Flavored selections such as chocolate, orange or bergamot, apple or woolly (and its variegated pineapple mint form), and mojito mint (Mentha x villosa) all grow the same way. Because named mints are hybrids or selections, Clemson notes mint seed does not come true to type, so propagate every one of these from cuttings, divisions, or transplants. Keep different mints apart if you want to preserve distinct flavors, and contain every one of them.
The ladder troubleshoots from the gentlest solution to the strongest. Start with the gentlest option and only move on when and if it doesn't work.
Go light on feeding. A rich feed makes the plant throw out soft, juicy shoots, and those are the ones that end up covered in aphids. Mint does not need much anyway: you are picking it all season, and that is what keeps it in new leaf.Aphid reproduction tracks the flush, and UC IPM's rule is never to use more nitrogen than necessary. On mint the fertilizer is the part to hold back, because cutting the plant already keeps fresh growth coming without any help.
Hit the plant with a forceful jet of water and knock the aphids off, working up underneath the leaves where the clusters sit. Look again in a few days and repeat if they are back.Lean on plain water before anything sprayed on a crop you cut and eat fresh; it is the one control both Utah State and UC IPM give for aphids in the same breath. UC IPM's monitoring interval is at least twice a week while plants are growing rapidly, which is what makes an early knock-back possible.
Lady beetles, lacewings, hoverfly larvae and small parasitic wasps will usually take an aphid run down for you. Broad bug sprays kill them along with the aphids, so leaving the patch alone is often the fastest route.UC IPM names those four groups as mint-scale aphid natural enemies and tells you to avoid broad-spectrum insecticides toxic to them. Conservation costs nothing and it is the reason a light infestation is usually worth watching for a week before it is worth treating.
If the aphids hold on after repeated hosing, insecticidal soap will take them out, but it only kills what it lands on. Wet the undersides of the leaves, not just the tops, and expect to go again.Utah State names insecticidal soap for mint directly. Apply it in a high volume of water and cover the undersides, and respect UC IPM's two exclusions: not on a drought-stressed plant, and not when it is very hot.
A horticultural oil is the other choice at this level, put on the same way: thorough wetting, undersides included, and never on a plant that is dry at the roots or during a hot spell.UC IPM's application language for oils is a 1 to 2 percent solution in a high volume of water, targeting leaf undersides as well as tops. Like soap it kills only on contact, so a missed underside is a surviving colony, and the drought and heat exclusions are the same.
The bottom rungs are products with label rules: timing, pollinators, and days to wait before harvest. Before you spray →
The ladder troubleshoots from the gentlest solution to the strongest. Start with the gentlest option and only move on when and if it doesn't work.
Keep mint evenly moist and mulched. Mites build up fastest on a plant that has been allowed to dry out, so steady water is the main defense on this crop.UC IPM puts water-stressed plants in the highly susceptible class and has mite numbers climbing through June into September. The bad mite years on mint are the ones where a pot or a bed edge went dry and hot more than once.
Wash the undersides of the leaves with a strong spray of water. Done regularly, and in hot weather even daily, this alone often holds mites down, and it keeps the foliage from getting dusty.UC IPM's finding is that regular forceful spraying often reduces mite numbers adequately, with a water spray or mist to leaf undersides at least once a day in a hot spell. Confirm the mites before starting: a hand lens is needed to tell mites and their eggs and webbing from stippling something else left.
Predatory mites can be bought and released onto an infestation. UC IPM names one for mint specifically, Neoseiulus fallacis, and a release makes more sense on a big patch than on a few plants.The published release figures are commercial, quoted per acre and triggered off a sampled leaf count, so the numbers do not scale to a garden bed; what transfers is that a mint-specific predatory mite exists and is sold. Conserve what is already present first, because UC IPM also reports that mite outbreaks frequently follow an insecticide application.
Insecticidal soap will knock mites back, but only where the spray actually reaches them, so coat the leaf undersides and expect to repeat. Do not use it on a plant that is dry at the roots, and not when the temperature is above 90°F.Soap kills mites on contact and nothing else, so coverage decides the outcome and repeat applications are normal. The 90°F ceiling and the water-stress exclusion are UC IPM's, and they bite hard here, because mite weather and spray-injury weather are the same weather.
The bottom rungs are products with label rules: timing, pollinators, and days to wait before harvest. Before you spray →
The ladder troubleshoots from the gentlest solution to the strongest. Start with the gentlest option and only move on when and if it doesn't work.
Set a barrier around each new plant when you put it in: a rim cut from a plastic pot, or a can with both ends out, sunk about an inch into the ground so nothing can reach the stem from the soil.This is Utah State's own control for cutworms on mint, protecting the individual plant, and it earns its keep only through establishment, while one severed stem is the entire plant. The barriers come off once a plant has spread and has stems to spare.
A felled shoot marks the spot. Sift the top inch or two of soil beside it and you will usually turn up the caterpillar, which can be lifted out by hand.Utah State places the larvae at or below ground level, which tells you where to search: fresh damage is a located target, and turning soil there is far more productive than any general hunt across the bed.
No spray for this one. Prevention is the control.
The ladder troubleshoots from the gentlest solution to the strongest. Start with the gentlest option and only move on when and if it doesn't work.
In spring, before the beetles turn up, spread a light row cover fabric over the mint and weight the edges down. Water and light reach the plants through it; the beetles do not. Take it off once the patch is growing hard.Utah State's stated control for flea beetles on mint is to cover plants in spring with row covers, so the timing is the whole of it: on before the beetles move, off when the stand is in full growth. Nothing applied afterwards repairs a chewed leaf, so the cover has to go on ahead of the damage and never in response to it.
No spray for this one. Prevention is the control.
The ladder troubleshoots from the gentlest solution to the strongest. Start with the gentlest option and only move on when and if it doesn't work.
Turn the bed over in late fall, or in spring before June. That is when the caterpillars are sitting in the soil just under the surface instead of inside the runners, and digging through reaches them.UC IPM's window is exact: tillage is effective in late fall or spring while the borer is overwintering, or before adults emerge in June. The larvae leave the rhizomes in October and sit an inch or so down, so a fall dig follows them out of the runner and into reach, and a spring dig catches them before they pupate.
Where a patch has been going downhill, move the mint to fresh ground and put something else in the old bed for a season or two.UC IPM lists rotation to a non-host as an option, which at garden scale means resetting divisions into ground with no mint history rather than replanting the same corner. With one generation a year and mint as the host, a bed given a season without mint gives the next generation nothing to go back into.
Beneficial nematodes, sold as a soil drench, are used against this pest. Water them into moist, warm soil where the larvae are, rather than spraying anything on the leaves.UC IPM releases parasitic nematodes through the irrigation system against mint root borer. The published rate is a per-acre commercial figure and does not translate, so follow the pack for dose; what carries over is the delivery, a watered-in drench onto soil holding larvae, and the timing, the fall stretch after the larvae have left the rhizomes.
No spray for this one. Prevention is the control.
The ladder troubleshoots from the gentlest solution to the strongest. Start with the gentlest option and only move on when and if it doesn't work.
Take the rusted leaves off as you see them, and in fall clear the old stems and fallen foliage right off the bed. That debris is where the fungus spends the winter, and leaving it is what starts next spring.WSU puts the overwintering stage on mint stubble and foliage, where the pustules go dark chocolate brown in late summer and fall and become the following spring's inoculum. RHS supplies the in-season deadline: take affected growth out before the black resting spores form and reach the soil.
Thin or divide a crowded patch so air moves through it and the leaves dry off faster after rain or dew.WSU has the disease recycling every 8 to 10 days whenever moisture sits on the foliage, so the lever is the number of hours a day the canopy stays wet. Utah State treats thinning and dividing as maintenance a spreading mint patch needs anyway, which makes this the cheapest thing you can do about rust: it costs an afternoon you were going to spend on the patch regardless.
Water in the morning, and get it down at the roots rather than over the top. What feeds rust is foliage that stays damp all night, so the aim is to have the leaves dry by evening.Utah State's rust row gives both halves: use drip irrigation, or apply overhead water before mid-day, and avoid wet leaves overnight. Dew and rain still wet the canopy, so watering this way shortens the wet hours rather than removing them, which is enough to cut the number of cycles in a season.
Mint escapes. If there are patches of wild or run-away mint near the bed, cut them back, because rust comes across from them in spring.WSU names escaped and non-cultivated mint as a spring source of infection, which matters more on this crop than on most: the plant runs out of a bed and keeps going, and an untended stand along a fence or a ditch is a reservoir that no amount of tidying inside the bed will reach.
Start new plants from cuttings taken off clean, healthy mint. Rust travels on the cuttings and runners you plant with, so a new bed can begin infected.WSU traces outbreaks to systemic infections and pustules on the rhizomes and stem cuttings used in propagation, and its instruction is to inspect source material, monitor cuttings closely and discard infected ones promptly. Propagation is the one point in the cycle where the disease can be kept out of a new bed entirely.
No spray for this one. Prevention is the control.
The ladder troubleshoots from the gentlest solution to the strongest. Start with the gentlest option and only move on when and if it doesn't work.
Dig out a wilting plant, roots and all, and get it off the bed. Knock the soil off your tools and boots before you walk to another bed.UC IPM's field sanitation is cleaning equipment, vehicles and shoes, and the shoe clause scales straight down to a garden: the fungus travels as microsclerotia in soil, so soil on a spade is the vector. Minimizing cultivation in an affected bed matters for the same reason, since digging through spreads them.
Do not push the patch with fertilizer. Utah State lists over-feeding as one of the things to avoid where verticillium wilt has shown up.This is Utah State's third named control for the disease on mint, alongside rotation and removal, and it is the only one that costs nothing and changes nothing about the bed. Feed for steady growth rather than for a flush.
Once wilt has been in a bed, keep mint out of it for at least five years, and keep potatoes and strawberries out too. Corn, onions, garlic and cereals are fine to grow there in the meantime.UC IPM's minimum is five years in crops that do not build the fungus up, and it names both sides: do not rotate to mint, potatoes or strawberry; acceptable are grass hays, corn, sudangrass, alfalfa, cereals, onions and garlic. At garden scale that constraint is the real cost, because five years is longer than most beds go without a susceptible crop.
Start a new patch from cuttings or divisions off plants that have never wilted, not from a piece of the bed that is going down.The commercial standard is rootstock certified free of Verticillium dahliae. No certification scheme exists for a garden division, so the working equivalent is provenance: propagate from a stand with no wilt history, and never carry divisions out of an affected bed into clean ground.
No spray for this one. Prevention is the control.
The ladder troubleshoots from the gentlest solution to the strongest. Start with the gentlest option and only move on when and if it doesn't work.
Thin the patch and give it light. Powdery mildew builds where growth is packed and shaded, and mint fills in until the middle of a stand is both.Crowding and shade are the levers on this disease, and leaf wetness is not one of them. WSU has it severe on greenhouse mint because of humid, shady conditions, so opening the stand and siting it in sun takes away both drivers at once. Mint is one of the few crops this dataset is happy to put in part shade, which is exactly why the siting decision carries weight here.
Feed lightly. The soft, fast growth that a heavy dose of nitrogen produces is what this fungus takes hold on first.WSU's driver is explicit: the disease is most severe on young, succulent plants such as those resulting from heavy nitrogen fertilization and irrigation. On a herb you cut repeatedly there is a standing temptation to push regrowth with fertilizer, and that flush is what the mildew colonizes.
Pull out badly coated plants, and clear the old growth off the bed at the end of the season along with any wild mint growing beside it.WSU's overwintering account is infected mint plants, stubble and wild hosts of the mint family, so clearing up in fall is preventive for next year rather than curative for this one. Rust and anthracnose on the same crop want the identical fall clear-out, which is the argument for doing it once and doing it thoroughly.
Sulfur works on powdery mildew, but only if you get in before the coating appears, and on a herb there is a catch: WSU says not to apply it within 30 days of harvest. If you are cutting mint every week or two, that makes sulfur an early-season option and not something to reach for once you are picking. Do not spray it either if the temperature is heading above 90°F in the next three days.WSU starts sulfur when plants are 4 to 6 inches tall, a calendar trigger rather than a symptom one, and warns that once the disease is established it is very hard to control. Two limits govern it. No application within 30 days of harvest, because sulfide from sulfur taints the essential oil that carries mint's flavor, and none if temperatures will exceed 90°F within three days. Together those put the only usable window early, well before a patch is in regular cutting, which on most home plantings means this material stays in the shed.
The bottom rungs are products with label rules: timing, pollinators, and days to wait before harvest. Before you spray →
The ladder troubleshoots from the gentlest solution to the strongest. Start with the gentlest option and only move on when and if it doesn't work.
Pull the diseased plants out, and in fall cut the healthy growth right down to the ground and rake the debris off the bed.Two of Utah State's three named controls for anthracnose on mint are here: remove diseased plants, and prune healthy plants to the ground in fall. Note where it places the cut, in fall and after the season, not as a mid-season shear to force clean regrowth; on a perennial that regrows from the crown the fall version costs nothing.
Thin or divide the patch so it is not a solid mat. Sun into the middle of the stand and air moving through it is what Utah State's general advice for mint comes down to.Utah State frames thinning and dividing as maintenance mint needs anyway and pairs proper sunlight with appropriate watering as the way most of the crop's diseases are minimized or eliminated. A mint bed left to itself becomes exactly the dense, shaded, slow-drying interior this fungus wants.
Put the water on the soil, not on the leaves. Drip or a soaker hose is the easiest way to manage that on a bed of mint.Utah State calls out drip irrigation by name as the way to provide regular water and keep foliage dry. Unlike powdery mildew on the same plant, this is a disease where the dry-foliage instruction is the correct one, which is precisely why the two are separate records now.
Where the spotting comes back year after year, move the mint to fresh ground rather than replanting the same bed.Rotating the planting area is the first of Utah State's three anthracnose controls. On a perennial it is a division-and-reset decision rather than an annual one, and it pairs naturally with the fall cut-down, which is when the patch is easiest to lift.
No spray for this one. Prevention is the control.
You plant mint once and it stays for years, so there is no yearly rotation. Just start it in clean ground that did not just grow tomatoes, potatoes, or strawberries, and if a patch gets diseased, start fresh plants in a new spot.Mint is a permanent perennial planting rather than a rotated annual, so rotation here is mostly about where you establish or renew a patch. Because verticillium wilt and mint rust persist in soil and rhizomes, site a new planting in clean ground with no recent history of Verticillium hosts (tomato, potato, eggplant, pepper, strawberry) or of a diseased mint stand, and plan to reset the patch in fresh soil every few years if disease or root pests build up. Utah State and commercial mint guidance both treat multi-year renewal as the core disease defense.
The plant app sends a timely reminder at every critical moment of your mint season. The wording adjusts to whichever you pick: beginner or seasoned. Here are three you'll see in Zone 9.
plant sends the right notification at exactly the right moment, for your zone, your weather, your crops. Founding members lock the rate forever.
We're building this guide with real growers. Got a question we missed? Ask here. We read every one and add the best answers right to this page.
Learned something the hard way? Pass it on. Real growers' tips make this guide better for the next person, and we credit you by name when yours goes live.
If you've grown this crop and you see a date, a temperature, a companion claim, or a recommendation that doesn't match your experience, tell us. Real growers' corrections make this guide better for the next person.
Every date, temperature, spacing, and recommendation on this page is sourced from university cooperative extension publications, peer-reviewed agricultural research, NOAA climate data, and direct extension calendars. Where claims are softer (traditional gardening wisdom not formally documented), we say so.
Spot a data point that doesn't match your experience? Submit a correction; accepted corrections earn full author credit on the page.
Zone-aware seasonal nudges, what's worth planting now, and the occasional recipe from the harvest. No spam, ever.